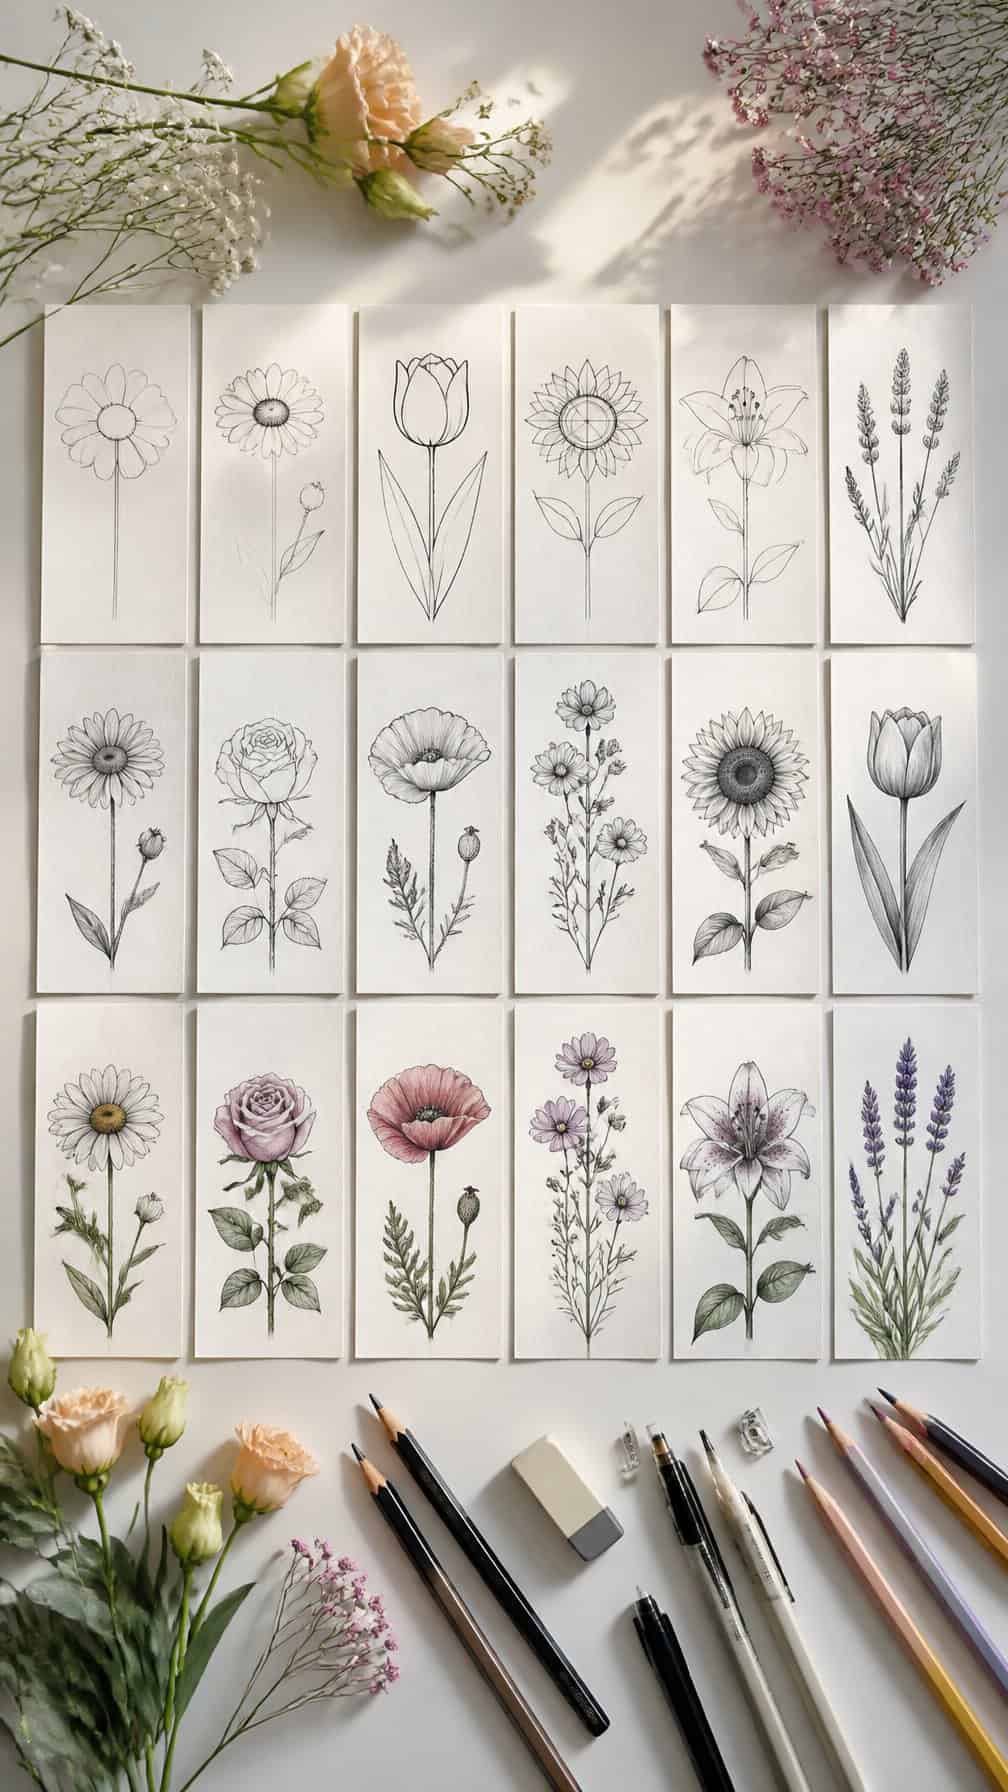
Whether you are picking up a pencil for the first time or refining your botanical studies, flower drawing offers a clear way to practice shape, line, texture, and shading. I have gathered ideas that move from simple outlines to more detailed blooms, helping you choose a project that fits your skill level and interests.
Save for later
Want to come back to this story? Save it with your email so it is easy to find again.
You can build confidence by starting with basic floral forms and gradually adding petals, leaves, depth, and realistic details. Along the way, I also cover useful materials, setup choices, and techniques that can help your flowers look more natural.
Table of Contents
- 1 1) Simple five-petal daisy outline
- 2 2) Single-line tulip drawing
- 3 3) Minimalist sunflower sketch
- 4 4) Basic rosebud drawing
- 5 5) Easy lavender sprig illustration
- 6 6) Simple poppy flower study
- 7 7) Outline of a cheerful daffodil
- 8 8) Beginner-friendly cherry blossom branch
- 9 9) Geometric lotus flower design
- 10 10) Simple wildflower bouquet
- 11 11) Layered sunflower with leaf details
- 12 12) Shaded hibiscus flower drawing
- 13 13) Detailed peony petal study
- 14 14) Realistic rose with curved petals
- 15 15) Botanical magnolia illustration
- 16 16) Detailed orchid drawing
- 17 17) Watercolor-style hydrangea cluster
- 18 18) Intricate marigold flower study
- 19 Essential Materials And Setup
- 20 Choosing Paper And Drawing Tools
- 21 Using Reference Photos Effectively
- 22 Techniques For More Realistic Blooms
- 23 Building Petals With Simple Shapes
- 24 Adding Light, Shadow, And Texture
- 25 Creating Natural Stems And Leaves
1) Simple five-petal daisy outline
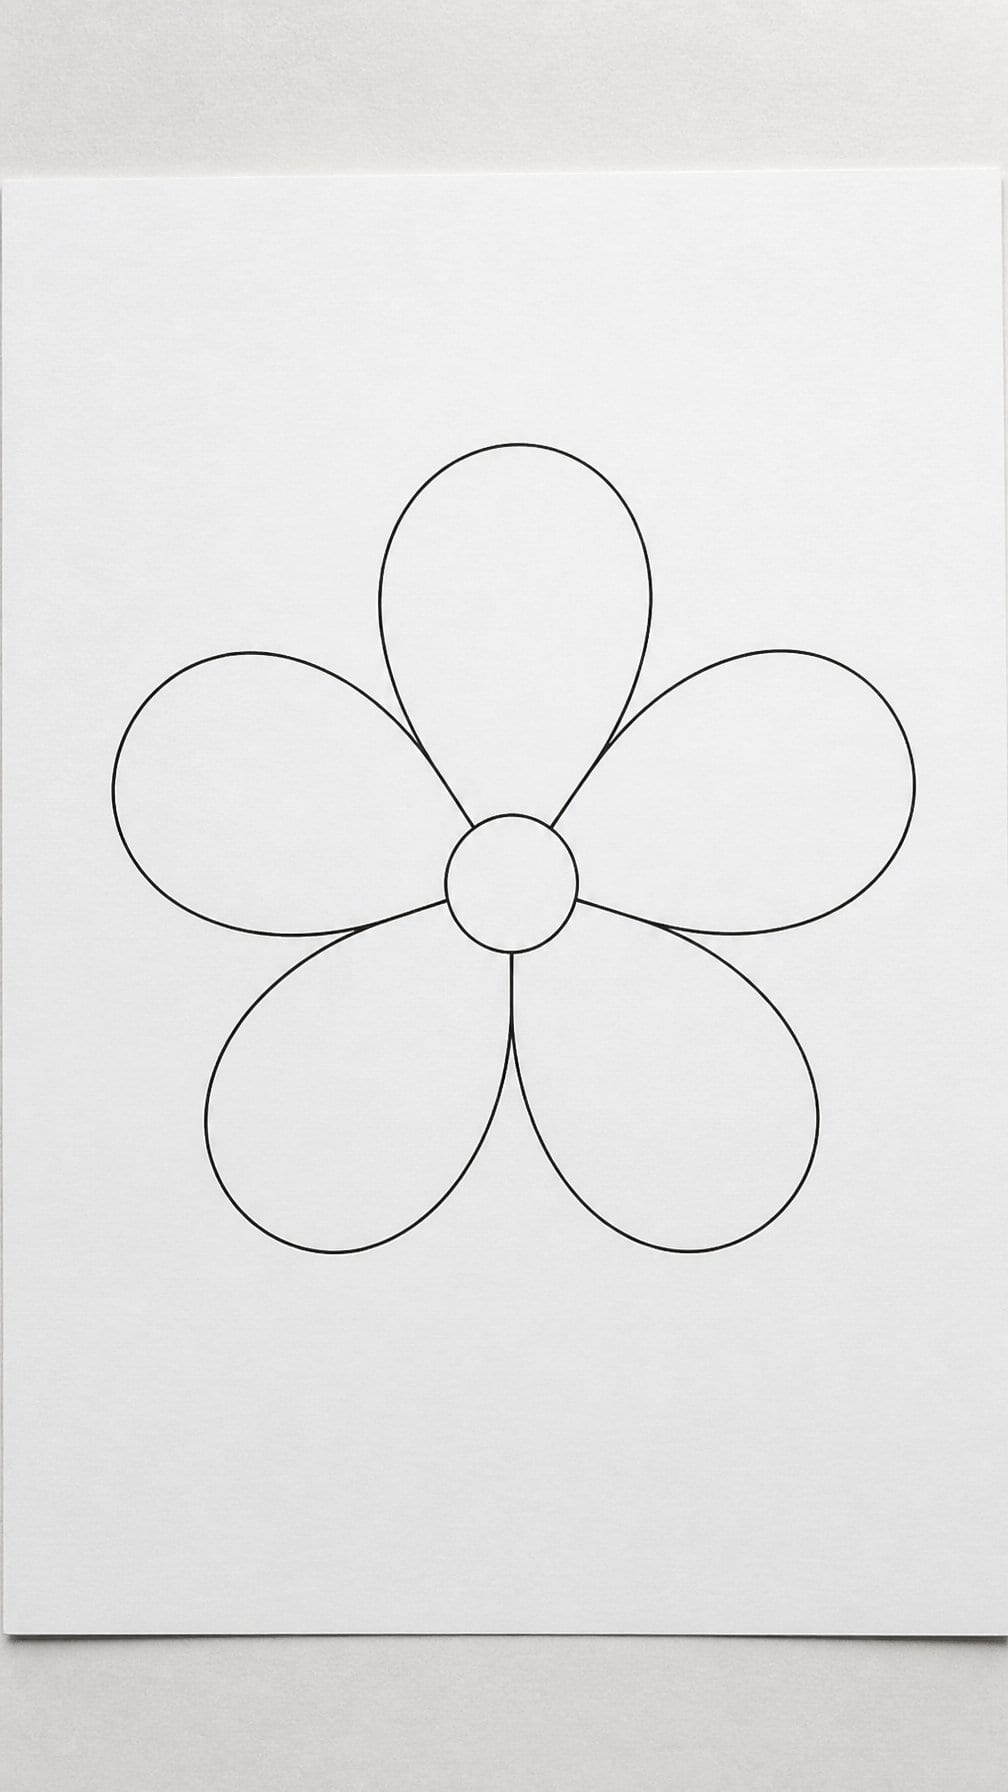
I start with a small circle for the flower’s center, then draw five rounded petals around it. I keep each petal similar in size but allow slight differences to make the outline feel natural.
I use a light pencil line first, checking the spacing before adding darker edges. A short, curved stem and two simple leaves complete the drawing without distracting from the flower.
For extra definition, I add a few small dots inside the center and lightly curve the petal lines. I leave the interior mostly open so the clean outline remains the main focus.
2) Single-line tulip drawing
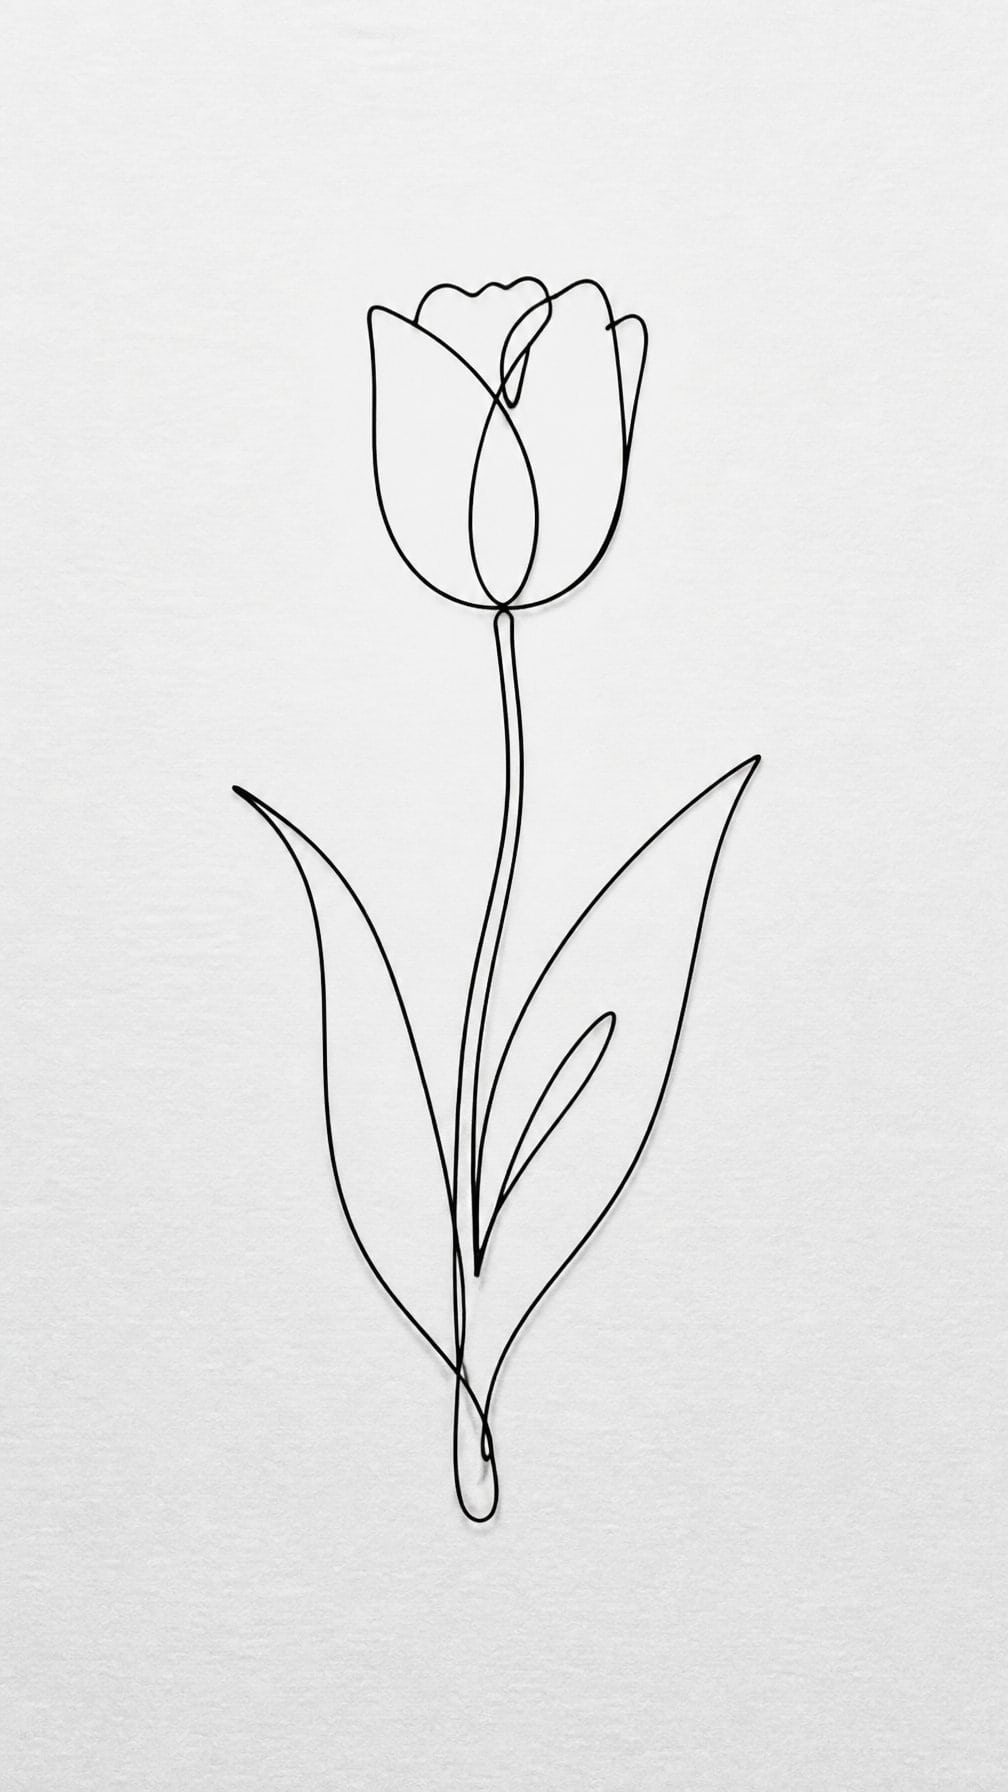
I draw this tulip without lifting my pencil, starting at the stem and moving upward into one side of the bloom. I curve across the petals, create the opposite edge, and return down through the stem in a controlled motion.
I keep the line thin and steady, allowing small changes in pressure to suggest the flower’s shape. A gentle bend in the stem gives the drawing a natural posture without adding extra detail.
I practice the movement slowly first, then repeat it with fewer pauses. This exercise helps me focus on contour, proportion, and smooth hand control.
3) Minimalist sunflower sketch
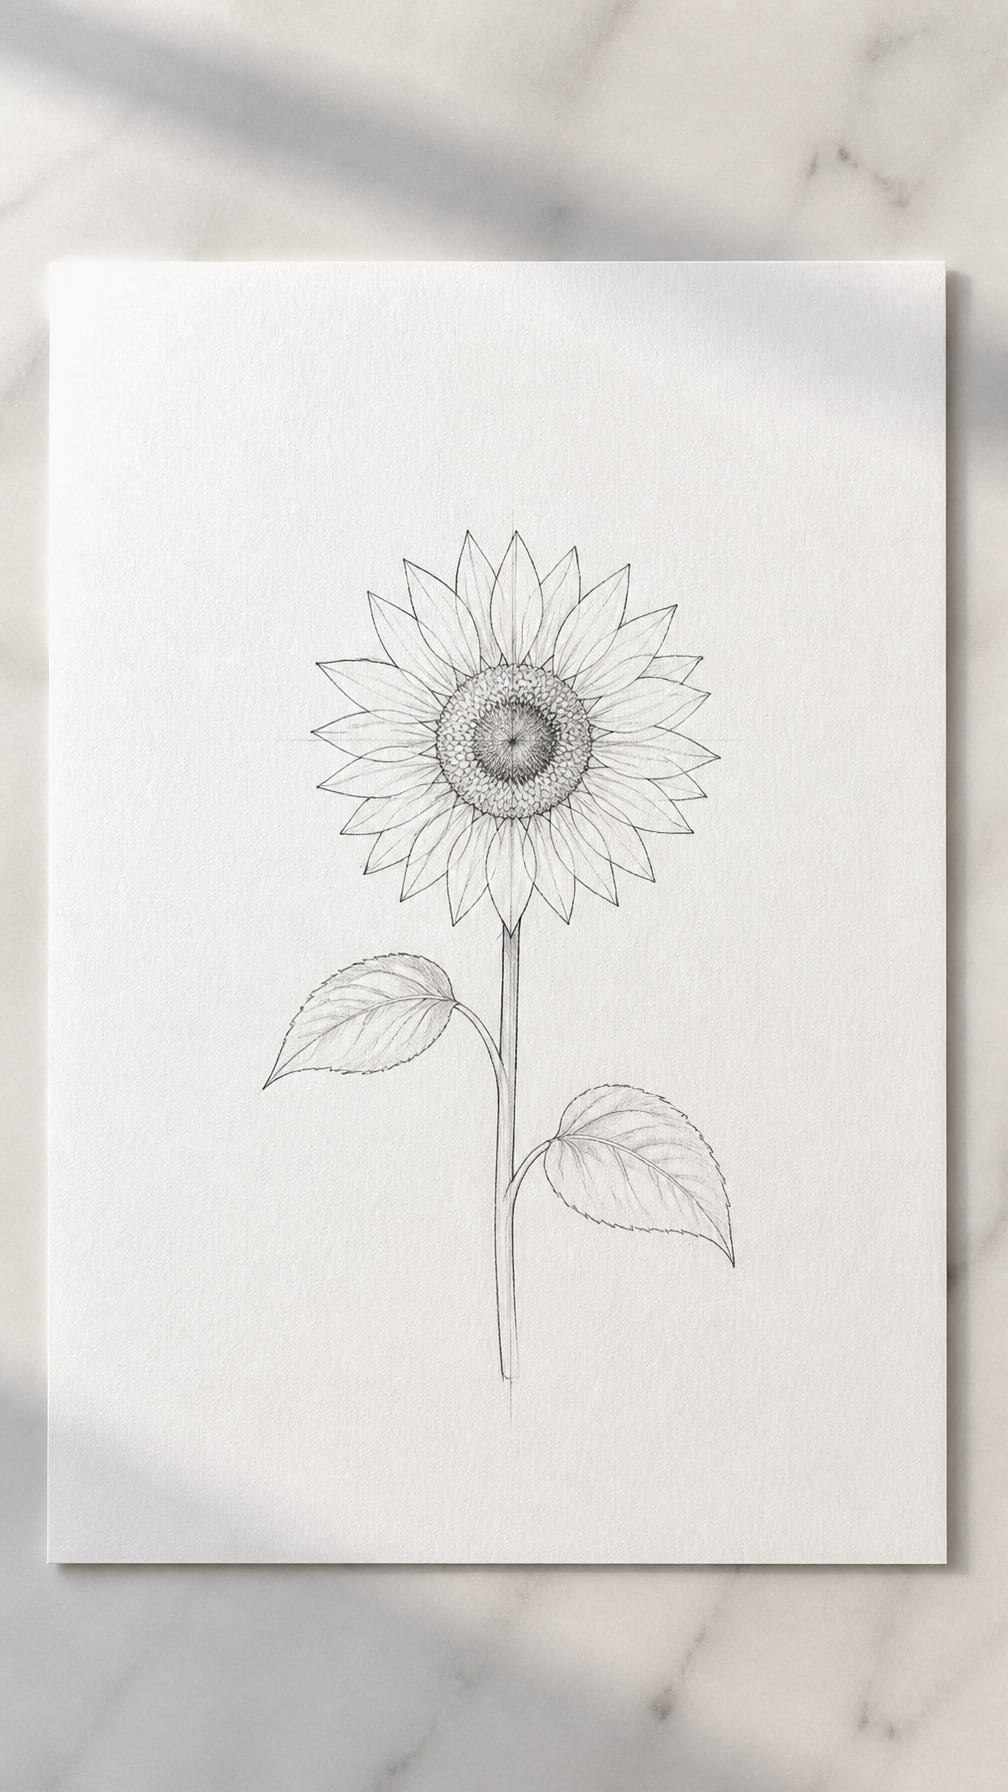
I begin with a small circle for the center, then surround it with evenly spaced petals. I keep each line clean and avoid adding unnecessary texture, which gives the sunflower a simple, recognizable shape.
Next, I draw a slender stem and one or two narrow leaves. I use slight differences in petal length and leaf angle to make the sketch feel natural while preserving its minimal style.
For subtle detail, I add a few short marks inside the center and a single curved line along each leaf. I use a fine pen or sharpened pencil so the light structure remains clear.
4) Basic rosebud drawing
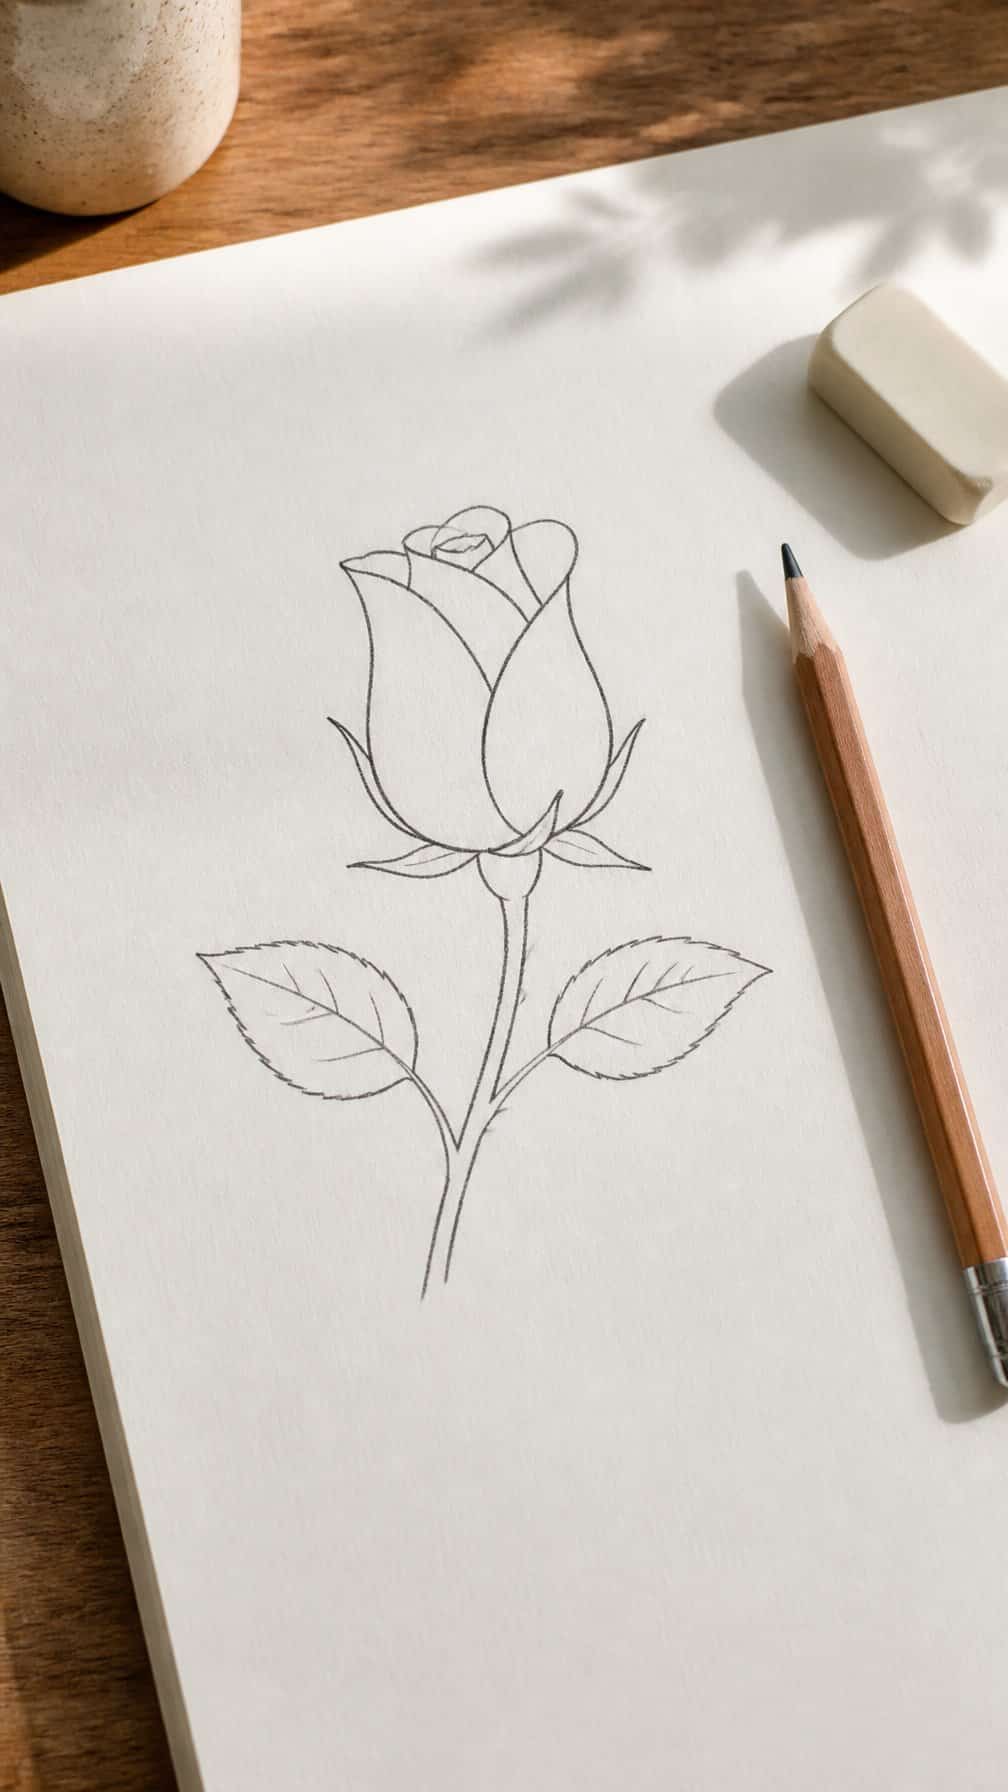
I begin with a small, rounded shape for the closed bud, then taper the lower edge into a short stem. A curved outer line suggests the overlapping petals without requiring many details.
I add one or two interior arcs near the top to show the petals folding inward. Light, uneven lines help the bud look organic, while darker strokes along the base give it structure.
For the leaves, I draw narrow almond shapes with pointed tips and a central vein. I keep the shading simple, placing it beneath the bud, along one side of the stem, and near the leaf veins.
5) Easy lavender sprig illustration
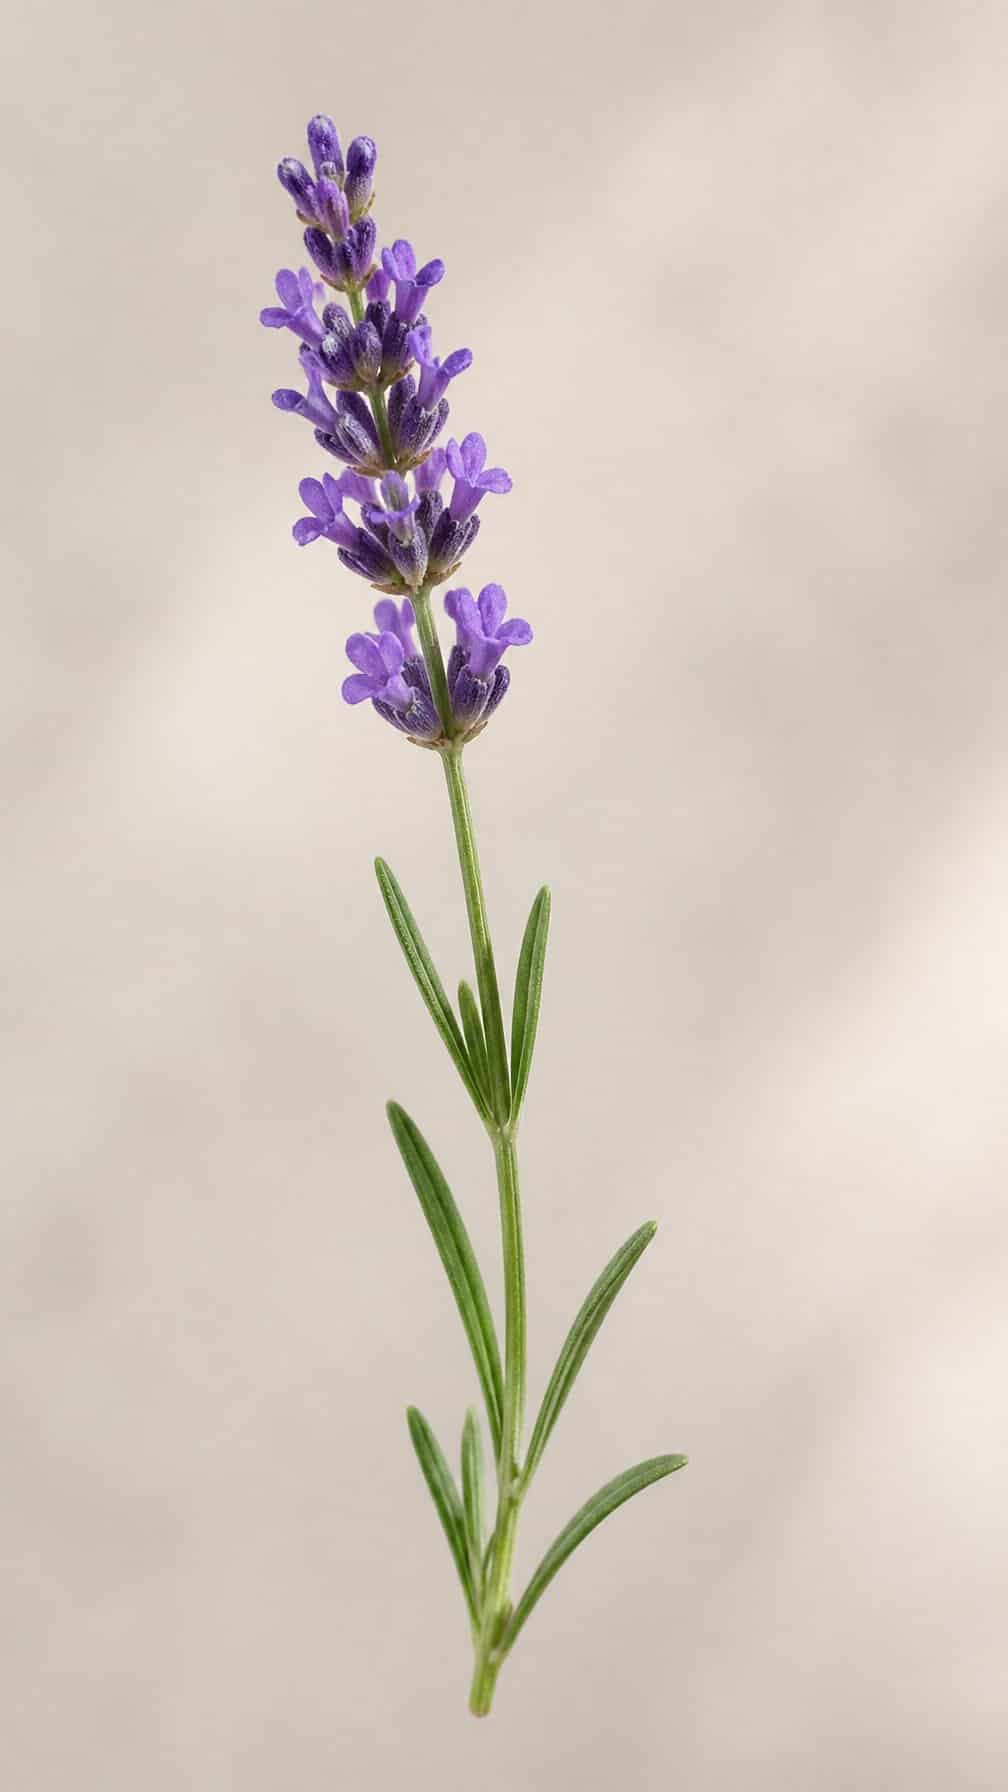
I start with a gently curved stem, then add narrow leaves in small pairs along its length. I keep the leaves simple and slightly uneven to make the sprig look natural without adding complex detail.
For the flower, I draw small oval buds clustered near the top. I vary their size and spacing, leaving a few gaps so the cluster does not appear crowded. A fine purple pen or colored pencil works well for the buds, while muted green adds contrast to the stem and leaves.
I use light pressure for the initial outline and add darker marks only where leaves overlap or buds meet. This approach keeps the illustration clean and makes the lavender easy to shade or place in a small botanical arrangement.
6) Simple poppy flower study
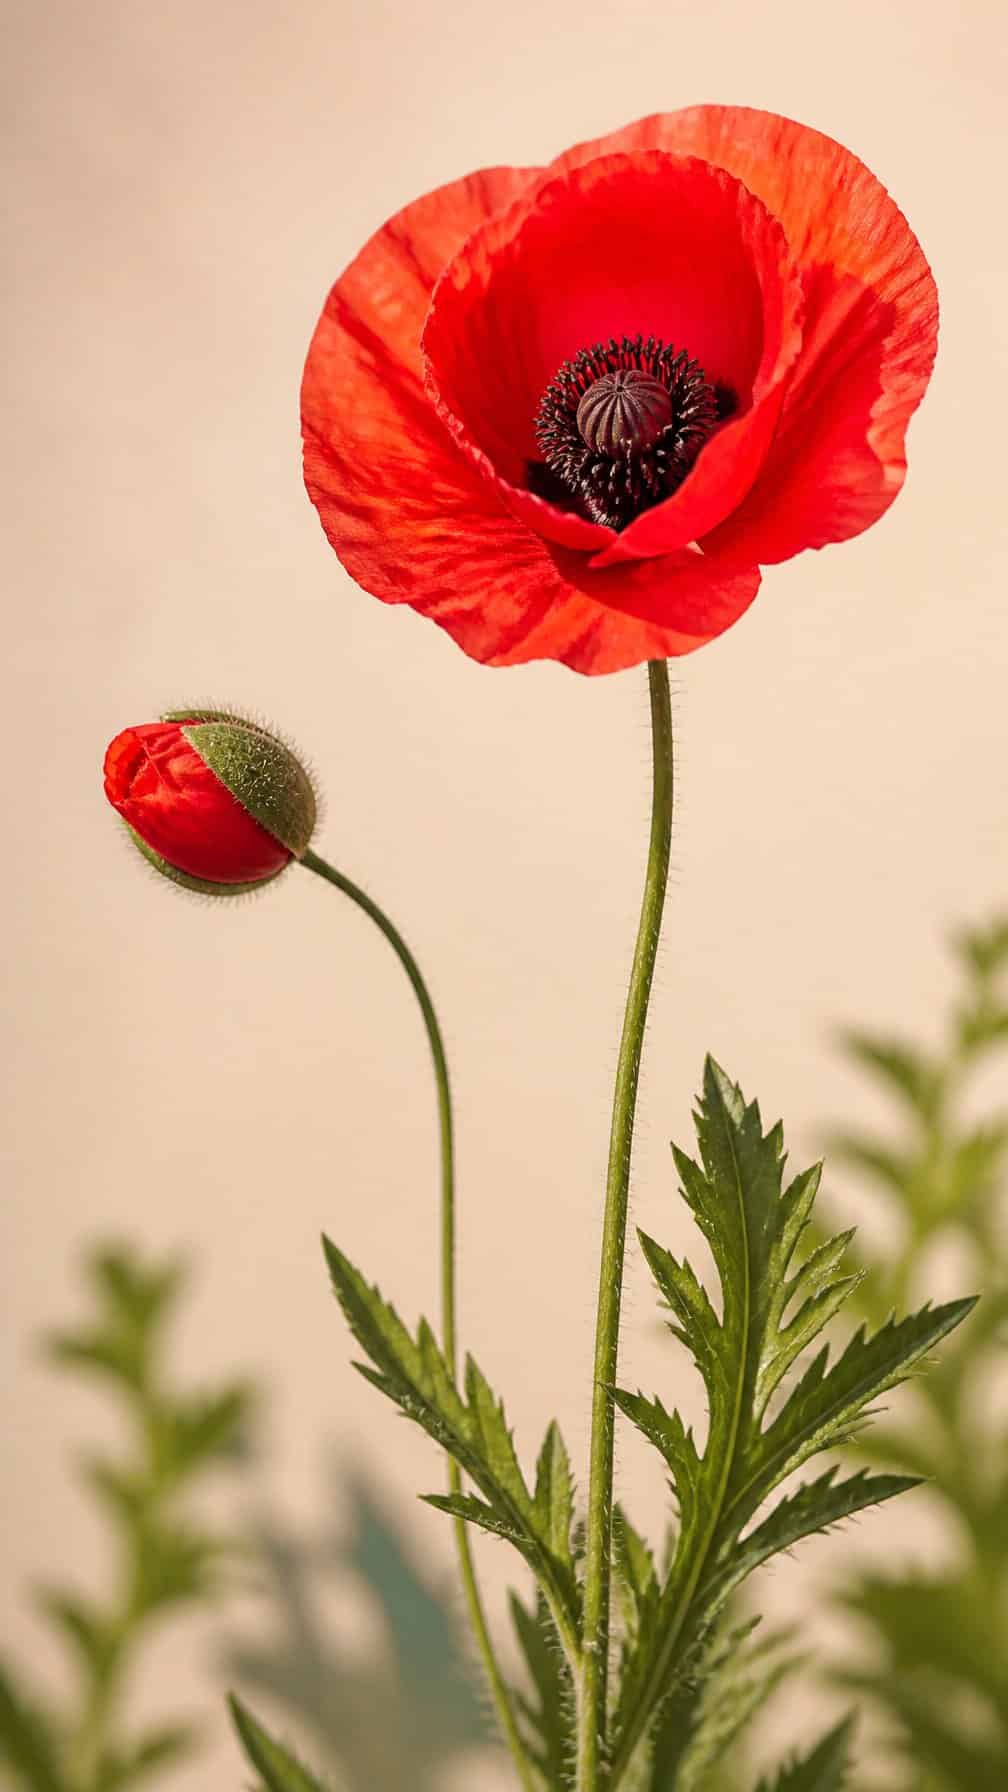
I begin with a loose, rounded outline for the poppy’s open petals, leaving the edges uneven rather than perfectly symmetrical. I place the central seed pod near the middle and add a few short lines to show where the petals fold inward.
I use light pressure to sketch the thin stem and two or three narrow leaves. For shading, I darken the base of each petal and the underside of the seed pod, then keep the outer surfaces mostly white.
I finish with a few broken contour lines to suggest delicate, crinkled edges. My goal is to capture the flower’s simple structure without filling the drawing with unnecessary detail.
7) Outline of a cheerful daffodil
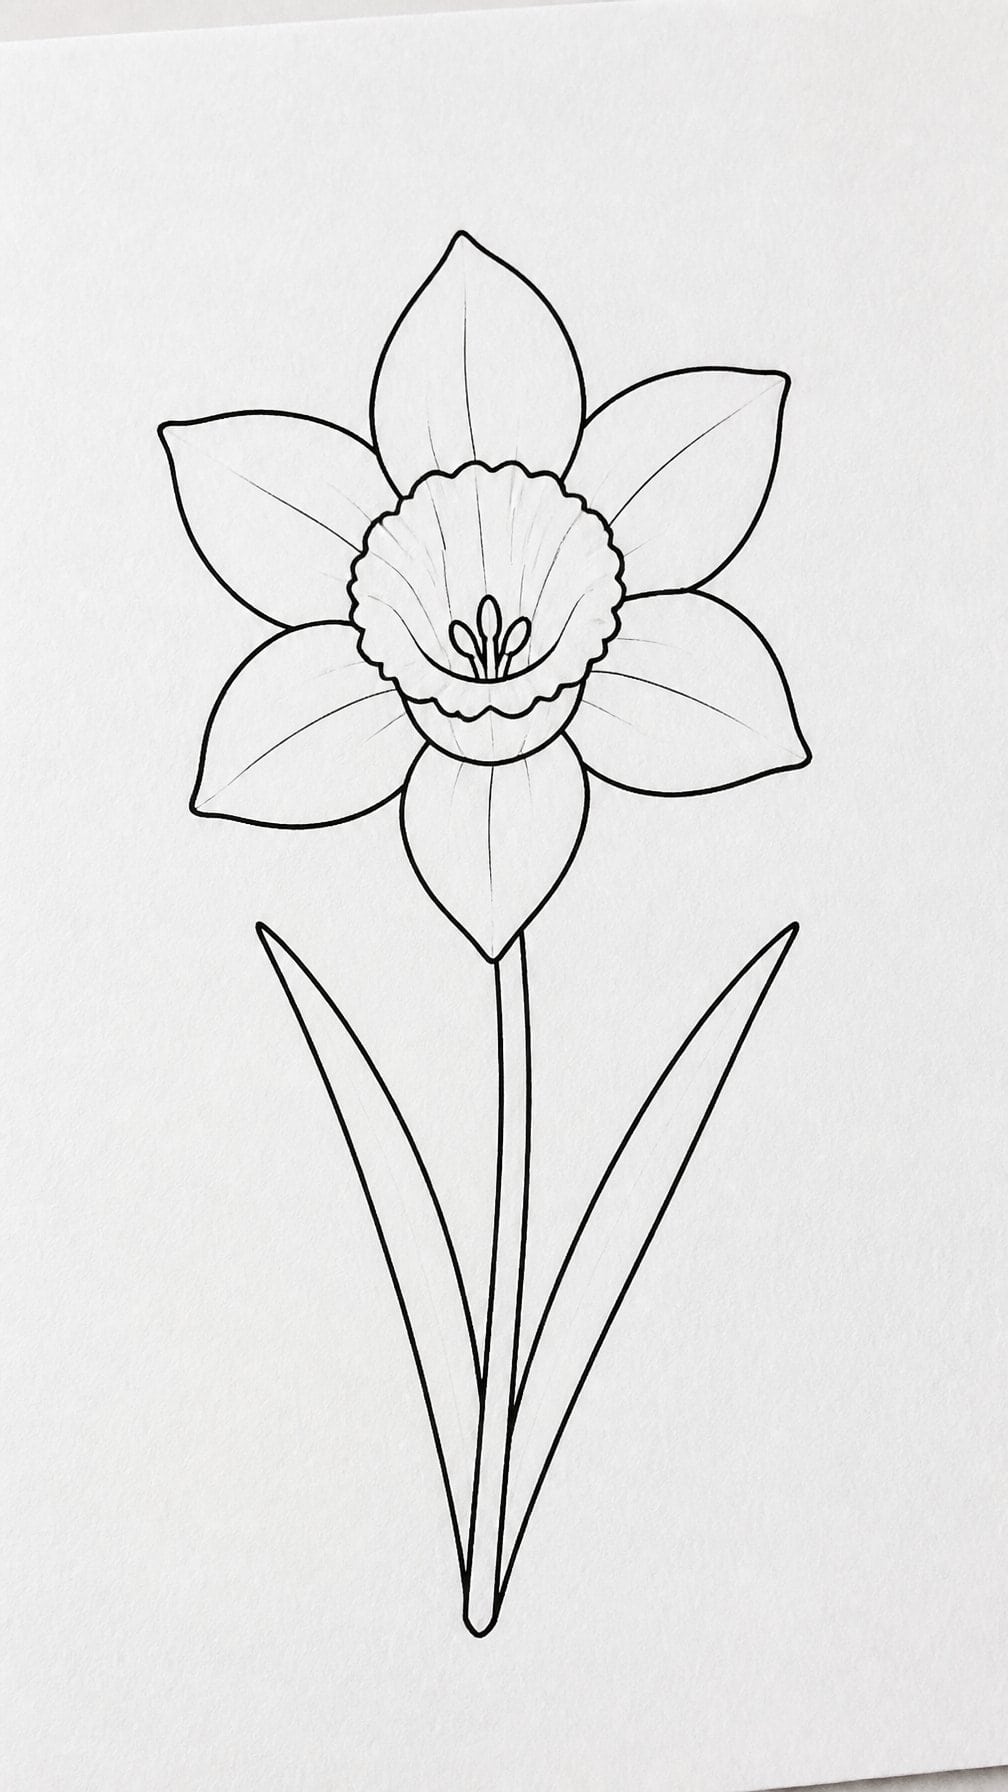
I begin with a gently curved stem and place the bloom near its top. Six broad petals surround a small trumpet-shaped center, so I keep their edges slightly uneven to make the flower feel natural rather than mechanical.
I use light, clean lines for the first outline, then adjust the petal overlaps before adding detail. The trumpet should sit forward from the petals, with a wavy rim and a darker inner edge to show its depth.
I finish with two long, narrow leaves that angle away from the stem. I keep the drawing mostly unshaded, adding only a few curved lines inside the trumpet and along the petal bases to suggest form.
8) Beginner-friendly cherry blossom branch
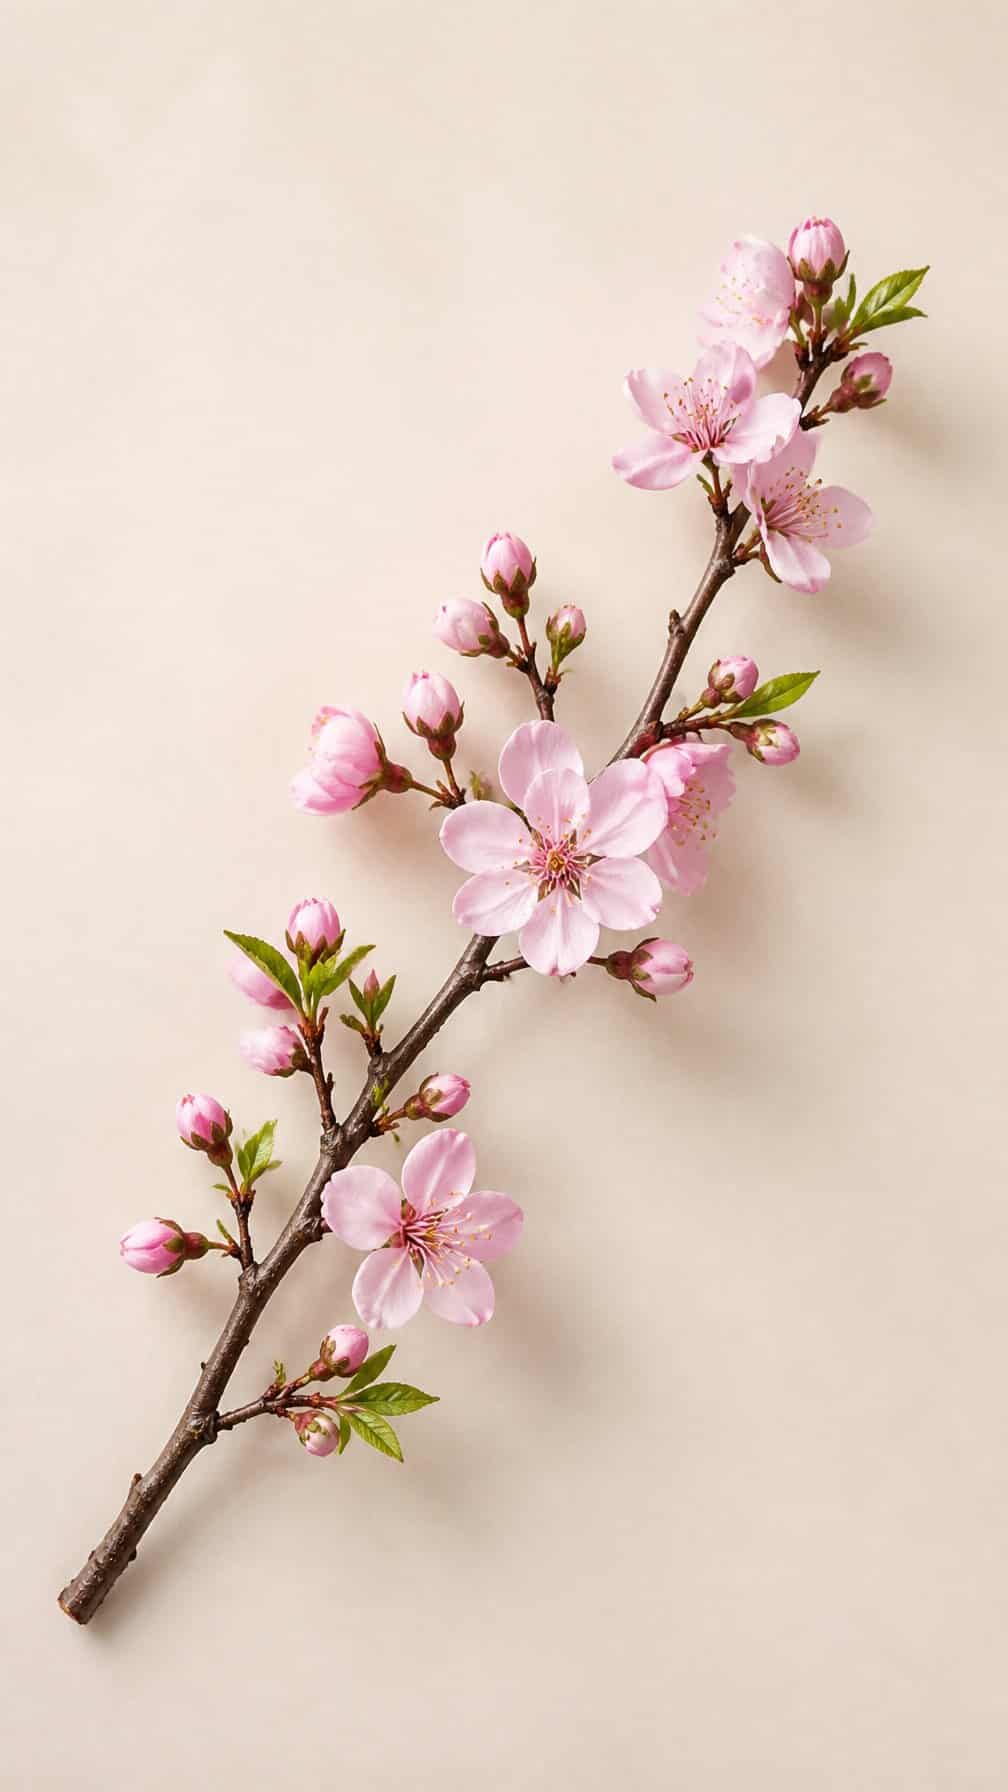
I begin with a gently curving line for the branch, keeping the shape loose rather than perfectly straight. I add a few thinner twigs that taper toward their tips, then place small clusters of blossoms along them.
For each flower, I draw five rounded petals around a small center. I vary the petal angles and sizes so the branch looks natural, leaving some buds as simple circles or partially opened shapes.
I use light pencil pressure for the first sketch and darken only the final contours. A few overlapping blossoms, short center lines, and scattered leaves add detail without making the drawing difficult.
9) Geometric lotus flower design
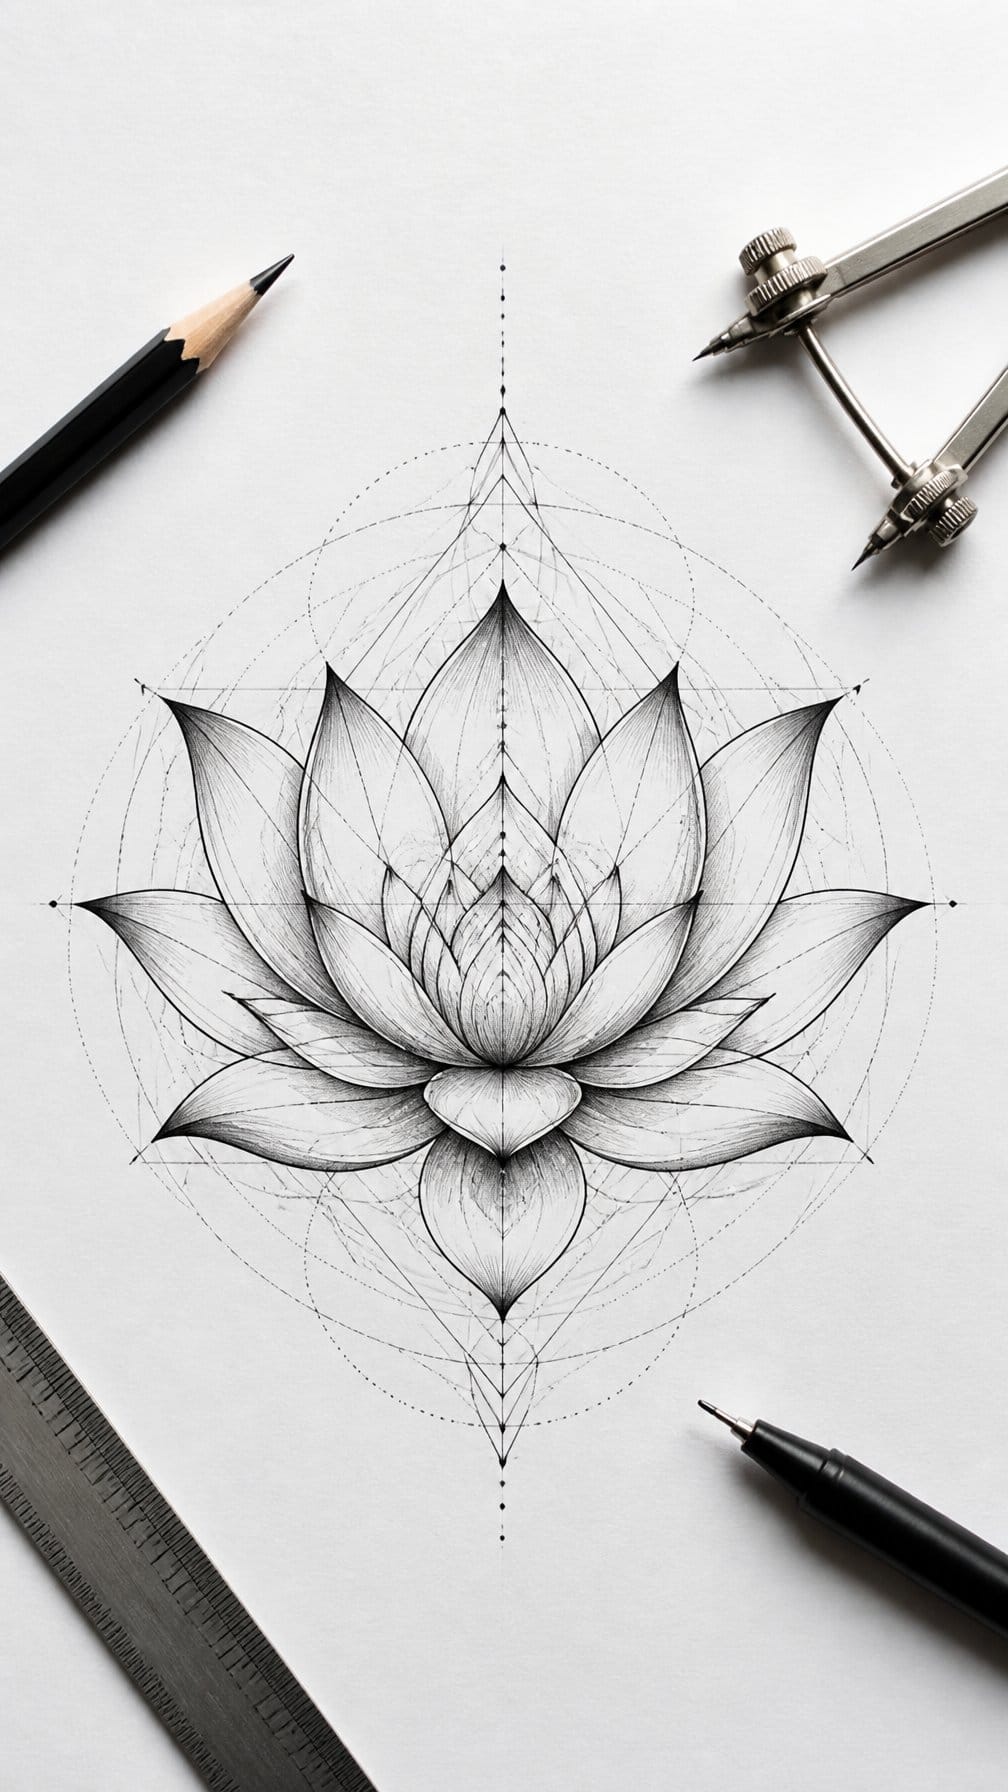
I build this lotus from clean, repeated shapes rather than soft, organic lines. I start with a vertical centerline, then add mirrored petals using triangles, diamonds, and curved arches. Keeping both sides balanced helps the flower maintain a structured appearance.
I use darker outlines around the outer petals and lighter details toward the center. A ruler can help with straight edges, while a compass creates evenly spaced circles or arcs behind the bloom. I leave small gaps between overlapping forms so each geometric layer remains clear.
For color, I choose two or three related shades and assign them to separate sections. I might place a muted blue in the petals, a deeper tone in the outlines, and a pale background shape behind the flower.
10) Simple wildflower bouquet
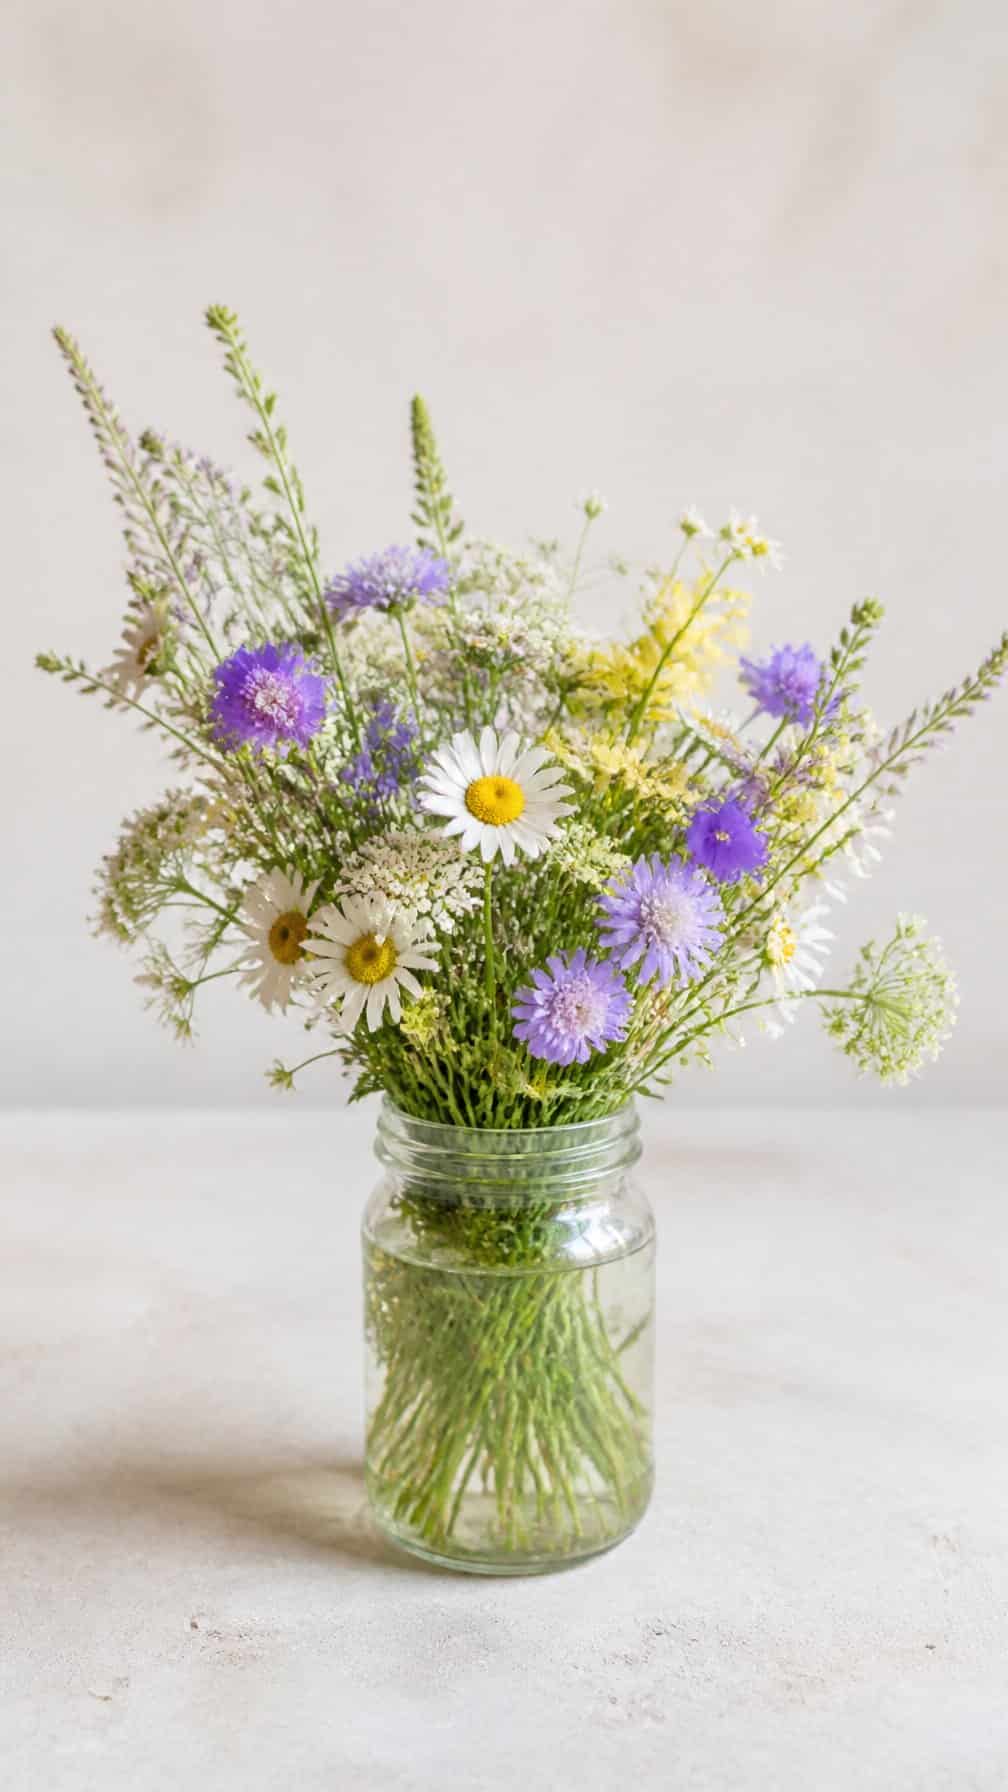
I begin with a loose cluster of stems rather than a formal arrangement. I draw three or four small flowers at different heights, then add slender leaves and curved stems to connect them. Keeping the shapes uneven gives the bouquet a natural appearance.
I use simple forms such as circles, ovals, and five-petal outlines. I vary each bloom slightly instead of repeating identical shapes, while lighter pencil pressure helps separate the distant flowers from the front ones.
For extra detail, I add short marks inside the centers and a few overlapping leaves. I leave open space around the bouquet so the delicate stems remain clear and the drawing does not look crowded.
11) Layered sunflower with leaf details
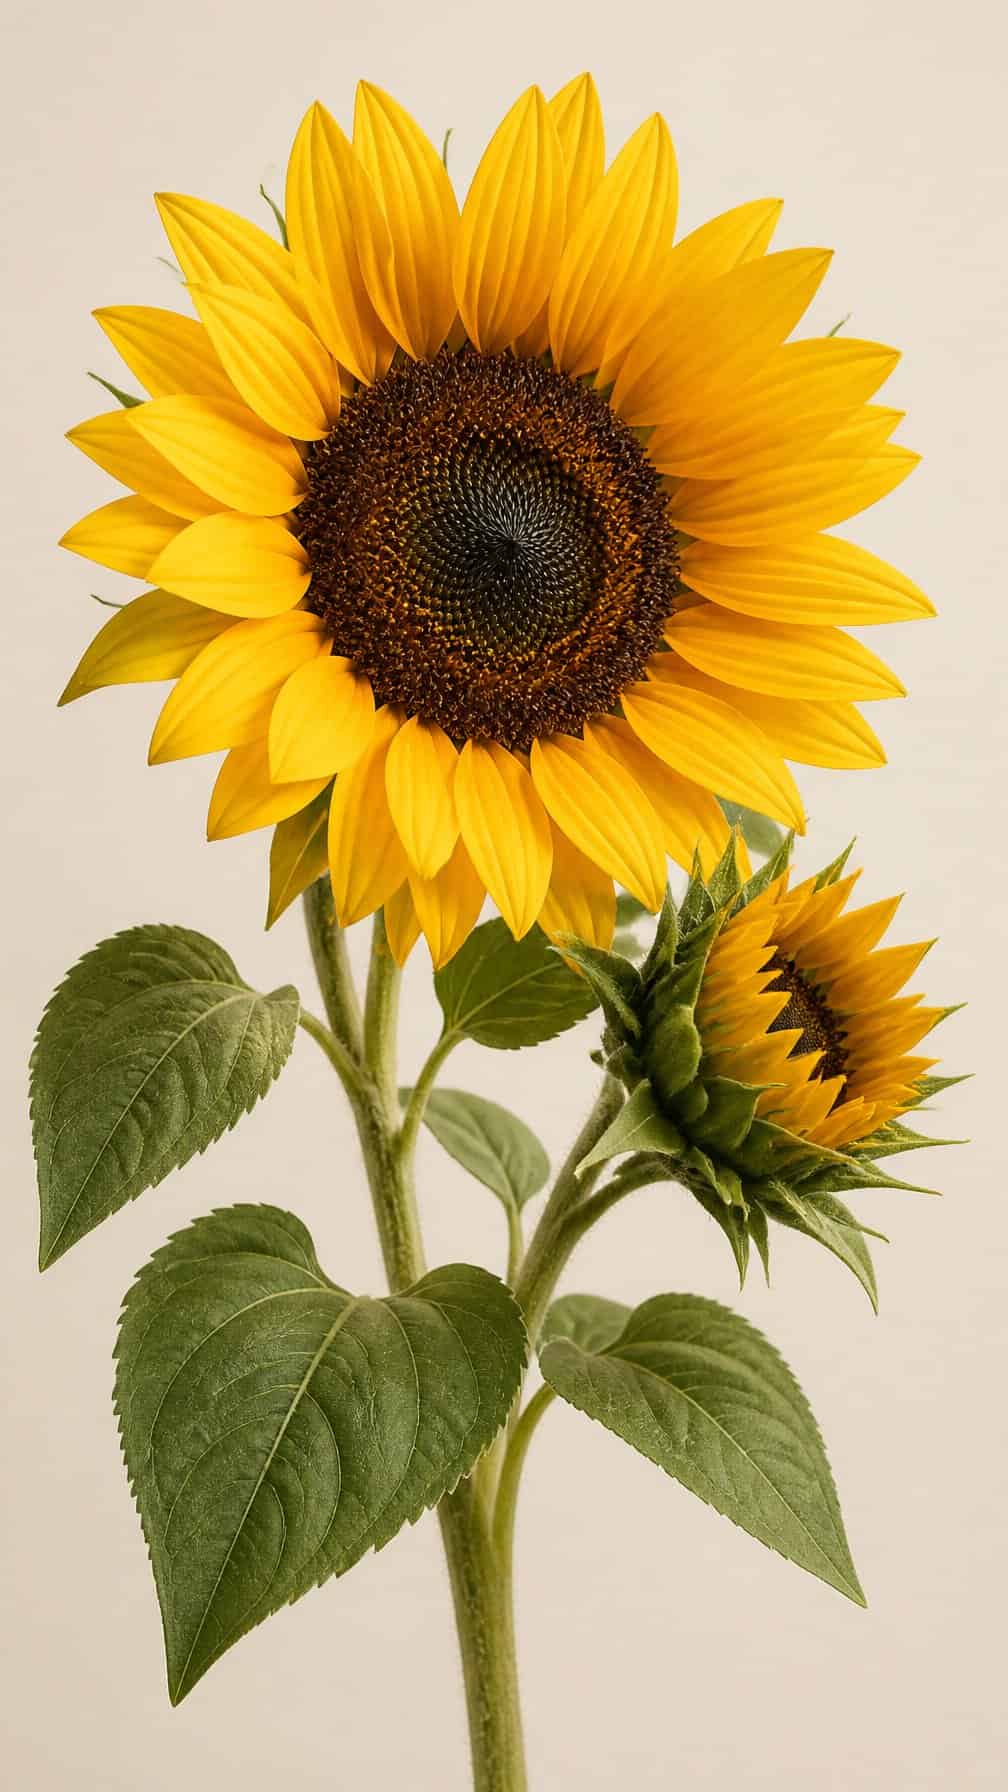
I begin with a light circle for the flower’s center, then arrange overlapping petals around it. I vary each petal’s length and angle to create a layered, natural structure instead of a flat outline.
I add short marks across the center to suggest packed seeds, keeping the spacing uneven. For the leaves, I draw pointed shapes with visible midribs and branching veins, then adjust their curves so they support the flower without competing with it.
I use darker lines beneath overlapping petals and along the leaf bases. Light shading on one side gives the drawing depth while preserving the sunflower’s open, recognizable form.
12) Shaded hibiscus flower drawing
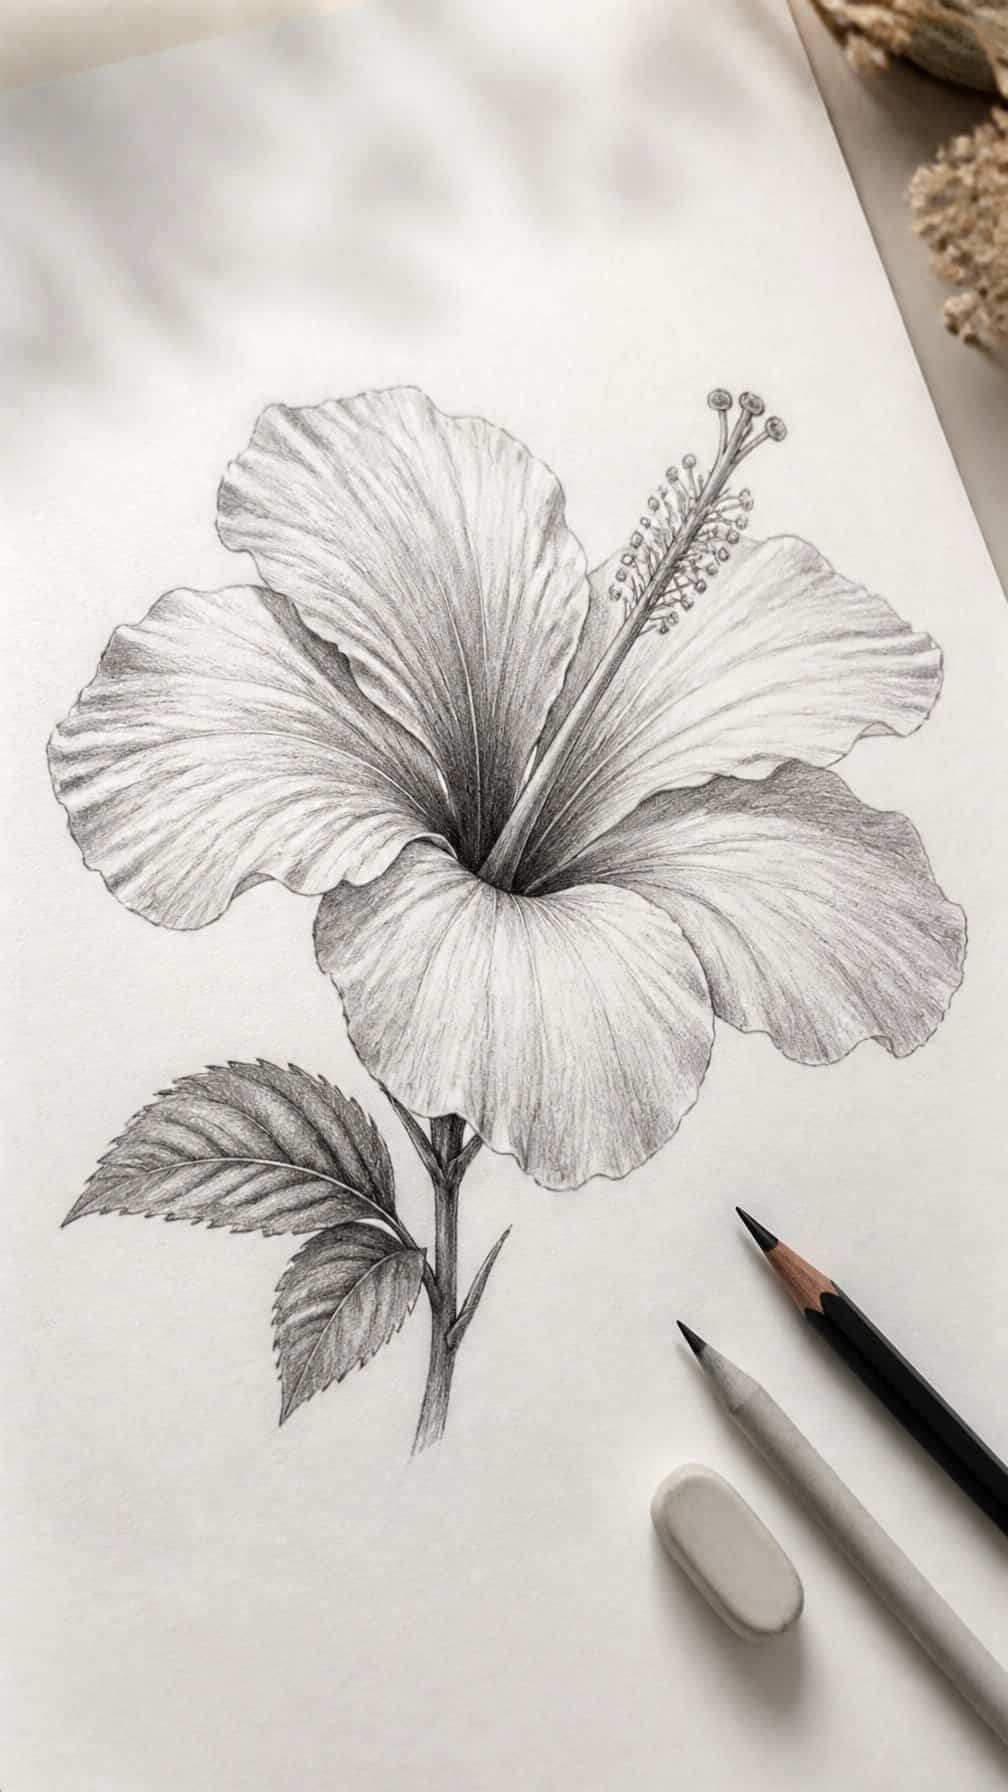
I begin with five broad petals arranged around a central stamen, keeping the edges slightly uneven to reflect the flower’s natural shape. I lightly mark the overlapping areas before adding darker tones near the petal bases and along the inner folds.
I build the shading gradually, using short, curved strokes that follow each petal’s direction. I leave the outer sections lighter, then deepen the values around the center to create a rounded appearance without losing the delicate texture.
For the stamen, I draw a slender tube with small rounded tips and shade one side to suggest form. I add a few fine lines along the petals and place a soft cast shadow beneath the flower, which helps define its position on the page.
13) Detailed peony petal study
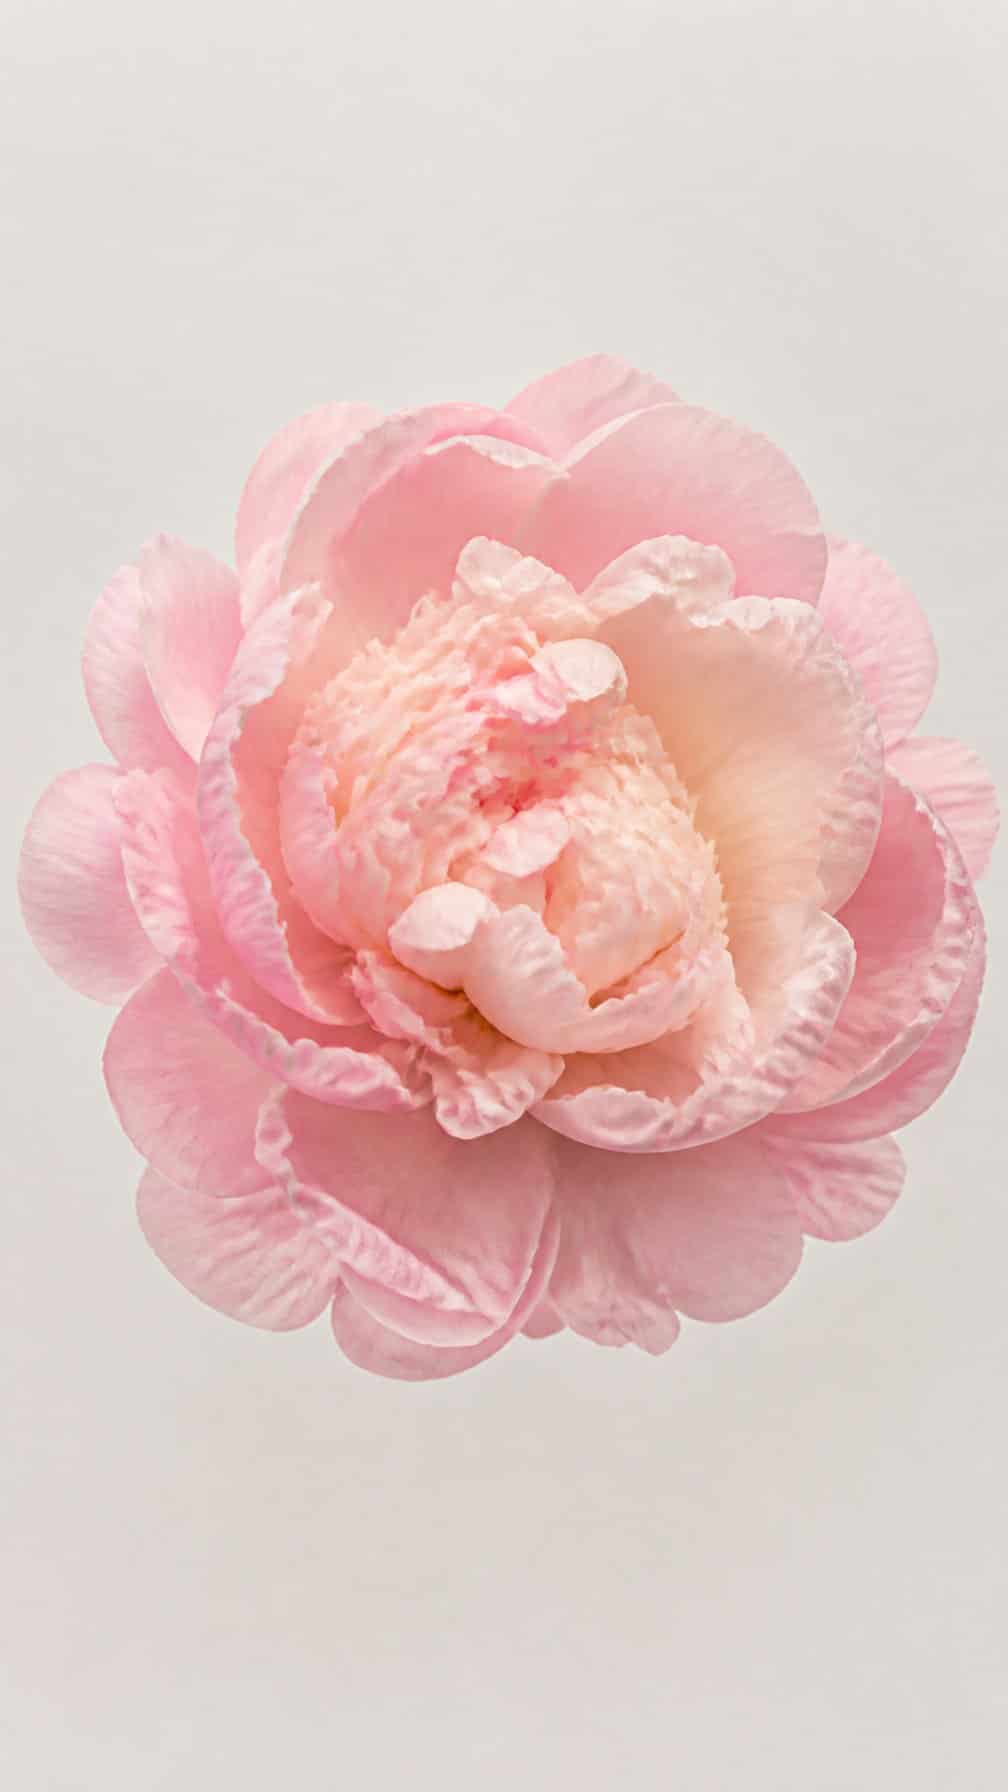
I begin with the flower’s central folds, where the smallest petals overlap tightly. I use light graphite lines to map each curve before adding darker marks along the deepest creases.
I gradually widen the petals as they extend outward, varying their edges instead of repeating the same shape. Short, curved strokes help me suggest soft texture while preserving the clean structure of each layer.
I keep the outer petals lighter and more open, using gentle shading beneath their edges to show depth. I also leave small areas of white paper to represent reflected light and maintain the peony’s delicate appearance.
14) Realistic rose with curved petals
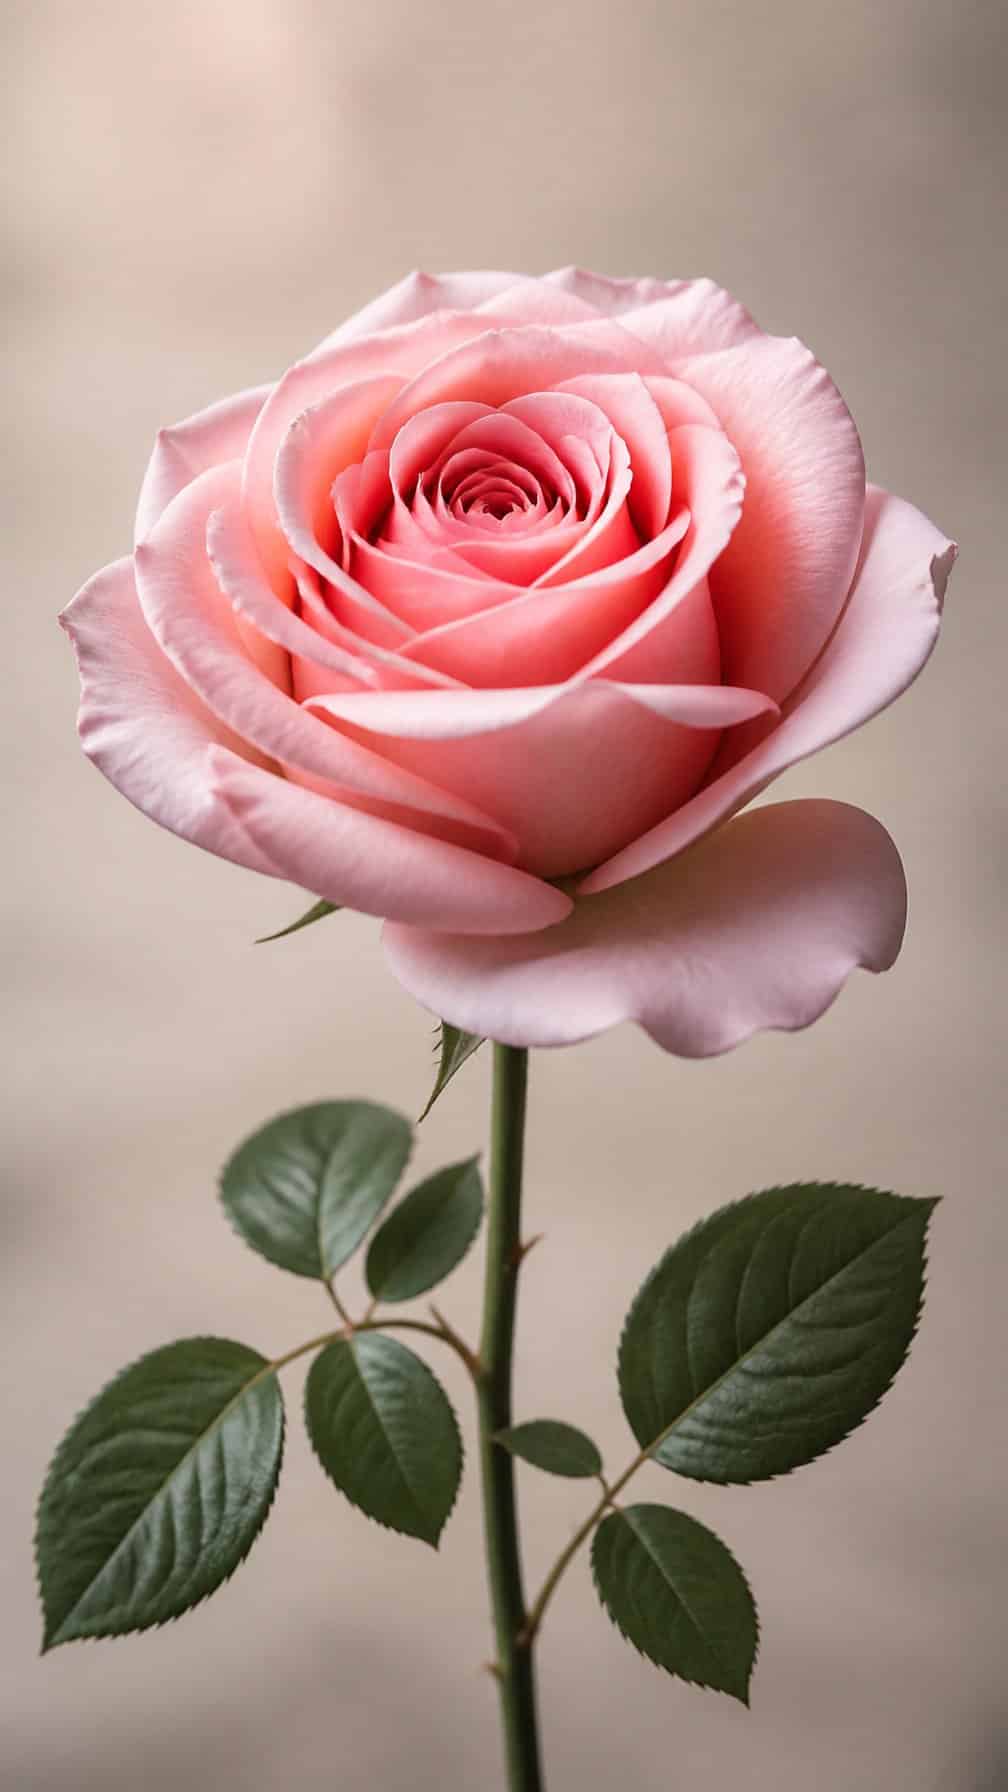
I begin with a light oval to map the rose’s center and outer shape. I draw the innermost petals as small, overlapping curves, then gradually widen each layer as it moves outward. This keeps the bloom organized and prevents the petals from looking flat.
I vary the petal edges instead of repeating identical arcs. Some edges curl inward, while others bend outward or fold slightly at the tips. I use darker lines where petals overlap and lighter marks along exposed edges.
For realism, I shade the recessed center most strongly and soften the value toward the outer petals. I add gentle shadows beneath curled edges, then refine the silhouette with a few uneven curves. A short stem and two pointed leaves complete the drawing.
15) Botanical magnolia illustration
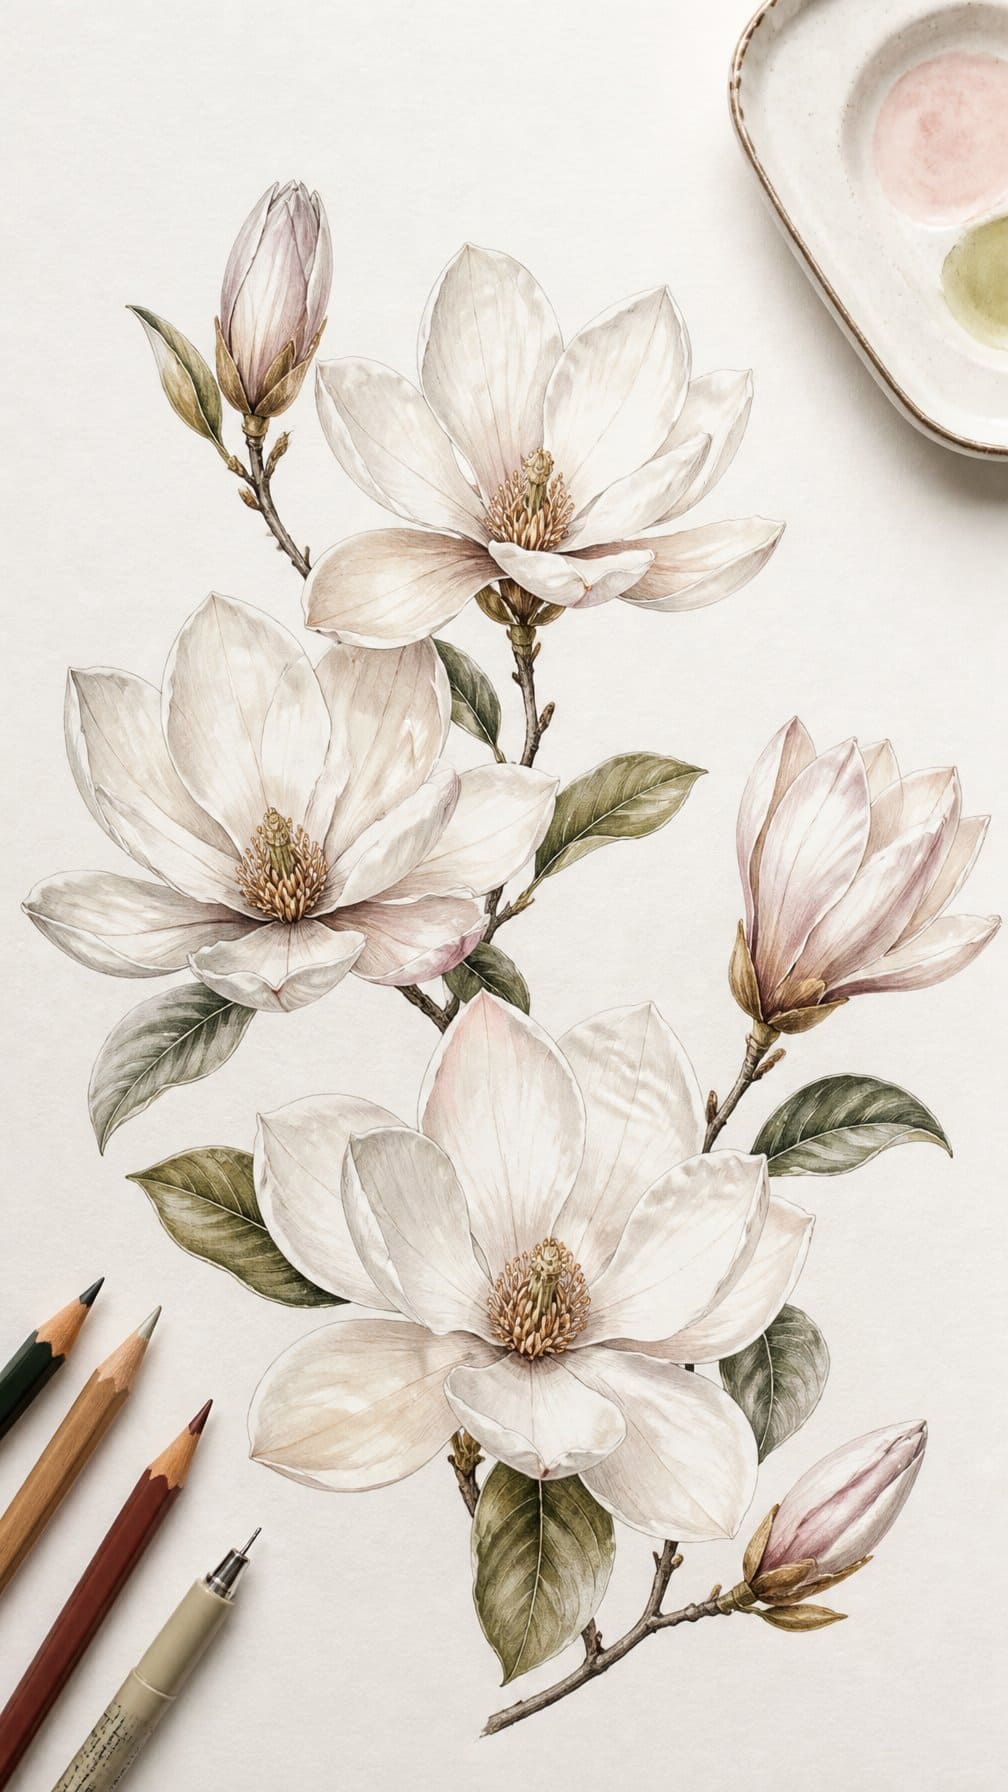
I begin with the magnolia’s broad, rounded petals, arranging them in overlapping layers around the center. I keep the outer edges slightly uneven because natural petals rarely form perfect curves. A light graphite outline helps me preserve the flower’s open, cup-like structure.
I add the thick central stamens with short, distinct strokes, then sketch the sturdy stem and two large leaves. I use parallel lines to show the leaves’ veins and vary the pressure of my pencil to suggest their smooth, firm surfaces.
For a botanical study, I label the main parts or include a small side view of the bud. I build color gradually with pale pink, cream, or white, leaving the highlights mostly unshaded.
16) Detailed orchid drawing
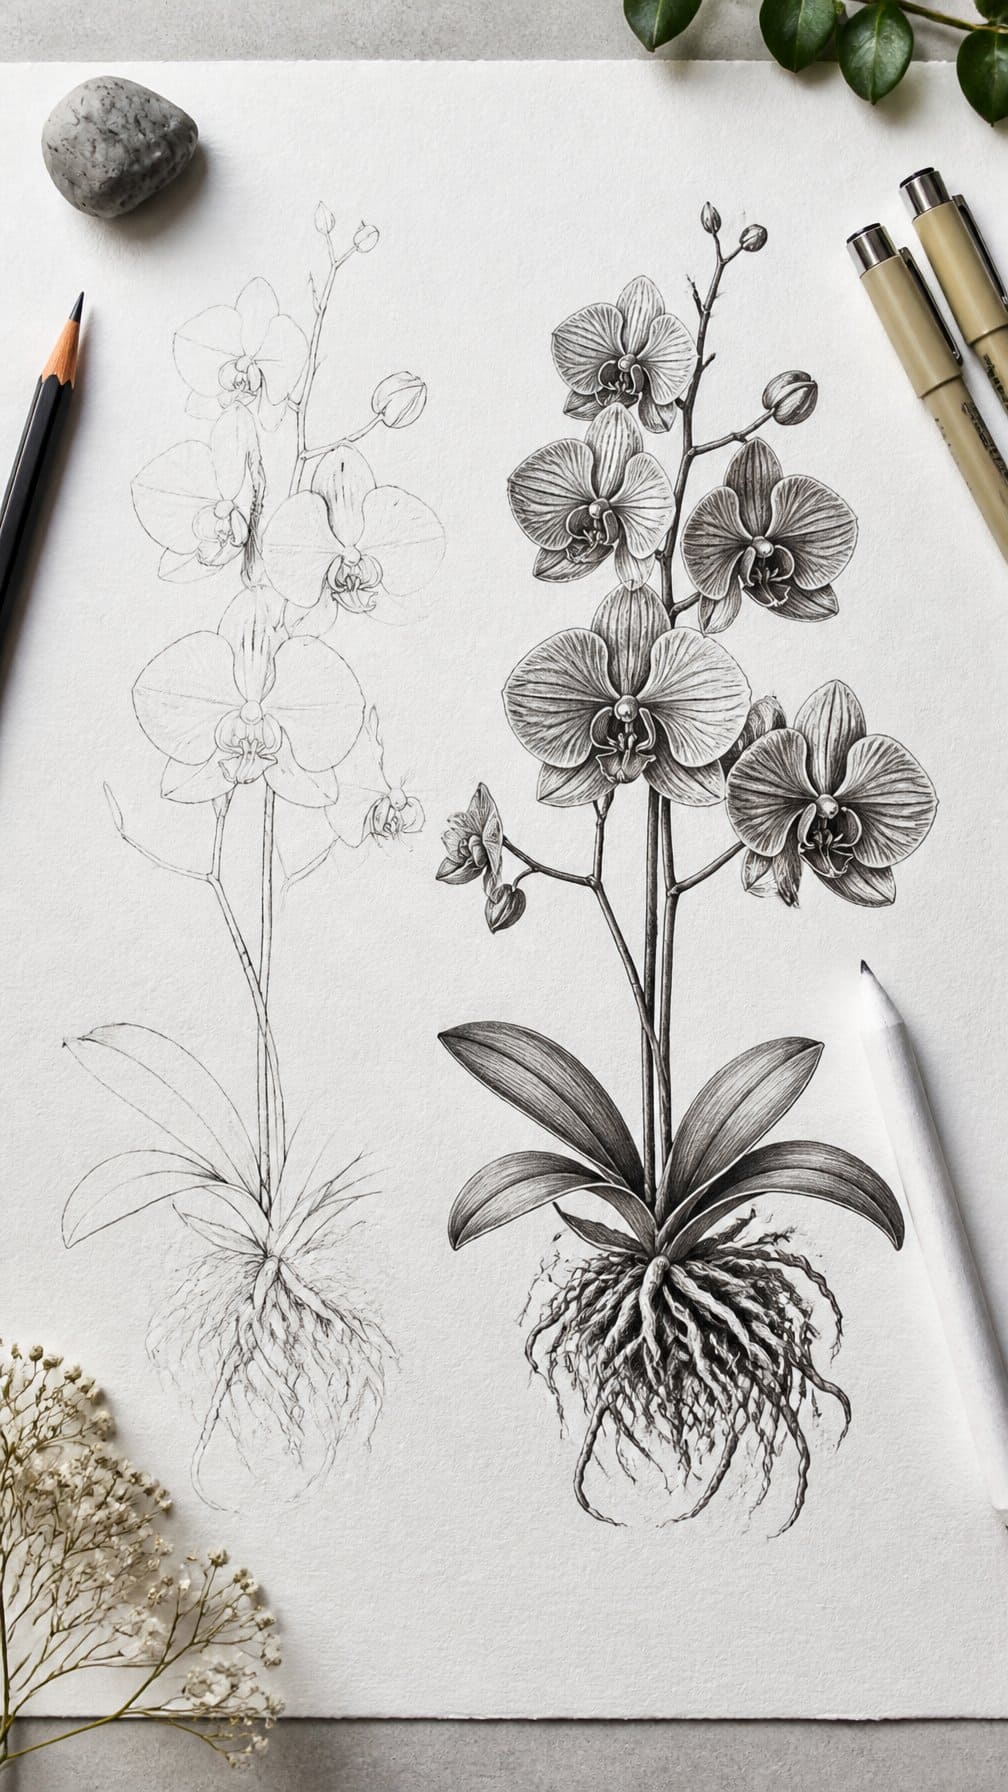
I begin with the orchid’s central column, then build each petal around it. I lightly sketch the broad upper petals and curved lateral petals before refining their uneven edges. This keeps the flower’s structure balanced while preserving its natural asymmetry.
I use layered lines to show the folds where each petal overlaps another. The lip, or lower petal, receives the most detail because its ruffled edge and inner markings give the orchid its distinct character. I vary the line weight to separate the foreground petals from the softer background forms.
For color, I add pale shading near the petal centers and deepen the tones along creases and overlapping edges. Small spots or streaks around the lip create a realistic pattern, while a few fine lines suggest delicate veins.
17) Watercolor-style hydrangea cluster
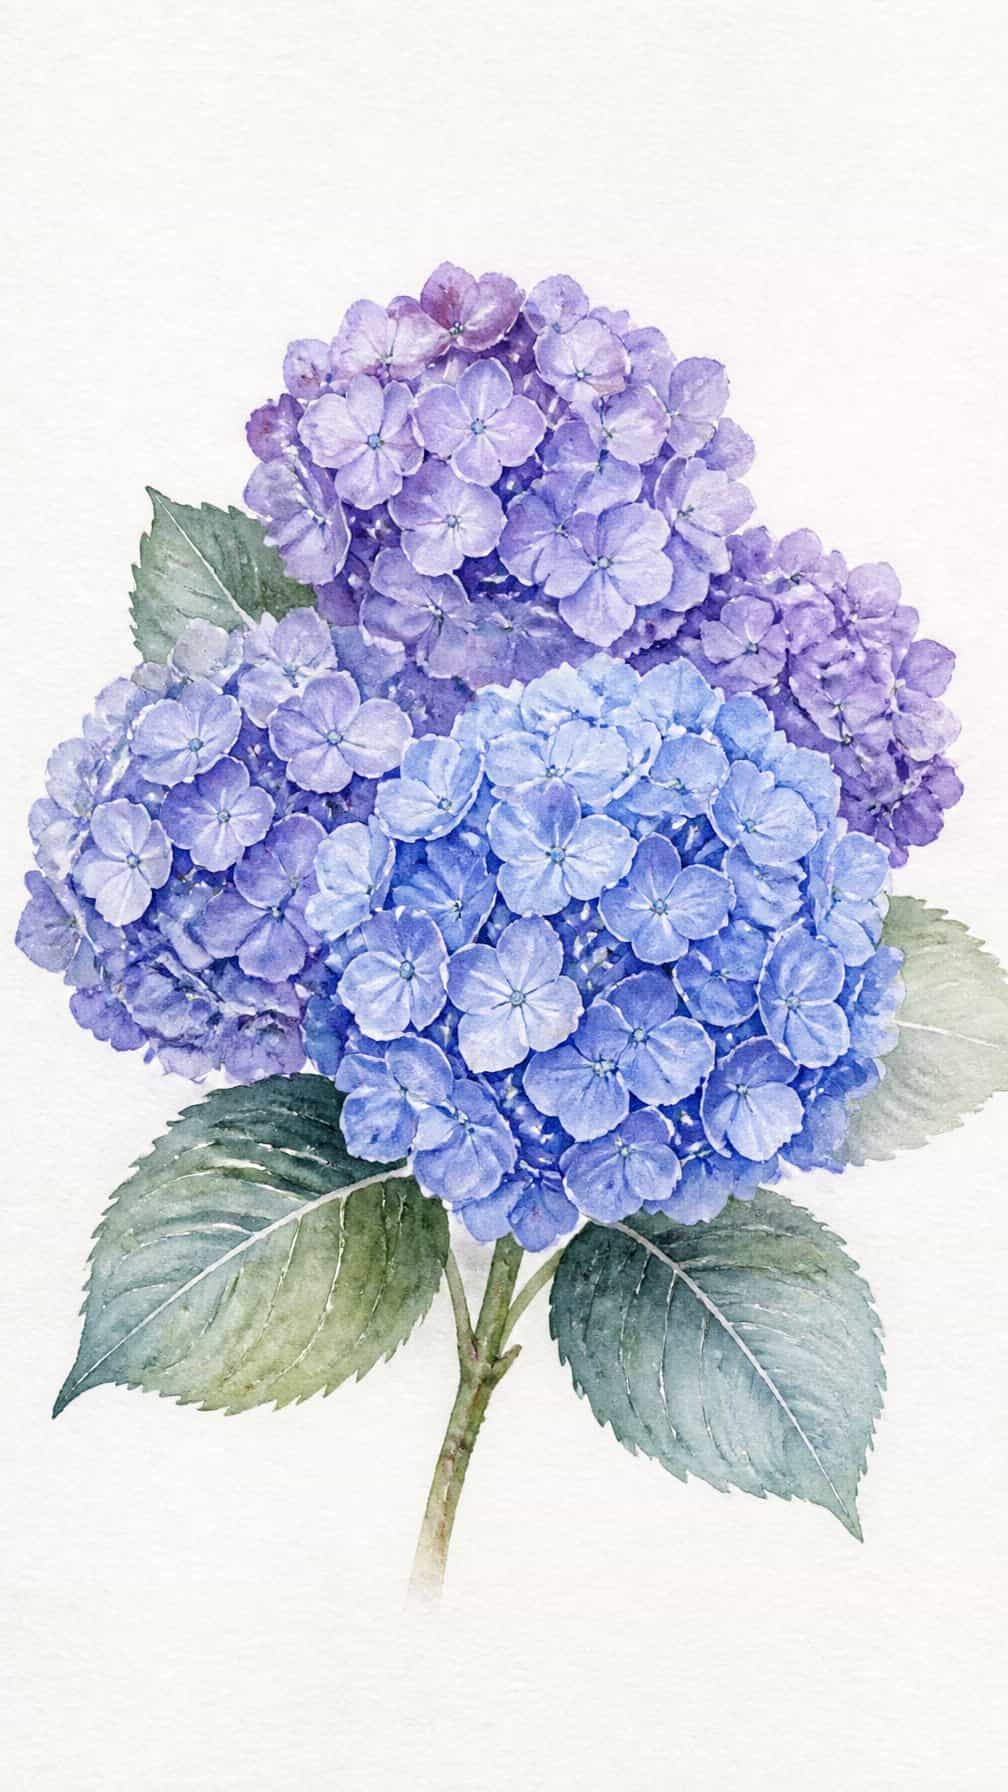
I begin with several overlapping circles to map the cluster’s rounded shape, then place smaller flower forms around the edges. I keep the outlines light so the final drawing retains a soft watercolor character.
I paint diluted blue, violet, or pink washes inside each bloom, leaving small areas of paper visible for highlights. After the first layer dries, I add darker color near the centers and between overlapping petals to create depth without making the cluster look heavy.
I vary the flower sizes and let a few petals extend beyond the main shape. I finish with muted green leaves, thin stems, and gentle color blooms around selected edges to suggest the fluid movement of watercolor.
18) Intricate marigold flower study
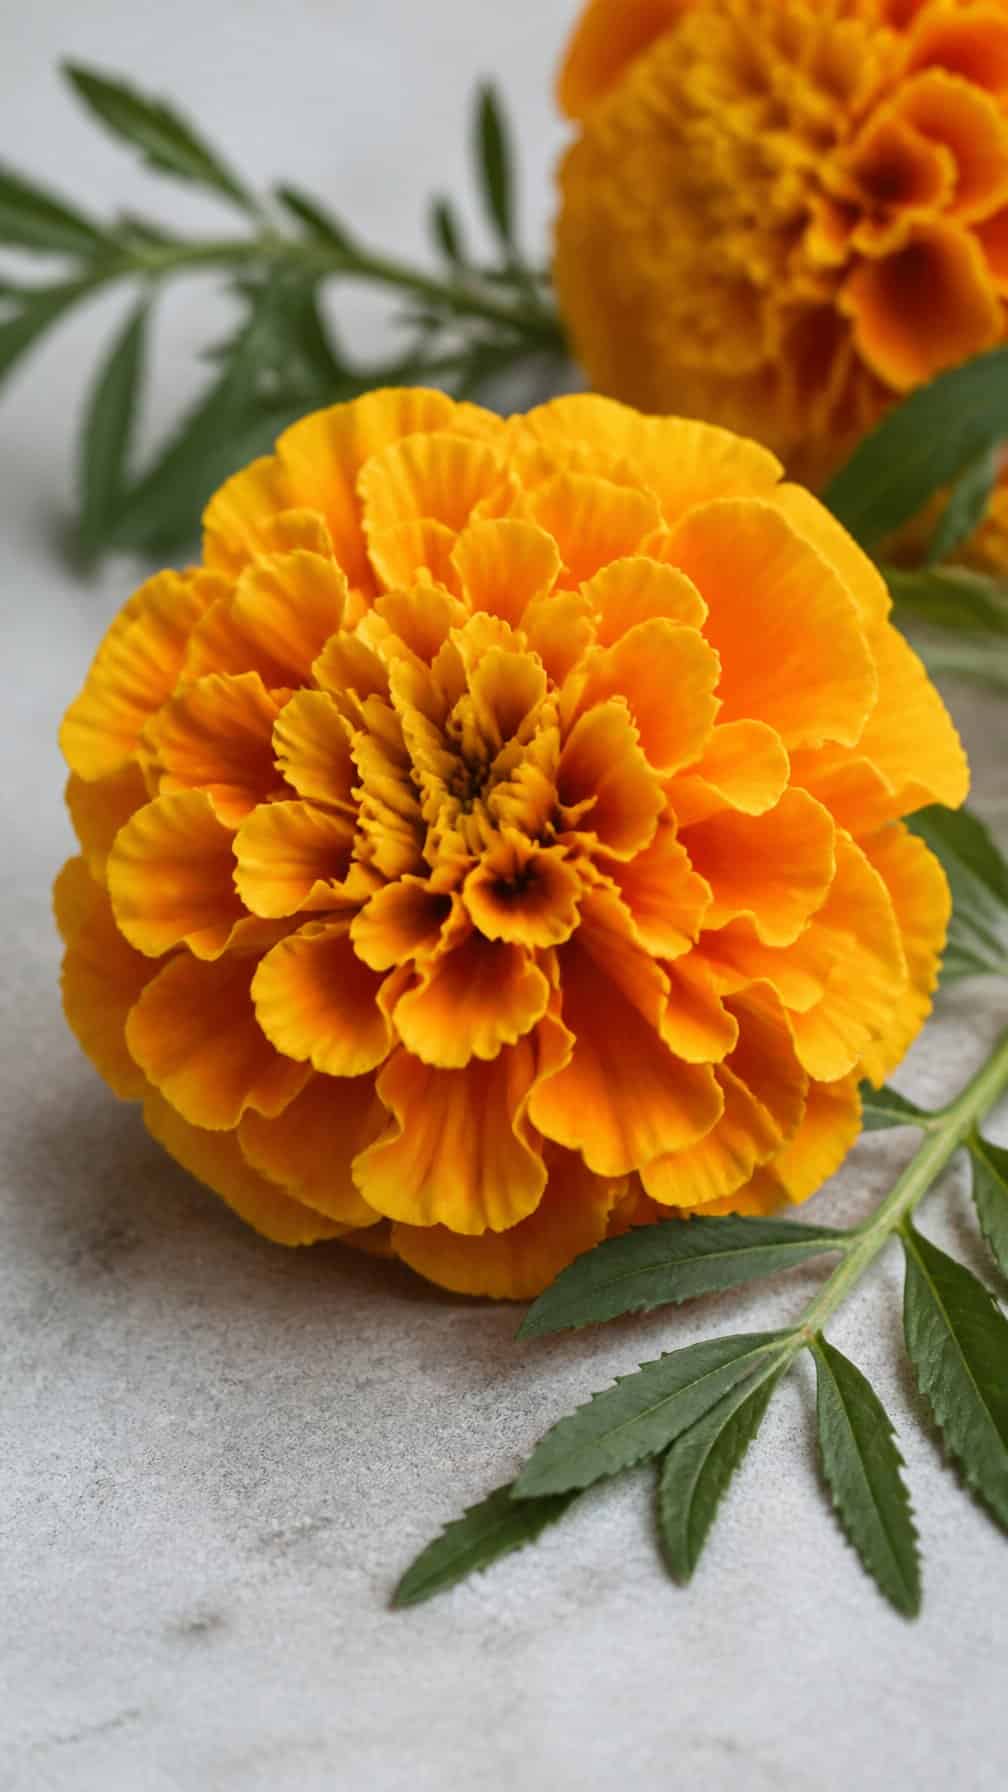
I begin with a loose circular outline to establish the marigold’s full shape. I then arrange overlapping petals in tight layers, varying their lengths and bends so the bloom looks dense rather than flat.
I use darker lines near the center, where the petals gather and receive less light. Along the outer edge, I keep the marks lighter and more separated, allowing individual tips to remain visible.
I add small folds, uneven edges, and subtle shadows between petal groups. A few leaves and part of the stem complete the study without distracting from the flower’s detailed structure.
Essential Materials And Setup
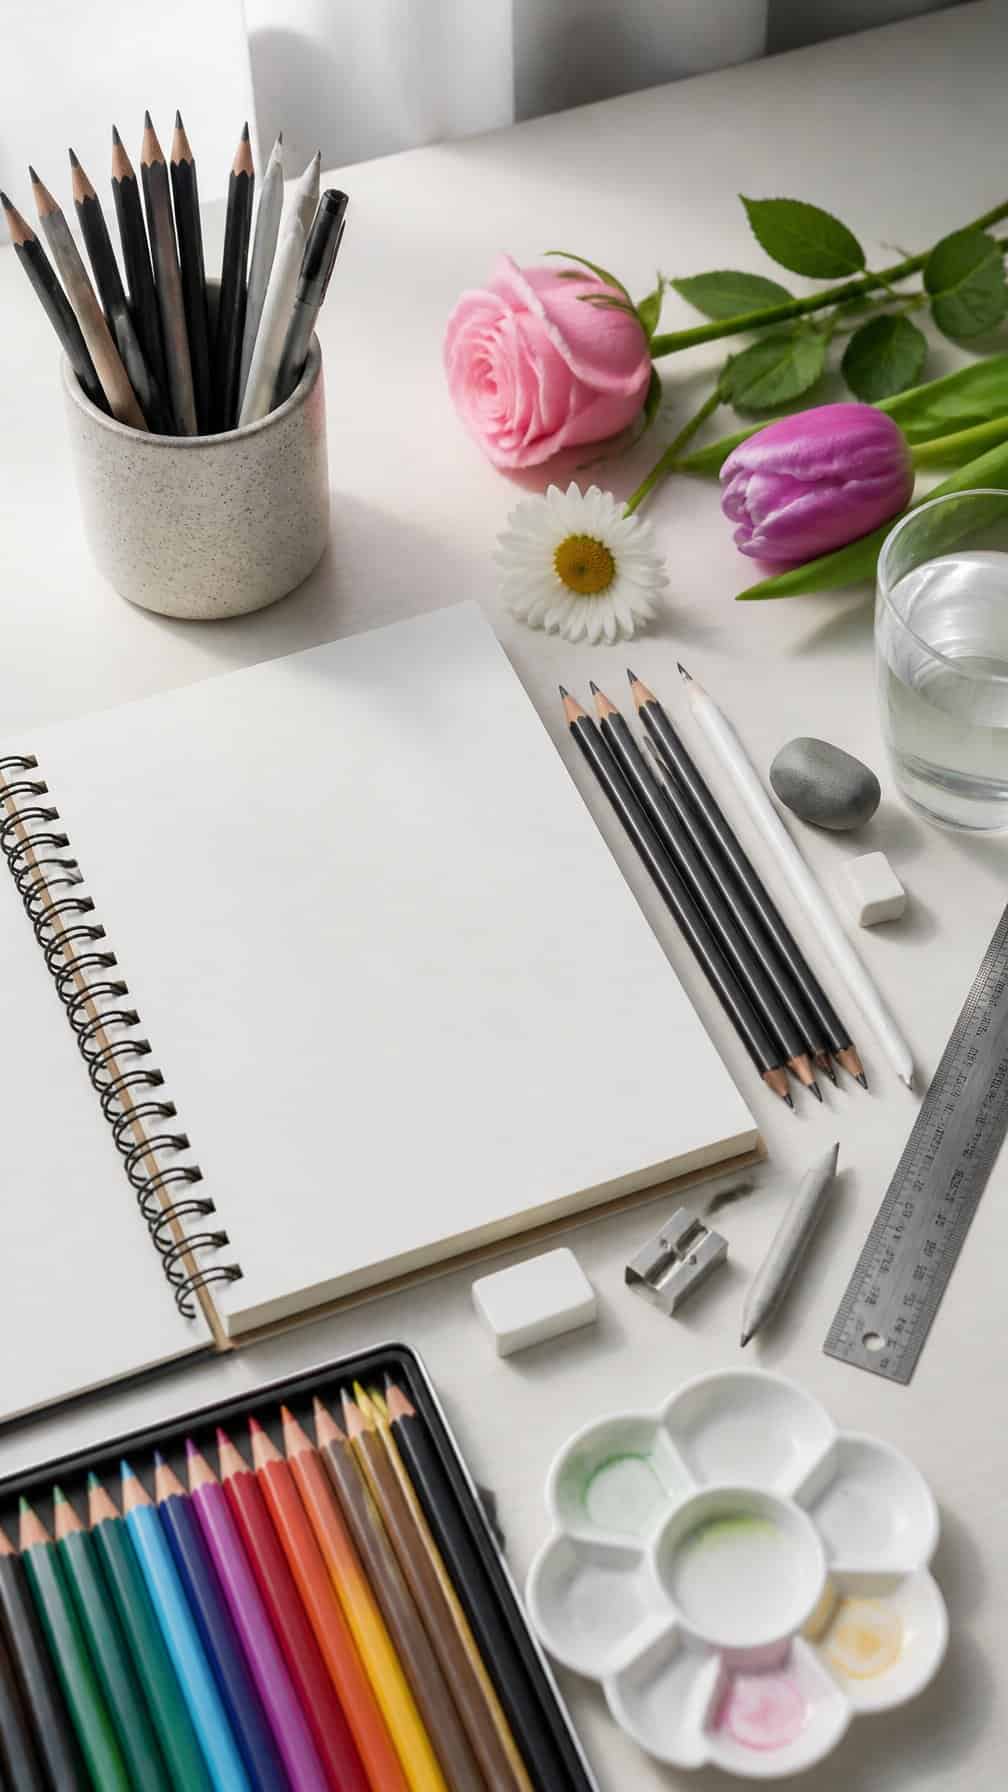
I choose tools that match the level of detail I want to achieve, then arrange them so I can work without interrupting the drawing process. Clear reference images, suitable paper, and controlled lighting help me judge shape, value, and texture more accurately.
Choosing Paper And Drawing Tools
I select paper according to the medium and the amount of detail I plan to add. Smooth, heavyweight paper works well for graphite, colored pencil, and fine ink lines, while textured paper gives charcoal and soft graphite more grip. A paper weight of 90–140 lb helps prevent buckling when I use light washes or layered marks.
My basic setup includes:
- HB and 2B pencils: For outlines, structure, and medium values
- 4B–8B pencils: For deep shadows and strong contrast
- Kneaded eraser: For lifting highlights without damaging the surface
- Precision eraser: For narrow highlights and corrections
- Blending stump or tissue: For controlled tonal transitions
- Sharpener and ruler: For clean points and measured guidelines
I keep a scrap sheet beneath my drawing hand to protect the paper from skin oils and smudging.
Using Reference Photos Effectively
I use reference photos that show the flower from a clear angle, with visible petals, overlapping forms, and a defined light source. A straight-on image helps me study symmetry, while a three-quarter view reveals depth and the way petals fold around the center.
Before drawing, I identify the flower’s outer silhouette, central axis, largest curves, and darkest areas. I reduce the image to simple shapes first, such as ovals, cones, and overlapping arcs. This approach keeps my proportions accurate before I add veins, ruffles, or surface texture.
I avoid relying on a small, blurry image or a photo with harsh filters. If the reference lacks detail, I compare it with a second image of the same flower to clarify petal structure. I also check the light direction so my shadows remain consistent throughout the drawing.
Techniques For More Realistic Blooms
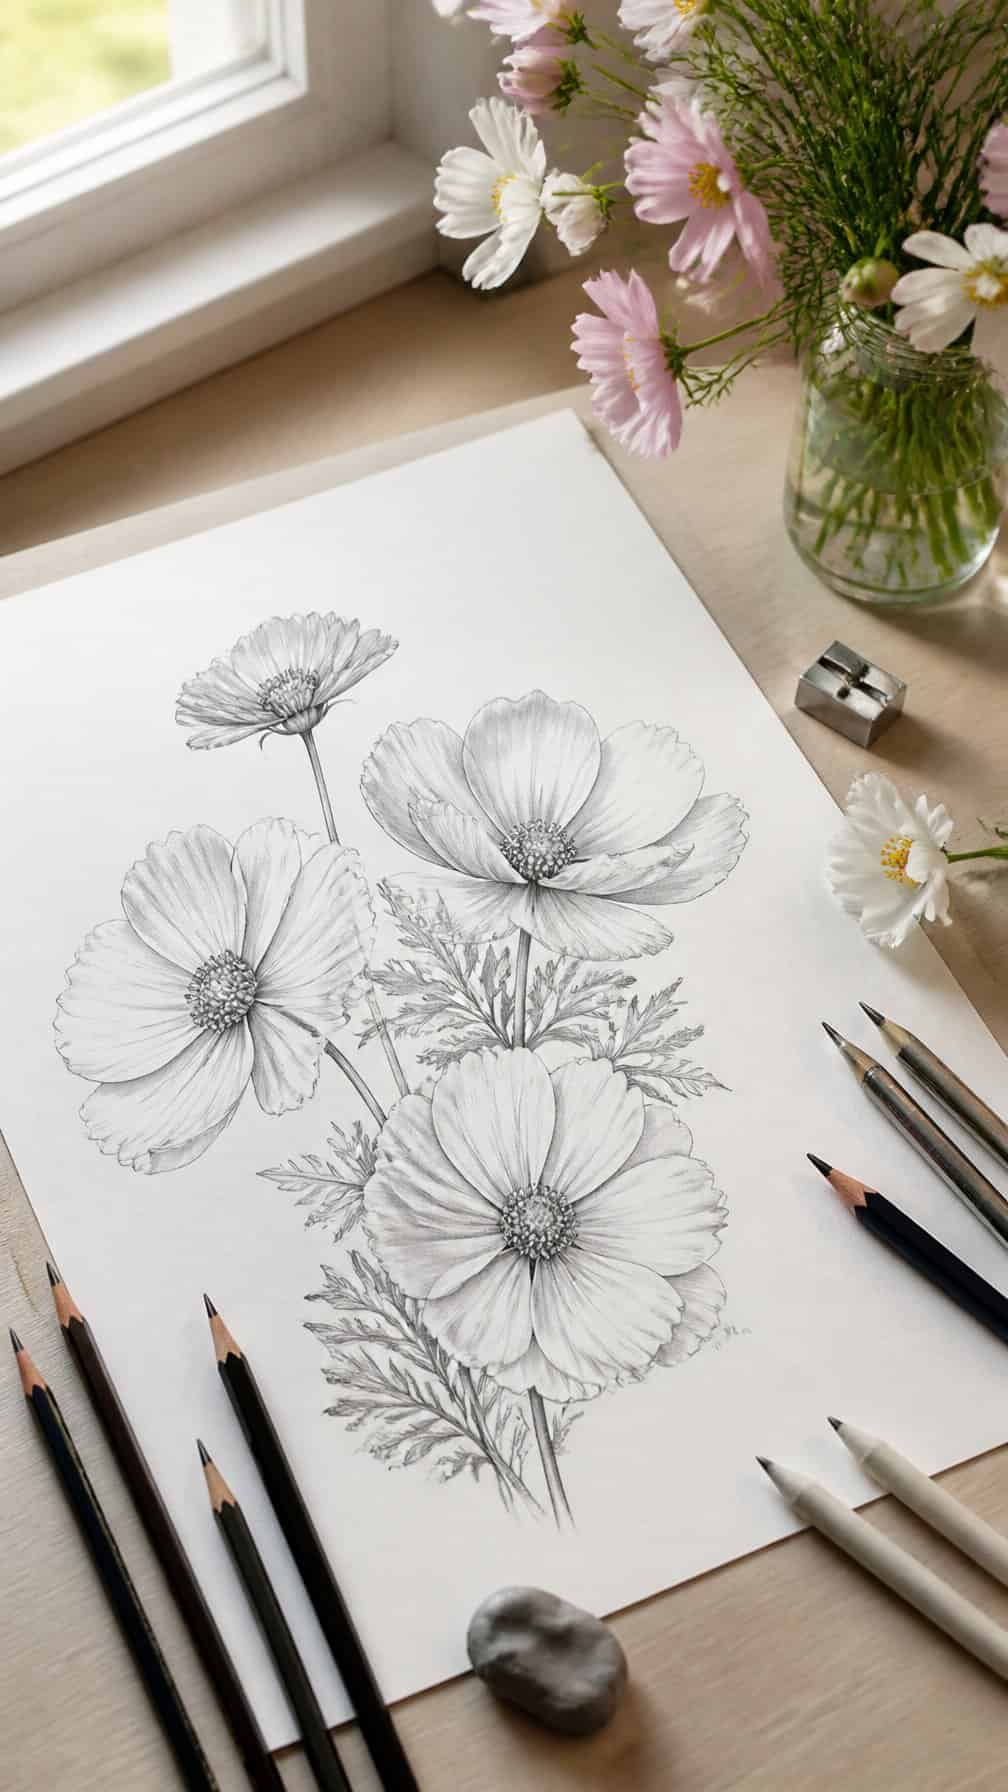
I build realistic flowers by controlling their structure, light, and surface details. I start with simple forms, then refine overlapping petals, directional shadows, vein patterns, stems, and leaves.
Building Petals With Simple Shapes
I begin with the flower’s center and lightly mark the direction of each petal. I use ovals, tapered teardrops, and curved wedges as guides, then adjust their width and bend to match the flower’s structure.
Petals rarely point in identical directions. I vary their angles, lengths, and overlaps so the bloom feels open rather than symmetrical. I keep the front petals larger and clearer, while I draw the rear petals with shorter visible edges.
Useful order:
- Mark the center and main axis.
- Place the largest outer petals.
- Add overlapping middle petals.
- Refine the inner folds and edges.
I erase construction lines before adding dark contours, especially where petals meet. Clean overlaps make the flower’s depth easier to read.
Adding Light, Shadow, And Texture
I choose one light source before shading, such as light coming from the upper left. I leave the lit surfaces lighter and place darker values beneath overlapping petals, inside folds, and around the center.
I use gradual shading on broad petals and sharper shadows in narrow creases. A soft transition suggests a smooth surface, while a firm edge shows a fold or an occluded area. I avoid outlining every petal with the same dark line because consistent outlines flatten the bloom.
For texture, I follow the petal’s natural curve with short, tapered strokes. I add fine veins sparingly, vary their spacing, and soften them near the edges. On textured flowers, I use broken marks rather than evenly repeated lines.
Creating Natural Stems And Leaves
I draw the stem as a narrow cylinder with two gently curving sides instead of using a single rigid line. I taper it slightly toward the tip and add a subtle bend that supports the flower’s weight.
Leaves look more natural when I construct them around a central vein. I place the vein first, shape the leaf around it, and vary the size, angle, and position rather than repeating one identical form. I use serrated edges only when the plant requires them.
I shade the underside of leaves more strongly and add a darker value where a leaf joins the stem. Short strokes that follow the veins create direction without covering the entire surface. My darkest accents usually appear at overlaps, joints, and folded areas.