
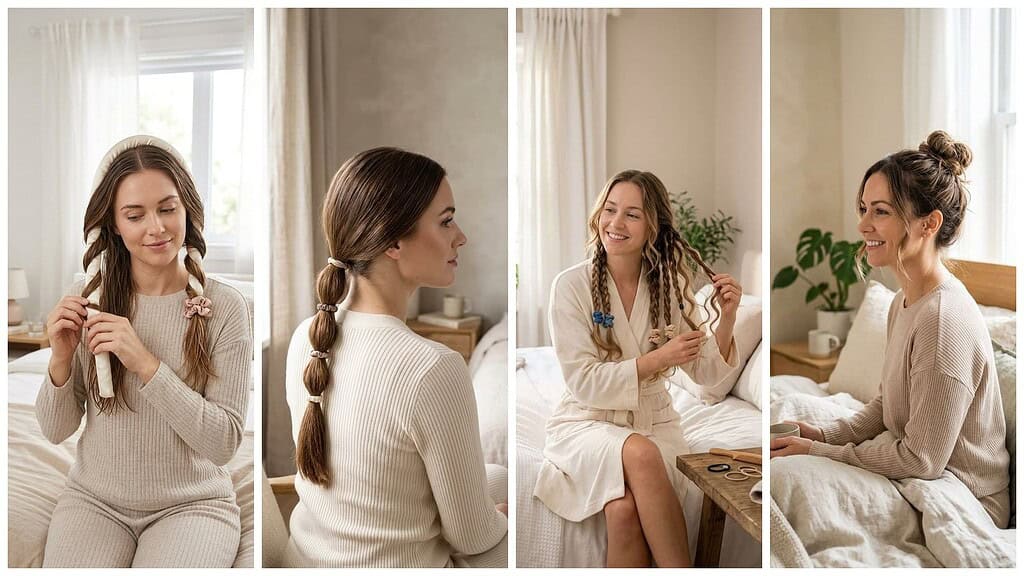
Busy mornings do not have to limit your hairstyle choices. I can help you find simple, heat-free looks that suit different hair textures, lengths, and levels of effort, whether you want soft waves, a polished finish, or a relaxed updo.
Save for later
Want to come back to this story? Save it with your email so it is easy to find again.
You can create practical hairstyles without heat by using simple techniques, gentle accessories, and a little preparation. I’ll cover easy options for overnight styling and quick morning arrangements, along with basic tips that support comfort, hair health, and lasting results.
Table of Contents
- 1 1) Loose Low Bun with a Soft Scrunchie
- 2 2) Overnight Heatless Curls with a Robe Tie
- 3 3) Messy Claw-Clip Twist
- 4 4) Half-Up Knot with Face-Framing Pieces
- 5 5) Heatless Beach Waves with a Headband
- 6 6) Low Bubble Ponytail
- 7 7) Overnight Braids for Soft Waves
- 8 8) Sleek Low Ponytail with a Middle Part
- 9 9) Twisted Half-Up Hairstyle
- 10 10) Loose French Braid
- 11 11) Lazy-Day Top Knot
- 12 12) Heatless Curls with Foam Curlers
- 13 13) Low Side Braid
- 14 14) Claw-Clip French Twist
- 15 15) Two-Strand Twists for Defined Waves
- 16 16) Scarf-Wrapped Low Bun
- 17 17) Half-Up Claw-Clip Hairstyle
1) Loose Low Bun with a Soft Scrunchie
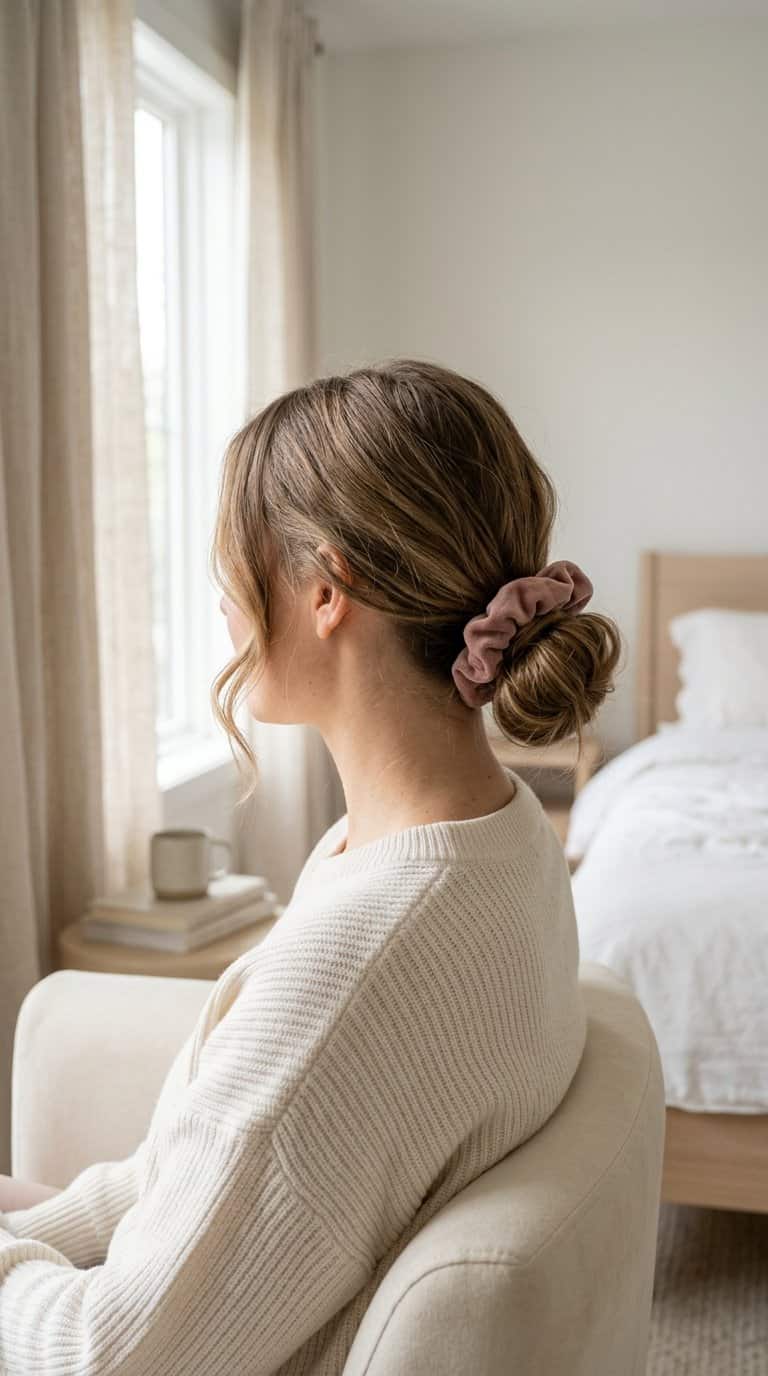
I gather my hair at the nape of my neck and twist it into a relaxed bun, leaving a few face-framing strands loose. A soft scrunchie holds the shape without pulling tightly, which makes this style comfortable for slow mornings.
I keep the bun slightly undone rather than smoothing every strand. For extra polish, I tuck the ends underneath and secure them with two small bobby pins. This style works especially well on second-day hair because natural texture adds gentle volume.
2) Overnight Heatless Curls with a Robe Tie
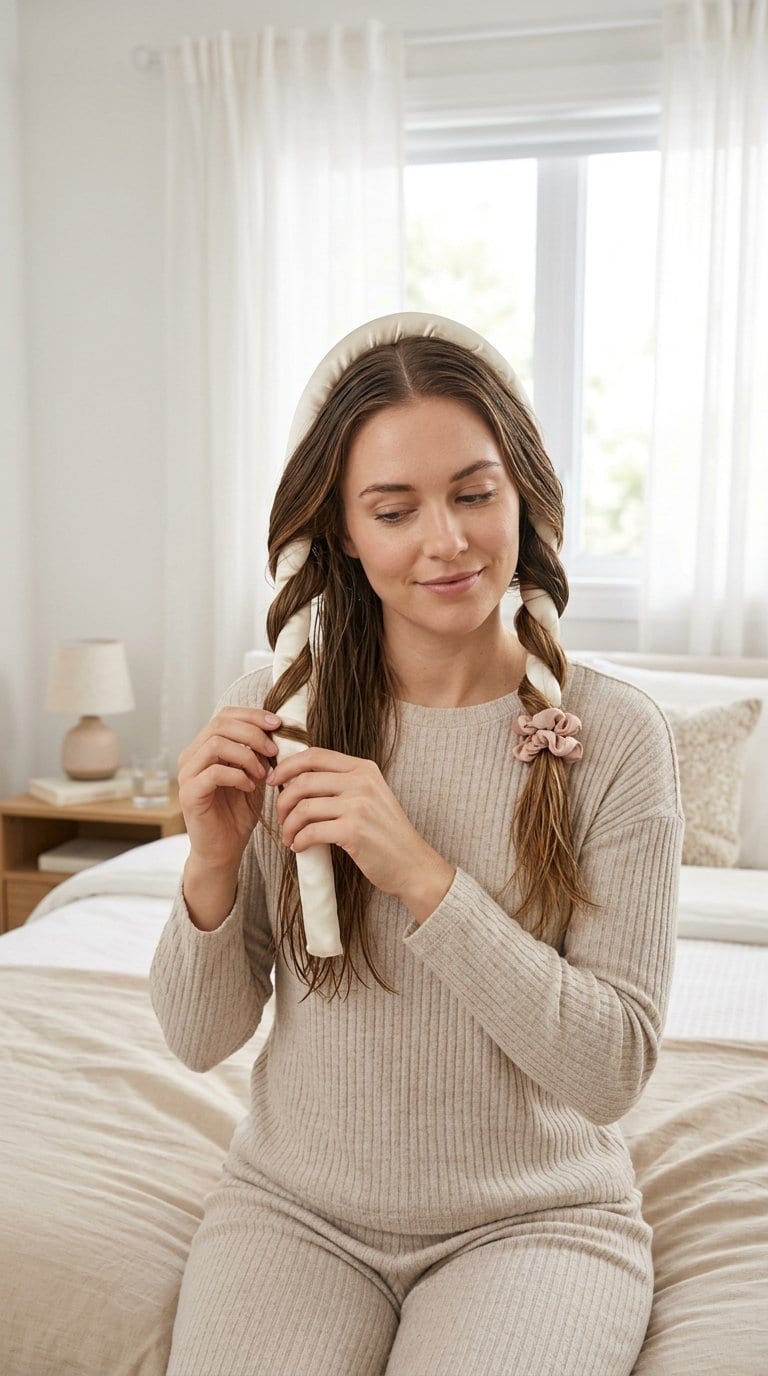
I wrap slightly damp hair around a soft robe tie before bed, starting near my face and working toward the ends. I secure each side with a scrunchie, keeping the tension gentle to avoid dents or discomfort while I sleep.
In the morning, I remove the tie and separate the curls with my fingers. I brush only the ends if needed, because a full brush can loosen the shape and create frizz. A small amount of lightweight styling cream helps smooth flyaways without weighing down the curls.
3) Messy Claw-Clip Twist
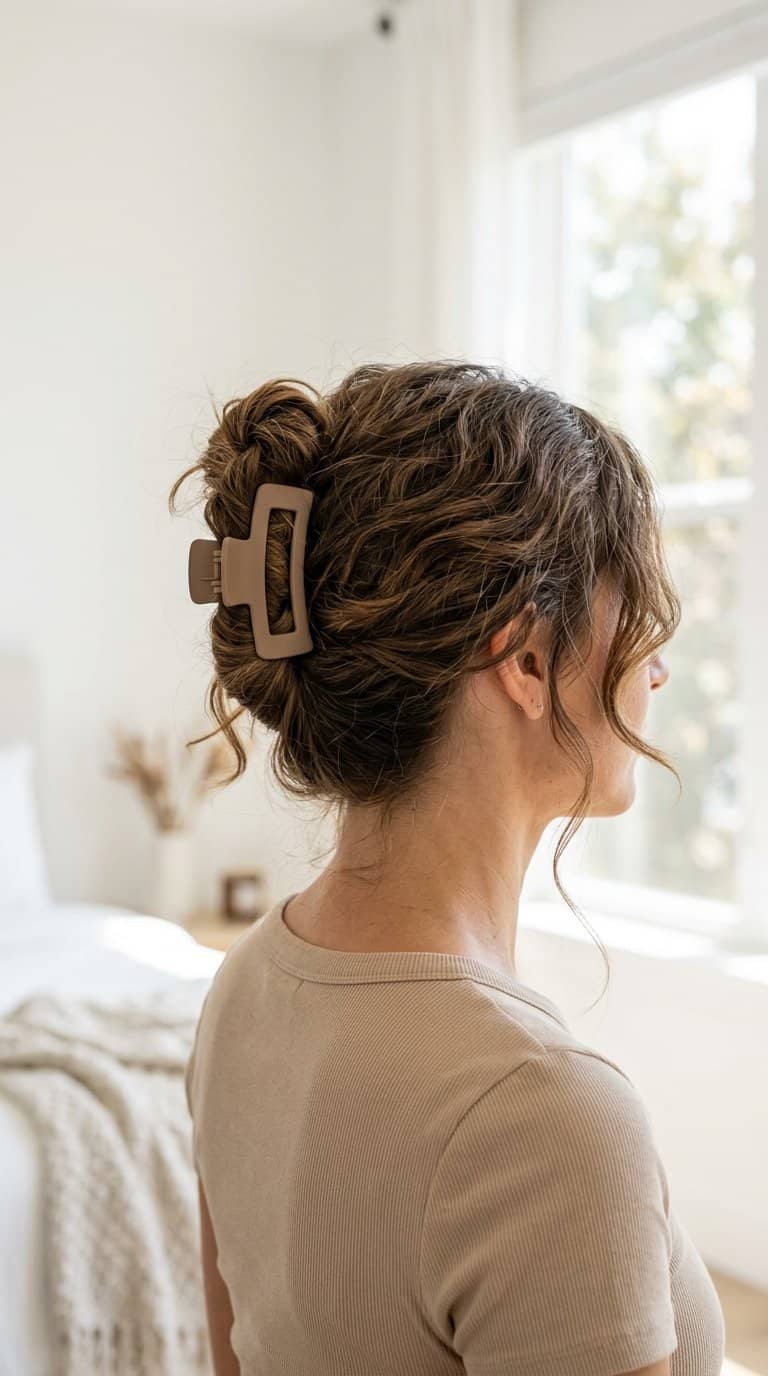
I gather my hair at the nape of my neck and twist it upward, leaving the ends loose at the top. I secure the twist with a medium claw clip, then gently loosen a few strands around my face for a relaxed finish.
This style works best on second-day hair because natural texture adds grip and shape. I leave the look slightly uneven rather than smoothing every section, which keeps the result casual without requiring heat or much preparation.
4) Half-Up Knot with Face-Framing Pieces
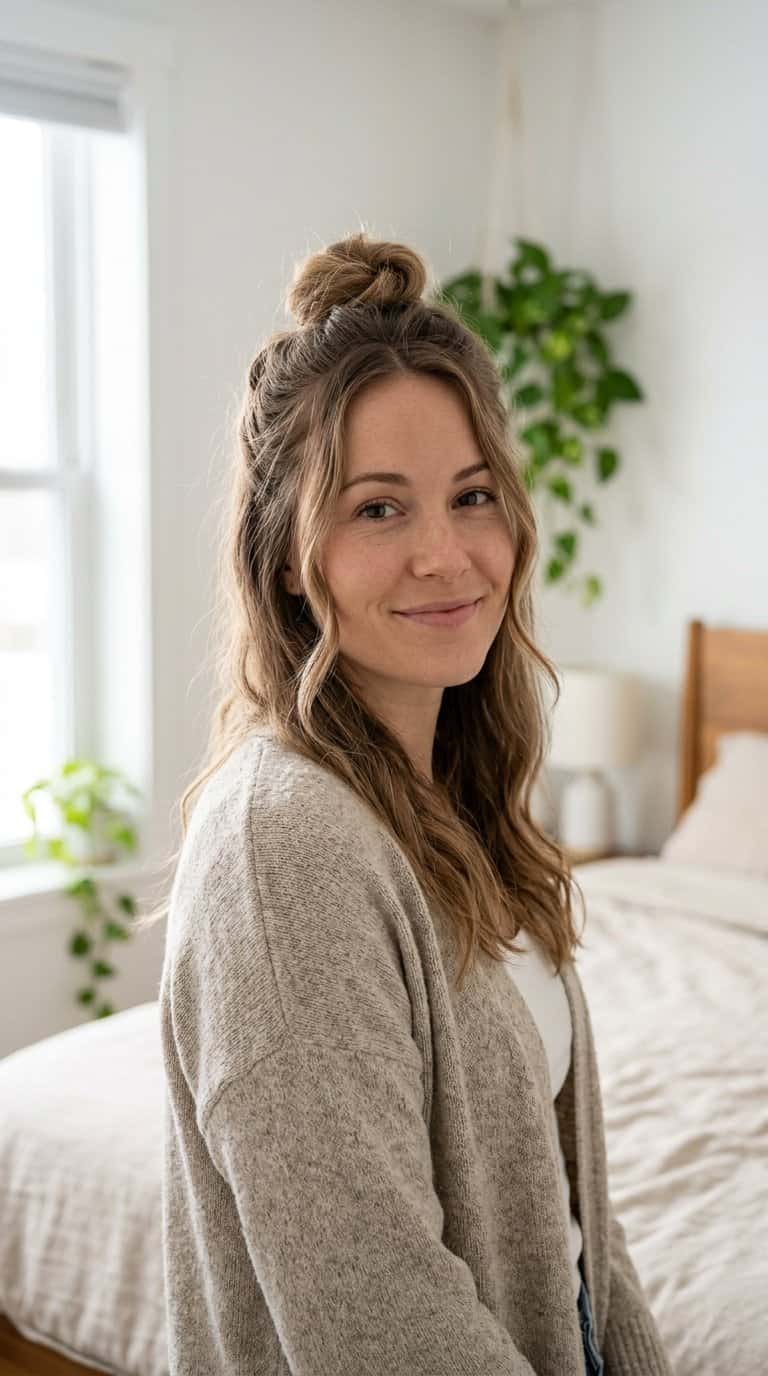
I gather the top section of my hair from temple to temple, leaving two slim pieces loose near my face. I twist the gathered hair into a simple knot and secure it with a small elastic or a few pins.
I gently loosen the knot to add shape without making it messy. The loose front pieces soften the style and help it suit straight, wavy, or lightly textured hair.
I use a little styling cream on the face-framing strands if they look dry or uneven. For a cleaner finish, I smooth the crown with my fingertips before securing the knot.
5) Heatless Beach Waves with a Headband
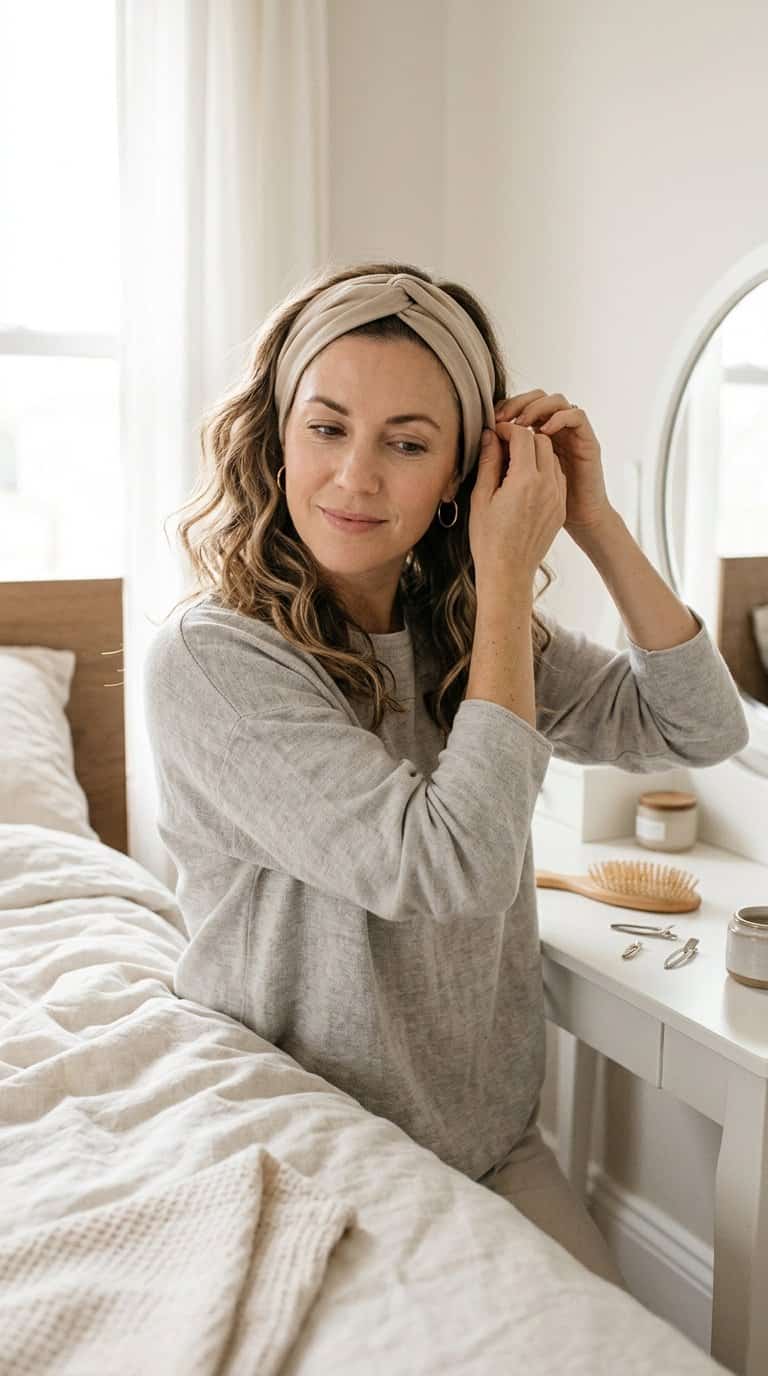
I place a soft, stretchy headband over my hair like a crown, then wrap small sections around it from front to back. I keep the tension gentle so the waves look loose rather than tightly curled.
After securing the ends, I leave my hair wrapped for several hours or overnight. In the morning, I remove the headband carefully, separate the waves with my fingers, and add a small amount of lightweight styling cream if needed.
I use this method on mostly dry hair with a little leave-in conditioner for smoother results. Smaller sections create more definition, while larger sections produce relaxed waves.
6) Low Bubble Ponytail
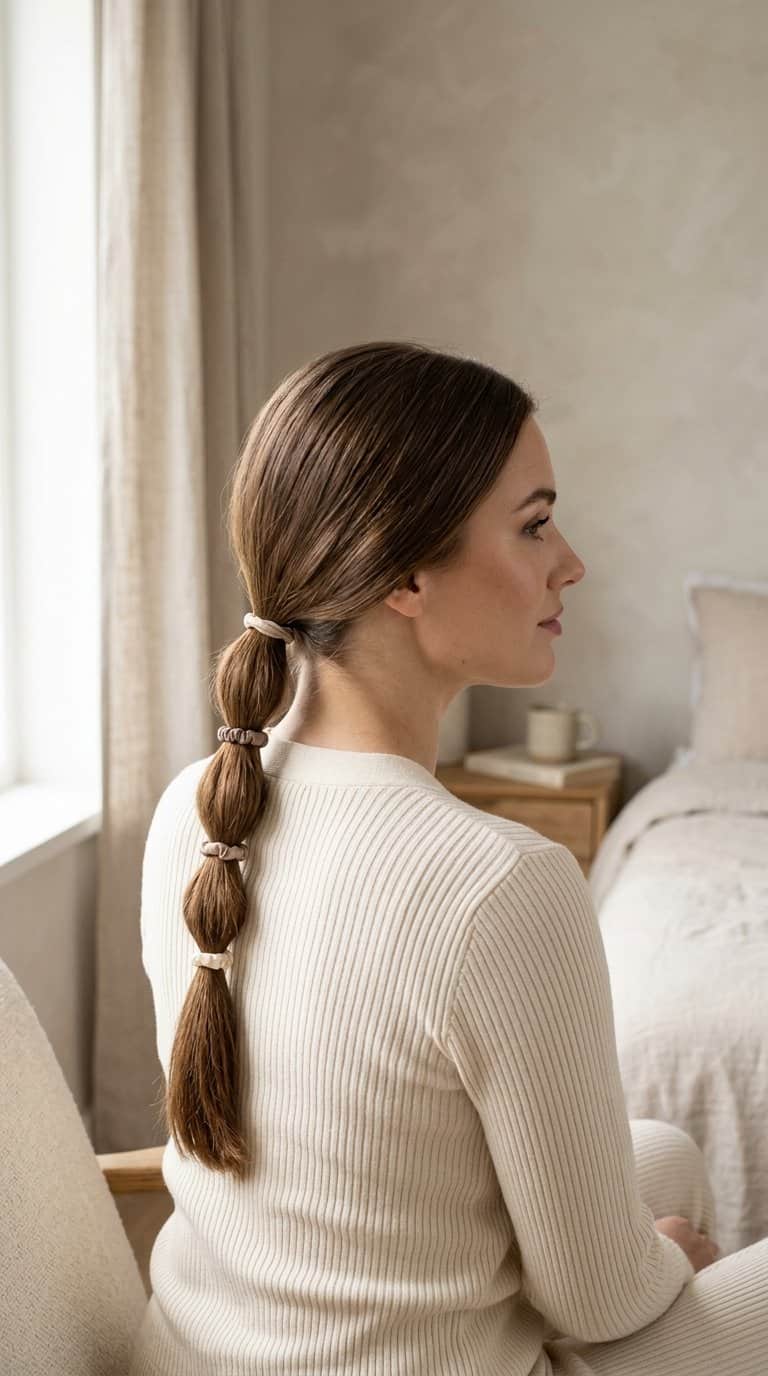
I smooth my hair into a low ponytail at the nape of my neck and secure it with an elastic. I add more elastics down the length, spacing them a few inches apart.
I gently pull each section outward to create rounded bubbles without tugging the hair loose. For a softer finish, I leave a few face-framing strands free and wrap a small piece of hair around the first elastic. This style works especially well on medium-length or long hair.
7) Overnight Braids for Soft Waves
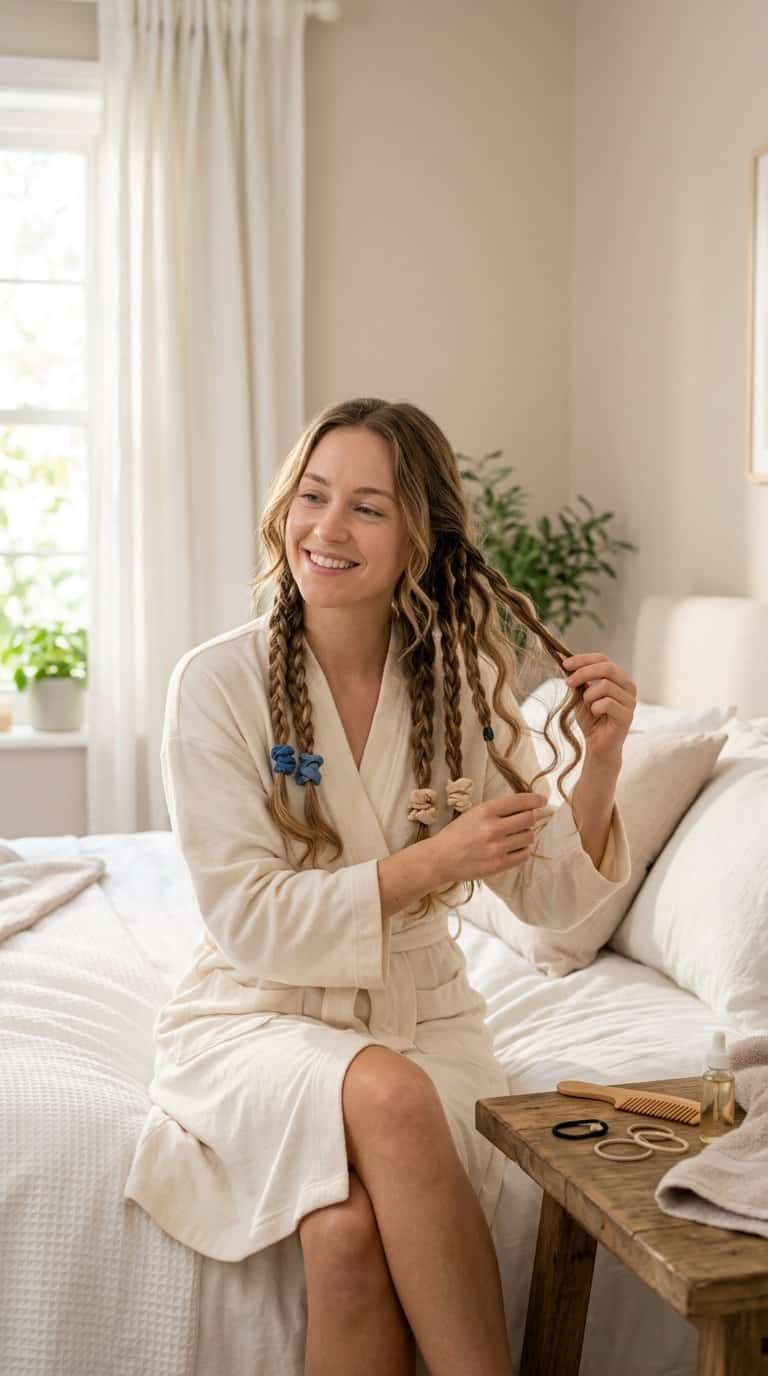
I divide my slightly damp hair into two or four sections, depending on how loose I want the waves. I braid each section loosely, secure the ends with soft elastics, and sleep on a smooth pillowcase to reduce friction.
In the morning, I remove the elastics and gently separate the braids with my fingers. I avoid brushing, since it can make the waves look fluffy instead of defined. A small amount of lightweight styling cream helps control flyaways without weighing down my hair.
For a softer finish, I start the braids below my ears. When I want more texture near the roots, I begin closer to my scalp and keep the tension even.
8) Sleek Low Ponytail with a Middle Part
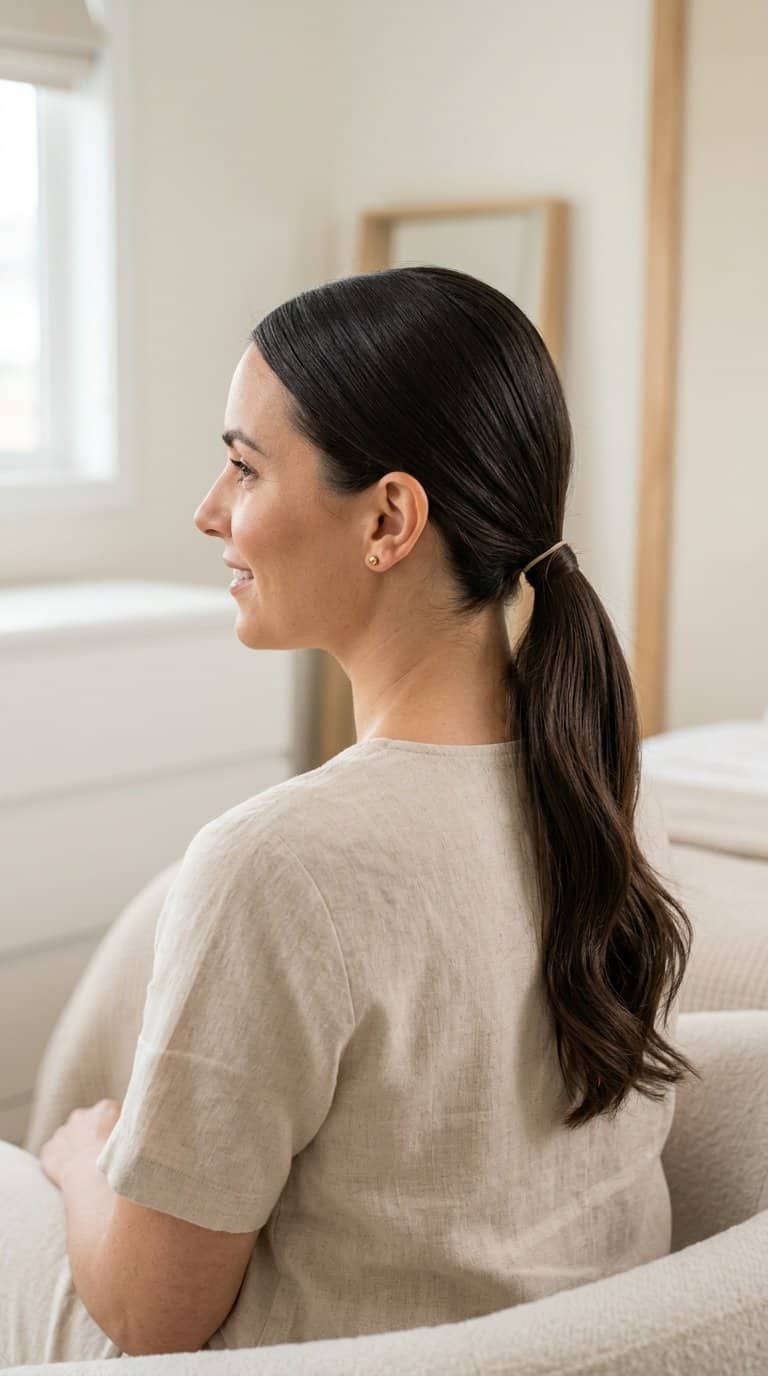
I create this polished style by brushing my hair straight back from a precise middle part and securing it at the nape of my neck. A small amount of lightweight styling cream smooths flyaways without making my hair look stiff.
For a cleaner finish, I wrap a thin strand of hair around the elastic and secure it underneath with a bobby pin. I keep the ponytail low and compact, which makes the style practical for busy mornings while still looking intentional.
When my ends look dry, I apply a small drop of serum only from mid-length to the tips. I use a fine-tooth comb around the part and hairline, then add a little hairspray if I need extra hold.
9) Twisted Half-Up Hairstyle
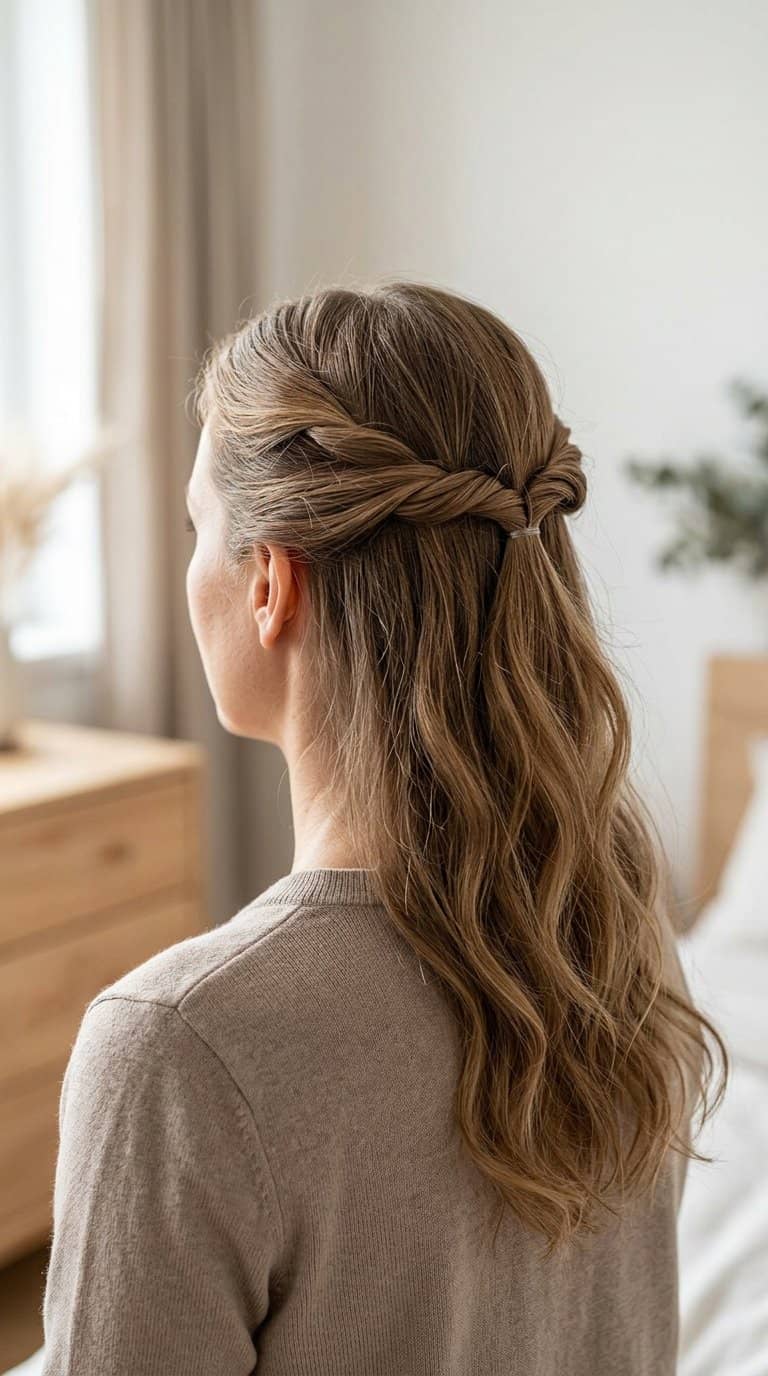
I start by taking two small sections from the front of my hair and twisting each one away from my face. I bring them toward the back of my head, overlap them, and secure them with a small elastic or two bobby pins.
For a softer look, I gently loosen the twists and pull out a few pieces around my face. I use this style on dry, brushed hair, but it also works well with natural texture or slight waves from sleeping in braids.
I position the twists higher for more lift or lower for a relaxed finish. A decorative clip can replace the elastic and add a simple detail without requiring heat.
10) Loose French Braid
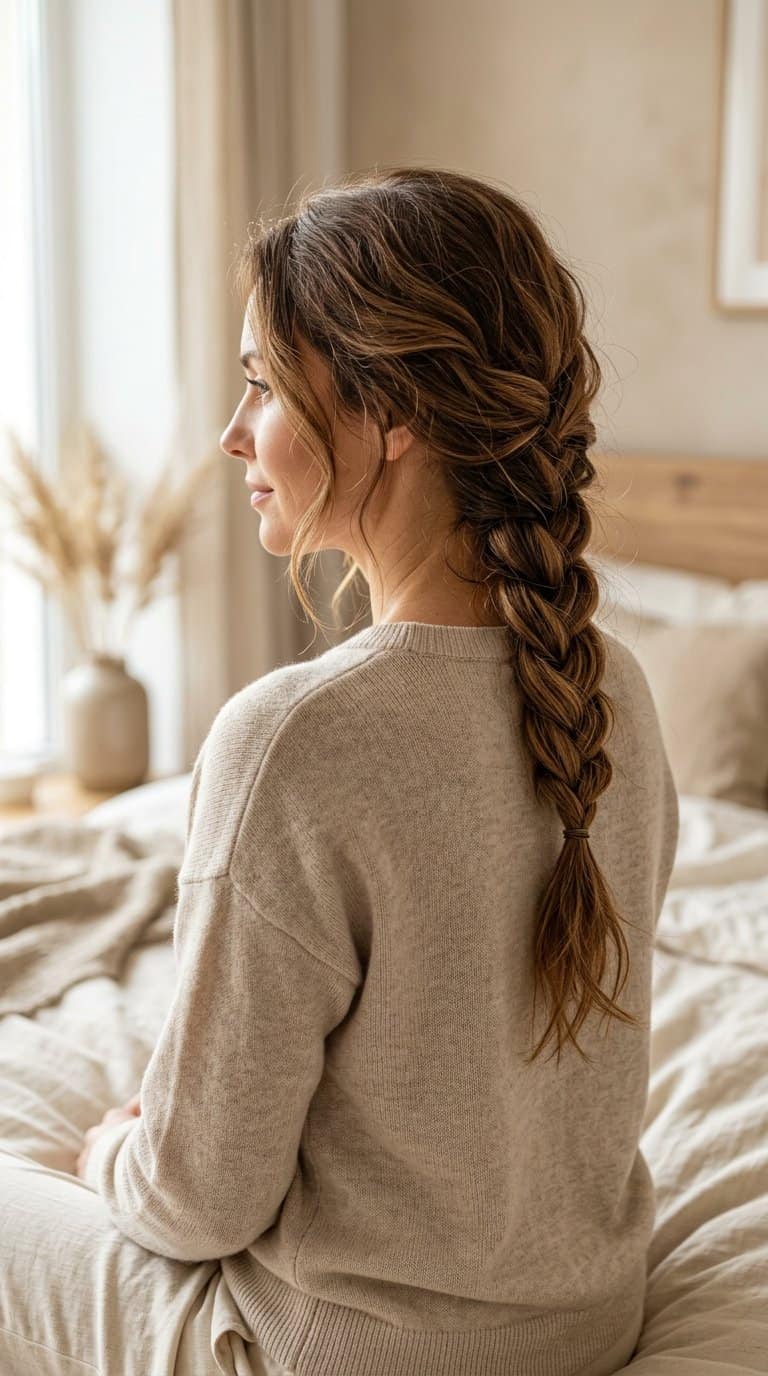
I start with slightly brushed hair and gather three sections near the crown. I cross each outer section over the middle, adding a small piece of hair as I move down. Keeping the tension relaxed gives the braid a soft, casual shape.
I secure the end with a small elastic, then gently pull the woven sections apart to add width. I leave a few strands around my face for a less polished finish. This style works especially well on medium to long hair and stays comfortable during a busy morning.
11) Lazy-Day Top Knot
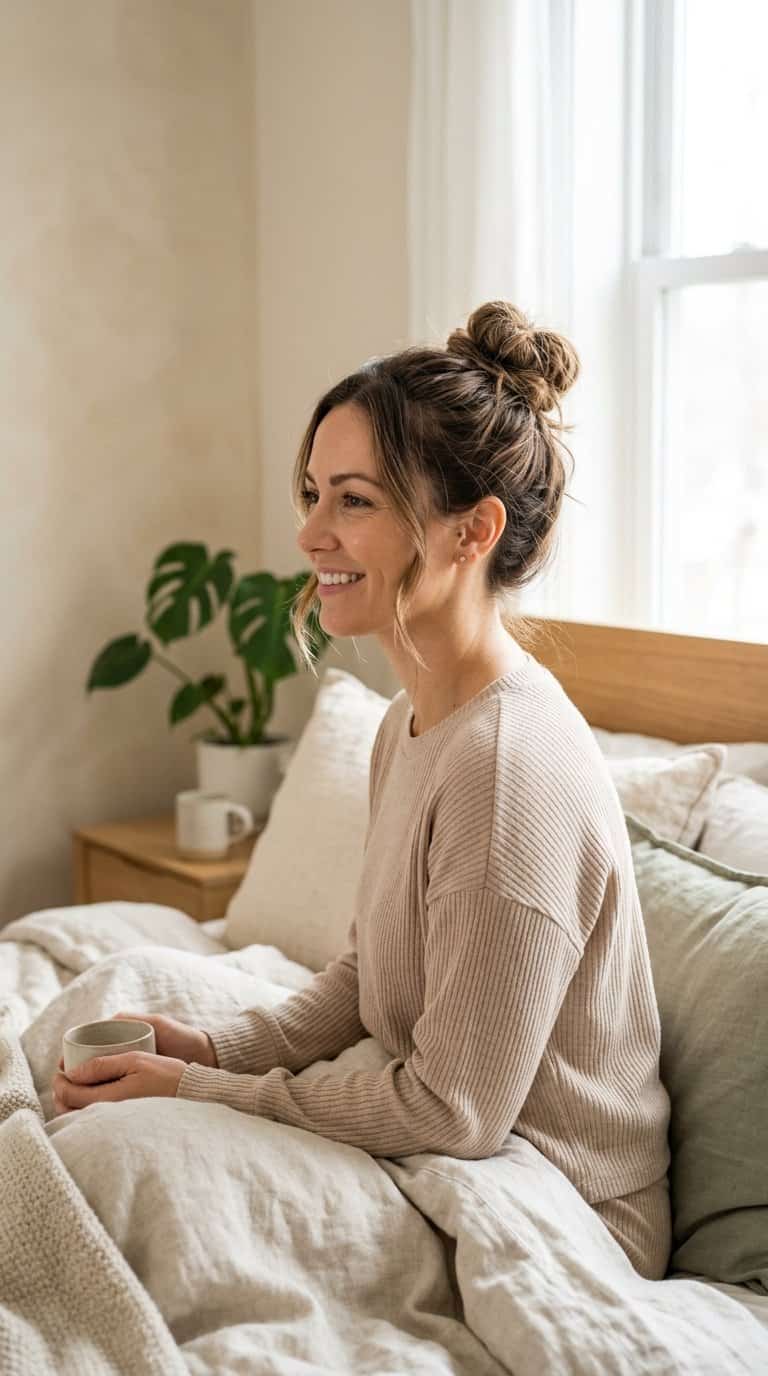
I gather my dry hair at the crown and twist it loosely into a bun, leaving the shape slightly relaxed. A soft scrunchie holds the knot without creating much tension, while a few face-framing pieces keep the style casual.
I smooth only the visible flyaways with my fingertips rather than brushing the entire style. For extra texture, I start with yesterday’s waves or lightly mist the lengths with water before twisting.
I secure the bun with two or three bobby pins, placing them through the base instead of the top. This keeps the knot steady while preserving its loose, effortless shape.
12) Heatless Curls with Foam Curlers
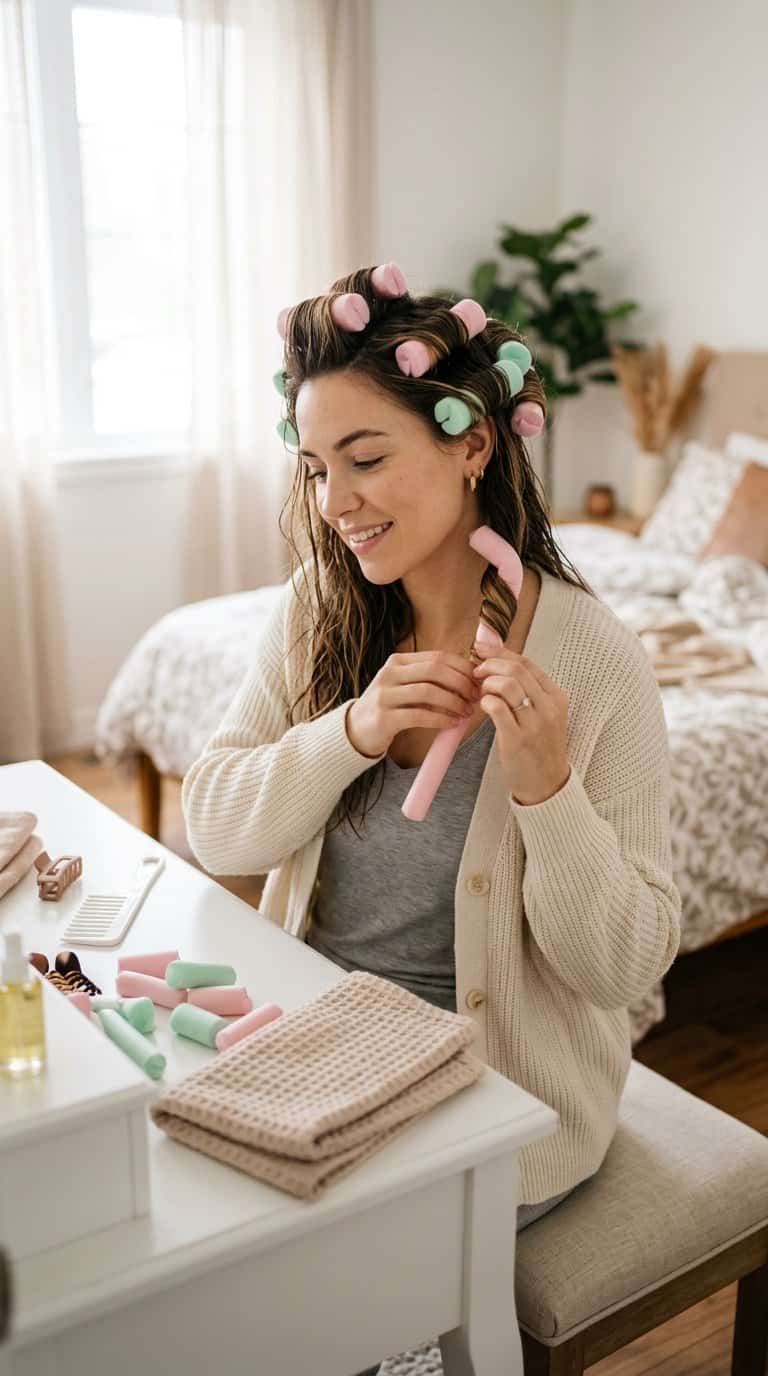
I use foam curlers when I want defined curls without sleeping on hard rollers. Starting with slightly damp hair, I divide it into manageable sections and wrap each one from the ends toward the roots. I secure the rollers gently so they stay comfortable overnight.
I choose smaller sections for tighter curls and larger sections for softer waves. After my hair dries completely, I remove the curlers slowly and separate the curls with my fingers rather than brushing them. A small amount of lightweight styling cream helps reduce frizz while keeping the shape flexible.
13) Low Side Braid
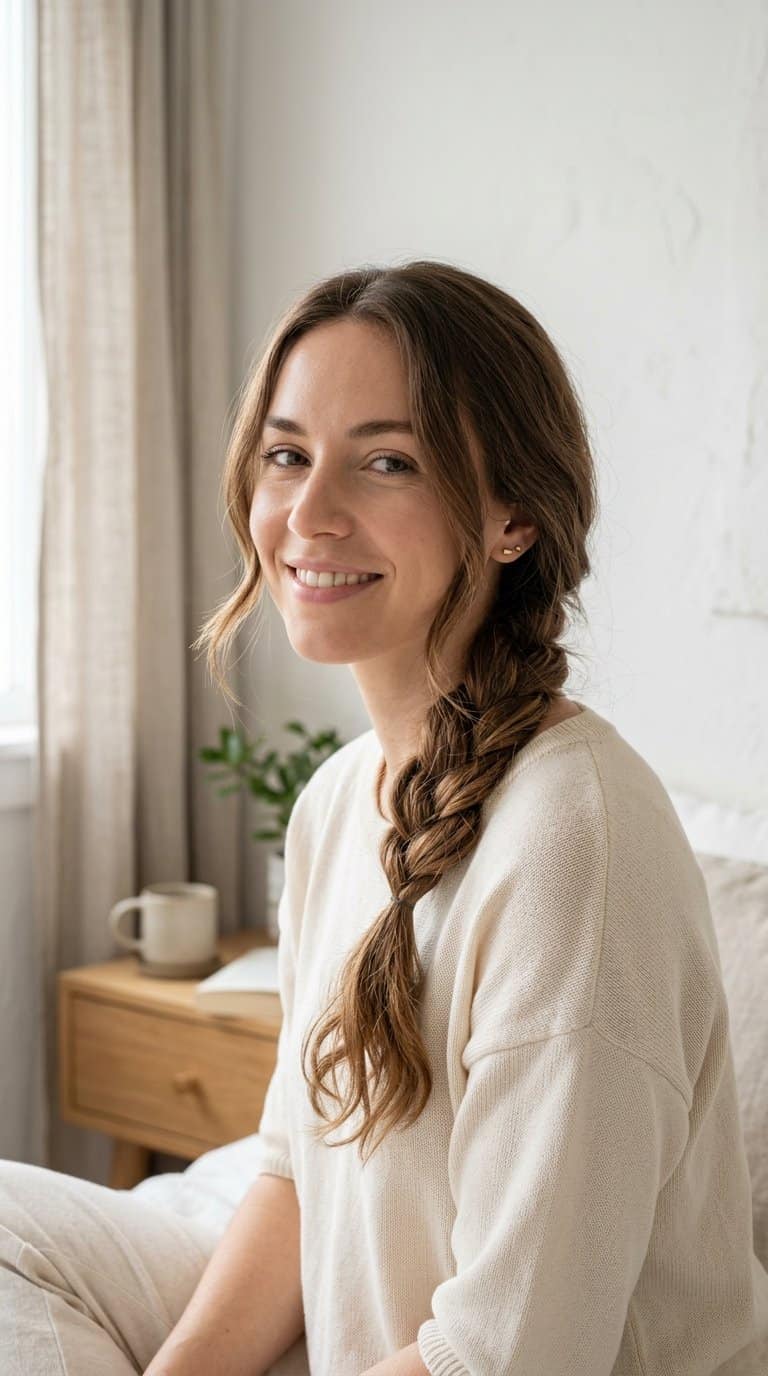
I gather my hair over one shoulder and secure it loosely near the nape of my neck. I divide the length into three sections, braid them without pulling tightly, and fasten the end with a small elastic.
I gently tug the braid’s outer edges to add width and soften its shape. A few loose strands around my face keep the style relaxed, while a side part gives it a neater finish.
For extra hold, I smooth a small amount of styling cream over the braid and tuck away flyaways. This look works best on medium or long hair and takes only a few minutes.
14) Claw-Clip French Twist
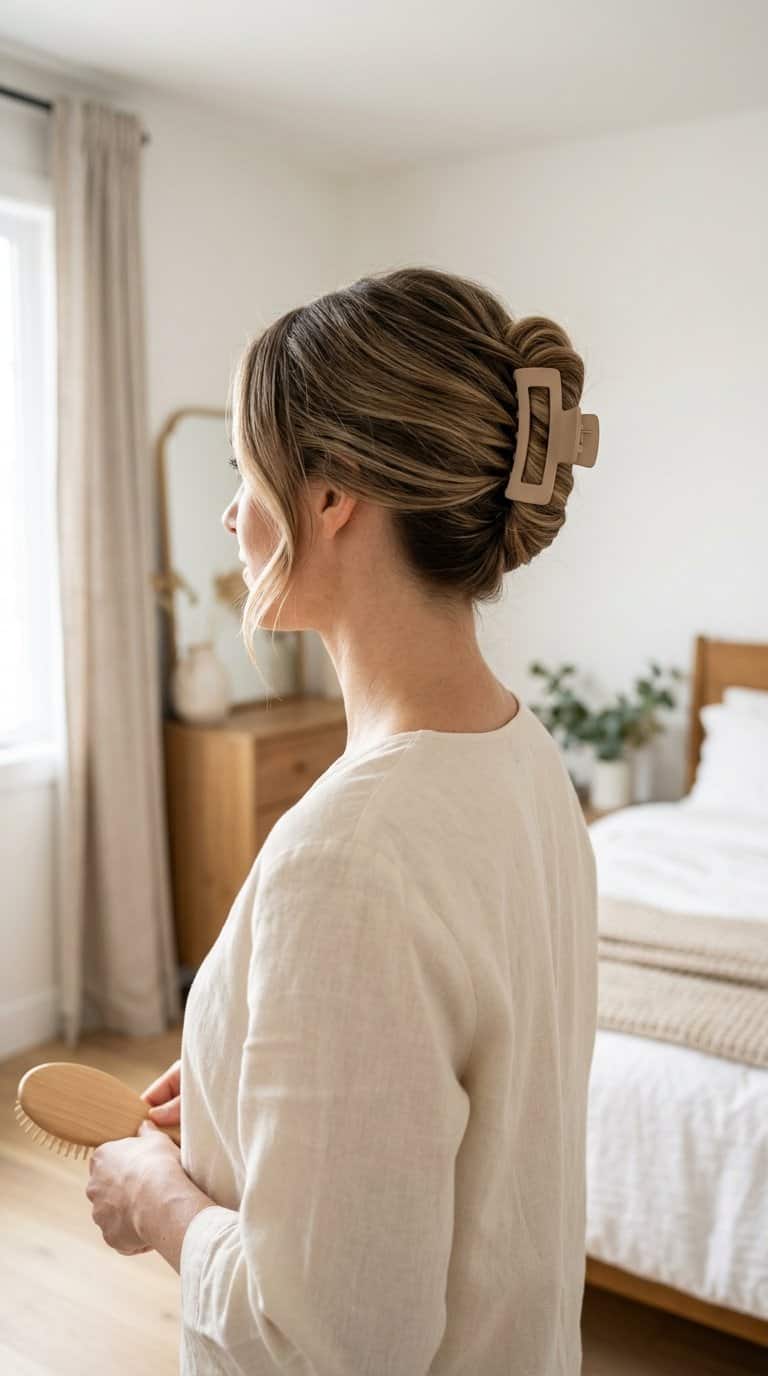
I gather my dry hair at the nape and twist it upward, keeping the ends tucked against my head. I secure the twist vertically with a medium or large claw clip, placing the teeth across the folded section.
I leave a few shorter pieces near my face if I want a softer shape. For fine hair, I lightly roughen the lengths first so the clip grips better; for thick hair, I use a wide clip and divide the twist into two sections before securing it.
15) Two-Strand Twists for Defined Waves
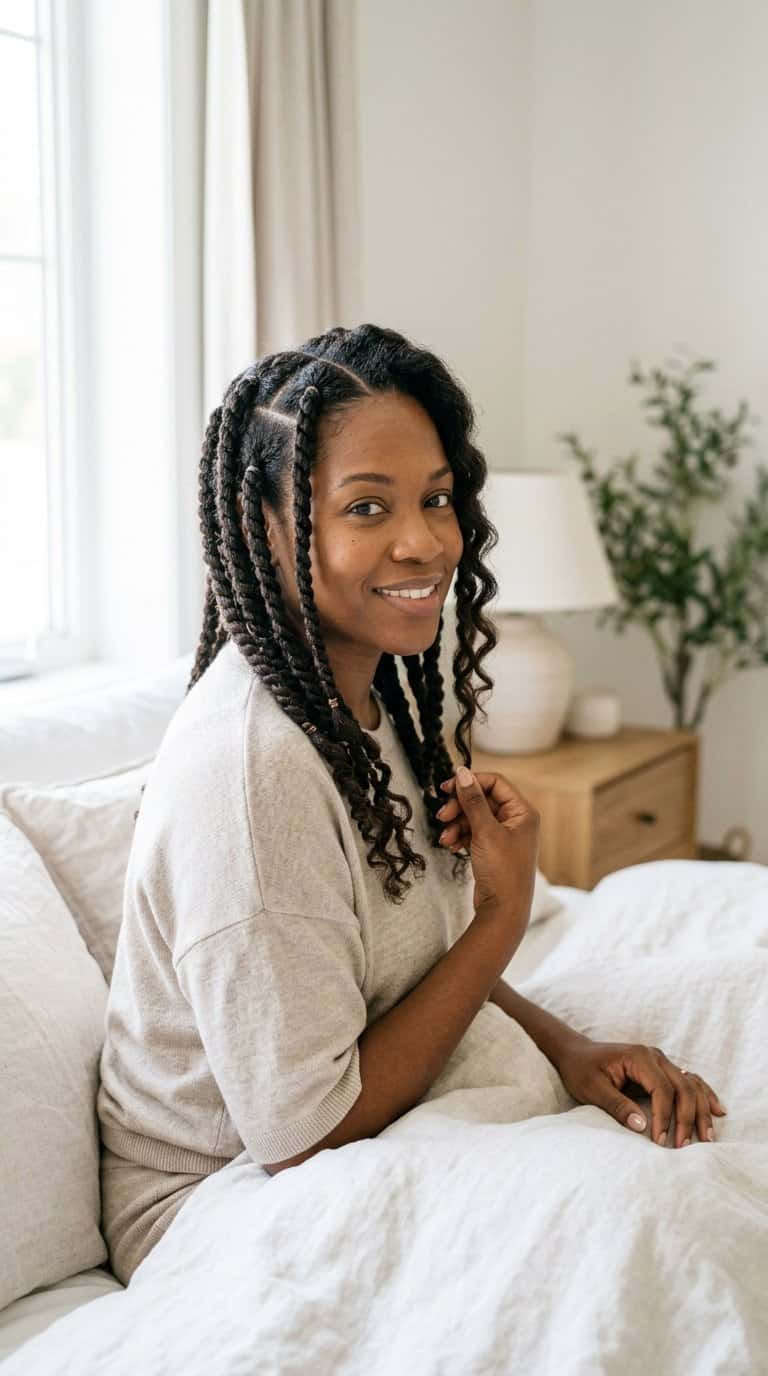
I divide my slightly damp hair into sections and split each section into two equal strands. I twist them around each other from the roots to the ends, keeping the tension even without pulling tightly.
I secure each twist with a soft scrunchie or small clip, then let my hair dry completely while I sleep or finish my routine. In the morning, I unravel the twists gently and separate the waves with my fingers.
I use fewer, larger twists for loose waves and more, smaller twists for tighter definition. A small amount of lightweight styling cream helps reduce frizz without making my hair feel stiff.
16) Scarf-Wrapped Low Bun
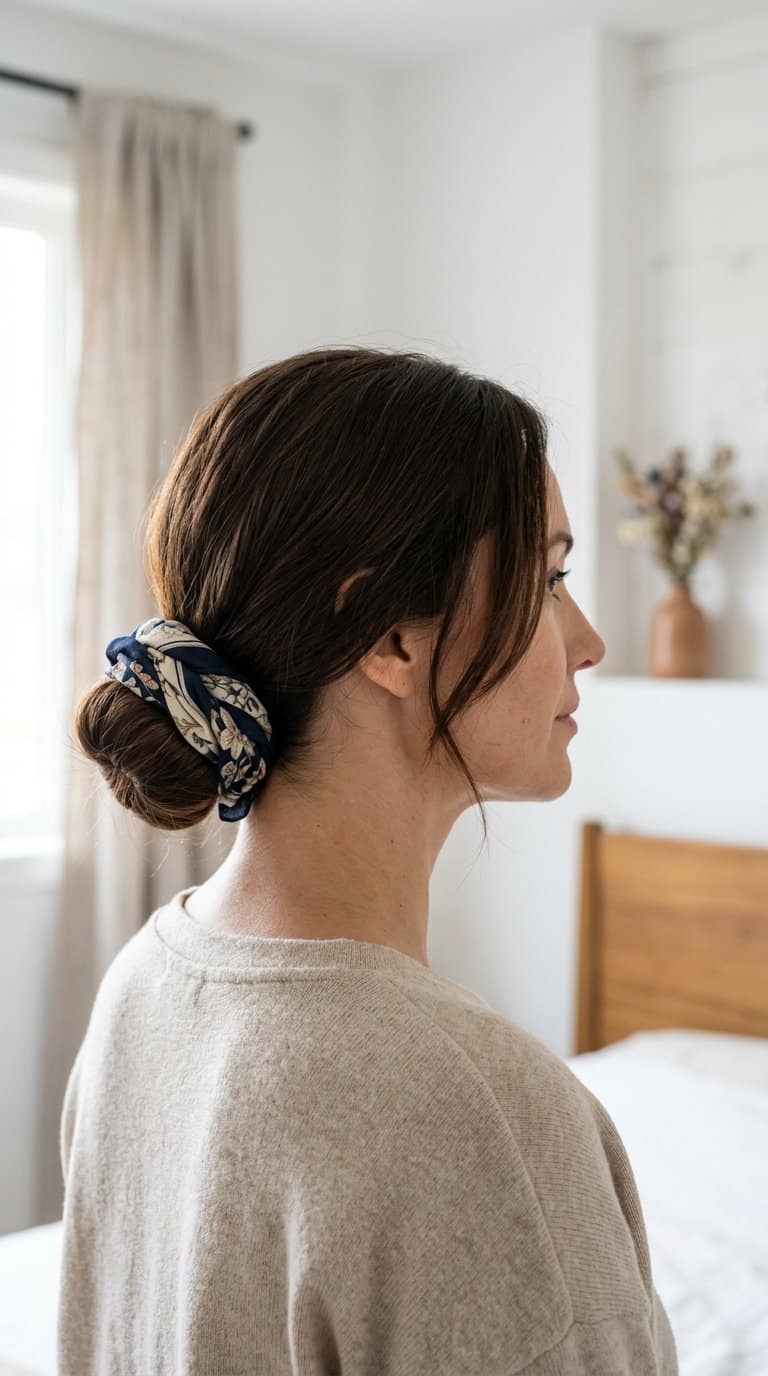
I gather my hair into a low ponytail at the nape of my neck, leaving it slightly loose for a relaxed shape. I twist the length into a bun, secure it with a soft elastic or pins, and pull out a few face-framing strands.
I fold a lightweight scarf into a narrow strip and wrap it around the bun’s base, tying the ends beneath or at the side. I choose a satin or silk scarf to reduce friction, while cotton or linen gives the style a more casual finish.
This look works best on second-day hair because natural texture adds grip. I smooth flyaways with a small amount of styling cream, then adjust the scarf so it feels secure without pulling.
17) Half-Up Claw-Clip Hairstyle
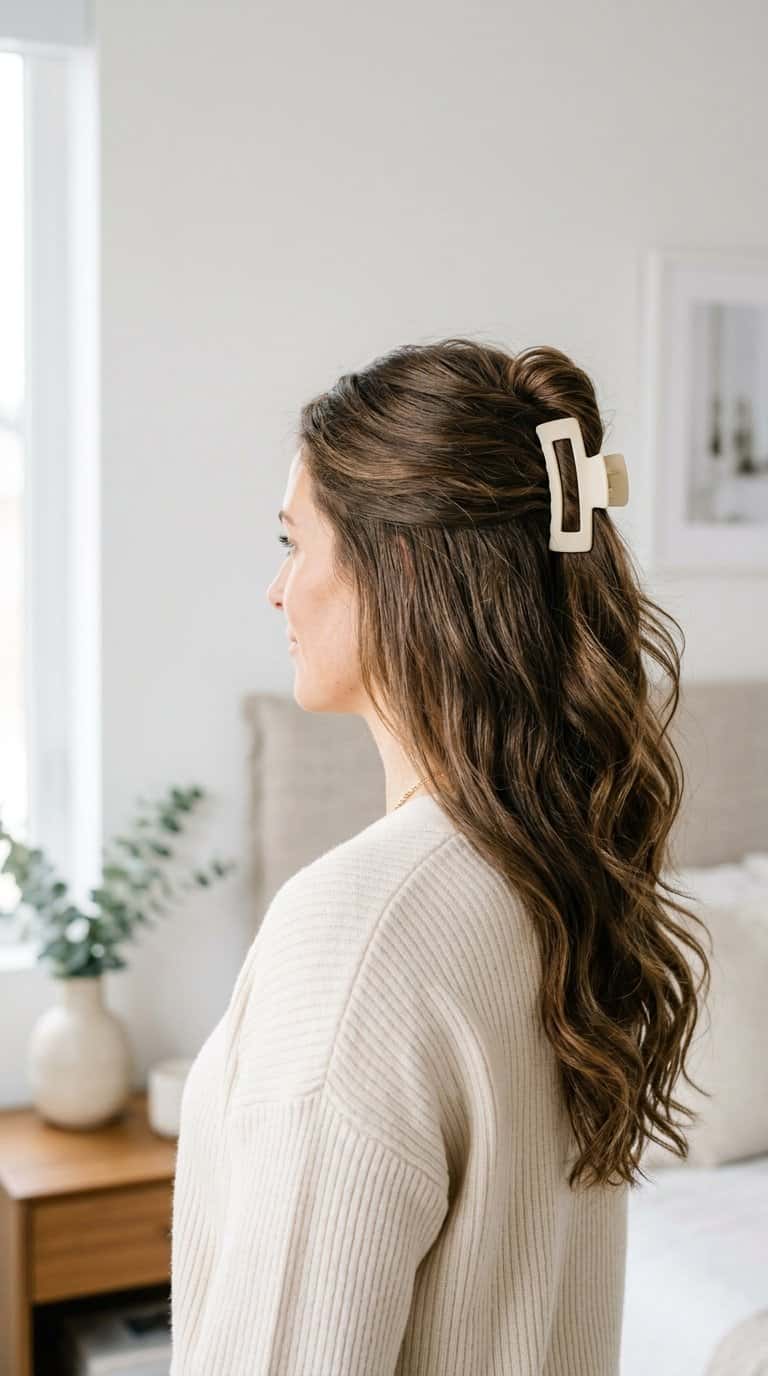
I gather the top half of my hair at the crown, leaving the lower layers loose. After twisting the gathered section once or twice, I secure it with a small claw clip and adjust the ends so they sit neatly above the clip.
I use my fingers to loosen the sides and create a relaxed shape without brushing everything smooth. This style works best on second-day hair, and I can leave face-framing strands free for a softer finish.


