
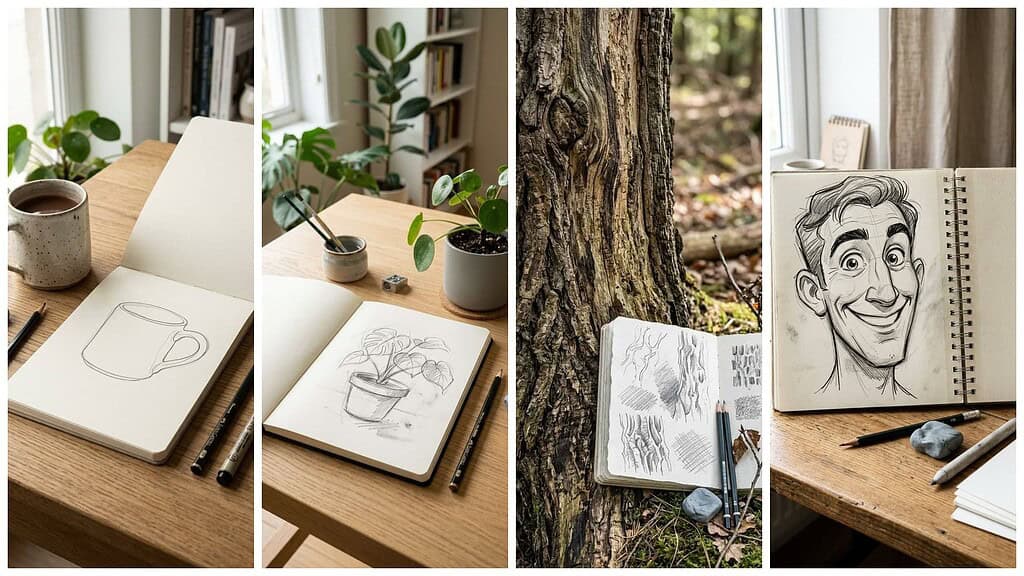
A creative block can make a blank page feel difficult to approach, but simple prompts can give your attention a clear direction. I use my sketchbook to explore familiar objects, small spaces, patterns, textures, and imagined places without worrying about producing finished artwork.
Save for later
Want to come back to this story? Save it with your email so it is easy to find again.
These 18 simple sketchbook ideas help me replace pressure with practical starting points and keep drawing even when inspiration feels limited. Each prompt offers a manageable way to observe, experiment, and rebuild momentum while developing a more consistent sketchbook practice.
Table of Contents
- 1 1) One-line self-portrait without lifting your pencil
- 2 2) Contour drawing of your favorite mug
- 3 3) Blind contour sketch of your hand
- 4 4) Five-minute sketch of a houseplant
- 5 5) Negative-space drawing around a chair
- 6 6) Continuous-line sketch of a bicycle
- 7 7) Geometric pattern inspired by a window
- 8 8) Tiny landscape inside a postage-stamp frame
- 9 9) Texture study of tree bark
- 10 10) Shadow-only sketch of a household object
- 11 11) Exaggerated portrait of a familiar face
- 12 12) Doodle based on three random shapes
- 13 13) Urban sketch of a nearby doorway
- 14 14) Monochromatic study using one colored pencil
- 15 15) Botanical sketch from a fallen leaf
- 16 16) Imaginary map of a fictional island
- 17 17) Animal silhouette filled with patterns
- 18 18) Still life arranged from kitchen utensils
1) One-line self-portrait without lifting your pencil
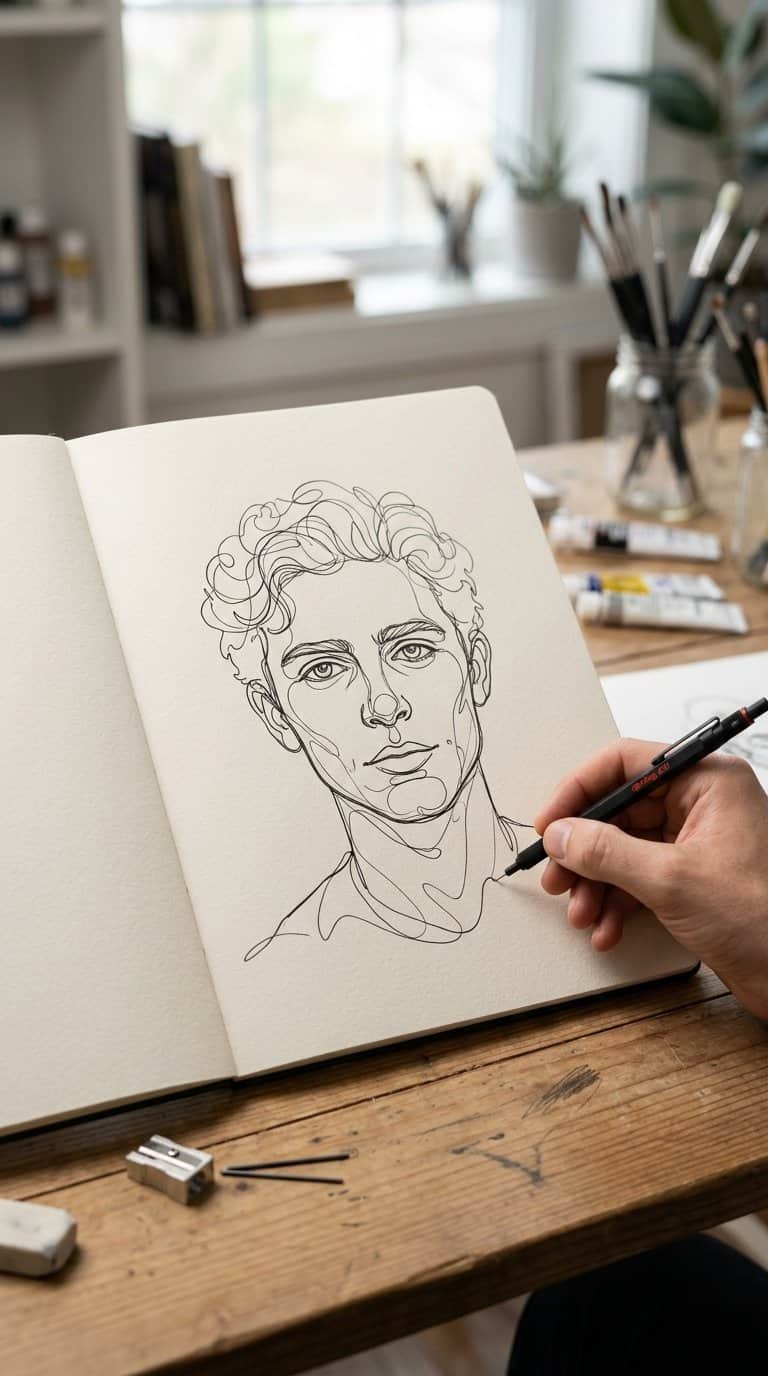
I place my pencil on the page and draw my face in one continuous line. I move slowly around the outer shape, then add features such as the eyes, nose, mouth, hair, and clothing without lifting the pencil.
I focus on observation rather than accuracy. I look closely at the proportions, angles, and spaces between features, allowing the line to record my decisions and changes in direction.
I can repeat the exercise with different expressions or viewpoints. Using a timer or limiting myself to one minute adds structure and helps me draw with greater confidence.
2) Contour drawing of your favorite mug
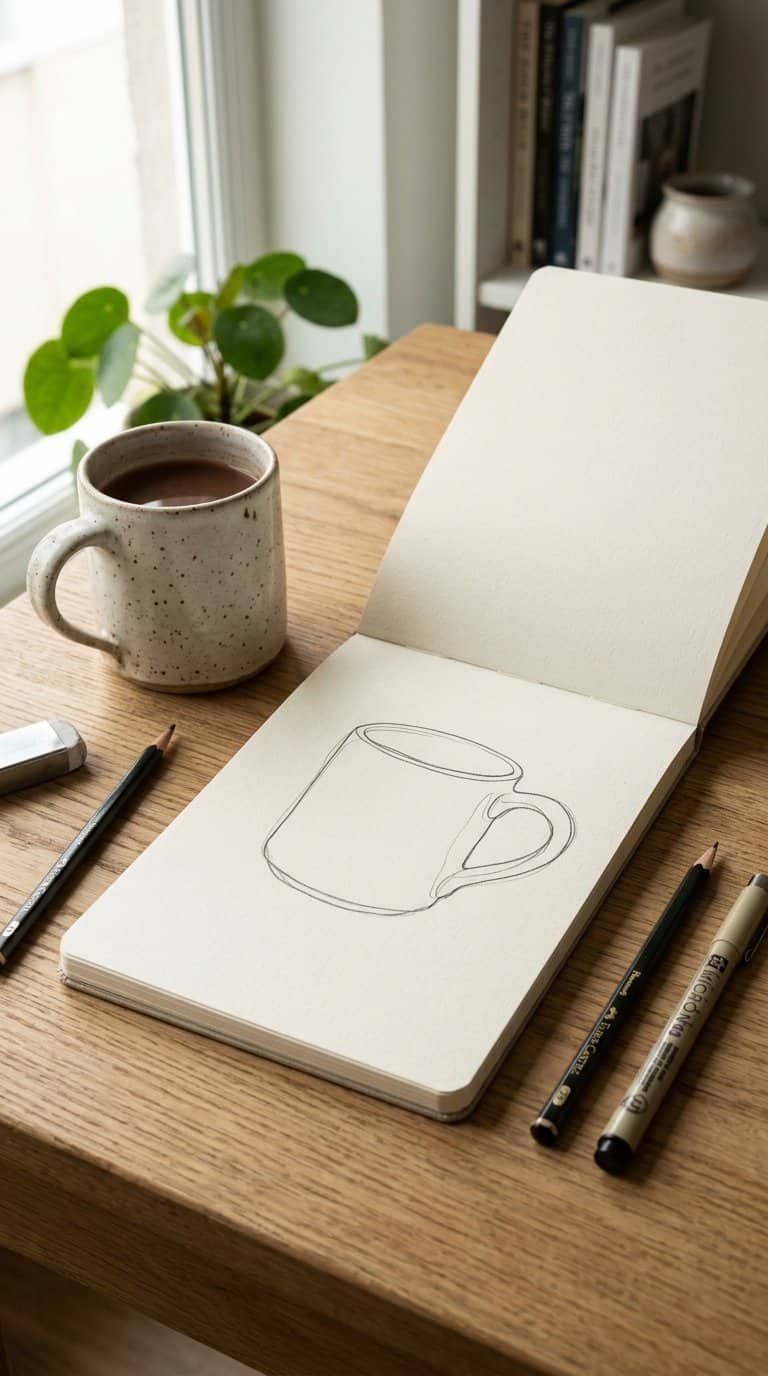
I place my favorite mug on the table and draw its outline without looking down at the page. I follow the rim, handle, sides, and base in one continuous line, letting the object guide my hand. This exercise sharpens my observation and helps me accept uneven marks instead of correcting every detail.
I repeat the drawing from different angles, changing the mug’s position or adding a nearby spoon. I may use a thicker pen for a second attempt, then compare the shapes and spacing. The goal is to study proportion, curves, and negative space while keeping the process simple.
3) Blind contour sketch of your hand
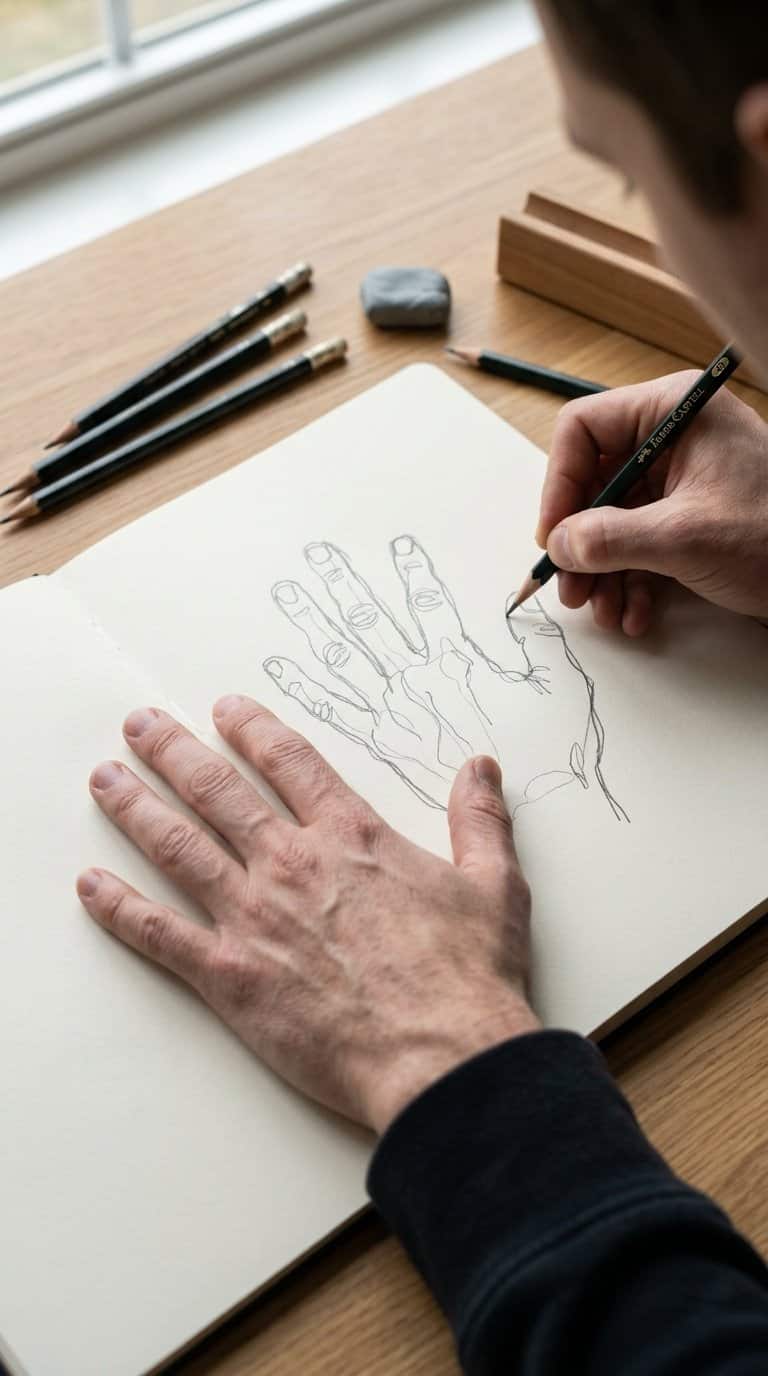
I place my non-dominant hand in a comfortable pose and study its outline without looking at the page. Moving my pencil slowly, I trace each curve, joint, and fingernail while keeping my eyes on the hand.
I accept uneven lines and distorted proportions instead of correcting them. This exercise shifts my attention from making a realistic drawing to observing small details, such as overlapping fingers, skin folds, and changes in direction.
I repeat the sketch with a different pose or drawing speed. Comparing the results helps me notice how my focus, pace, and hand movement affect the marks I make.
4) Five-minute sketch of a houseplant
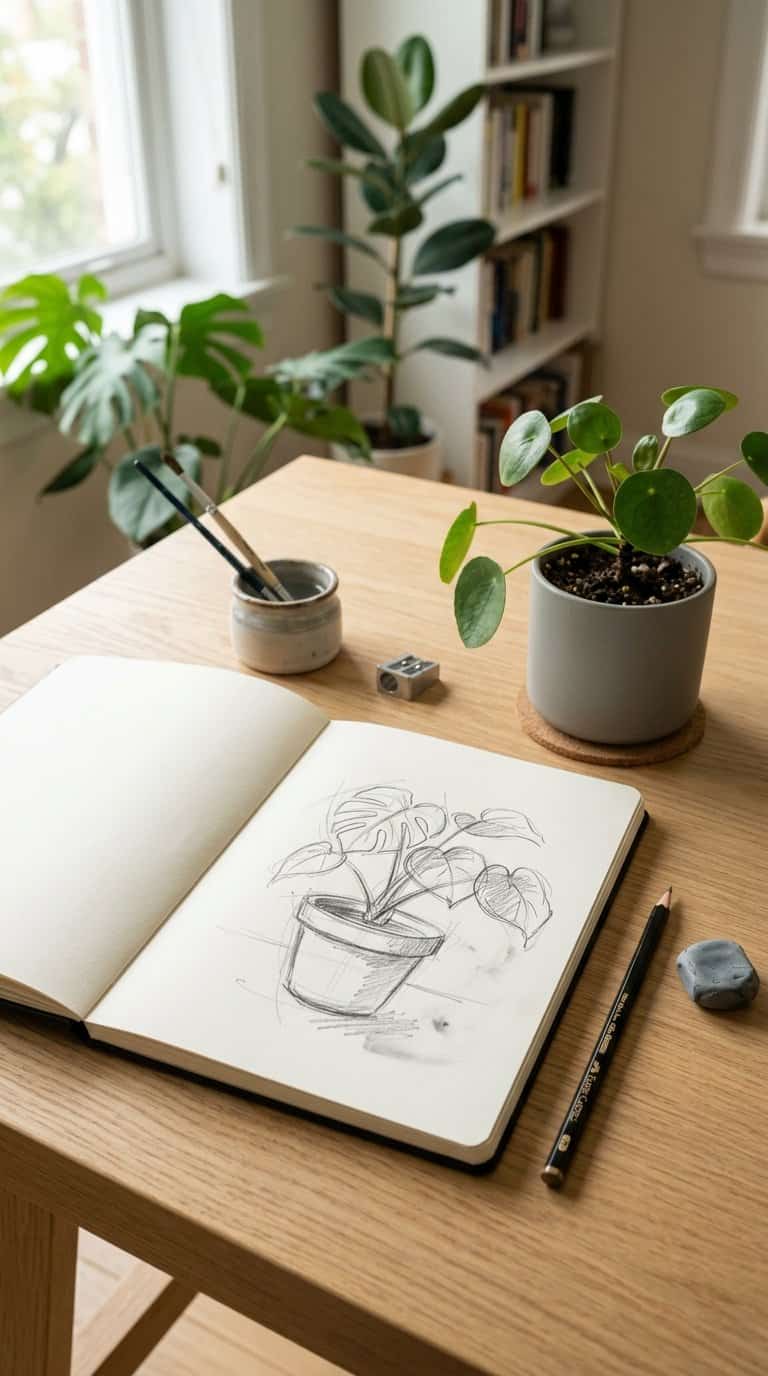
I choose a nearby houseplant and set a timer for five minutes. I focus on its largest shapes first, noting the direction of each stem, the spacing between leaves, and the angle of the pot.
I use light lines to place the outline, then add a few darker marks where leaves overlap or cast shadows. I do not erase every mistake; unexpected lines can show movement and help me work more freely.
For a stronger observation exercise, I draw the same plant from a lower angle or crop the page around one leaf. I record the plant’s distinct details, such as curled edges, uneven growth, or visible veins, instead of aiming for a polished botanical study.
5) Negative-space drawing around a chair
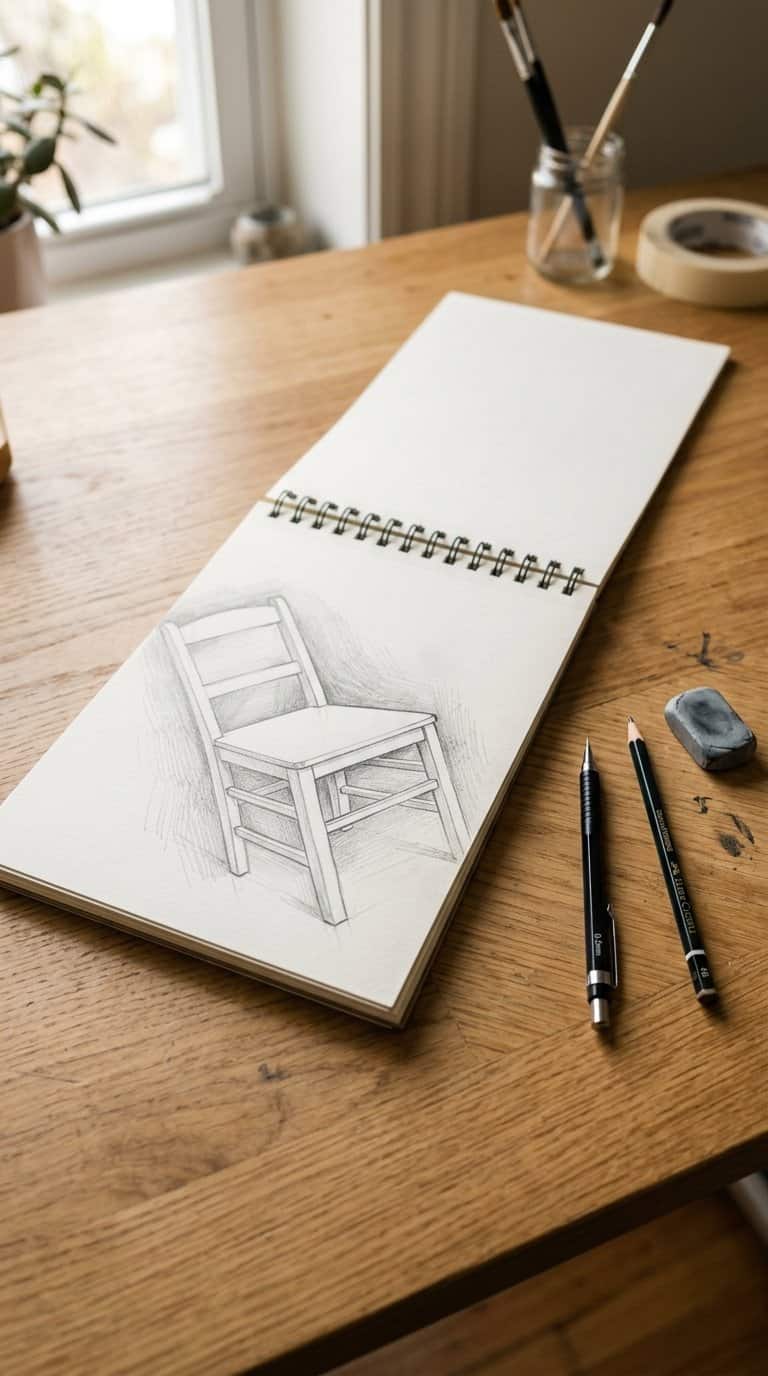
I place a chair in front of me and draw the shapes formed around its legs, seat, and backrest instead of outlining the chair itself. I focus on the edges where the chair meets the surrounding wall or floor, treating each empty area as a separate shape.
I use light lines first, then compare the proportions of the spaces. If one opening looks too narrow or wide, I adjust its boundary rather than adding more detail to the chair. I can work in pencil, ink, or a single dark marker for stronger contrast.
I also shift my viewpoint or rotate the sketchbook to study how the negative spaces change. This exercise helps me notice angles, balance, and shape relationships without relying on familiar object symbols.
6) Continuous-line sketch of a bicycle
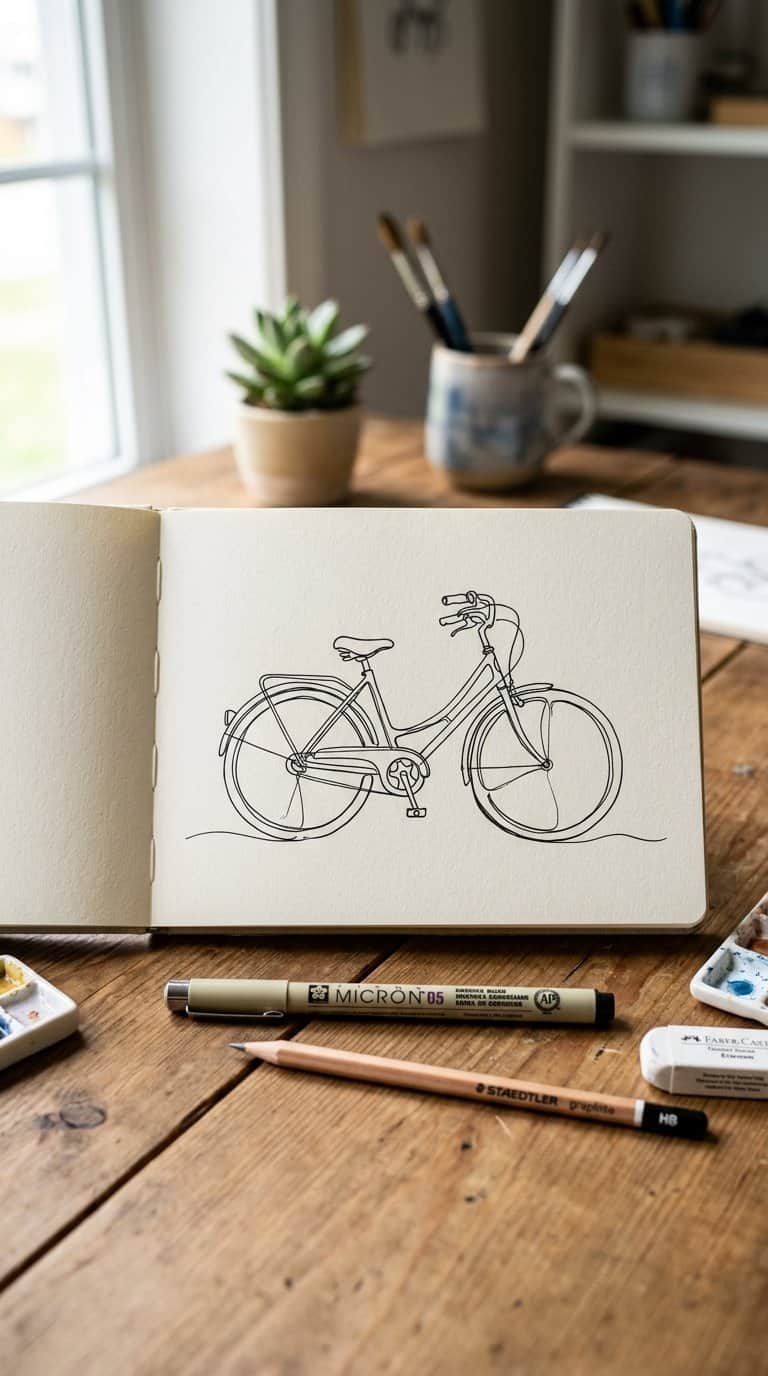
I draw a bicycle without lifting my pencil from the page. I begin with one wheel, follow the frame, and let the line travel through the handlebars, seat, pedals, and second wheel.
I focus on observing proportions rather than correcting every mistake. The overlapping tubes and circular wheels make this exercise useful for studying structure, balance, and spatial relationships.
I repeat the drawing several times, changing my starting point each time. One attempt might look loose, while another reveals more accurate connections between the frame and components.
7) Geometric pattern inspired by a window
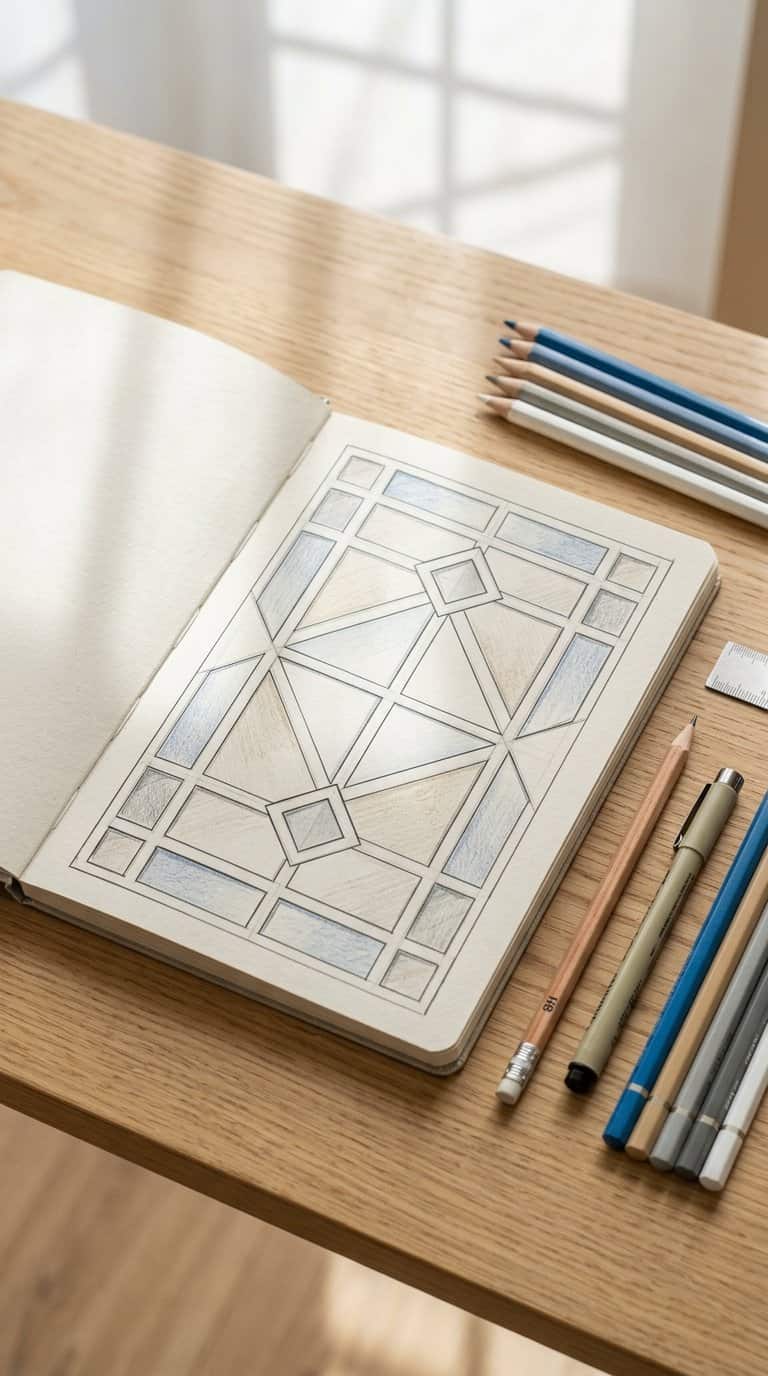
I study the shapes formed by a window frame, including rectangles, crossing bars, and the spaces between them. I lightly sketch the structure, then repeat or rotate its parts to build a balanced pattern across the page.
I vary line weight to separate the main frame from smaller divisions. Adding limited shading can suggest glass, reflections, or changing light without turning the drawing into a realistic scene. I also test symmetry first, then introduce one deliberate irregular shape to keep the design natural.
8) Tiny landscape inside a postage-stamp frame
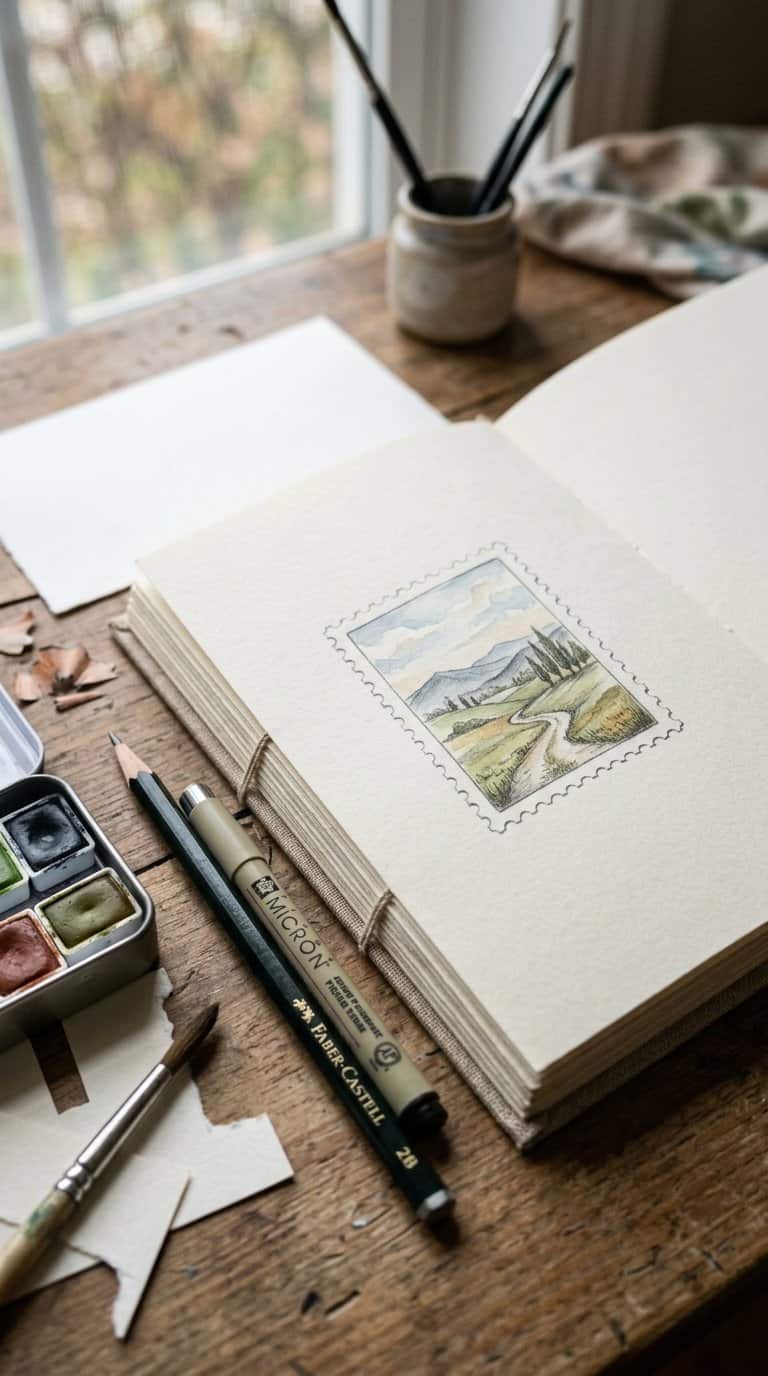
I draw a small rectangle, then treat its narrow border as part of the composition. I choose one simple view, such as a hill behind a fence, and limit the scene to three or four shapes. This scale helps me focus on placement rather than detail.
I usually add the darkest values first, then layer lighter marks around them. A few horizontal strokes can suggest distance, while uneven edges keep the scene from looking mechanical. I test a limited palette or one pencil grade before adding color.
I make several frames on one page and vary the viewpoint in each. One might show a low horizon, another a close tree, and a third a distant building.
9) Texture study of tree bark
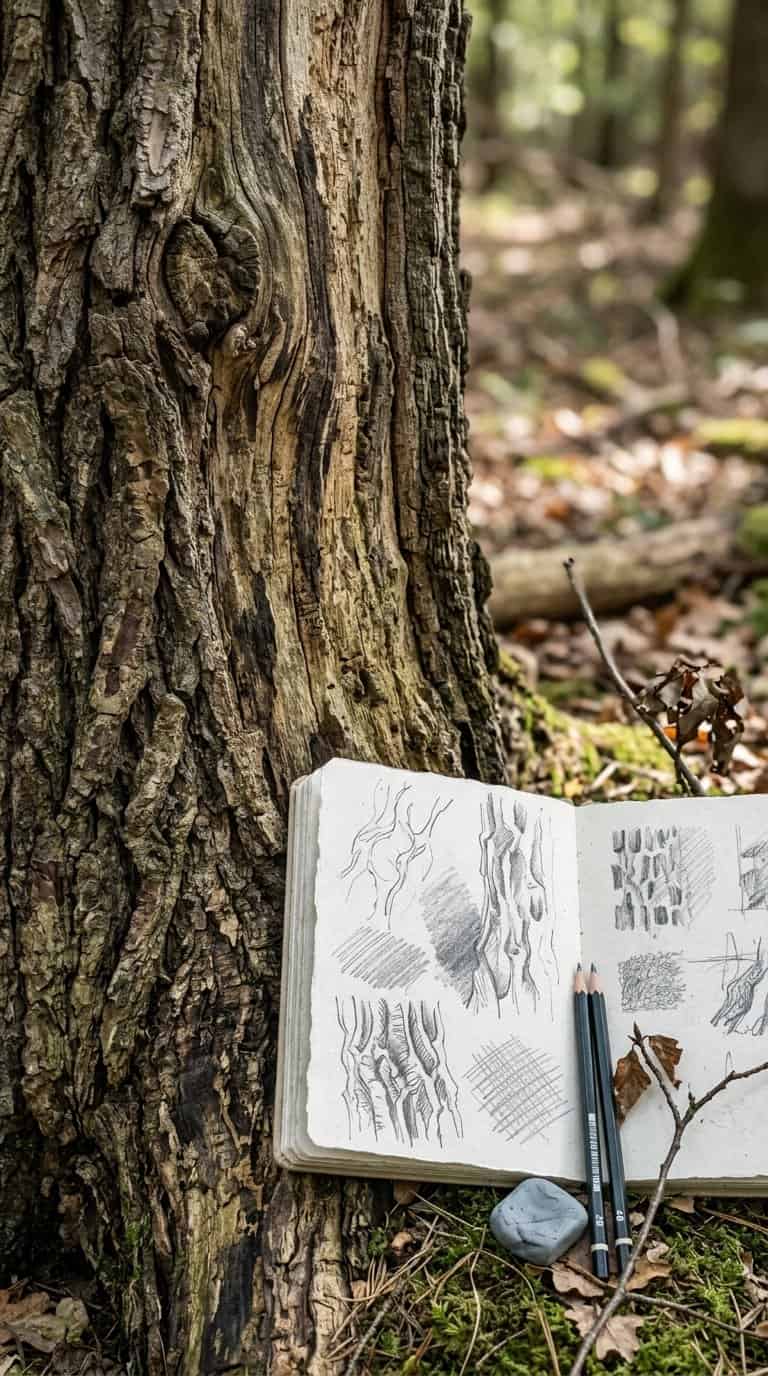
I choose a tree with visible ridges, cracks, or peeling sections and draw a small area rather than the entire trunk. I begin with the largest light and dark shapes, then add irregular lines that follow the bark’s direction.
I compare several sections of the same tree to notice how texture changes around knots, roots, and branches. I use varied pressure to create rough edges, shallow grooves, and deeper recesses without outlining every detail.
I may test graphite, colored pencil, or ink on a separate page before starting. I record the tree’s surface as I see it, keeping uneven spacing and natural imperfections instead of repeating a pattern.
10) Shadow-only sketch of a household object
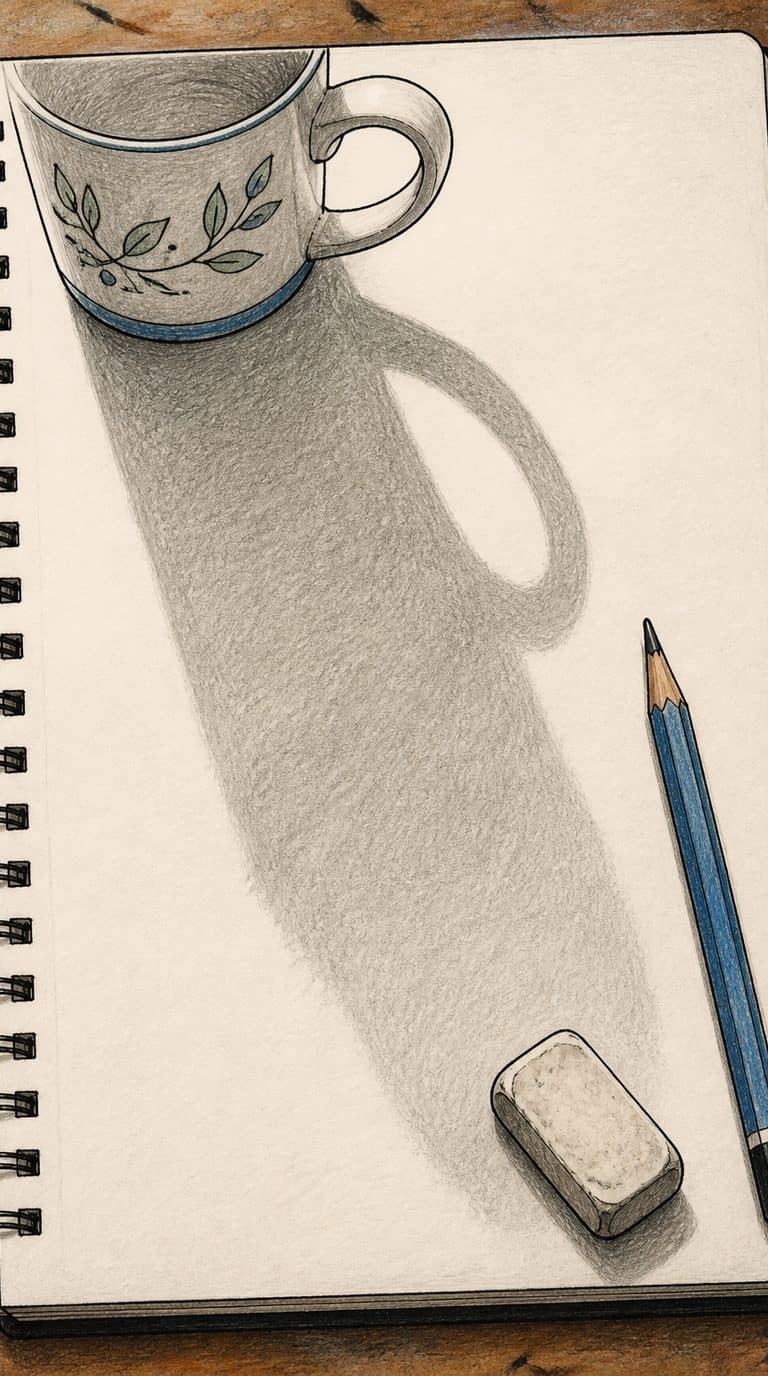
I place a mug, spoon, or plant pot near a single light source and study the shape it casts. Rather than drawing the object itself, I outline the shadow and fill it with solid graphite or ink. This exercise makes me focus on proportion, edges, and negative space.
I adjust the light to create sharper or softer contours, then compare how the shadow changes. I can also add a second object and observe where the shapes overlap. The limited subject keeps the page simple while giving me clear decisions about placement and contrast.
11) Exaggerated portrait of a familiar face
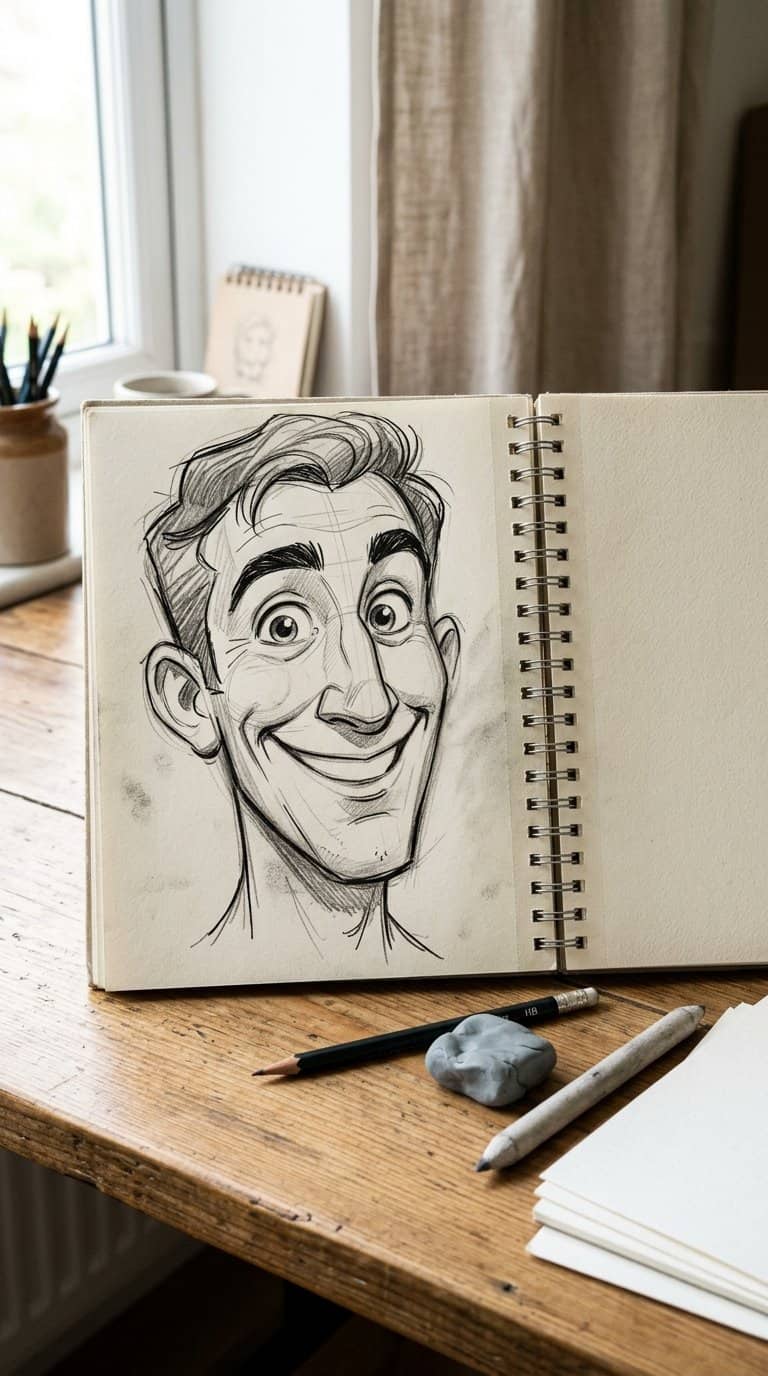
I choose someone I know and alter one noticeable feature, such as the size of the eyes, shape of the nose, or angle of the jaw. I keep other details recognizable so the drawing remains connected to the real person.
I study the face briefly before sketching, noting its proportions, expression, and distinctive marks. Then I exaggerate one feature at a time instead of changing everything at once. This helps me explore distortion while practicing observation.
I can use a mirror, memory, or a reference photo. Loose lines work well because they let me test unusual proportions without worrying about producing a polished likeness.
12) Doodle based on three random shapes
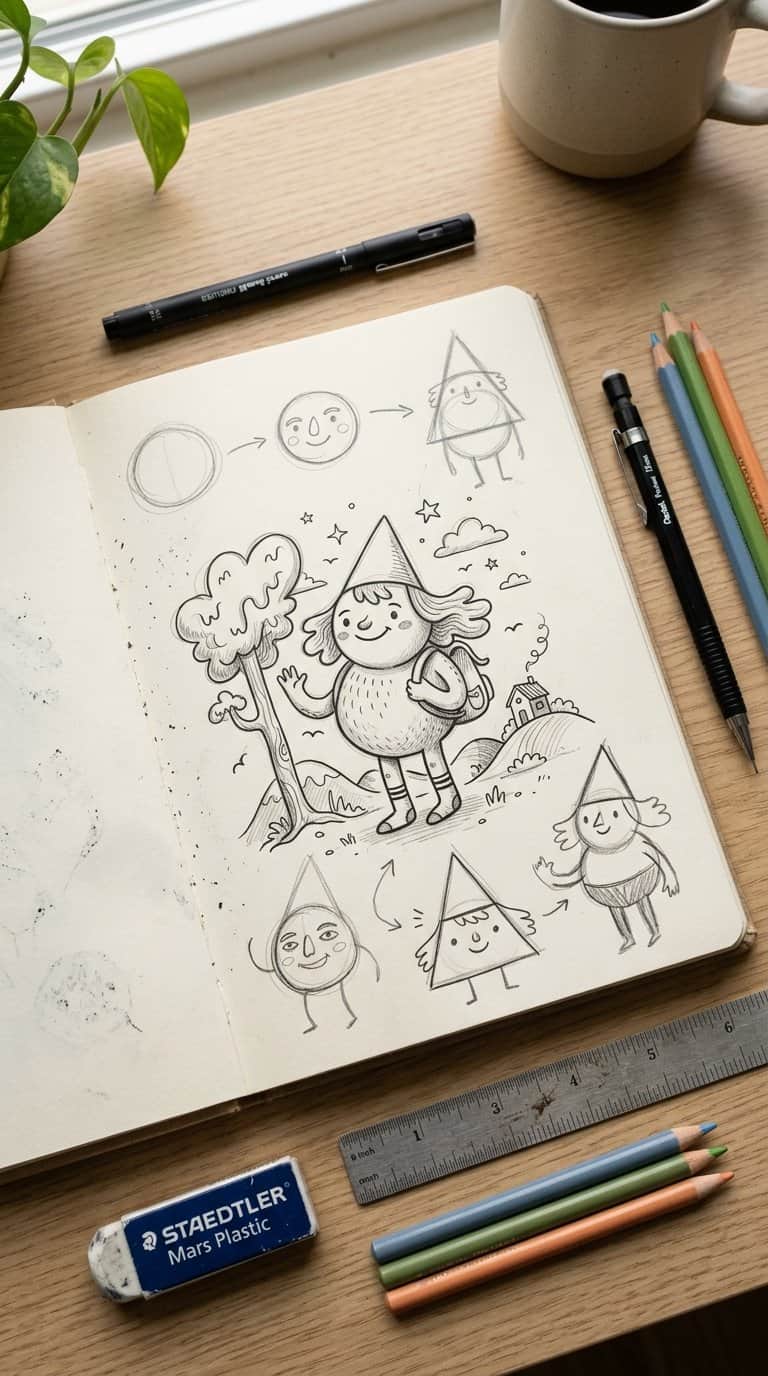
I choose three simple shapes without planning, such as a circle, triangle, and wavy line. Then I connect, overlap, or transform them into objects, characters, or patterns. I let the shapes guide the drawing instead of deciding on a subject first.
I usually set a short timer and keep the first version loose. A circle might become an eye, a wheel, or a face, while a triangle could suggest a roof, beak, or mountain. When I finish, I add small details, textures, or shadows to give the doodle more structure.
13) Urban sketch of a nearby doorway
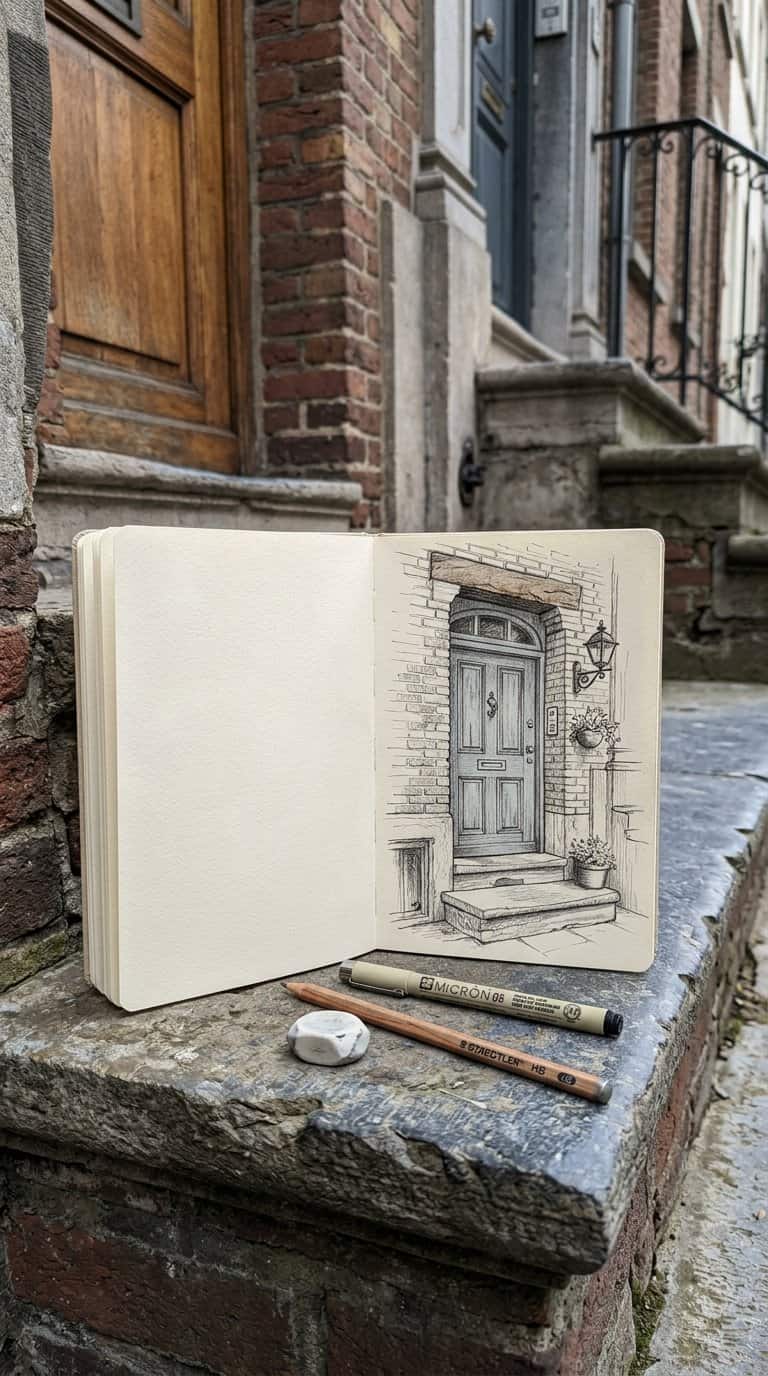
I choose a nearby doorway and draw it from direct observation, noting its proportions, frame, handle, steps, and surrounding wall. I begin with light lines to place the main shapes, then add darker marks where edges overlap or light creates contrast.
I include small details that give the entrance character, such as worn paint, a notice, a plant, or reflections in the glass. I keep the background simple so the doorway remains the focus while still showing its relationship to the street.
For a quick study, I limit myself to fifteen minutes and use one pen. This helps me accept imperfect lines and concentrate on structure, texture, and the changing angles of everyday architecture.
14) Monochromatic study using one colored pencil
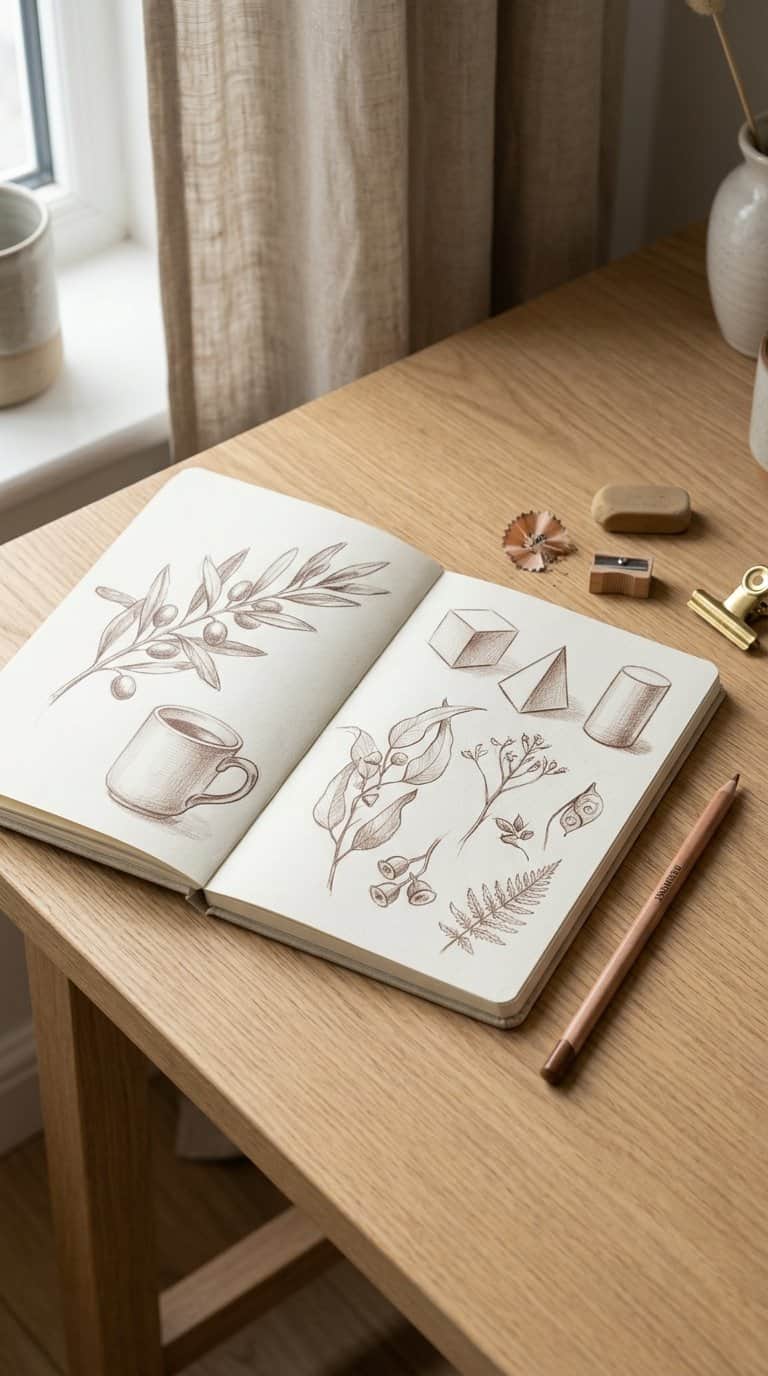
I choose one colored pencil and limit the entire study to its range of light and dark values. I might draw a mug, leaf, or folded cloth, focusing on how pressure, layering, and crosshatching create form without relying on additional colors.
I begin with a light outline, then build shadows gradually. I leave the paper untouched for the brightest areas and use repeated strokes for deeper sections. This controlled approach helps me observe value, texture, and edges more carefully while reducing decisions that can interrupt my drawing.
15) Botanical sketch from a fallen leaf
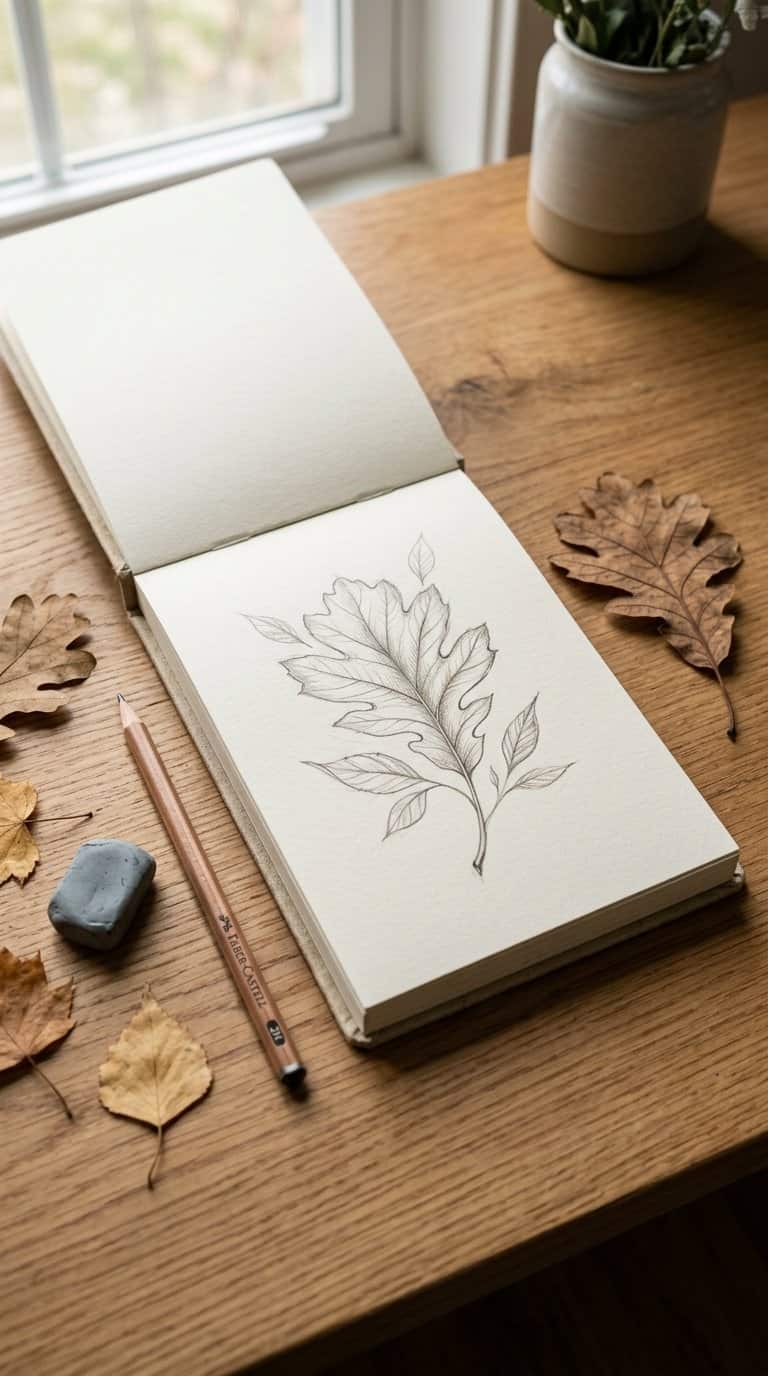
I place a fallen leaf beneath my sketchbook and study its shape, edges, veins, and small marks before drawing. I begin with the outer contour, then add the central vein and branching lines. This keeps my attention on observation rather than invention.
I use light pencil strokes to record changes in color, texture, and damage. A torn edge, dry patch, or curled section gives the study specific details and makes the page more informative.
I can add the date, location, and leaf type beside the drawing. If I want more practice, I sketch the same leaf from above, below, and at an angle.
16) Imaginary map of a fictional island
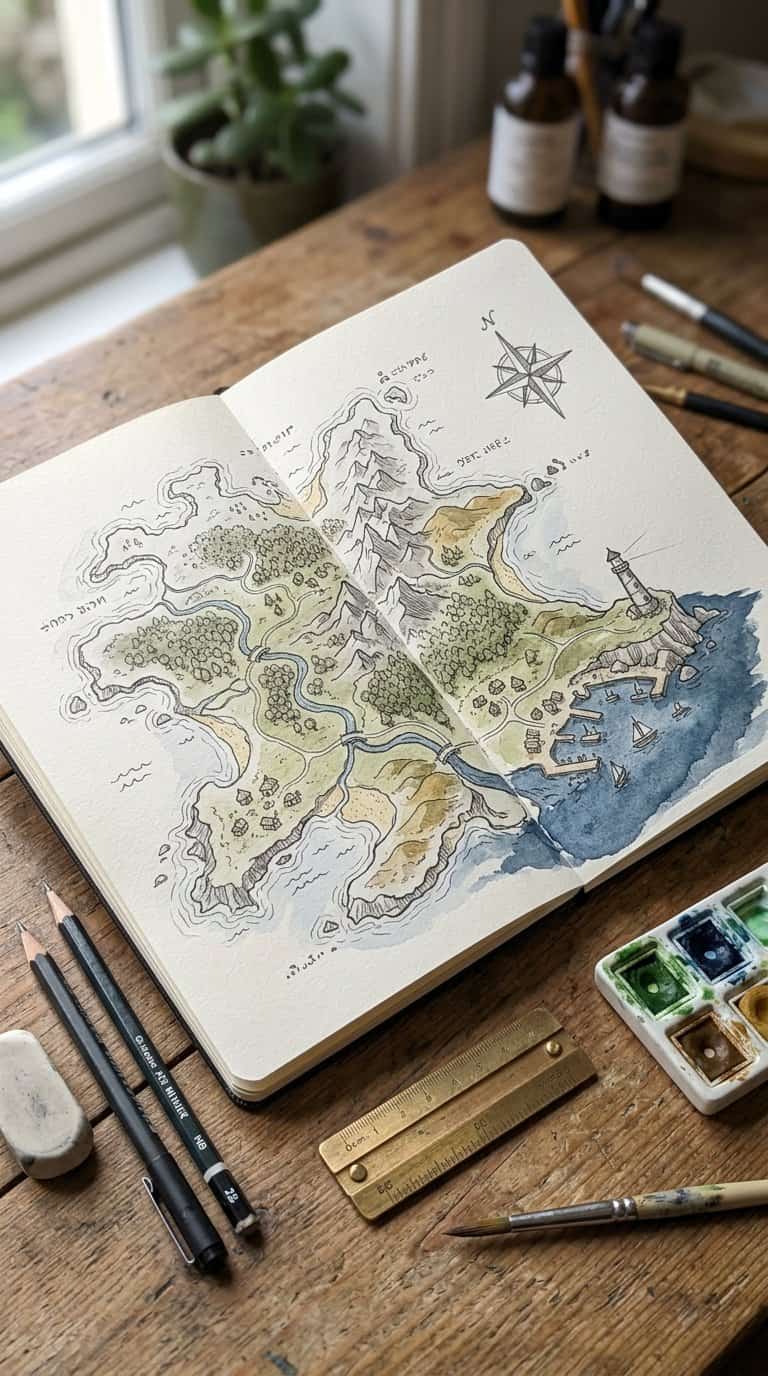
I draw an island from imagination, then shape its coastline with bays, cliffs, beaches, and narrow inlets. I add a mountain range, a river system, and a few areas where the terrain changes sharply.
I give each location a practical purpose. A harbor sits near sheltered water, farms occupy flatter ground, and a settlement follows a reliable road or river. Small details, such as bridges, ruins, watchtowers, and footpaths, make the map feel inhabited.
I finish with labels, a compass rose, and a simple scale bar. I can use uneven lines, light shading, and repeated symbols to suggest elevation without making the drawing technically precise.
17) Animal silhouette filled with patterns
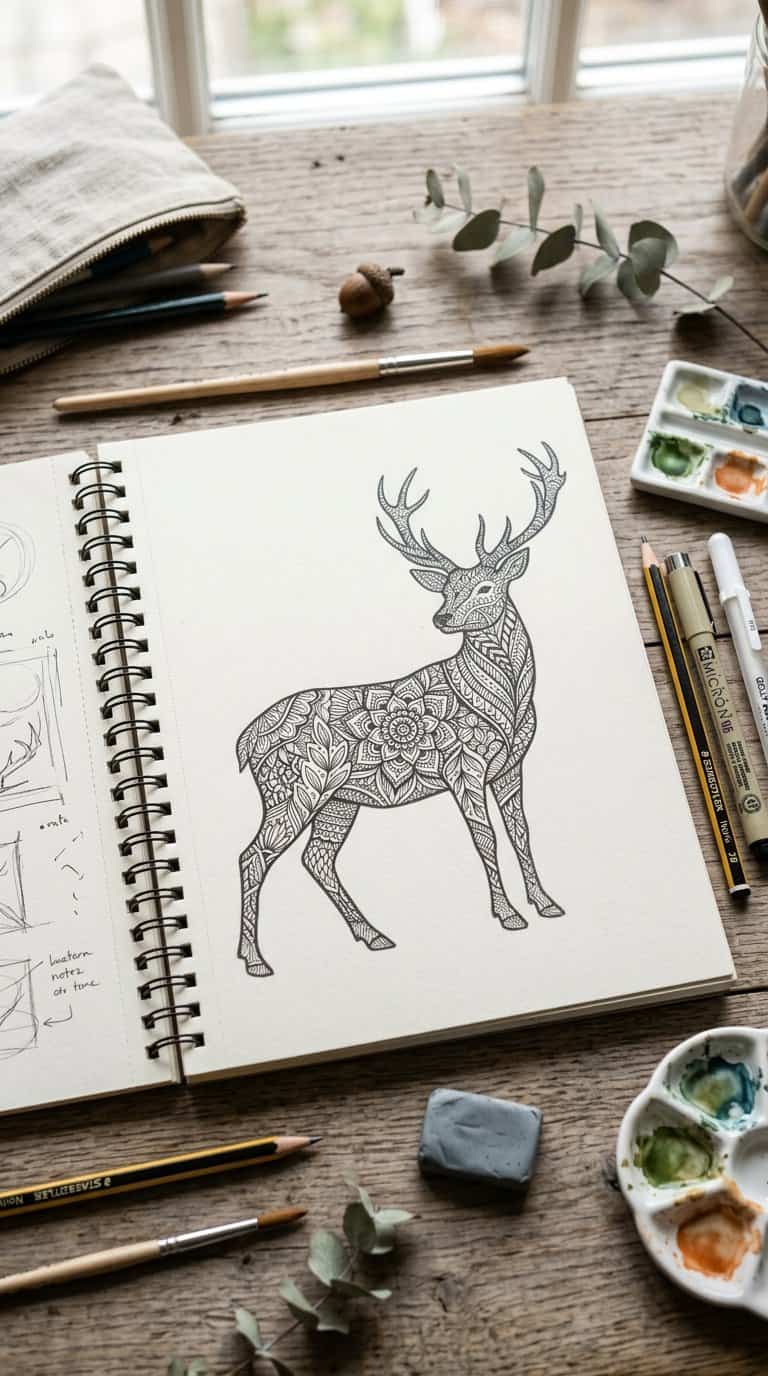
I choose a recognizable animal profile, such as a fox, bird, or elephant, and outline it with a steady line. I divide the interior into simple sections, then fill each area with different patterns, including stripes, dots, leaves, scales, or geometric shapes.
I keep the outer silhouette clear so the animal remains easy to identify. I vary the pattern density to create contrast, leaving a few small areas unfilled for balance. Black ink works well, but colored pencils can add another layer of structure.
18) Still life arranged from kitchen utensils
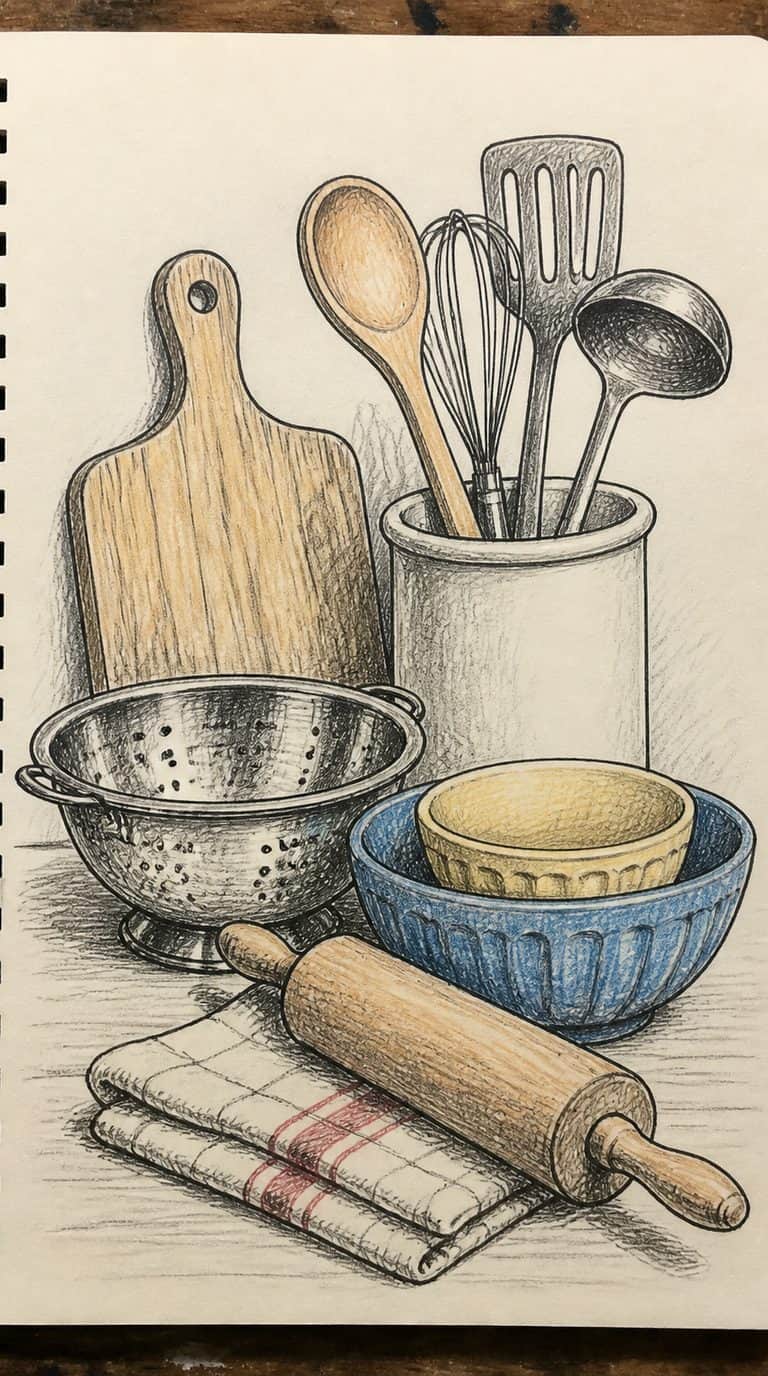
I arrange a few kitchen utensils with different shapes, such as a whisk, ladle, tongs, and wooden spoon. I place them on a plain surface, overlap some handles, and adjust the angles until the group creates an interesting composition.
I begin with light outlines to map the main proportions and negative spaces. Then I study how the objects touch, where shadows fall, and how curved metal reflects nearby forms. I use varied line weight to separate the closest utensils from those behind them.
For a focused exercise, I draw the arrangement three times using different approaches: contour lines, simple geometric shapes, and tonal shading. Changing the method helps me notice structure, texture, and light without needing unfamiliar objects.


