
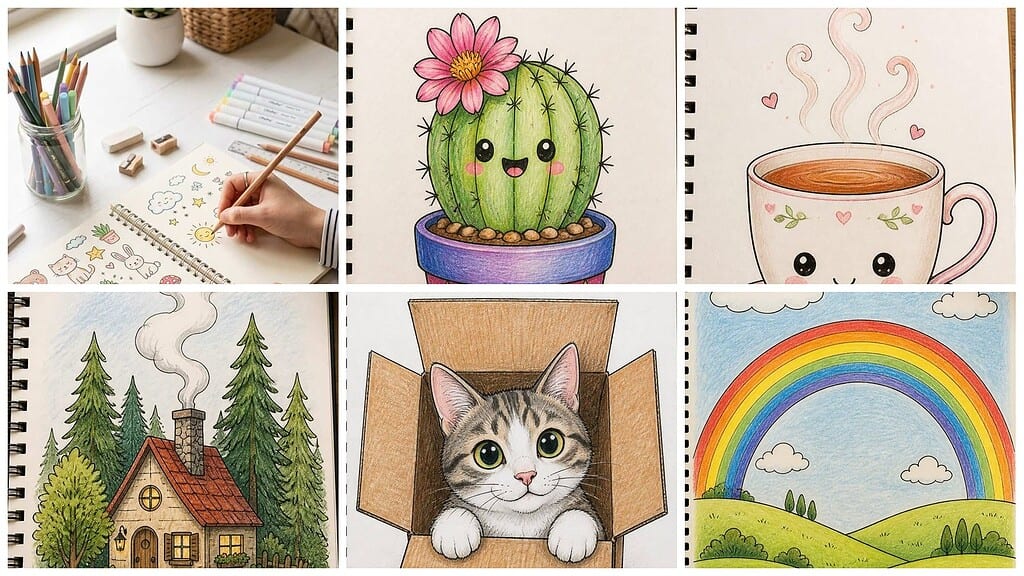
Whether you have never drawn before or want a relaxing creative activity, you can start with simple shapes and friendly subjects. This article introduces approachable ideas that help you practice lines, curves, proportions, and small details without making the process feel overwhelming.
Save for later
Want to come back to this story? Save it with your email so it is easy to find again.
You can build drawing confidence by choosing charming subjects, using basic supplies, and practicing one manageable idea at a time. I’ll guide you through playful scenes featuring animals, nature, food, and cozy everyday objects, along with practical ways to develop your skills.
Table of Contents
- 1 1) Smiling Sun Behind Fluffy Clouds
- 2 2) Happy Potted Cactus
- 3 3) Kawaii Cup of Tea
- 4 4) Bunny Holding a Carrot
- 5 5) Sleepy Crescent Moon
- 6 6) Tiny House with Smoke
- 7 7) Daisy Flower in a Pot
- 8 8) Penguin Wearing a Scarf
- 9 9) Cute Mushroom with Spots
- 10 10) Cat Poking Through a Box
- 11 11) Rainbow Above Rolling Hills
- 12 12) Friendly Ghost with a Bow
- 13 13) Hot-Air Balloon in the Sky
- 14 14) Bear Holding a Honey Jar
- 15 15) Fox Sitting Among Flowers
- 16 16) Kawaii Ice Cream Cone
- 17 17) Little Bird on a Branch
- 18 18) Lighthouse by Calm Waves
- 19 19) Whale Spraying Water
- 20 20) Cozy Cottage in the Woods
1) Smiling Sun Behind Fluffy Clouds
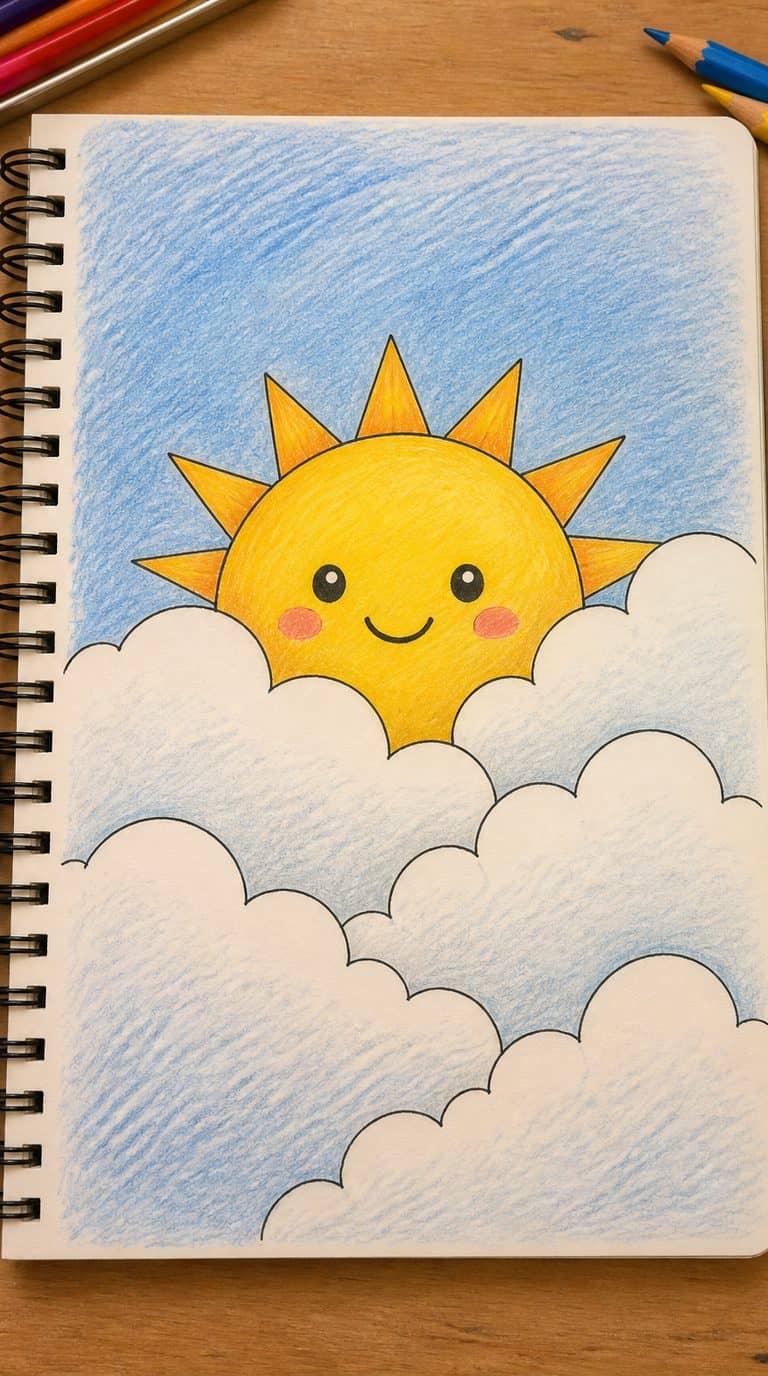
I start with a large circle for the sun, then add two small oval eyes and a curved smile. Simple rays around the edge make the face stand out without adding much detail.
I place rounded clouds across the lower part of the sun, using connected bumps instead of sharp lines. I vary their sizes so the scene feels balanced, then add light shading beneath each cloud for gentle depth.
I usually choose warm yellow for the sun, soft white or pale blue for the clouds, and a light blue background. Clean outlines and a few tiny cheek circles give the drawing a friendly finish.
2) Happy Potted Cactus
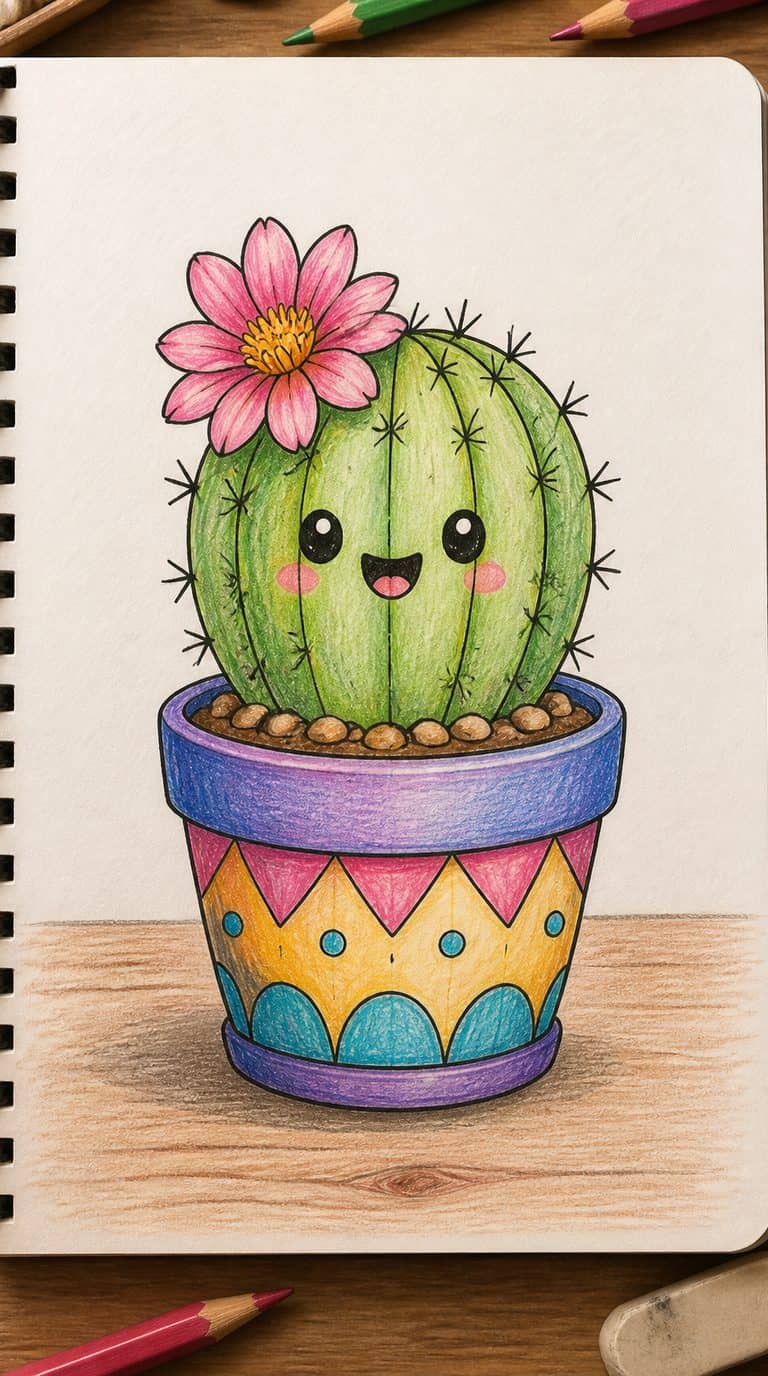
I start with a small rounded pot, then draw a simple oval cactus above it. I give the cactus two short arms and a few evenly spaced dots for spines. A curved smile and two dot eyes create a friendly expression without requiring detailed features.
I add a narrow rim to the pot and use gentle horizontal lines to suggest texture. Small triangular shapes or tiny circles can decorate the surface. I keep the shapes bold and uncomplicated, which makes this idea easy to adjust with colored pencils, markers, or a black pen.
3) Kawaii Cup of Tea
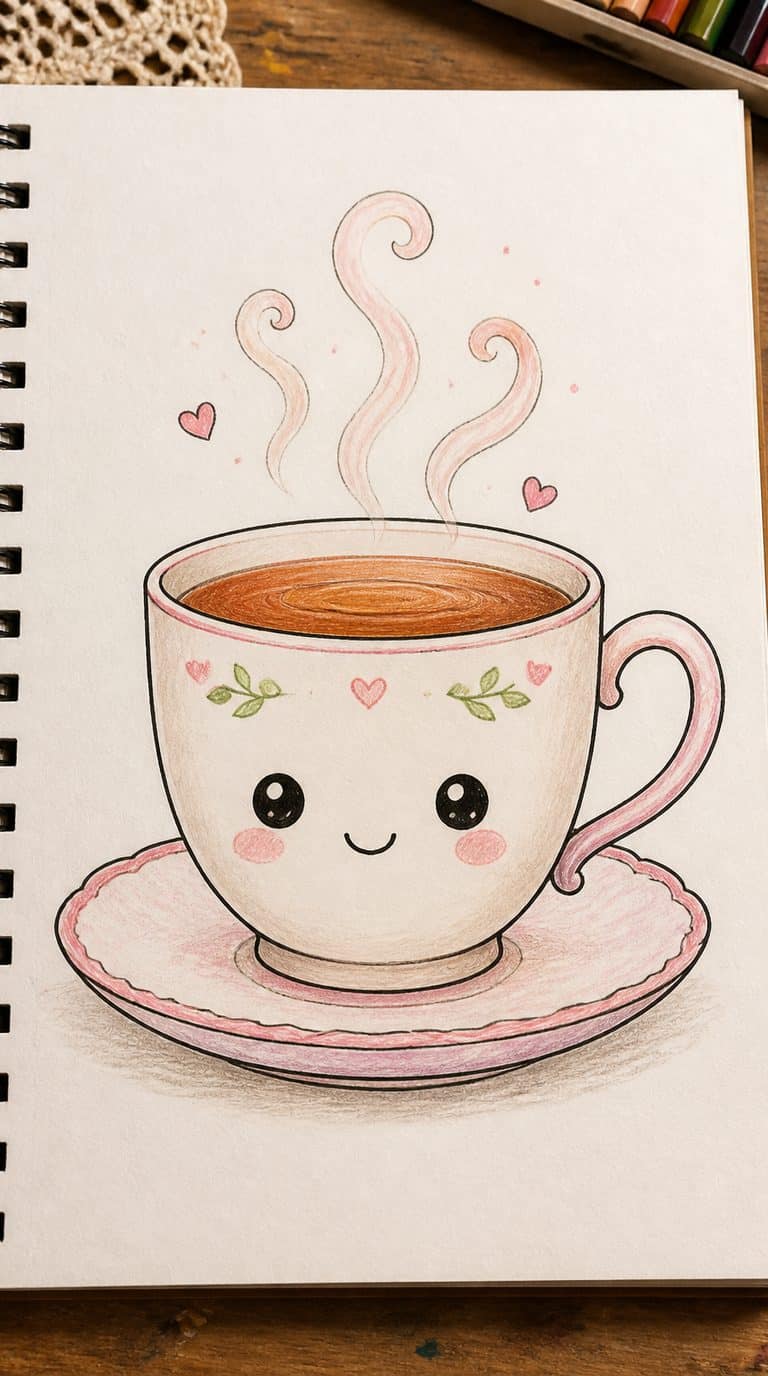
I draw a small teacup with a rounded body, a curved handle, and a slightly uneven rim for a friendly look. Two simple oval eyes and a tiny smiling mouth create the kawaii expression without requiring detailed features.
I add a few short steam lines above the cup, then decorate the front with a heart, flower, or small star. Soft colors such as cream, pink, and light brown keep the drawing gentle, while a darker outline helps each shape stand out.
4) Bunny Holding a Carrot
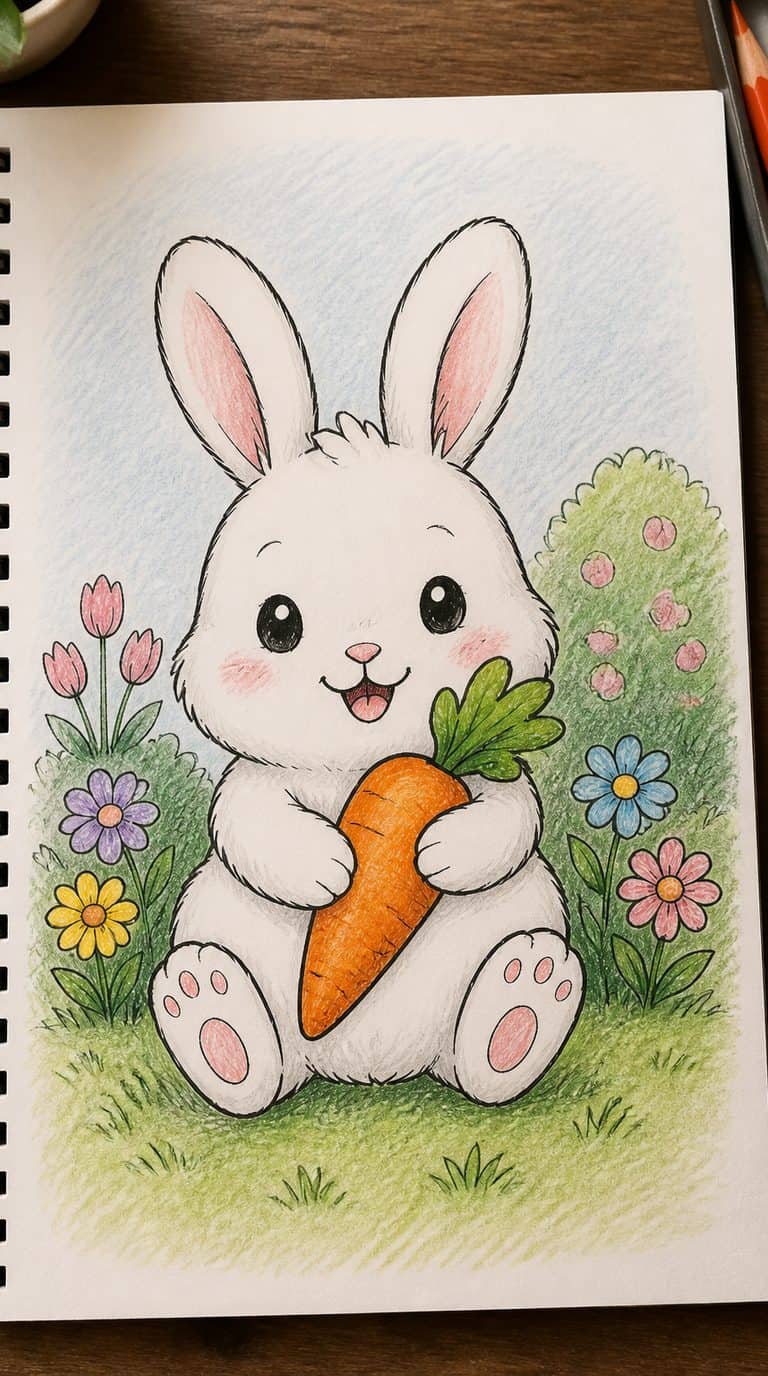
I start with two rounded shapes for the bunny’s head and body, then add long ears with slightly uneven curves. Simple oval eyes, a small triangular nose, and short whisker lines give the face a gentle expression without requiring detailed shading.
I draw the carrot as a tapered oval between the bunny’s paws. I add a leafy top with a few pointed shapes and use short curved lines to suggest texture. Small feet, a fluffy tail, and a few ground lines complete the drawing while keeping the forms easy to trace.
5) Sleepy Crescent Moon

I draw a simple crescent shape, then give it a relaxed face with closed eyes and a tiny smile. I keep the features small so the moon looks peaceful rather than crowded.
I add a few short lines near the curve to suggest soft nighttime light. Small stars, dots, or a sleepy cloud can fill the surrounding space without making the drawing busy.
For color, I use pale yellow, cream, or light blue, then outline the shape with a darker pen. I vary the line thickness around the outer curve to give the moon a clean, finished look.
6) Tiny House with Smoke
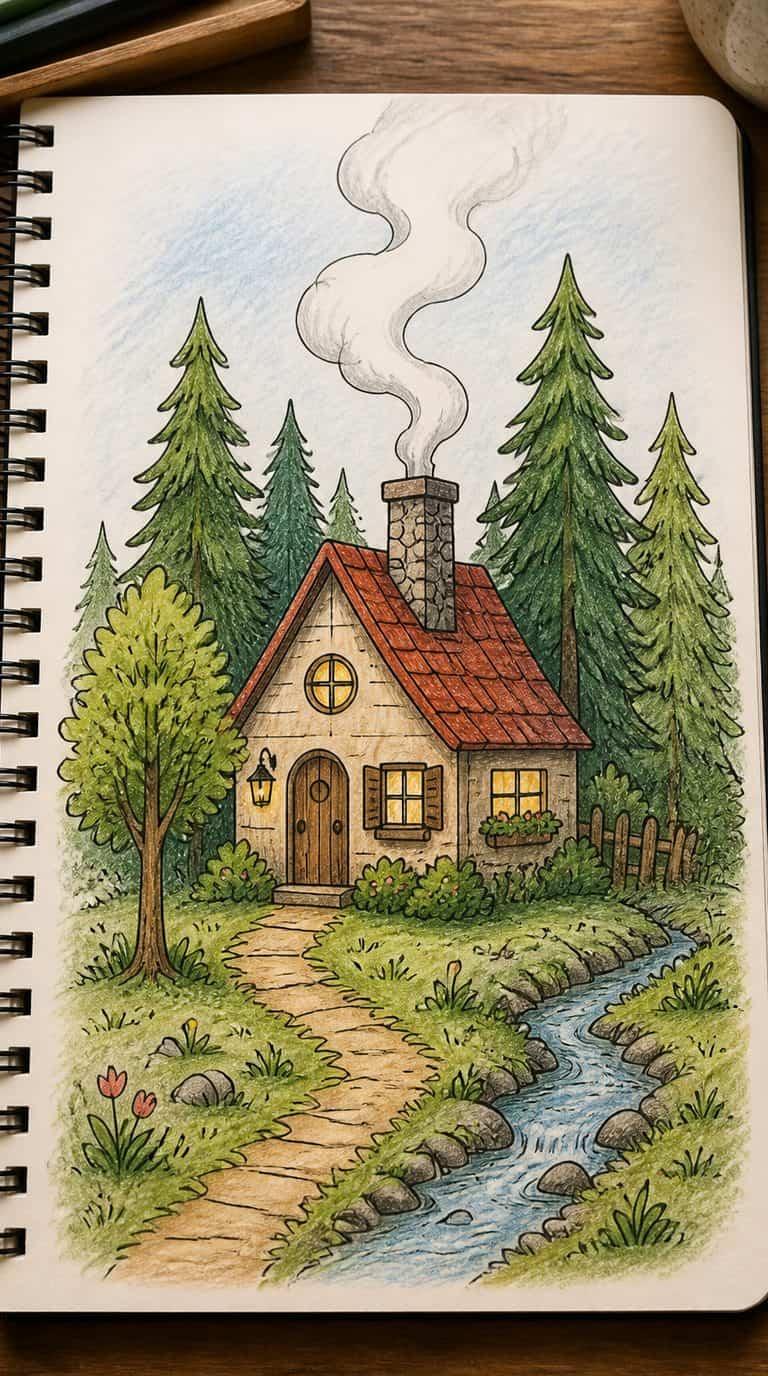
I start with a small square or rectangular body, then add a simple triangular roof. I place a tiny door in the center and draw one or two windows with neat crossbars.
To make the house feel cozy, I add a short chimney and a few curved smoke lines above it. I keep the smoke uneven rather than perfectly symmetrical, which gives the drawing a natural look.
I use rounded corners, small flower shapes, or a narrow path to add personality without making the sketch crowded. A soft color palette, such as warm yellow, brown, and muted green, keeps the finished drawing gentle and easy to manage.
7) Daisy Flower in a Pot
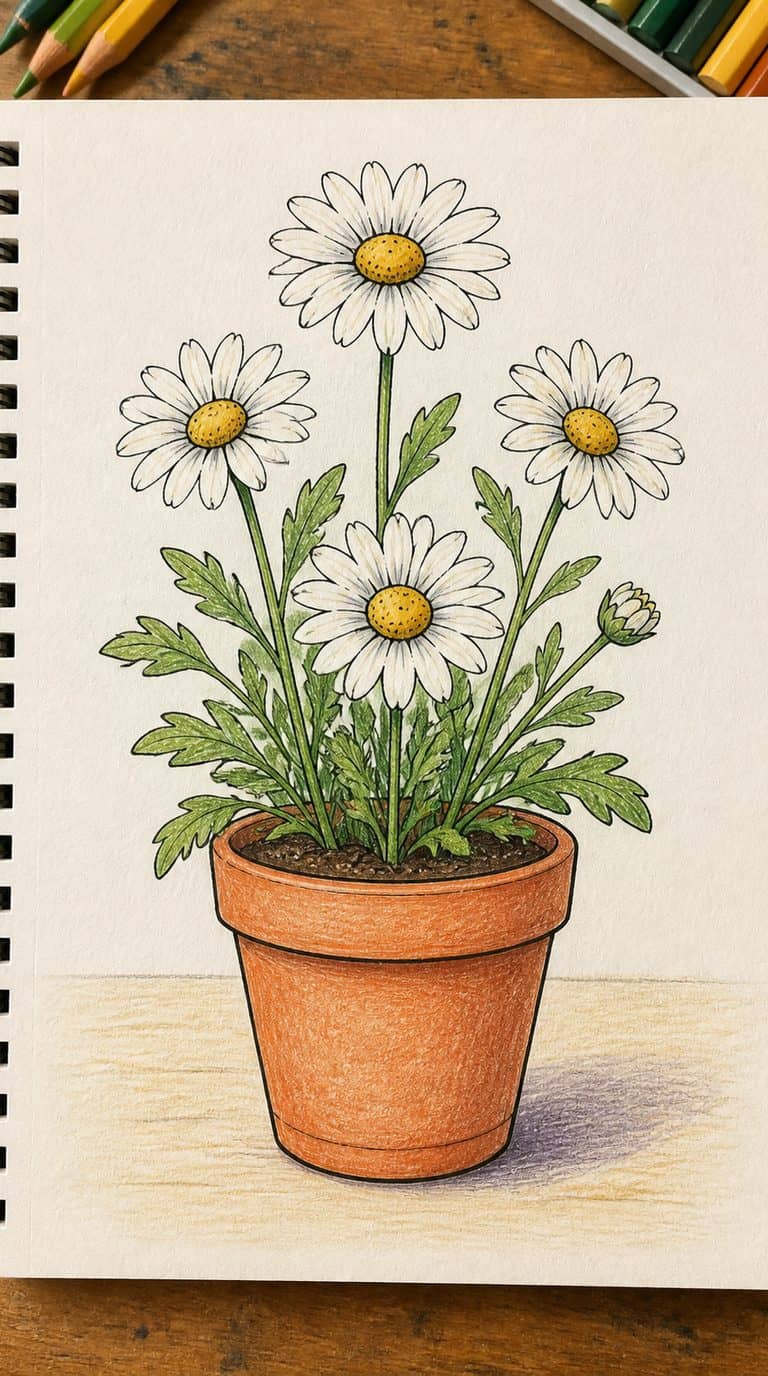
I start with a small flowerpot using a rounded rectangle for the rim and a gently tapered shape below it. I add a few curved lines for texture, keeping the details simple.
Next, I draw a thin stem rising from the pot and surround its tip with oval petals. A small circle forms the center, while two or three leaves give the flower a balanced shape.
I use soft colors such as yellow for the petals, green for the stem and leaves, and terracotta for the pot. I add a light shadow beneath the rim to make the drawing look more dimensional.
8) Penguin Wearing a Scarf
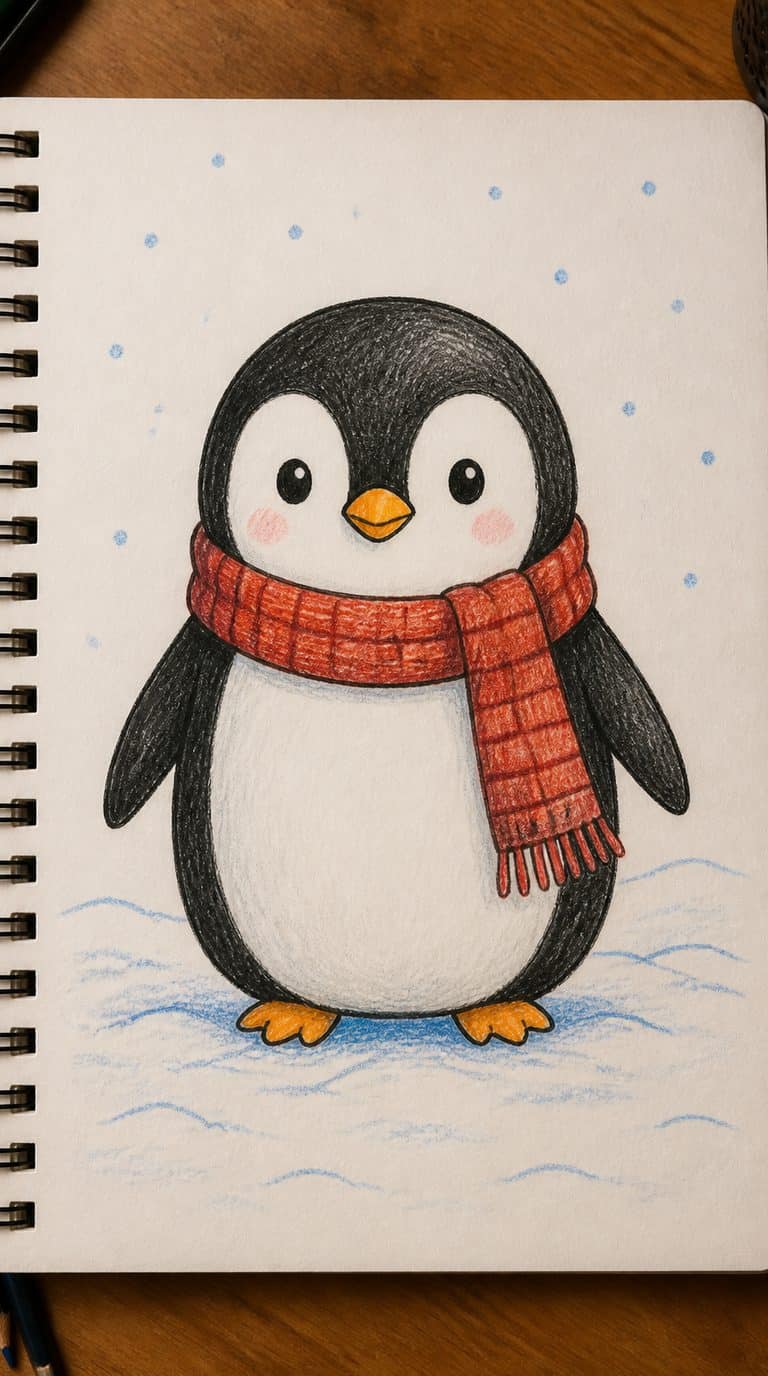
I start with a rounded body, then add a smaller oval head and two short flippers. I keep the shapes simple so the penguin looks balanced and friendly without requiring precise anatomy.
Next, I draw a pale belly, small eyes, and a tiny triangular beak. I wrap a scarf around the neck, letting the ends hang unevenly for a natural, playful detail.
I use curved lines to show the scarf’s folds and add a few stripes or dots for pattern. A soft blue, red, or yellow scarf contrasts neatly with the penguin’s black-and-white body.
9) Cute Mushroom with Spots
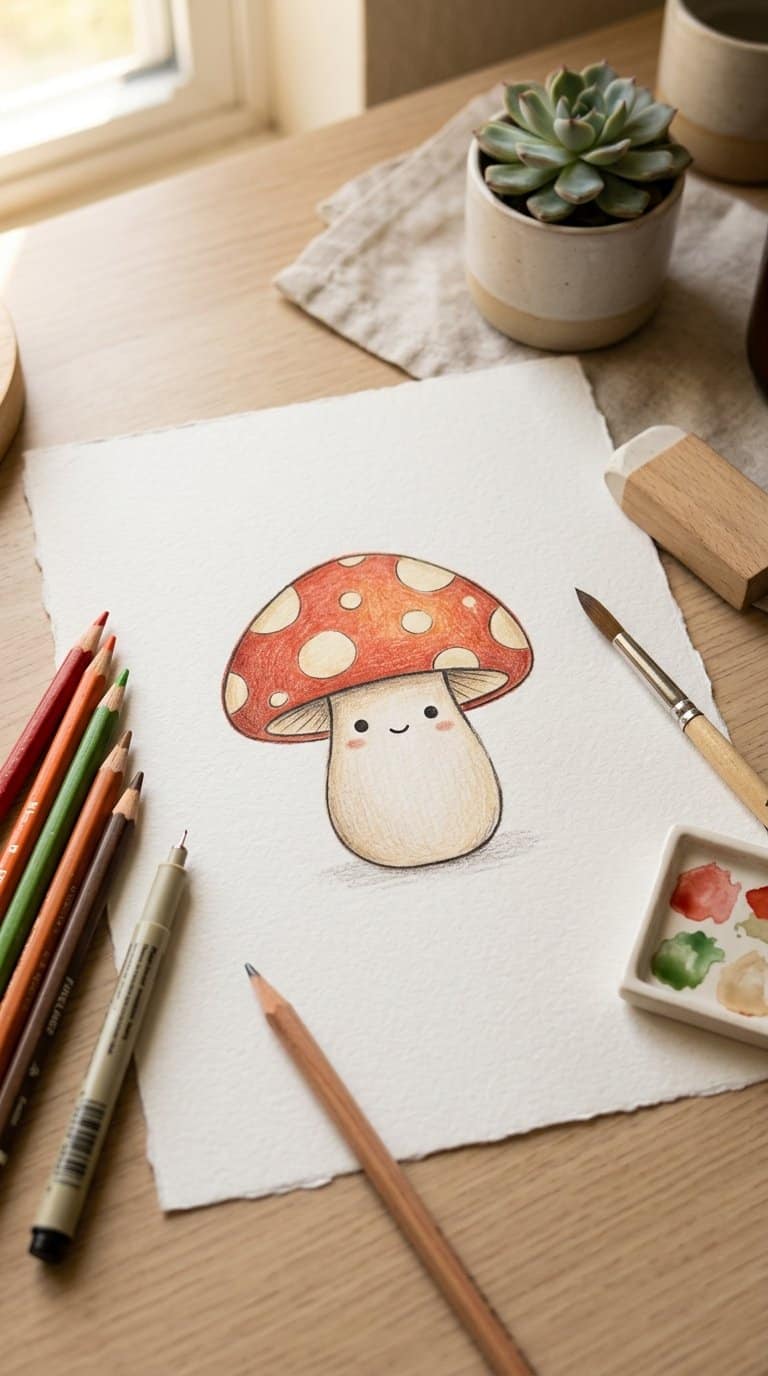
I start with a short, rounded stem and place it beneath a wide, curved cap. This simple shape keeps the drawing approachable while giving the mushroom a friendly appearance.
I add several uneven spots across the cap, varying their size and spacing for a natural look. Small oval eyes and a tiny smile bring the character to life without requiring detailed features.
I use soft colors such as red, orange, or lavender for the cap, then choose a lighter shade for the spots. A few blades of grass or simple dots around the base can complete the scene.
10) Cat Poking Through a Box
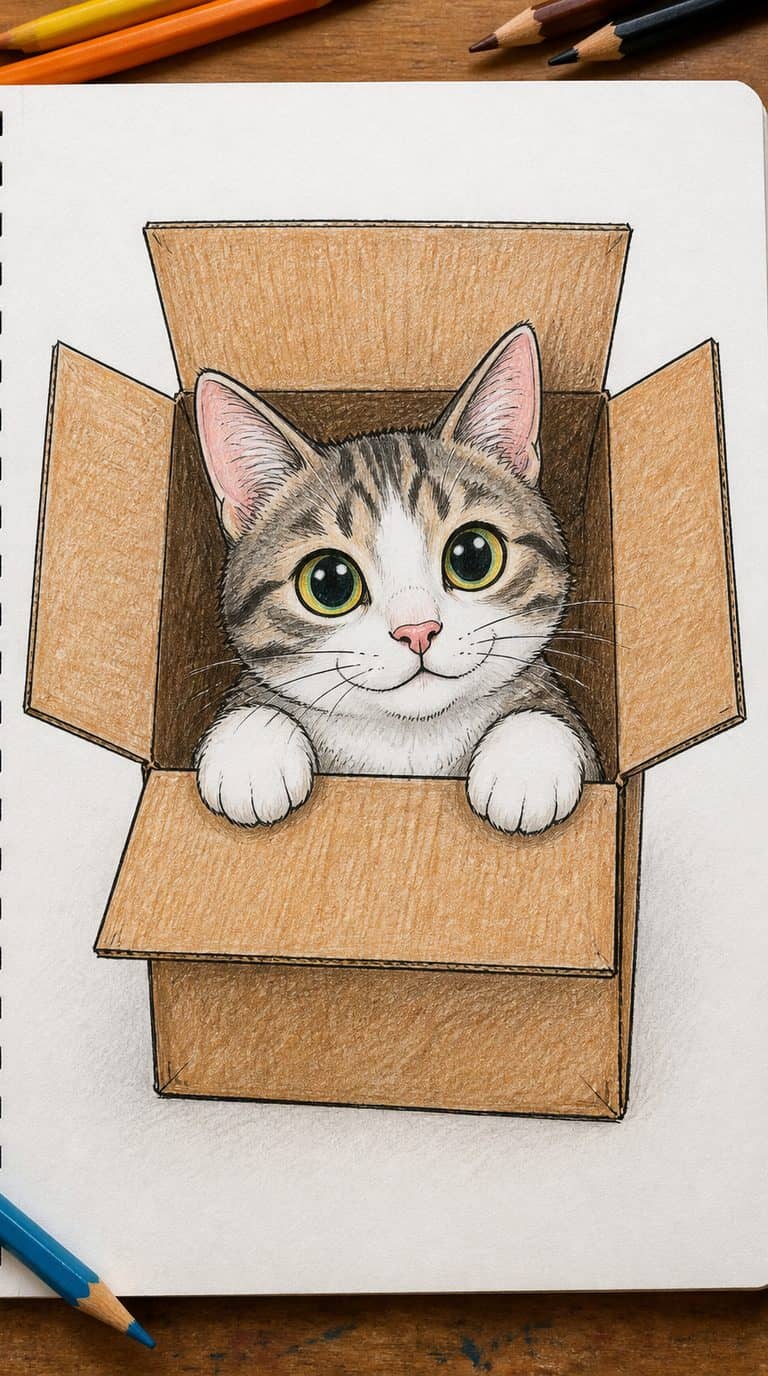
I draw a simple open box first, using straight lines and a slightly uneven top edge. Then I add the cat’s head peeking over the rim, with two pointed ears, round eyes, and small whiskers.
I keep the shapes basic so beginners can focus on expression. I use curved lines for the cheeks and paws, then add a few short marks to suggest fur without overcrowding the drawing.
For extra character, I place one paw on the box edge and angle the ears in different directions. I finish with light shading inside the box and beneath the cat’s chin to create depth.
11) Rainbow Above Rolling Hills
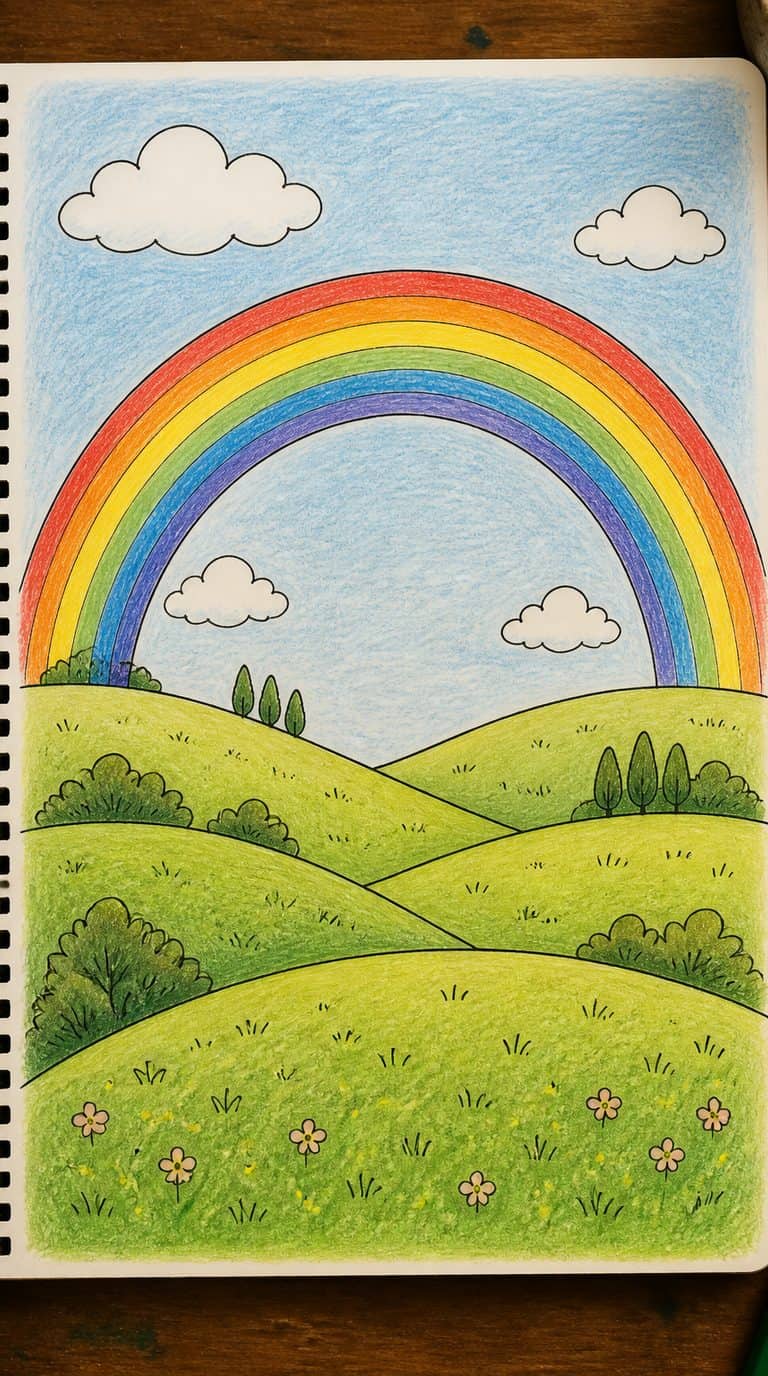
I sketch two or three smooth hill shapes across the lower half of the page, then add a wide rainbow above them. I keep the lines simple and use evenly spaced bands so the drawing stays easy to follow.
I give each hill a different shade of green and add small details such as flowers, trees, or scattered dots. For the sky, I use light blue and leave a little white space around the rainbow to make its colors stand out.
I finish with soft clouds near the rainbow’s ends. I can use colored pencils, markers, or crayons, depending on the texture I want.
12) Friendly Ghost with a Bow
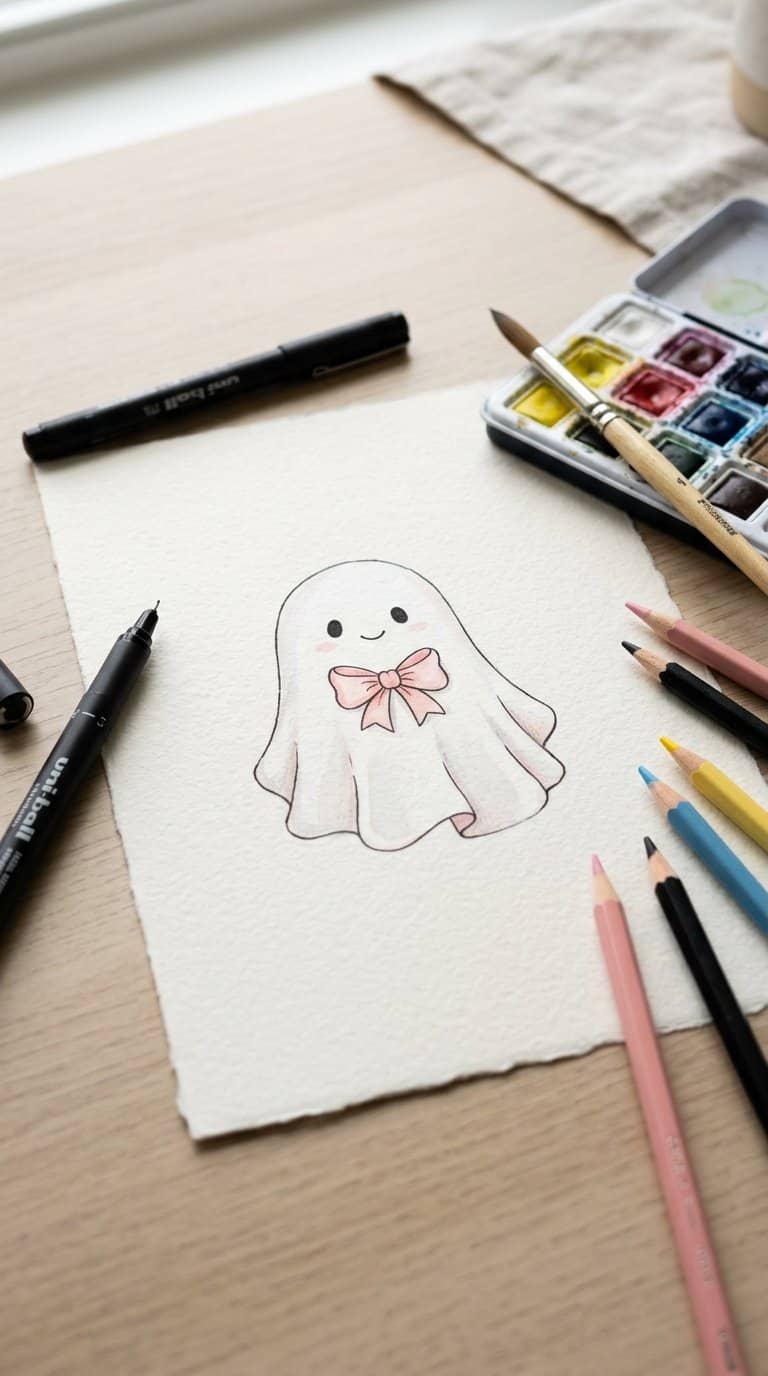
I start with a rounded, slightly uneven outline to give the ghost a soft, handmade look. I add two small oval eyes, a curved smile, and short wavy lines along the bottom edge.
For extra personality, I draw a simple bow beside one eye or near the ghost’s neck. I use overlapping loops and a small center knot, then add light shading beneath the bow and along one side of the body.
13) Hot-Air Balloon in the Sky
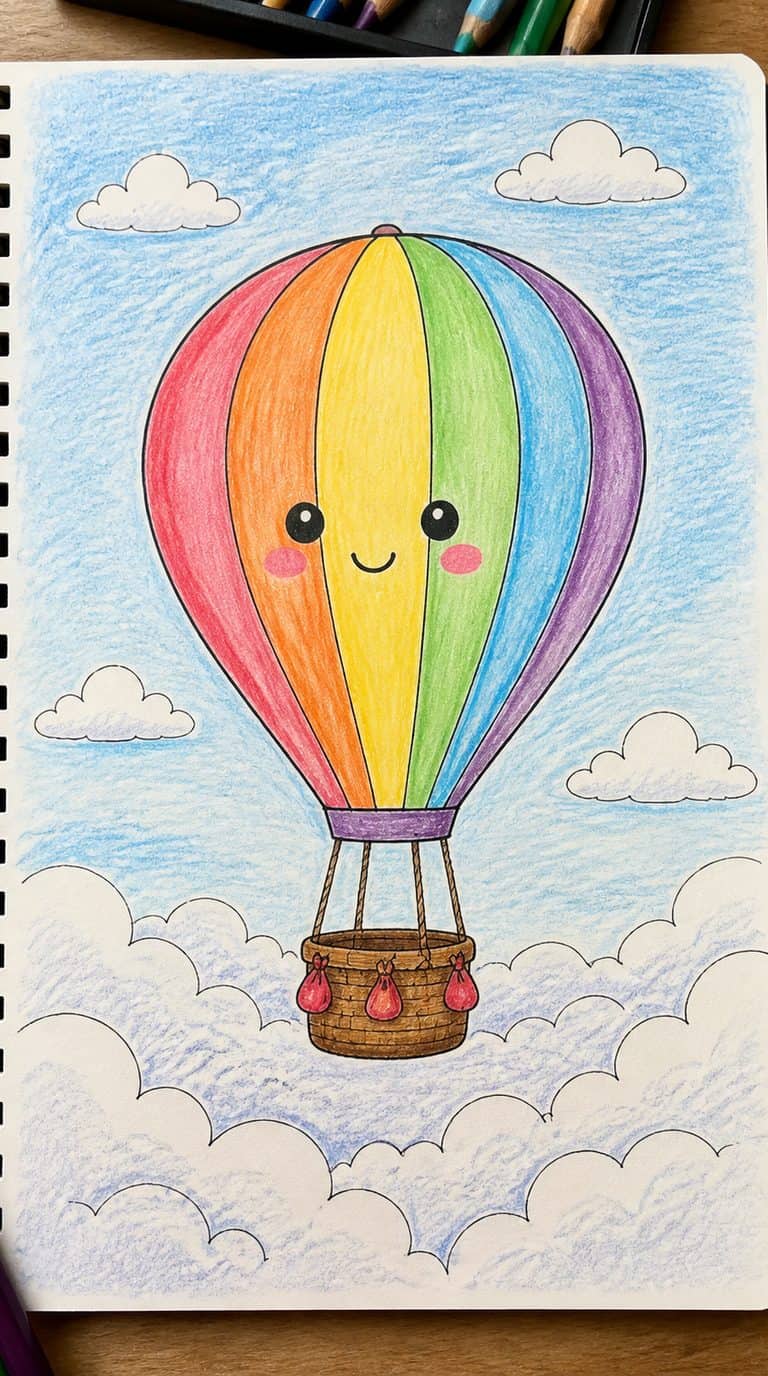
I start with a rounded balloon shape, then divide it into curved panels that meet near the bottom. I keep the lines light so I can adjust the spacing and maintain a balanced design.
Below the balloon, I draw a small basket connected by two narrow ropes. I add a few soft clouds around it, using simple curved outlines rather than detailed shading.
For color, I choose two or three cheerful shades for the panels and a contrasting basket. I finish with a pale blue background and leave some white space to make the balloon stand out.
14) Bear Holding a Honey Jar
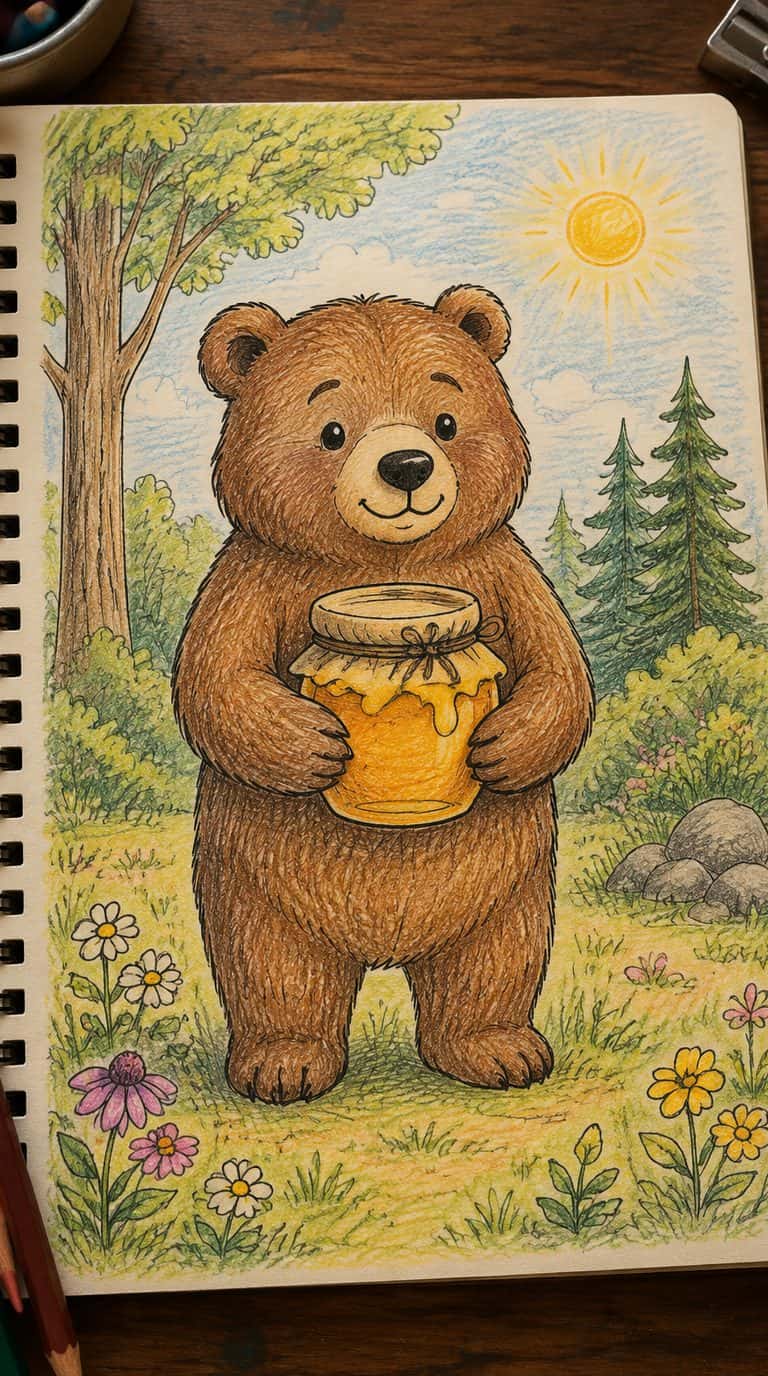
I start with a rounded head, small ears, and a simple oval body. I give the bear short arms that curve around a wide honey jar, making the pose easy to recognize without adding complex details.
I draw the jar at the center and add a small label, a lid, and a few curved lines to suggest glass. I use short strokes for the bear’s fur, then add a calm smile and dot eyes for a friendly expression.
I finish with tiny paws, a few honey drips, and soft shading beneath the jar. Warm browns and golden yellow create a clear, cozy color scheme.
15) Fox Sitting Among Flowers
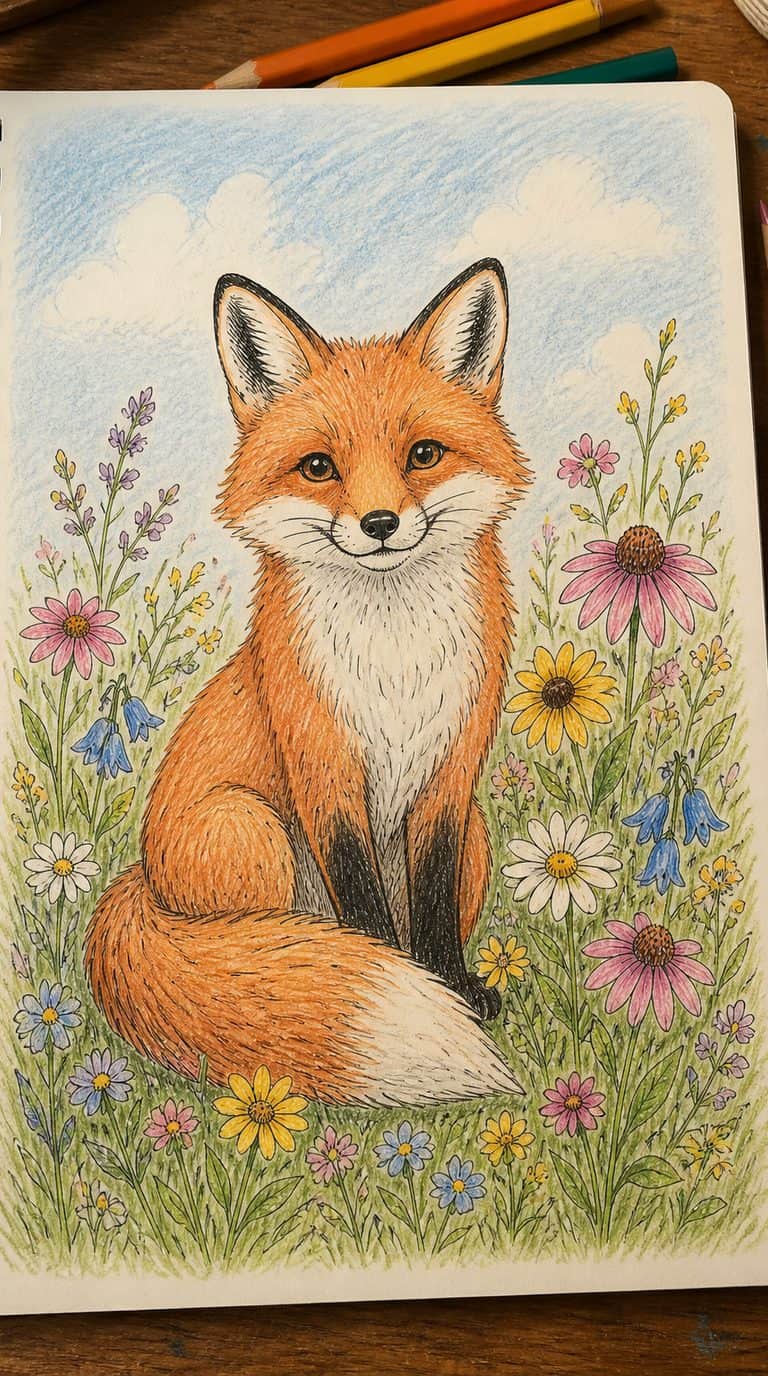
I draw the fox in a relaxed seated pose, using a rounded body, pointed ears, and a large tail curled around its paws. I keep the shapes simple so I can focus on the fox’s alert eyes and small nose.
I place a few flowers around the fox’s feet and vary their sizes to create depth. I use curved stems, oval leaves, and simple petal shapes, then add light shading beneath the body and flowers. Warm orange, cream, and green create a gentle color palette.
16) Kawaii Ice Cream Cone

I start with a simple triangle for the cone, then round its bottom corners slightly. I add diagonal lines in both directions to create a small waffle pattern without making the drawing too busy.
Above the cone, I draw one or two scoops as soft, uneven circles. I give the ice cream a cute face with two dot eyes and a tiny curved mouth, then add a few sprinkles or a small cherry for extra detail.
I use gentle colors such as pink, mint, or pale yellow for the scoops and a warm tan for the cone. A small shadow beneath the cone helps it feel grounded.
17) Little Bird on a Branch
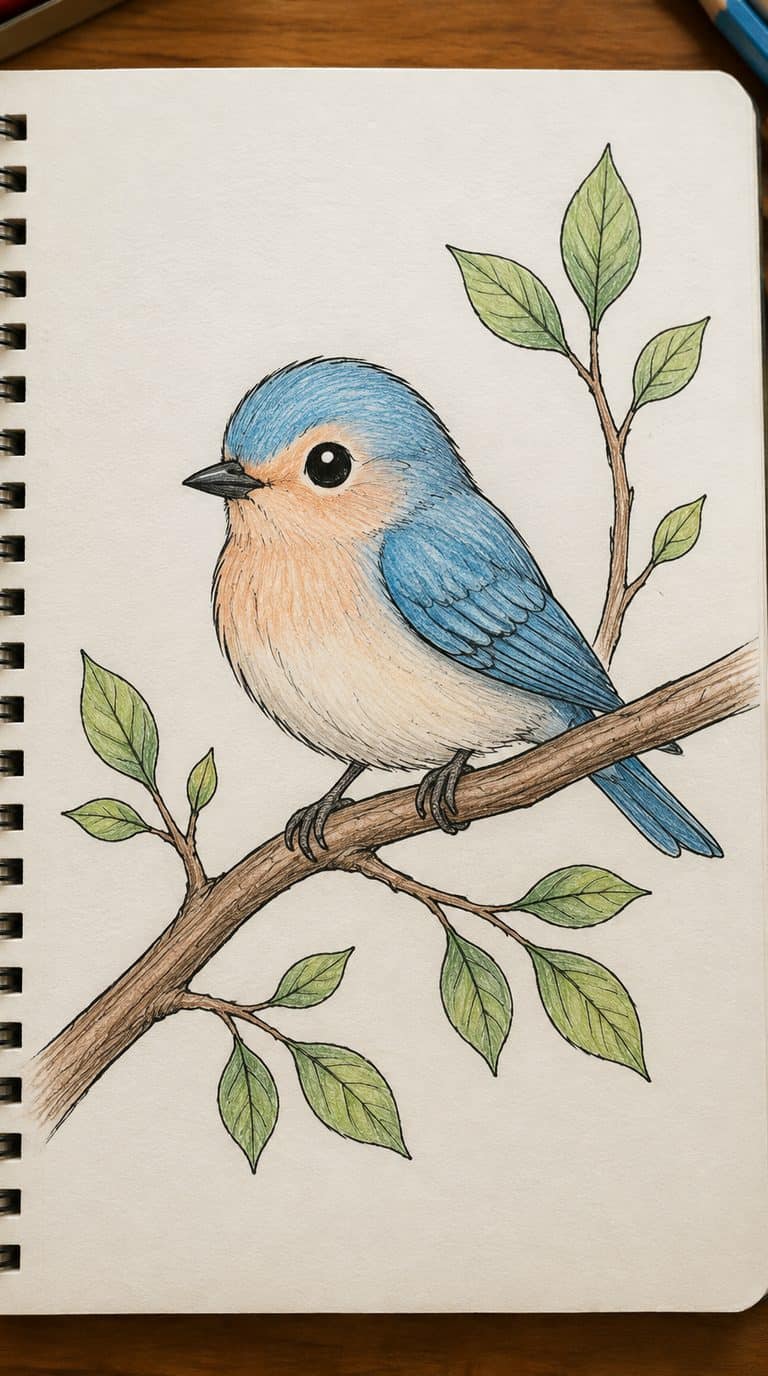
I start with a small oval for the body, then add a rounded head and a short pointed beak. Two simple curves can suggest folded wings, while tiny circles create clear eyes without adding detail.
For the branch, I draw a slightly uneven horizontal line beneath the bird and add a second line below it for thickness. I use short strokes for claws, then finish with a few leaves or small buds. This drawing lets me practice balanced shapes, simple textures, and gentle curves.
18) Lighthouse by Calm Waves
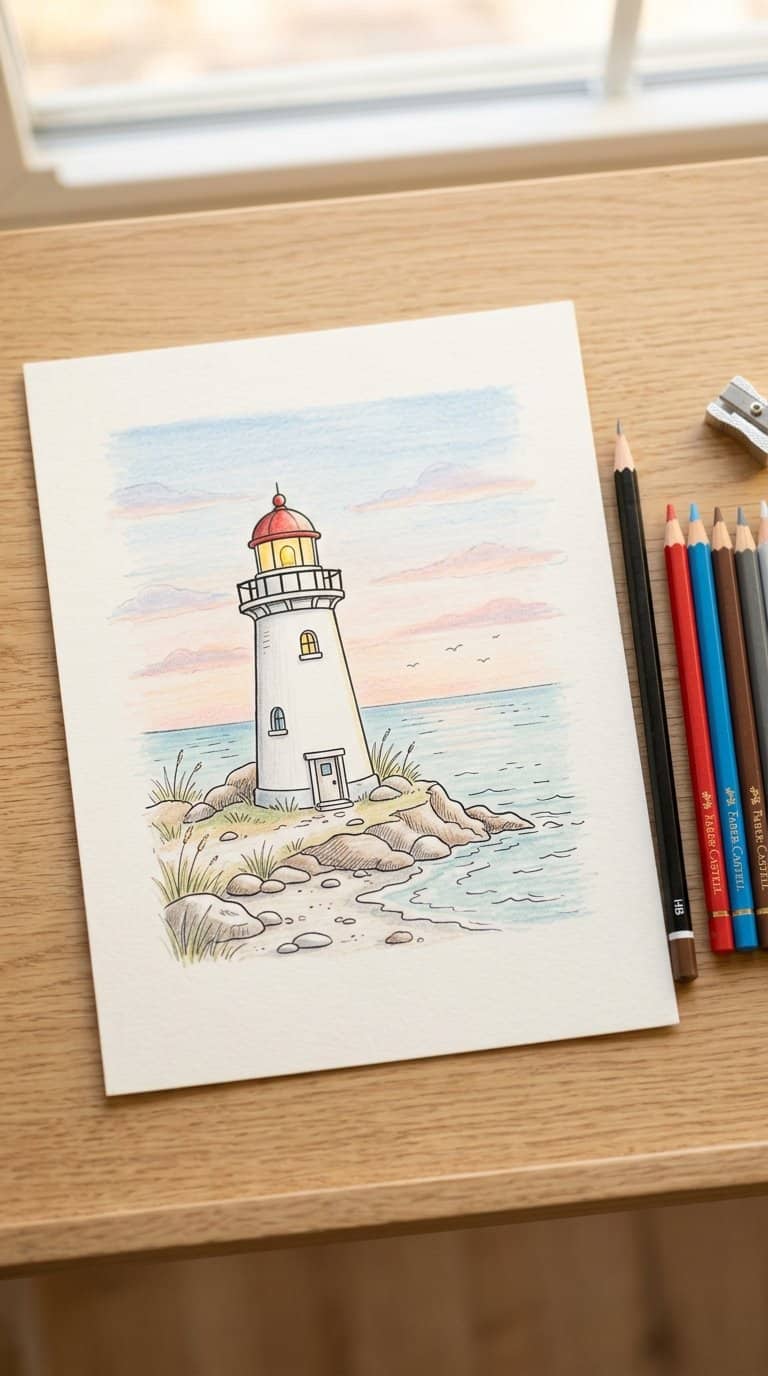
I draw a simple lighthouse beside gently curved waves, using basic shapes to keep the scene approachable. I start with a narrow tower, add a small lantern room, and place a roof on top.
I use soft, rounded lines for the water and add a few clouds in the background. My light beam can be a simple triangle, while small windows and a doorway give the lighthouse character without adding difficult details.
I finish with calm colors such as pale blue, sandy beige, and warm yellow. I keep the waves uneven but controlled, which makes the drawing feel natural while remaining easy to copy.
19) Whale Spraying Water

I draw a rounded whale body with a small fin, curved tail, and friendly eye. I keep the shapes simple, using smooth lines so beginners can adjust the proportions without much difficulty.
Above its head, I add a short spout made from several curved streams. I vary their heights slightly to make the water look active, then add tiny droplets around them for extra detail.
I use blue or gray for the whale and a lighter blue for the spray. A pale background, a few wave lines, and a small patch of shadow beneath the body help place the drawing in the water without crowding it.
20) Cozy Cottage in the Woods
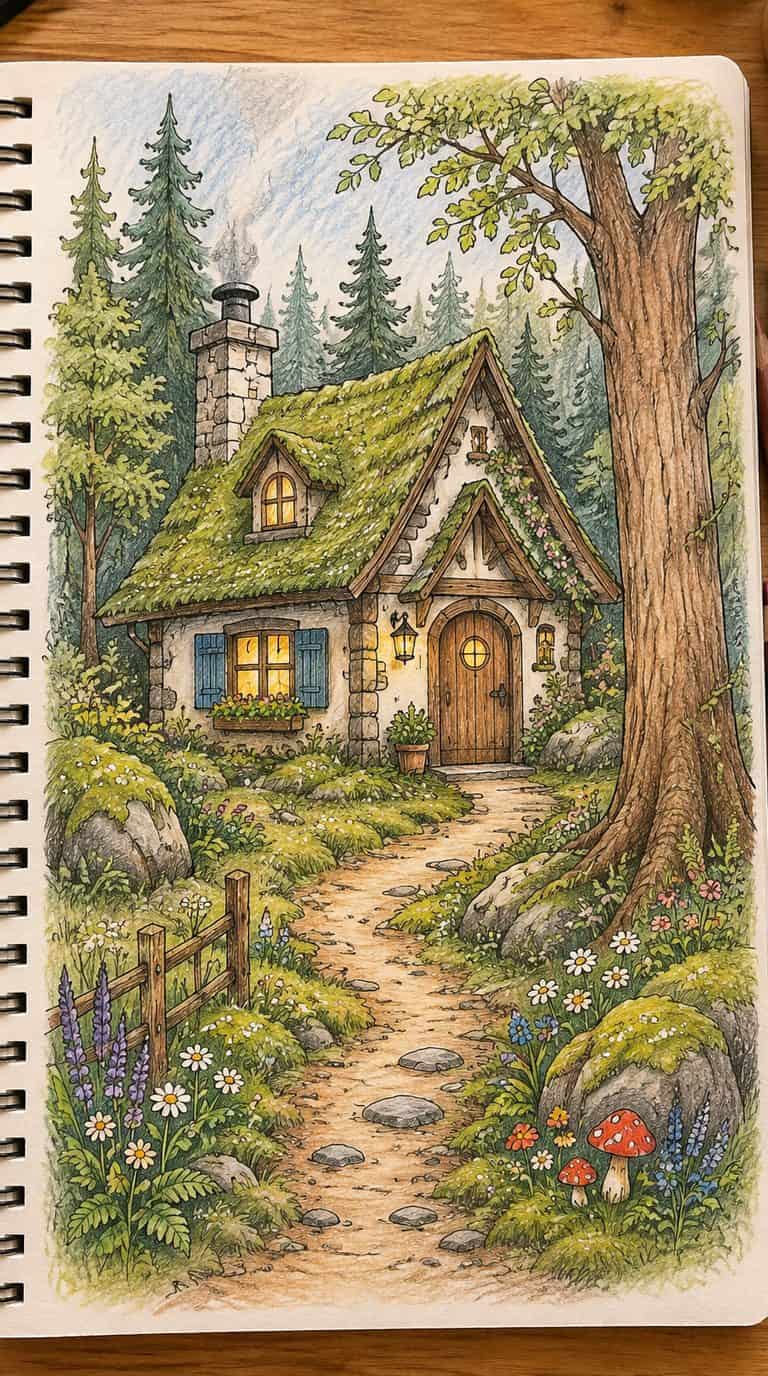
I start with a small cottage, using simple rectangles for the walls and a triangle for the roof. I add a chimney, a round window, and a short door to give the building a welcoming shape.
Next, I draw tall pine trees around the cottage, keeping their forms loose and uneven. A winding path, a few mushrooms, and scattered stones add detail without making the scene difficult to manage.
I use curved lines for smoke, branches, and ground texture. Soft colors such as green, brown, cream, and muted yellow help me create a calm woodland setting while keeping the drawing approachable.


