
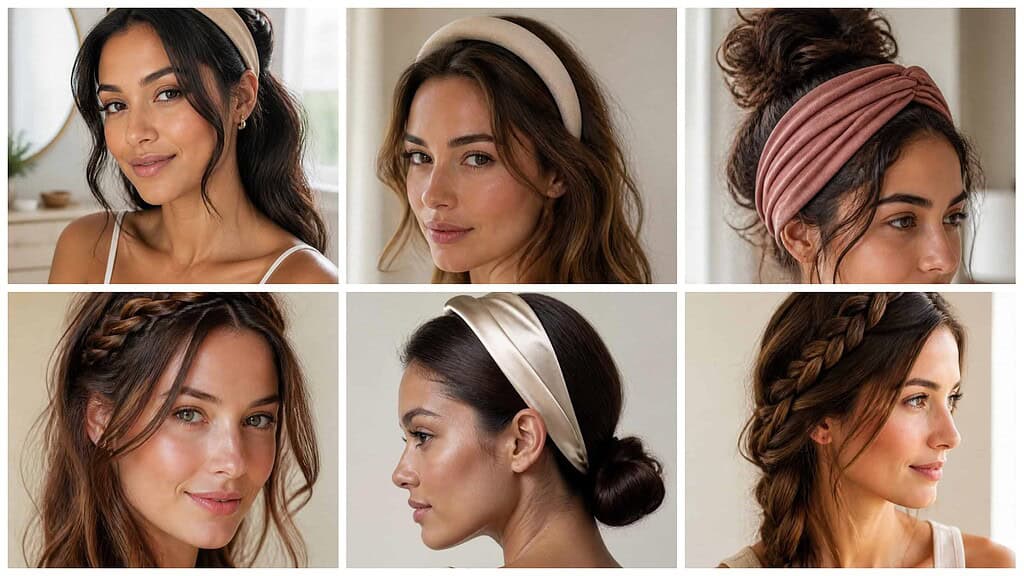
Second-day hair often needs shape and polish rather than a full wash. I can use a headband to manage oily roots, soften flyaways, and create a styled look while keeping the hair’s natural texture.
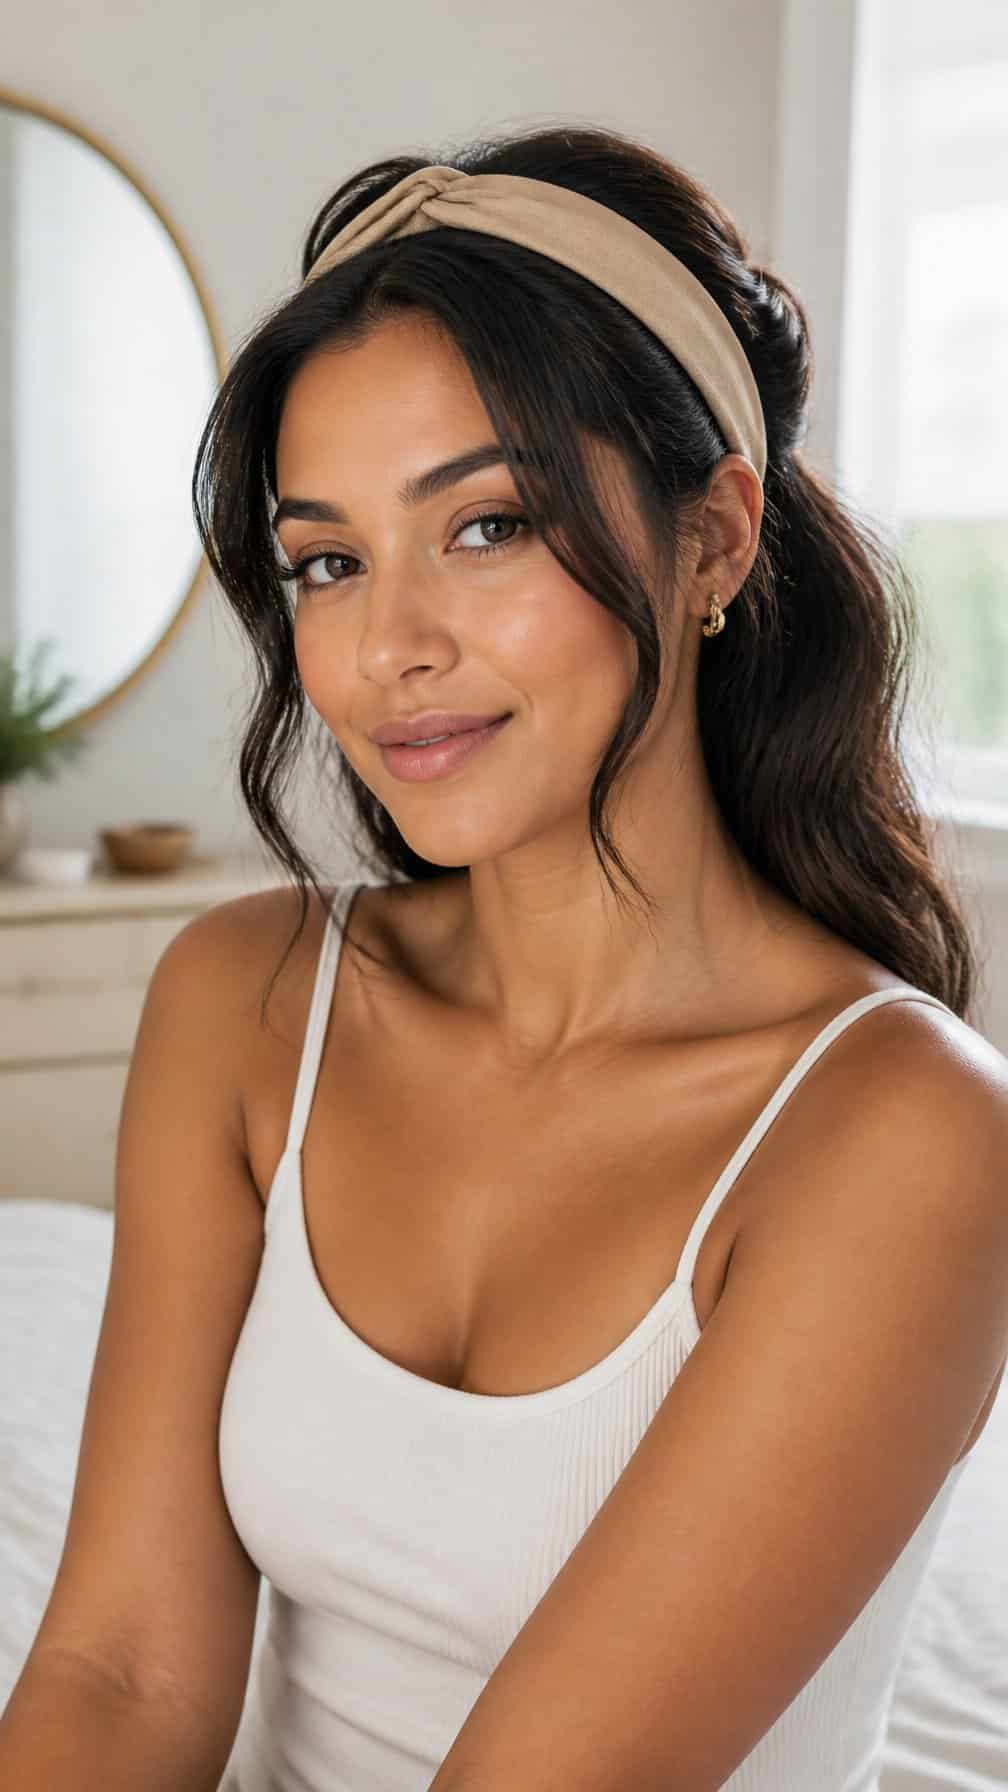
Save for later
Want to come back to this story? Save it with your email so it is easy to find again.
These 19 headband hairstyles help me refresh second-day hair with simple techniques that suit loose waves, ponytails, buns, braids, and sleek styles. I can also choose headband materials and styling methods that support comfort, hold, and healthy-looking hair.
Table of Contents
- 1 1) Classic Padded Headband with Loose Waves
- 2 2) Knotted Headband and Low Ponytail
- 3 3) Wide Fabric Headband with a Messy Bun
- 4 4) Braided Headband with Tousled Hair
- 5 5) Twisted Headband and Low Chignon
- 6 6) Boho Headband with Natural Waves
- 7 7) Satin Headband and Sleek Low Bun
- 8 8) Scarf Headband with a High Ponytail
- 9 9) Elastic Headband with Textured Crown
- 10 10) Velvet Headband and Side-Swept Hair
- 11 11) Rope Headband with a Loose Braid
- 12 12) Headband Tuck Hairstyle
- 13 13) Crossed Headband with a Half-Up Style
- 14 14) Thin Headband with Flipped Ends
- 15 15) Pearl Headband and Low Twist
- 16 16) Athletic Headband with a High Messy Bun
- 17 17) Printed Headband with Beachy Waves
- 18 18) Double Headband with a Voluminous Ponytail
- 19 19) Fishtail Braid Headband with Loose Ends
1) Classic Padded Headband with Loose Waves
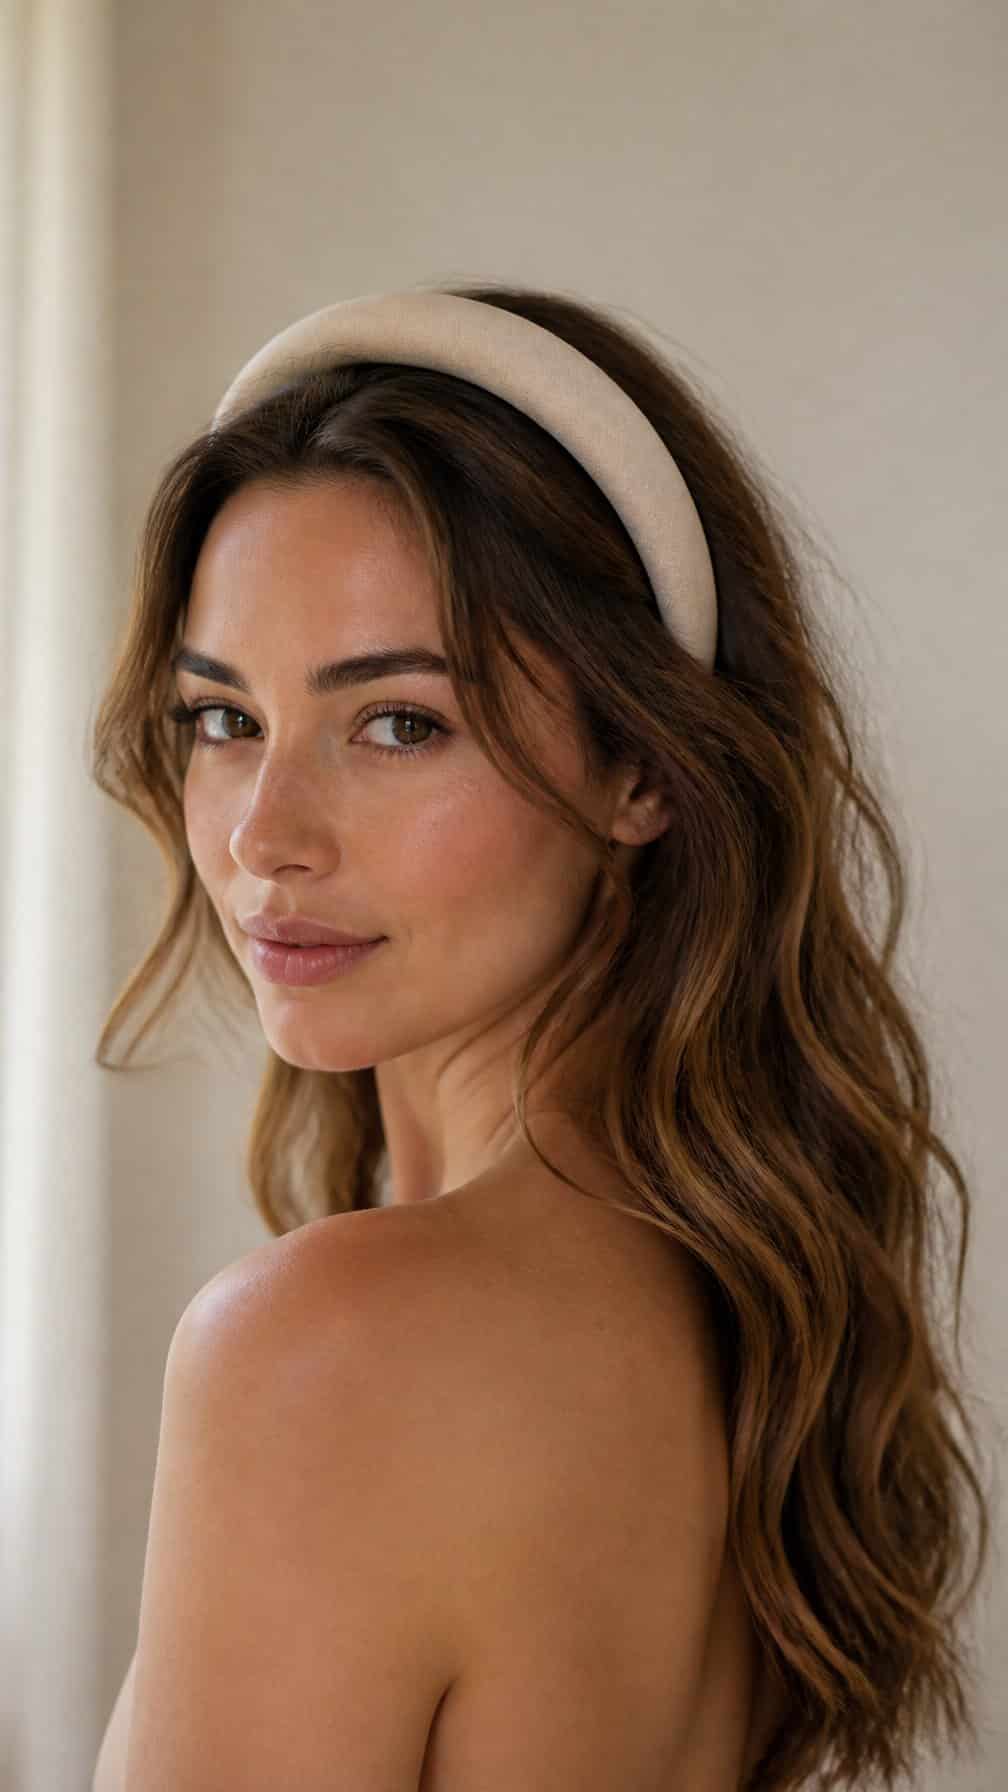
I refresh my second-day waves with a light mist of water or dry shampoo at the roots, then loosen the lengths with my fingers. I avoid brushing through the ends, which helps preserve their natural bend and texture.
I place the padded headband slightly behind my hairline and gently pull out a few face-framing pieces. The raised shape adds structure while covering flattened roots, and the loose waves keep the style relaxed rather than overly polished.
2) Knotted Headband and Low Ponytail
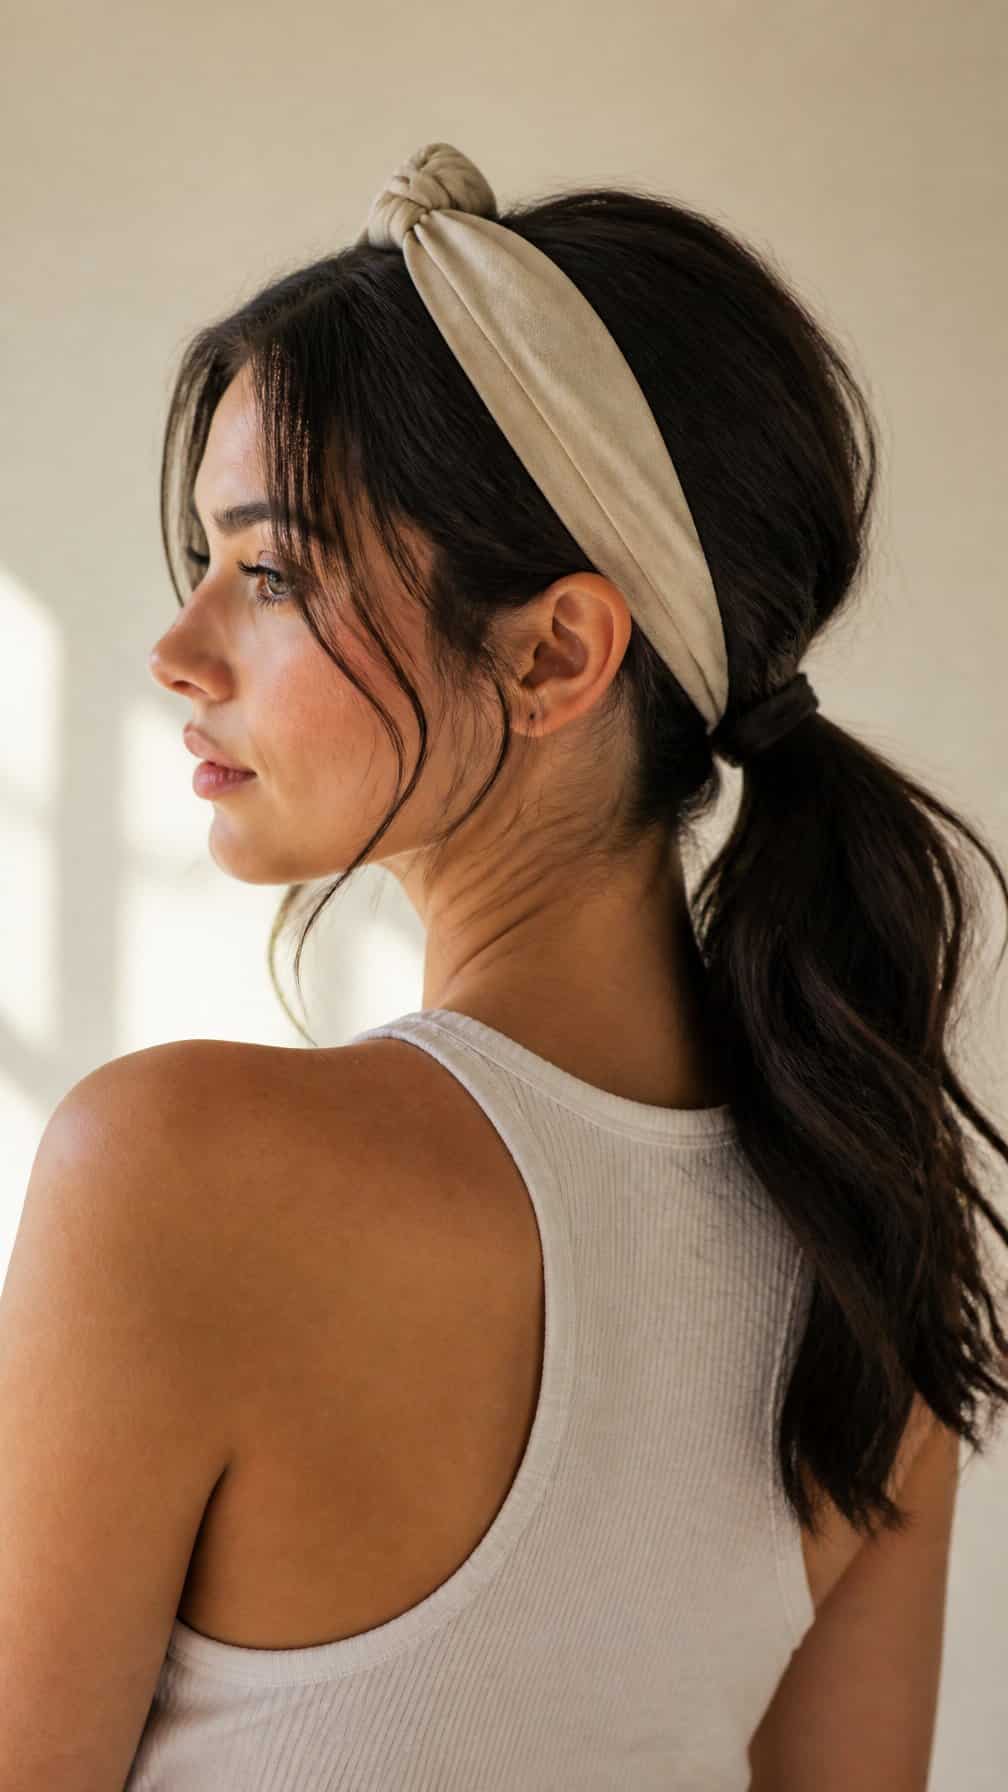
I place a knotted headband over my crown, keeping the knot slightly off-center for a relaxed finish. Then I gather my hair at the nape and secure it with a covered elastic, allowing my natural second-day texture to add gentle shape.
I loosen a few pieces around my temples and pull lightly at the ponytail’s base to soften the silhouette. A small amount of dry shampoo at the roots absorbs excess oil and gives the style enough grip without making my hair look stiff.
3) Wide Fabric Headband with a Messy Bun
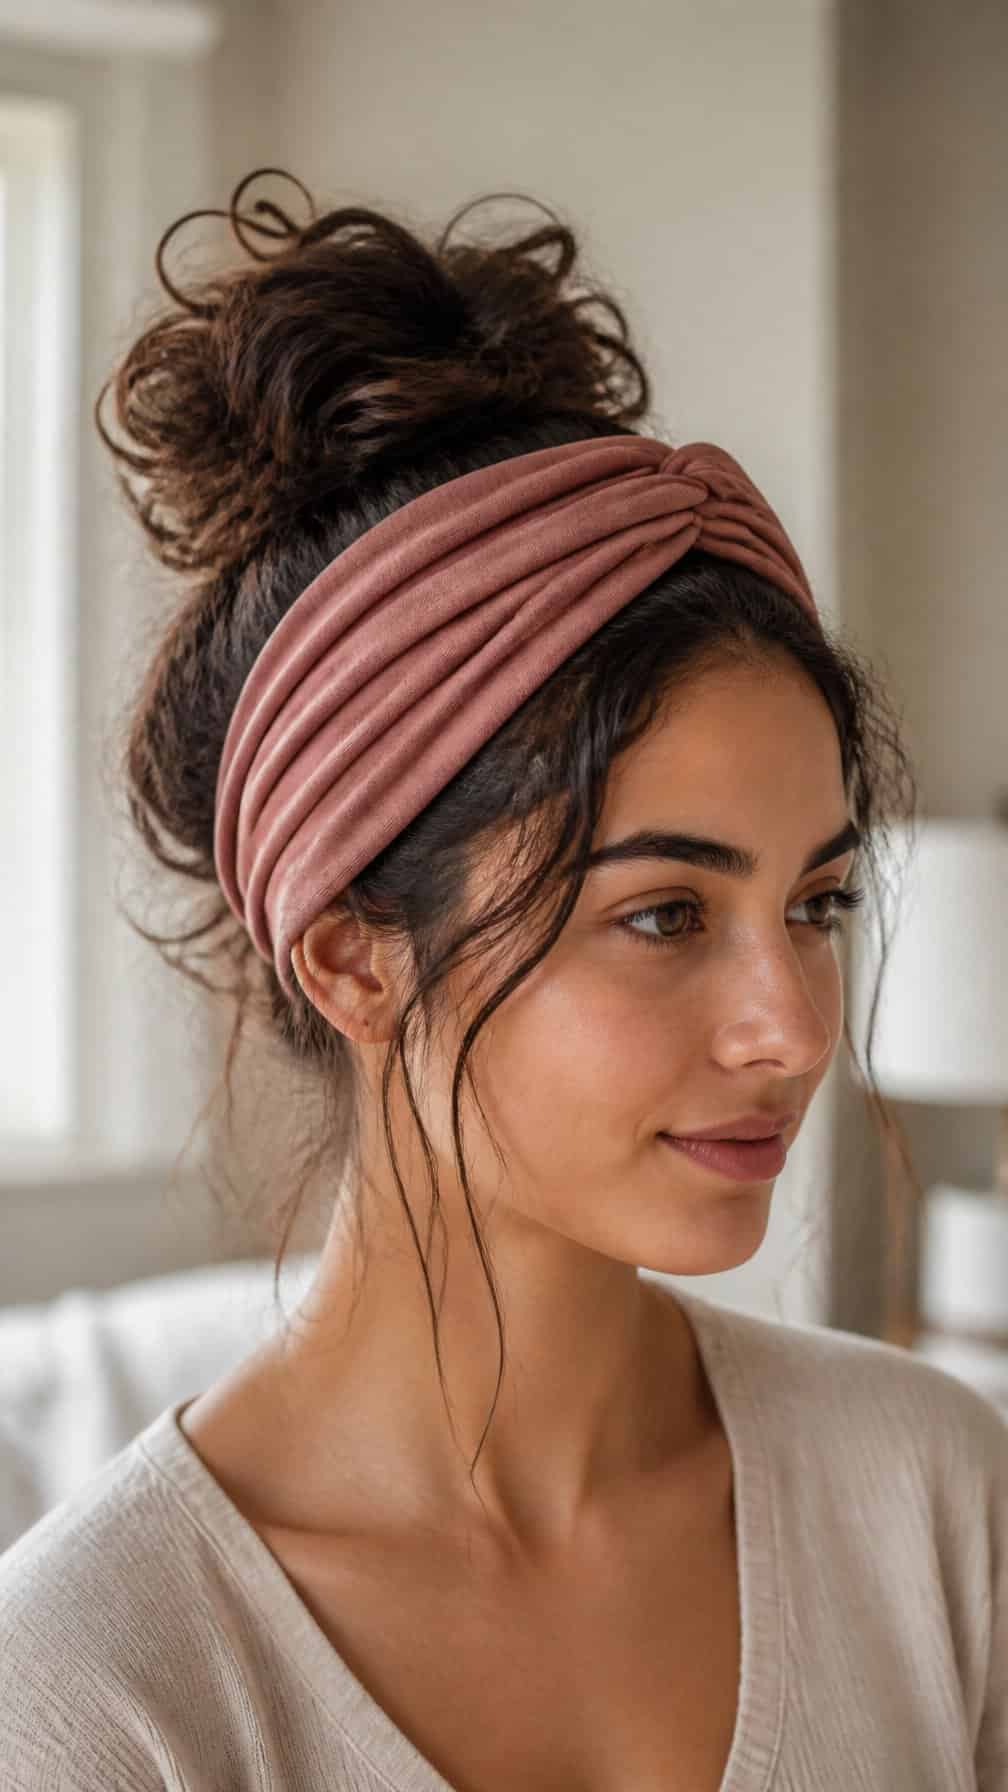
I place a wide fabric headband near my hairline, letting it cover visible roots and smooth the front sections. Then I gather my hair into a loose bun at the crown or just above the nape, securing it with a soft elastic.
I pull out a few strands around my temples and gently loosen the bun for a relaxed shape. The fabric adds coverage without requiring heat styling, while its wider design stays comfortable and helps hold shorter layers away from my face.
4) Braided Headband with Tousled Hair
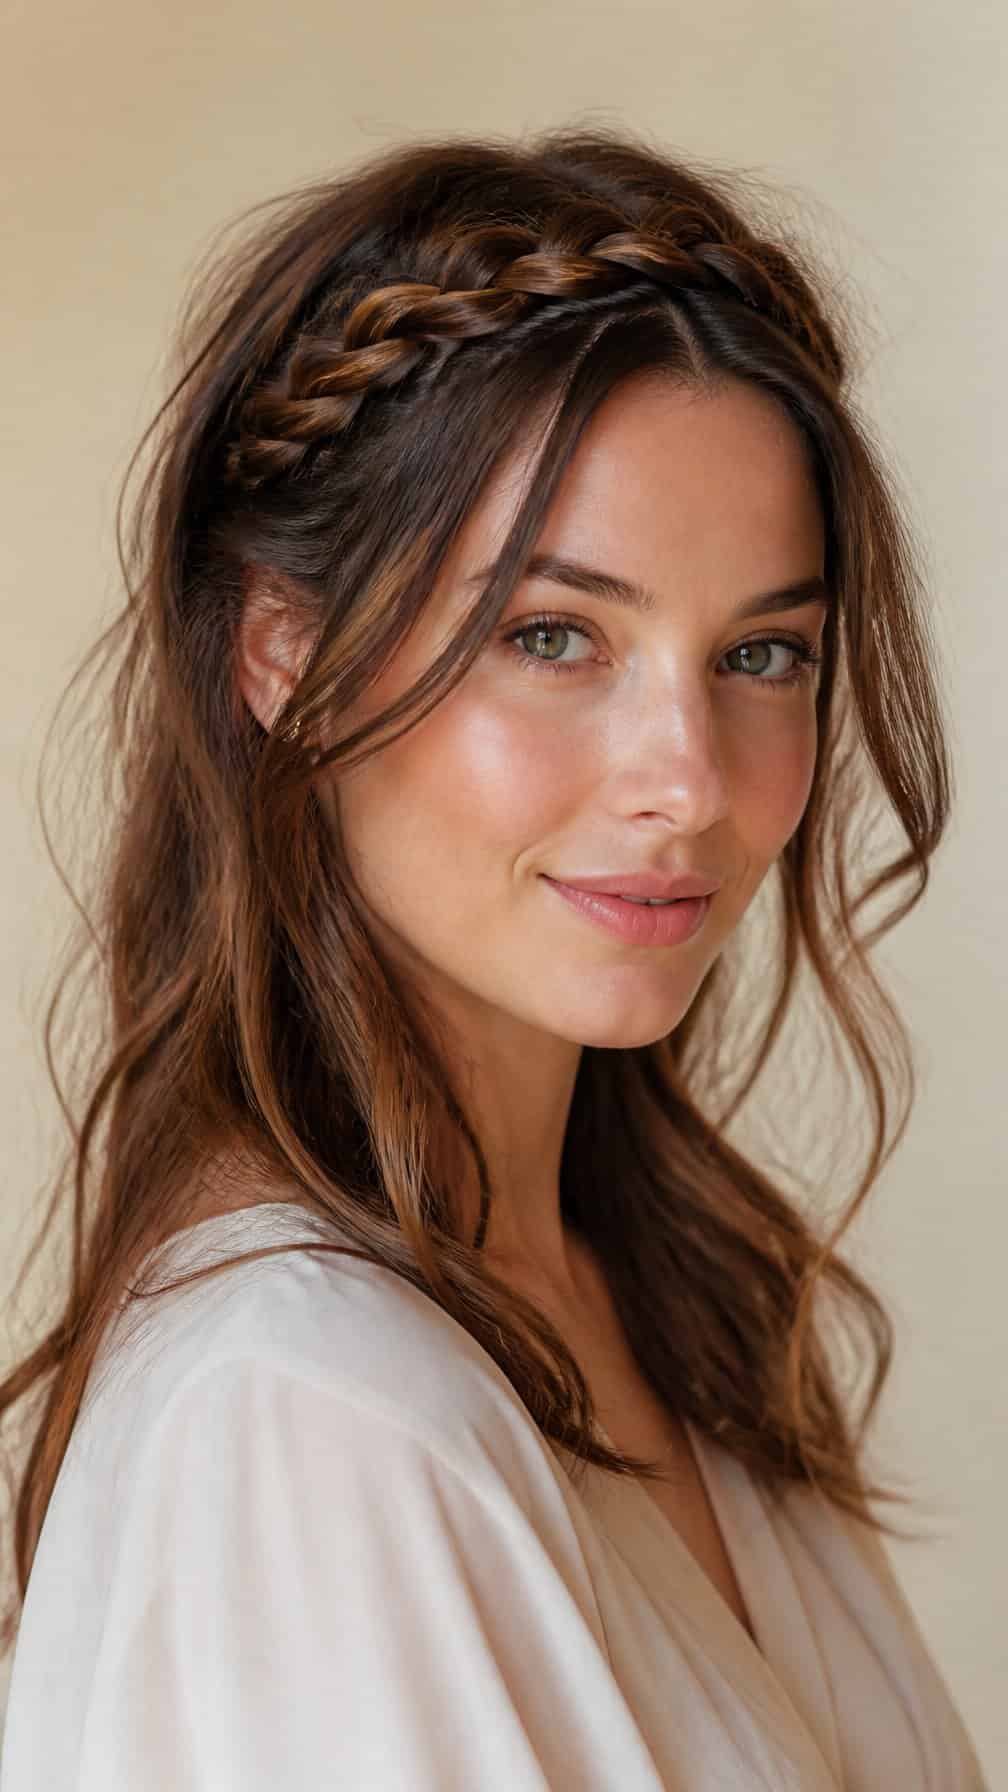
I create a narrow braid from one side of my hair and sweep it across the crown like a headband. I secure the end behind my opposite ear, then loosen the surrounding strands with my fingers for a relaxed, tousled finish.
I leave the rest of my second-day hair down and work with its natural texture instead of brushing it smooth. A small amount of dry shampoo at the roots adds lift, while a light mist of texturizing spray helps the braid stay defined without making the style stiff.
5) Twisted Headband and Low Chignon
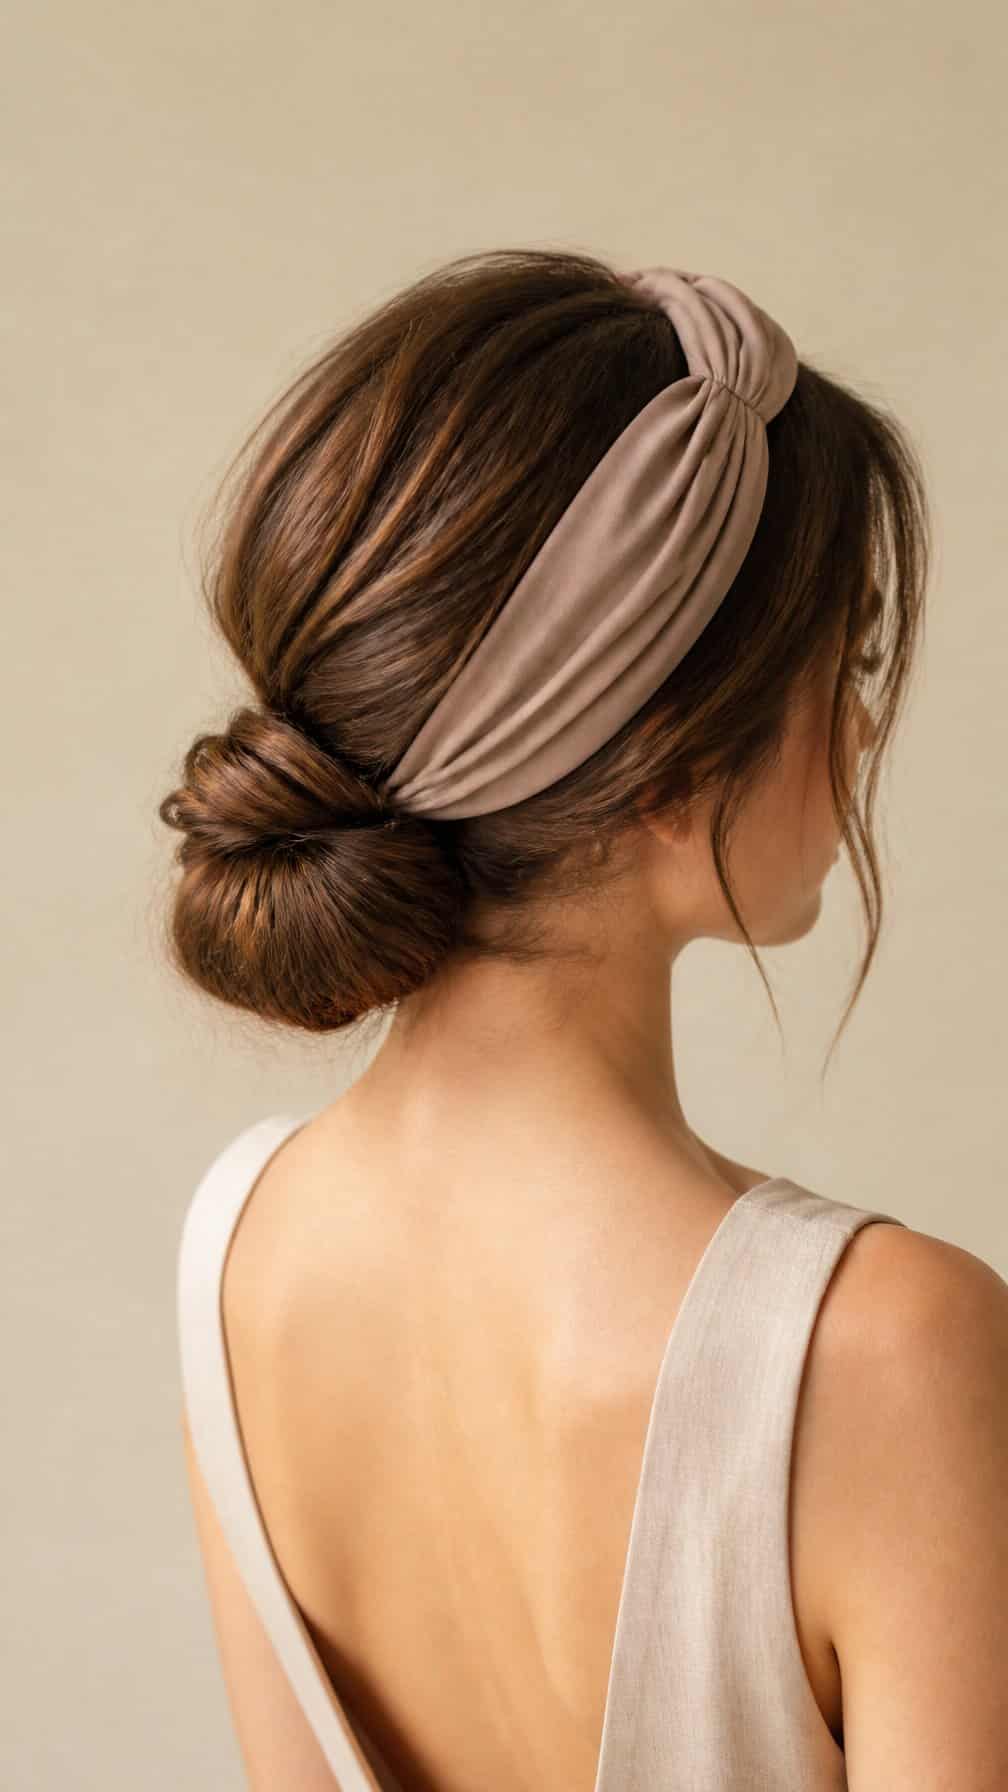
I place a twisted headband over my hairline, then gather my second-day hair at the nape. I twist the length into a low chignon and secure it with pins, leaving the headband visible above the ears.
I keep the front slightly relaxed so the style does not look too tight. The headband adds structure and helps conceal uneven roots, while the chignon uses natural texture for a softer finish. A light mist of hairspray keeps short layers in place without making the style stiff.
6) Boho Headband with Natural Waves
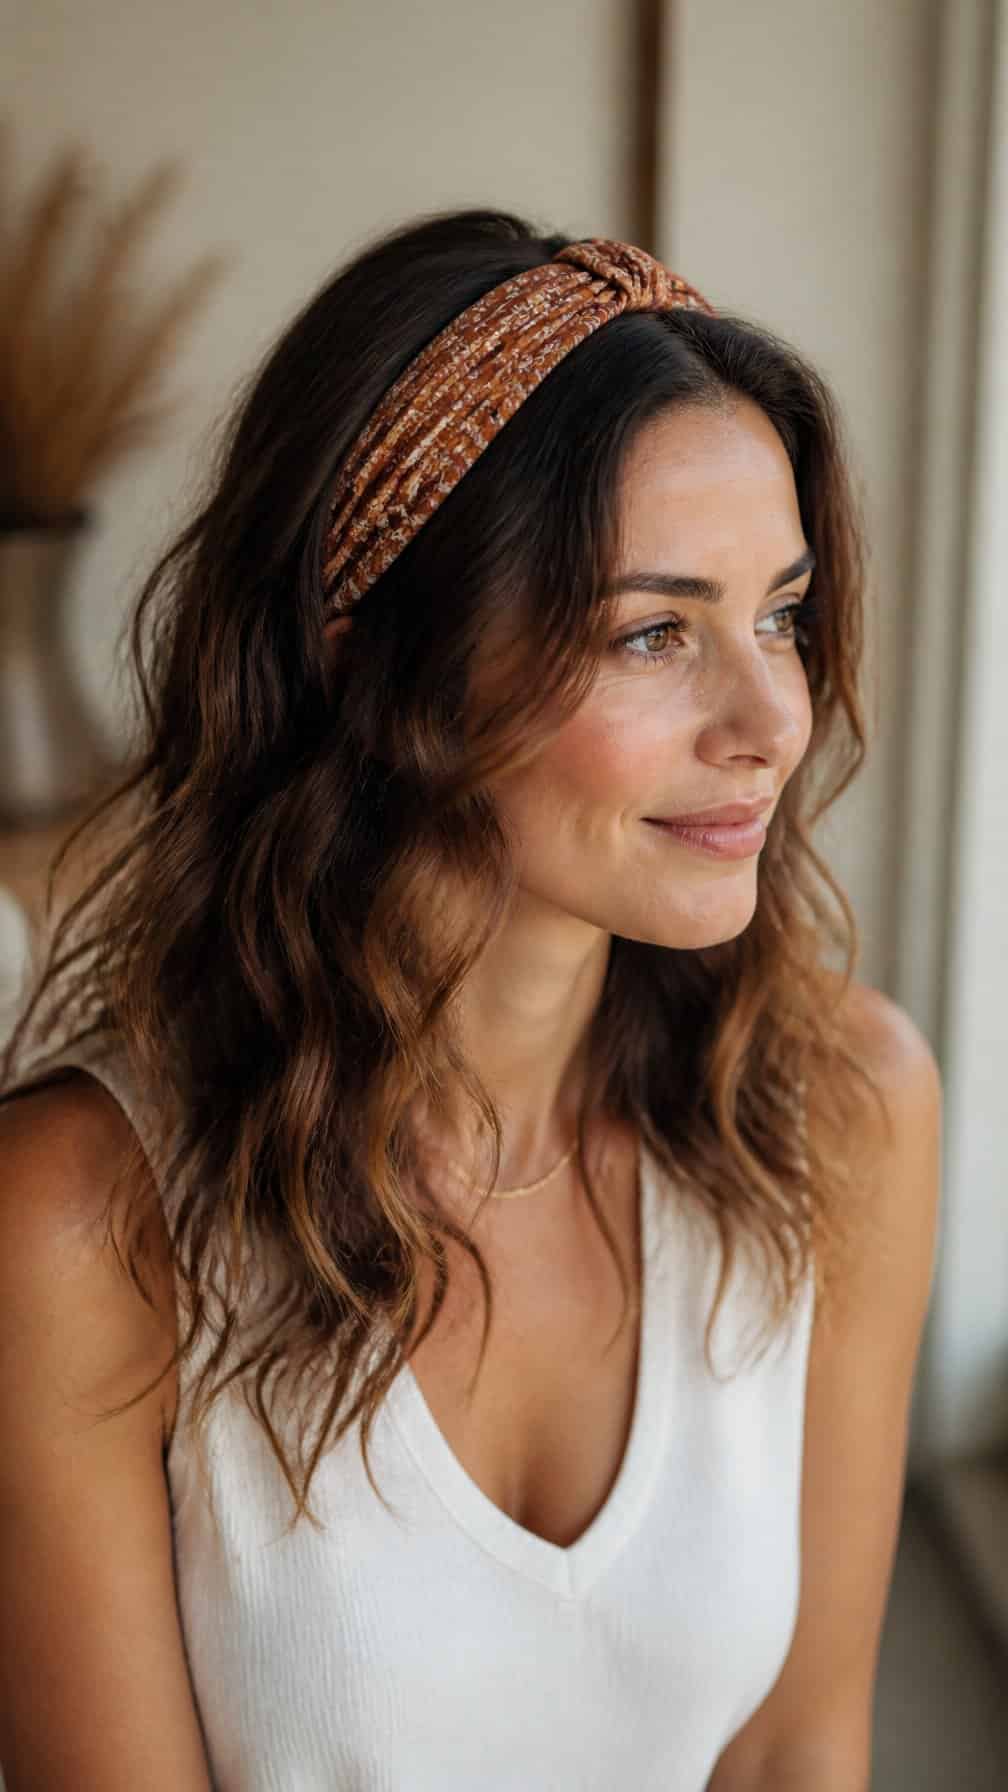
I let my natural waves keep their texture, then place a fabric headband a few inches behind my hairline. The band conceals oily roots while allowing the waves around my face to stay loose and relaxed.
I refresh flattened sections with a small amount of water or lightweight styling cream, scrunching from the ends upward. I avoid brushing through the waves, which can create frizz and remove their definition.
For a softer boho finish, I pull out two narrow pieces near my temples and loosen the crown slightly with my fingers. A wide cotton, linen, or printed headband works well because it provides coverage without requiring much styling.
7) Satin Headband and Sleek Low Bun
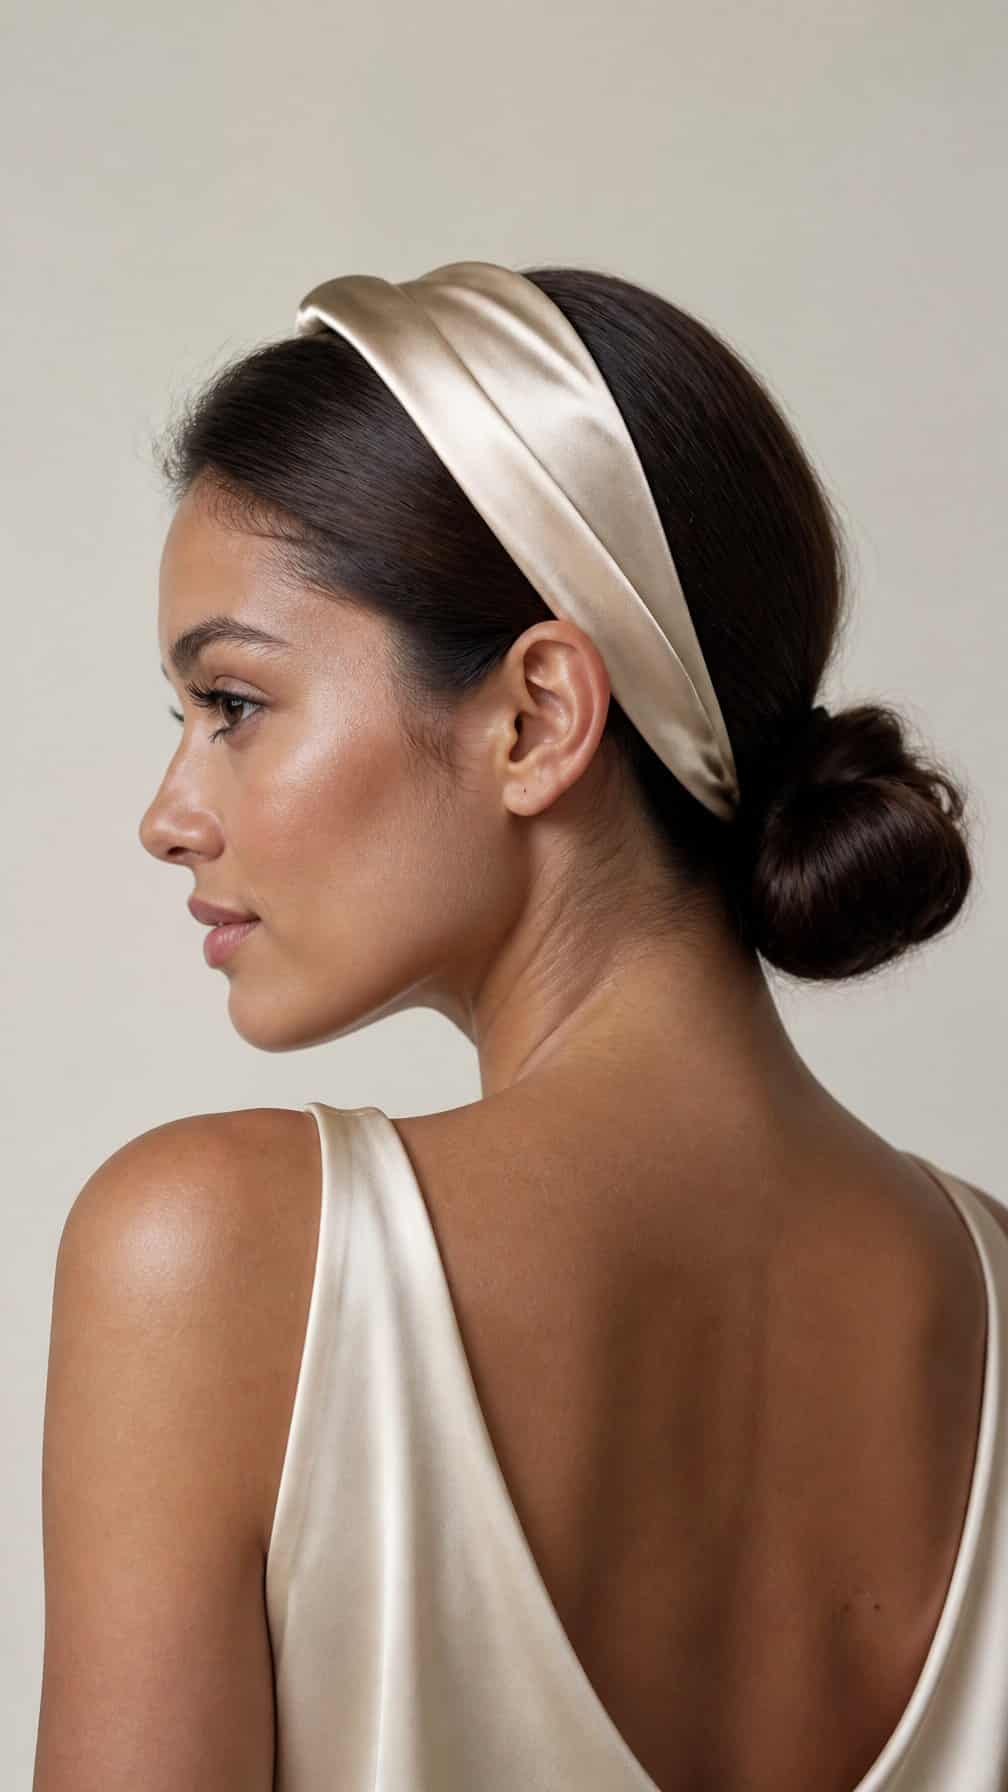
I smooth my second-day hair with a small amount of lightweight styling cream, then gather it at the nape of my neck. I secure the hair into a low bun and pin loose ends underneath for a clean finish.
I place a satin headband just behind my hairline, adjusting it until it feels secure without pressing too tightly. The smooth fabric adds polish while helping minimize friction around the sides and crown.
I use a soft-bristle brush to refine flyaways, then finish with a light mist of flexible-hold hairspray. This style works best when I keep the bun simple and let the headband provide the main detail.
8) Scarf Headband with a High Ponytail
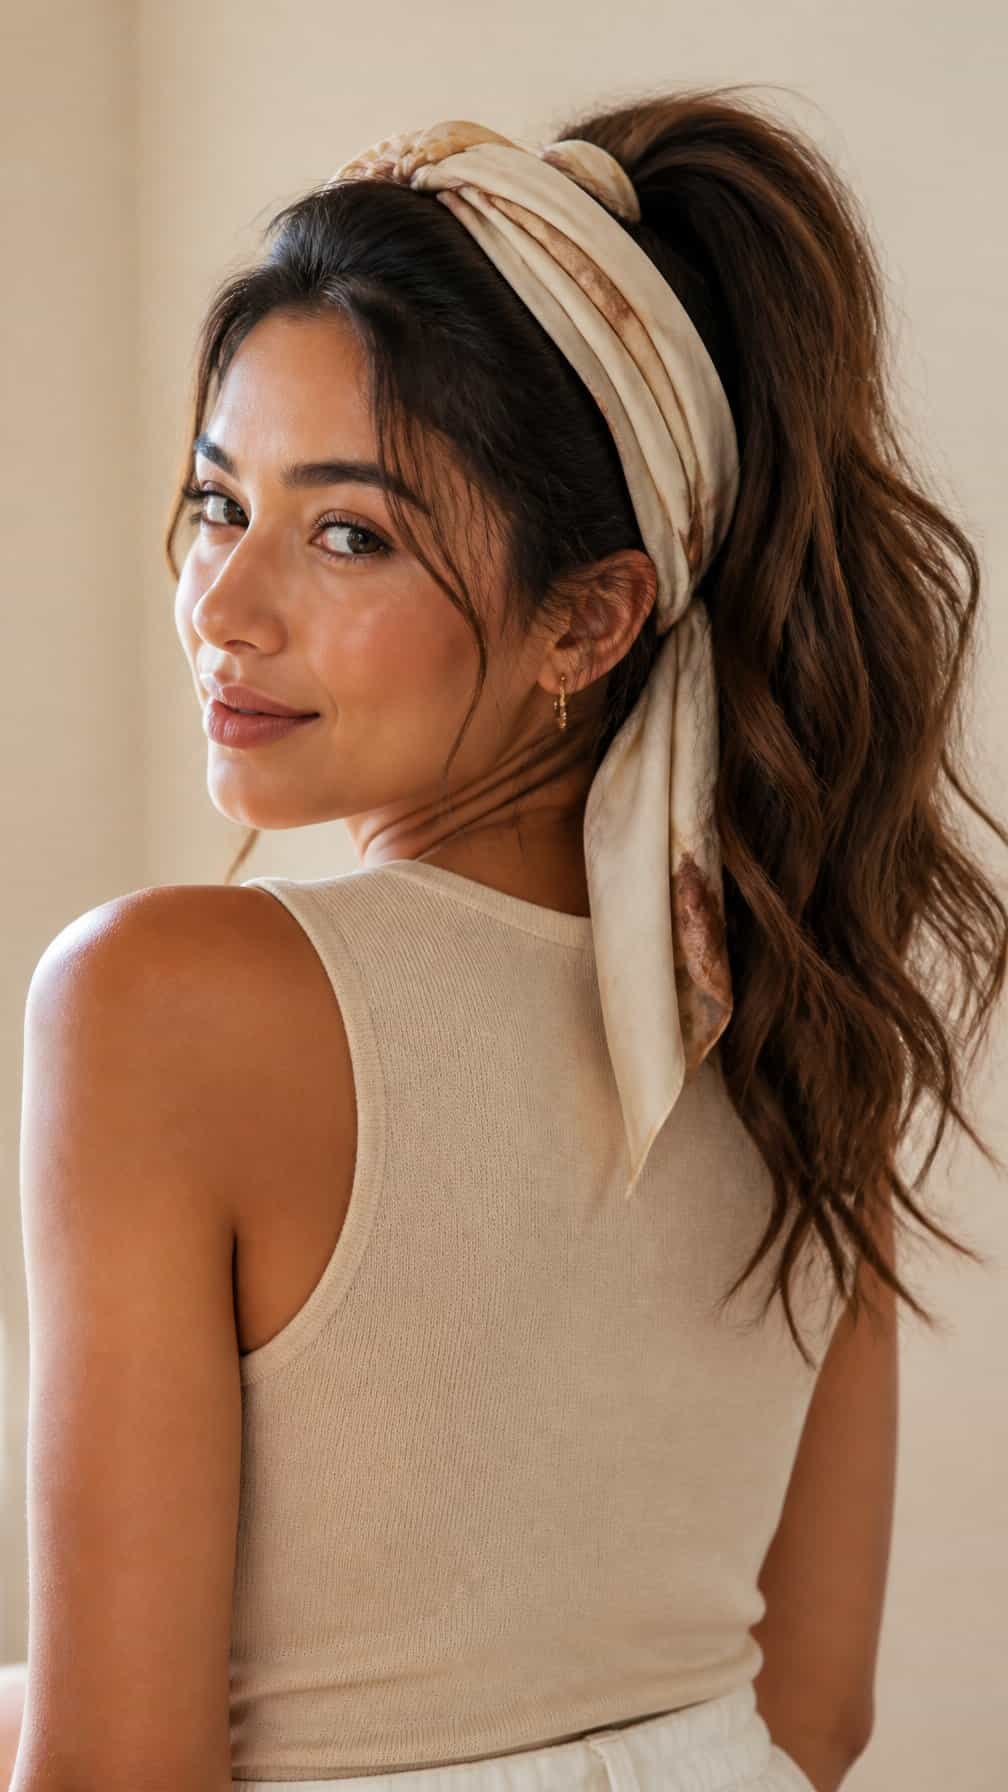
I smooth my second-day hair into a high ponytail, leaving the natural texture at the roots for subtle volume. I fold a lightweight scarf into a narrow band, place it behind my hairline, and tie it at the nape or beneath the ponytail. This keeps the style secure while adding color without requiring a full restyle.
I use a small amount of dry shampoo at the roots if my hair looks flat, then brush only the surface to preserve body. For a cleaner finish, I wrap a strand of hair around the elastic and pin it underneath. A cotton or satin scarf works well, depending on whether I want more grip or less friction.
9) Elastic Headband with Textured Crown
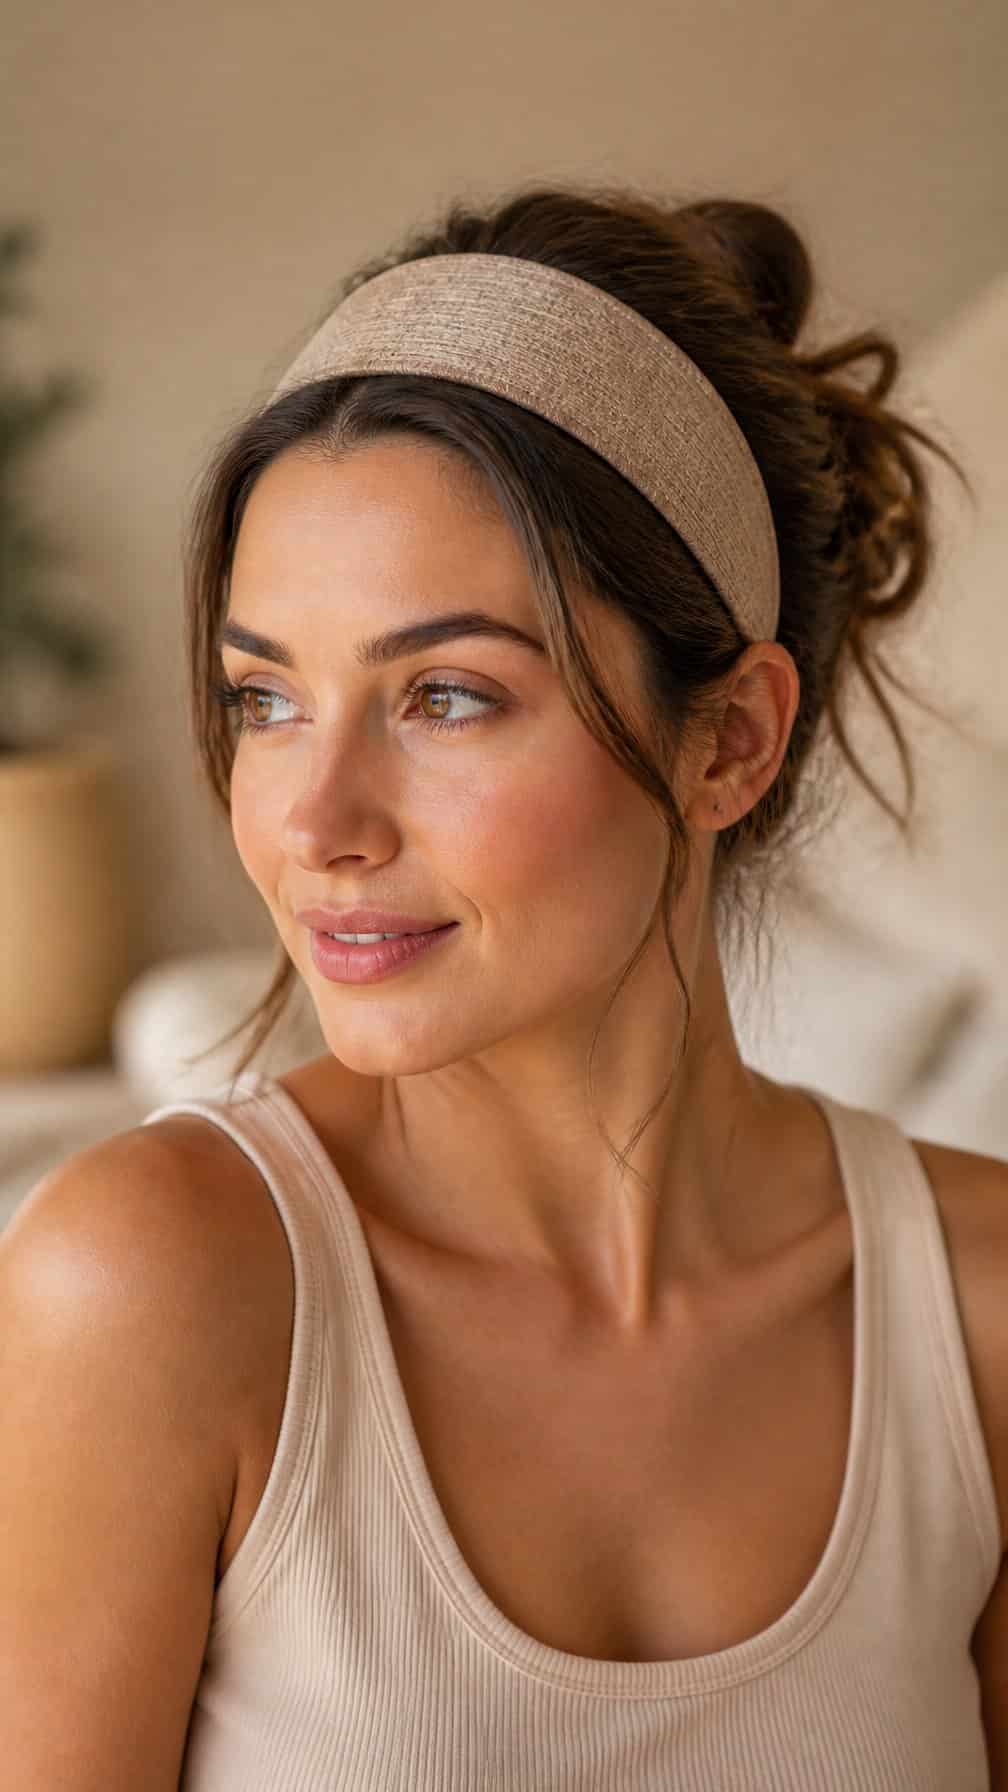
I place an elastic headband over my second-day hair, positioning it just behind the hairline. Then I gently lift sections at the crown with my fingers to create controlled texture and soften the shape.
My natural oils help the style hold its form, while the headband keeps loose strands contained. I leave the ends down for a relaxed look or tuck them under the band for a neater finish. A small amount of dry shampoo adds lift without making the crown look stiff.
10) Velvet Headband and Side-Swept Hair
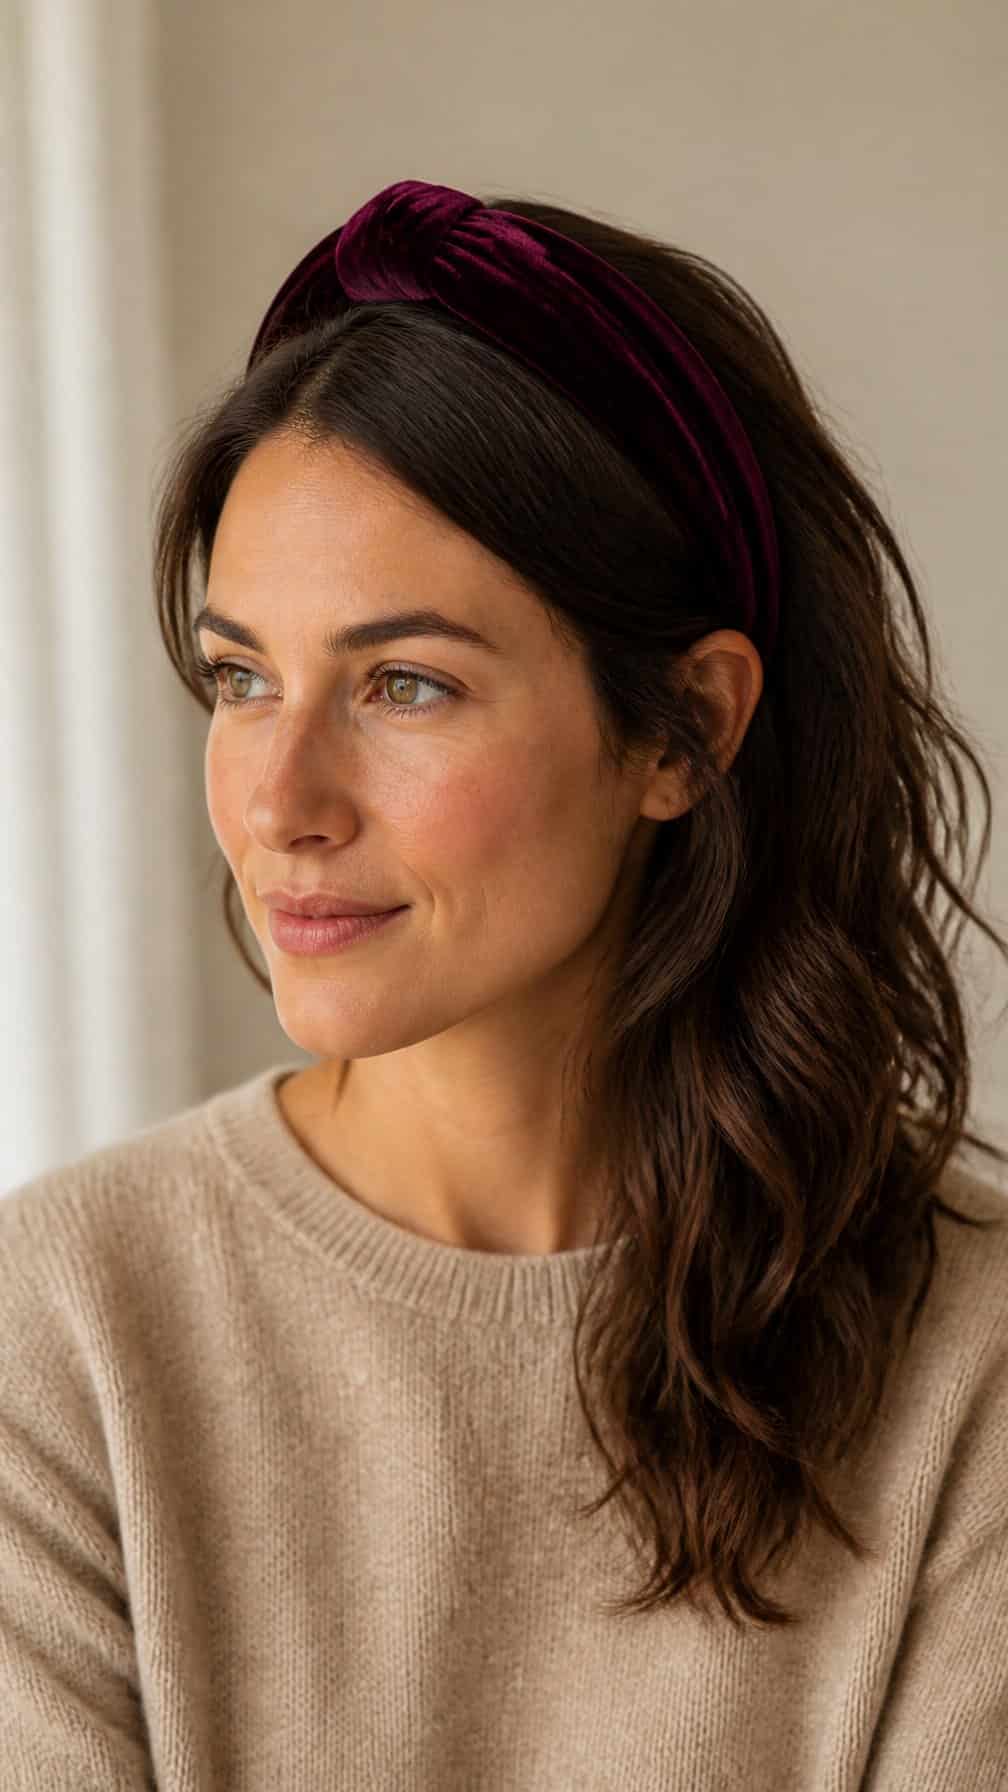
I sweep my second-day hair to one side and secure the heavier section behind my ear with a few pins. A velvet headband adds texture while covering flattened roots and keeping loose strands away from my face.
I choose a medium-width band in a shade that contrasts gently with my hair. Before putting it on, I loosen the crown with my fingertips and smooth only the ends, preserving enough natural texture to make the style look intentional rather than overly polished.
11) Rope Headband with a Loose Braid
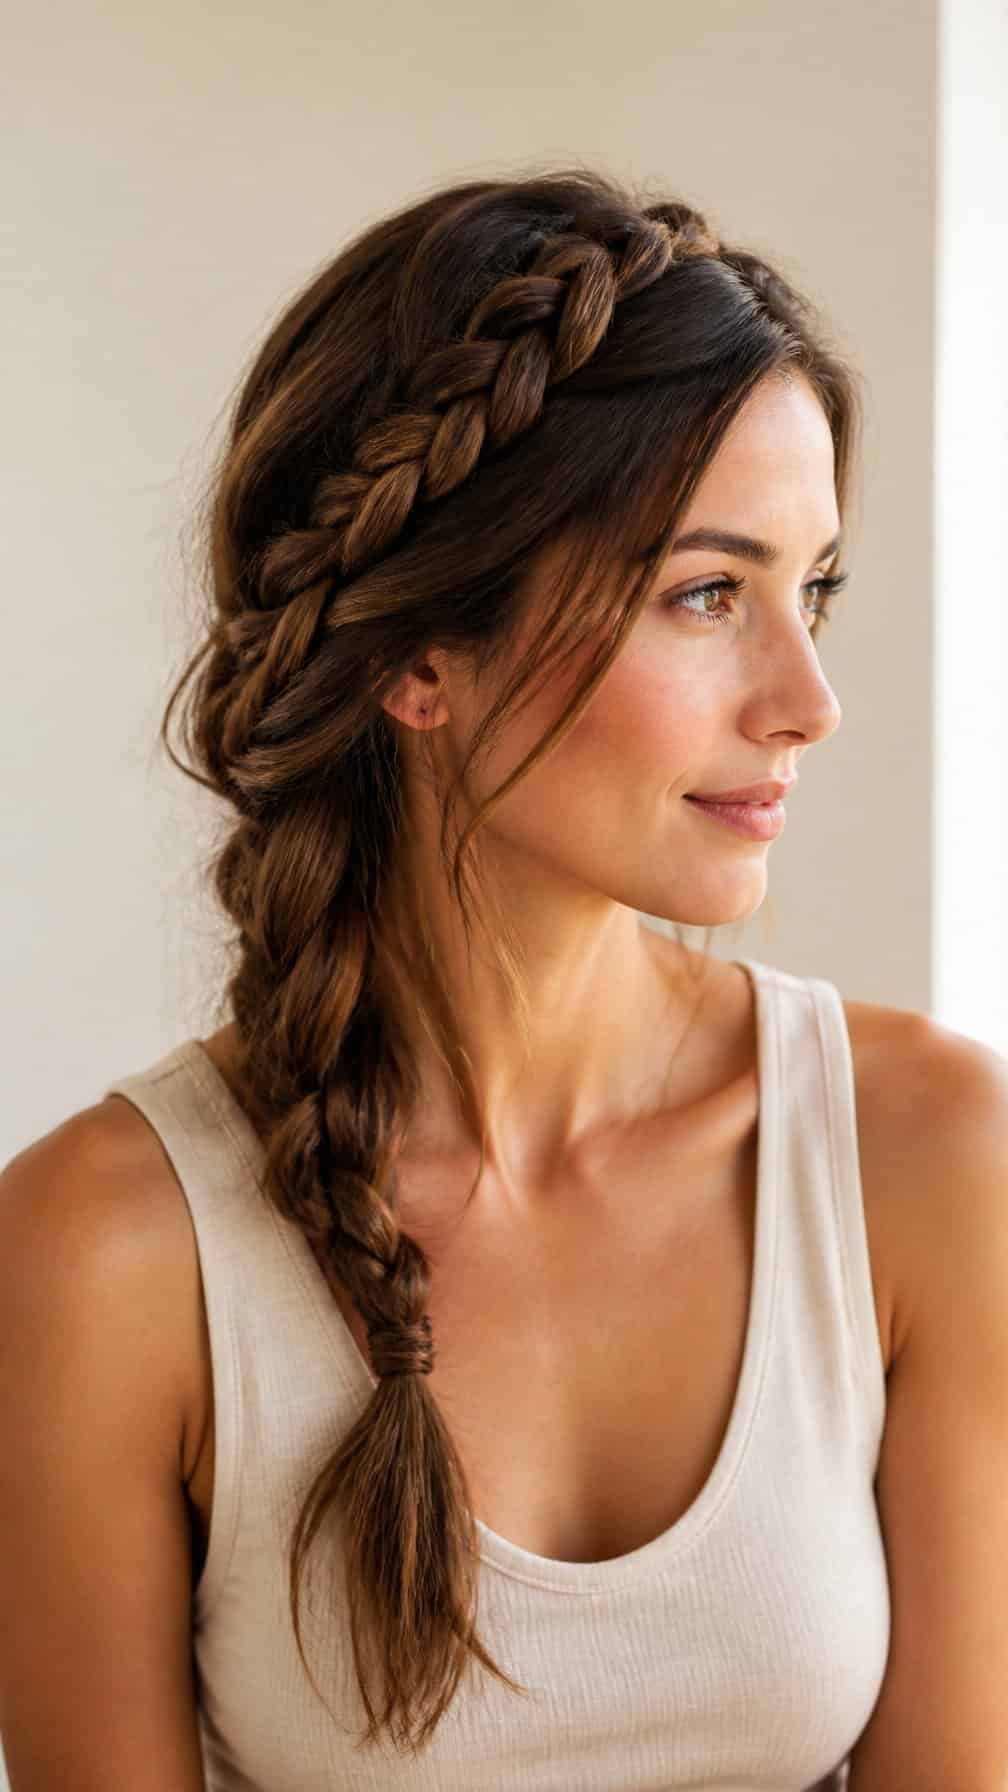
I place a rope headband near my hairline, letting it hold back the front sections without flattening the crown. Its texture adds definition while helping disguise roots that look less fresh on the second day.
I gather my hair over one shoulder and make a loose three-strand braid, keeping the tension relaxed. I gently pull apart a few sections to create width, then secure the end with a small elastic. The contrast between the structured headband and the soft braid keeps the style casual but polished.
12) Headband Tuck Hairstyle
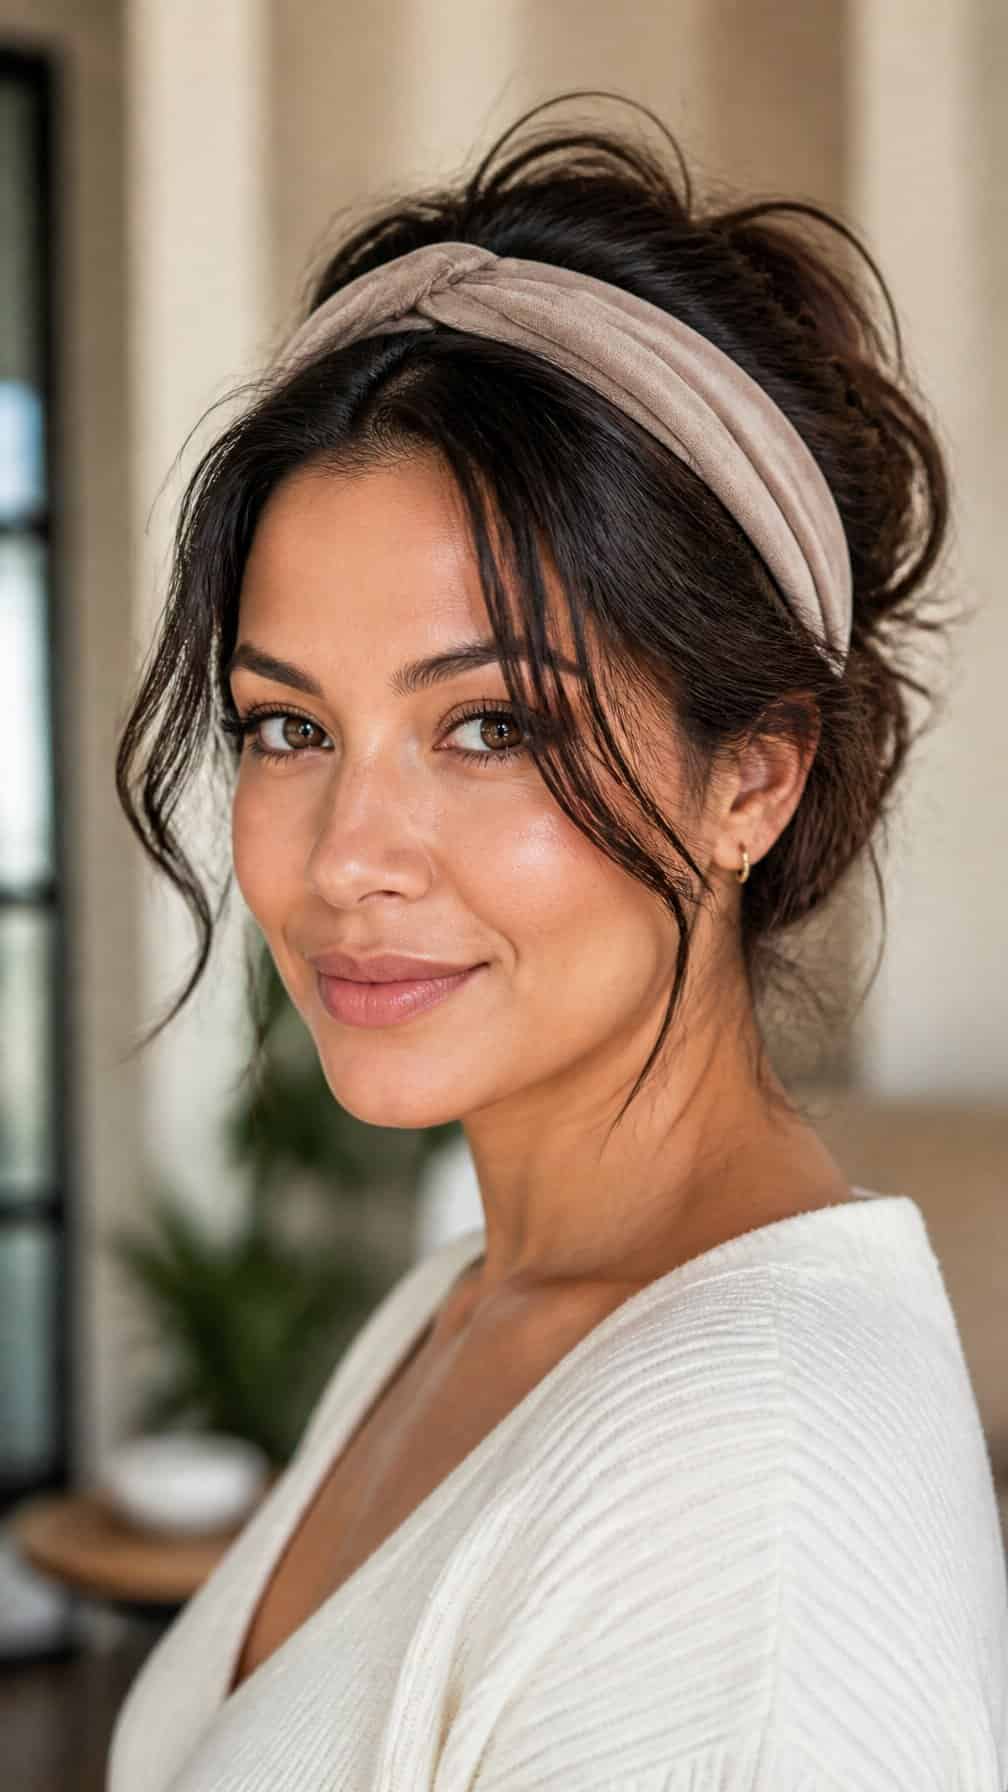
I place a stretchy headband over my hair, positioning it around the crown and above the nape. Starting near my temples, I tuck small sections into the band and work toward the back, keeping the rolls loose enough to avoid flattening my roots.
I leave a few face-framing pieces out for a softer shape, then adjust the tucked ends until the style looks balanced. My second-day texture helps the sections grip the band, while a small amount of dry shampoo can reduce visible oil and add lift.
13) Crossed Headband with a Half-Up Style
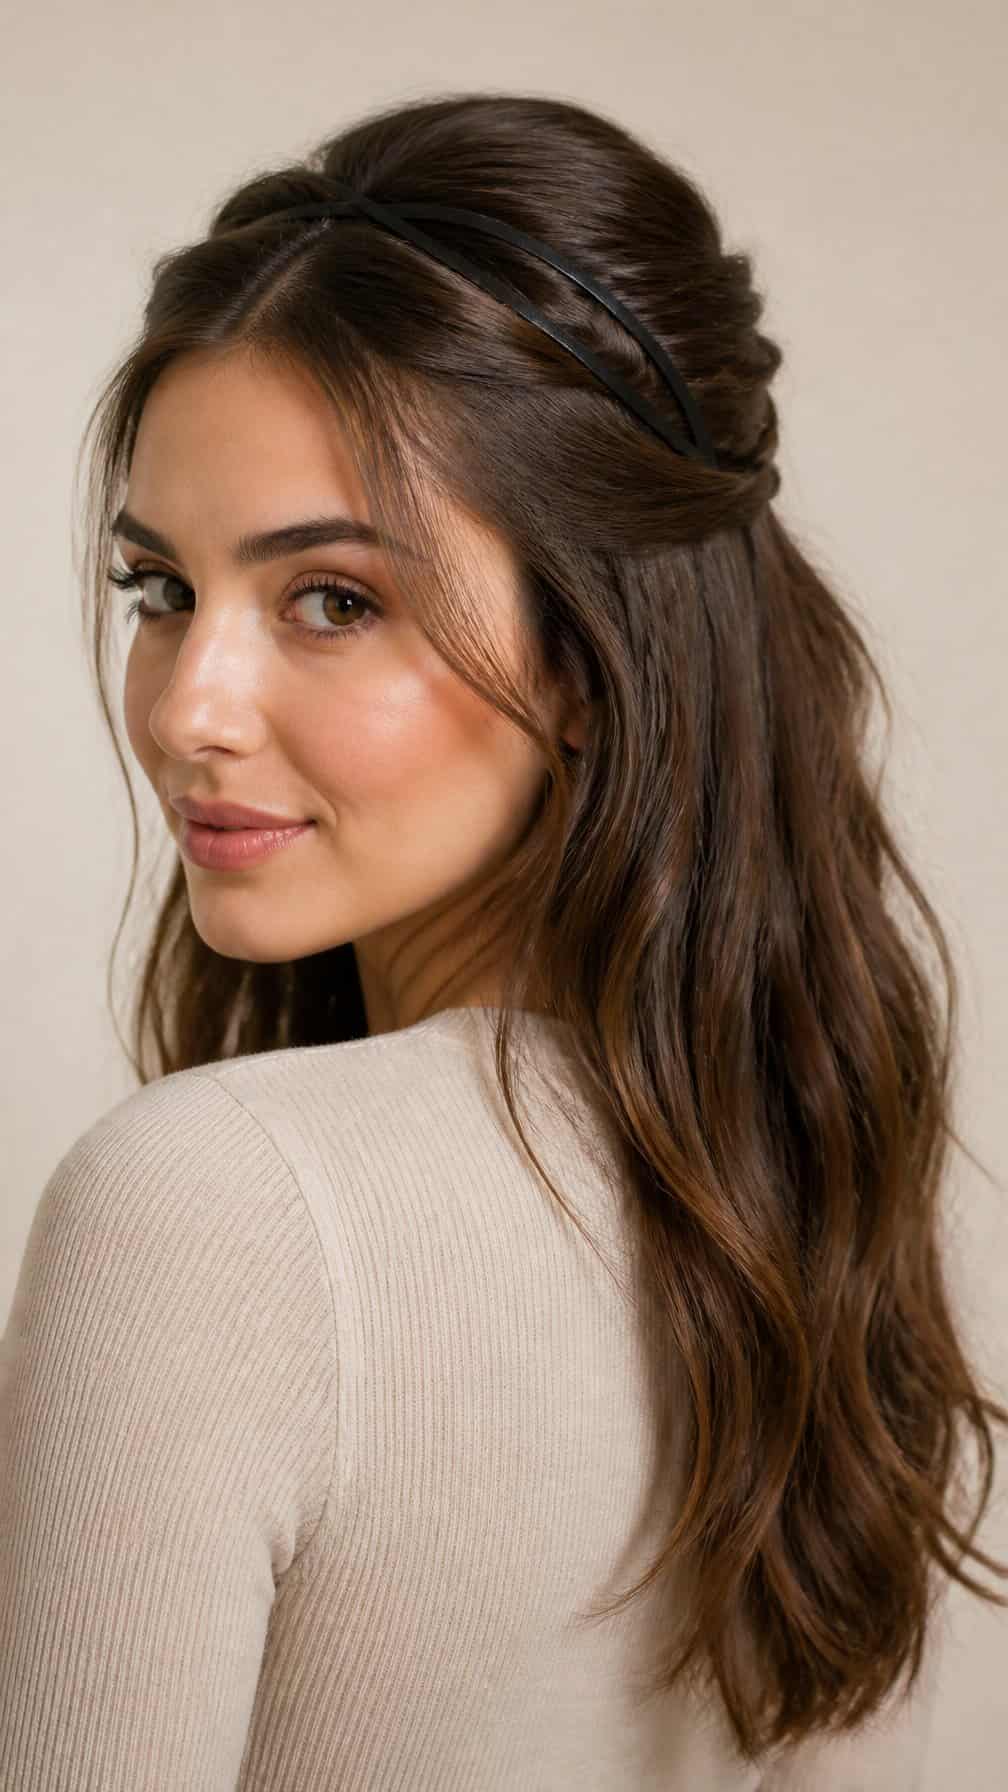
I start by gathering the top section of my second-day hair and securing it loosely at the crown. I place a stretchy headband behind my hairline, then cross the ends near one temple before wrapping them around the back of my head. The crossed detail adds structure without requiring heat styling.
I leave a few face-framing pieces loose to soften the shape. For extra hold, I pin the half-up section beneath the crossing and finish with light hairspray, keeping the style flexible rather than stiff.
14) Thin Headband with Flipped Ends
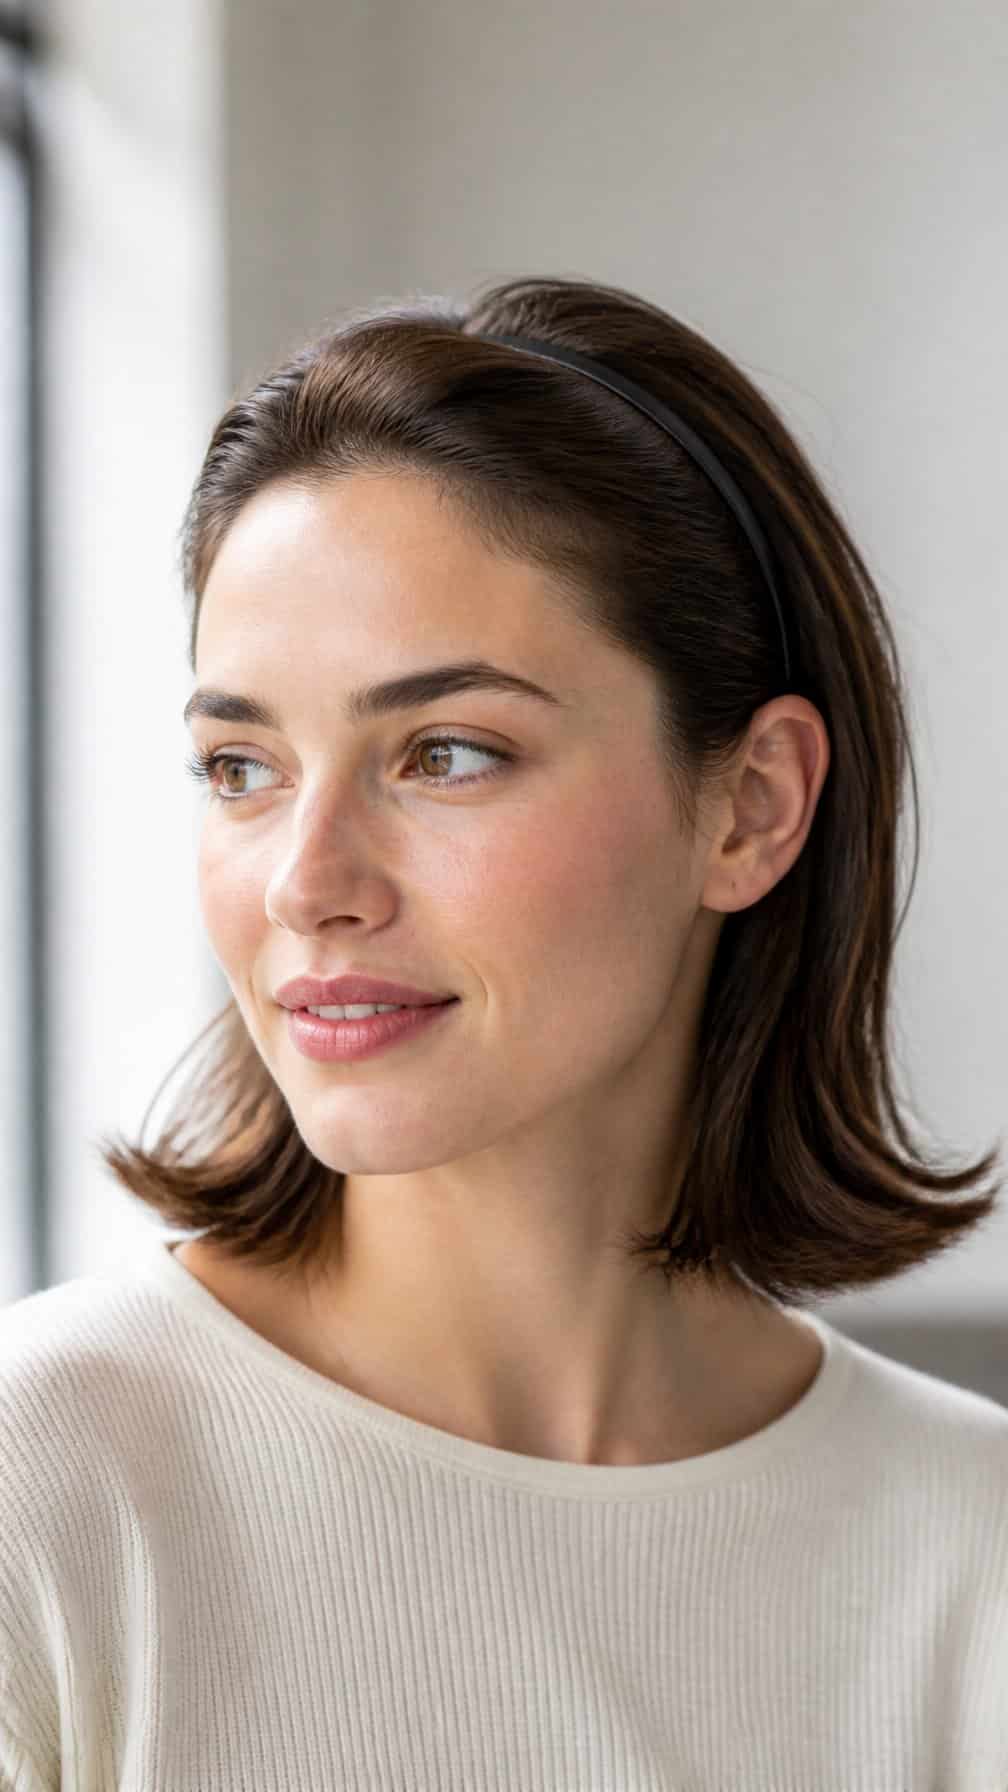
I place a thin headband a little behind my hairline, then tuck the front sections beneath it to control second-day texture. I leave the ends loose and use a round brush or flat iron to flip them outward.
This style works well when my roots need coverage but my lengths still have shape. I add a small amount of lightweight smoothing cream to reduce flyaways without flattening the lift at the crown.
For a casual finish, I keep the flip uneven and slightly relaxed. A fabric-covered or matte headband gives the look a softer appearance, while a narrow polished band creates cleaner definition.
15) Pearl Headband and Low Twist
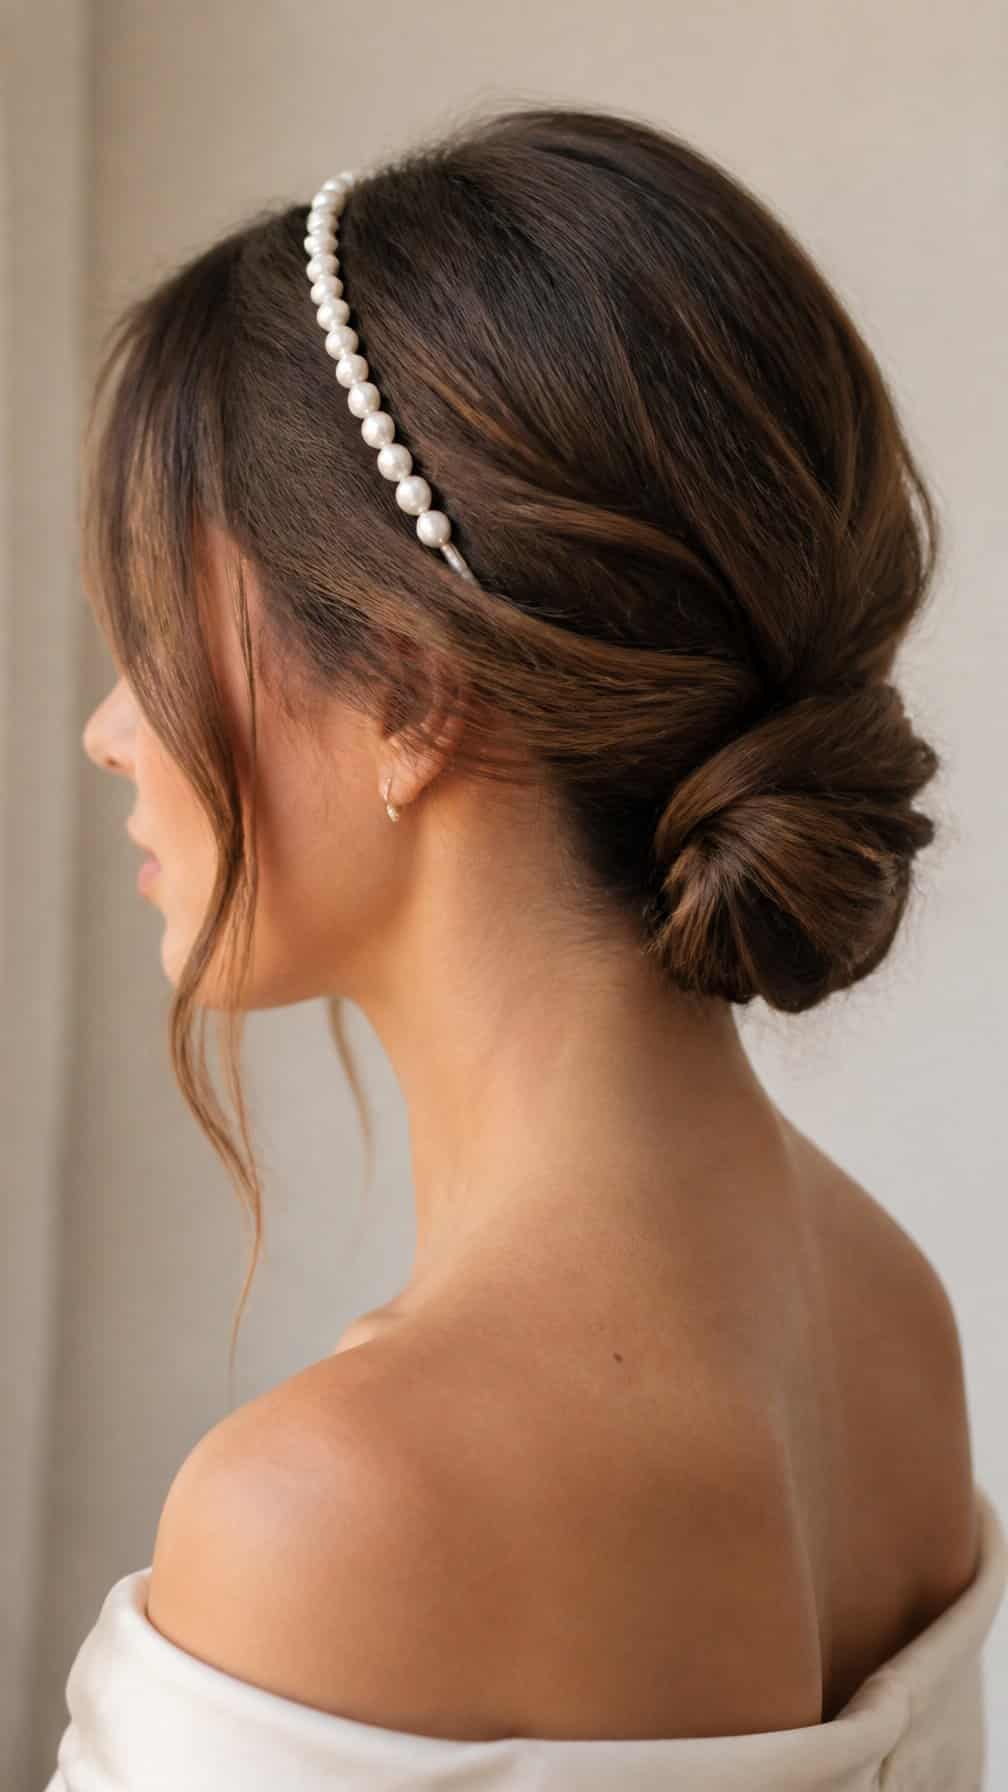
I place a pearl headband over my natural part, then gather my second-day hair at the nape. I twist the length loosely and secure it with pins, leaving a few soft strands near my face. The headband adds polish while the low twist keeps the style practical.
I prefer this look when my roots have some texture but the ends need control. I smooth only the visible sides with a small amount of styling cream, keeping the twist relaxed rather than tightly wound. A slim pearl band suits a refined finish, while a wider band creates more presence.
16) Athletic Headband with a High Messy Bun
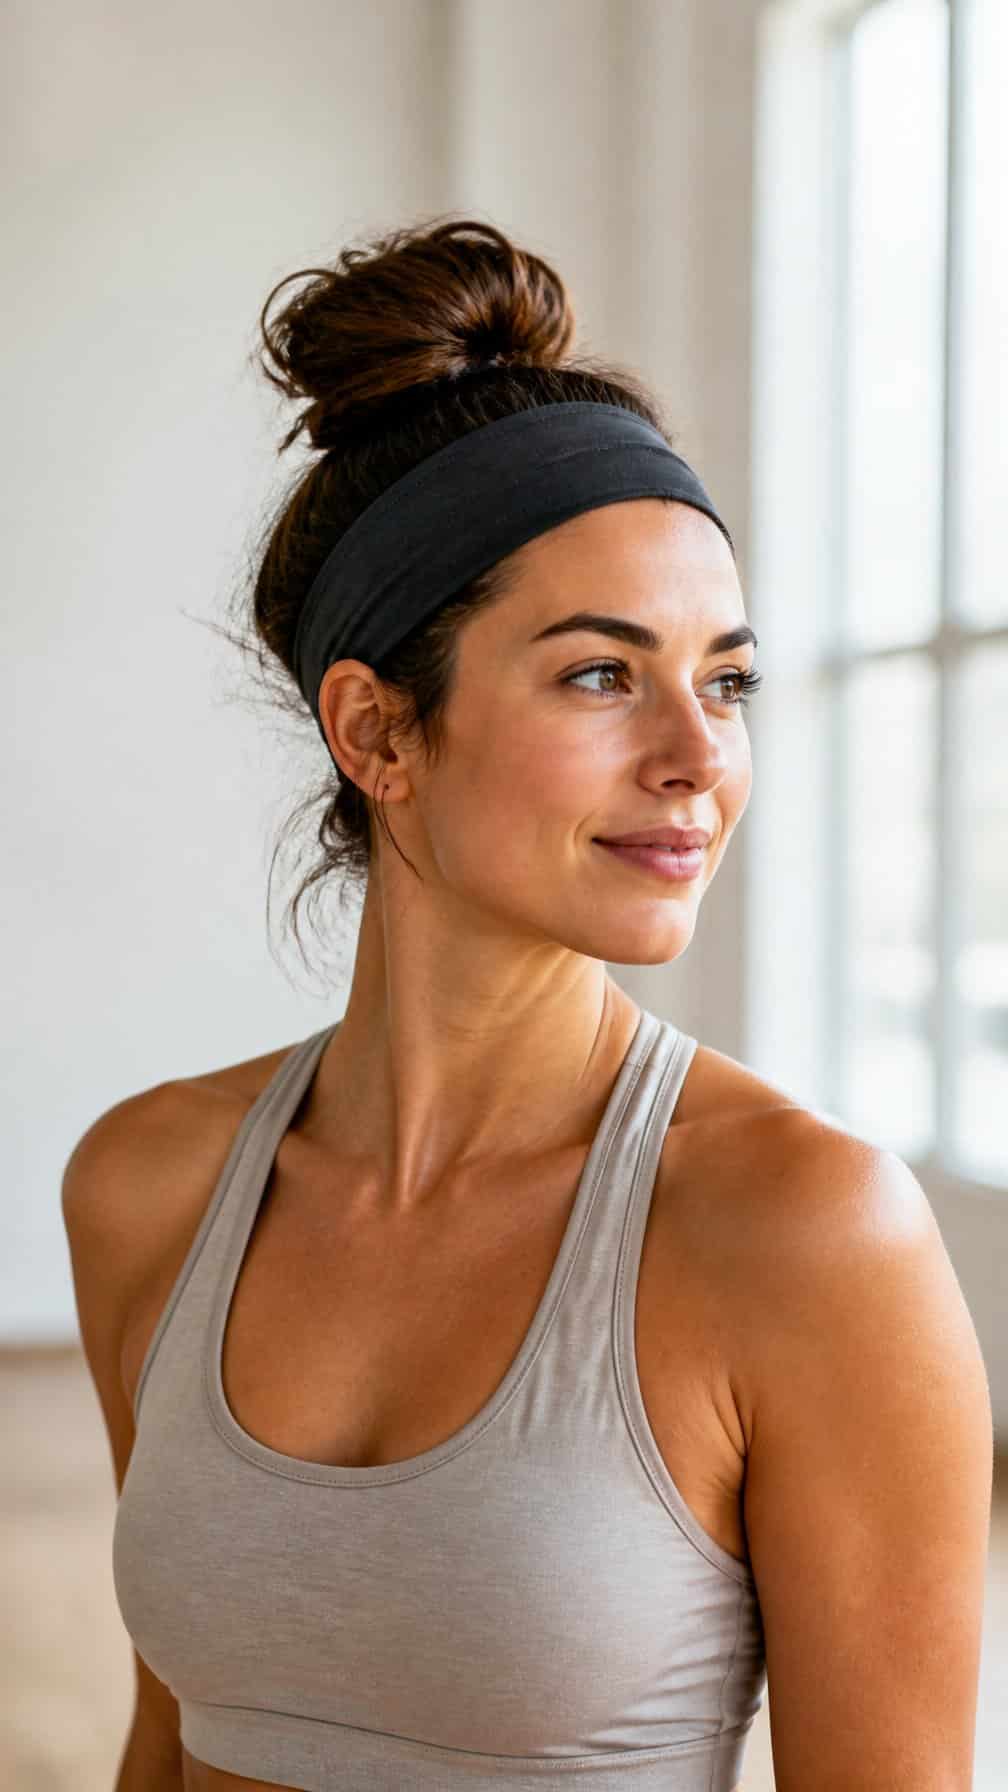
I gather my second-day hair into a high ponytail, twist it into a loose bun, and secure it with pins or a soft elastic. I leave a few uneven pieces around the bun to keep the style relaxed rather than polished.
I place a wide athletic headband just behind my hairline, then adjust it so it feels secure without pressing too tightly. The band controls flyaways and absorbs moisture, while the lifted bun keeps my hair off my neck during workouts or busy mornings.
I choose a fabric-covered band for comfort and coordinate its color with my outfit. A small amount of dry shampoo at the roots adds freshness and helps the bun hold its shape.
17) Printed Headband with Beachy Waves
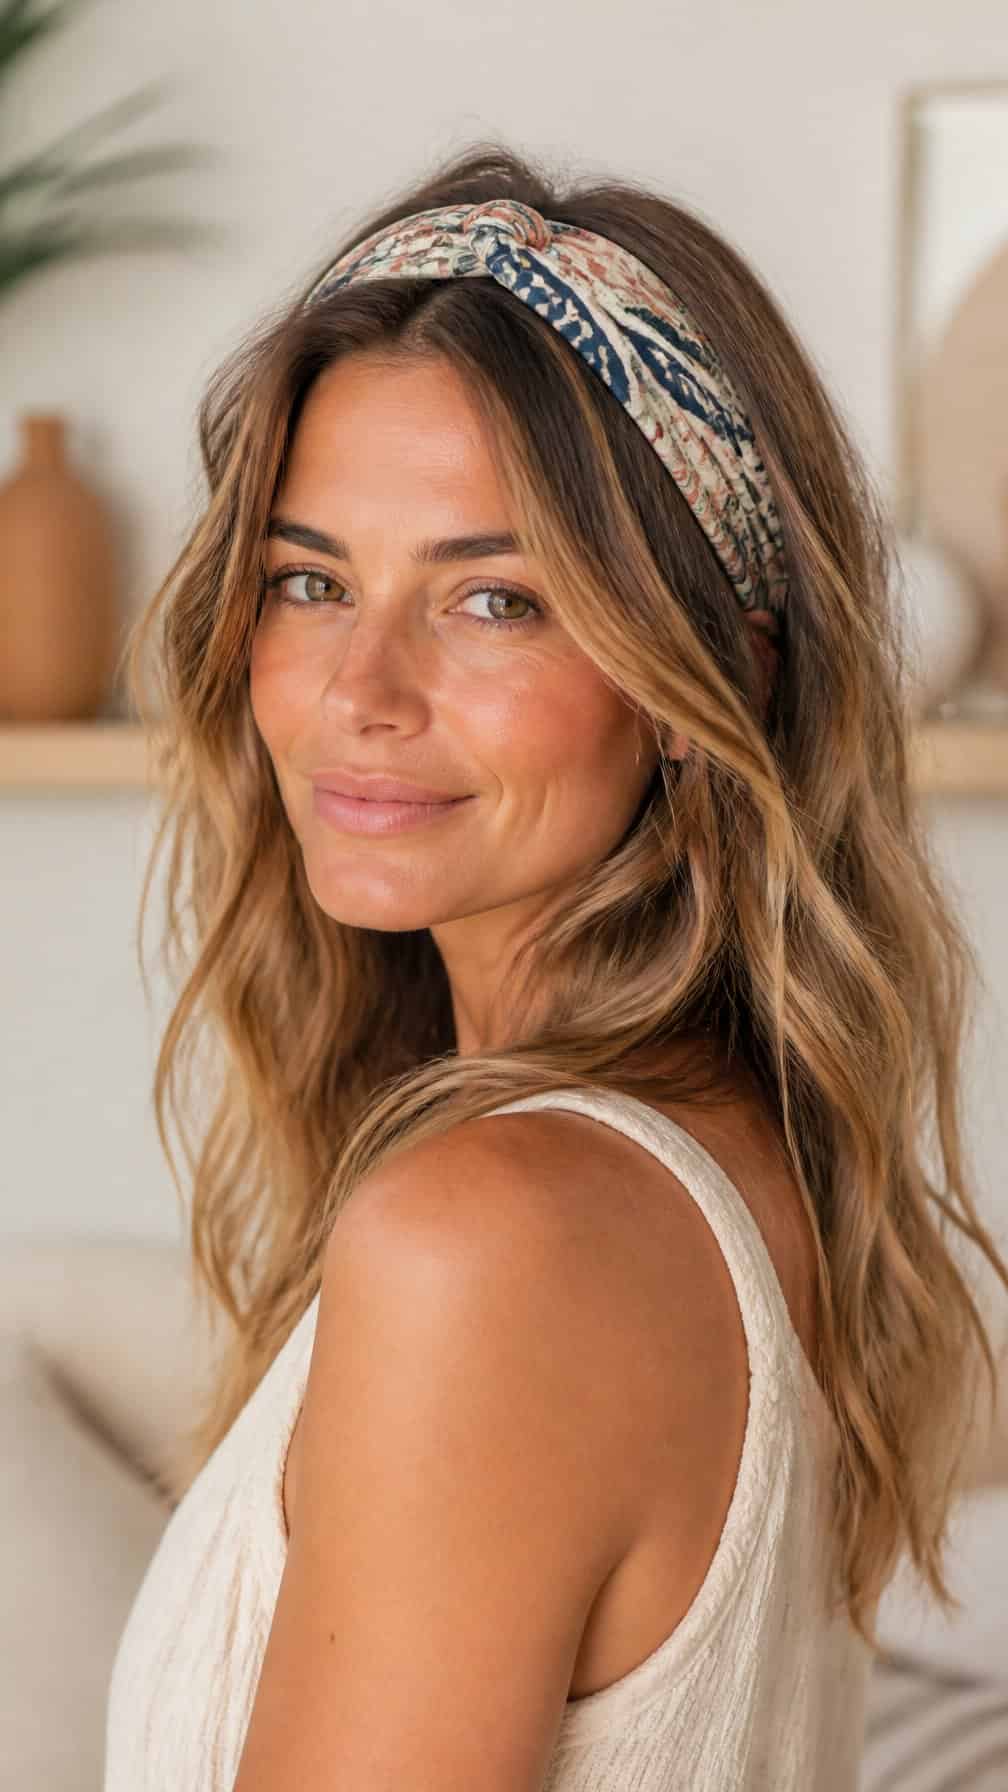
I refresh my second-day waves with a few loose bends from a curling iron, focusing on the mid-lengths and leaving the ends relaxed. After the hair cools, I gently separate the waves with my fingers to keep the texture soft rather than polished.
I place a printed headband slightly behind my hairline, then pull out a few face-framing pieces. The pattern adds visual interest while the band disguises flatter roots and keeps flyaways controlled. I finish with a light mist of flexible-hold spray, avoiding enough product to weigh down the waves.
18) Double Headband with a Voluminous Ponytail
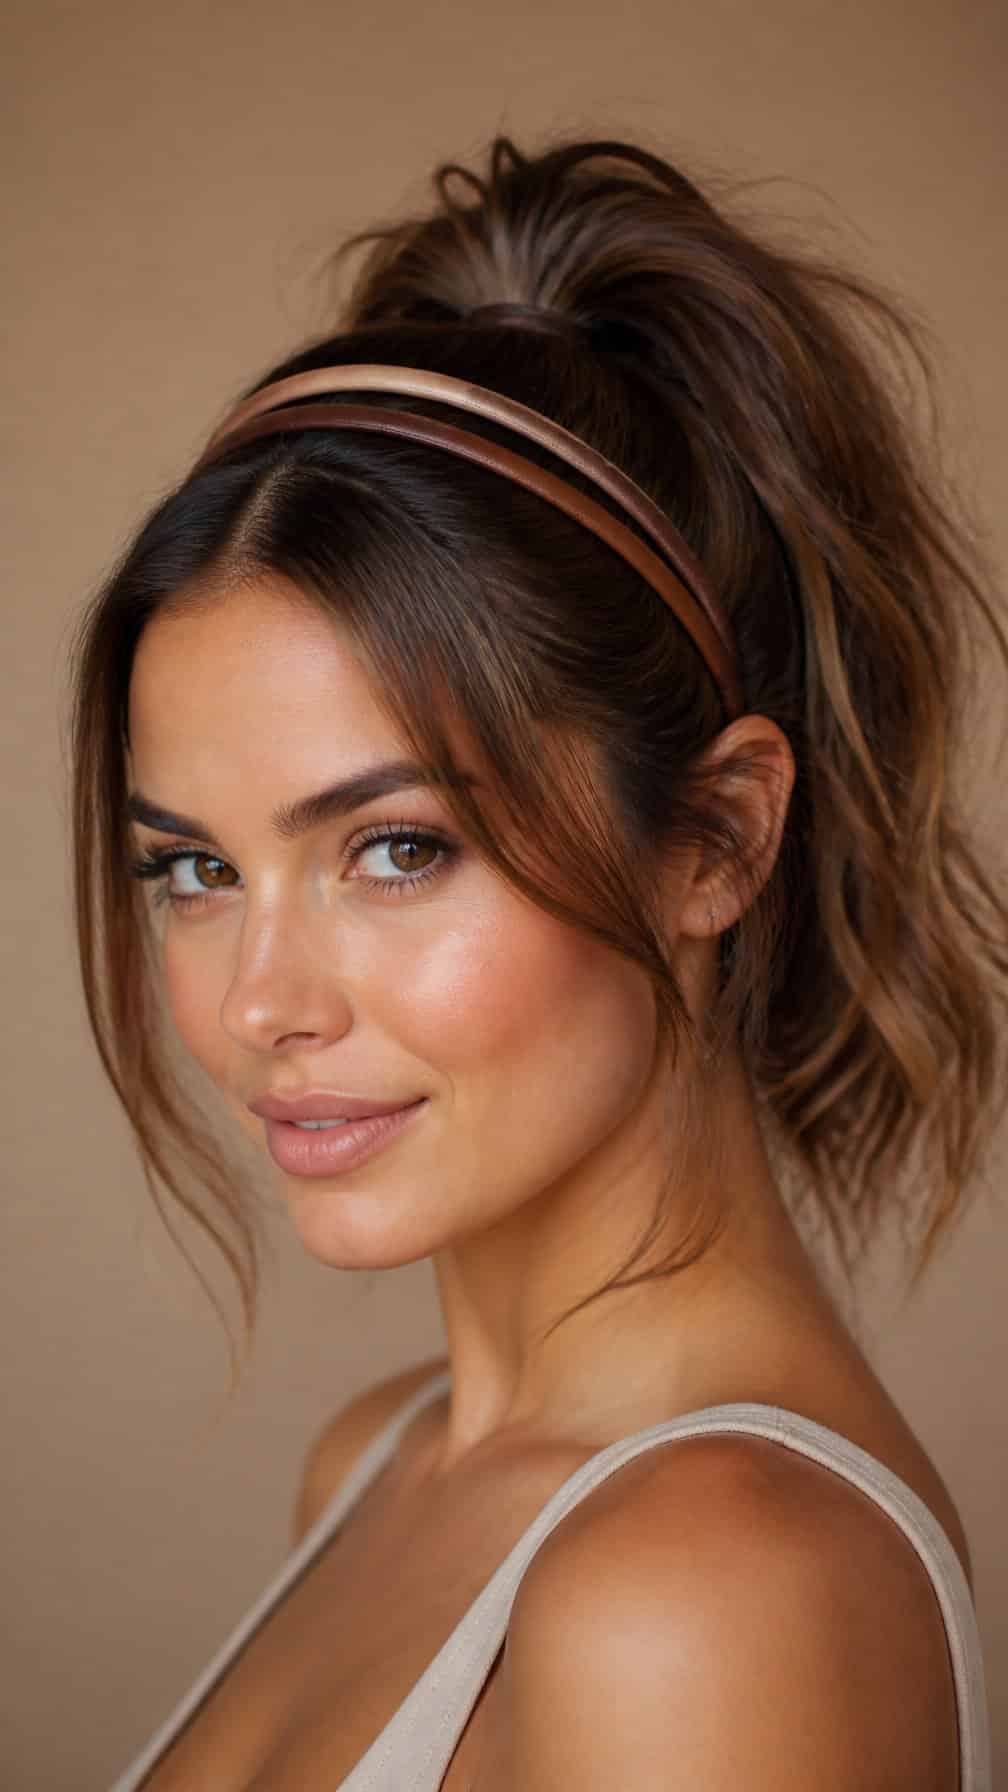
I start by placing two slim headbands near the front of my hair, leaving a small gap between them. Their simple alignment adds structure while helping control loose strands around my face.
Next, I gather my hair into a high ponytail and secure it firmly. I gently pull sections at the crown and sides to create more lift, then wrap a small strand around the elastic for a polished finish.
I add dry shampoo or texturizing spray at the roots if my hair needs extra grip. The second-day texture helps the ponytail hold its volume without looking overly styled.
19) Fishtail Braid Headband with Loose Ends
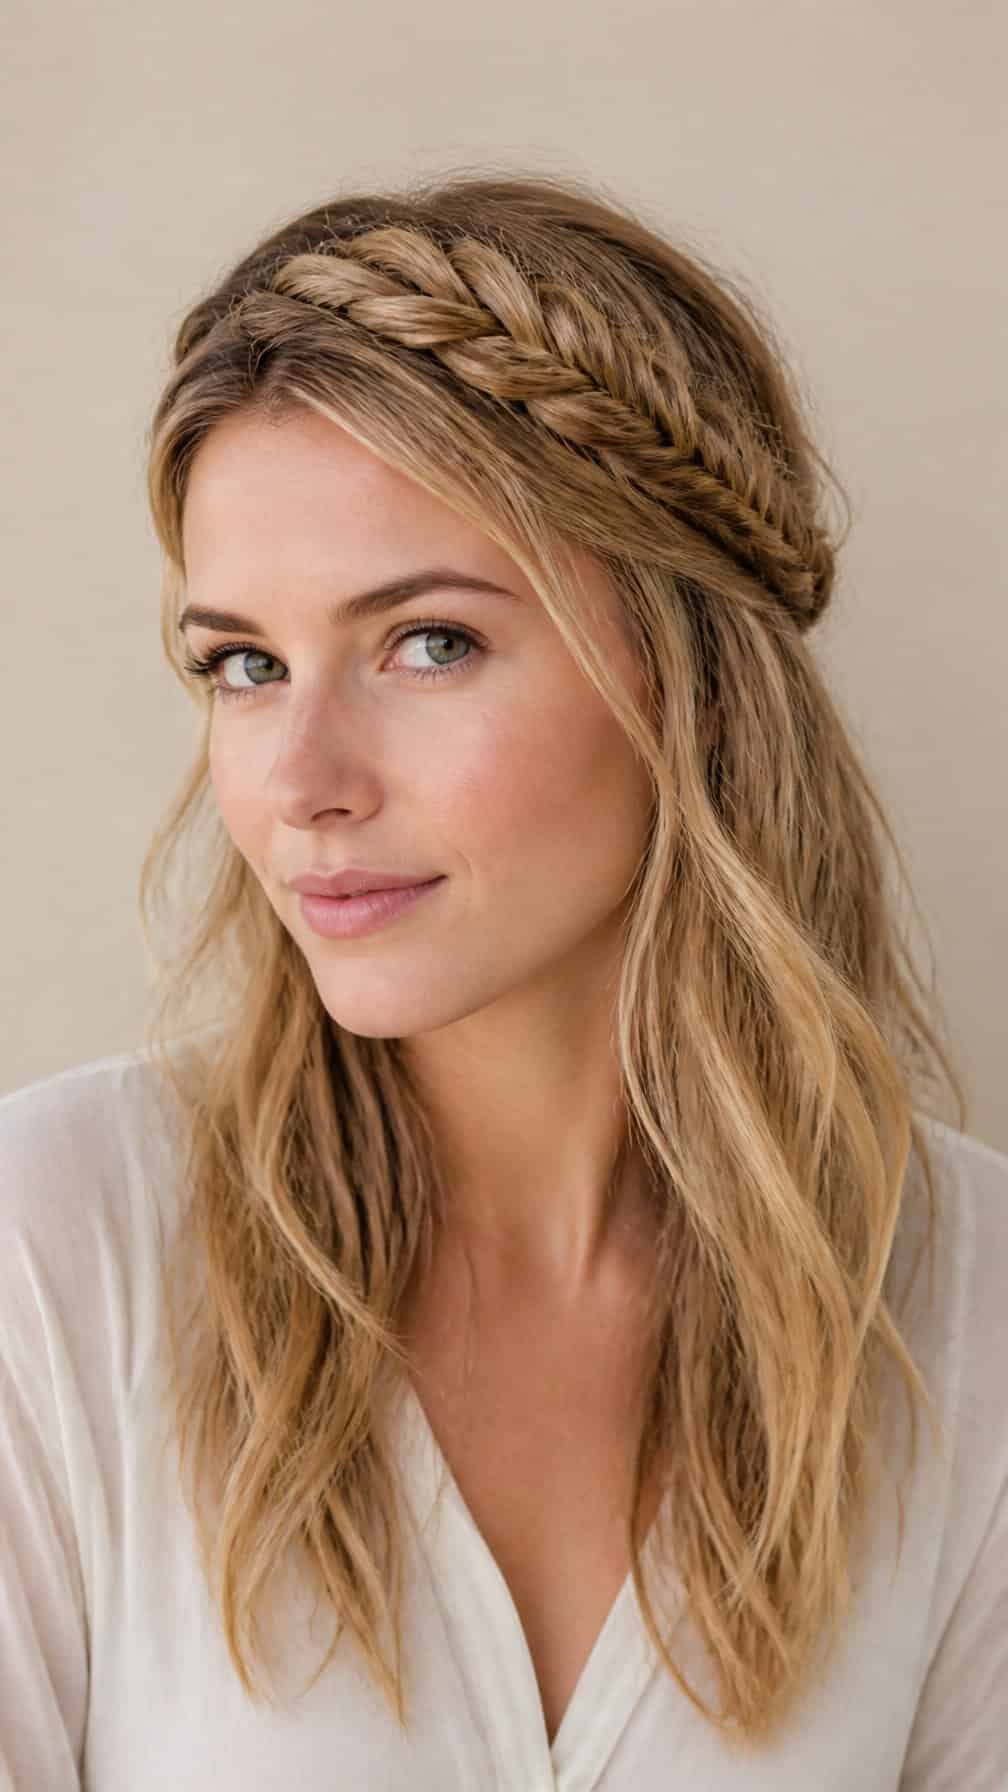
I create this headband by taking a small section near one temple and weaving it into a fishtail braid across the top of my head. I secure it behind the opposite ear, then leave the remaining length loose for a relaxed finish.
The braid adds structure without requiring freshly washed hair. I gently loosen its edges with my fingers so it looks fuller, then smooth flyaways with a small amount of styling cream. This style works especially well when my second-day roots have natural texture.


