

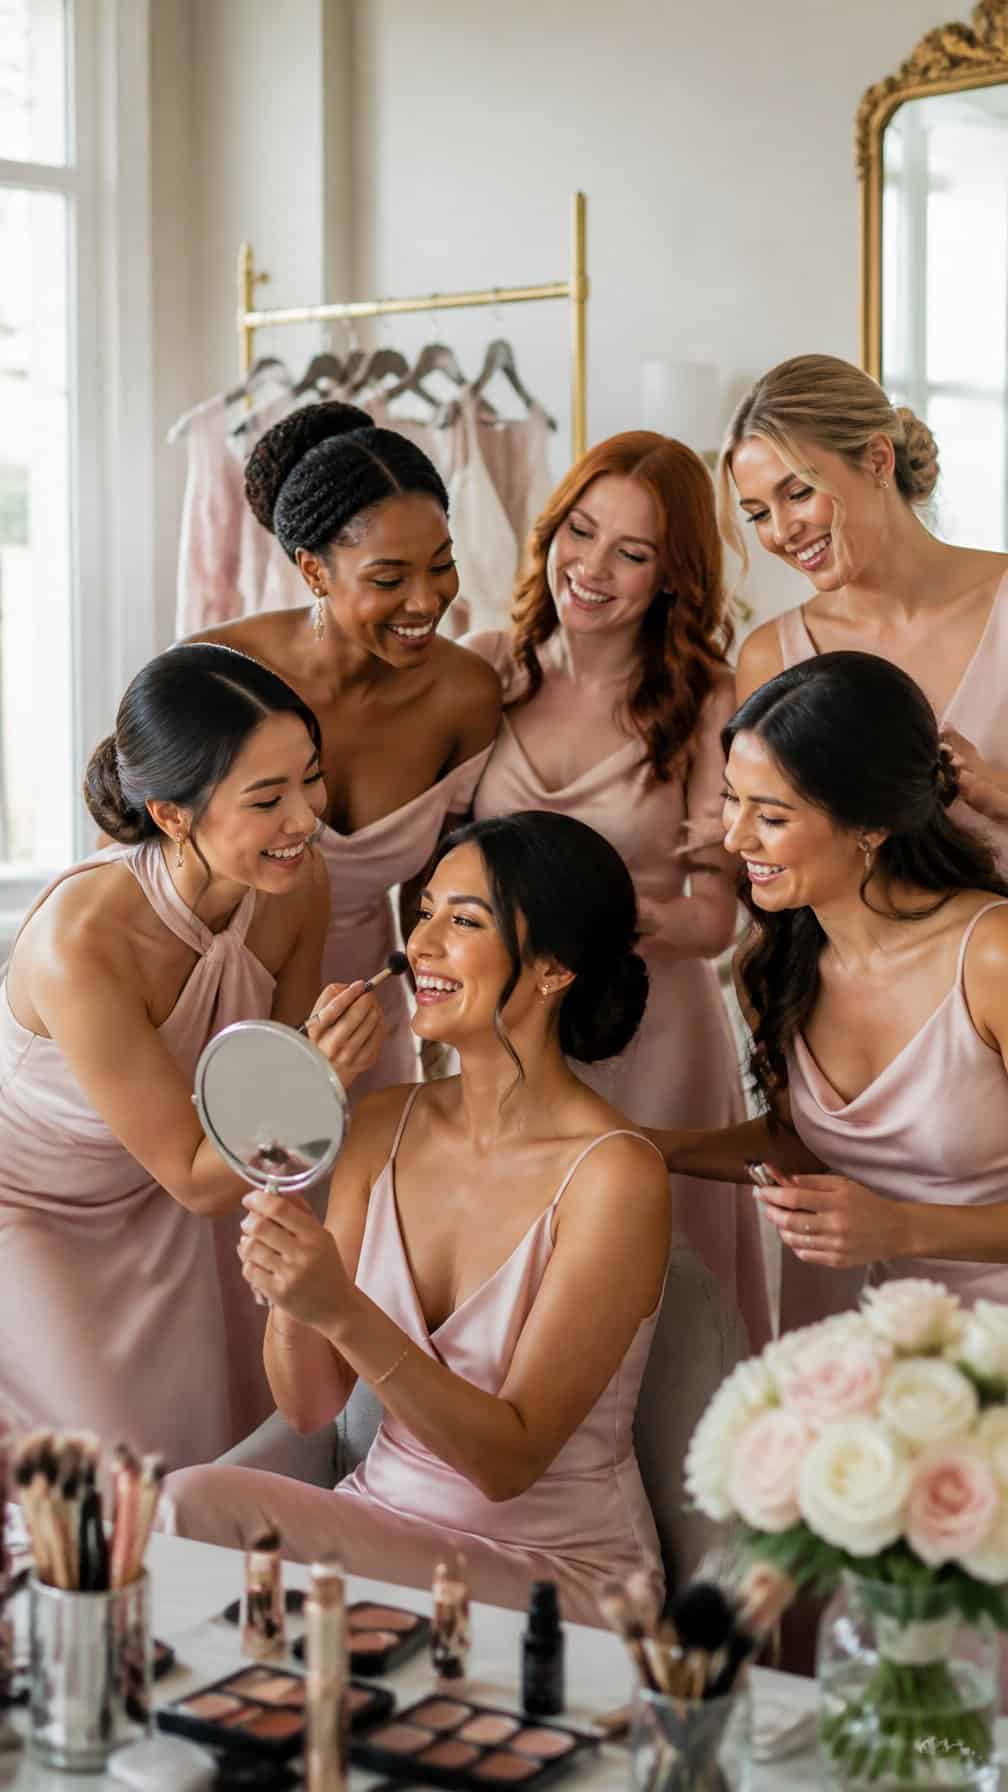
Your bridesmaid makeup needs to look polished from the ceremony through the final dance, while fitting the venue, season, and overall wedding style. Explore versatile ideas ranging from fresh, natural finishes to defined eyes, radiant skin, and classic lip colors.
Save for later
Want to come back to this story? Save it with your email so it is easy to find again.
You can find a lasting look by choosing suitable formulas, preparing your skin well, and using targeted setting and touch-up techniques. I’ll cover options for different complexions, wedding settings, weather conditions, and personal styles, along with practical ways to keep your makeup reception-ready.
Table of Contents
- 1 1) Long-Wearing Soft Glam with Waterproof Foundation
- 2 2) Waterproof Matte Makeup for Humid Venues
- 3 3) Natural Peach Makeup with Setting Spray
- 4 4) Classic Neutral Eyeshadow and Bold Lashes
- 5 5) Rose-Toned Makeup for Romantic Weddings
- 6 6) Full-Coverage Makeup for All-Day Wear
- 7 7) Airbrushed Complexion with Soft Brown Eyes
- 8 8) Waterproof Winged Liner and Nude Lips
- 9 9) Fresh-Faced Makeup with Cream Blush
- 10 10) Long-Lasting Bronze Eyes and Peach Lips
- 11 11) Soft Pink Monochromatic Makeup
- 12 12) Elegant Taupe Smoky Eye with Nude Lips
- 13 13) Humidity-Proof Makeup for Outdoor Receptions
- 14 14) Dewy Complexion with Waterproof Mascara
- 15 15) Classic Red Lip with Neutral Eyes
- 16 16) Champagne Eyeshadow and Rosy Blush
- 17 17) Sweat-Resistant Makeup for Summer Weddings
- 18 18) Long-Wear Makeup for Deep Skin Tones
- 19 19) Universal Mauve Makeup Look
- 20 20) Natural Makeup with Individual False Lashes
1) Long-Wearing Soft Glam with Waterproof Foundation
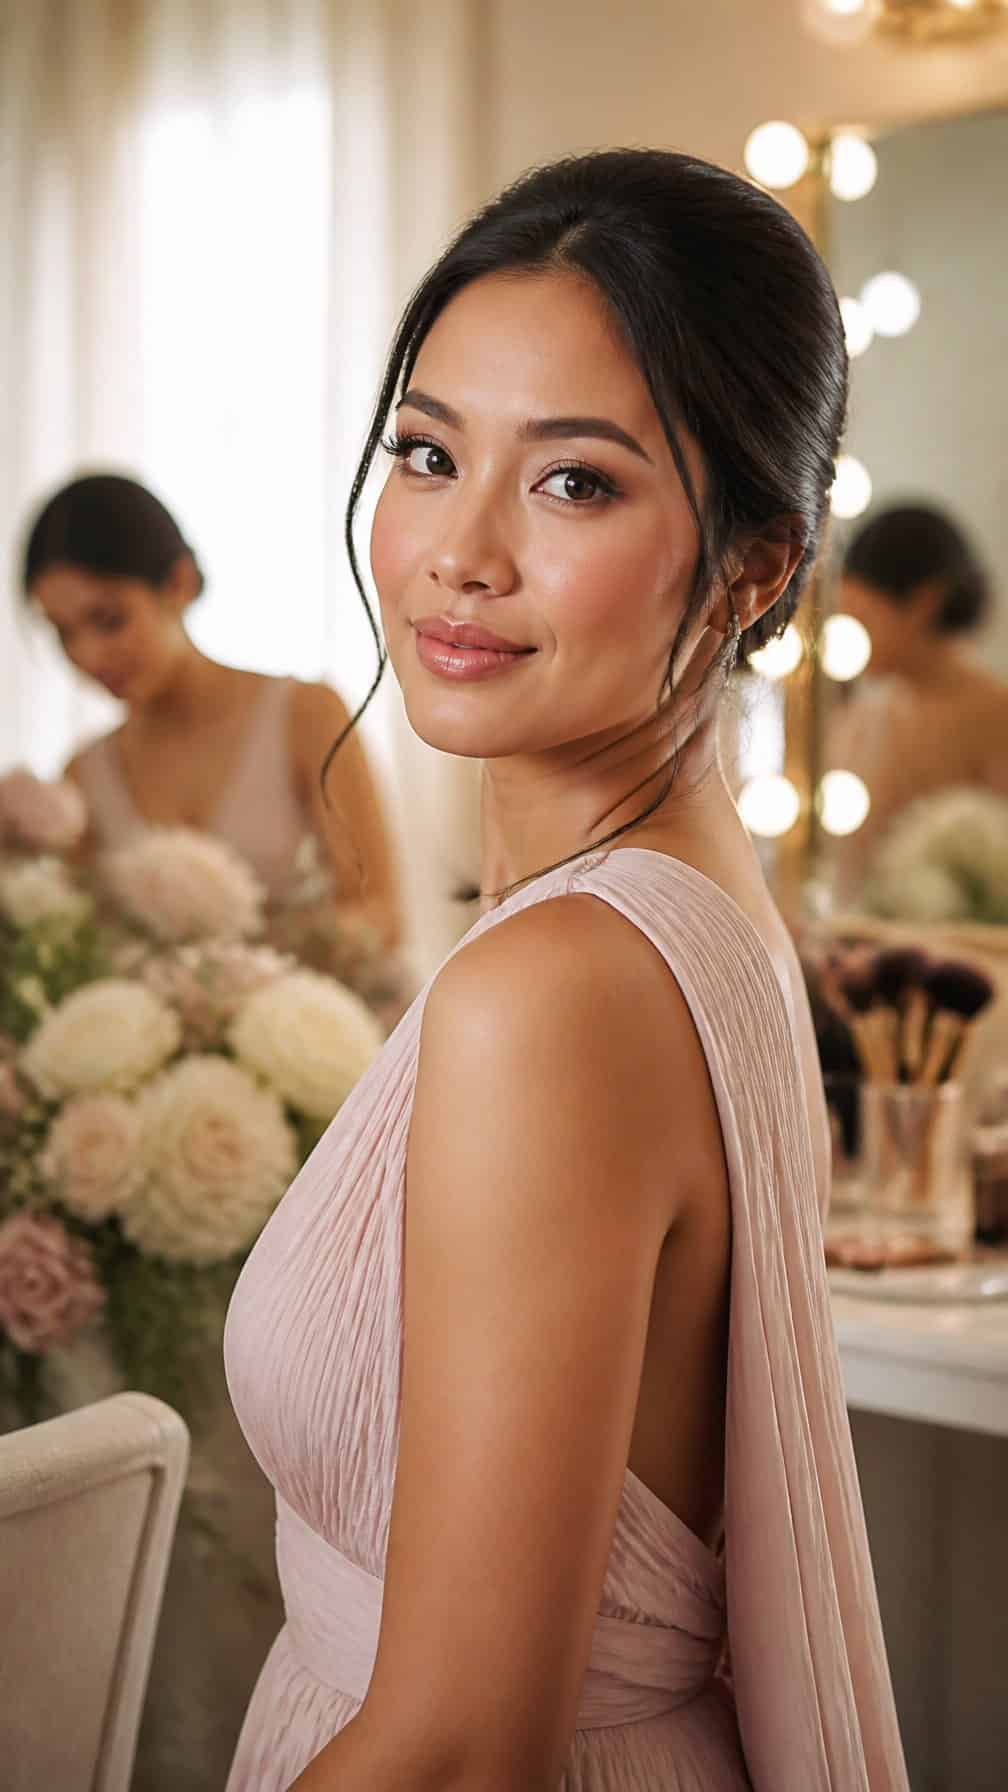
I start with a thin layer of waterproof foundation, focusing coverage around redness and uneven areas rather than masking the entire face. I press it into the skin with a damp sponge, then set the T-zone lightly with translucent powder.
For soft definition, I use neutral brown shadow, a slim waterproof liner, and individual lashes or a water-resistant mascara. Cream blush layered beneath a matching powder formula keeps the cheeks fresh without adding heavy texture.
I finish with a long-wear setting spray and carry blotting papers for touch-ups. This combination maintains an even, polished finish through photographs, dancing, and changing indoor temperatures.
2) Waterproof Matte Makeup for Humid Venues
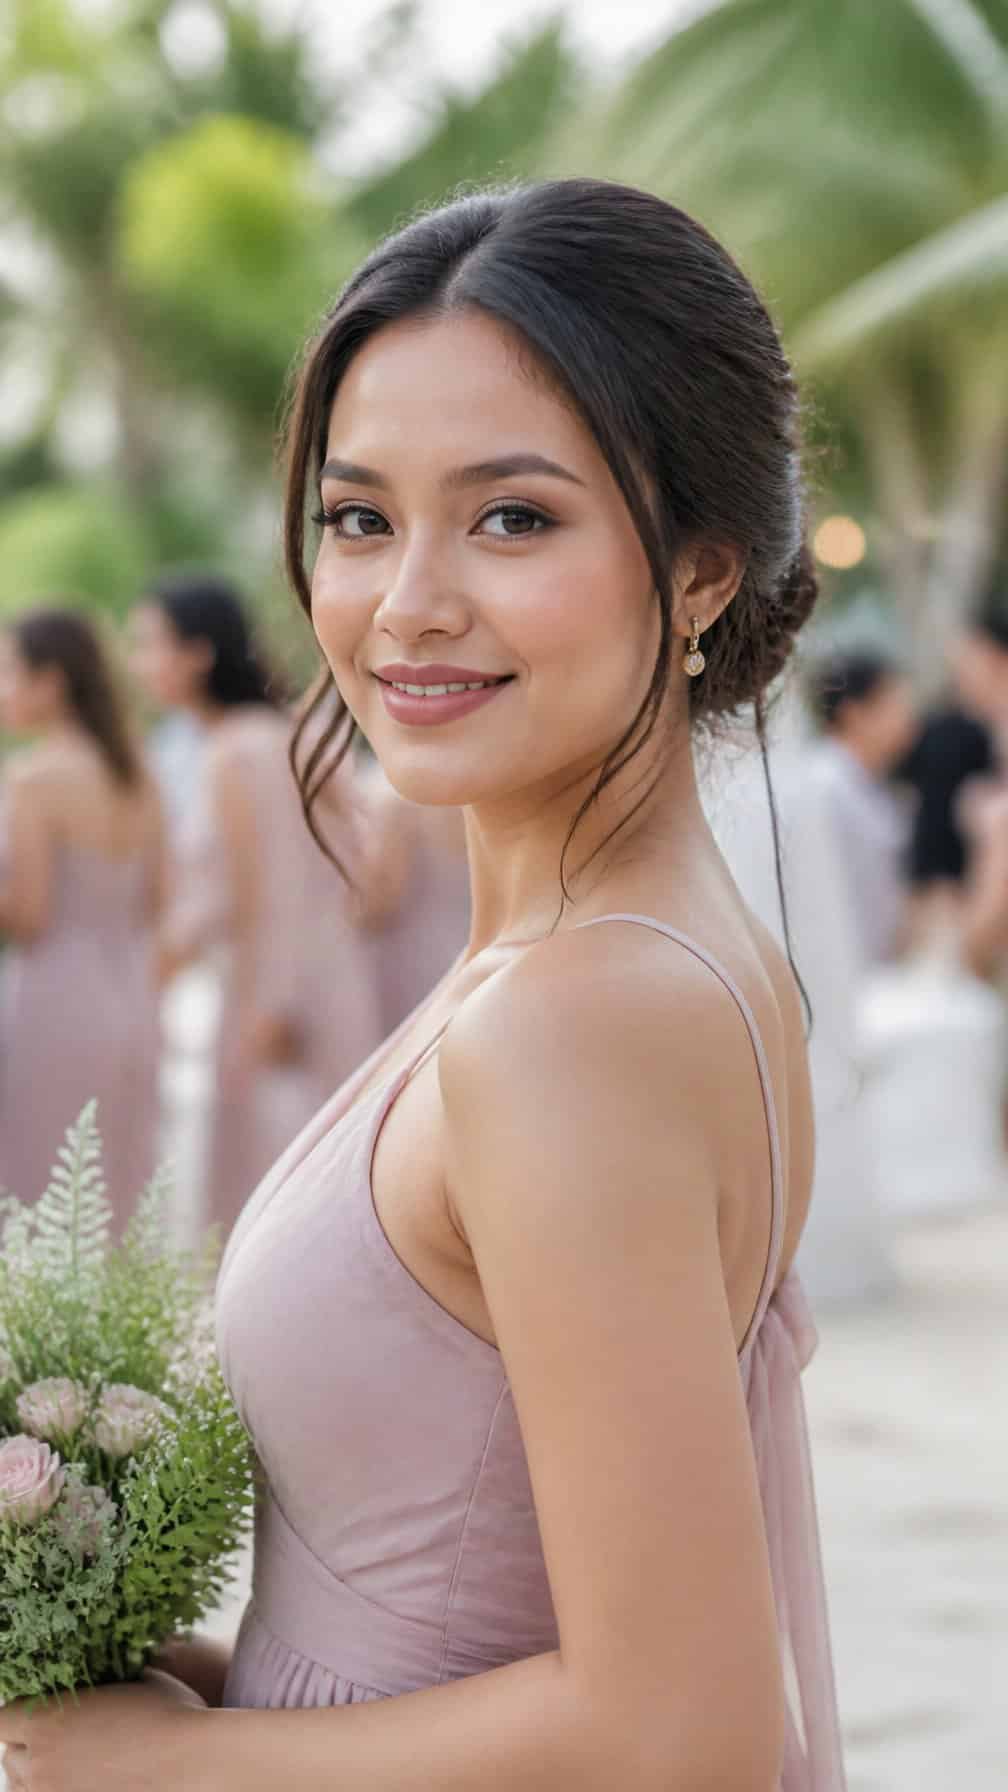
I start with a lightweight, oil-controlling primer and apply a thin layer of waterproof, long-wear foundation. I press translucent setting powder onto the T-zone rather than brushing it across the skin, which helps maintain a smooth finish without adding unnecessary coverage.
For the eyes, I use waterproof cream shadow or a matte powder shadow layered over an eye primer. A waterproof gel pencil keeps the lash line defined, while tubing or waterproof mascara helps prevent transfer during warm outdoor ceremonies and energetic receptions.
I finish with a matte setting spray and keep blotting papers in my kit for touch-ups. I press away excess oil before adding powder, since layering powder over moisture can make the complexion look heavy or uneven.
3) Natural Peach Makeup with Setting Spray
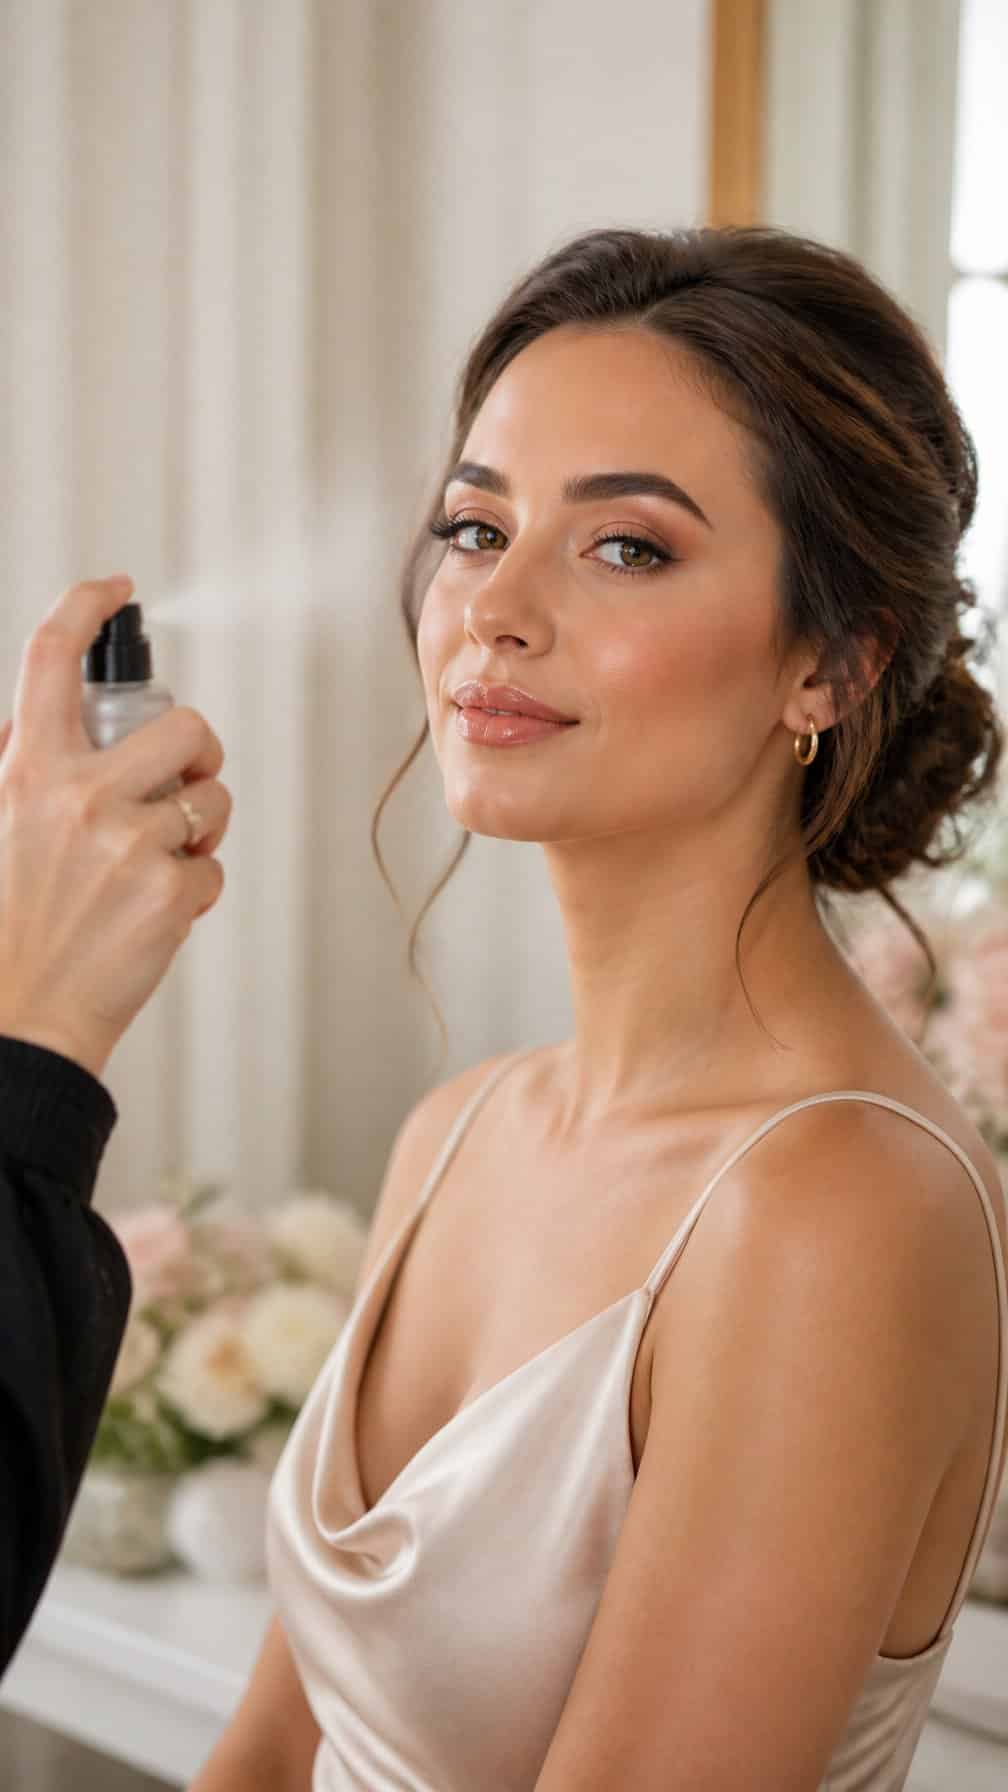
I use peach-toned cream blush and a soft matching eyeshadow to create a fresh, natural finish. I keep the base light, then add brown mascara, brushed-up brows, and a peachy nude lip for definition that still looks balanced in photographs.
I tap translucent powder only onto areas that crease or become shiny, leaving the cheeks slightly luminous. After applying the makeup, I mist setting spray evenly from about eight inches away and let it dry without touching my face.
I carry a small lip product for quick touch-ups before portraits or dinner. The peach shades complement many dress colors while keeping the look polished through the reception.
4) Classic Neutral Eyeshadow and Bold Lashes
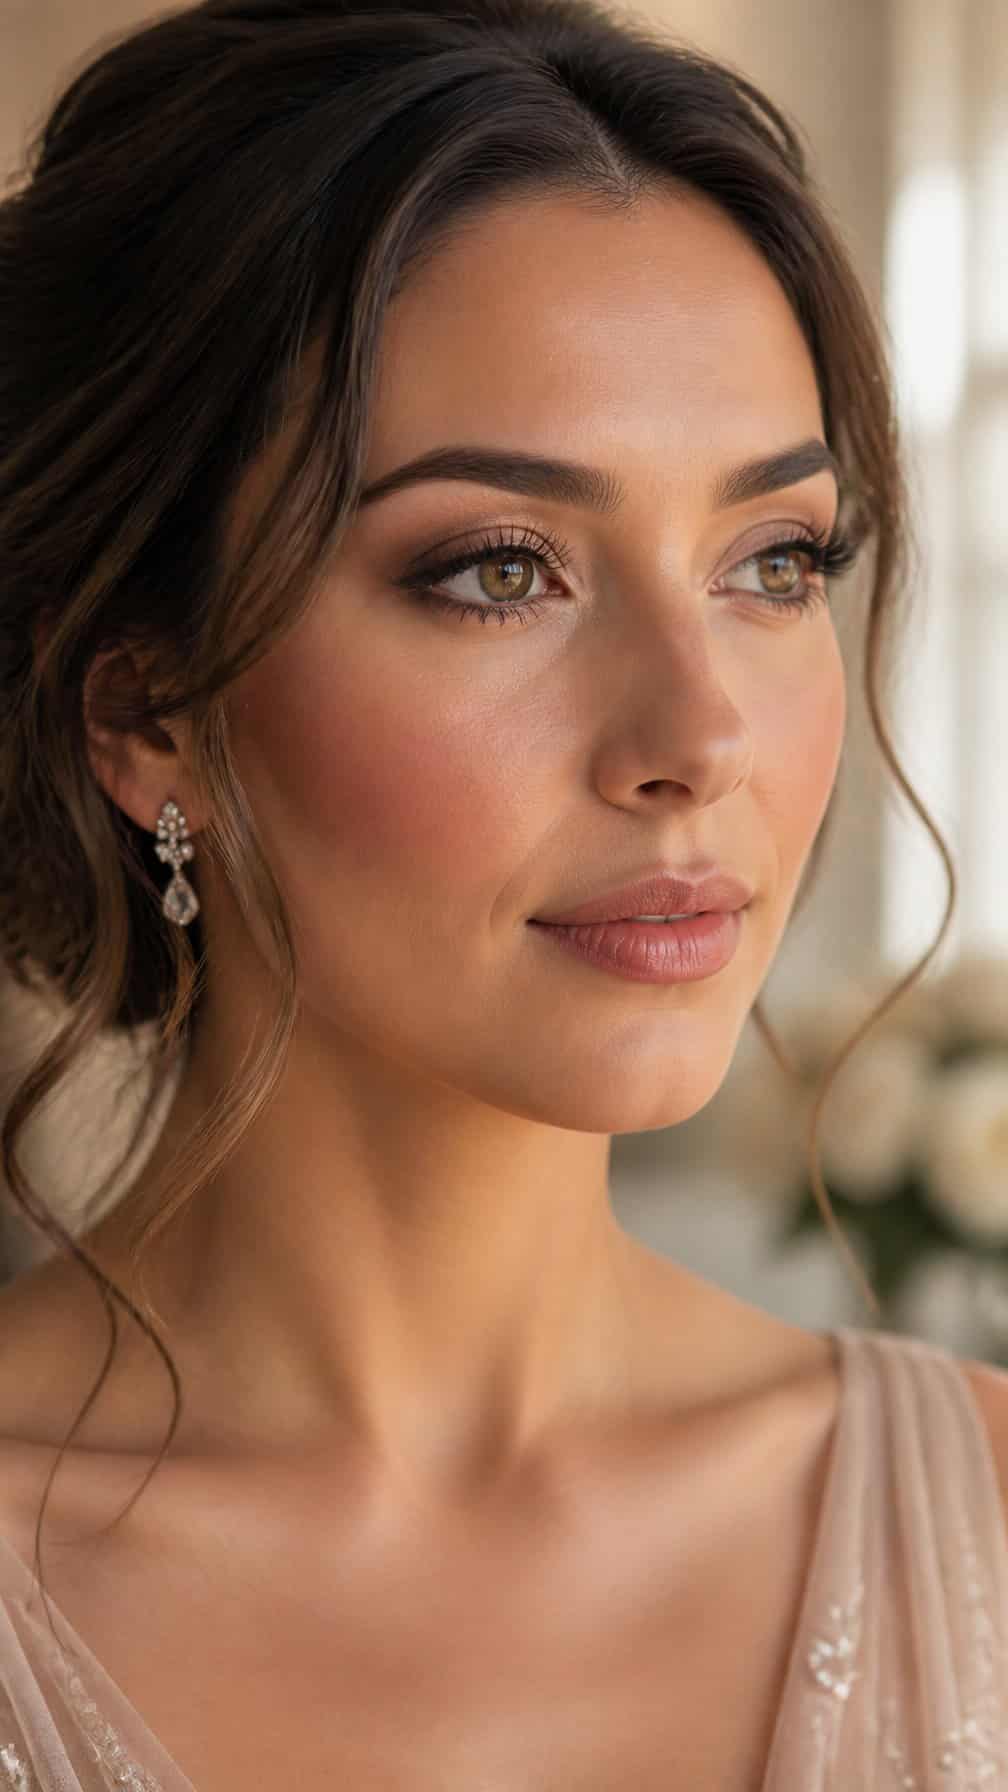
I use matte beige, taupe, and soft brown shadows to create definition without competing with the wedding colors. A slightly deeper shade through the crease adds structure, while a satin highlight on the inner corners keeps the eyes looking fresh in photos.
I finish with waterproof eyeliner and volumizing mascara, concentrating extra product at the outer lashes for a lifted shape. For more impact, I choose lightweight false lashes with a tapered design rather than a dense strip that can feel heavy.
I keep the lower lash line softly blended and avoid excessive shimmer, which can emphasize texture under flash photography. A reliable eye primer and setting spray help the look stay polished from the ceremony through dancing.
5) Rose-Toned Makeup for Romantic Weddings
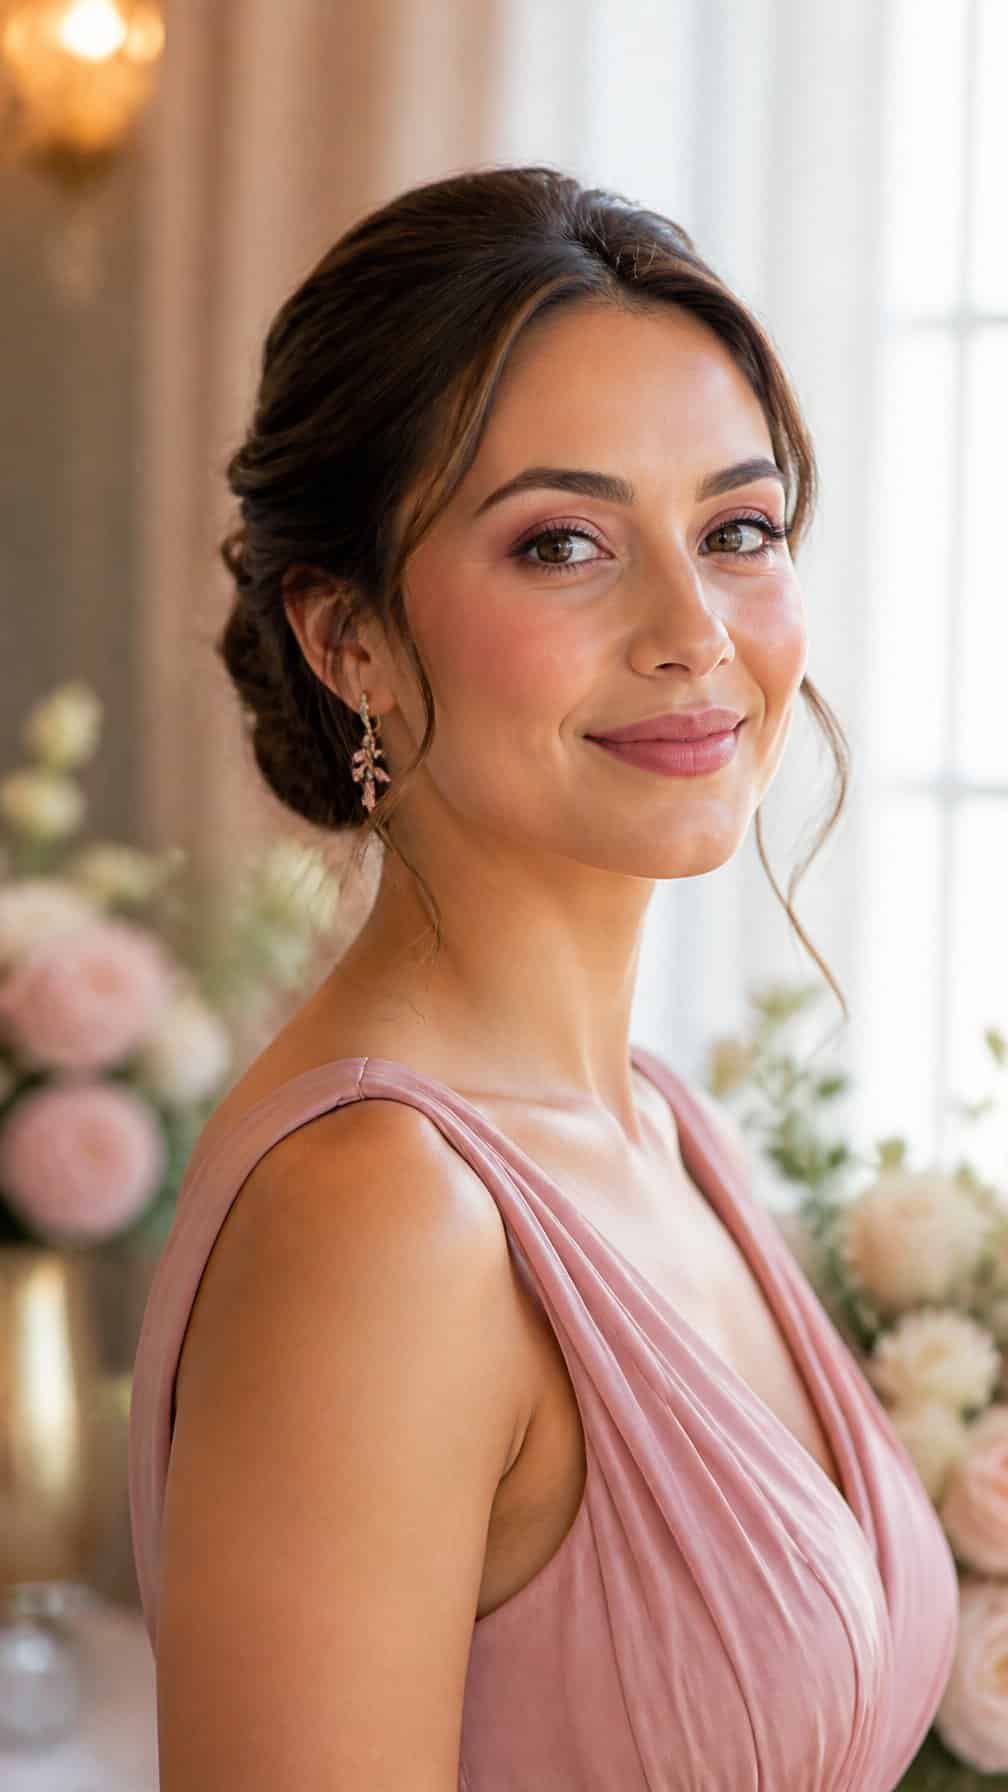
I use soft rose shades on the eyes, cheeks, and lips to create a coordinated look that suits romantic wedding palettes. A satin rose eyeshadow adds gentle definition, while muted pink blush keeps the complexion fresh without looking overly bright.
I prefer long-wearing cream blush layered with a light powder formula to help the color stay even through photos, dinner, and dancing. For the lips, I choose a rose-mauve stain topped with a comfortable balm or setting gloss, then keep the liner close to the natural lip tone.
I finish with waterproof mascara, softly smudged brown liner, and a finely milled setting powder around the nose and forehead. This approach preserves the makeup’s delicate finish while controlling shine during the reception.
6) Full-Coverage Makeup for All-Day Wear
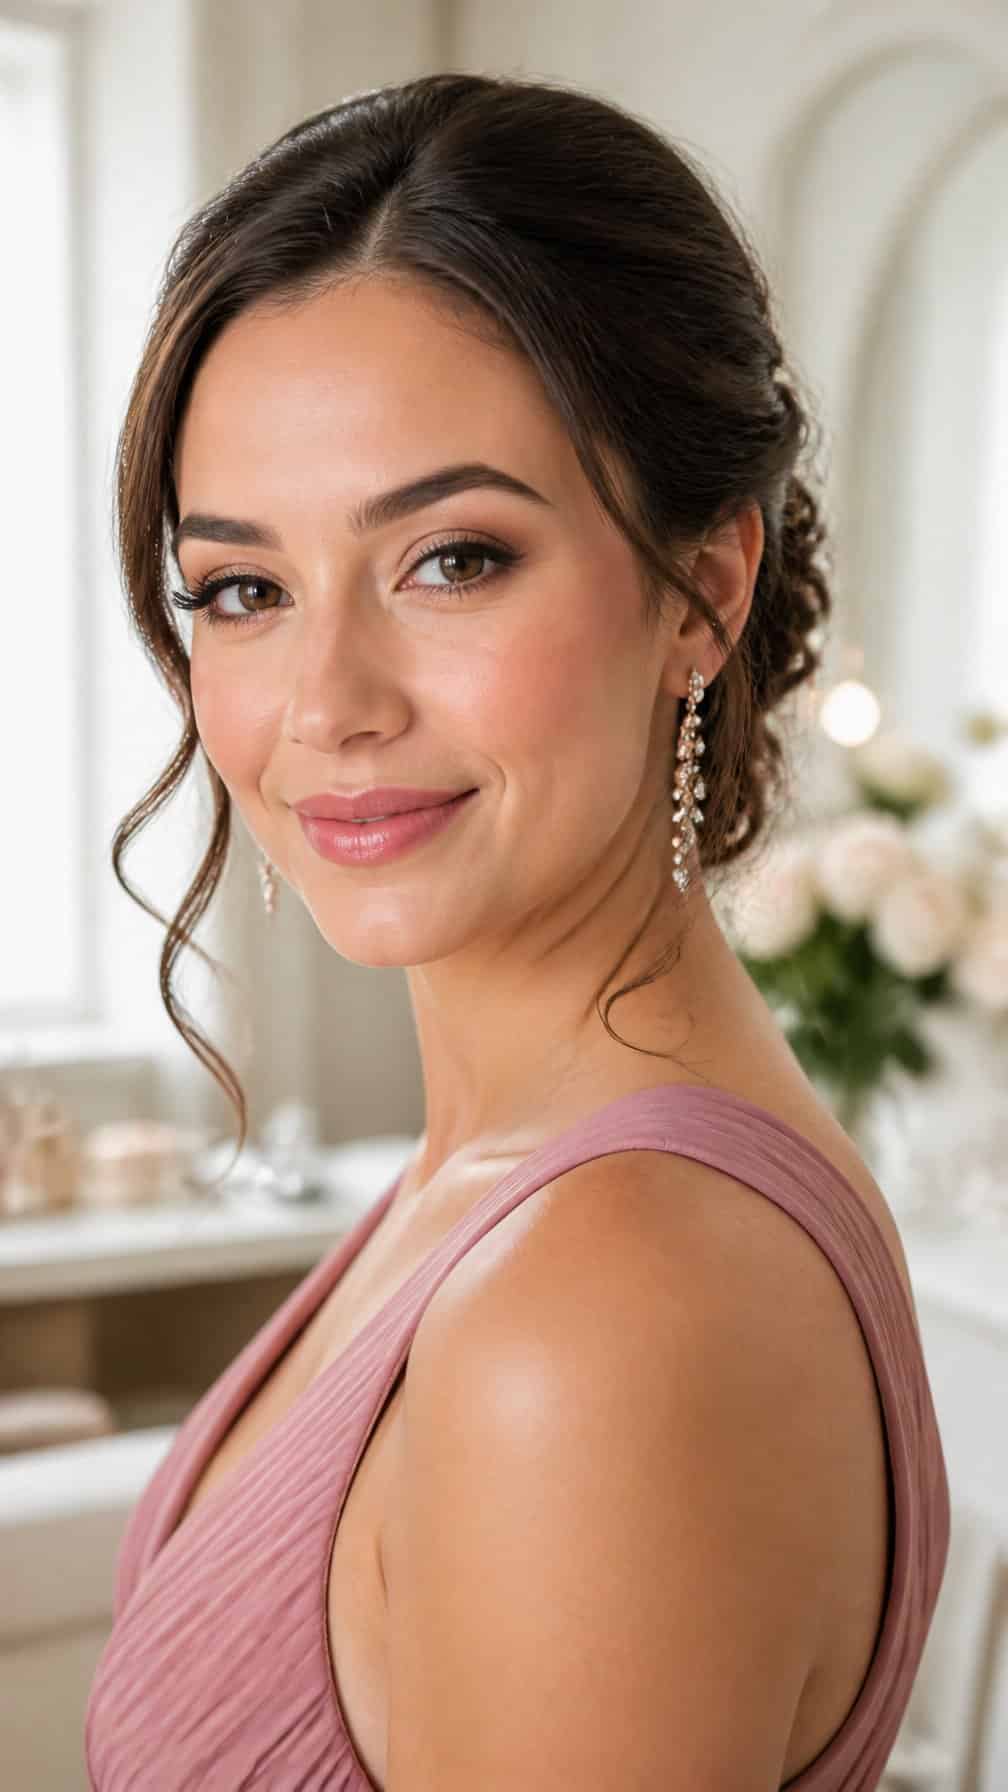
I choose a long-wearing, full-coverage foundation when I need an even complexion that stays polished from the ceremony through the reception. I apply thin layers with a damp sponge, concentrating extra product only where redness, blemishes, or discoloration needs more coverage.
I set the center of the face with finely milled translucent powder, while leaving the high points of the cheeks lightly powdered to preserve a natural finish. I also use waterproof concealer beneath the eyes and press, rather than sweep, to avoid disturbing the base.
For durability, I select cream products sparingly and layer compatible powder blush or bronzer over them. I finish with a setting spray, then keep blotting papers and a small pressed powder compact available for touch-ups without adding unnecessary texture.
7) Airbrushed Complexion with Soft Brown Eyes
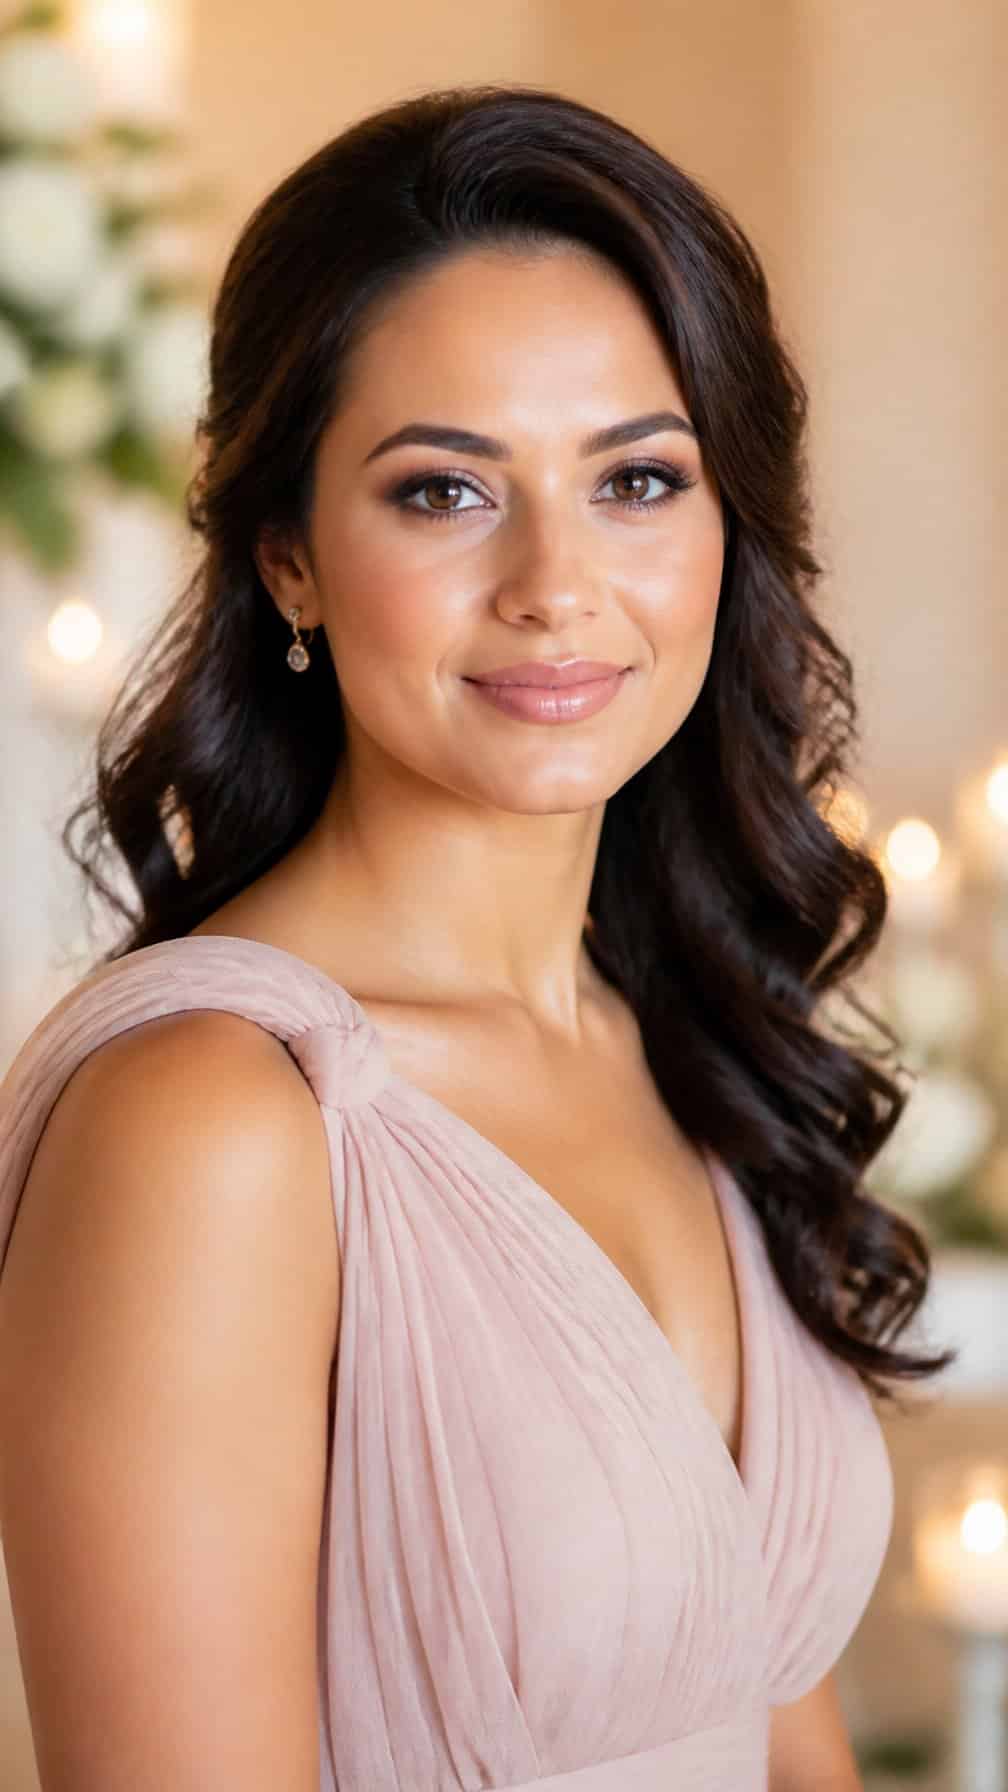
I use an airbrushed foundation to create an even, lightweight base that photographs smoothly without looking heavy in person. I keep the coverage concentrated around redness and blemishes, then set the center of the face with a finely milled powder to control shine during the reception.
For the eyes, I blend matte taupe and soft brown shadows through the crease and along the lower lash line. I add a satin champagne shade to the inner corners, define the upper lash line with brown liner, and finish with waterproof mascara for gentle definition.
I choose muted rose blush and a neutral pink lip to complement the warm eye tones. A setting spray helps the makeup withstand photographs, conversation, and dancing while preserving the skin’s natural dimension.
8) Waterproof Winged Liner and Nude Lips
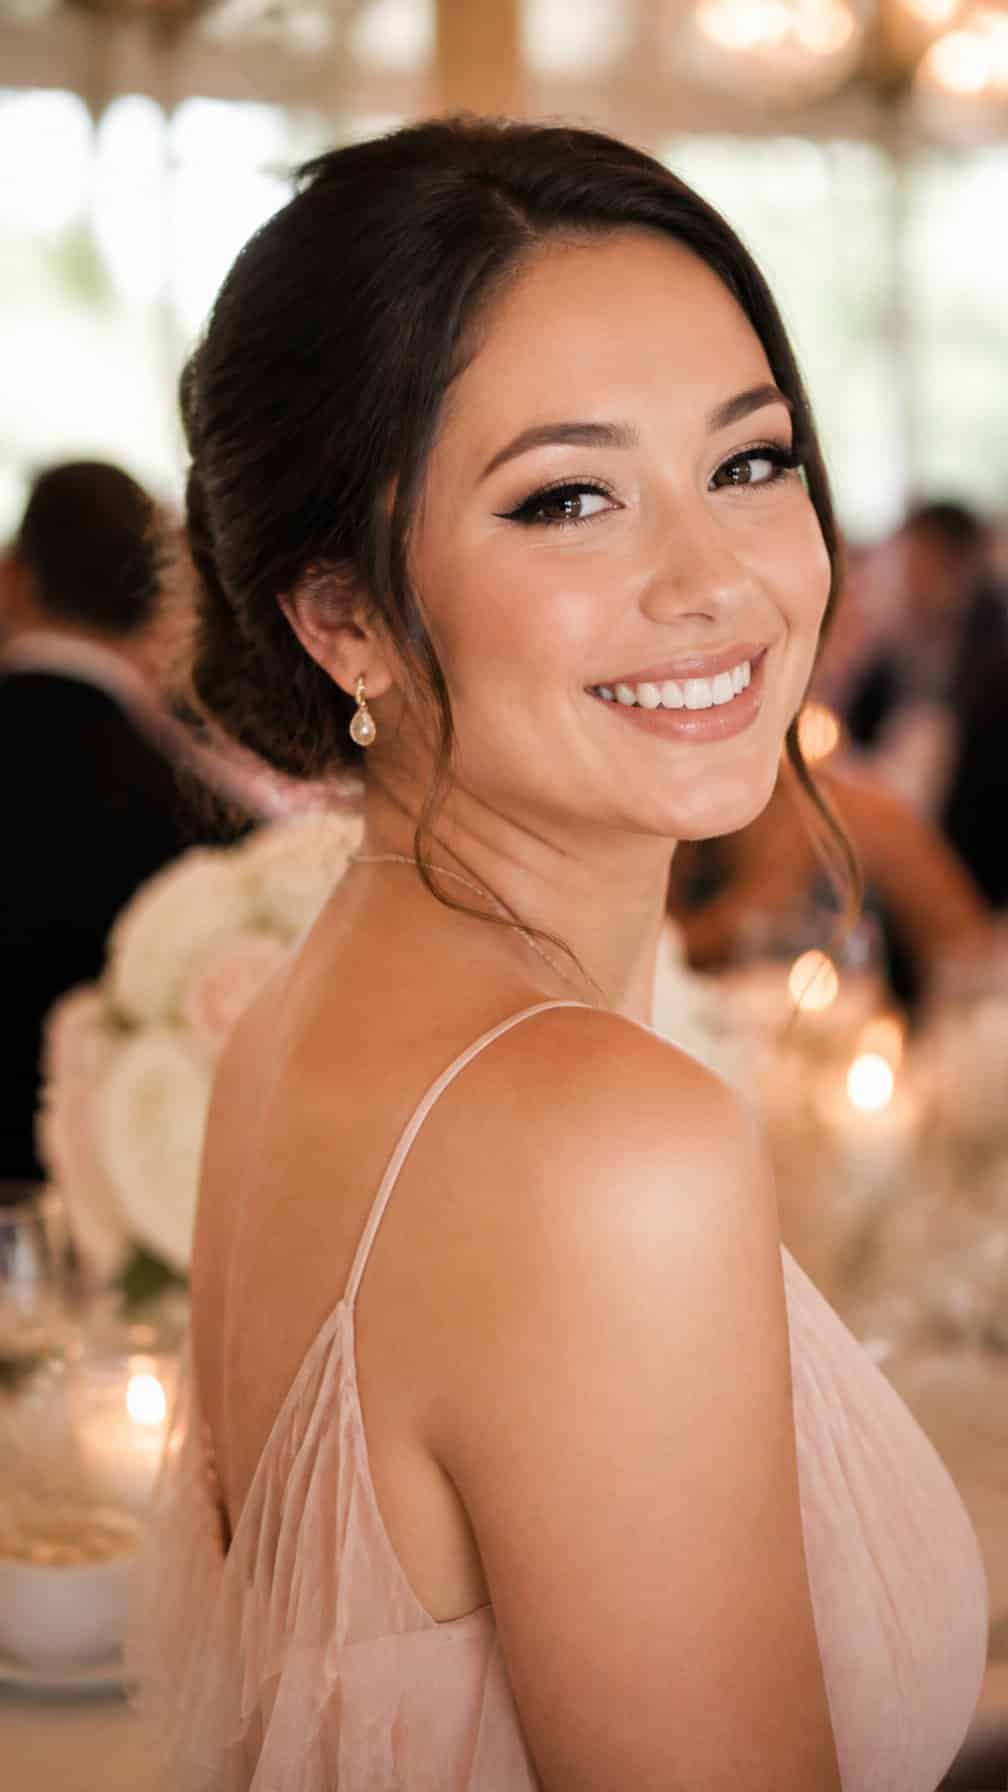
I use waterproof liquid liner to create a clean wing that stays defined through warm rooms, photos, and dancing. I keep the line slightly thinner at the inner corner and extend the outer edge according to the eye shape, then press a matching dark shadow along the lash line to reinforce it.
I pair the liner with a nude lip in a shade that complements the bridesmaid’s natural coloring. I apply lip balm first, blot it, and add a long-wearing pencil beneath the lipstick to improve definition and reduce fading. A small amount of gloss in the center adds softness without compromising the polished finish.
9) Fresh-Faced Makeup with Cream Blush
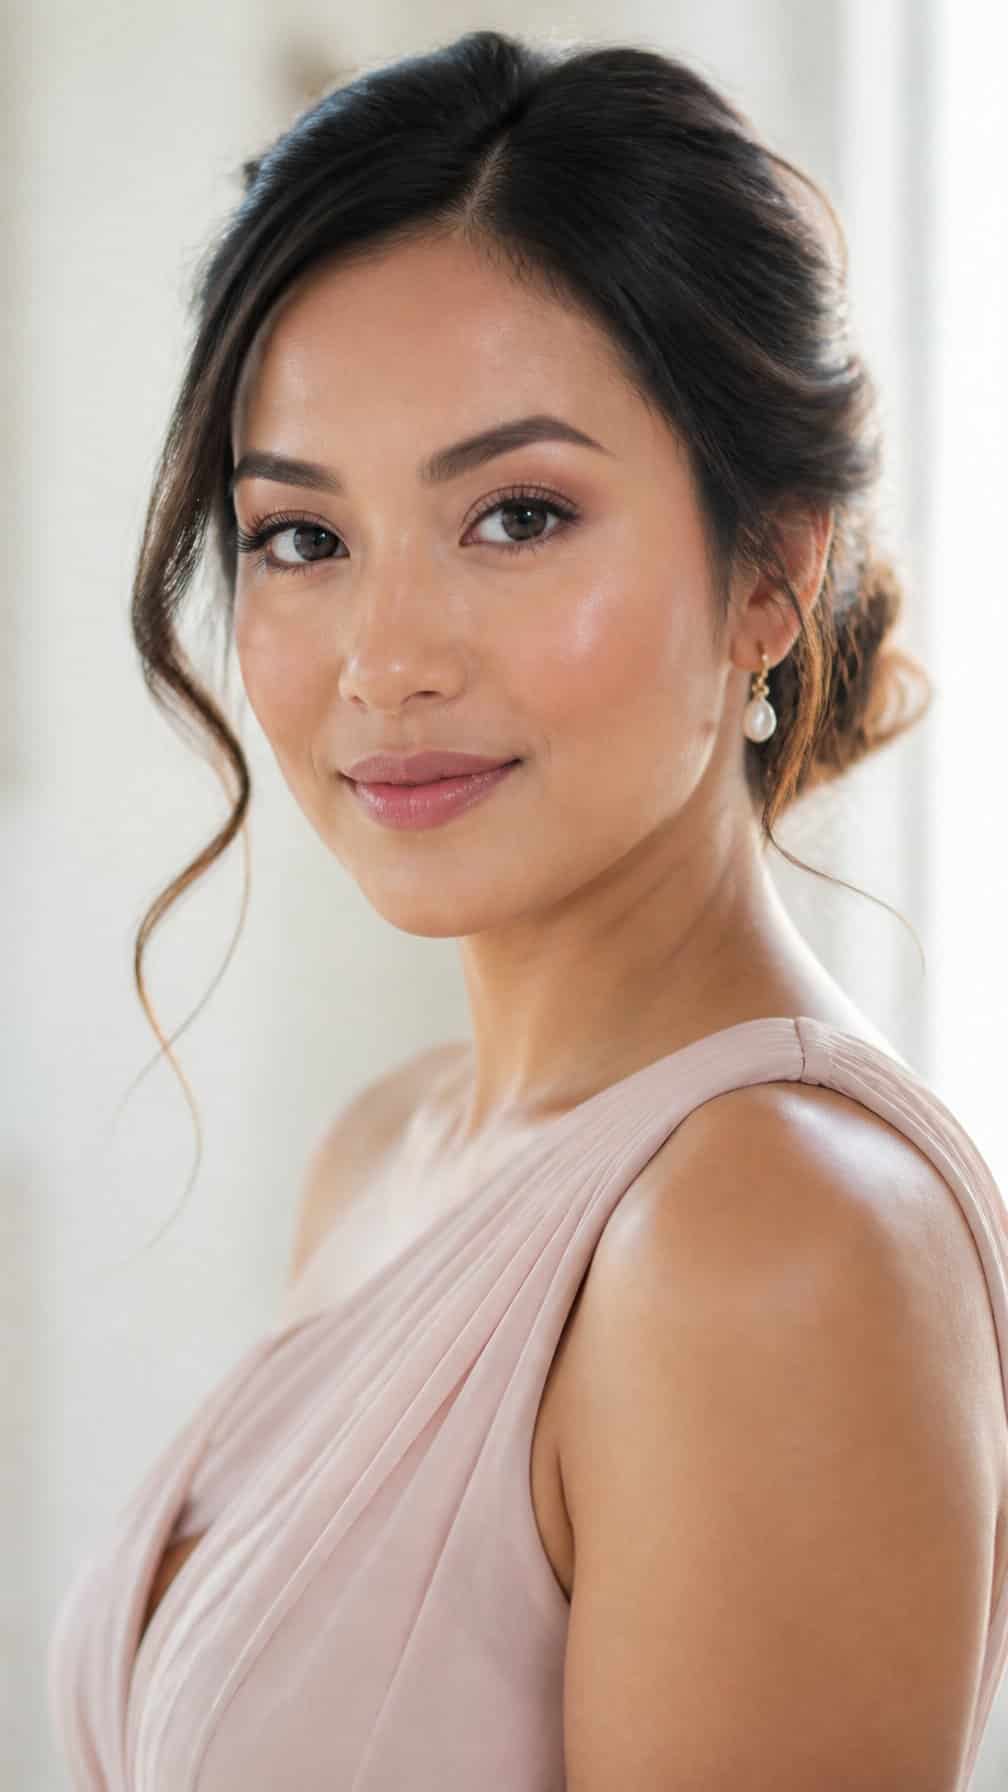
I start with lightweight, hydrated skin and apply sheer complexion products only where I need coverage. I tap cream blush onto the apples of my cheeks, then blend it toward my temples for a soft, natural flush that looks fresh in photographs.
I prefer a long-wearing cream formula with a satin finish rather than heavy shimmer. After placing the blush, I set the center of my face with translucent powder while leaving the cheeks lightly luminous. This keeps the complexion comfortable and helps the color stay even through the reception.
10) Long-Lasting Bronze Eyes and Peach Lips
I build this look with a long-wear eyeshadow primer, then layer bronze shadow across the lids and soften the edges through the crease. A touch of shimmer at the inner corners adds brightness without competing with the dress or photography.
I prefer waterproof brown eyeliner and mascara to define the eyes while keeping the finish softer than black. For the lips, I apply peach liner across the entire lip, add a matching lipstick, and blot before applying a second thin layer. A lightweight setting spray helps the makeup stay comfortable through dancing and dinner.
11) Soft Pink Monochromatic Makeup
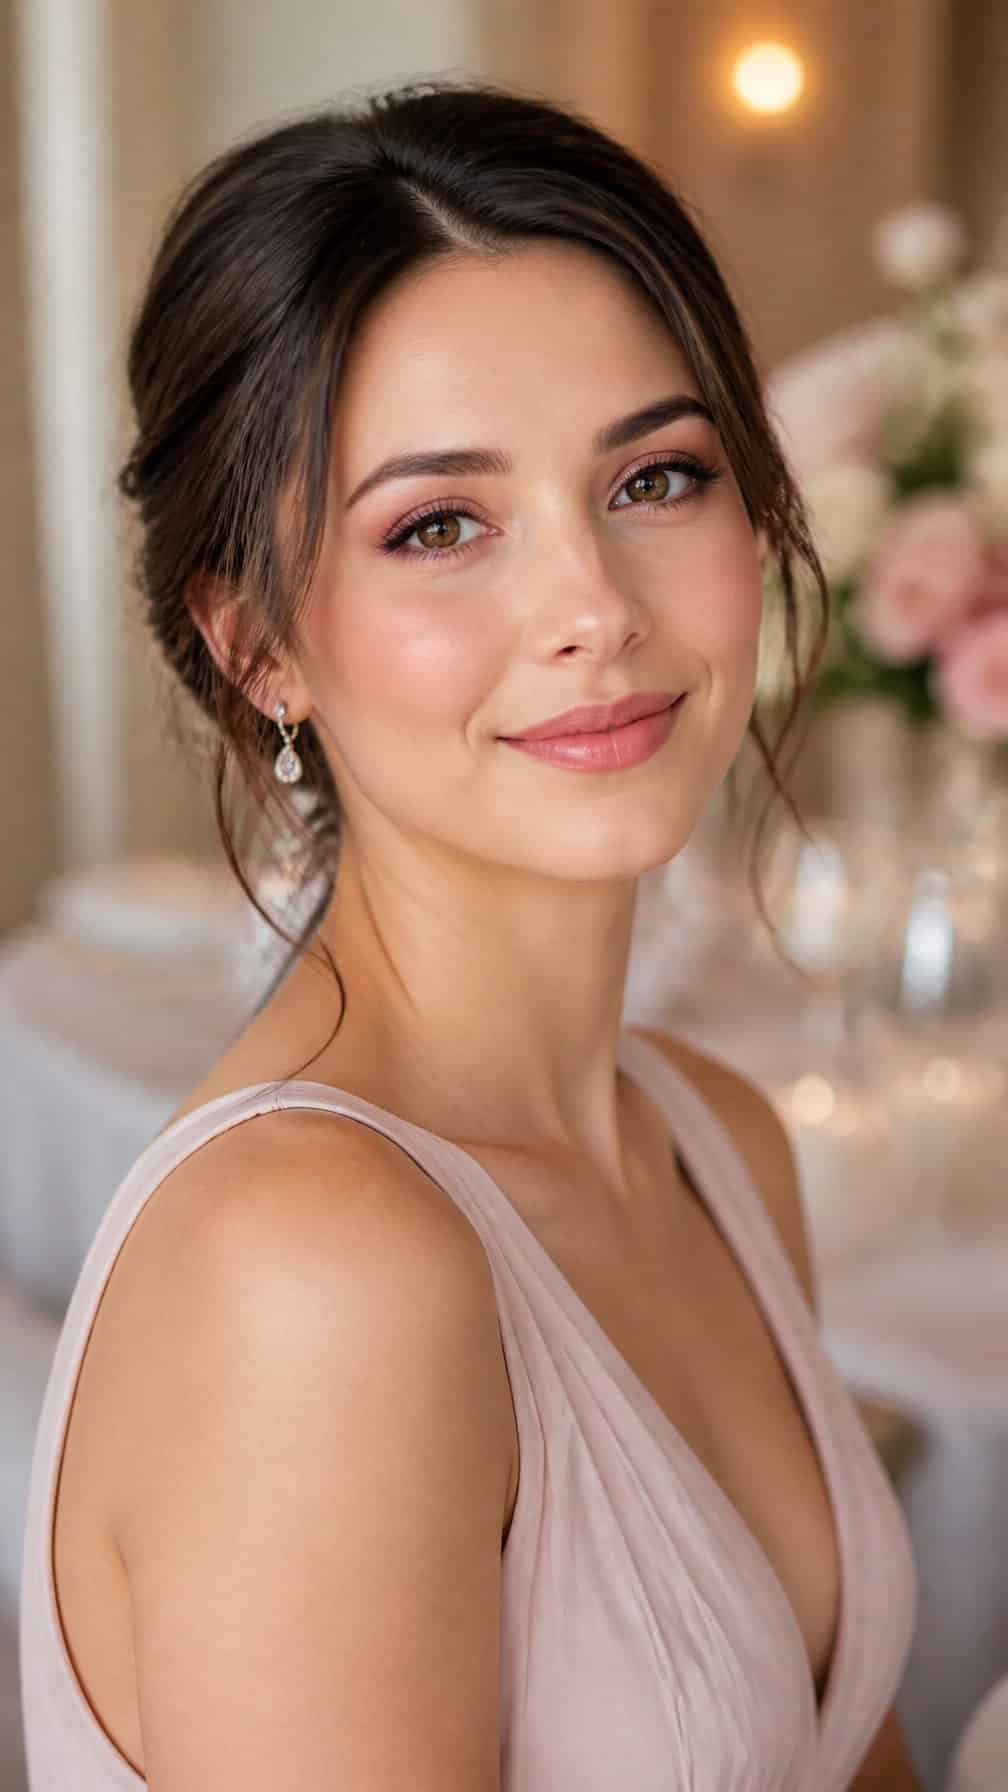
I keep the eyes, cheeks, and lips within the same soft pink family for a polished, coordinated effect. I use a satin rose shadow on the lids, blending a slightly deeper mauve into the crease for definition without harsh contrast.
I prefer a muted pink blush placed high on the cheeks, then lightly layered to keep the finish buildable for photographs. A rose-toned lip stain topped with a comfortable balm adds color while allowing easy touch-ups between ceremony and reception.
I set the T-zone with translucent powder and choose long-wearing cream products sparingly, since excess layers can crease or fade unevenly. For extra staying power, I press matching powder blush over the cream blush and finish with a setting spray.
12) Elegant Taupe Smoky Eye with Nude Lips
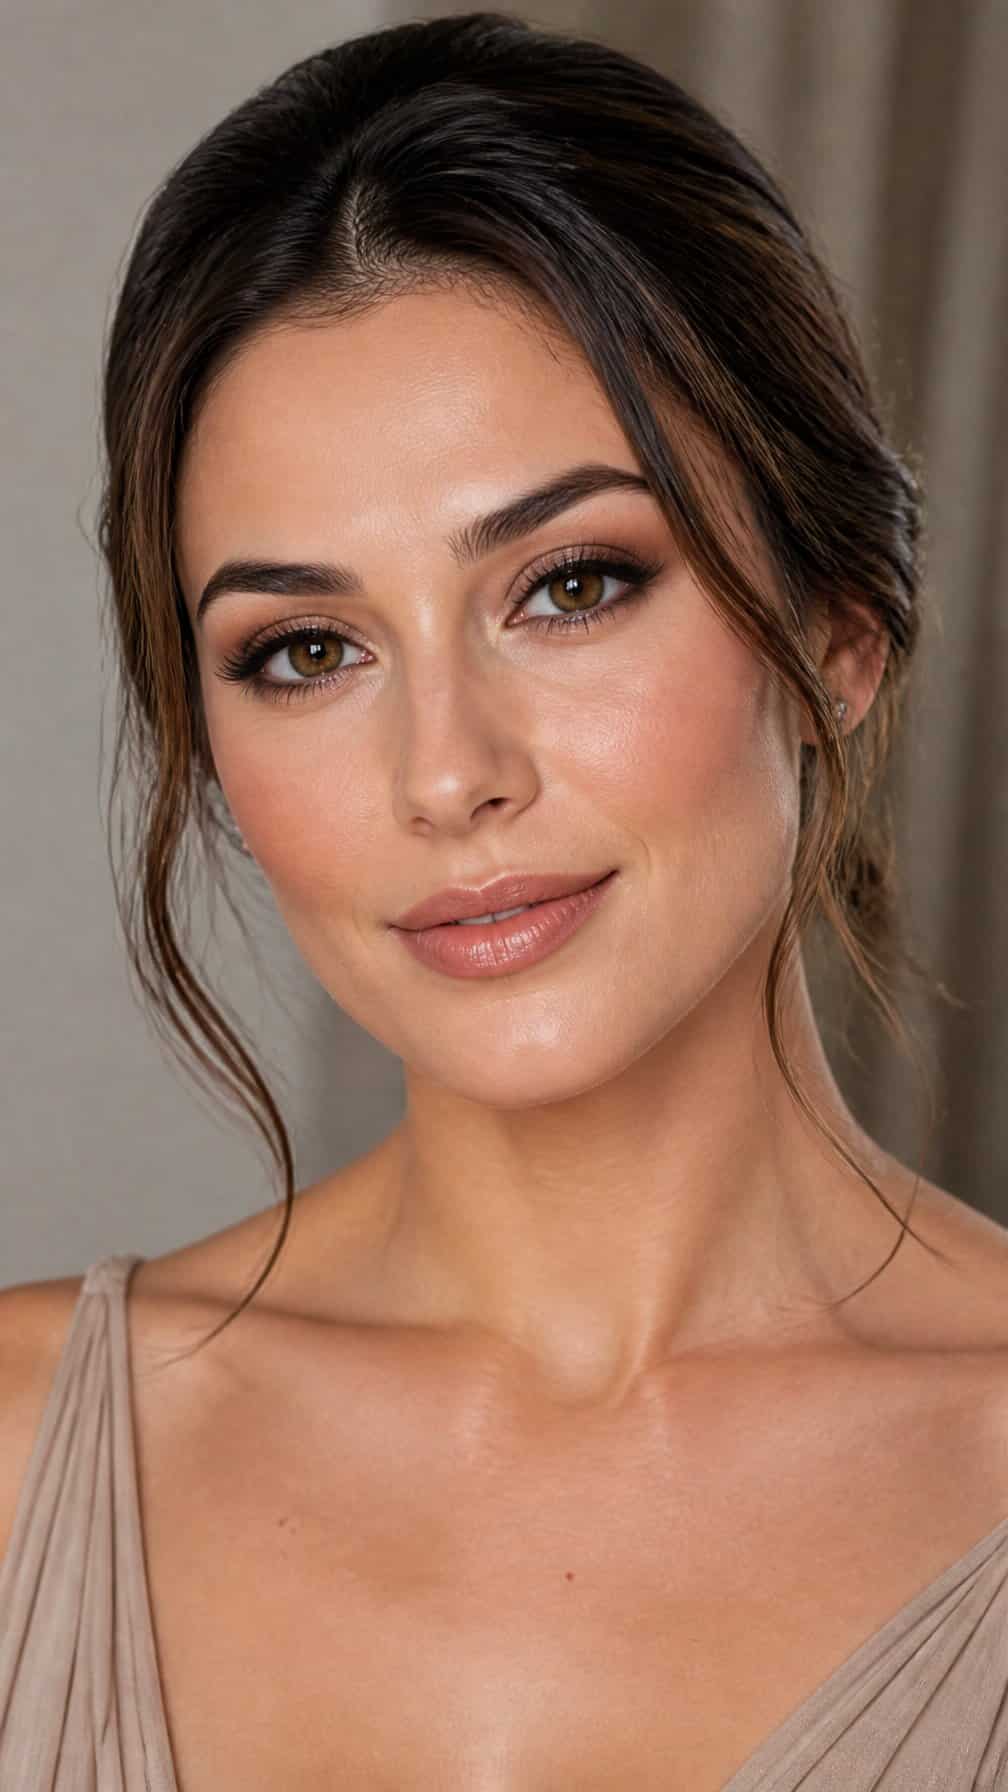
I build this look with matte taupe through the crease, then add a slightly deeper brown along the outer corner and lash line. A satin beige shade on the center of the lid brings gentle brightness without overpowering the makeup.
I keep the edges softly blended so the eyes look defined in photographs while retaining an elegant finish. Waterproof brown-black mascara supports the smoky effect and helps prevent smudging during a long reception.
For the lips, I choose a nude shade that complements my skin’s undertone, then outline lightly with a matching liner. I finish with a comfortable satin lipstick or a thin layer of gloss, keeping the color polished and easy to refresh.
13) Humidity-Proof Makeup for Outdoor Receptions
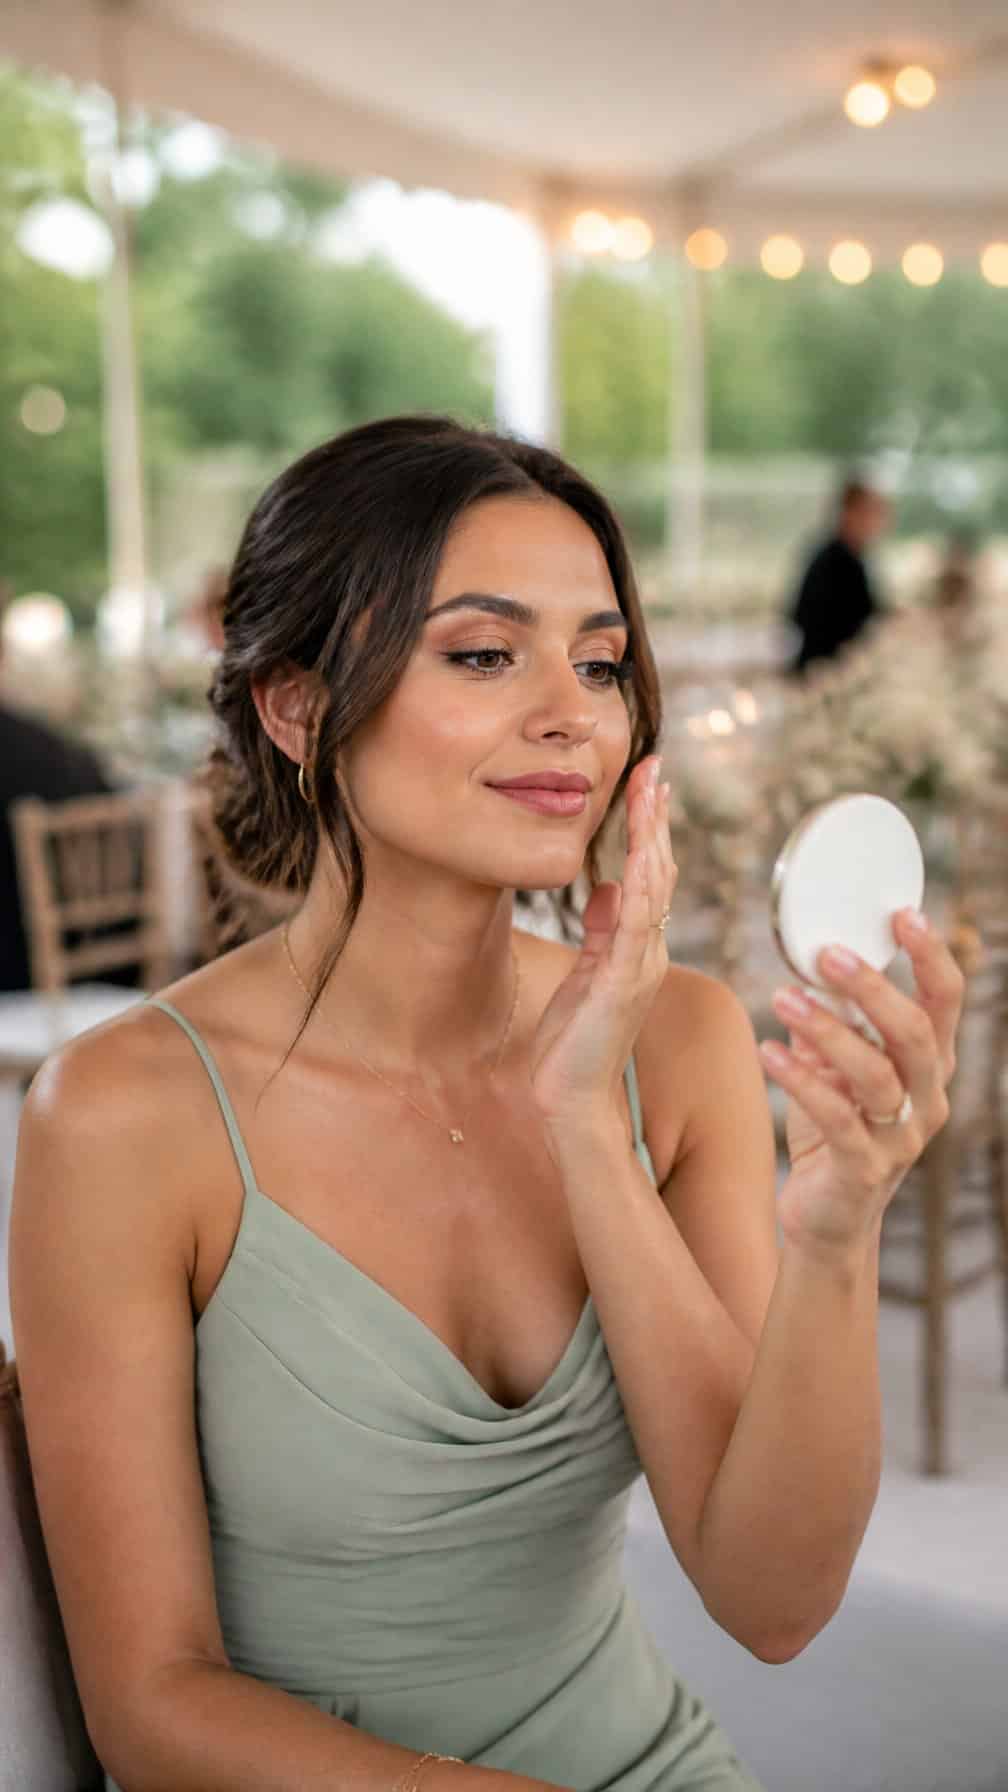
I start with lightweight, oil-controlling skincare and let each layer absorb before applying makeup. A humidity-resistant primer helps smooth the skin without creating a heavy base, while long-wearing foundation keeps coverage even during warm outdoor photos and dancing.
I use waterproof gel eyeliner and mascara to reduce smudging from heat, moisture, or happy tears. For eyeshadow, I prefer pressed formulas with a thin layer of primer underneath, then add softly blended matte shades that remain polished without emphasizing creasing.
I apply cream blush sparingly and set it with a coordinating powder blush. This layering method gives my cheeks lasting color while keeping the finish natural. I lightly powder the T-zone and carry blotting papers for touch-ups instead of adding repeated layers of powder.
I finish with a setting spray designed for long wear, concentrating on areas that become shiny first. I keep lipstick comfortable by applying a thin coat, blotting it, and carrying the same shade for quick reception touch-ups.
14) Dewy Complexion with Waterproof Mascara
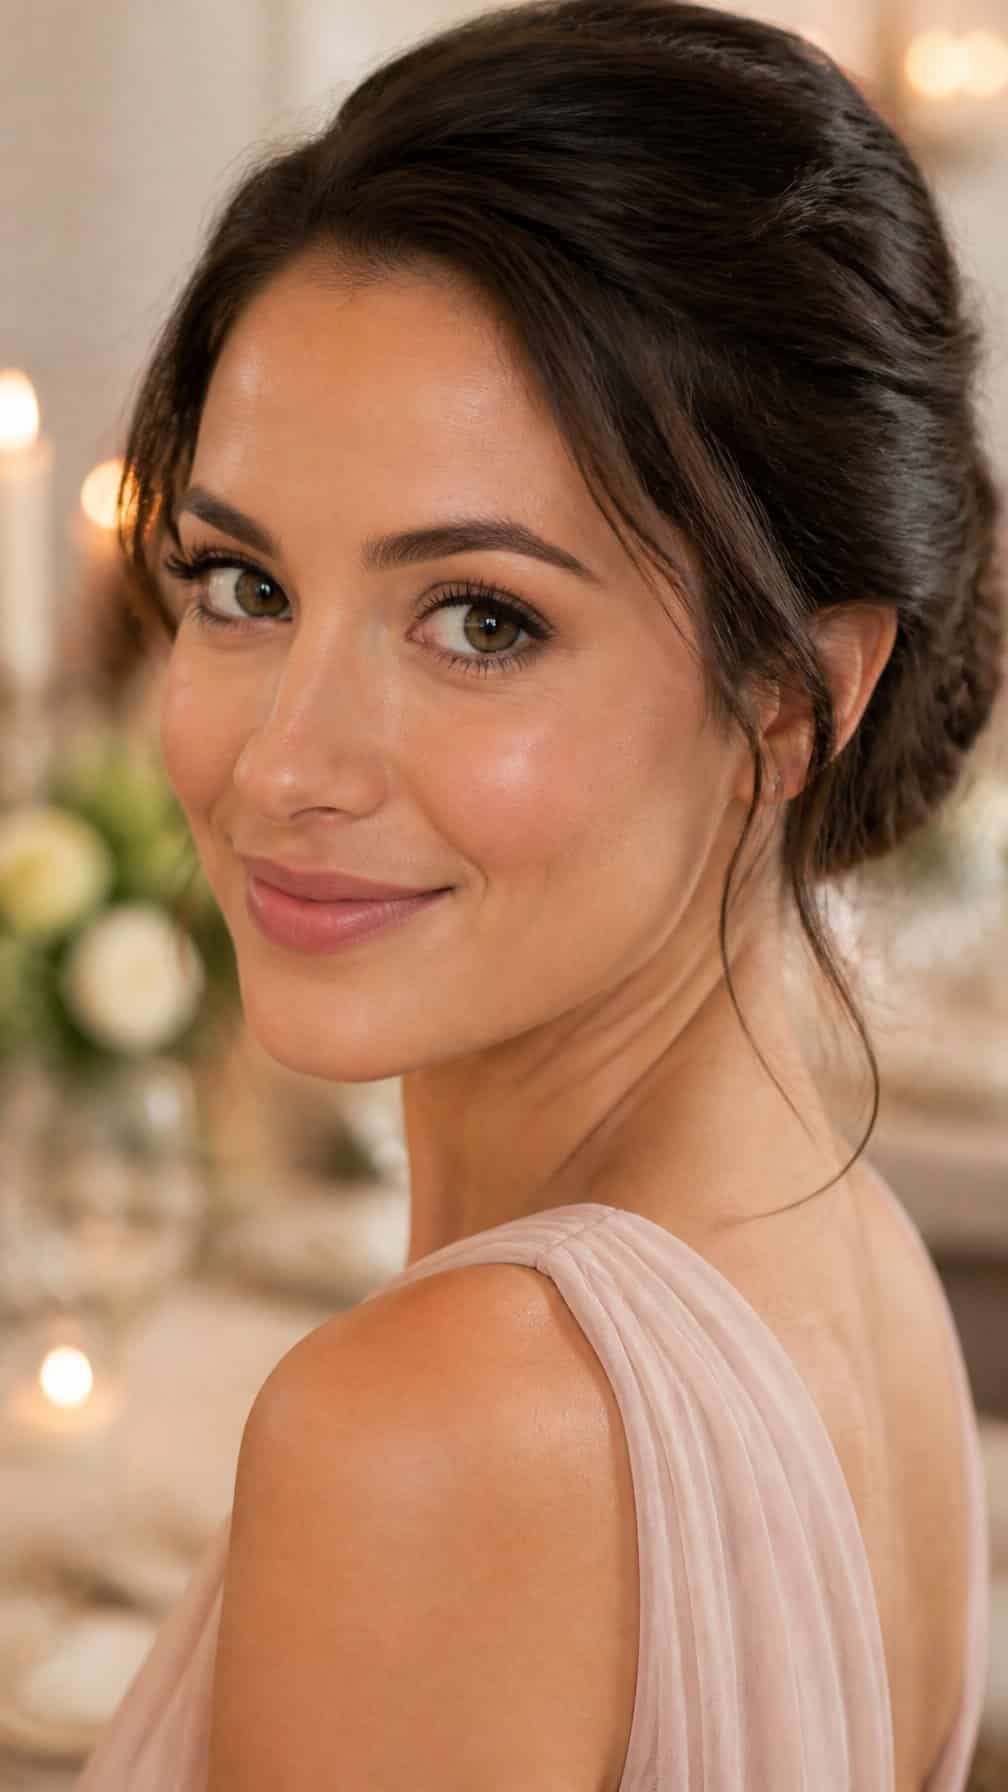
I create a fresh, dewy base with lightweight foundation, targeted concealer, and a thin layer of translucent powder through the T-zone. I press cream highlighter onto the cheekbones rather than layering shimmer across the entire face, which keeps the finish natural in photographs.
I curl my lashes before applying waterproof mascara, then build definition from the roots with two thin coats. I keep the lower lashes soft and minimal to reduce the chance of smudging during hugs, tears, or warm outdoor photos.
I finish with a setting spray designed for long wear and carry blotting papers instead of adding more powder. This approach lets me control shine while preserving the skin-like finish throughout the reception.
15) Classic Red Lip with Neutral Eyes
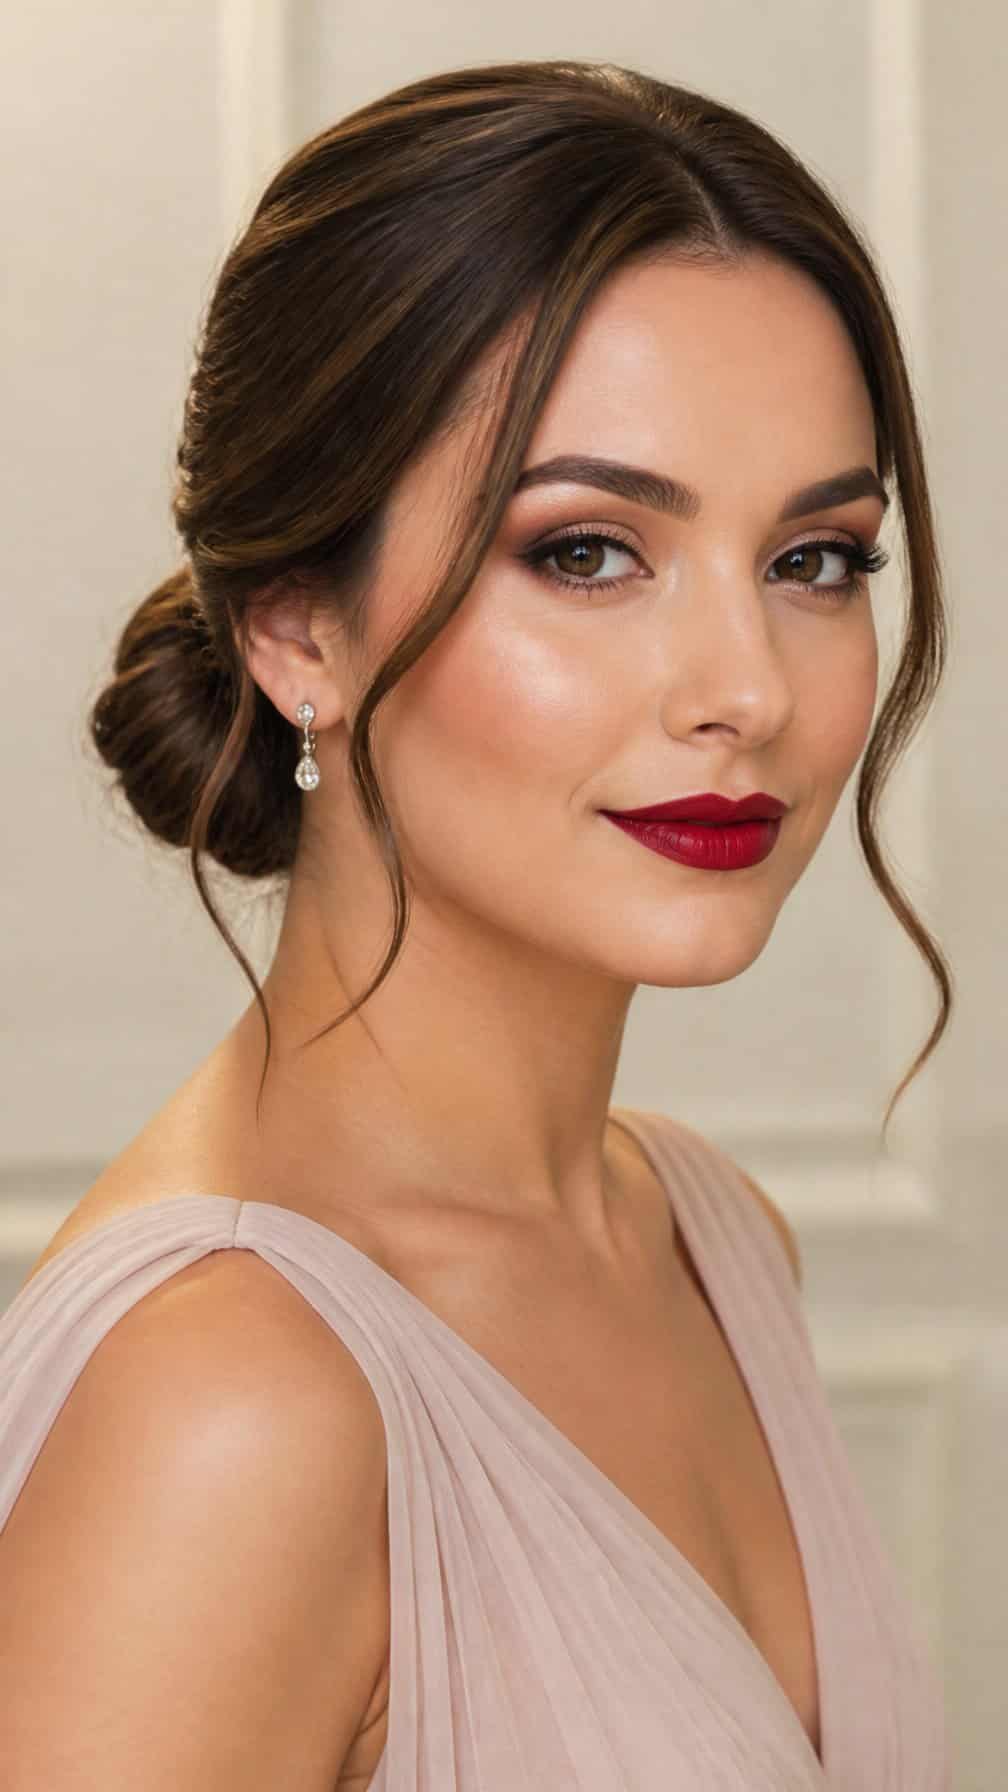
I balance a classic red lip with softly defined neutral eyes for a polished look that suits formal weddings. I use matte beige or taupe shadow, a thin line of brown or black eyeliner, and mascara focused on separated, lifted lashes.
I prep the lips with balm, blot away excess moisture, and outline the edges before applying a long-wearing red lipstick. I keep the rest of the complexion even and lightly powdered around the mouth to help prevent feathering during photos, dinner, and dancing.
I carry the lipstick and a small concealer for quick touch-ups. Choosing a blue- or orange-based red to complement the bridesmaid dress and skin tone helps the color look intentional without competing with the overall makeup.
16) Champagne Eyeshadow and Rosy Blush
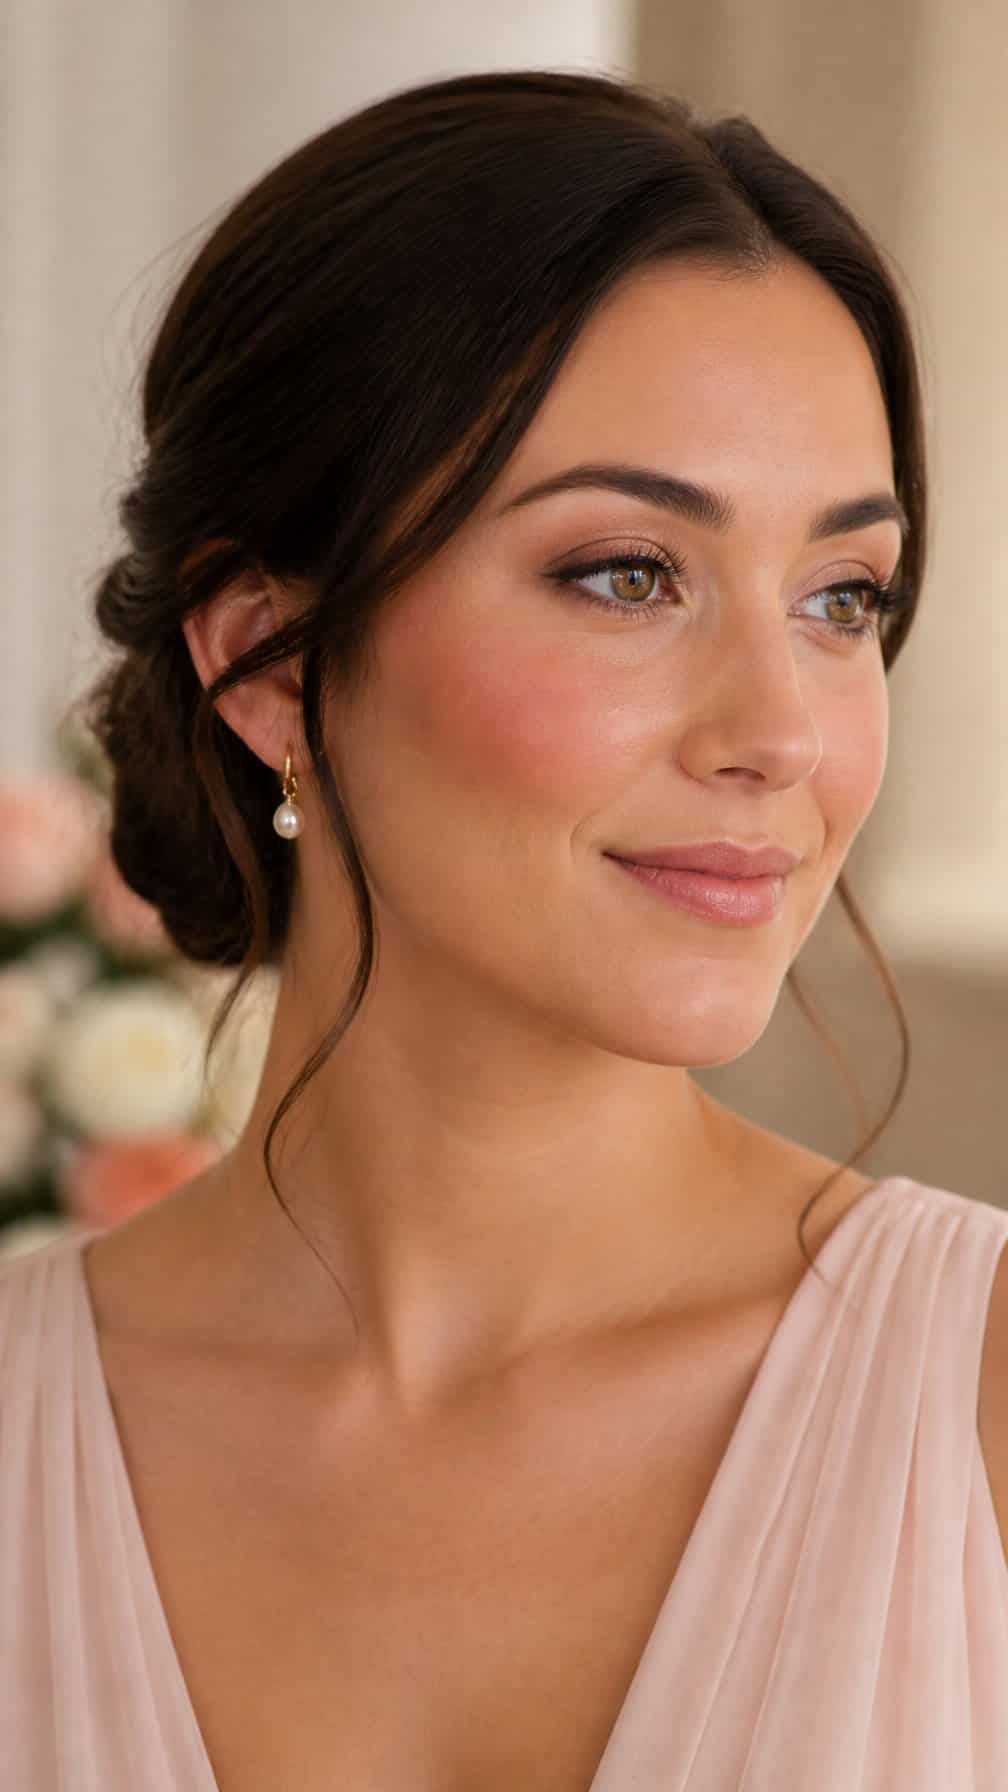
I pair softly shimmering champagne eyeshadow with rosy blush for a polished look that suits both indoor and outdoor ceremonies. I keep the shadow concentrated on the lids, then blend a matte taupe through the crease to add definition without competing with the shimmer.
I apply the blush to the apples of my cheeks and sweep it lightly toward the temples. A cream-to-powder formula helps me build color gradually, while a compatible powder blush can improve wear through photographs, dinner, and dancing.
I finish with waterproof mascara, a softly defined brow, and a rosy lip stain topped with balm. I use a setting spray after the complexion and again once the makeup feels complete.
17) Sweat-Resistant Makeup for Summer Weddings
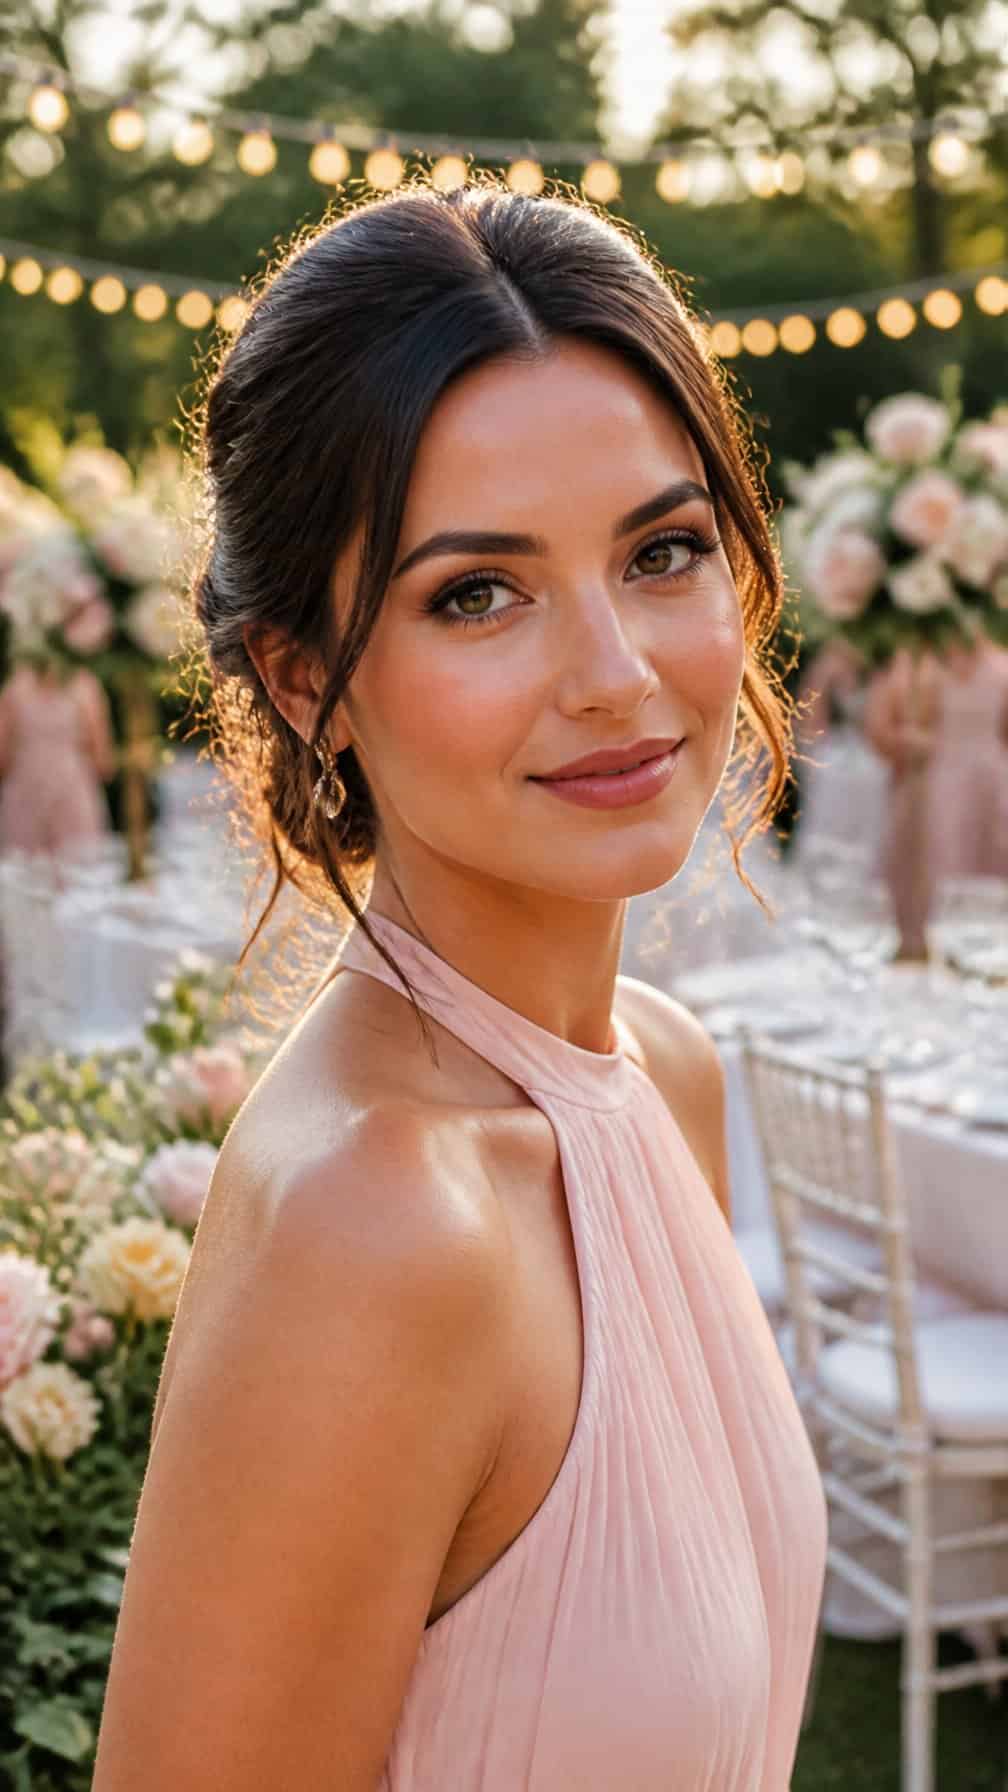
I start with lightweight, oil-controlling skincare and let each layer absorb before applying makeup. A water-resistant primer helps smooth the surface without adding heavy coverage, while a long-wearing foundation keeps redness even and photographs naturally in bright summer light.
I use cream products sparingly, then set them with finely milled powder around the forehead, nose, and chin. Waterproof gel liner and mascara reduce smudging during outdoor portraits, while a tinted lip stain provides color without needing frequent touch-ups.
I finish with a setting spray designed for humidity and keep blotting papers in my emergency kit. During the reception, I press away excess shine rather than rubbing, which helps preserve foundation and prevents the makeup from looking cakey.
18) Long-Wear Makeup for Deep Skin Tones
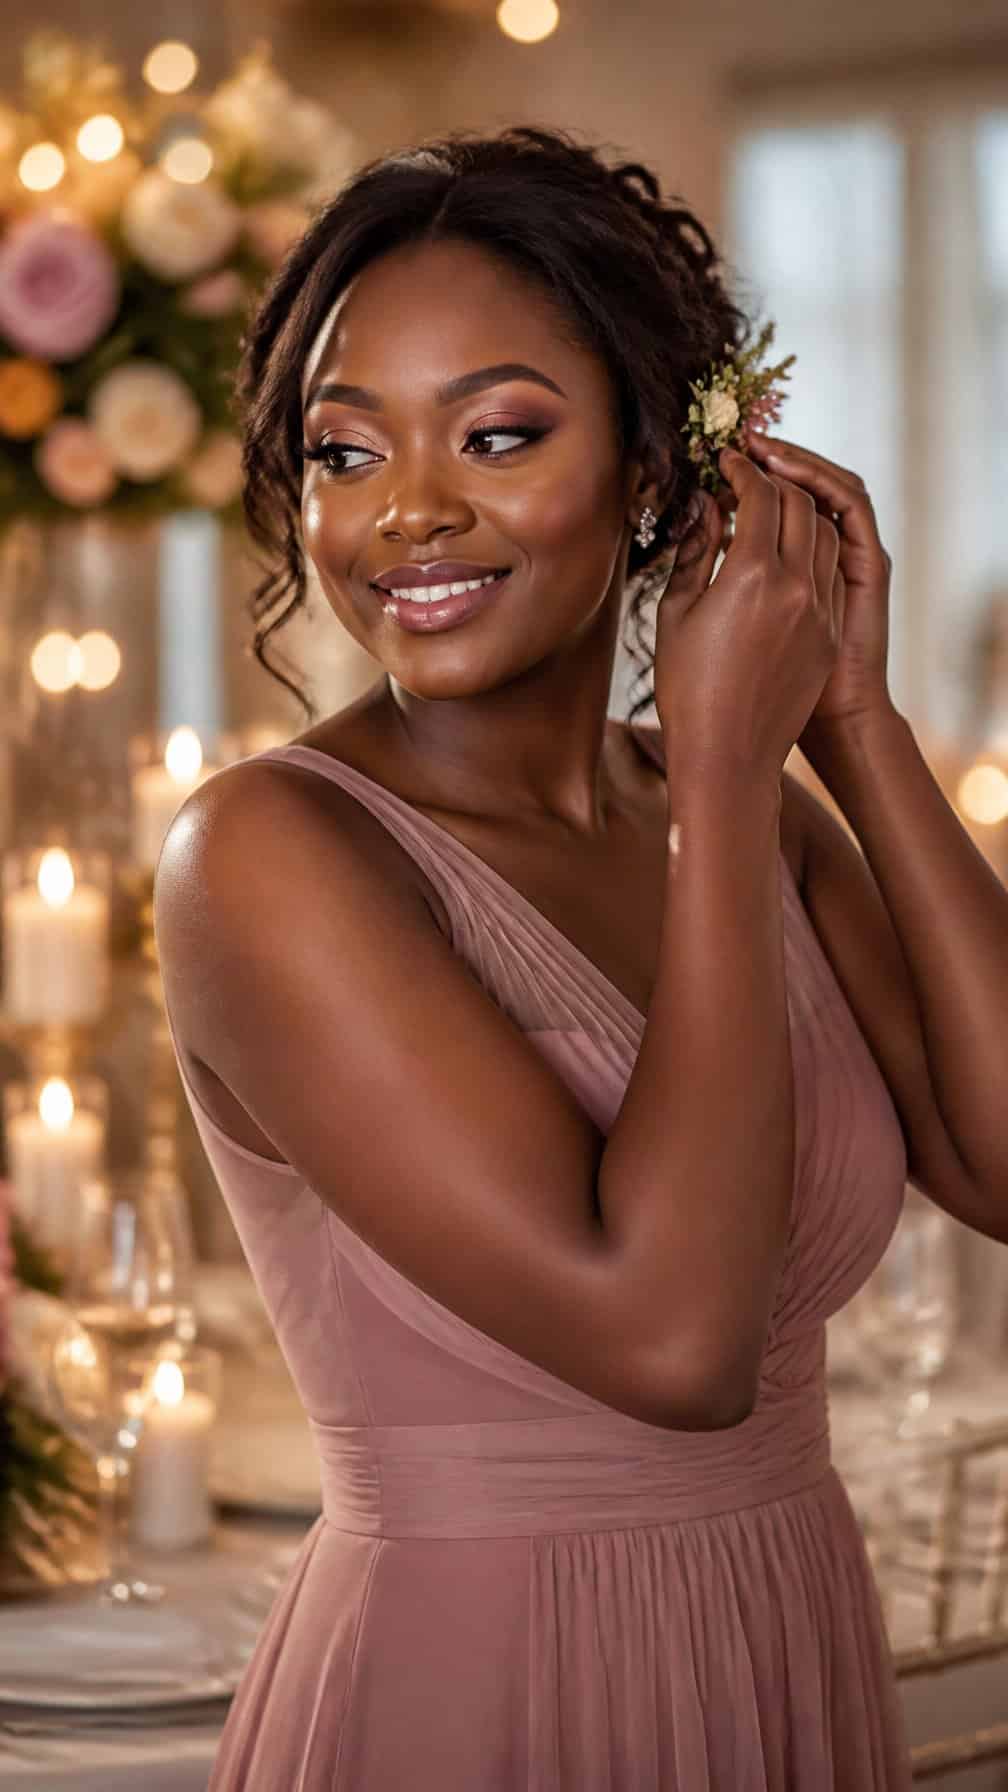
I start with a moisturizing, silicone-free primer that smooths the skin without leaving a gray cast. I choose a foundation with rich undertones that match the bride’s complexion, then apply thin layers and press each one into the skin with a damp sponge. This keeps coverage even while allowing natural dimension to show through.
I use a finely milled setting powder only where shine appears, especially around the nose, forehead, and under-eye area. For color, I prefer terracotta, berry, copper, and deep rose shades because they remain visible without looking chalky. I layer cream blush beneath a matching powder formula for added durability.
I finish with a setting spray and check the makeup in natural light before the ceremony. I also keep a pressed powder, blotting papers, and the lipstick or gloss nearby for quick reception touch-ups.
19) Universal Mauve Makeup Look
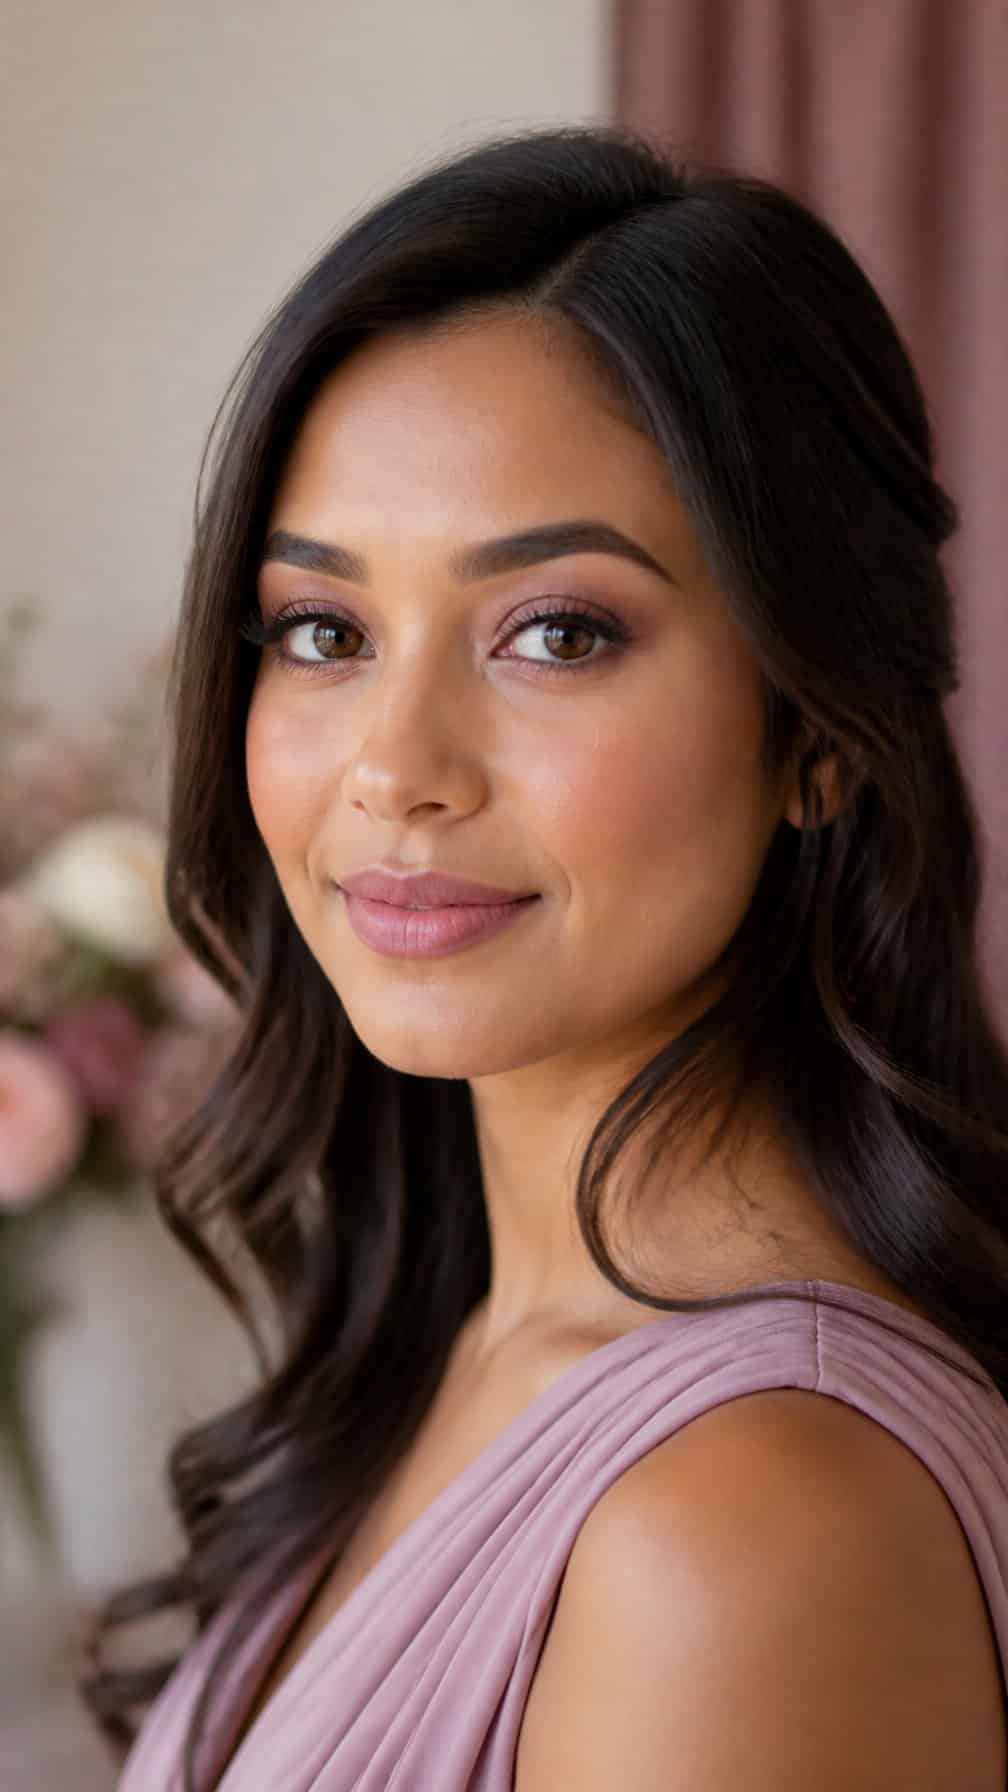
I use mauve tones to create a balanced look that suits a wide range of skin tones and dress colors. I sweep a soft mauve shadow across the lids, deepen the outer corners with muted plum, and blend the edges carefully for a smooth finish.
I pair the eyes with a neutral-mauve blush placed slightly above the apples of the cheeks. A satin finish adds dimension without emphasizing texture, while a setting spray helps the makeup stay comfortable through photos, dinner, and dancing.
For the lips, I choose a mauve rose liner and satin lipstick that complement the blush without looking too coordinated. I blot once, then add a thin second layer to improve wear while keeping the color soft and polished.
20) Natural Makeup with Individual False Lashes
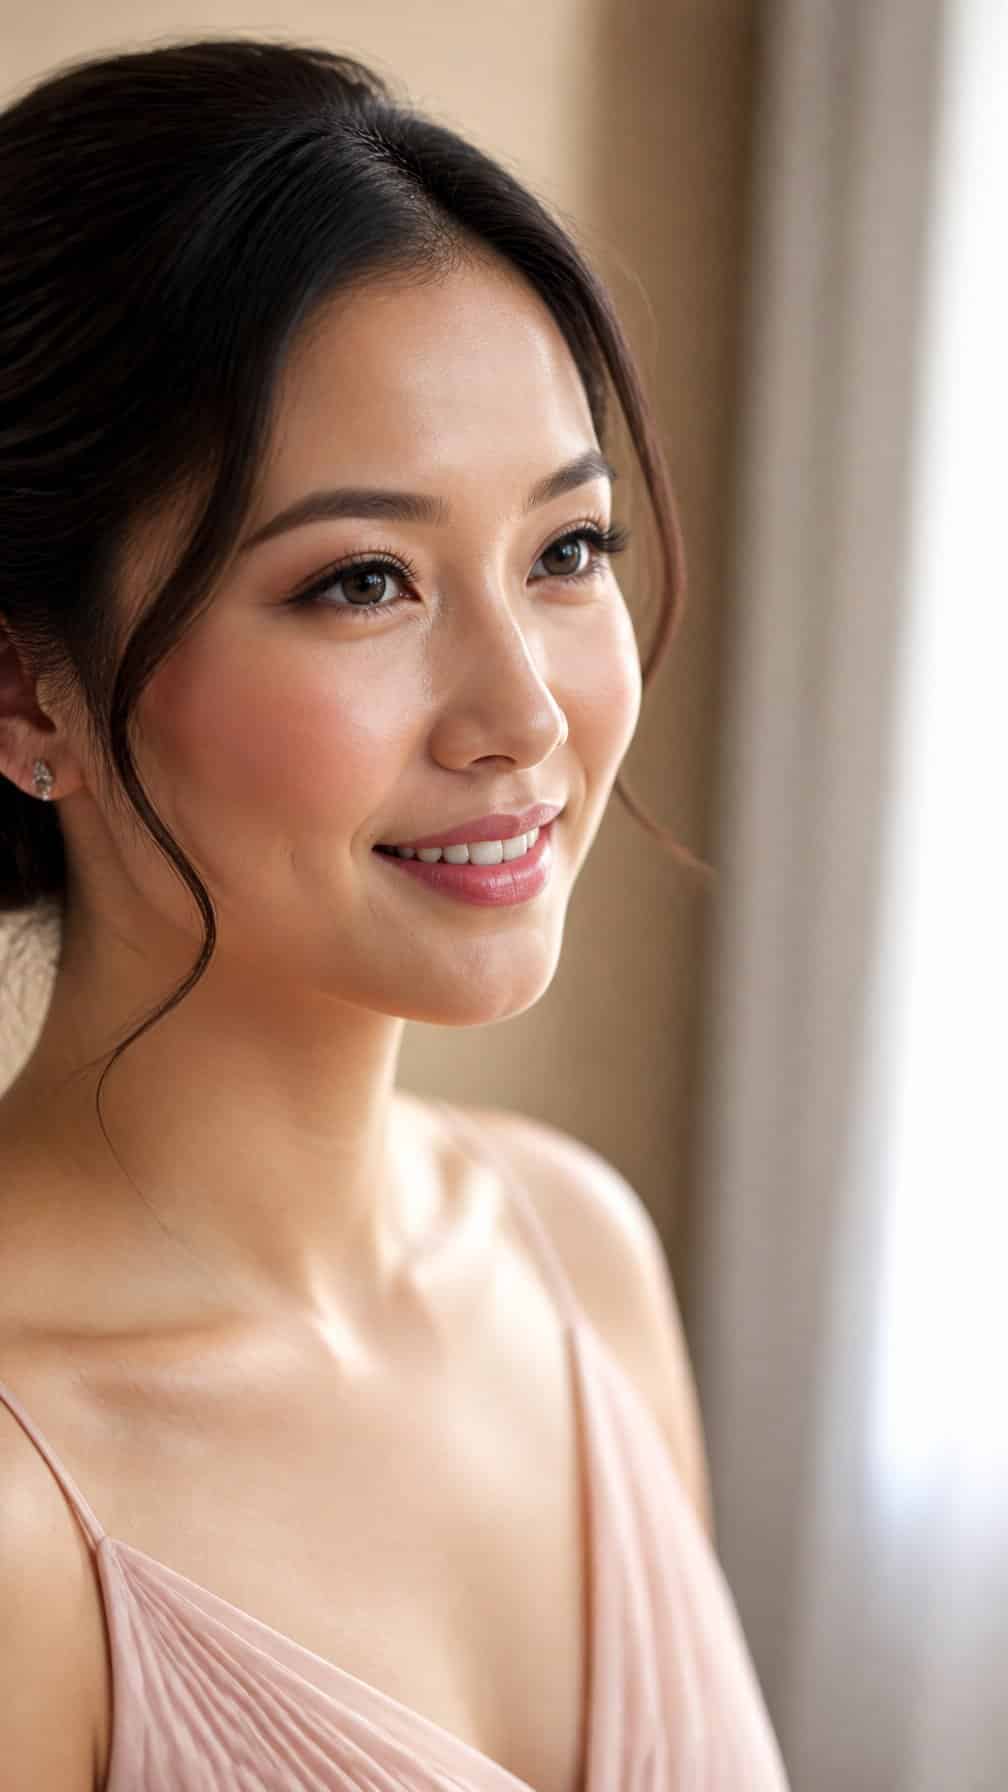
I keep the base sheer, using spot concealer and a satin-finish foundation only where needed. Soft taupe shadow, brushed brows, and a muted rose blush add definition without making the look feel heavy.
I apply individual false lashes along the outer half of the lash line, spacing them to match the natural lash pattern. This creates subtle length and fullness while allowing me to control the shape and avoid a dense strip-lash effect.
I finish with brown-black mascara, a neutral lip liner, and a long-wearing satin lipstick. I also press translucent powder lightly around the nose and under the eyes, then keep a small touch-up kit ready for shine and lip color.


