

A natural makeup look can help me appear more rested while keeping my skin, features, and expression visible. I can create that effect with lightweight coverage, subtle warmth, soft definition, and carefully placed light-reflecting products.

Save for later
Want to come back to this story? Save it with your email so it is easy to find again.
I can look more awake by brightening the complexion, opening up the eyes, and adding gentle color without relying on heavy coverage. The following looks and practical application tips will help me choose fresh, believable makeup for different days, preferences, and routines.
Table of Contents
- 1 1) Brightening Skin Tint
- 2 2) Light-Reflecting Concealer Under the Eyes
- 3 3) Peach Corrector for Dark Circles
- 4 4) Cream Blush in a Soft Peach Shade
- 5 5) Champagne Cream Highlighter on the High Points
- 6 6) Brushed-Up Feathered Brows
- 7 7) Soft Brown Tightlined Eyeliner
- 8 8) Curling Lashes Before Mascara
- 9 9) Lengthening Brown Mascara
- 10 10) White or Nude Waterline Pencil
- 11 11) Warm Taupe Eyeshadow in the Crease
- 12 12) Champagne Eyeshadow on the Inner Corners
- 13 13) Defined Lower Lashes
- 14 14) Sheer Tinted Brow Gel
- 15 15) Hydrating Primer for Dewy Skin
- 16 16) Lightweight Illuminating Foundation
- 17 17) Spot Concealing Instead of Full Coverage
- 18 18) Translucent Powder Only on the T-Zone
- 19 19) Rose-Toned Cream Blush
- 20 20) Soft Bronzer Along the Hairline
1) Brightening Skin Tint
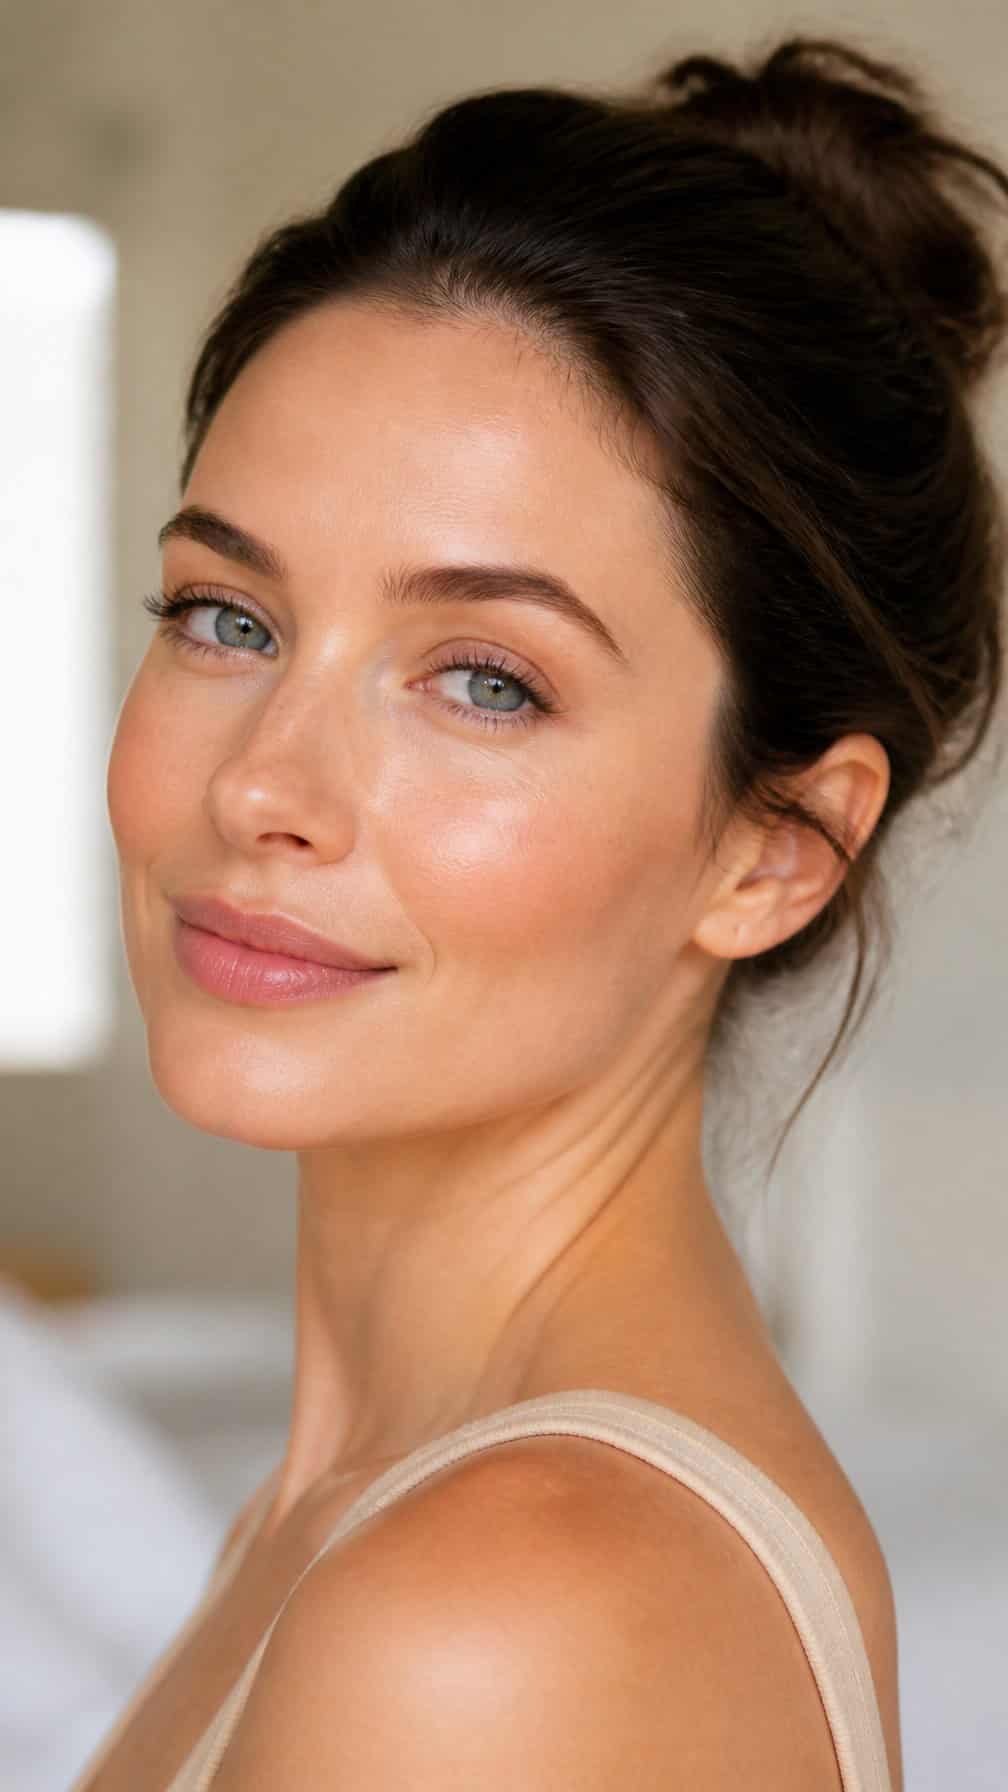
I apply a lightweight skin tint in a thin layer, focusing on the center of my face where redness and uneven tone show most. I choose a formula with a natural finish so my skin still looks like skin rather than a full-coverage base.
I blend it outward with my fingers or a damp sponge, then add a small amount only where I need more coverage. A brightening shade with a subtle peach or golden undertone helps my complexion look rested without appearing noticeably made up.
I set just my T-zone with a small amount of translucent powder and leave my cheeks fresh. This keeps the finish comfortable and prevents the tint from settling heavily around my eyes or nose.
2) Light-Reflecting Concealer Under the Eyes
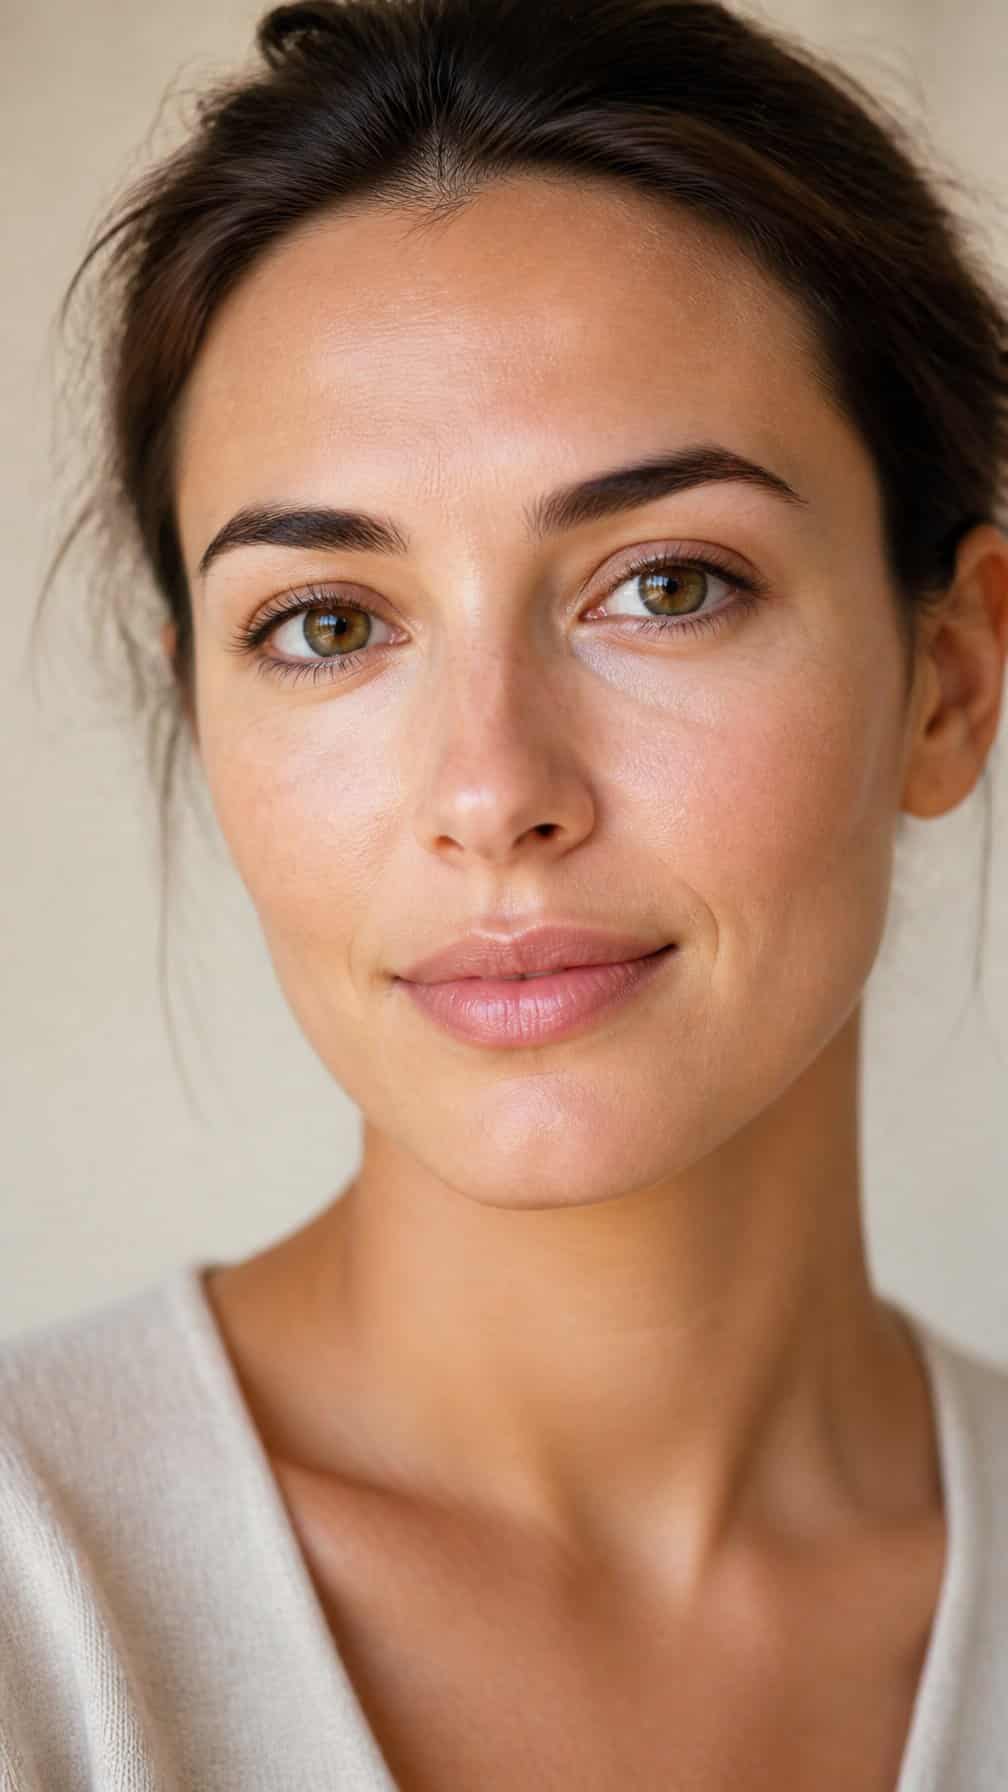
I apply a thin layer of light-reflecting concealer beneath my eyes, focusing on the inner corners and darkest areas rather than covering the entire under-eye. This keeps the finish fresh and prevents excess product from settling into fine lines.
I choose a shade close to my skin tone, or slightly lighter when I want a brighter effect. I tap it in with my ring finger or a small damp sponge, then set only the creasiest areas with a minimal amount of finely milled powder.
3) Peach Corrector for Dark Circles
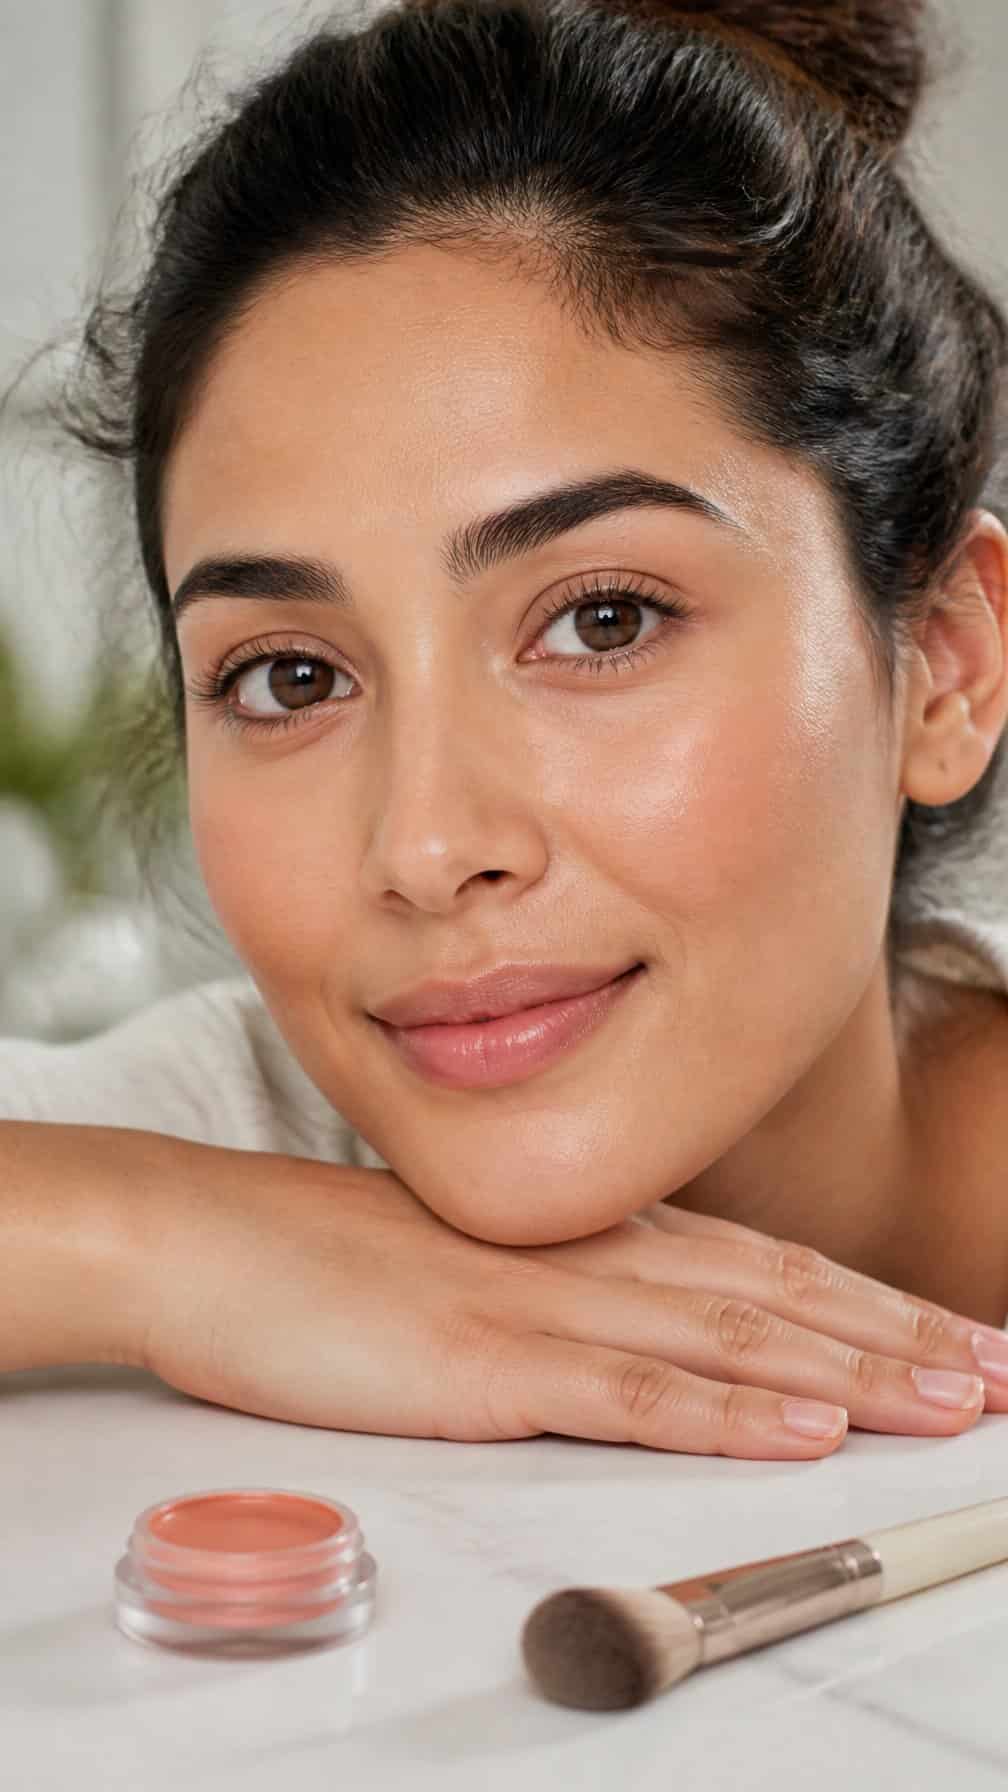
I use a small amount of peach corrector to soften blue or purple tones beneath my eyes. I tap it onto the darkest areas with my ring finger or a small brush, keeping the product close to the inner corners and lower lash line.
I choose a shade that suits my skin depth: pale peach for fair skin, peach or apricot for medium skin, and deeper orange-peach for dark skin. I apply concealer sparingly over it, pressing rather than rubbing so the corrector stays in place.
For a natural finish, I set only the creases with a light layer of finely milled powder. Leaving the outer under-eye area less covered keeps the makeup flexible and prevents a heavy, dry appearance.
4) Cream Blush in a Soft Peach Shade
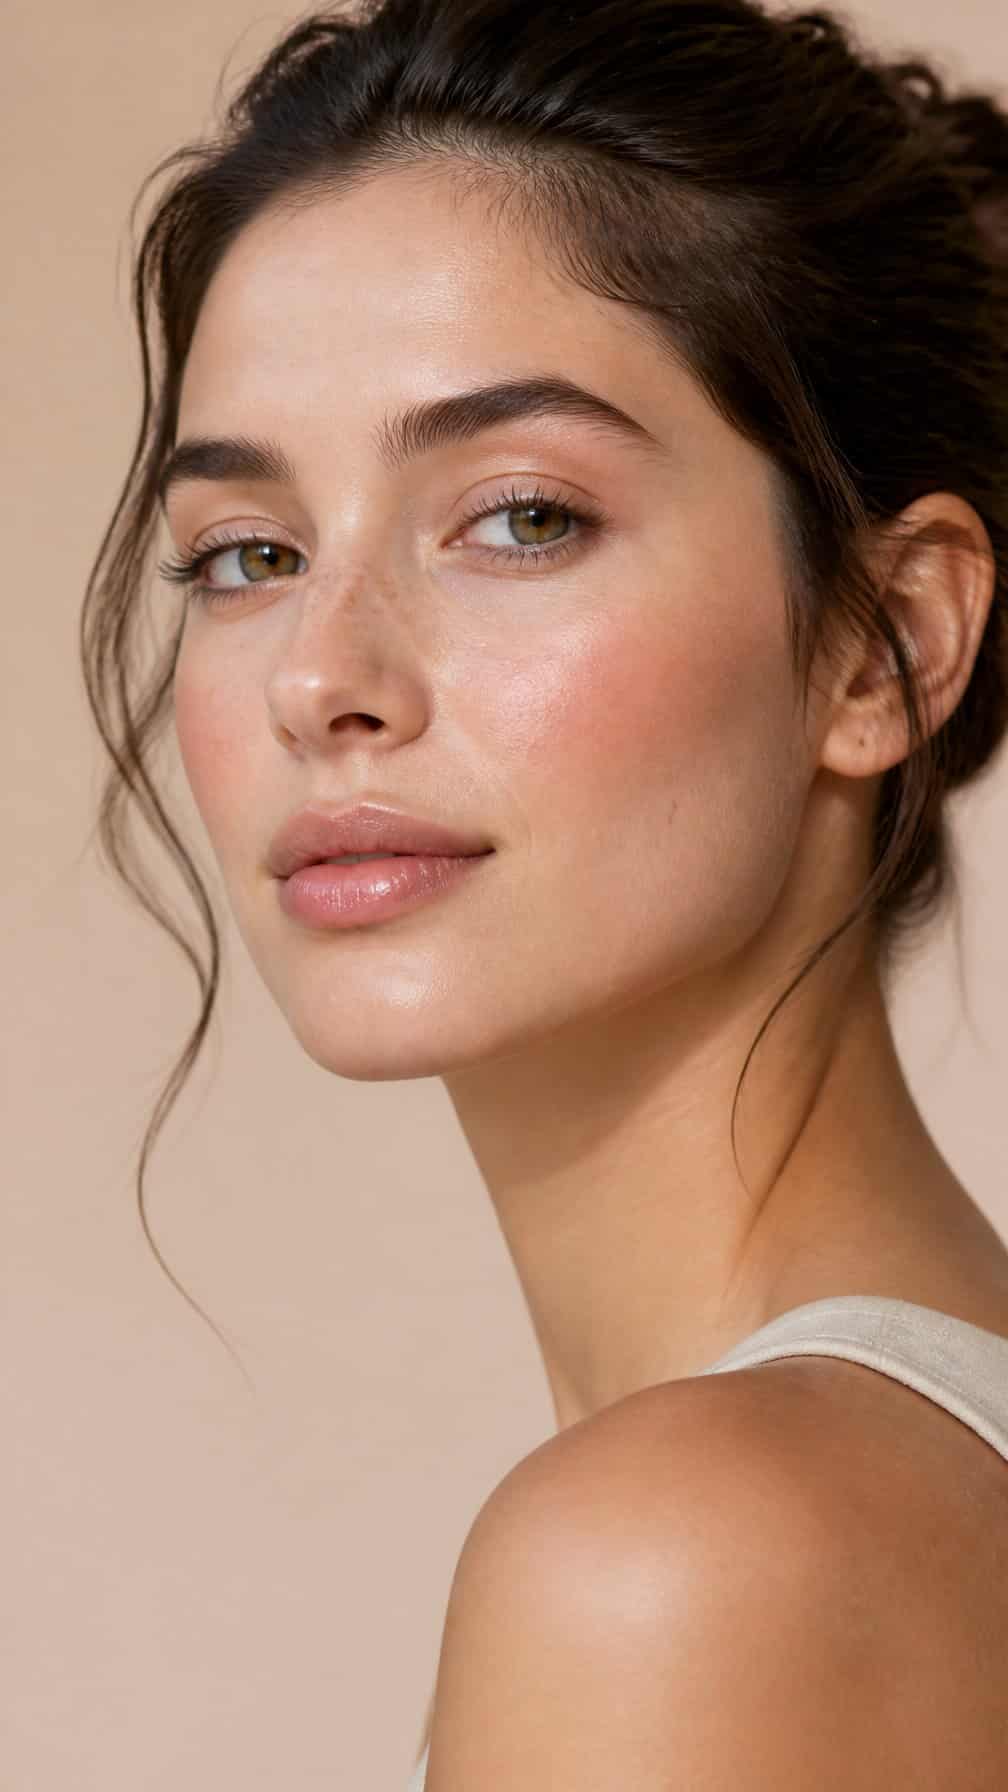
I tap a small amount of soft peach cream blush onto the apples of my cheeks, then blend it upward toward my temples. The warm tone adds gentle color without looking heavy, helping my complexion appear fresher and more even.
I use my fingers for a sheer finish or a damp sponge when I want softer edges. Applying the blush after foundation lets the cream melt into the base, while keeping the rest of my makeup light preserves the natural effect.
5) Champagne Cream Highlighter on the High Points
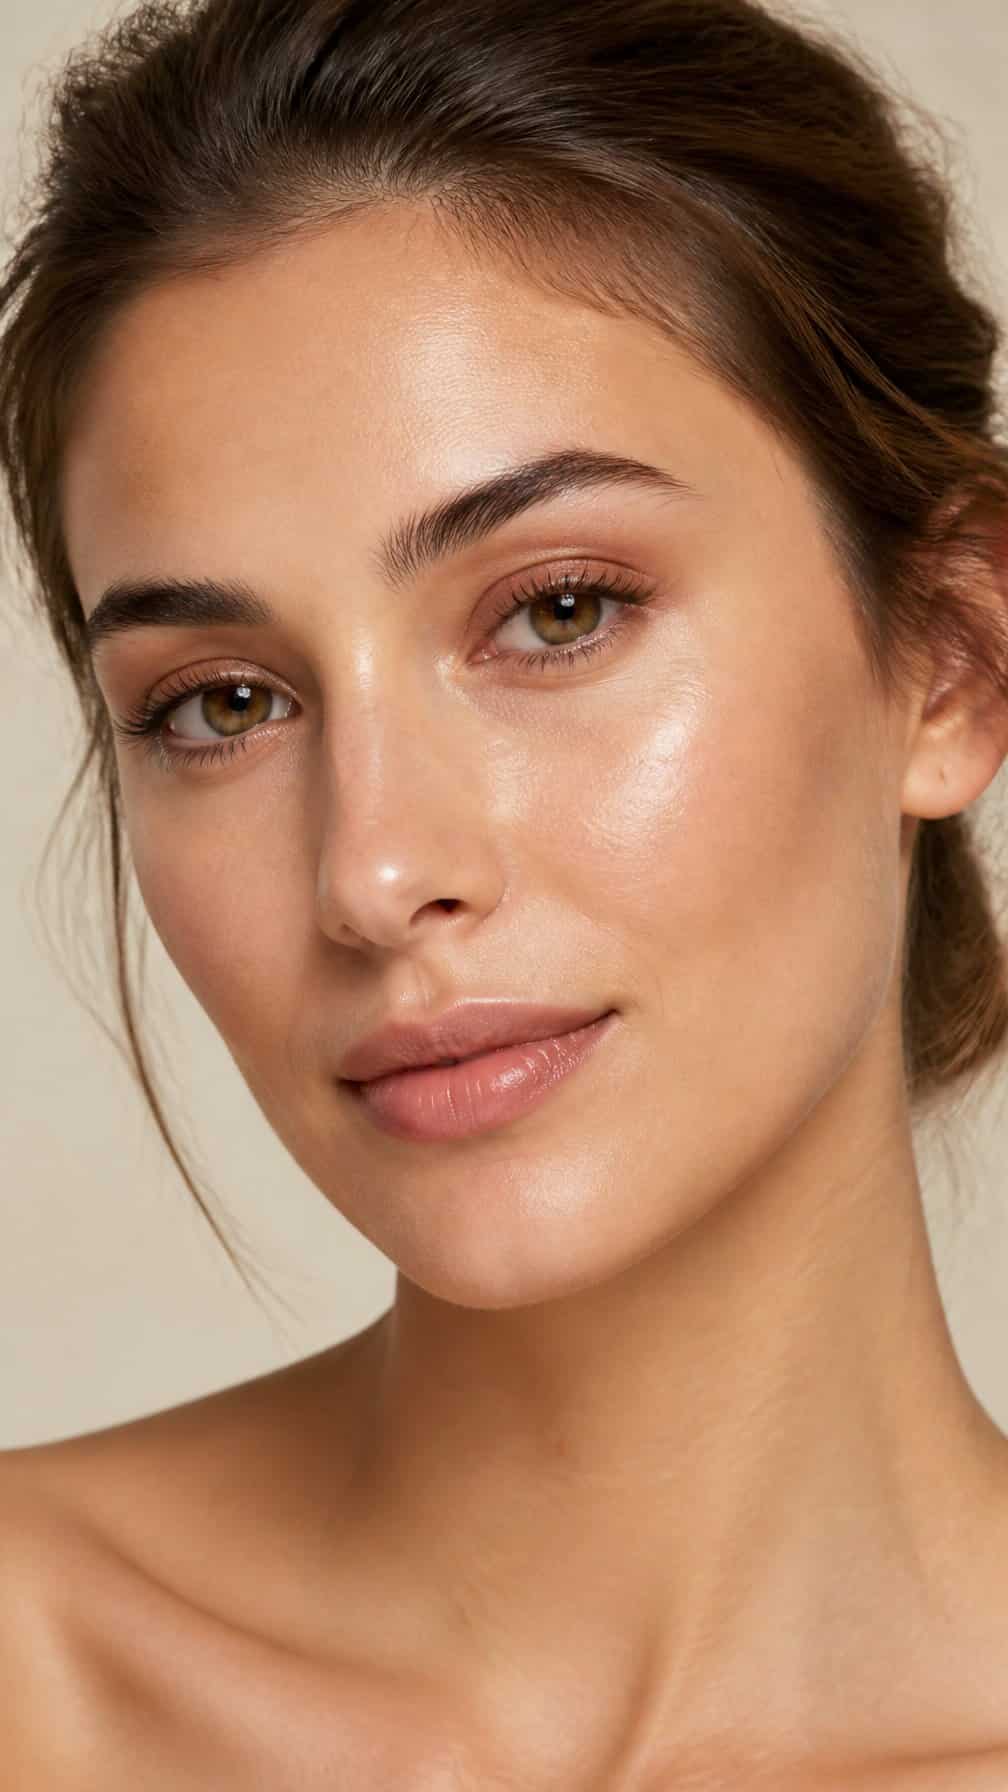
I tap a small amount of champagne cream highlighter onto my cheekbones, the bridge of my nose, and the center of my eyelids. Its warm, soft sheen catches light without creating a glittery finish.
I use my fingertip to press the product into the skin, then blend the edges with a clean sponge. This keeps the highlight diffused and helps it look like a natural reflection rather than a distinct stripe.
For a subtle, awake appearance, I avoid applying highlighter to textured areas or the entire nose. I add a trace above my cupid’s bow and beneath my brow’s highest point, keeping the placement precise and the finish fresh.
6) Brushed-Up Feathered Brows
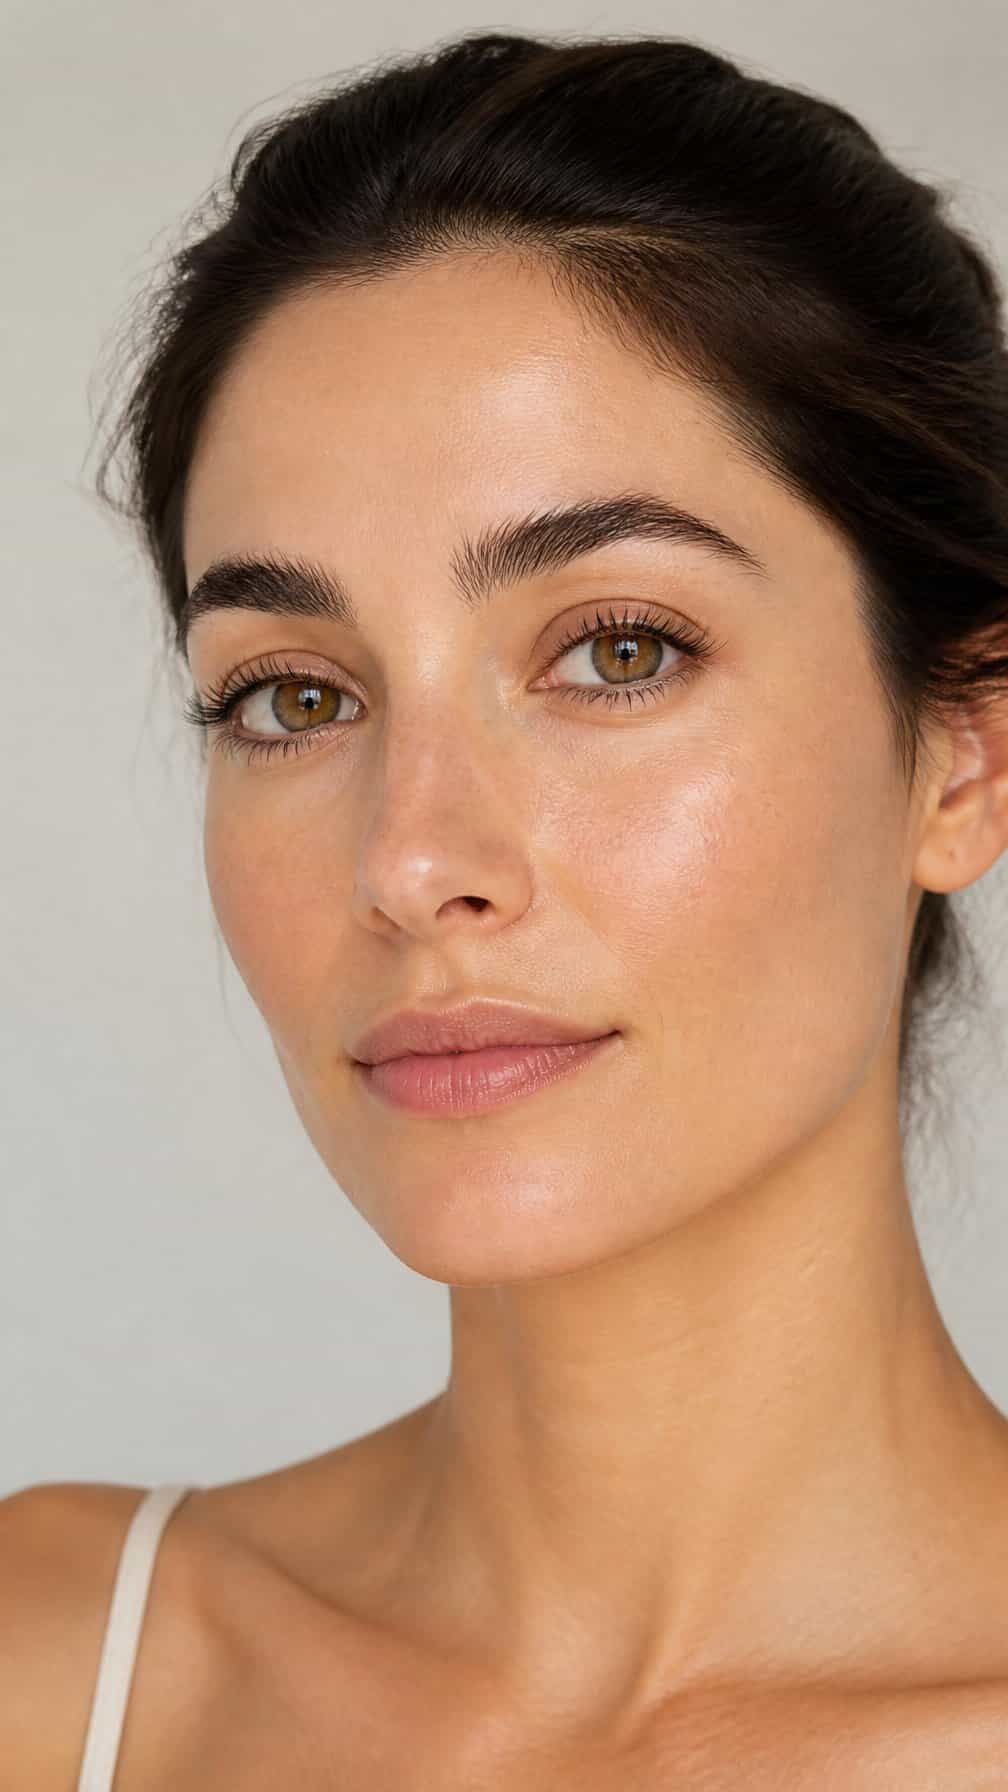
I brush my brow hairs upward with a clean spoolie, then use a tinted gel to hold them in place. The lifted shape opens the eye area while keeping the finish soft and natural.
I fill only visible gaps with a fine-tipped pencil, using short strokes that follow my natural growth pattern. I keep the front sections lighter and avoid drawing a hard outline, which preserves the airy, feathered effect.
7) Soft Brown Tightlined Eyeliner
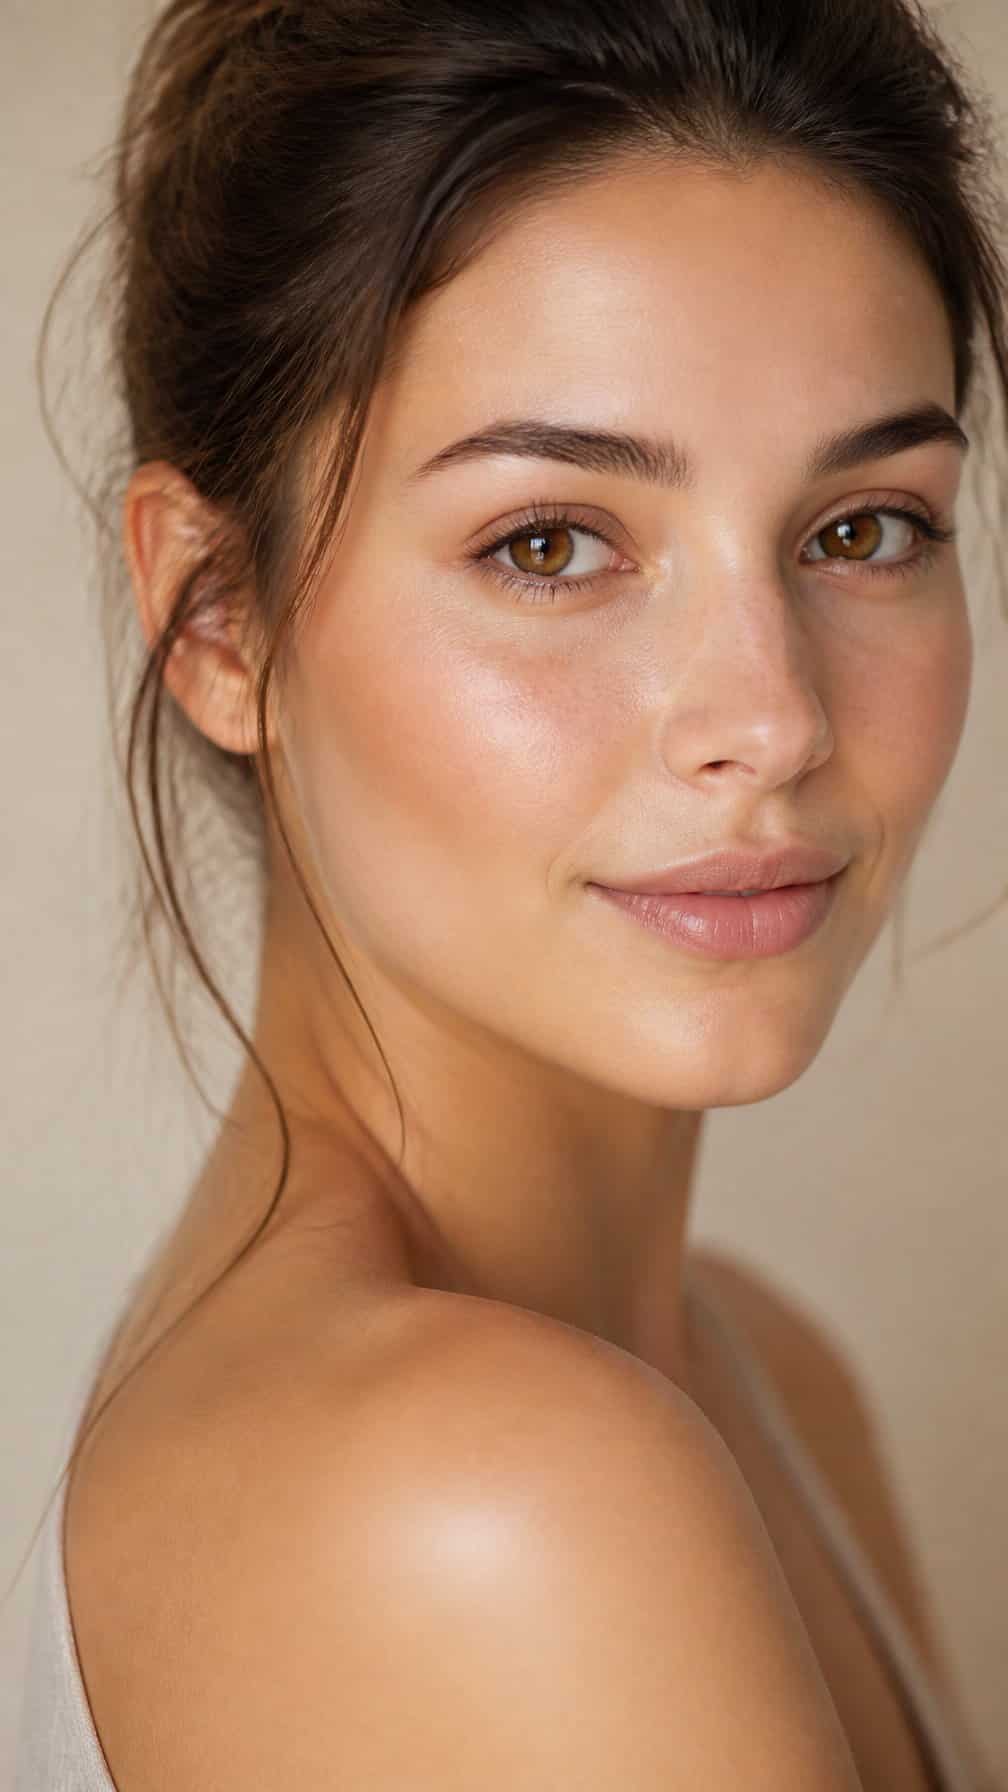
I press a soft brown pencil along my upper lash line, working between the lashes rather than drawing a visible stripe above them. This adds subtle definition while keeping the eye area light and natural.
I use a waterproof formula when I need longer wear, then gently smudge the line with a small brush before it sets. I keep the lower lash line mostly bare, adding only a trace of color at the outer corner if my eyes need extra balance.
I finish with one coat of mascara, concentrating at the roots. The brown shade creates softer contrast than black, which helps my eyes look more defined without appearing heavily made up.
8) Curling Lashes Before Mascara
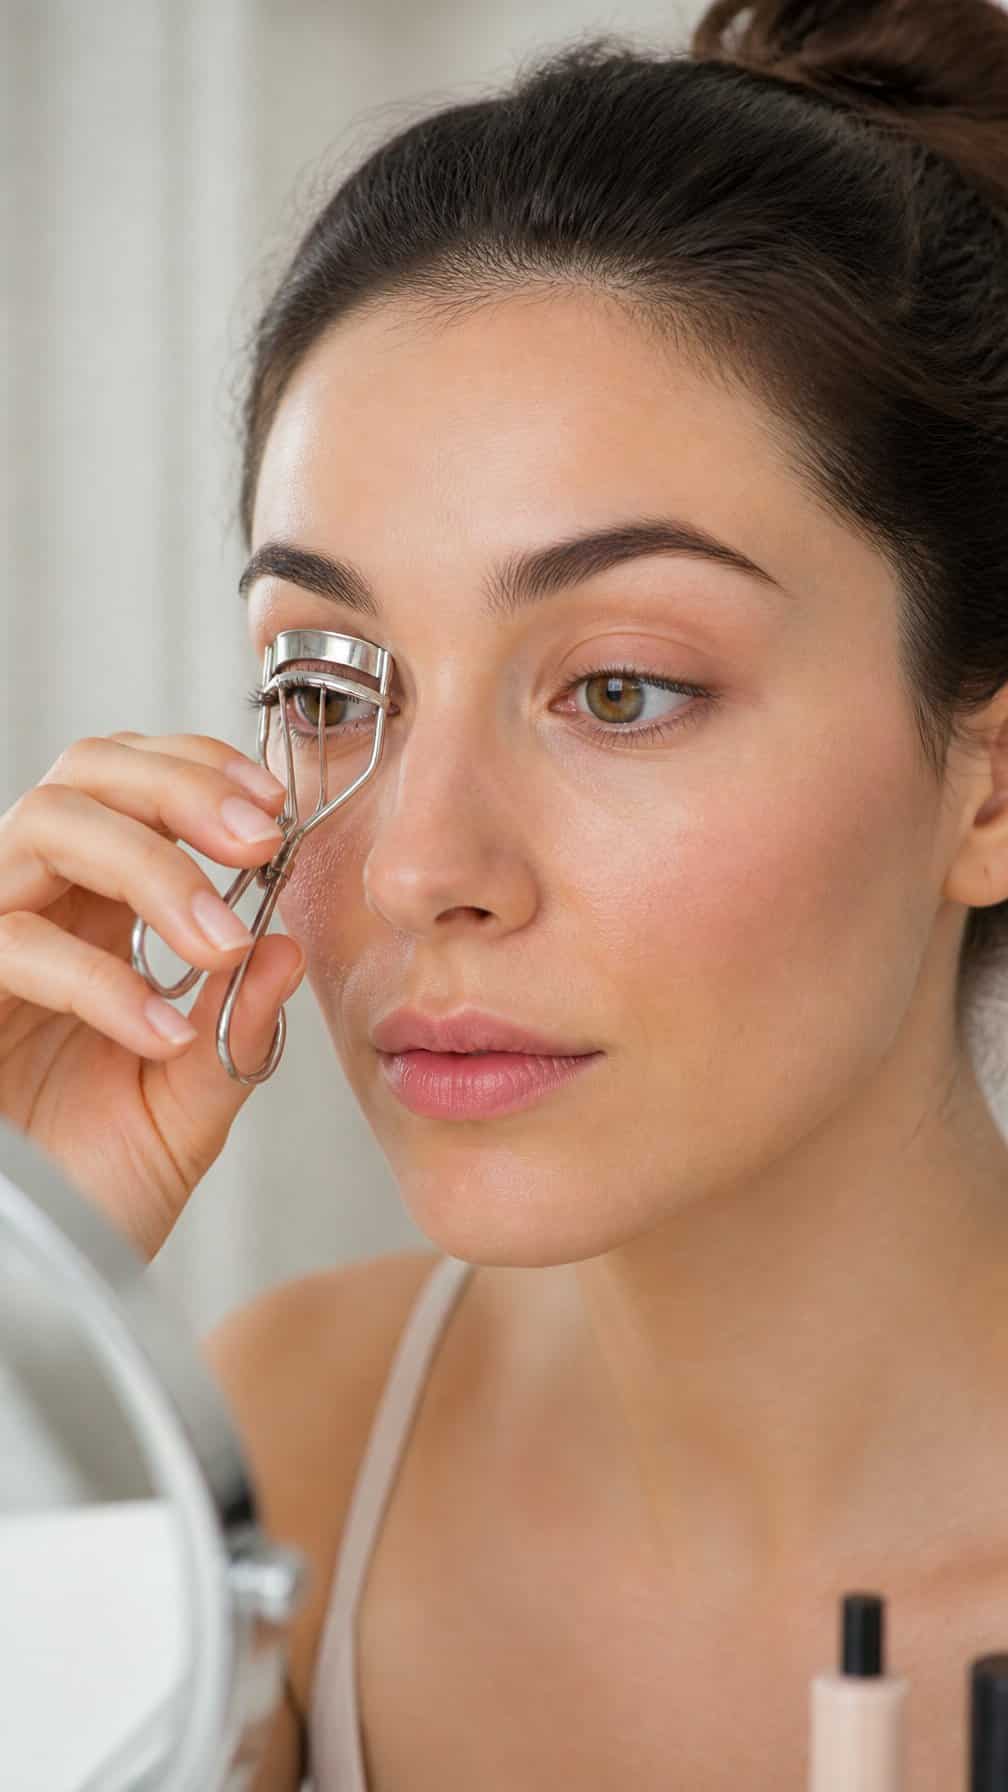
I curl my lashes before applying mascara to lift them without creating clumps or pulling on coated hairs. I place the curler at the base, press gently for a few seconds, then repeat near the middle for a softer, rounded shape.
I use a clean, dry curler and check that the pad sits comfortably against my lashes. After curling, I apply one thin coat of mascara from root to tip, focusing on the outer lashes if I want my eyes to look more open. This simple step adds definition while keeping the rest of my makeup light.
9) Lengthening Brown Mascara
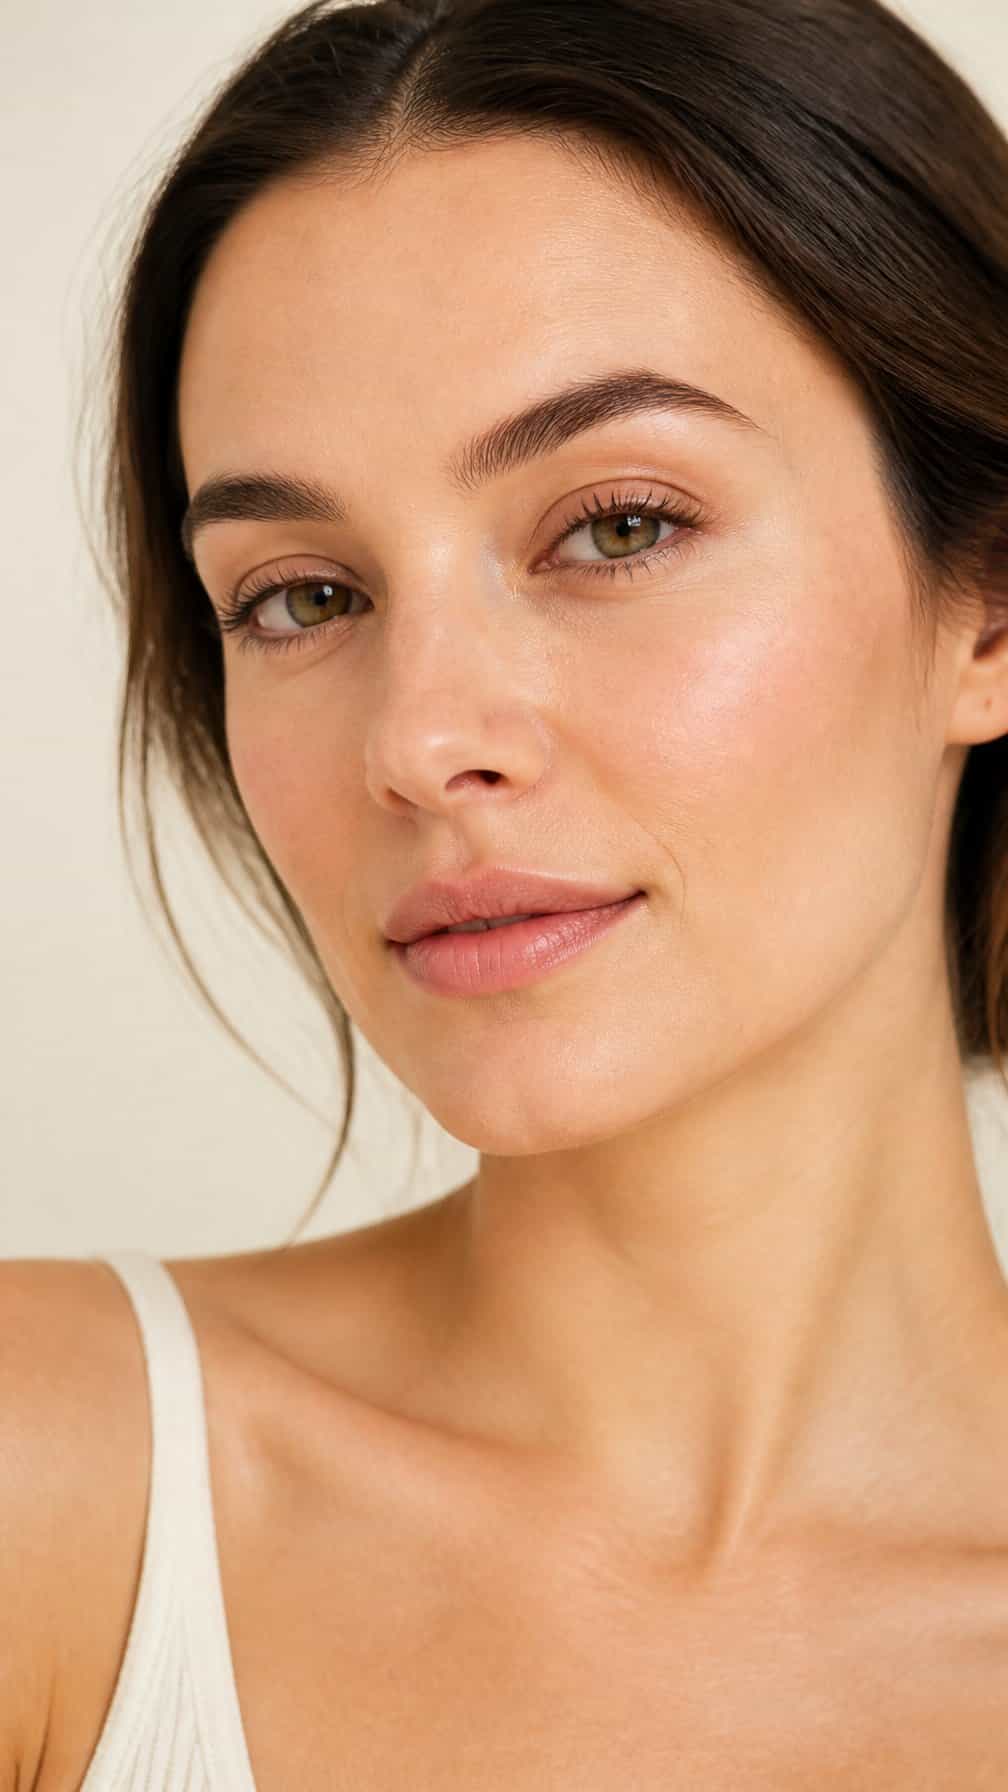
I use brown mascara when I want my lashes to look defined without creating a heavy, high-contrast effect. Its softer tone works especially well with light eyes, fair skin, or minimal eye makeup.
I curl my lashes first, then apply a thin coat from the roots to the tips. I focus on the outer lashes for subtle lift and separate any clumps with a clean spoolie before the mascara dries.
For a more noticeable result, I add a second coat only to the upper lashes. I keep the lower lashes lightly coated or bare, depending on how open and natural I want my eyes to look.
10) White or Nude Waterline Pencil
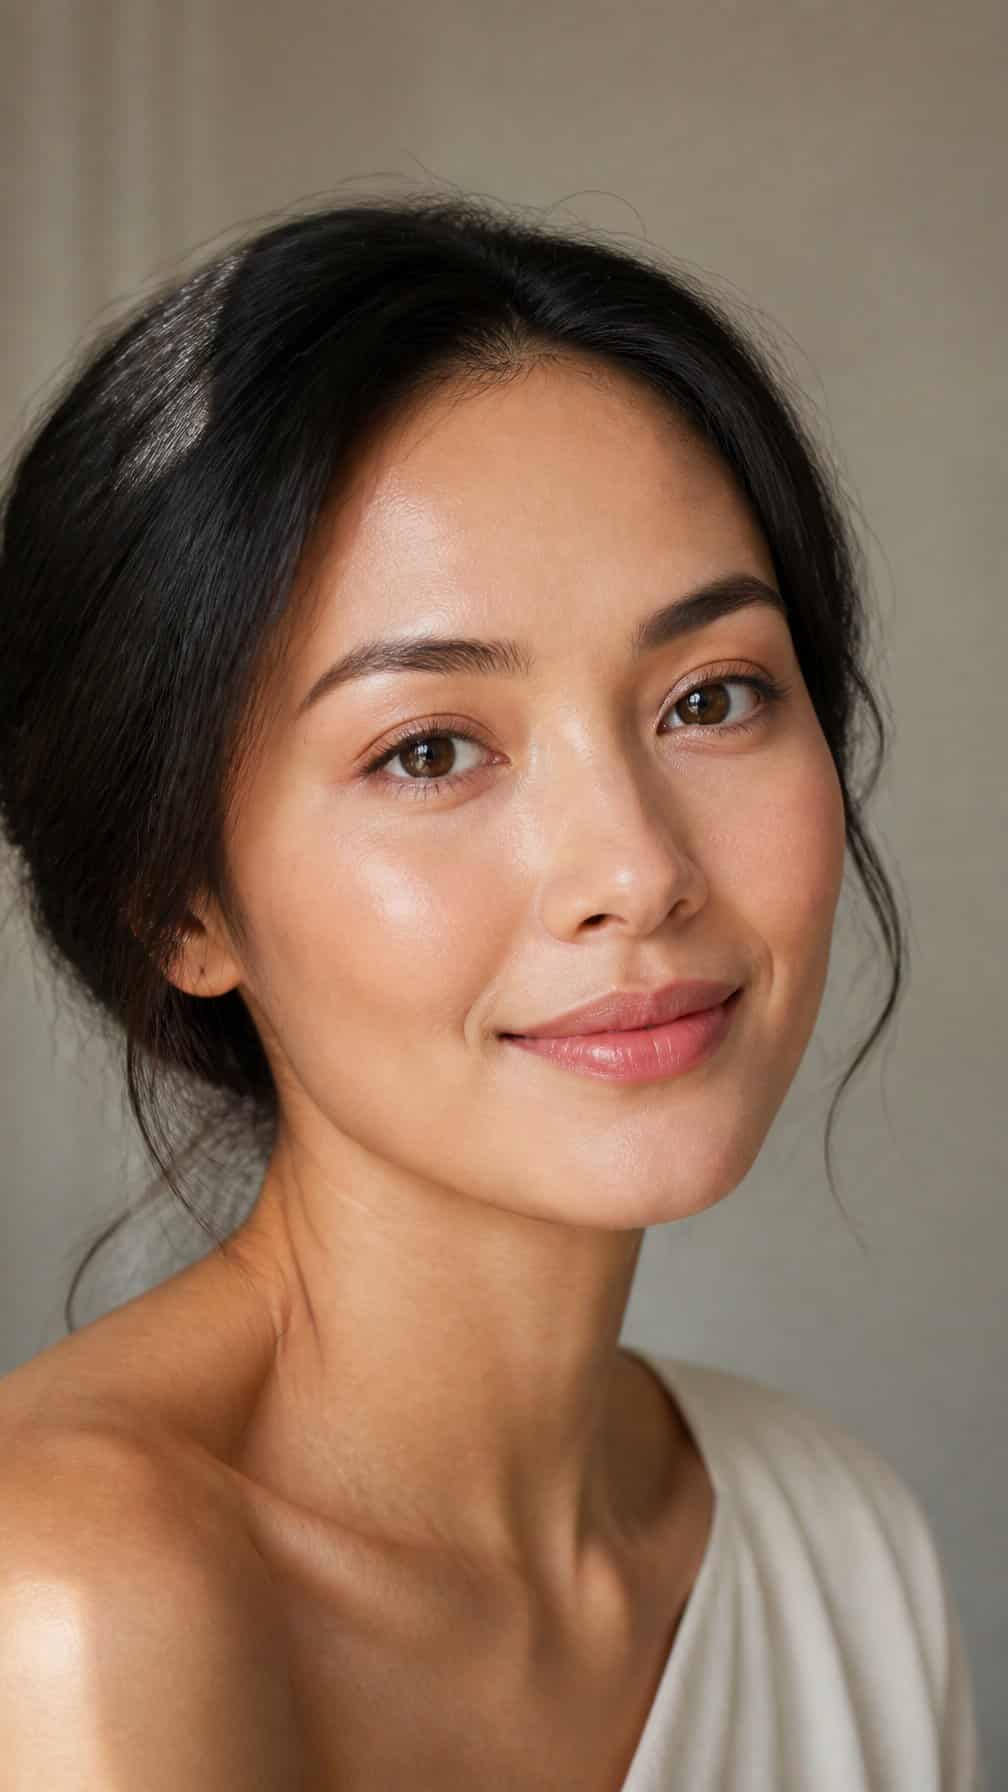
I apply a nude pencil along my lower waterline when my eyes look tired. It softly blends with my natural coloring and creates a cleaner, more open appearance without the sharper contrast of white liner.
I choose a creamy, waterproof formula to reduce smudging and discomfort. Before applying it, I gently dry the waterline with a clean tissue, then use a light hand from the inner corner toward the outer edge.
I avoid sharing eye pencils and keep the tip clean by sharpening it regularly. If my eyes feel irritated or watery, I remove the product and skip it.
11) Warm Taupe Eyeshadow in the Crease
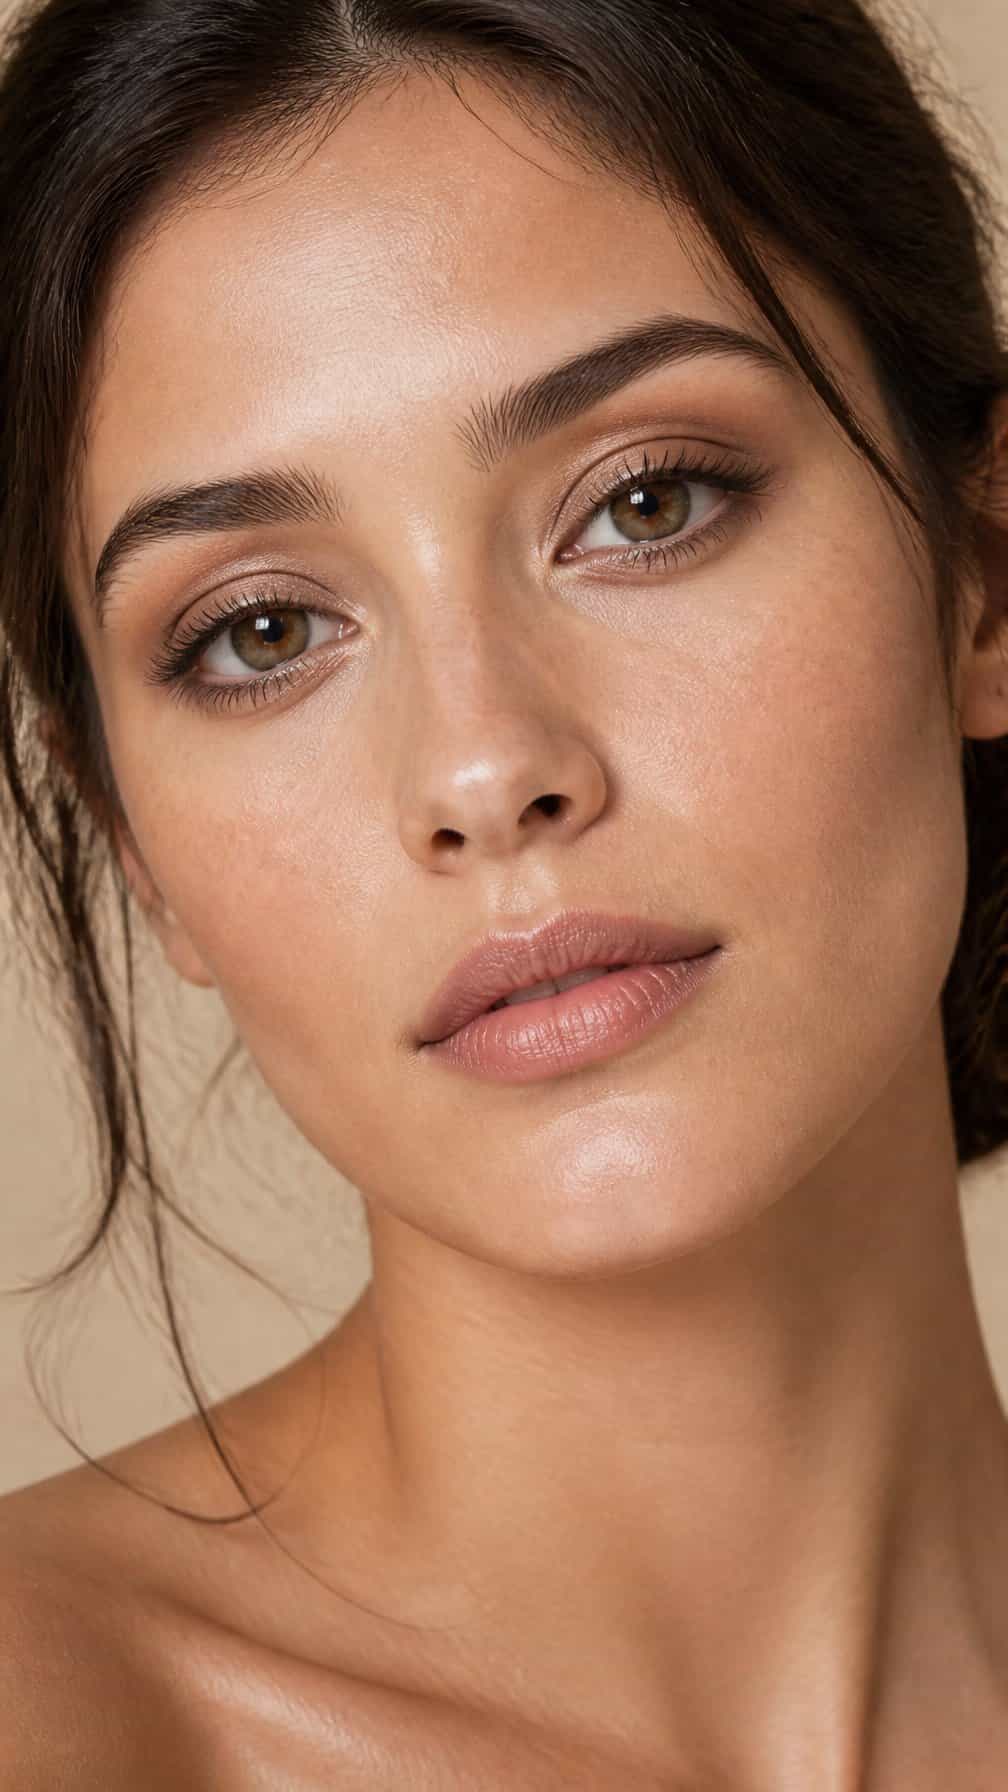
I sweep a matte warm taupe shadow through my crease, starting at the outer corner and blending inward with a soft brush. The muted brown adds gentle definition without making my eyes look heavily made up.
I keep the color slightly diffused above the natural crease and use a clean brush to soften the edges. A light beige or champagne shade on my lid and inner corner adds subtle brightness, while curled lashes and brown mascara keep the look polished.
12) Champagne Eyeshadow on the Inner Corners
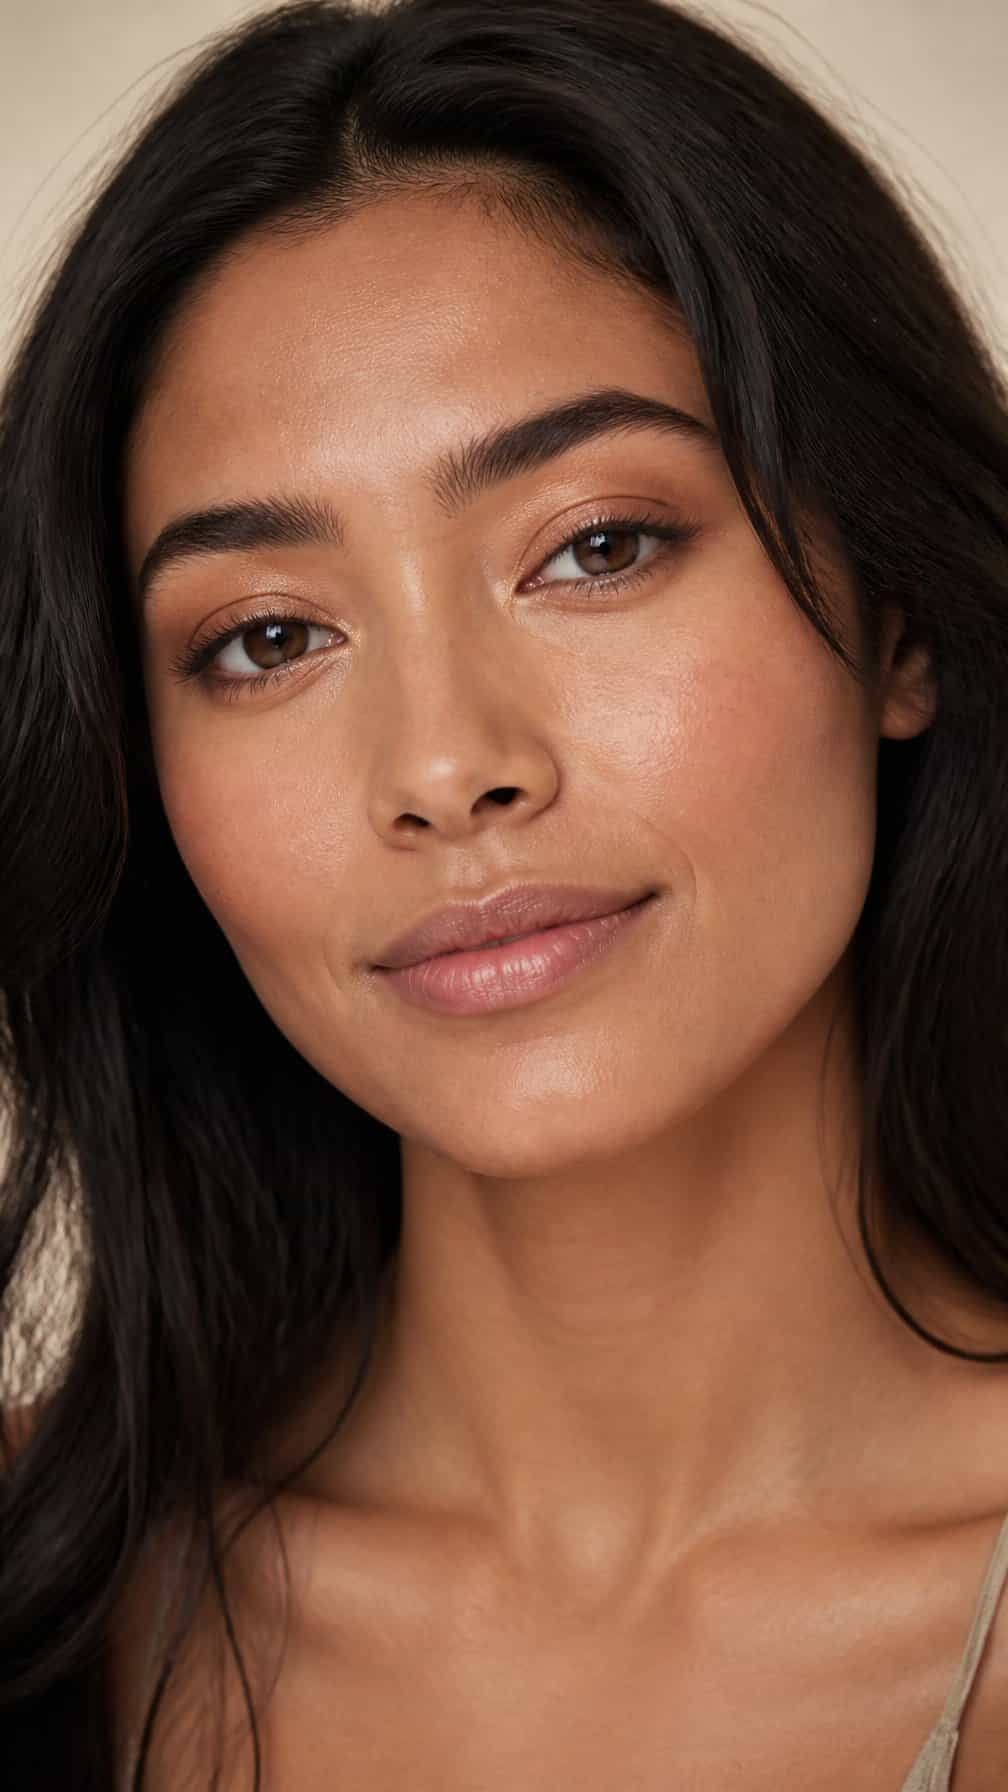
I tap a small amount of champagne eyeshadow onto each inner corner with my fingertip or a fine brush. The soft, reflective shade catches light without requiring a full eye look, helping my eyes appear more open and rested.
I keep the finish satin or finely shimmered rather than glittery for a natural result. After applying it, I blend the edges toward the lower inner lash line so the color transitions smoothly into my concealer or bare skin.
For deeper skin tones, I choose a richer champagne with gold or bronze undertones; for fair skin, I prefer a pale champagne with a neutral or pink base. I use a light hand and build coverage gradually to control the brightness.
13) Defined Lower Lashes
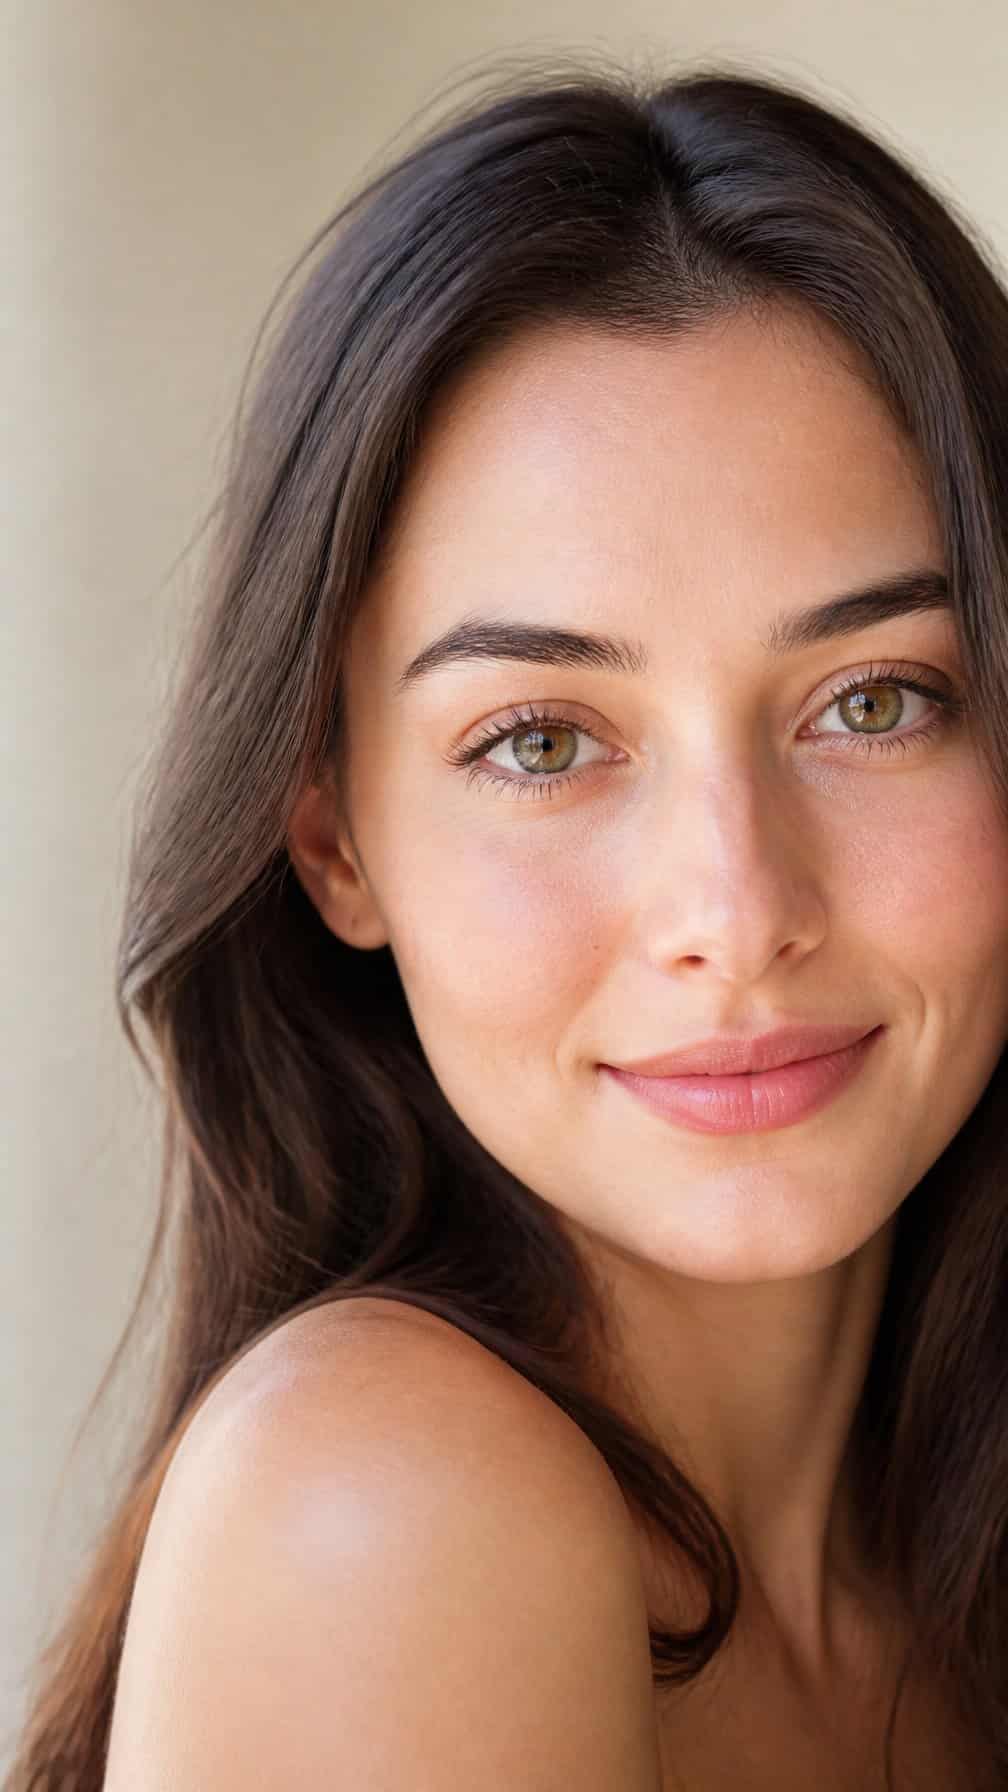
I use a small, tapered mascara wand to coat the lower lashes with precision. I focus on the roots and pull the brush lightly toward the tips, keeping the layer thin to prevent clumps.
For a softer effect, I choose brown mascara or wipe excess product from a black wand before applying it. I also keep the color concentrated near the outer half of the lower lash line when I want subtle definition that makes my eyes look more open.
14) Sheer Tinted Brow Gel
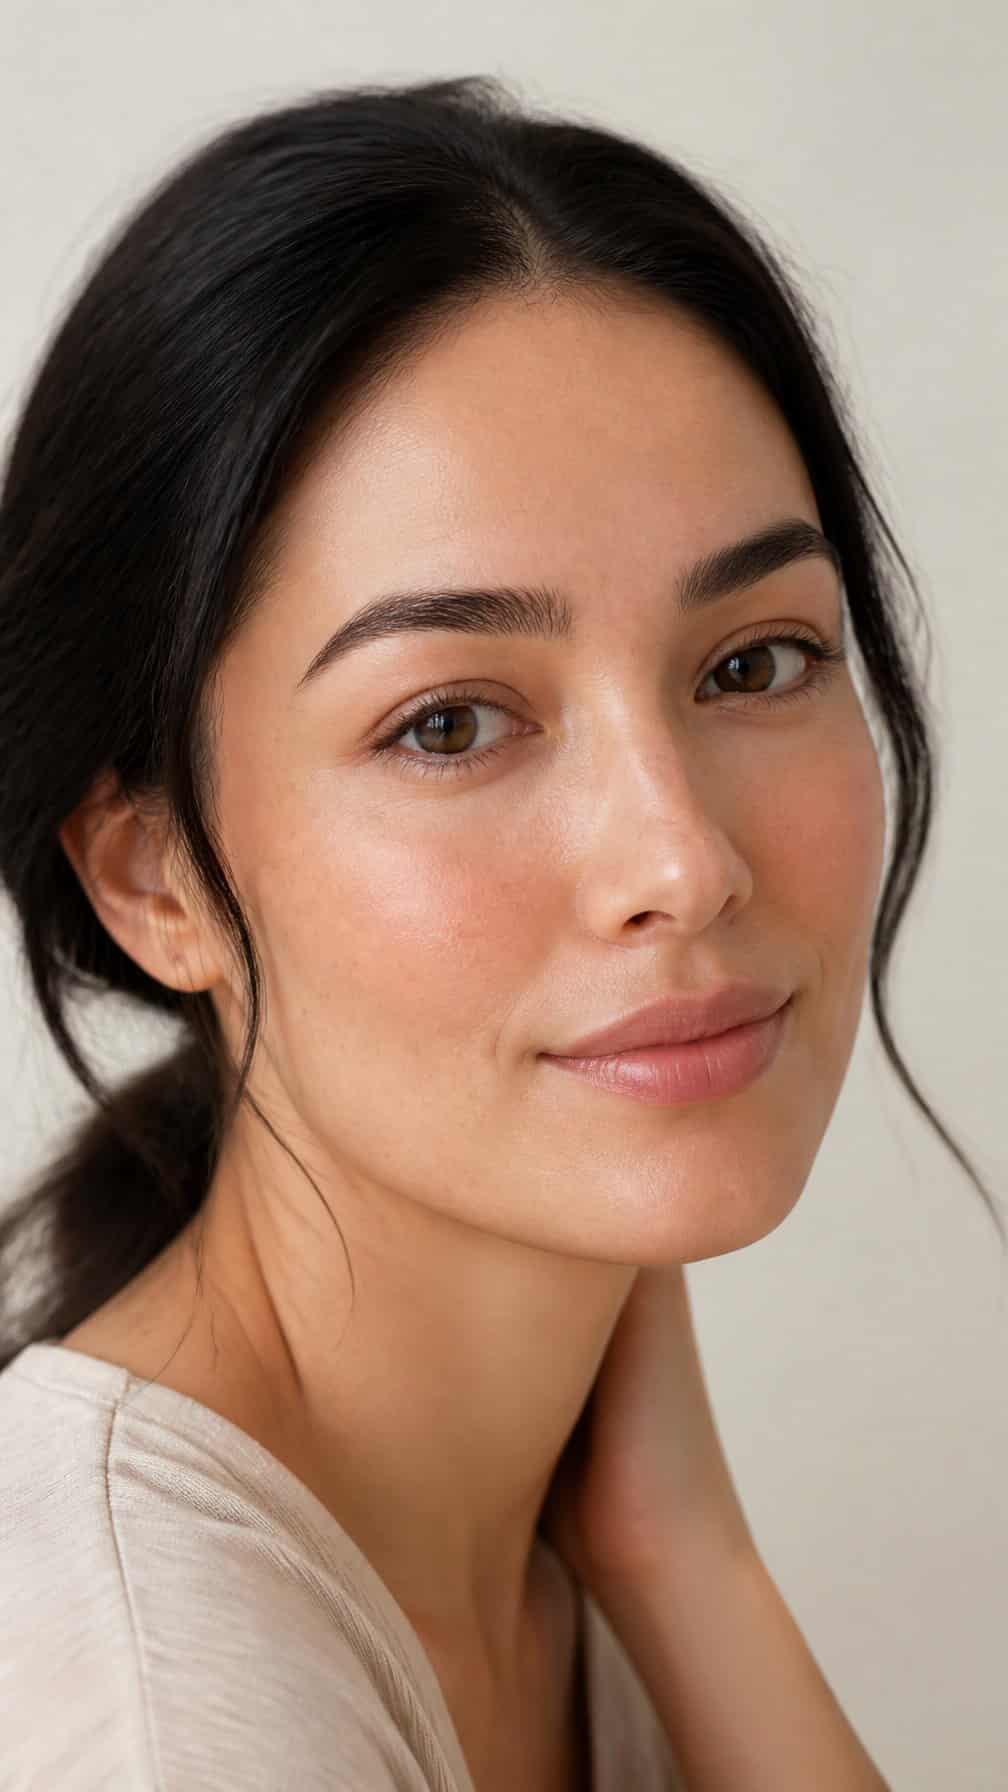
I brush a sheer tinted gel through my brows to add light definition without creating a drawn-on effect. The formula lightly colors sparse areas while keeping the natural variation in my brow hairs visible.
I start at the inner brow and follow the direction of growth, using short, controlled strokes. Then I comb the hairs upward and outward, focusing extra product near the arch and tail. This simple step frames my eyes and helps my face look more rested while keeping the finish soft and believable.
15) Hydrating Primer for Dewy Skin
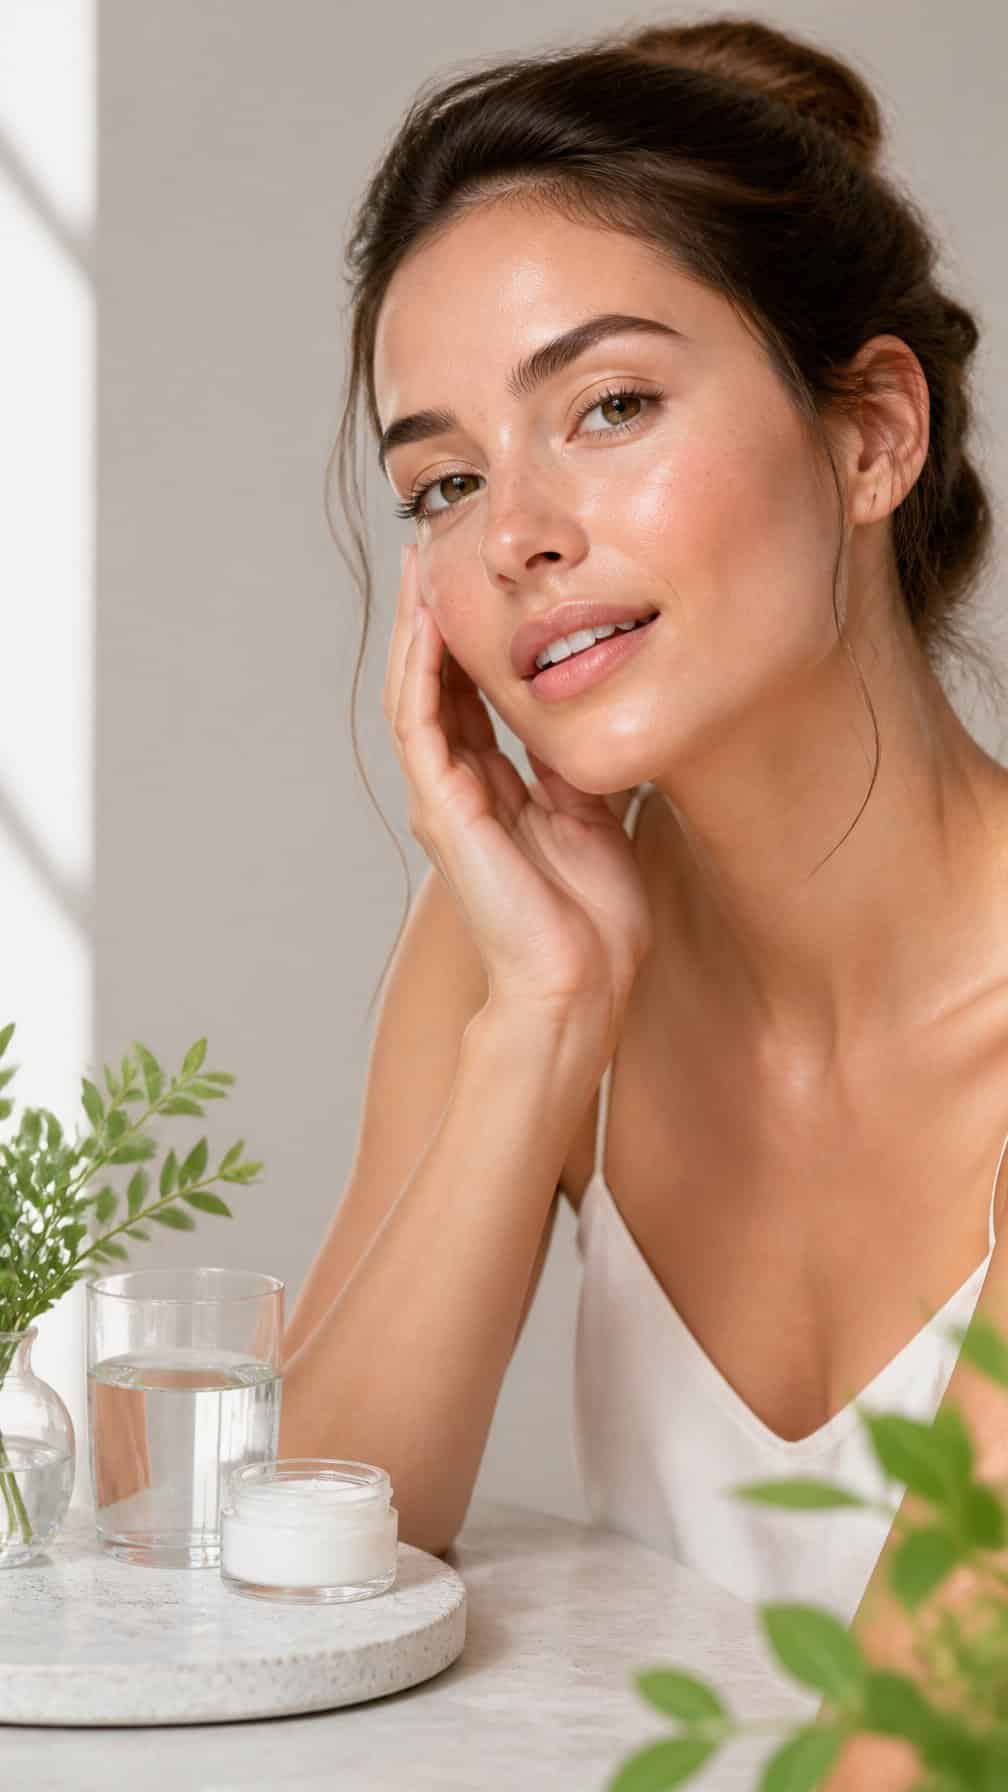
I apply a thin layer of hydrating primer after moisturizer, focusing on areas that look dry or dull. This creates a smoother surface and adds a subtle, fresh finish without making my skin look overly shiny.
I give the primer a minute to settle before applying a lightweight foundation or tinted moisturizer. On days when I want minimal coverage, I use it alone and add concealer only where I need it.
I choose a formula that suits my skin type and avoid applying too much around my nose or forehead, where makeup can slip. A small amount usually works better than several layers.
16) Lightweight Illuminating Foundation
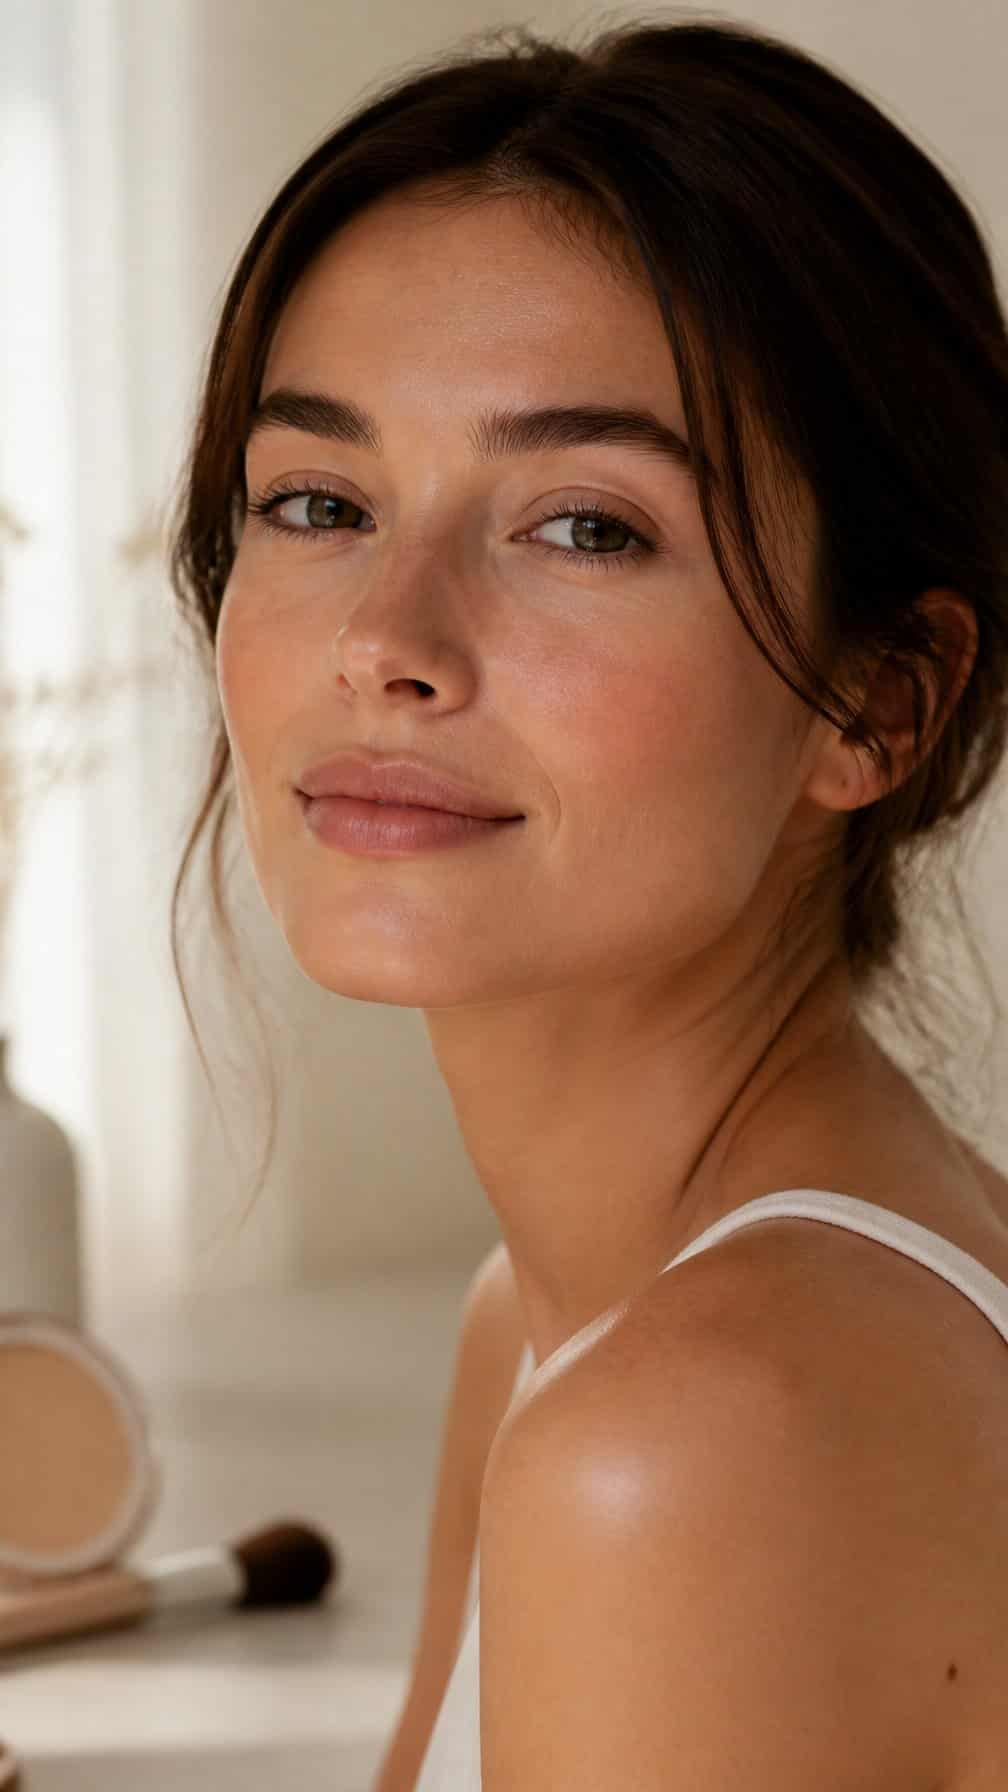
I apply a lightweight illuminating foundation in a thin layer, concentrating it where my skin needs more even coverage. Its soft radiance helps my complexion look fresh without creating a heavy, overly polished finish.
I blend it with my fingers or a damp sponge, then add a small amount around my nose, chin, or any areas with visible redness. I leave the rest of my skin lightly covered so its natural texture remains visible.
To keep the look balanced, I set only my forehead, nose, and chin with a small amount of translucent powder. I finish with cream blush and brushed-up brows for a simple, awake-looking makeup routine.
17) Spot Concealing Instead of Full Coverage
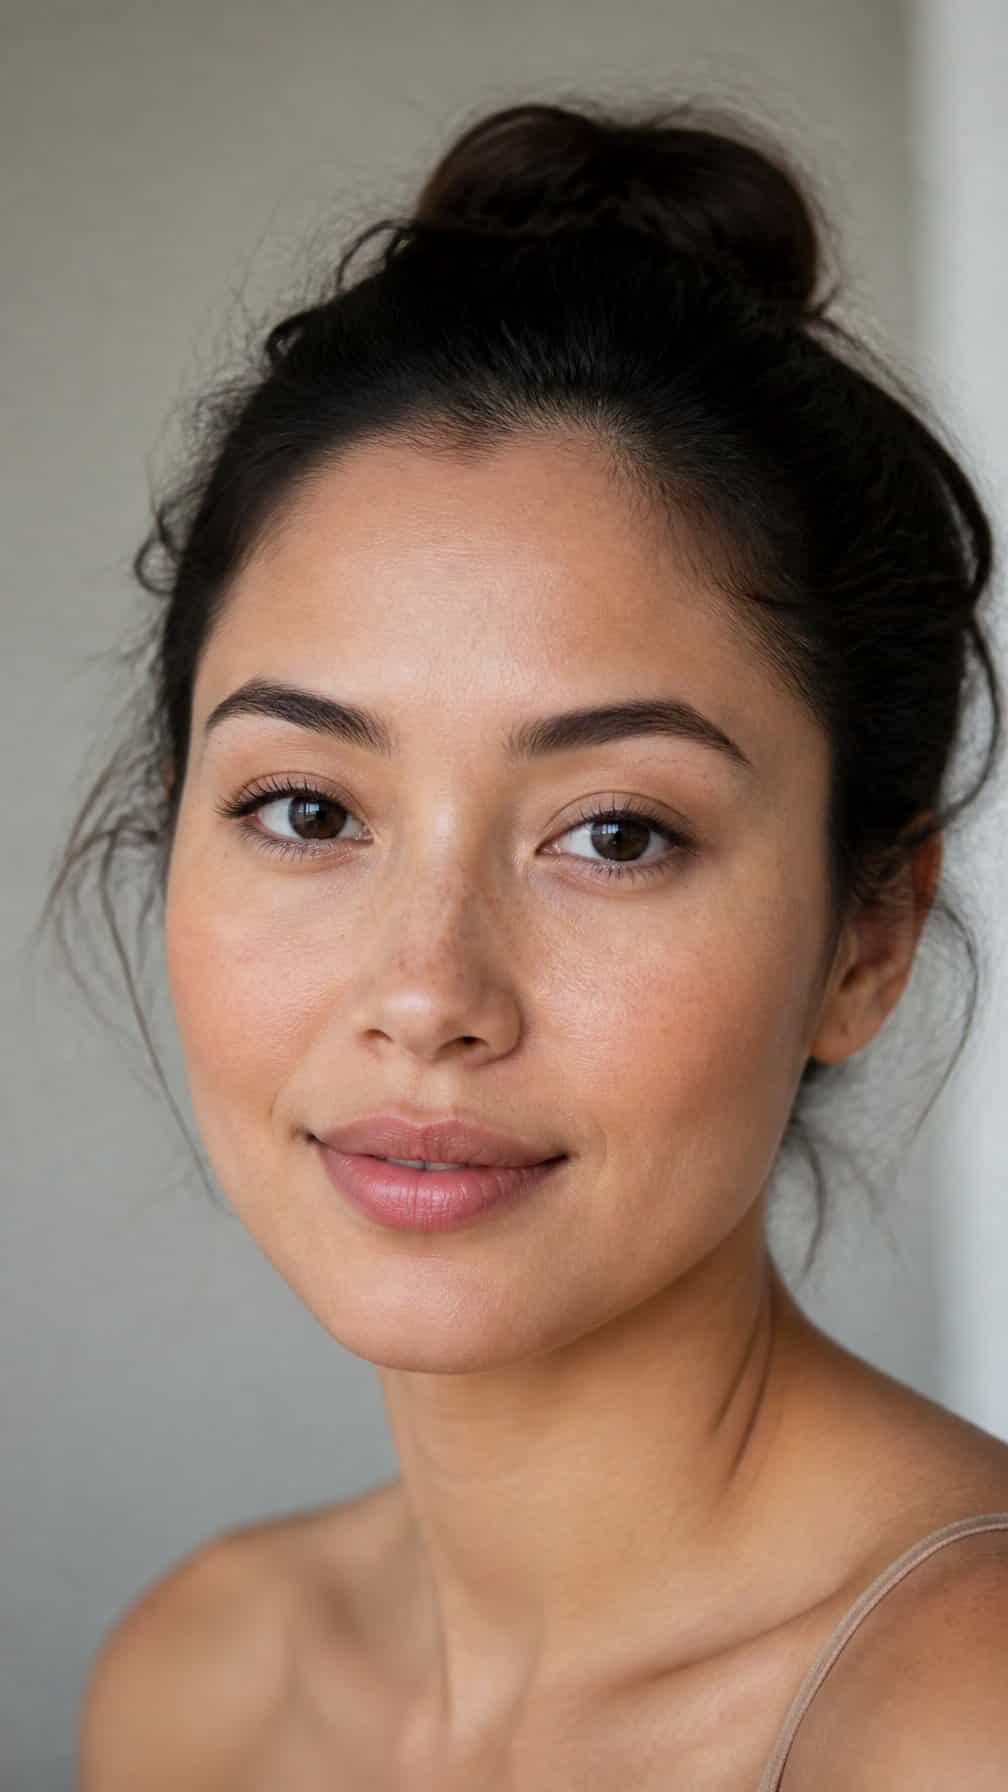
I apply concealer only where redness, blemishes, or dark spots need extra coverage. Leaving the surrounding skin bare keeps my complexion looking like skin rather than a uniform mask.
I use a small, firm brush or my fingertip to press a thin layer onto each spot. I let the product sit briefly, then tap the edges until they blend into my foundation or moisturizer.
I choose a shade that matches my skin for blemishes and redness. For under-eye darkness, I use a slightly lighter, hydrating formula and apply it sparingly to avoid emphasizing texture.
18) Translucent Powder Only on the T-Zone
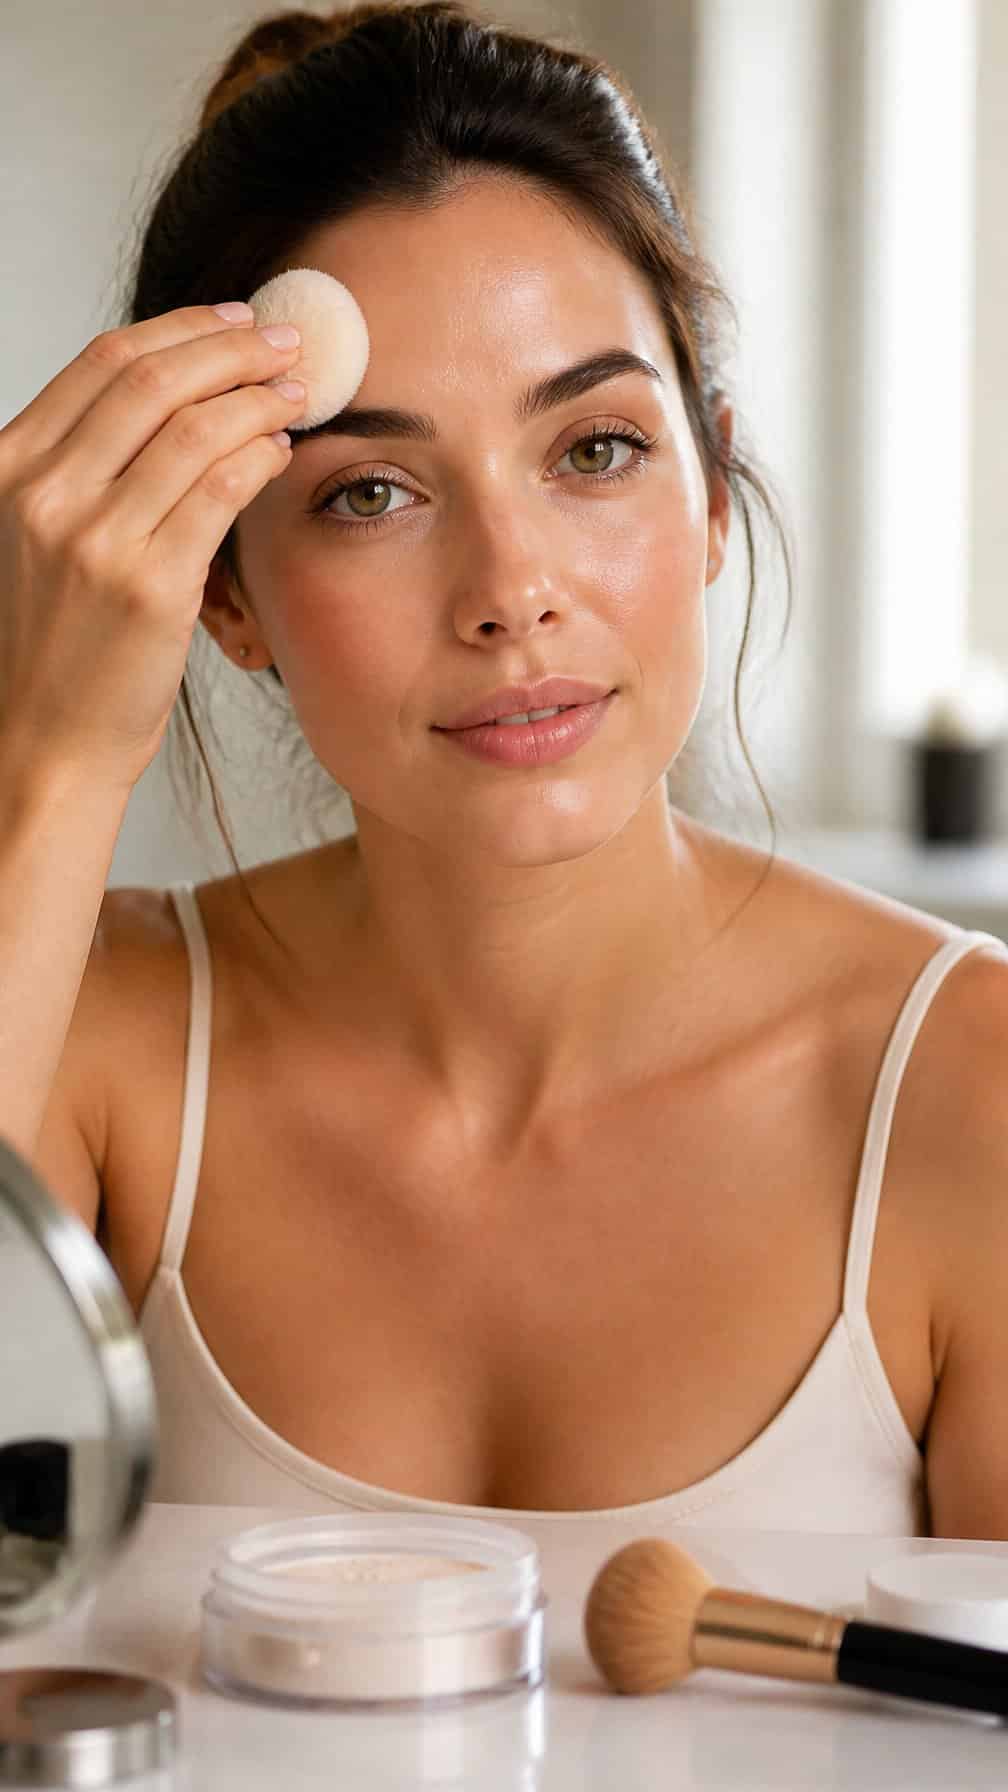
I apply a small amount of translucent powder to my forehead, nose, and chin, where shine tends to appear first. I leave my cheeks and the area beneath my eyes unpowdered so my skin keeps a natural, softly luminous finish.
I use a fluffy brush and press the powder lightly rather than sweeping on a thick layer. This controls excess oil without making my complexion look flat or emphasizing dry texture.
For a quick daytime look, I check my makeup in natural light and add powder only where needed. A finely milled, colorless formula works well because it sets makeup without noticeably changing my foundation shade.
19) Rose-Toned Cream Blush
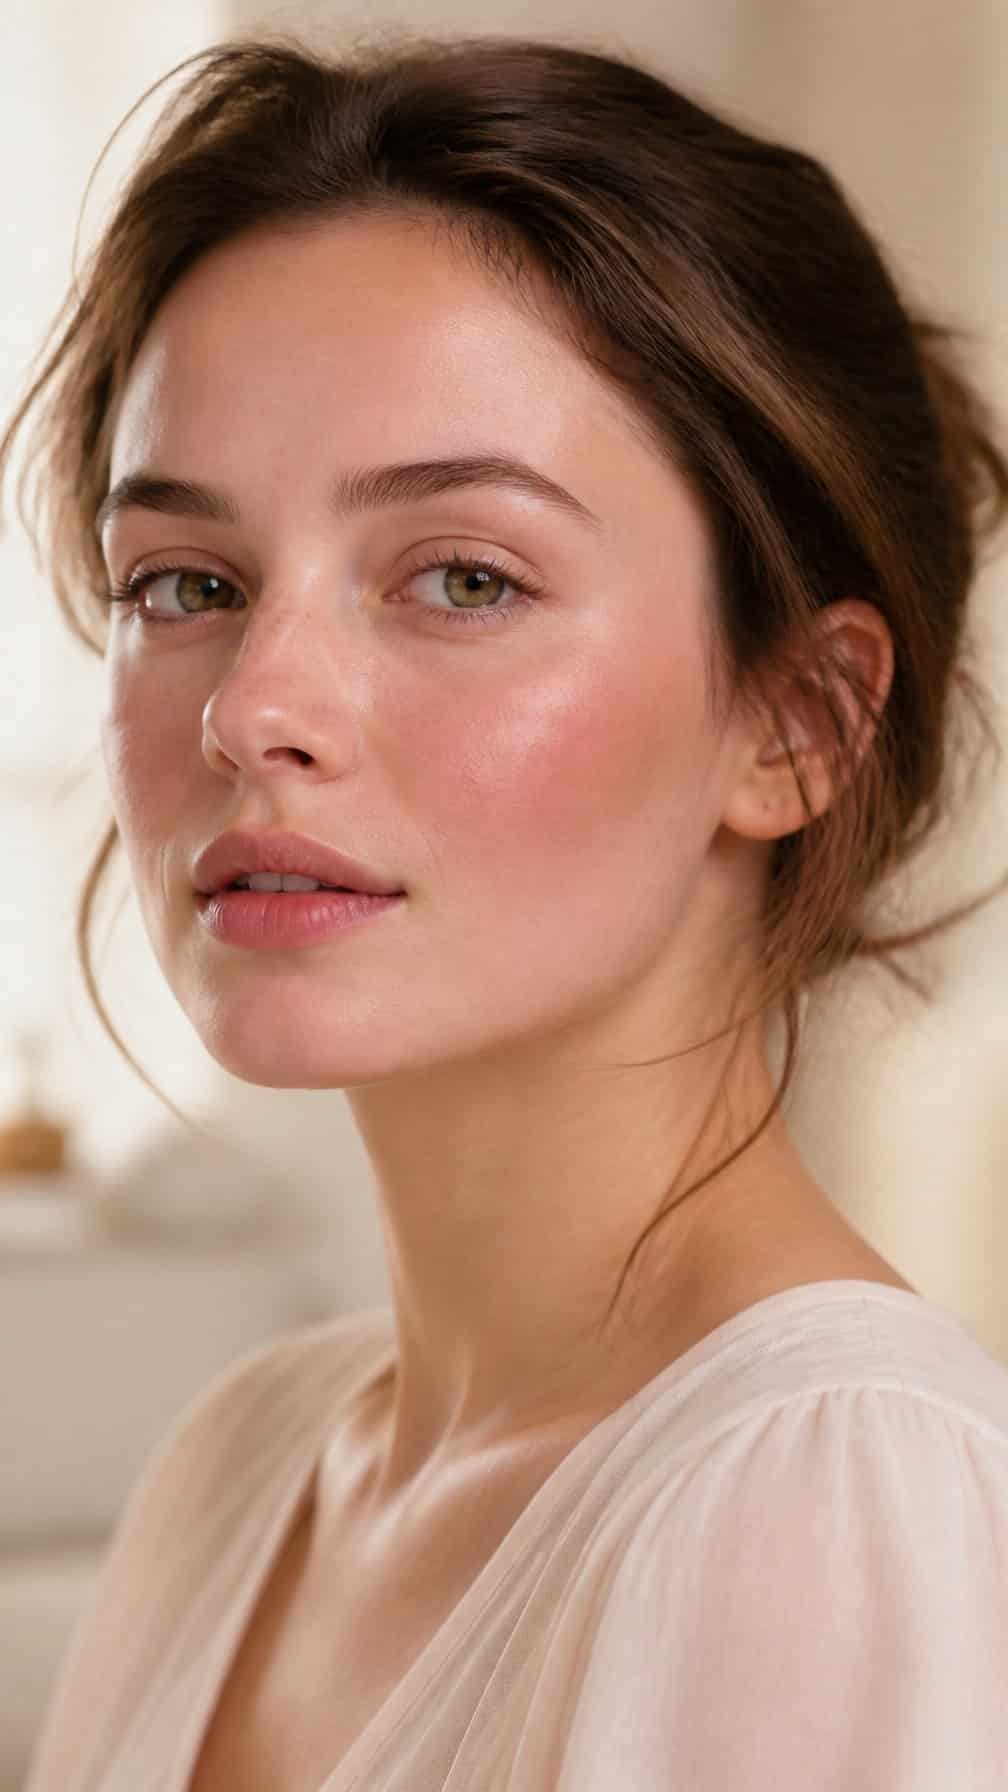
I tap a small amount of rose-toned cream blush onto the apples of my cheeks, then blend it slightly upward toward my temples. The soft pink hue adds gentle color without making my complexion look heavily made up.
I prefer a cream formula because I can sheer it out with my fingertips and build it gradually where I need more definition. I keep the rest of my makeup simple—brushed brows, curled lashes, and a tinted balm—so the blush remains fresh and balanced.
20) Soft Bronzer Along the Hairline
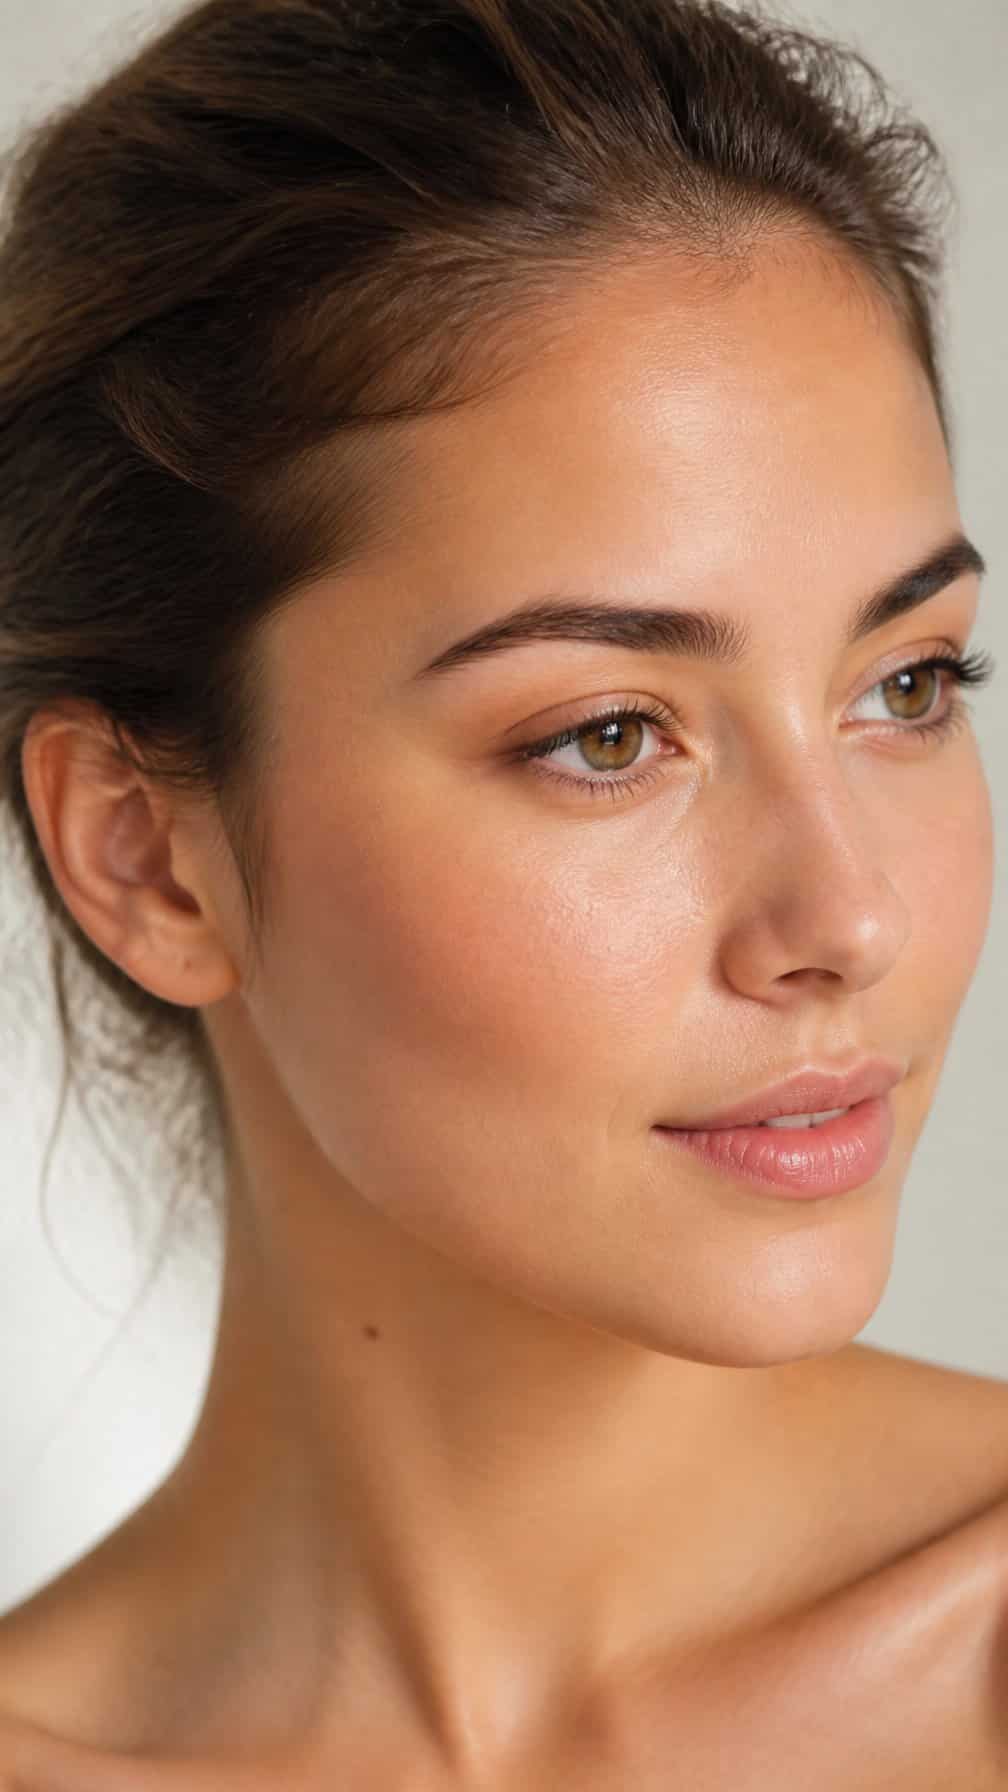
I sweep a small amount of matte or satin bronzer along my hairline, starting near the temples and blending toward the forehead. This adds gentle warmth without creating a defined contour line.
I use a fluffy brush and build the color gradually, keeping the center of my forehead mostly bare. I also dust a little over the tops of my ears so the makeup blends naturally with the rest of my complexion.
For an awake, natural finish, I choose a bronzer only one or two shades deeper than my skin. I check the color in daylight and soften any edges with a clean brush.


