
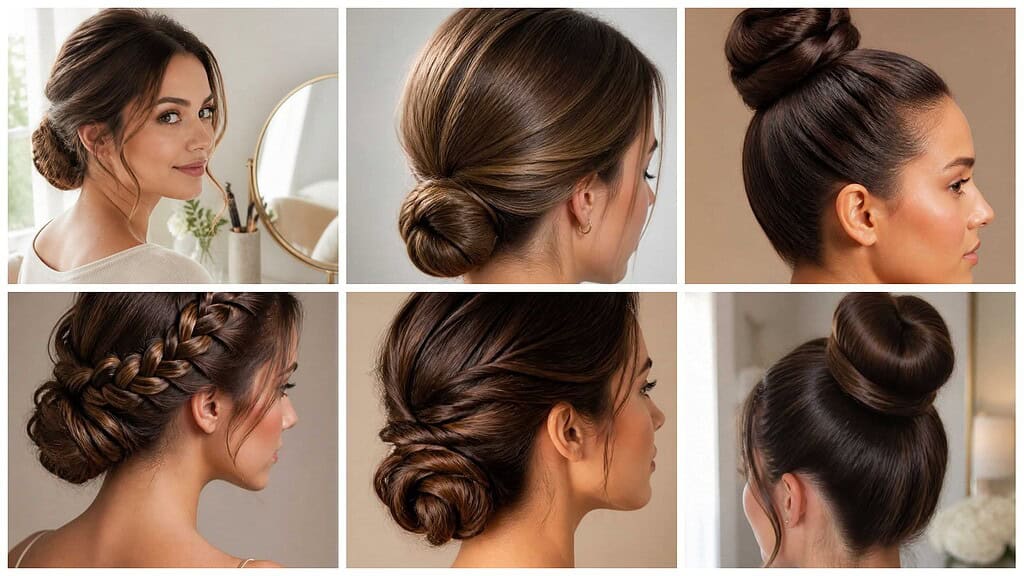
Creating an updo at home can give your everyday style a polished, practical finish without complicated salon techniques. You can choose from neat buns, textured twists, braided designs, and quick styles that work with different hair lengths and occasions.
Save for later
Want to come back to this story? Save it with your email so it is easy to find again.
You can create a secure, attractive updo yourself by choosing the right style, preparing your hair, and using simple techniques for lasting hold. I’ll guide you through versatile options, helpful tools, and straightforward methods so you can find a look that suits your hair and comfort level.
Table of Contents
- 1 1) Classic low bun
- 2 2) Messy top knot
- 3 3) Sleek high bun
- 4 4) French twist
- 5 5) Braided crown updo
- 6 6) Dutch braid updo
- 7 7) Fishtail braid bun
- 8 8) Rope braid updo
- 9 9) Twisted chignon
- 10 10) Sock bun updo
- 11 11) Donut bun
- 12 12) Half-up twisted bun
- 13 13) Half-up braided updo
- 14 14) Claw clip French twist
- 15 15) Claw clip messy twist
- 16 16) Pencil bun
- 17 17) Scarf-wrapped bun
- 18 18) Low braided ponytail updo
- 19 19) Bubble ponytail updo
- 20 20) Three-strand braided bun
- 21 21) Four-strand braided updo
1) Classic low bun
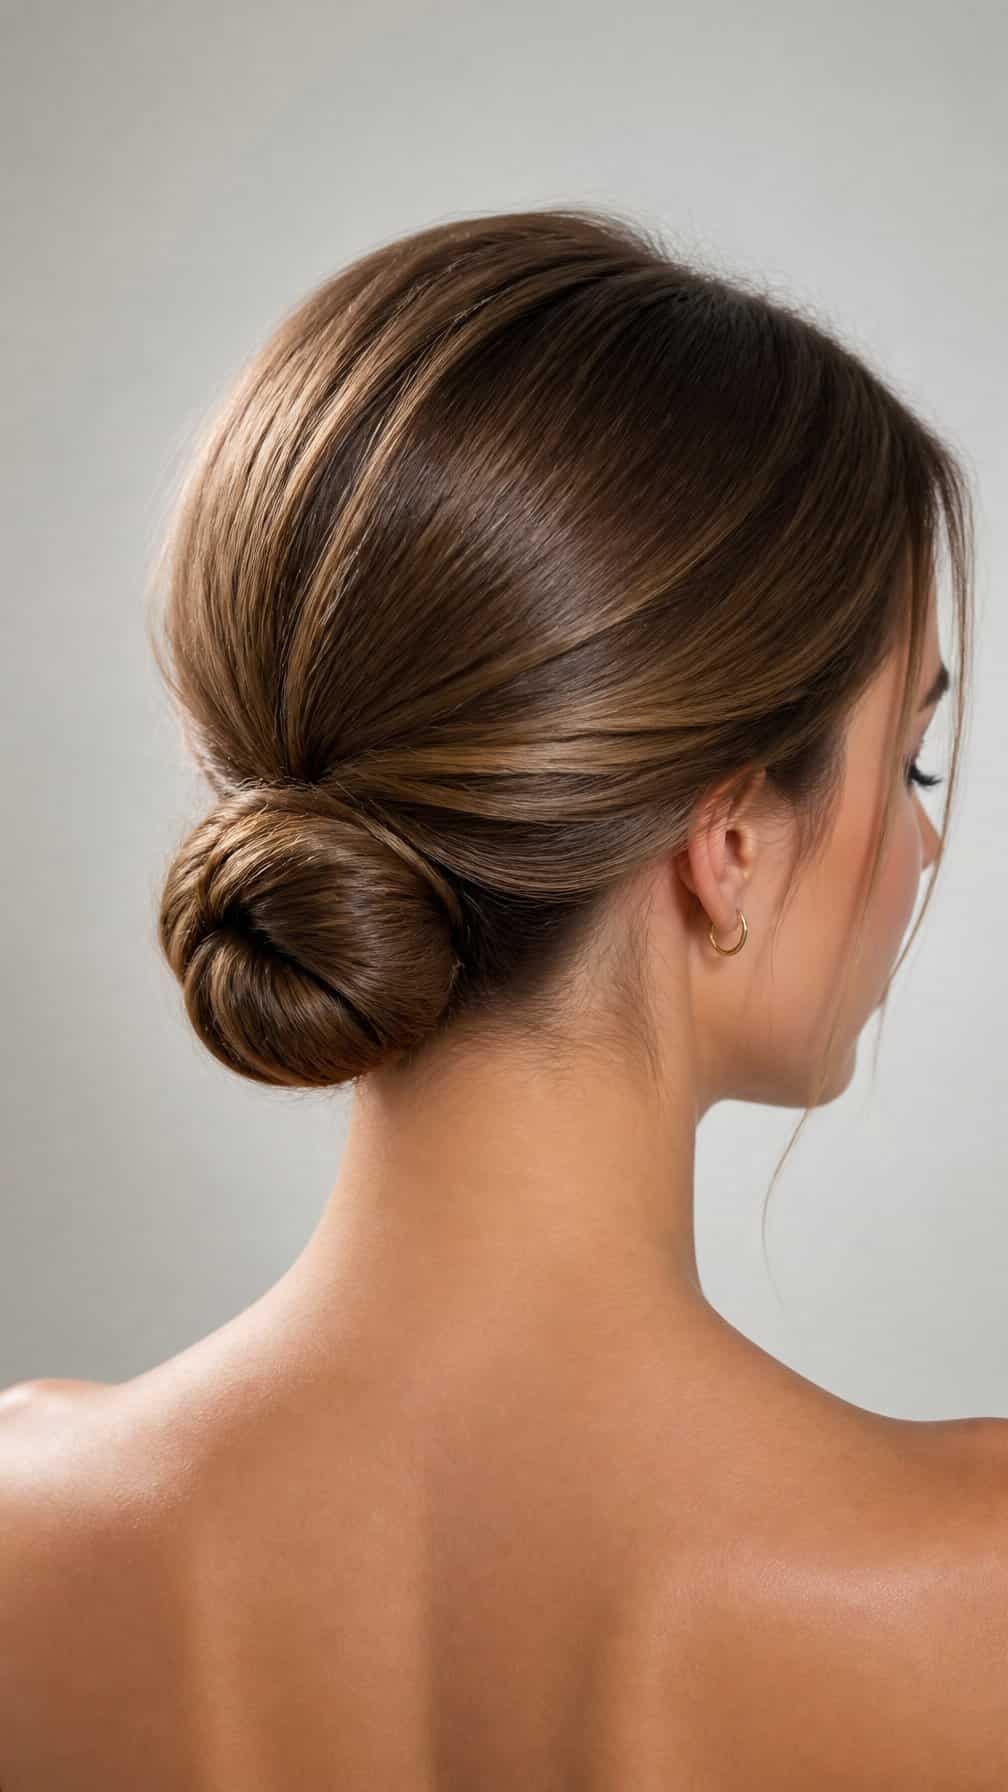
I smooth my hair into a low ponytail at the nape of my neck, using a brush to remove bumps. I secure it with an elastic, then twist the length until it coils around the base.
I pin the bun with several bobby pins, placing them beneath the coil so they stay discreet. For a polished finish, I tuck in loose ends and lightly smooth the surface with a small amount of styling cream.
I leave a few strands near my face for a softer look or secure everything neatly for a more formal style. This updo works best on shoulder-length hair or longer.
2) Messy top knot
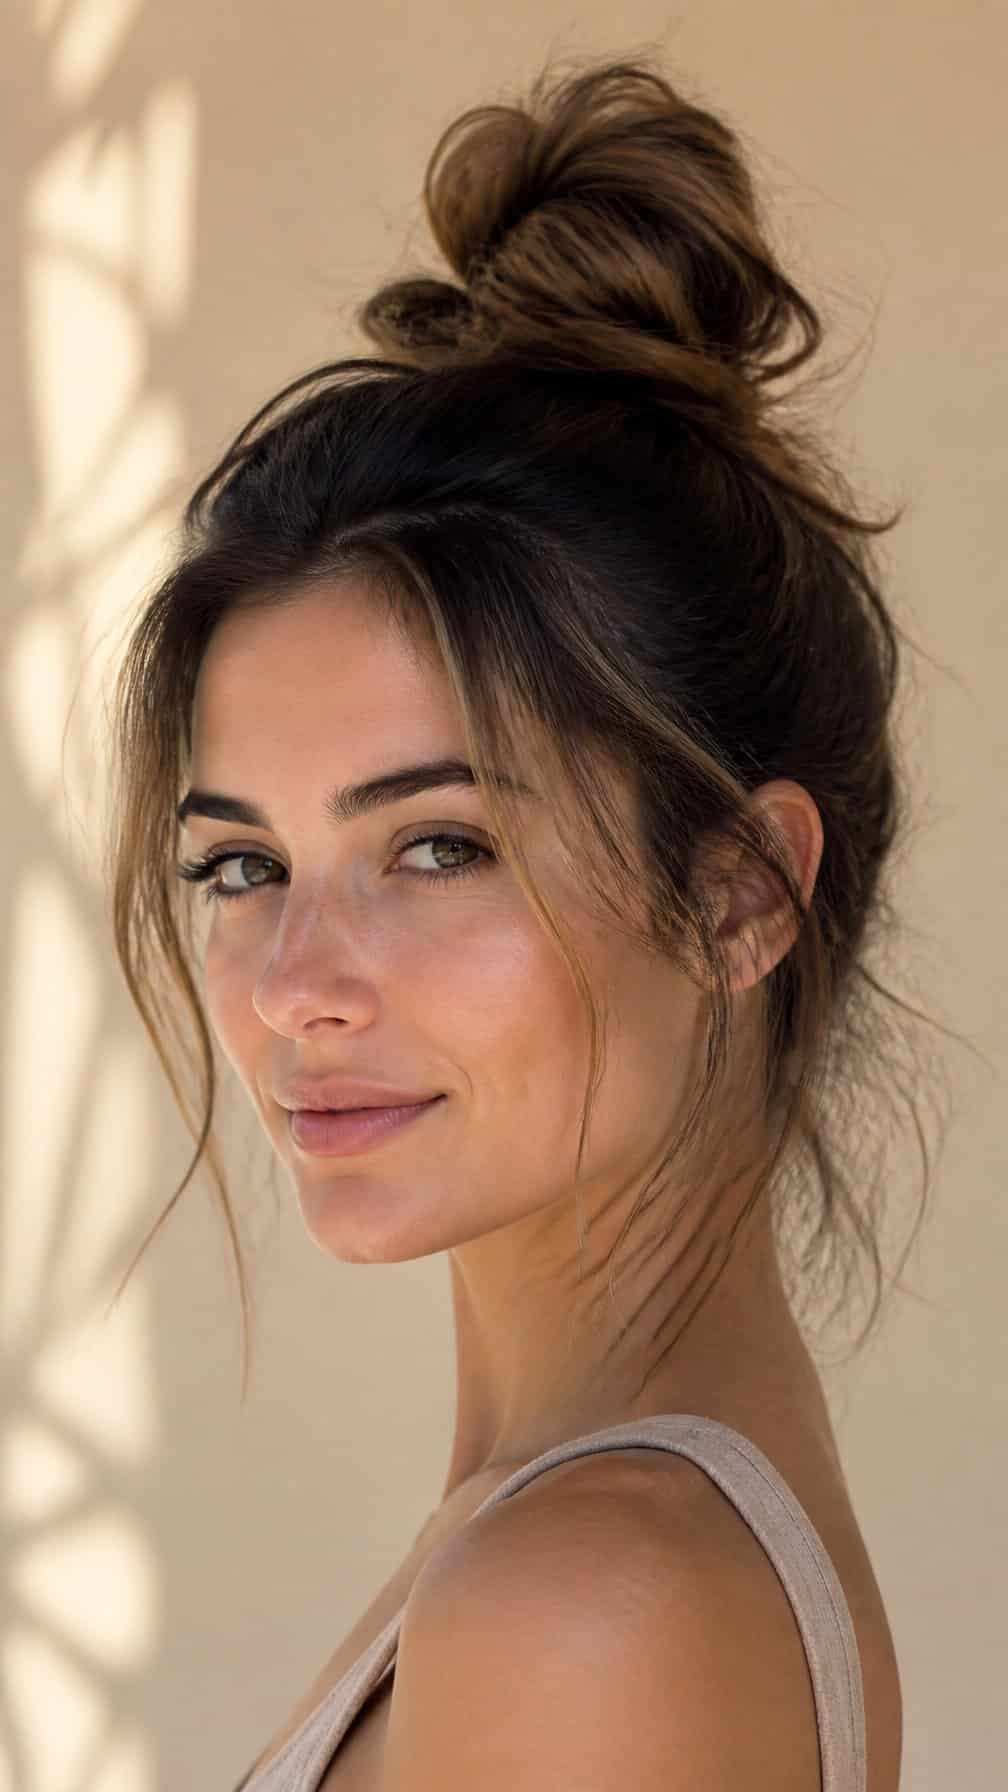
I gather my hair into a high ponytail, leaving a few face-framing strands loose. I twist the ponytail around its base, secure it with bobby pins, and gently pull sections outward to create a relaxed shape.
For extra texture, I work a small amount of dry shampoo through my lengths before styling. I keep the finish slightly imperfect, allowing short pieces and uneven loops to show without letting the bun become loose.
I use a second elastic around the bun if my hair feels heavy. A light mist of hairspray helps hold the style while preserving its soft, casual appearance.
3) Sleek high bun
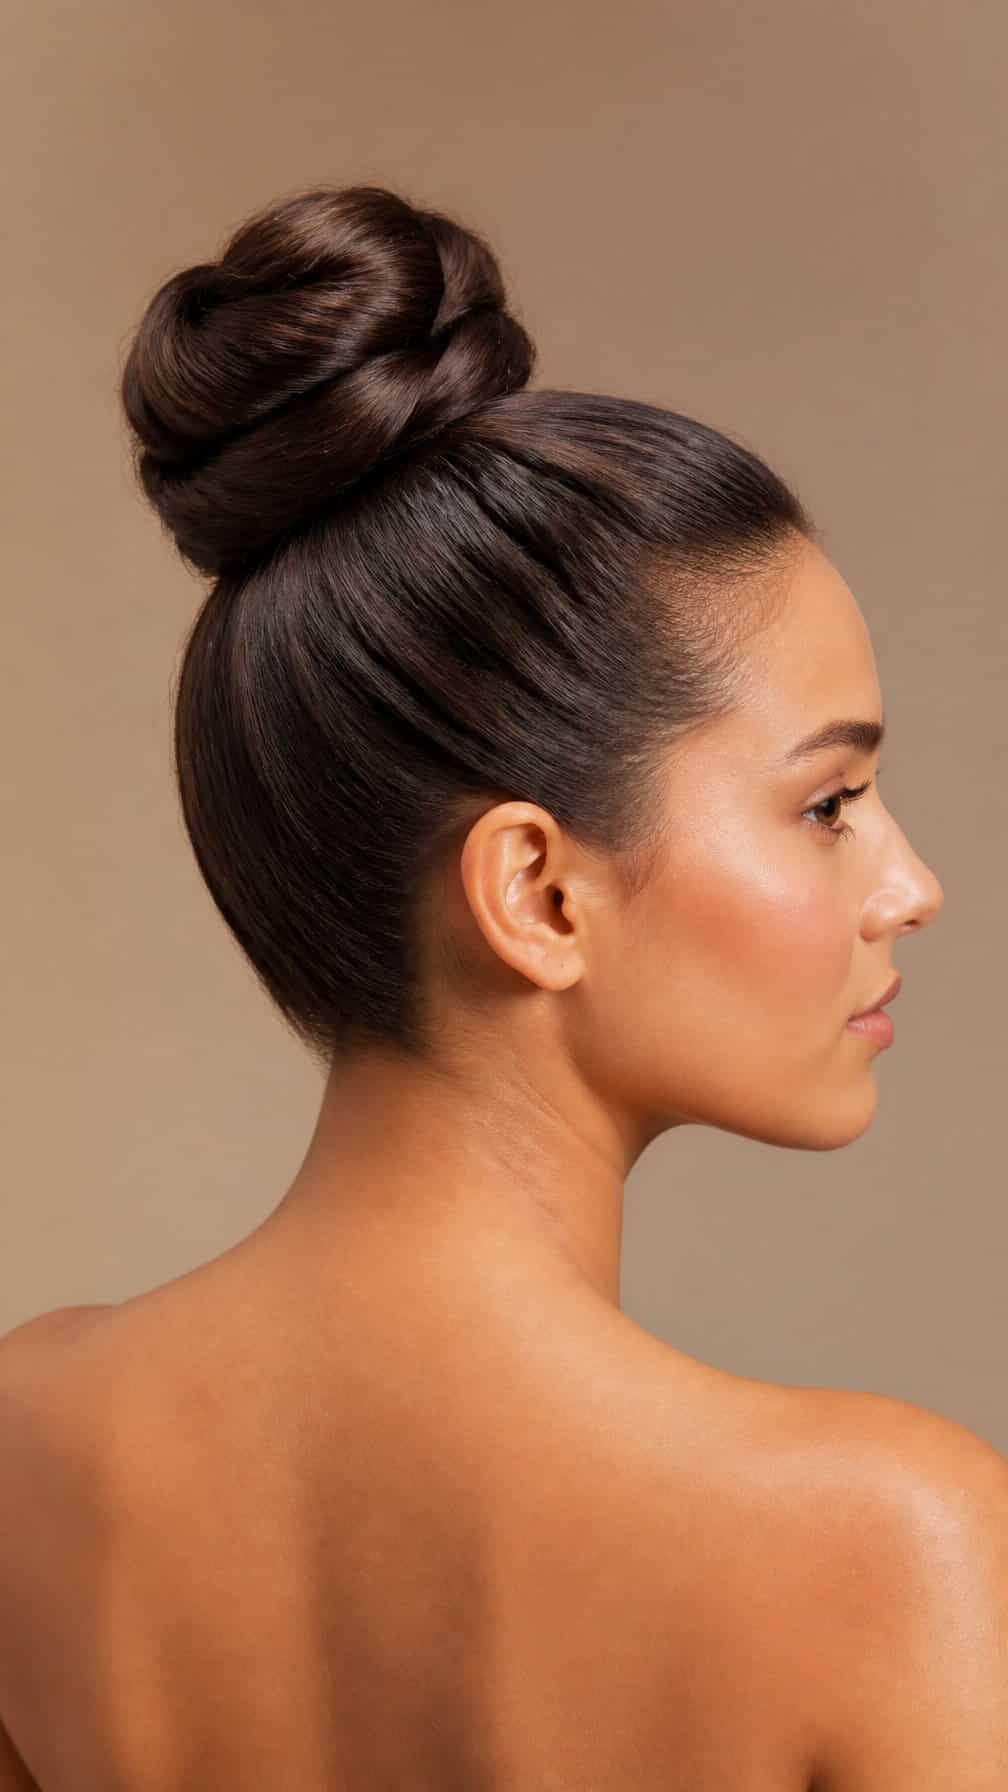
I smooth my hair into a high ponytail, using a fine-tooth comb to remove bumps and flyaways. I secure it firmly with an elastic, then twist the length around the base and pin it in place.
A small amount of styling gel or lightweight pomade helps create a polished finish without making the hair look stiff. I use bobby pins that match my hair color and tuck the ends beneath the bun.
For a clean shape, I check the style from the front and sides before finishing with light hairspray. This updo works best on straight or stretched hair, but I can also create it with naturally textured hair after smoothing the surface.
4) French twist
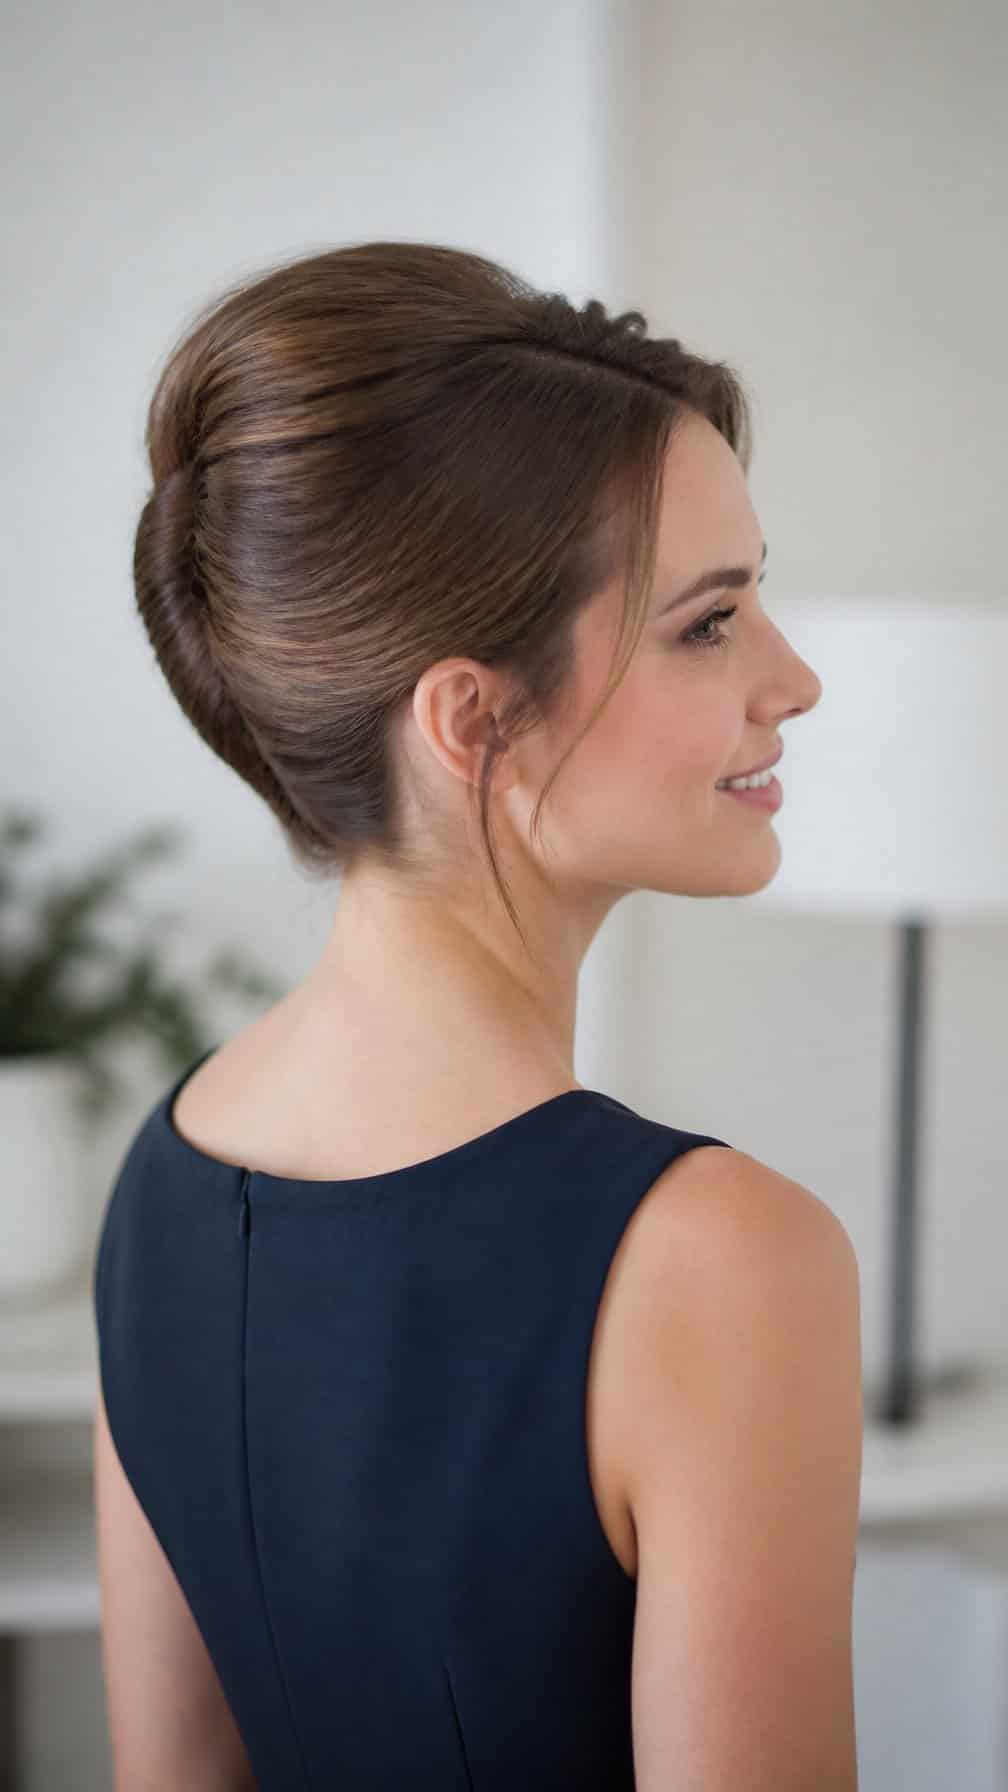
I smooth my hair back into a low ponytail without securing it, then twist the length upward against my head. I tuck the ends into the roll and fasten the style with bobby pins placed vertically along the twist.
For a cleaner finish, I apply a small amount of styling cream before twisting. I leave a few strands loose around my face when I want a softer look, or smooth every section for a polished updo that works well for formal occasions.
5) Braided crown updo
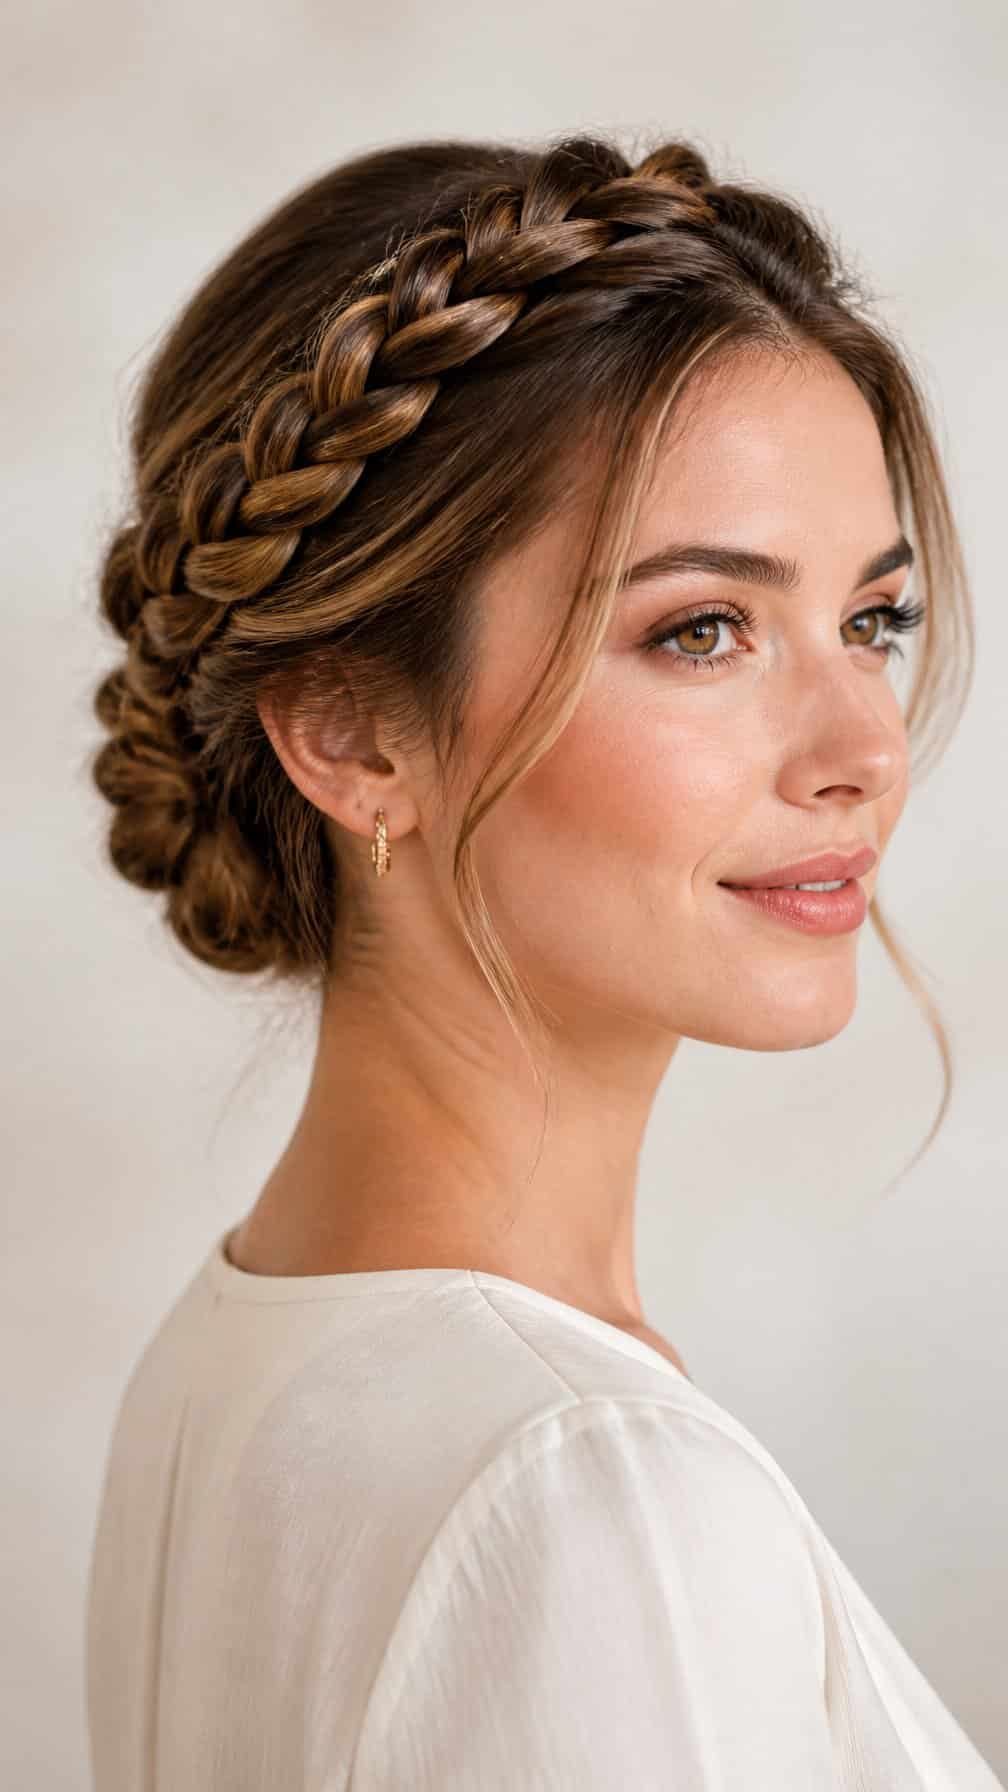
I create this style by parting my hair down the middle and braiding each side from the front toward the back. I keep the braids close to the hairline, then secure their ends with small elastics.
Next, I gently loosen the braid edges to add width without pulling the style apart. I cross each braid behind my head, tuck the ends underneath, and pin them in place with matching bobby pins.
I use a few pins along the crown if the braids feel loose. For a polished finish, I smooth flyaways with a small amount of styling cream; for a softer look, I leave a few face-framing strands free.
6) Dutch braid updo
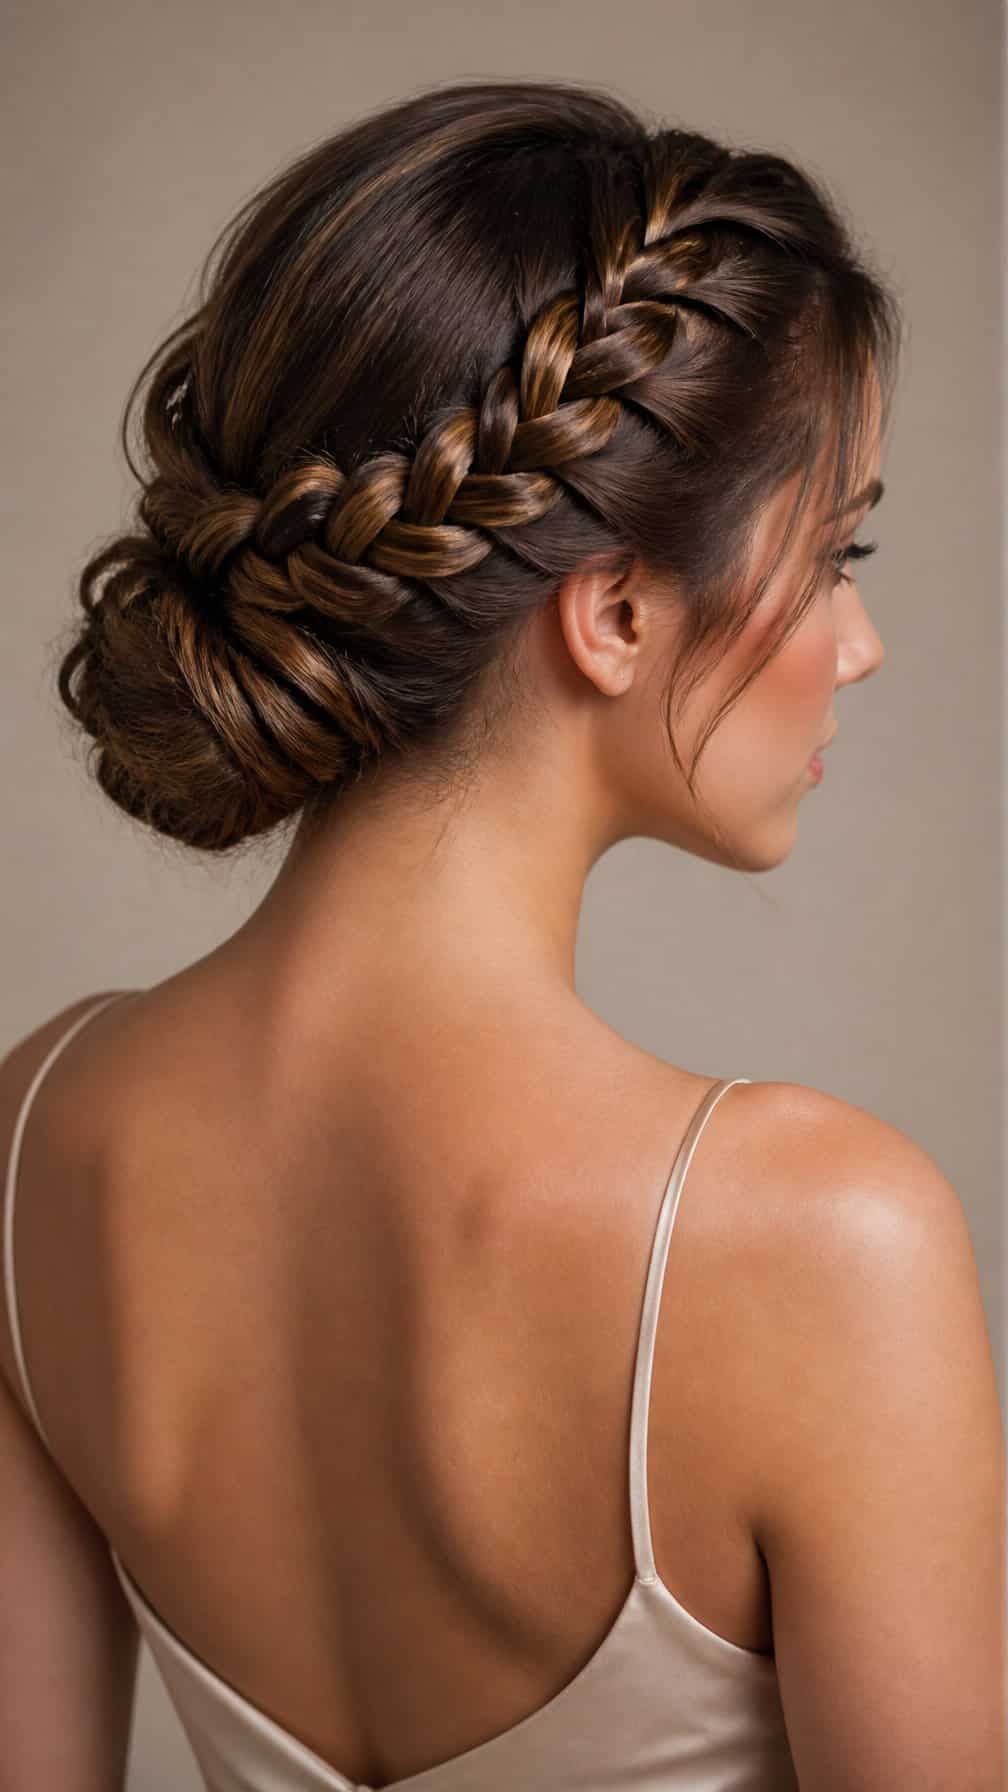
I start with slightly textured hair so the braid holds its shape. After parting my hair where I prefer, I Dutch-braid one side by crossing each outer strand under the center strand and adding small sections as I move toward the nape.
I secure the braid temporarily, gather the remaining hair into a low ponytail, and twist it into a compact bun. Then I wrap the braid around the bun and pin it underneath, placing additional pins wherever the style feels loose.
I gently tug the braid’s edges to add width without pulling it apart. A light mist of hairspray helps control flyaways, while a few face-framing strands keep the finish relaxed.
7) Fishtail braid bun
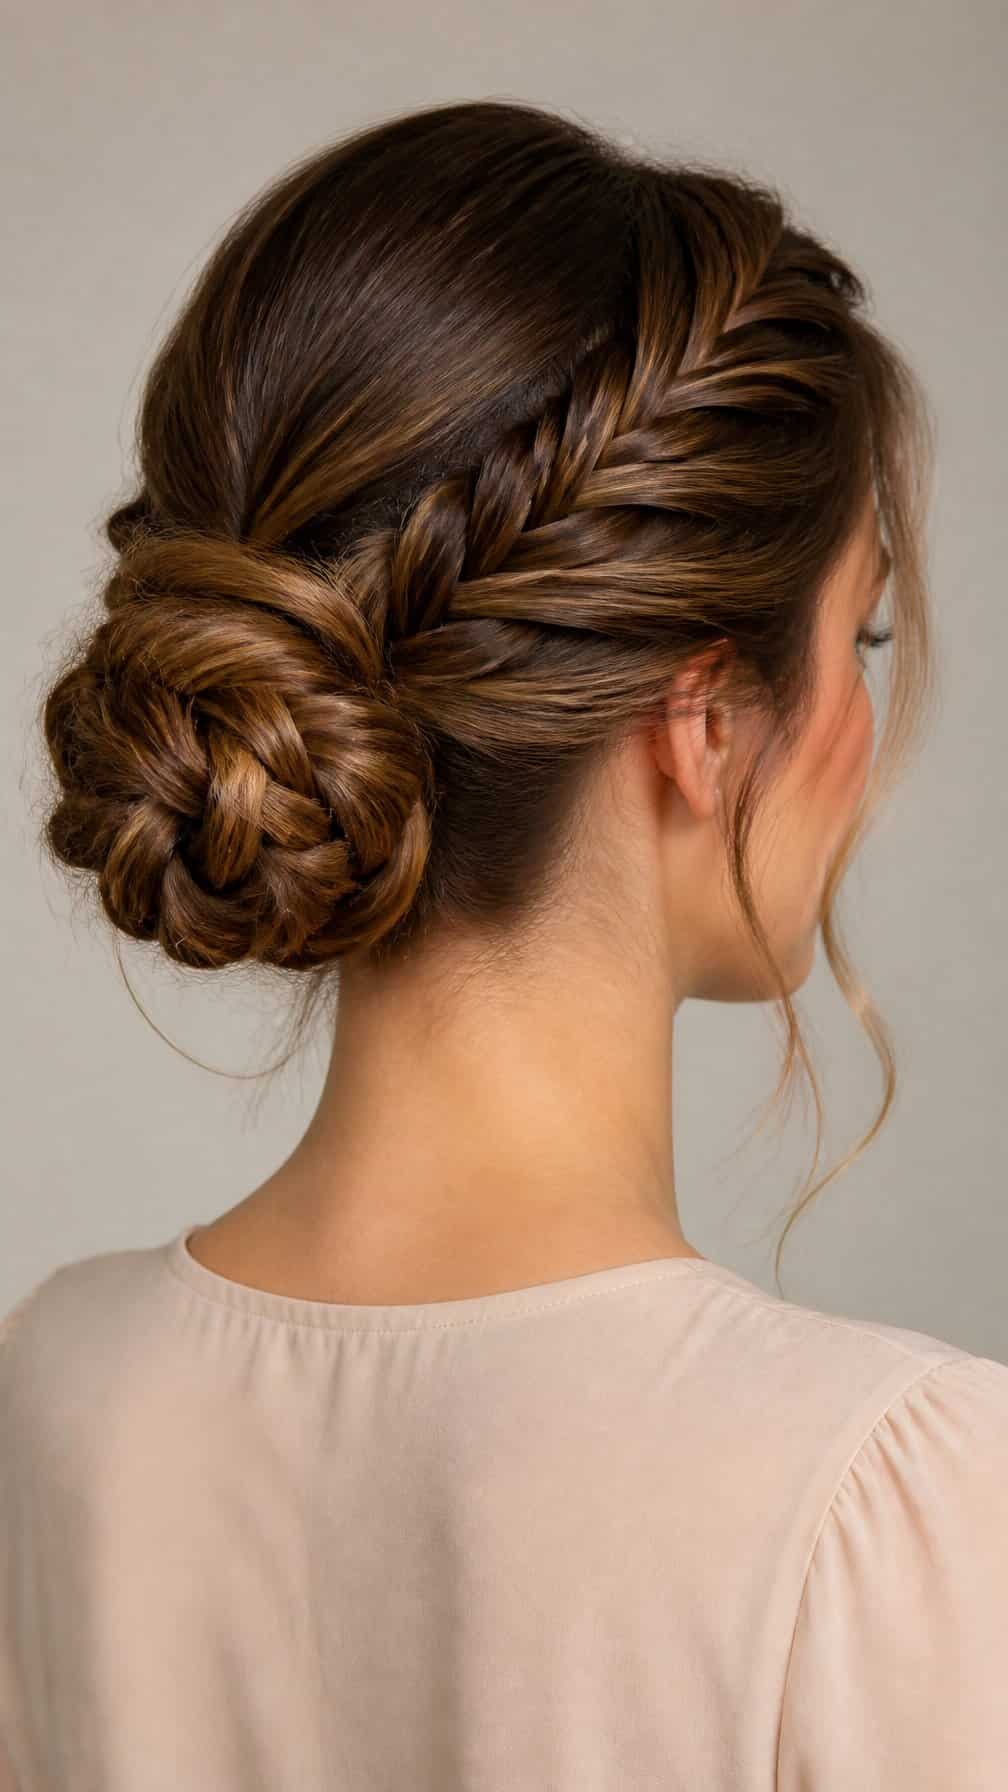
I divide my hair into a low ponytail, split it into two sections, and weave a fishtail braid by crossing small pieces from each side. I secure the end, gently loosen the braid for texture, then wrap it around the ponytail base.
I pin the bun against my head with several bobby pins, placing them under the braid so they stay discreet. This style works best on medium-length or long hair, and I use a light hairspray to control loose strands without flattening the braid.
8) Rope braid updo
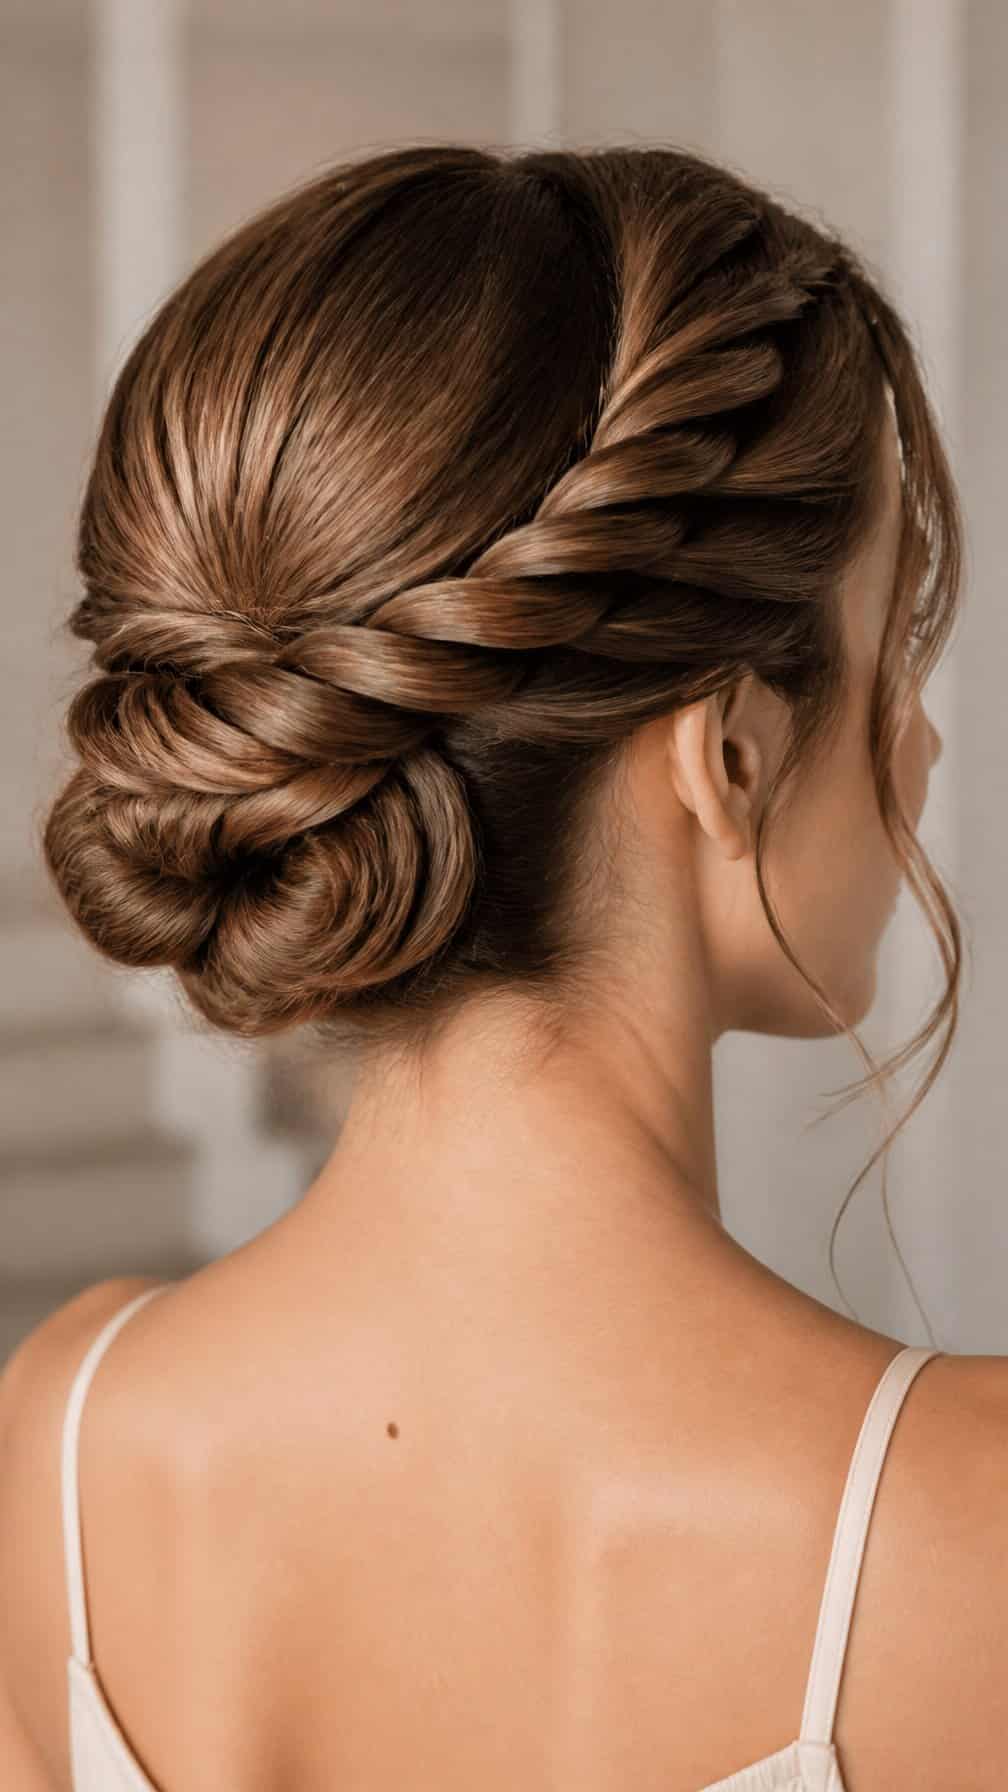
I divide my hair into two sections and twist each one tightly in the same direction. Then I wrap the sections around each other in the opposite direction, securing the ends with a small elastic.
I coil the rope braid into a low bun at the nape of my neck and anchor it with bobby pins. Smoothing the sides with a little styling cream helps control flyaways without making the style look stiff.
For extra hold, I pin the bun from several angles and finish with light hairspray. I leave a few face-framing strands loose if I want a softer appearance.
9) Twisted chignon
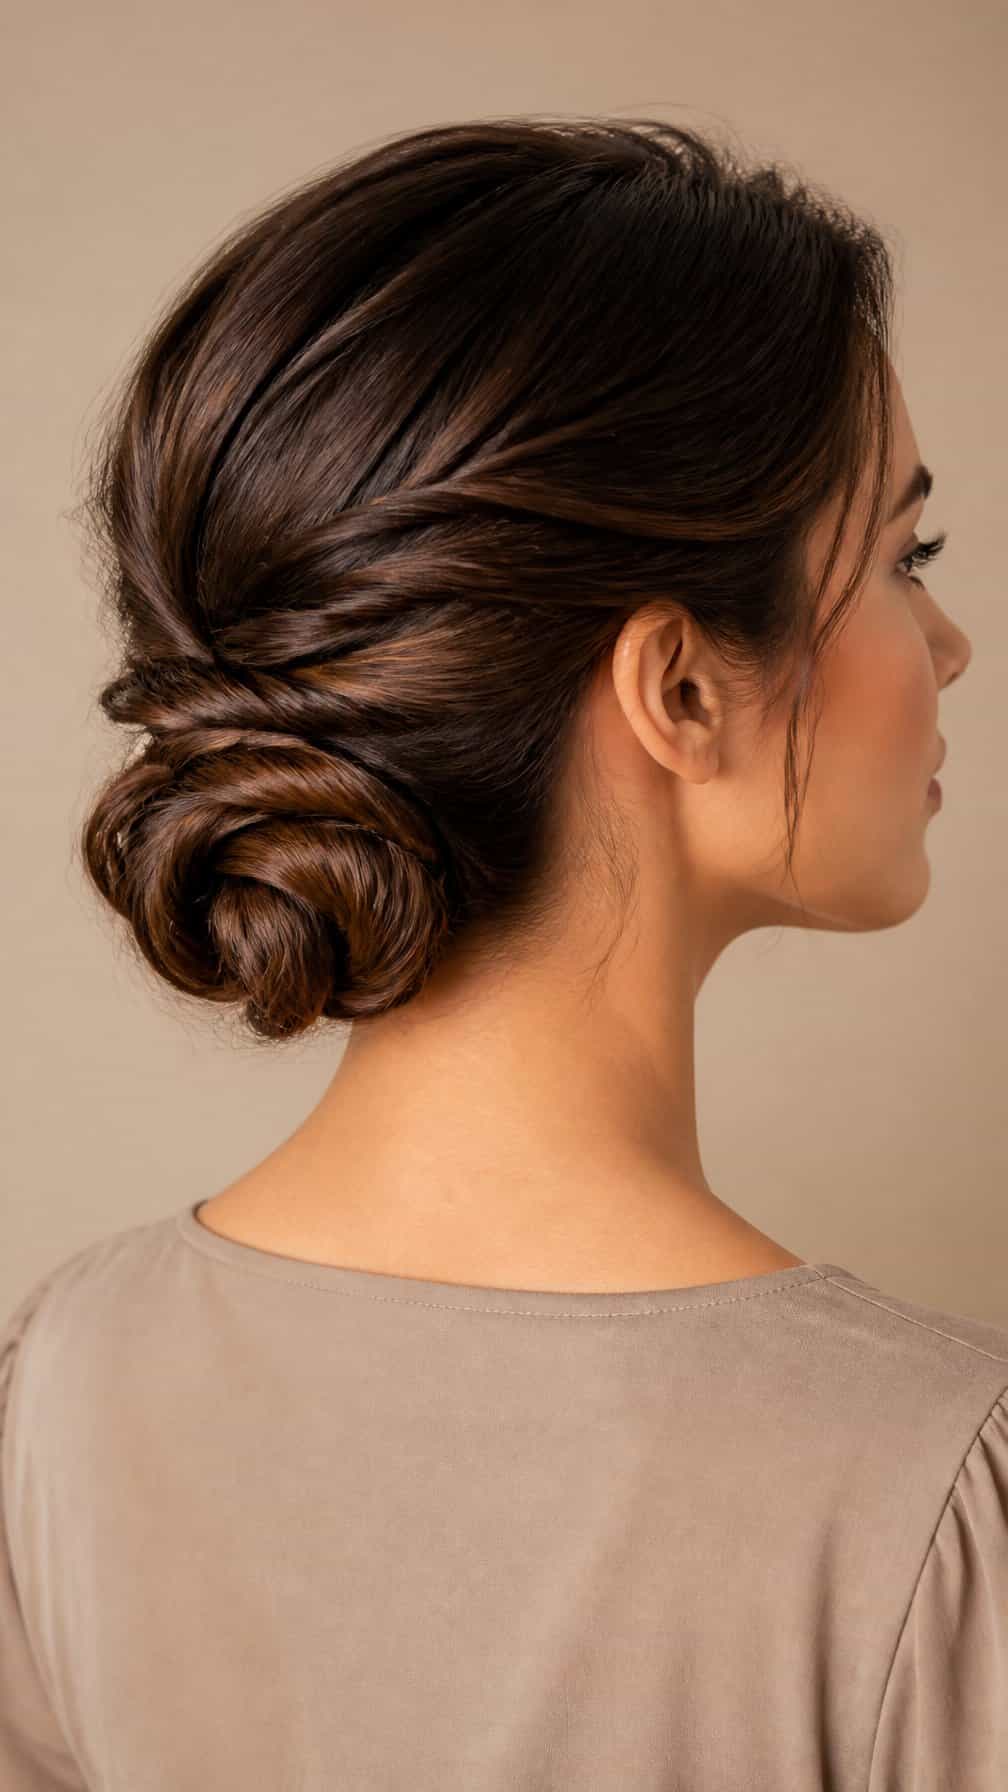
I create this style by gathering my hair into a low ponytail, then dividing it into two sections. I twist each section away from my face, wrap both twists around the base, and secure them with bobby pins. The result looks polished without requiring precise braiding.
I find this updo works best on medium-to-long hair with some texture. For smoother strands, I add a small amount of styling cream or dry shampoo before twisting. I loosen a few pieces around my face and finish with light hairspray to help hold the shape.
10) Sock bun updo
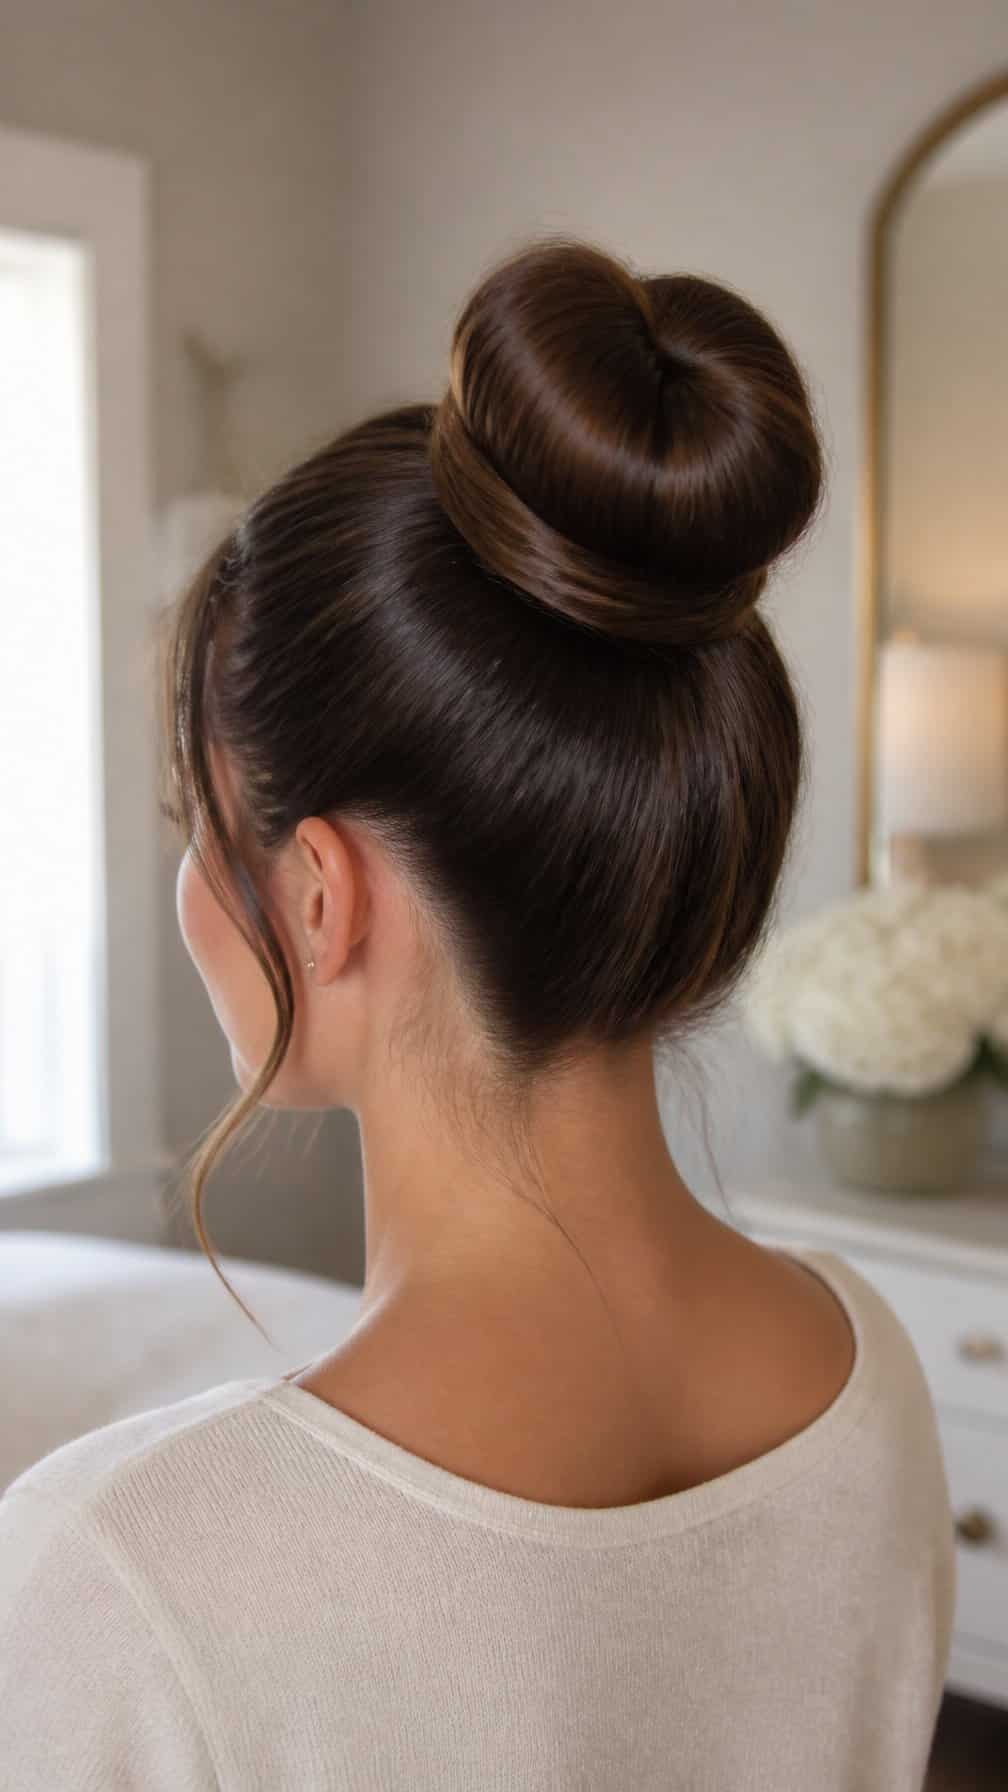
I use a clean sock with the toe cut off to create a simple hair donut. After pulling my hair into a high or mid-height ponytail, I slide the sock over the elastic and spread my hair evenly around it.
I tuck the ends underneath the bun and secure them with bobby pins, adding pins around the base for stability. Smoothing the outer layer with a brush helps create a neat finish, while leaving a few face-framing strands gives the style a softer appearance.
11) Donut bun
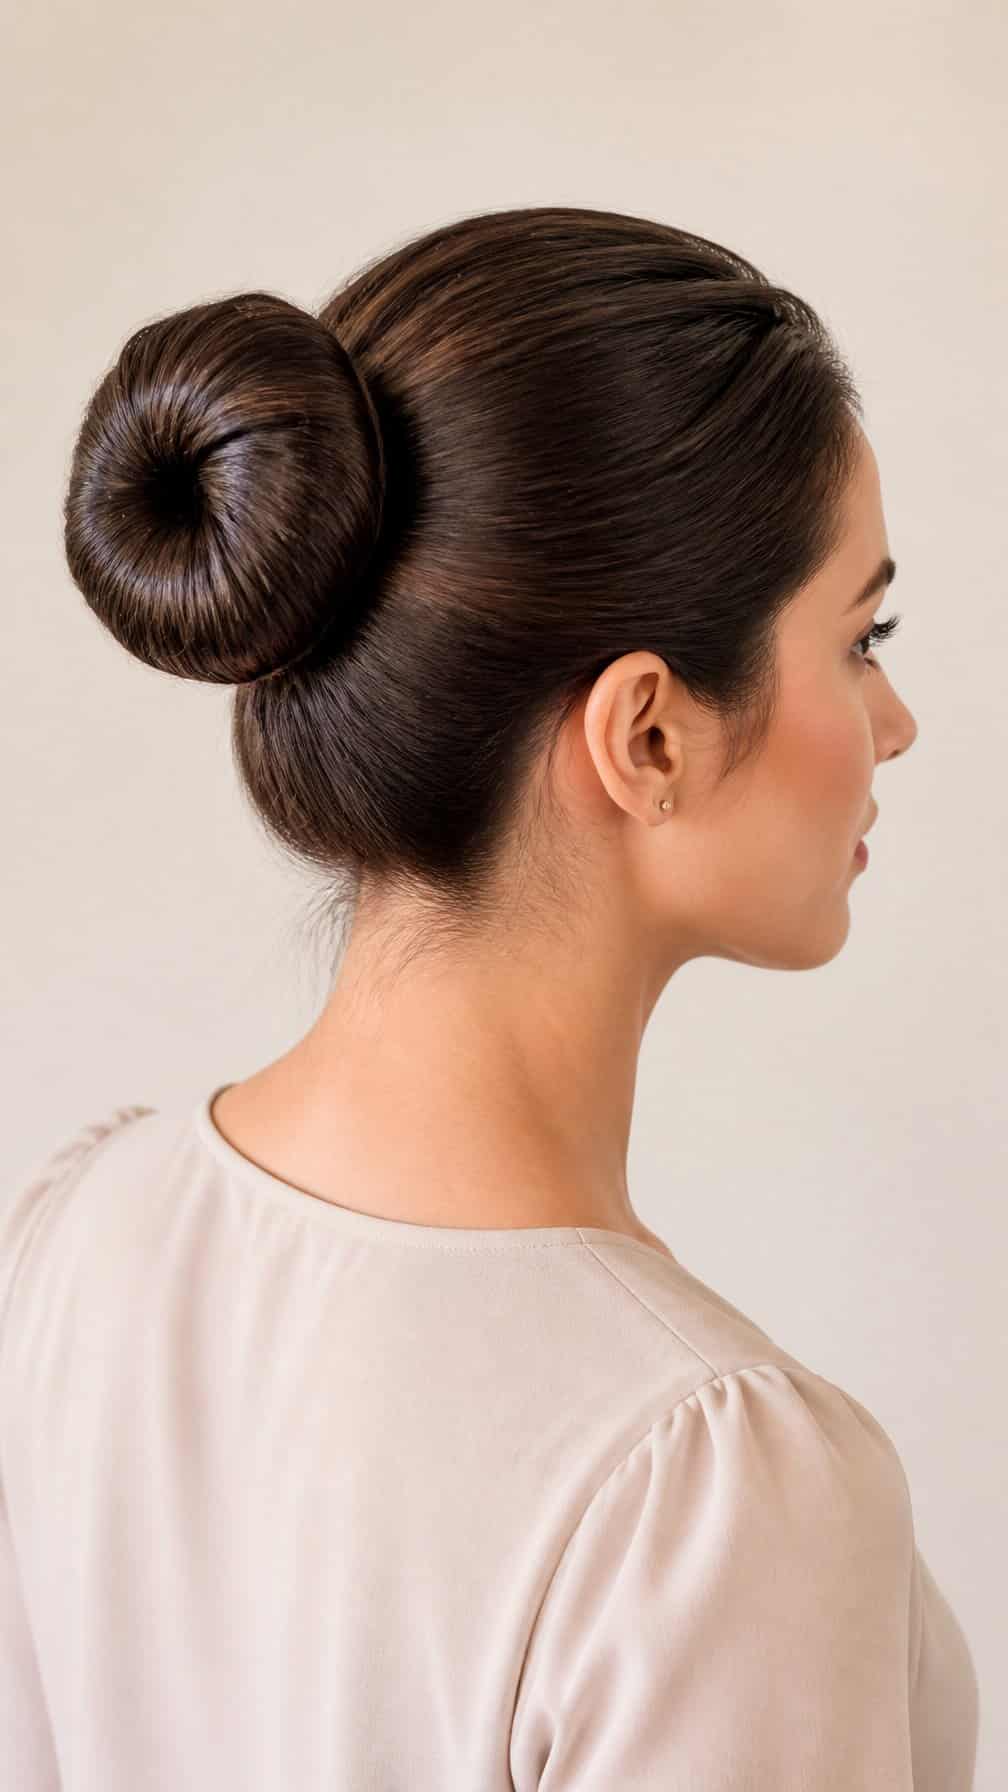
I smooth my hair into a high or mid-height ponytail and secure it with an elastic. Then I thread the ponytail through a foam donut, spreading the hair evenly around it until the accessory disappears.
I tuck the ends underneath the bun and secure them with bobby pins, placing the pins around the base for stability. For a cleaner finish, I smooth flyaways with a small amount of styling cream.
I loosen a few strands around my face when I want a softer look. This style works best on medium to long hair, while extra pins can help hold layers in place.
12) Half-up twisted bun
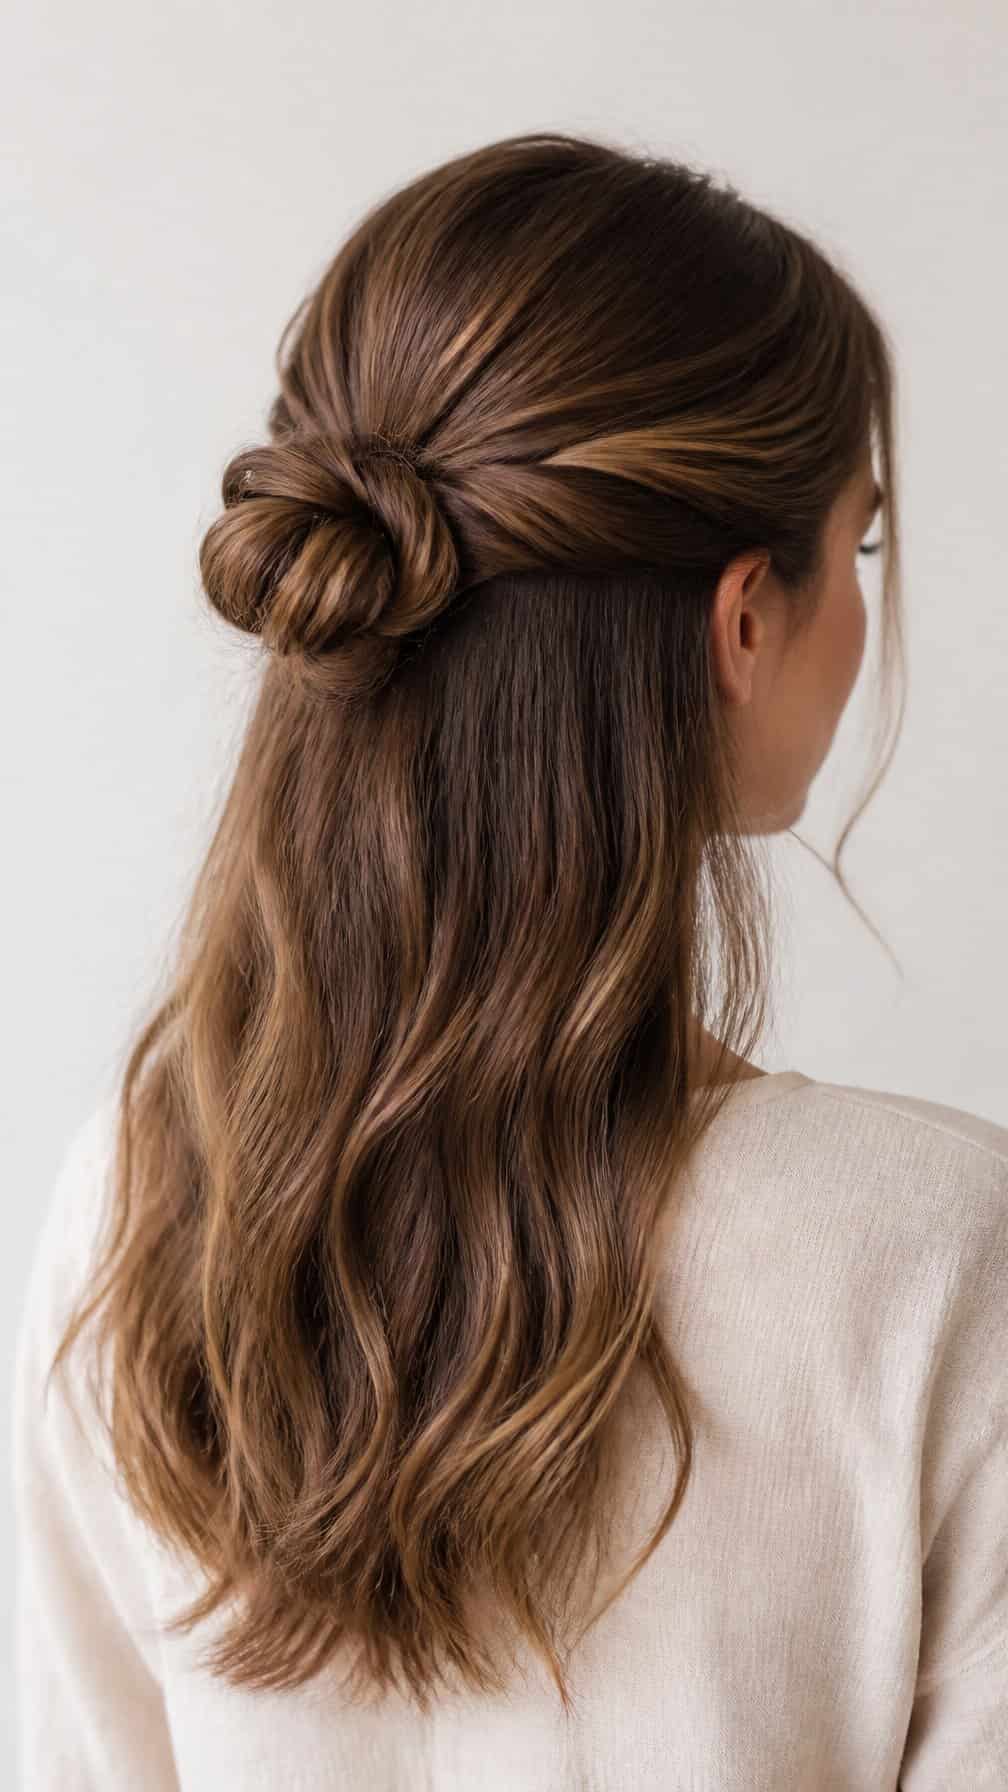
I start by separating the top section of my hair from the temples upward, leaving the lower layers loose. After securing the upper section with a clear elastic, I twist the ponytail until it coils around its base, then pin the bun in place with bobby pins.
I gently loosen the twists around my crown for a softer shape while keeping the bun neat. A small amount of texturizing spray helps my grip, especially on freshly washed hair. I finish by smoothing flyaways with a light styling cream.
13) Half-up braided updo
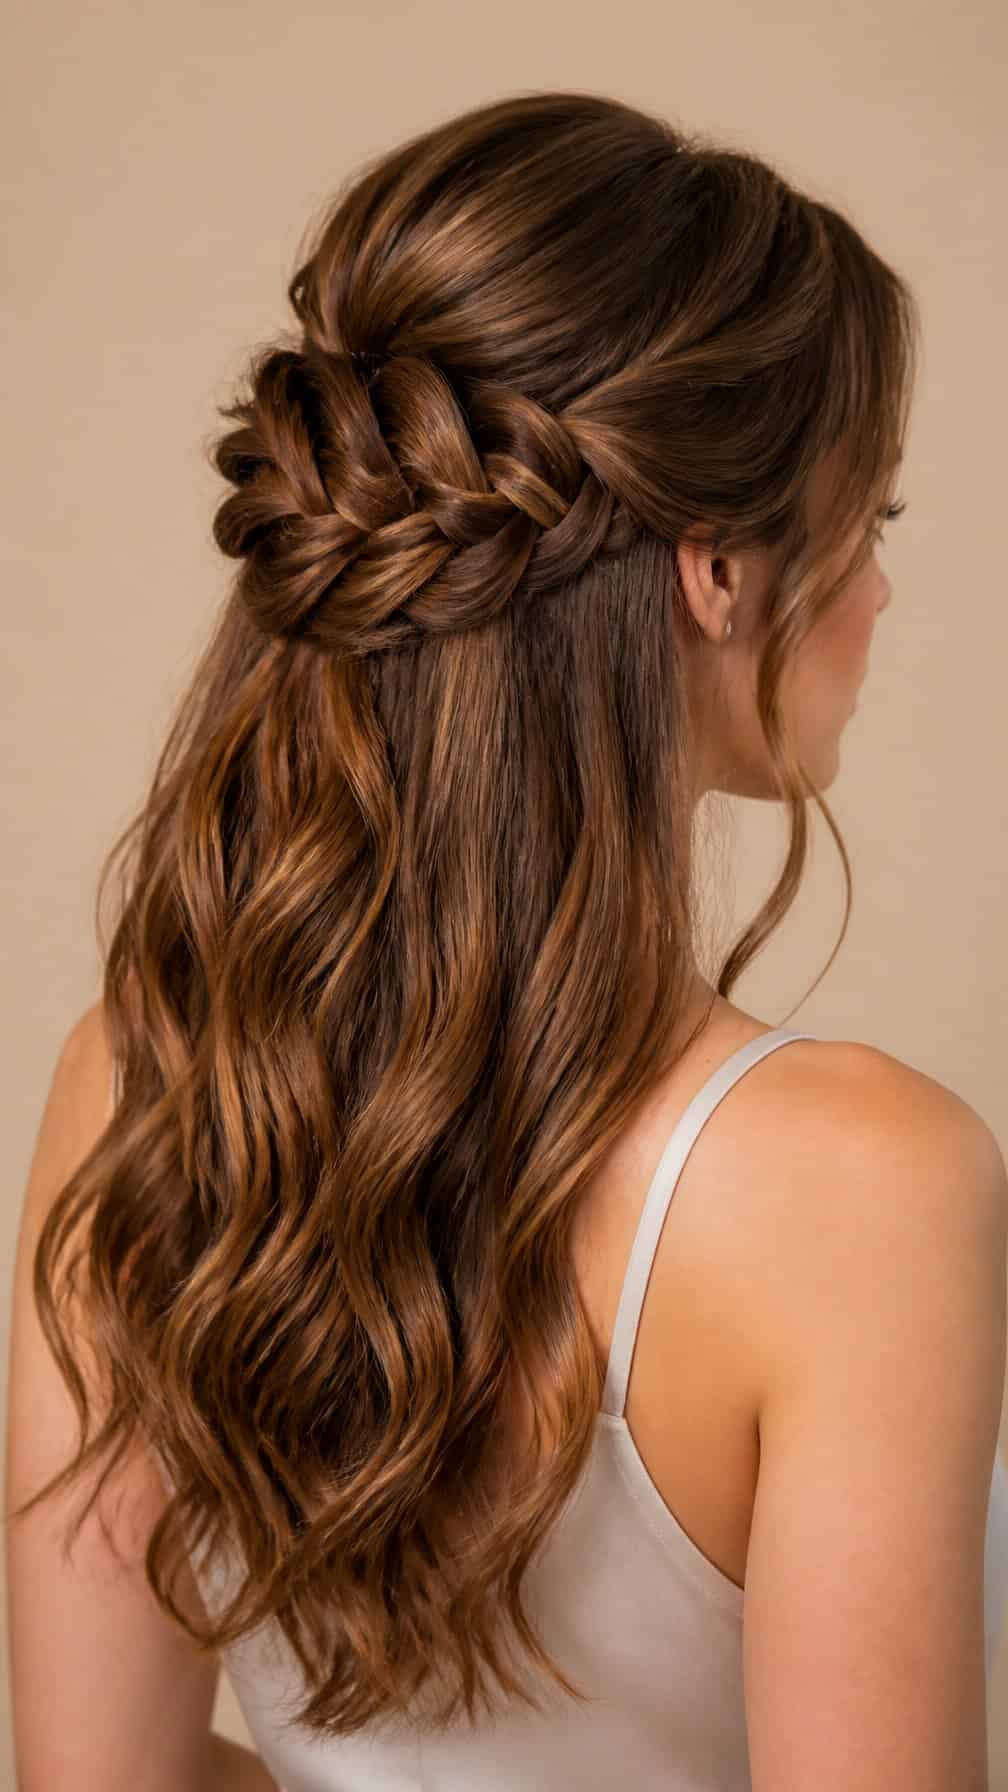
I part my hair from temple to temple and secure the upper section at the back of my head. I divide that section into three strands, braid it loosely, and fasten the end with a small elastic.
For added texture, I gently loosen the braid with my fingers before wrapping it into a compact bun. I secure the bun with bobby pins, then leave the lower hair straight or add soft waves.
I smooth flyaways with a small amount of styling cream. For fine hair, I lightly tease the crown first to create support without making the style look bulky.
14) Claw clip French twist
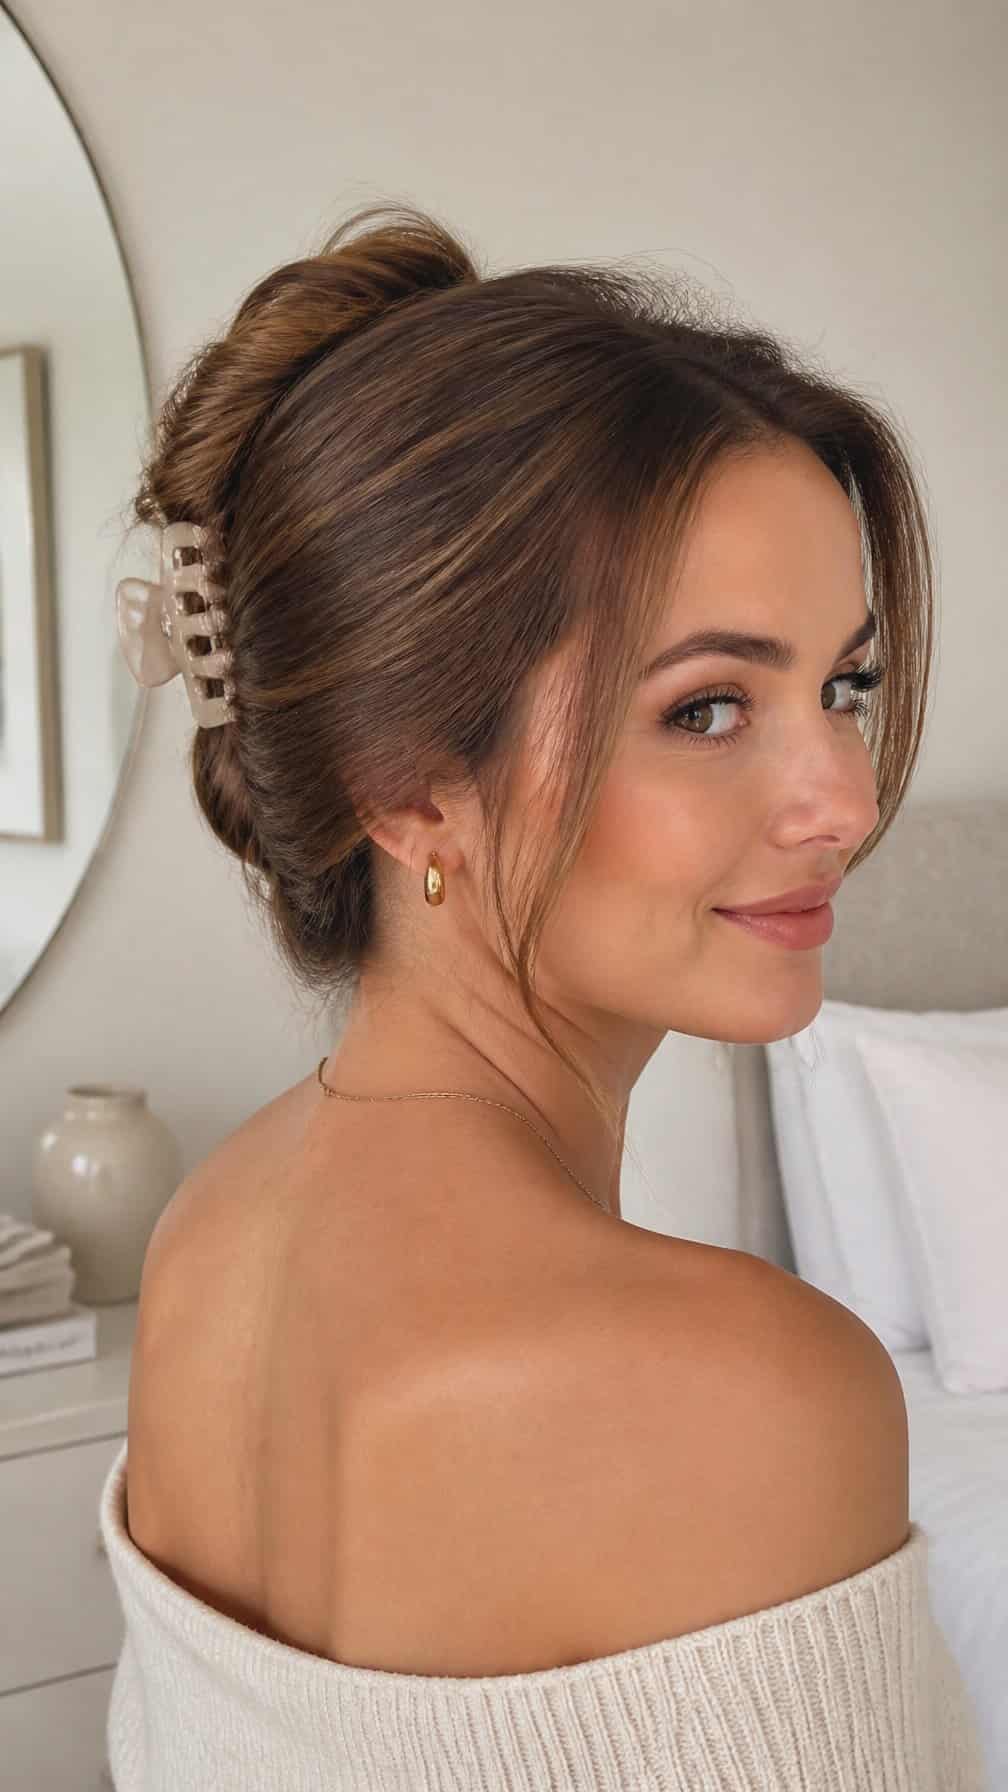
I gather my hair into a low ponytail and twist it upward until the ends point toward the crown. I tuck the loose ends into the fold, then secure the twist vertically with a claw clip. Medium or large clips provide better support for thicker hair.
I leave a few strands around my face for a softer finish. For extra hold, I mist the lengths with light hairspray before twisting and add a second small clip if the ends keep slipping.
15) Claw clip messy twist
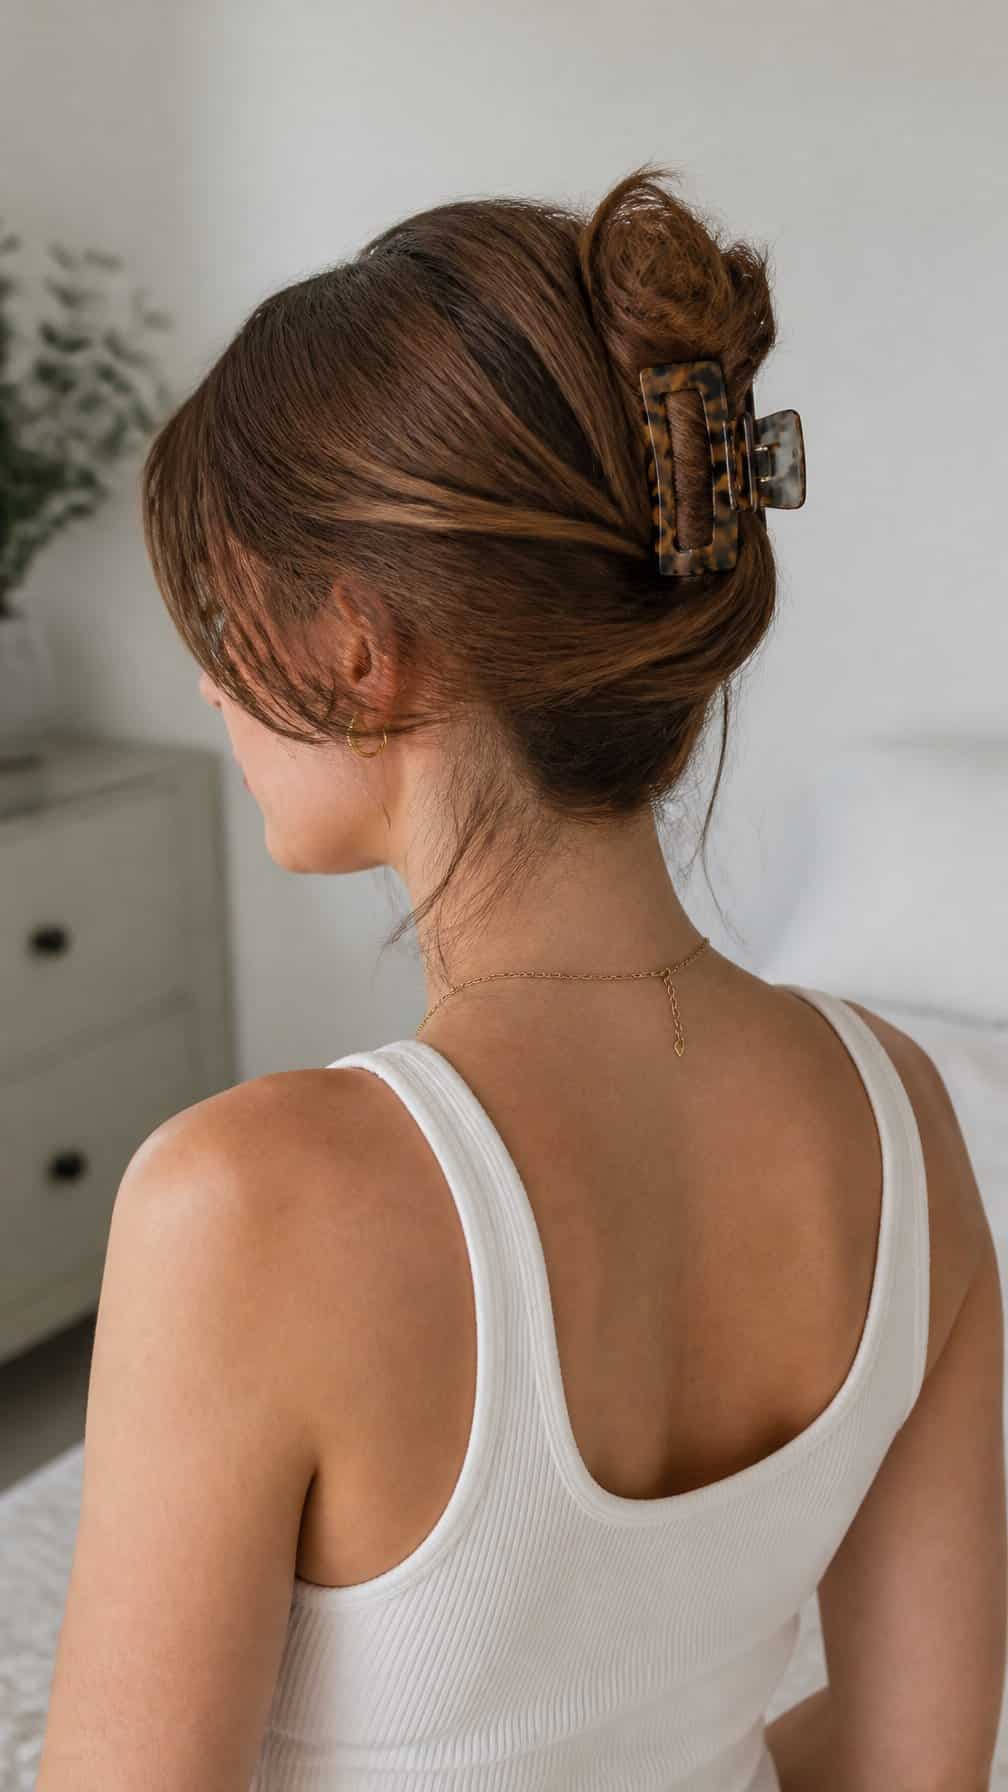
I gather my hair at the nape of my neck and twist it upward, keeping the ends loose near the crown. I fold the twist against my head and secure it with a medium claw clip, placing the teeth over the thickest part.
I pull out a few face-framing strands and gently loosen the sides for a relaxed shape. For fine hair, I add dry shampoo or light texturizing spray before twisting to improve grip. I check the clip from the side and reposition it if the twist feels heavy or slips.
16) Pencil bun
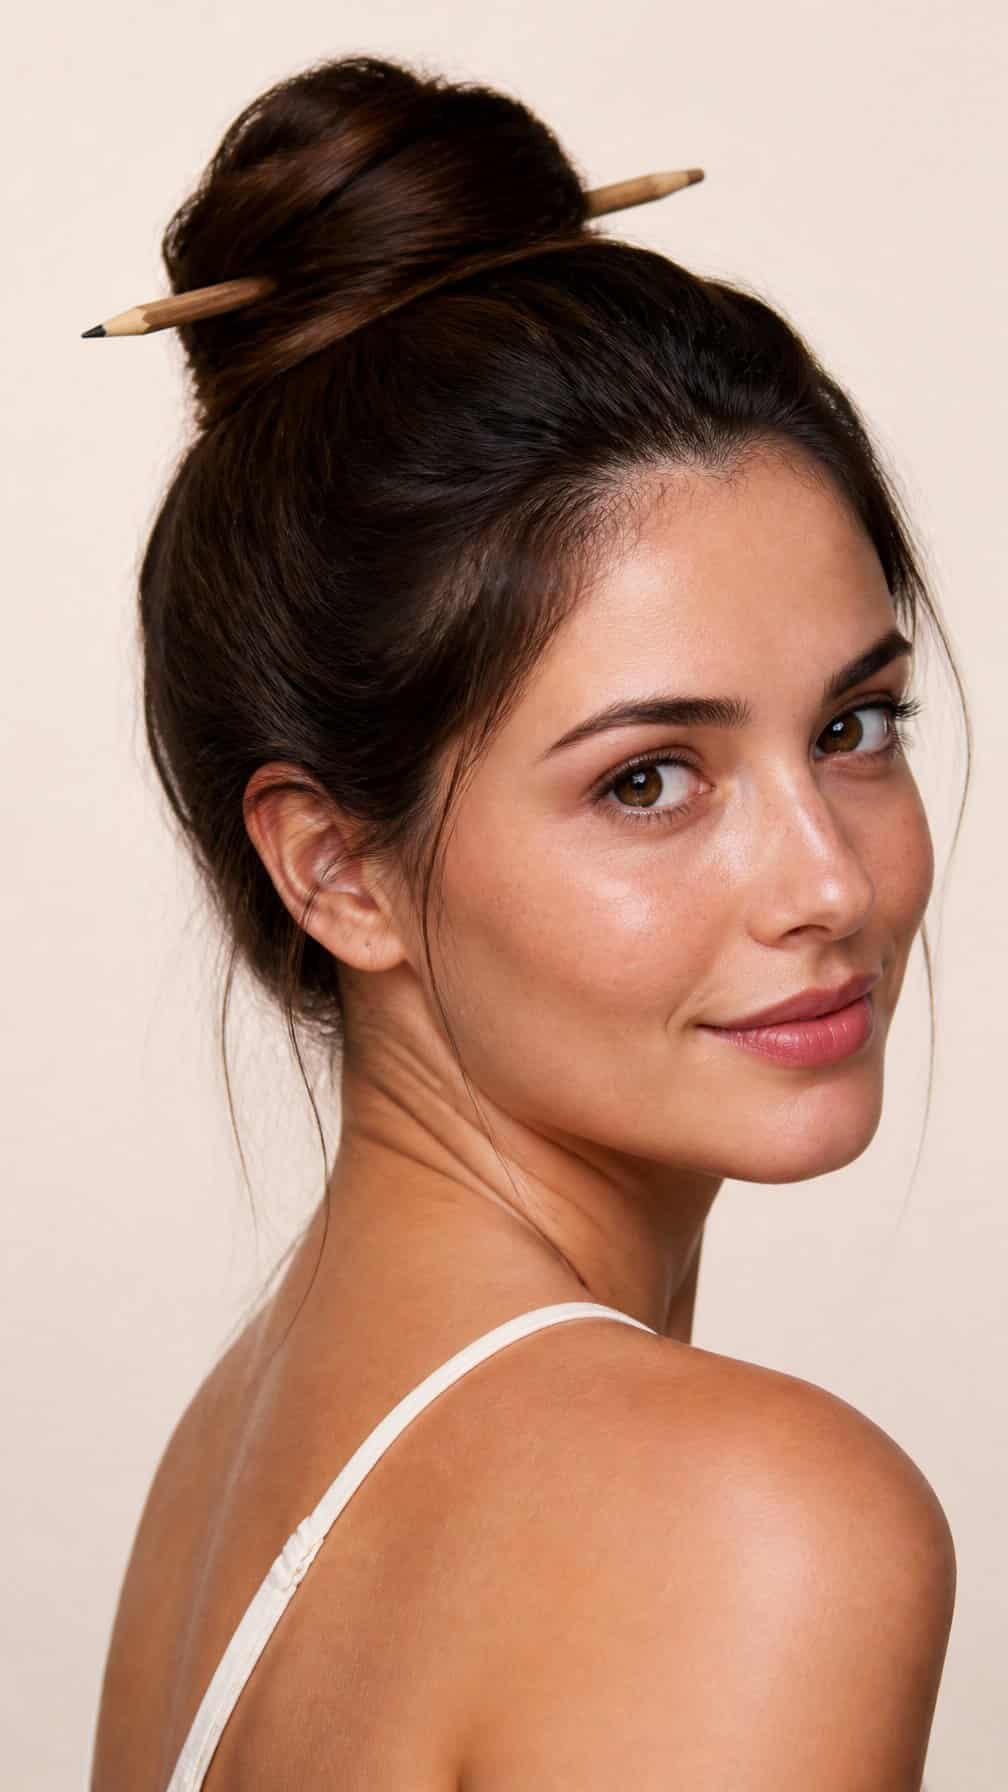
I gather my hair into a ponytail at the height I want, then twist it firmly around the base. Instead of using a hair tie or pins first, I push a pencil horizontally through the wrapped hair and into the bun’s center.
I adjust the pencil’s angle to secure loose sections, then tuck in the ends with bobby pins if needed. This style works best on medium-to-long hair with some texture; smooth hair may need dry shampoo or light styling cream for grip.
17) Scarf-wrapped bun
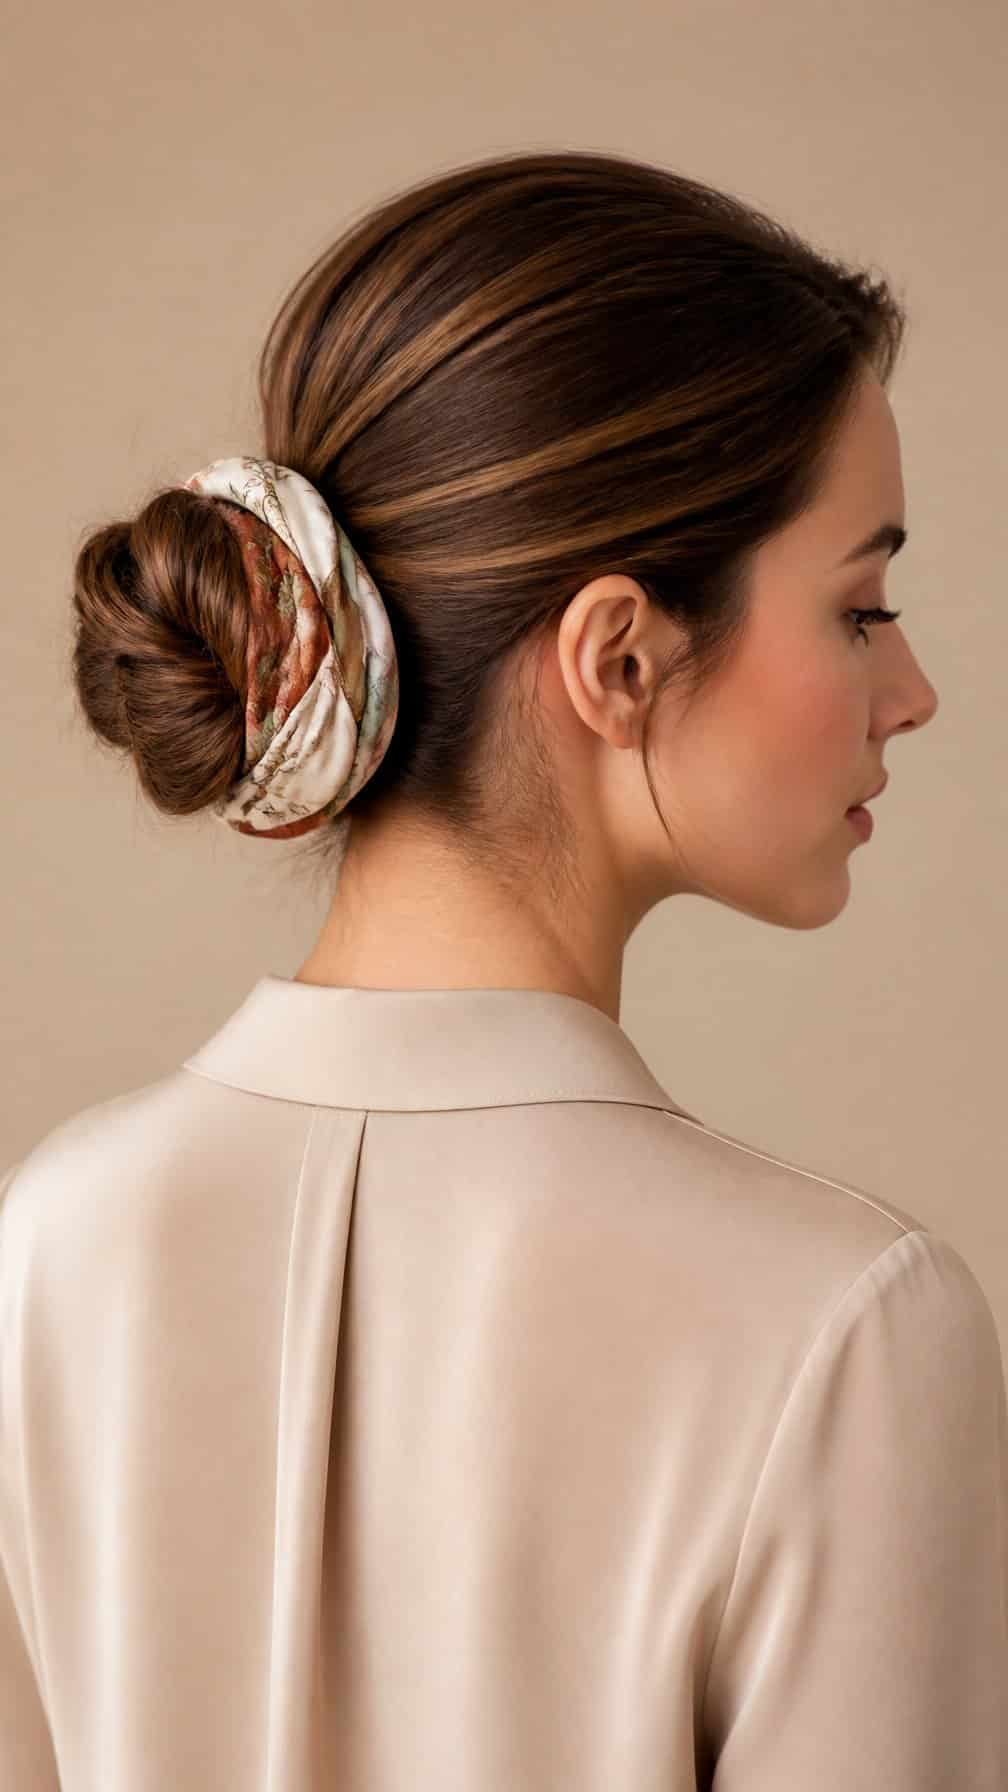
I gather my hair into a low or mid-height bun and secure it with an elastic. I fold a lightweight scarf into a narrow band, place its center beneath the bun, and tie the ends above it. A few pins keep the scarf and loose sections in place.
I choose a satin or silk scarf to reduce friction and keep the style smooth. For a relaxed finish, I leave short strands around my face and let the scarf ends hang freely. A small amount of styling cream helps control flyaways without making the bun stiff.
18) Low braided ponytail updo
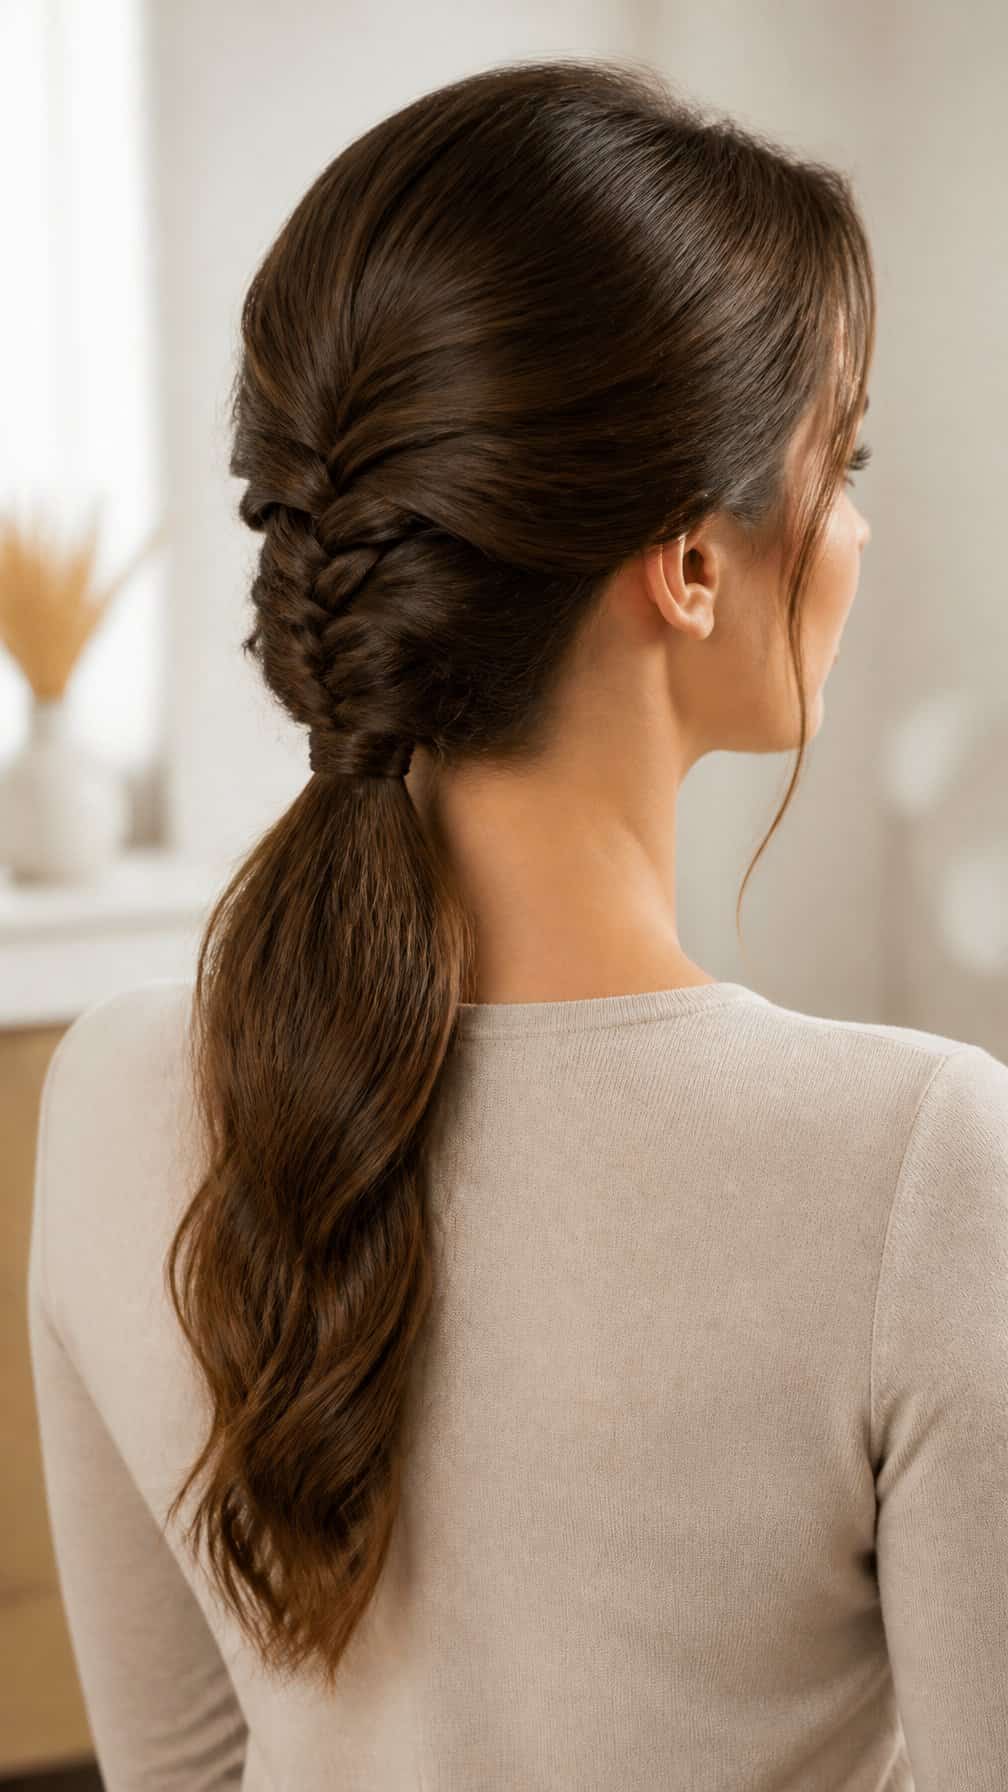
I start by gathering my hair into a low ponytail at the nape of my neck, smoothing the sides with a brush. I secure it with a small elastic, leaving the finish neat but not overly tight.
Next, I divide the ponytail into three sections and braid it to the ends. I fasten the braid with another elastic, then gently pull the outer loops to add controlled width and texture.
I wrap the braid around its base, tuck the ends underneath, and secure the shape with several bobby pins. I finish with light hairspray, leaving a few face-framing strands loose if I want a softer look.
19) Bubble ponytail updo
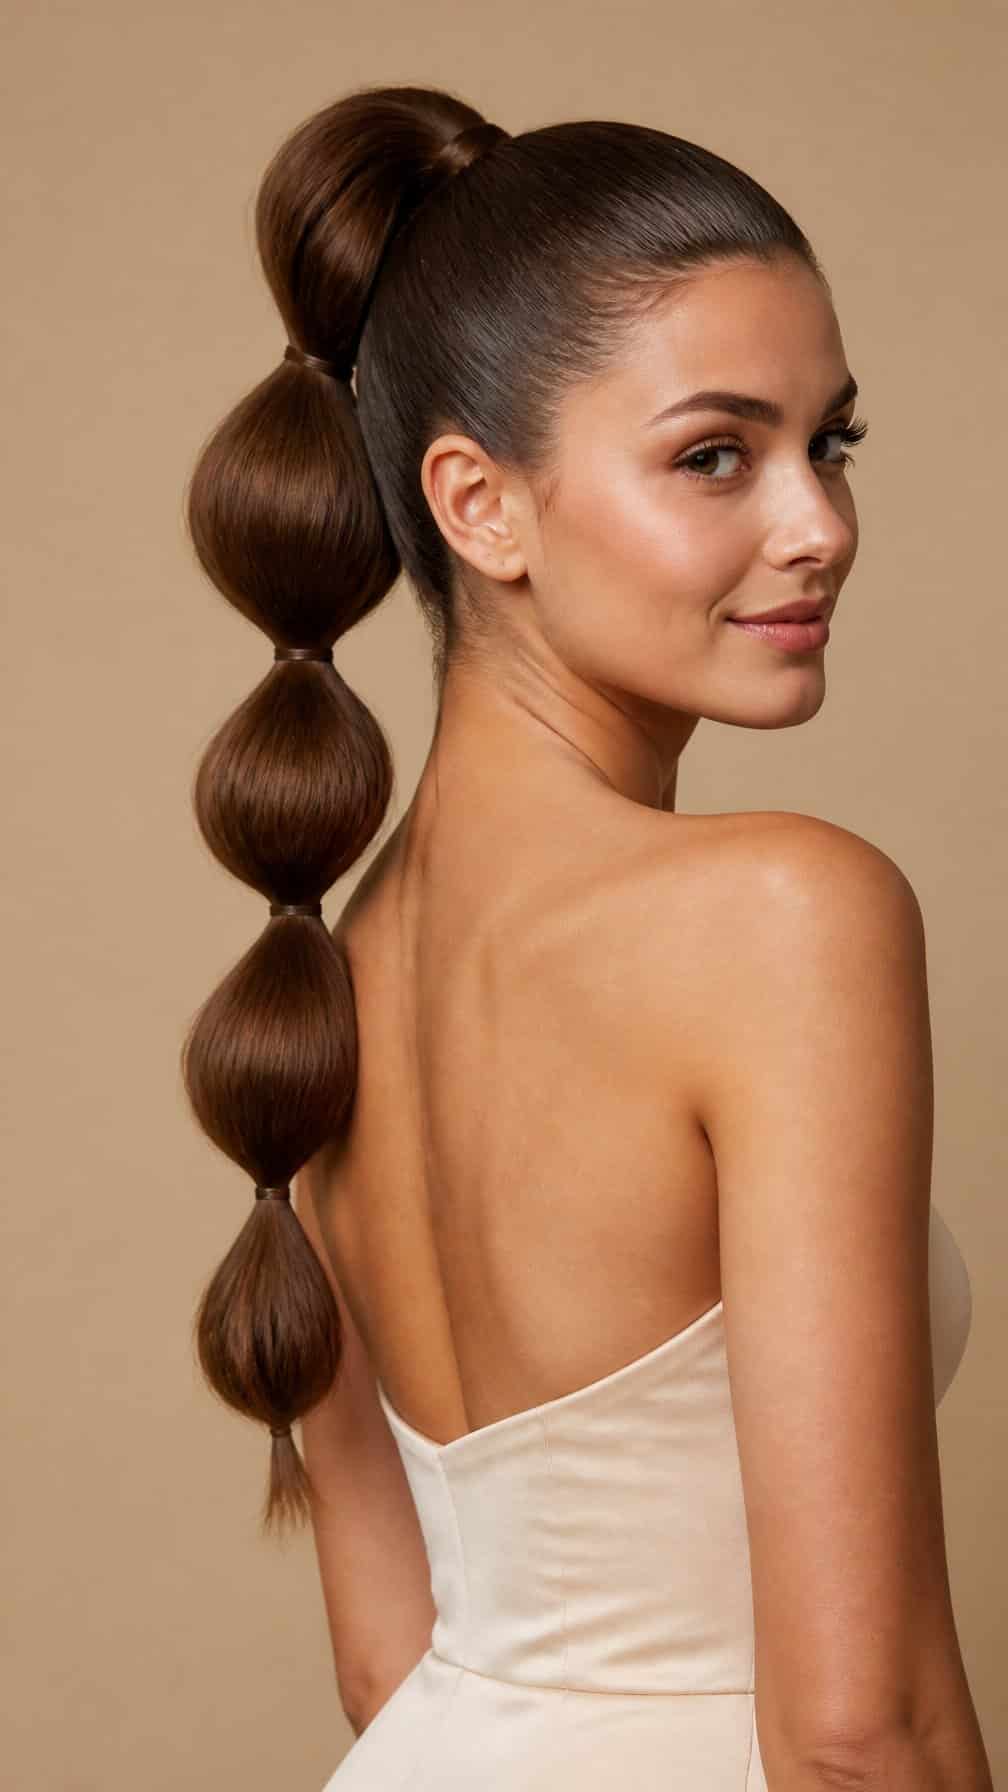
I start by securing my hair into a ponytail at the crown or nape, depending on the look I want. I add small elastics down the length, spacing them evenly to create separate sections.
I gently pull each section outward with my fingers to form rounded bubbles. I keep the tension light so the shape looks full without losing the ponytail’s structure.
For a polished finish, I wrap a small strand of hair around the top elastic and secure it underneath with a bobby pin. I smooth flyaways with a little styling cream, then loosen a few face-framing strands if I want a softer finish.
20) Three-strand braided bun
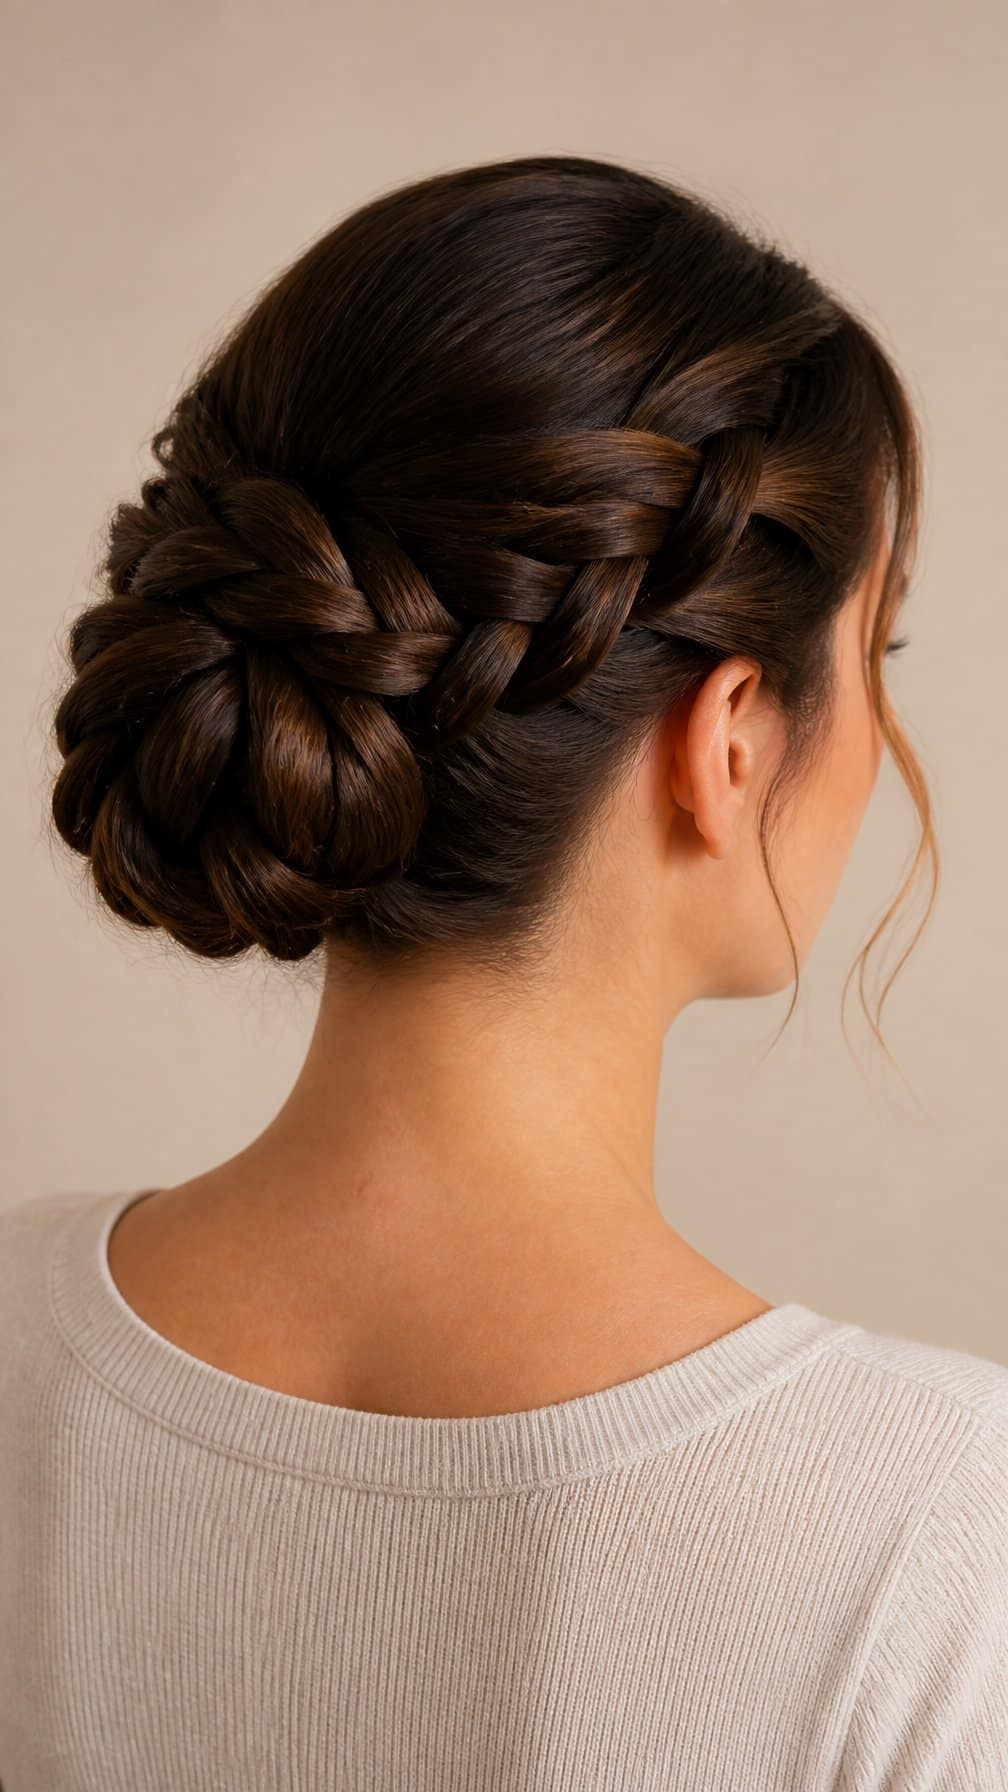
I divide my hair into three equal sections at the nape and braid each section separately. I secure the ends with small elastics, keeping the braids firm but not tight.
Next, I coil each braid upward and around its base, arranging the three coils side by side to form a rounded bun. I pin them against my head with bobby pins, placing the pins through the braid and into the hair beneath.
I gently loosen a few edges around my temples for a softer finish. A light layer of hairspray helps hold the shape, while a decorative pin can cover the center where the braids meet.
21) Four-strand braided updo
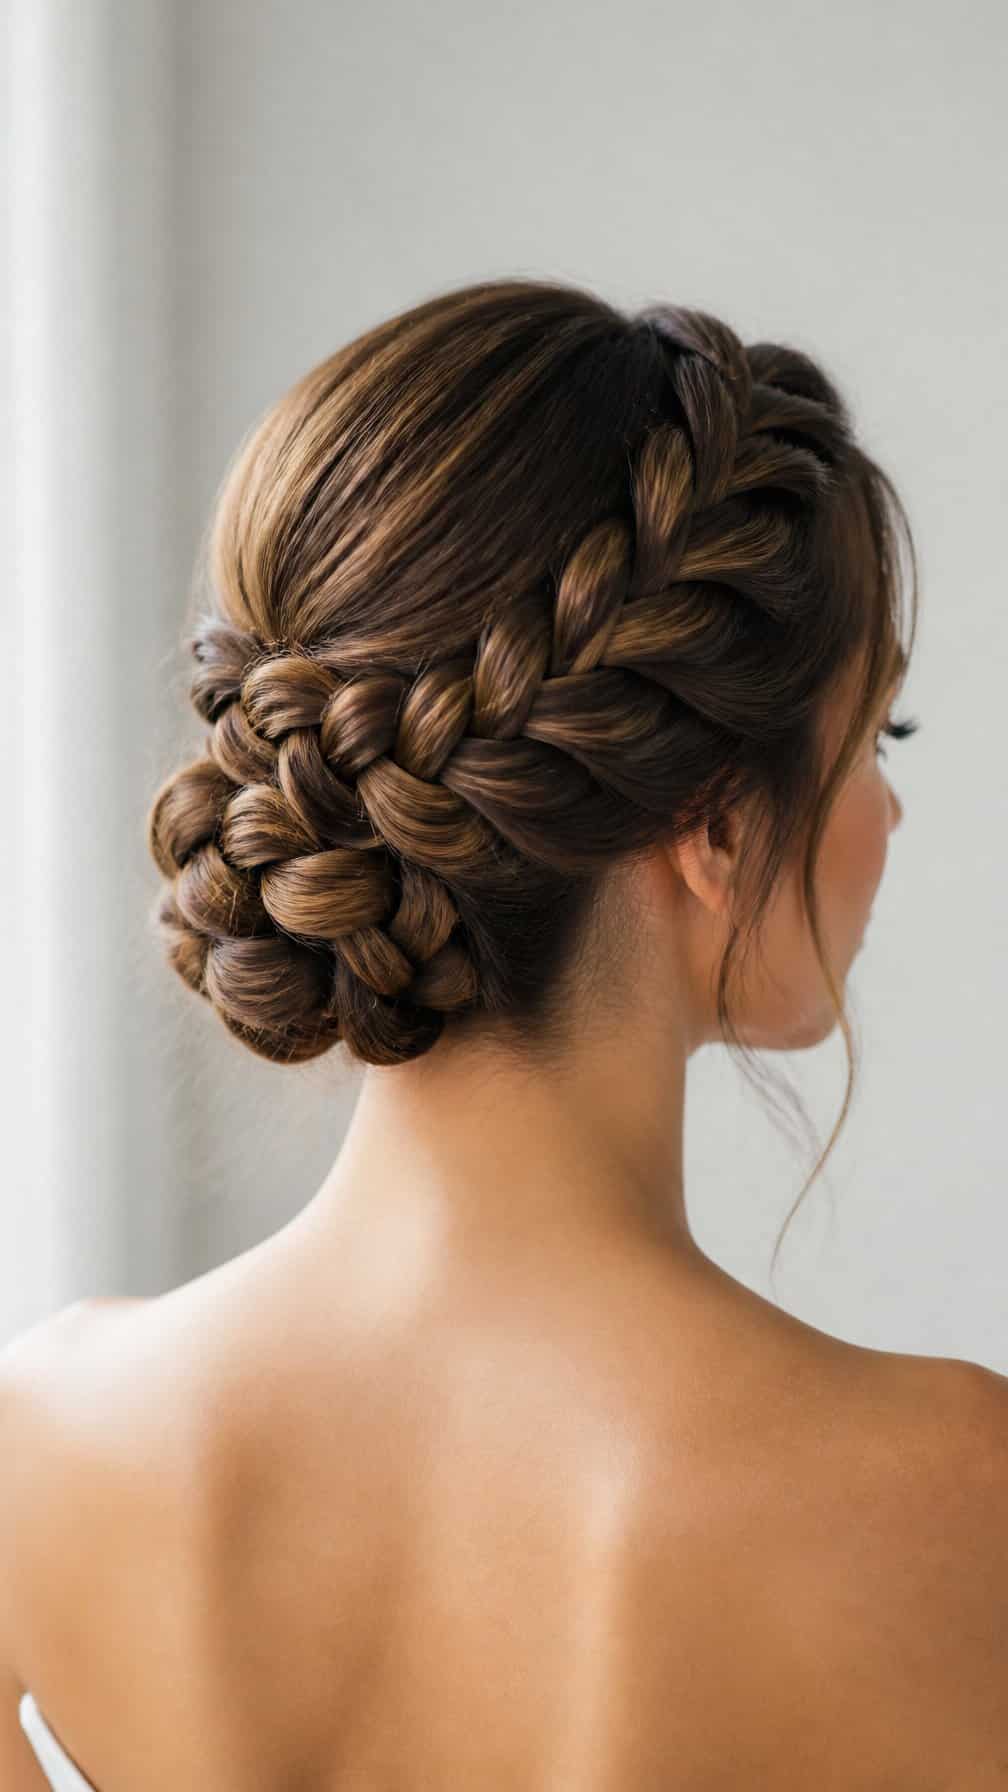
I divide my hair into four equal sections at the nape and braid them together, keeping the strands organized as I work. This technique creates a wider, more textured braid than a standard three-strand style.
I secure the braid with a small elastic, then wrap it upward against the back of my head. I tuck the ends underneath and fasten the coil with bobby pins, placing them through the braid and into the base for better hold.
For a neat finish, I smooth flyaways with a small amount of styling cream. I leave the braid fairly firm for a polished look, or gently loosen its outer loops for added width and softness.


