
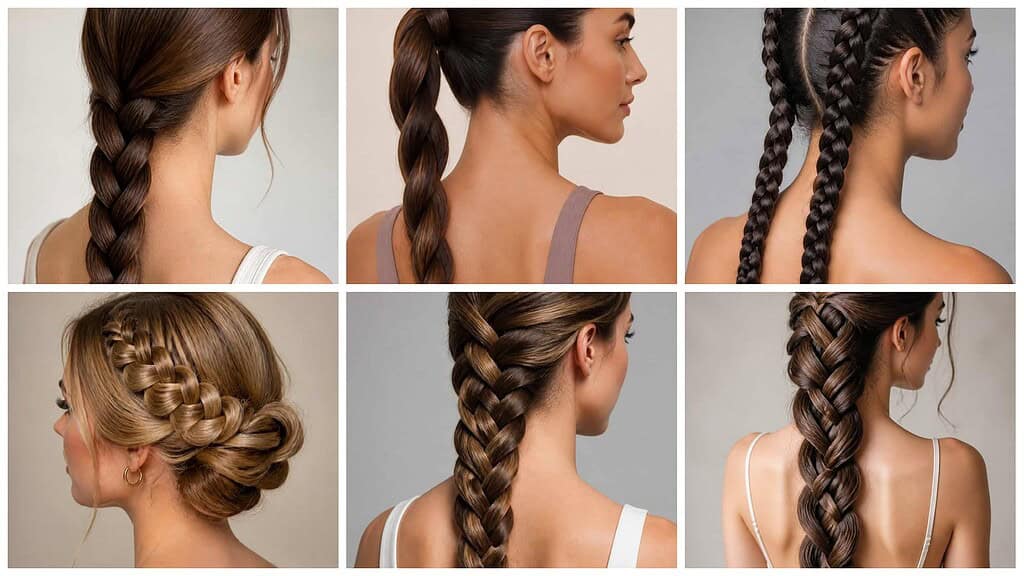
Long hair gives you plenty of length to shape into polished, practical braids, but keeping them secure all day requires the right style and preparation. I’ll guide you through options that suit different textures, occasions, and levels of styling experience.
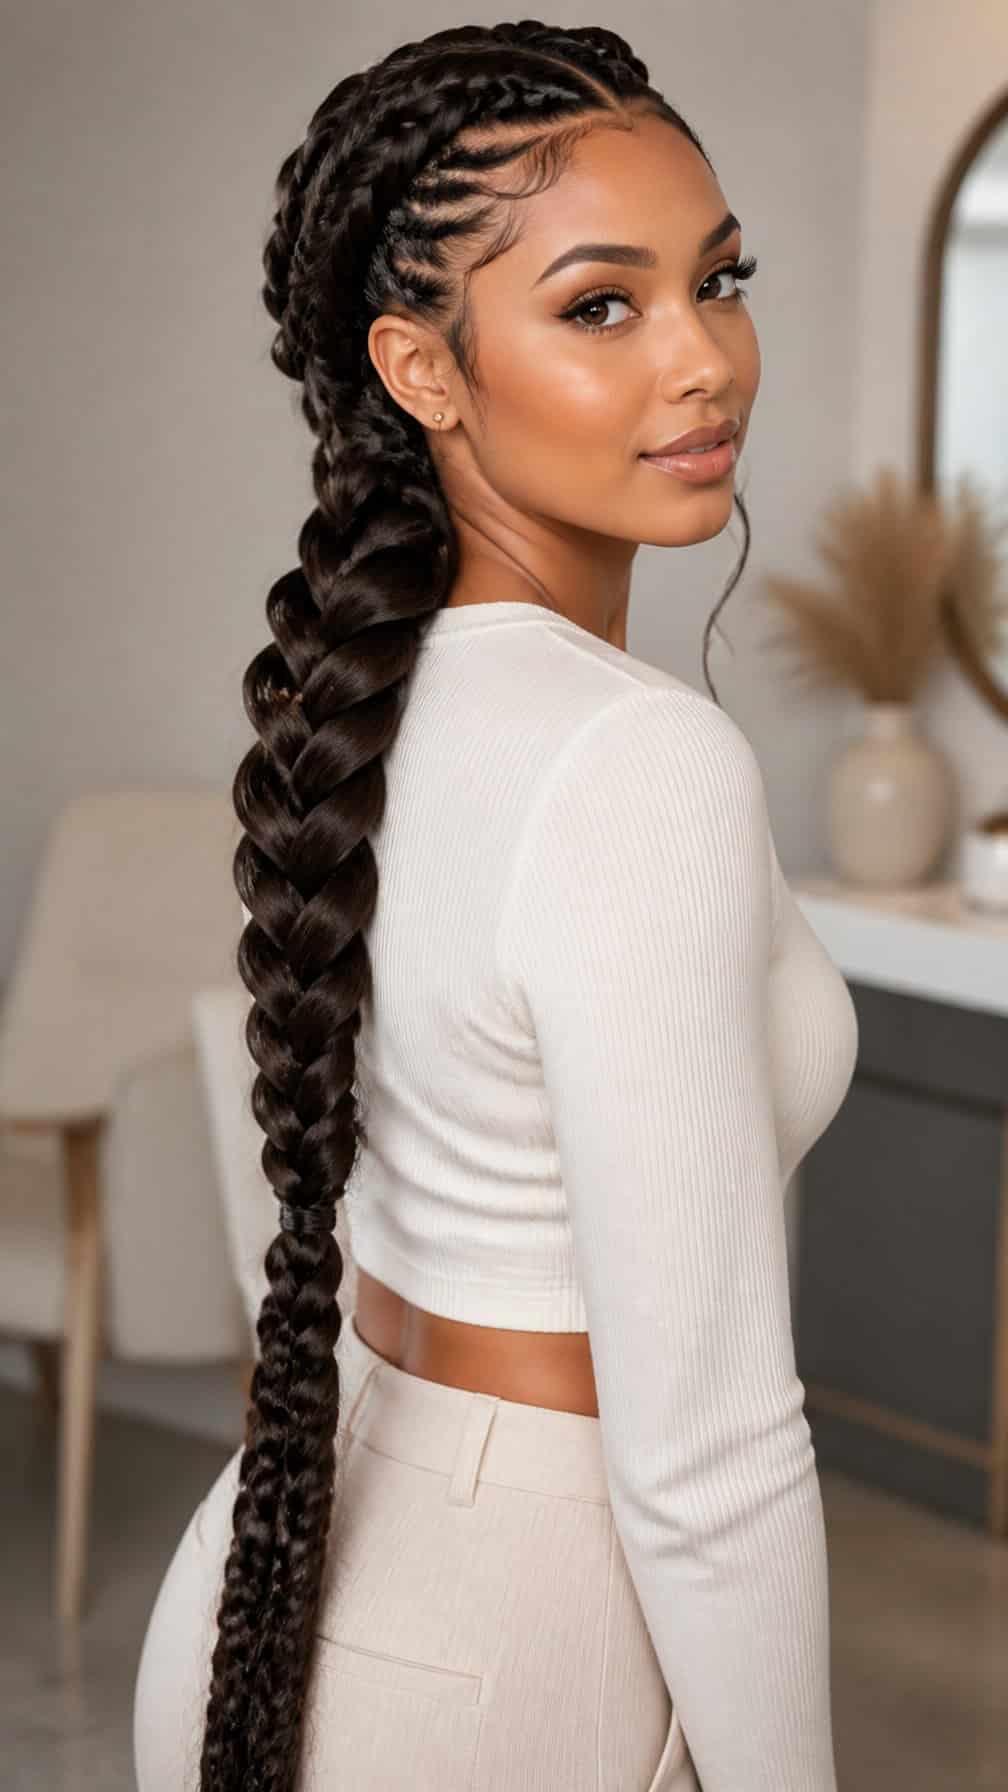
Save for later
Want to come back to this story? Save it with your email so it is easy to find again.
You can find a long-lasting braid by choosing the right structure, preparing your hair properly, and securing it with care. I’ll cover classic patterns, detailed woven designs, ponytails, updos, and softer half-up looks, along with techniques that help each style stay neat and comfortable.
Table of Contents
- 1 1) Classic Three-Strand Braid
- 2 2) Dutch Crown Braid
- 3 3) French Fishtail Braid
- 4 4) Rope Braid Ponytail
- 5 5) Double Dutch Braids
- 6 6) Waterfall Braid with Waves
- 7 7) Boxer Braids
- 8 8) Lace Braid Updo
- 9 9) Four-Strand Braid
- 10 10) Five-Strand Braid
- 11 11) Infinity Braid
- 12 12) Pull-Through Braid Ponytail
- 13 13) Braided Low Chignon
- 14 14) Milkmaid Braids
- 15 15) Dutch Fishtail Braid
- 16 16) Braided High Ponytail
- 17 17) French Braid Pigtails
- 18 18) Crown Braid with Low Bun
- 19 19) Half-Up Waterfall Braid
- 20 20) Braided Bubble Ponytail
- 21 21) Snake Braid
- 22 22) Celtic Knot Braid
- 23 23) Halo Braid
- 24 24) Mermaid Braid
1) Classic Three-Strand Braid
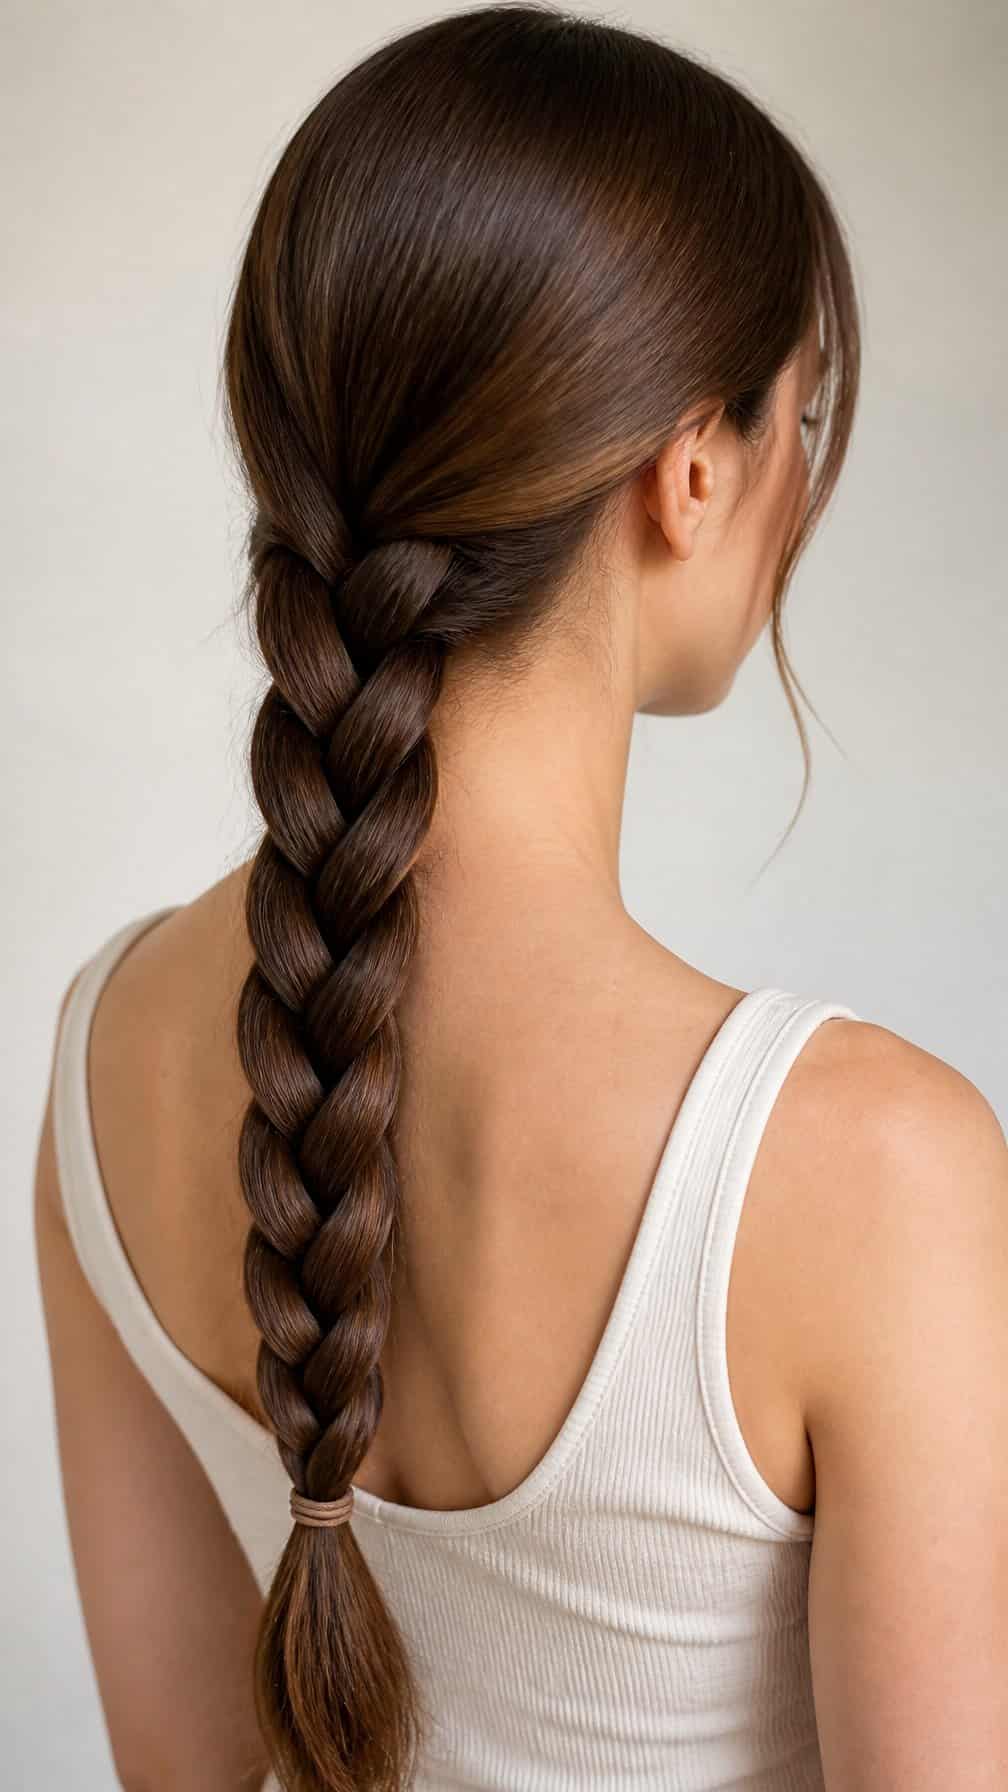
I start with brushed, tangle-free hair and divide it into three equal sections. I cross the right section over the center, then the left section over the new center, repeating the pattern down the length.
I keep steady tension without pulling tightly, which helps the braid look neat while remaining comfortable. A small elastic at the end secures the style, and I gently tug the outer loops for a fuller shape.
For extra hold, I smooth a small amount of lightweight styling cream through the lengths before braiding. I use a few discreet pins near the nape if shorter layers loosen during the day.
2) Dutch Crown Braid
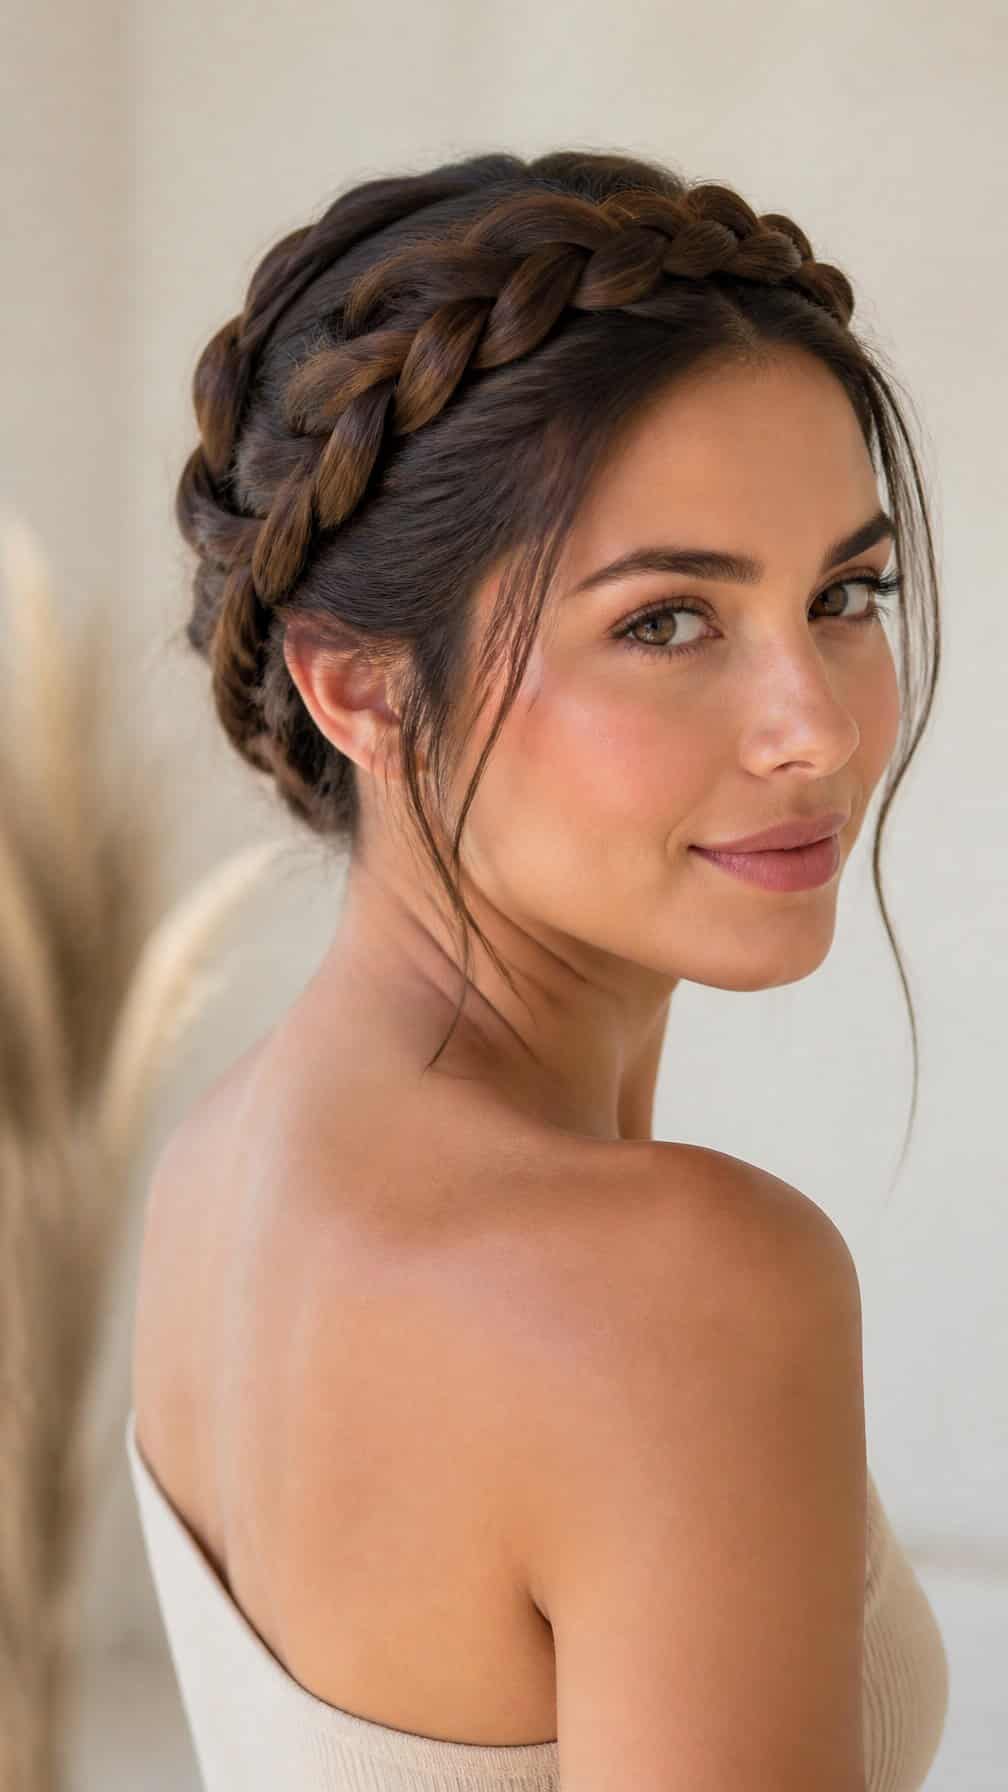
I create this style by wrapping a Dutch braid around the head, starting near one ear and adding hair as I work toward the opposite side. The raised braid keeps the design visible, while the remaining length can tuck beneath the crown or fall freely down my back.
I secure the braid with small bobby pins placed underneath the woven sections, then add a light layer of flexible-hold hairspray. I find that slightly textured hair grips better than freshly washed hair, helping the braid stay neat through a full day.
3) French Fishtail Braid
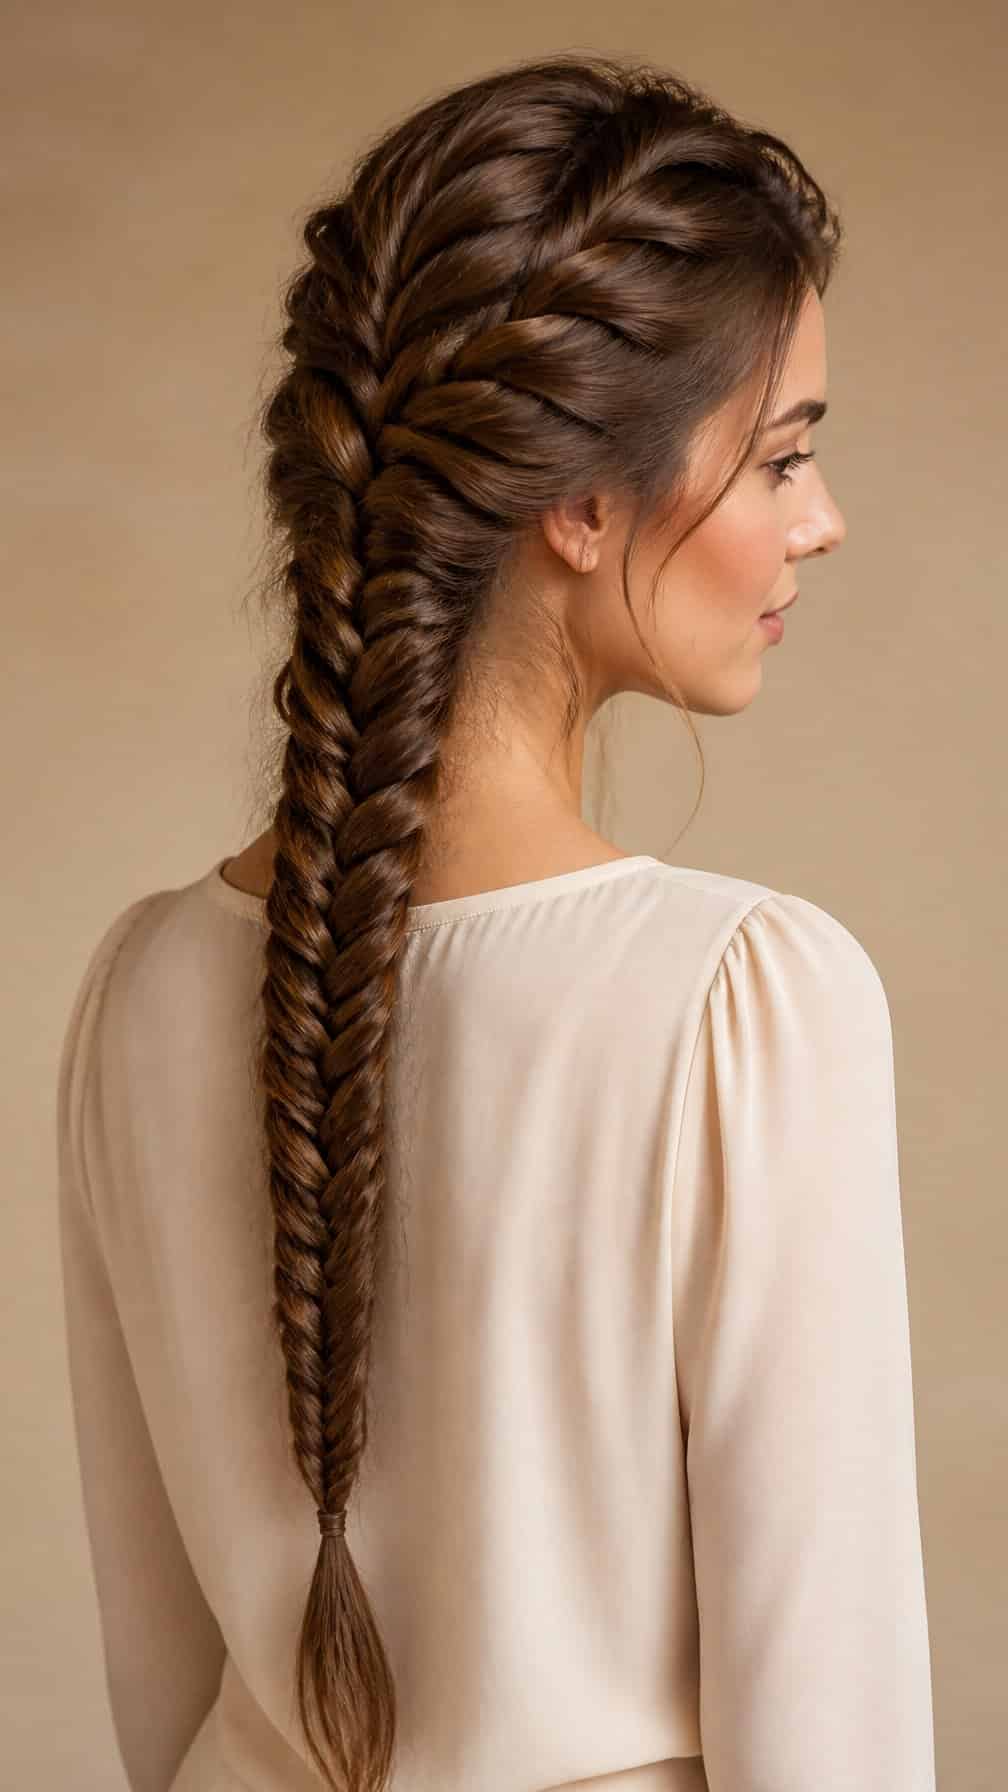
I start by gathering a small section near the crown and dividing it into two parts. I cross thin pieces from the outside of each section into the opposite side, adding hair as I move toward the nape. This method creates a detailed pattern while keeping the braid close to my head.
Once I reach the nape, I continue with a standard fishtail braid and secure the end with a small elastic. I gently loosen a few outer strands to add width without disturbing the structure. A light layer of flexible hairspray helps control flyaways and supports the style throughout the day.
4) Rope Braid Ponytail
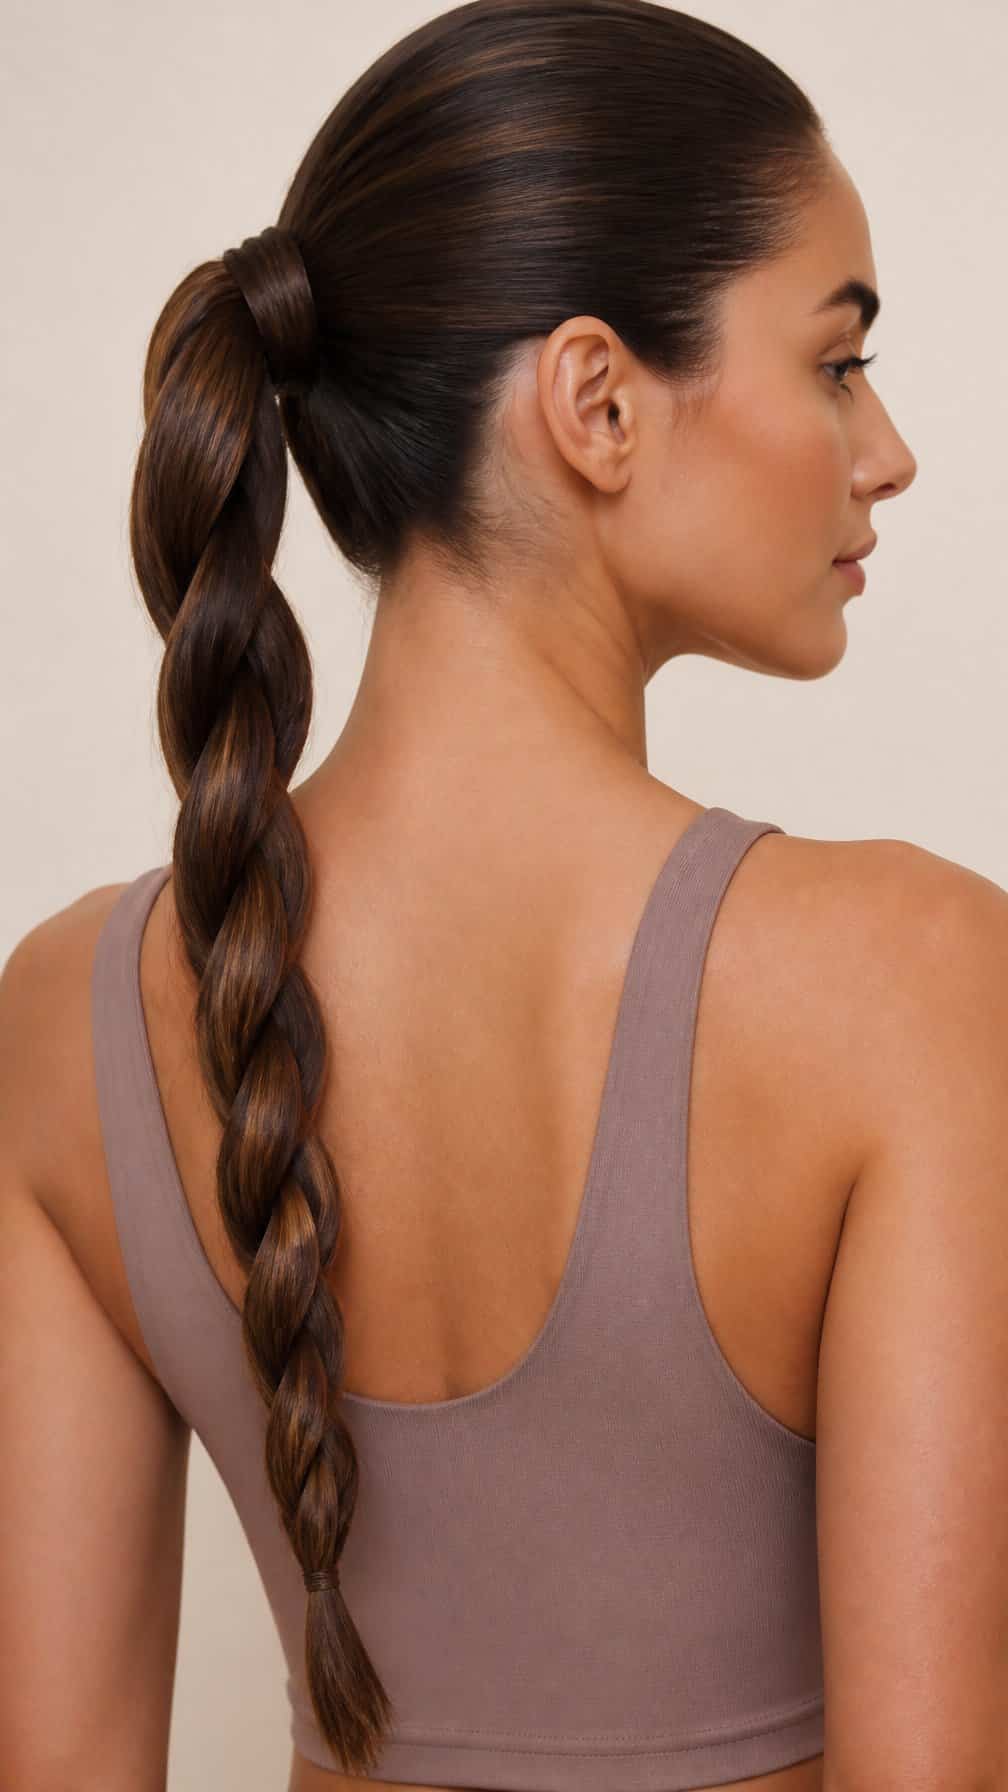
I secure my hair into a high or mid-height ponytail, then divide it into two equal sections. I twist each section in the same direction before wrapping them around each other in the opposite direction. This technique creates a firm, rounded braid with a clean finish.
I fasten the end with a covered elastic and gently loosen the twists for a fuller shape. Smoothing cream controls flyaways, while a small amount of texturizing spray adds grip to long, slippery strands. The style stays neat for work, travel, or active days.
5) Double Dutch Braids
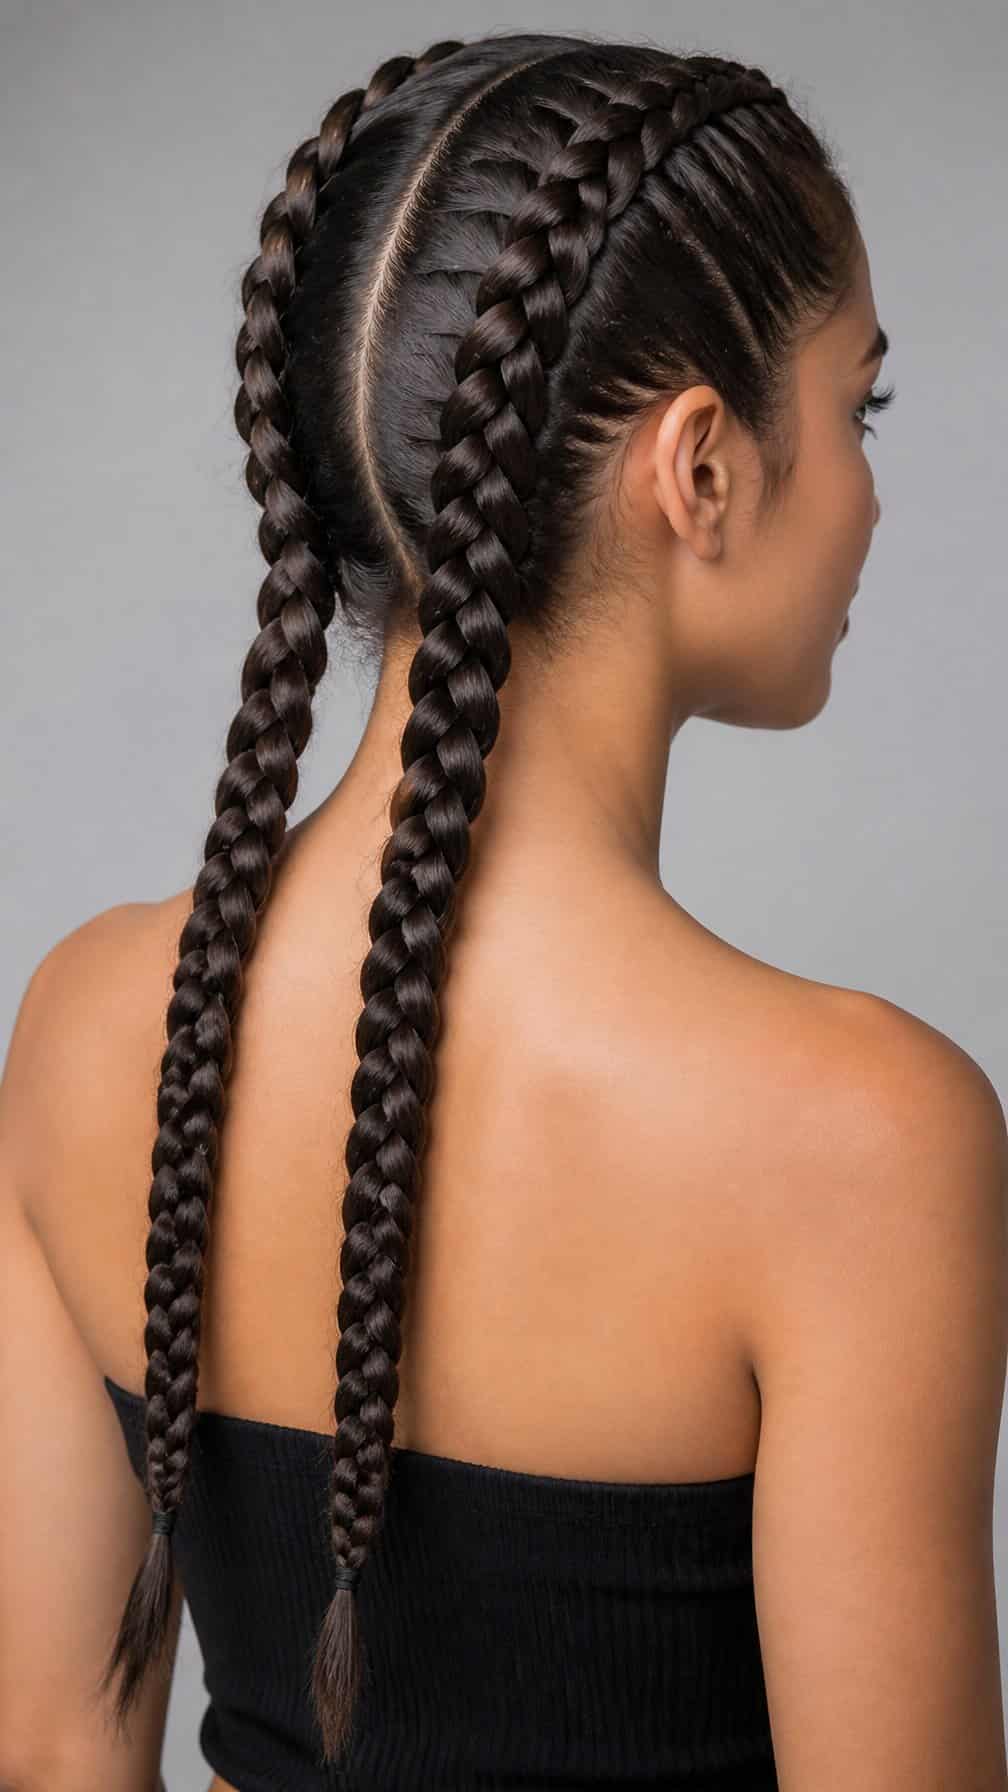
I divide my hair down the center and create two Dutch braids by crossing each outer section under the middle strand. This reversed technique builds visible definition along the scalp while keeping the style close to the head.
I secure each braid with a small elastic, then gently tug the outer edges to add controlled width without loosening the base. I smooth flyaways with a light styling cream, especially around the hairline and nape.
For long, thick hair, I keep the sections even so both braids hold their shape. I use clear elastics or fabric-covered ties at the ends and tuck them beneath the remaining length when I want a cleaner finish.
6) Waterfall Braid with Waves
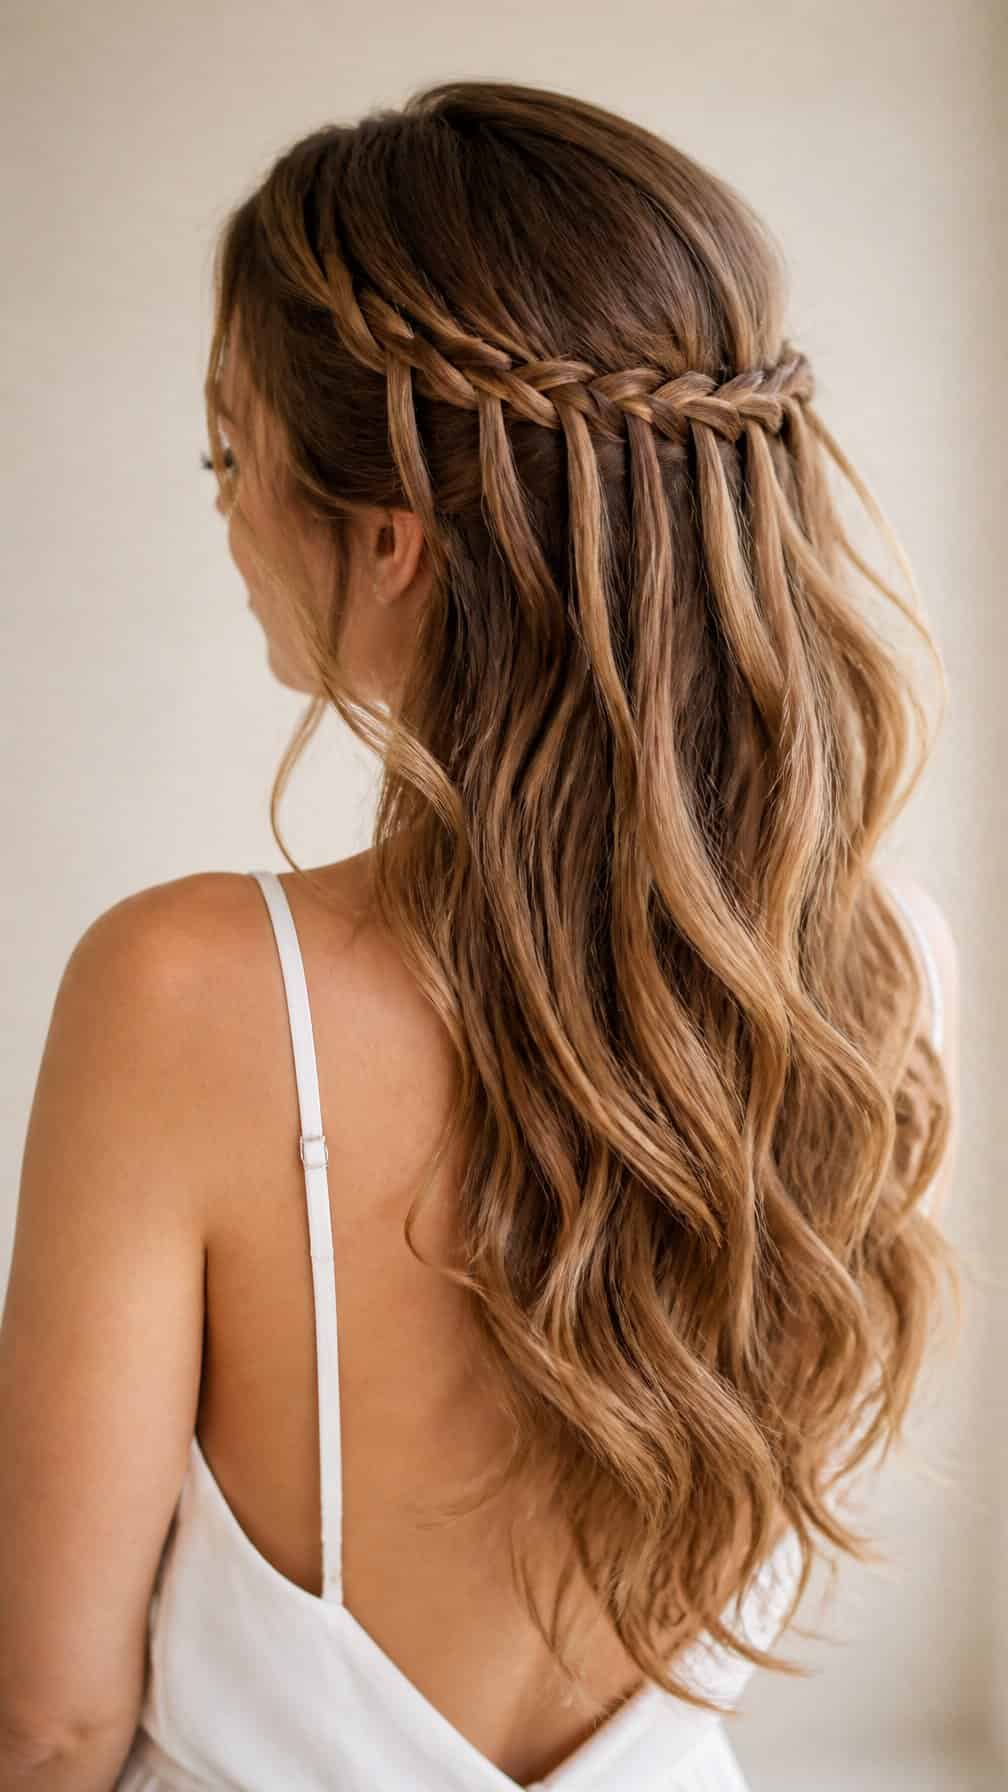
I create this style by weaving a waterfall braid from one temple to the other, allowing each released strand to fall into the loose waves below. I secure the braid discreetly with pins or a small clear elastic, then add light-hold spray to reduce flyaways without stiffening the texture.
I find that starting with lightly textured hair helps the braid stay in place. For longer wear, I pin the ends beneath a nearby wave and avoid brushing the finished style, using my fingers to reshape any sections that loosen.
7) Boxer Braids
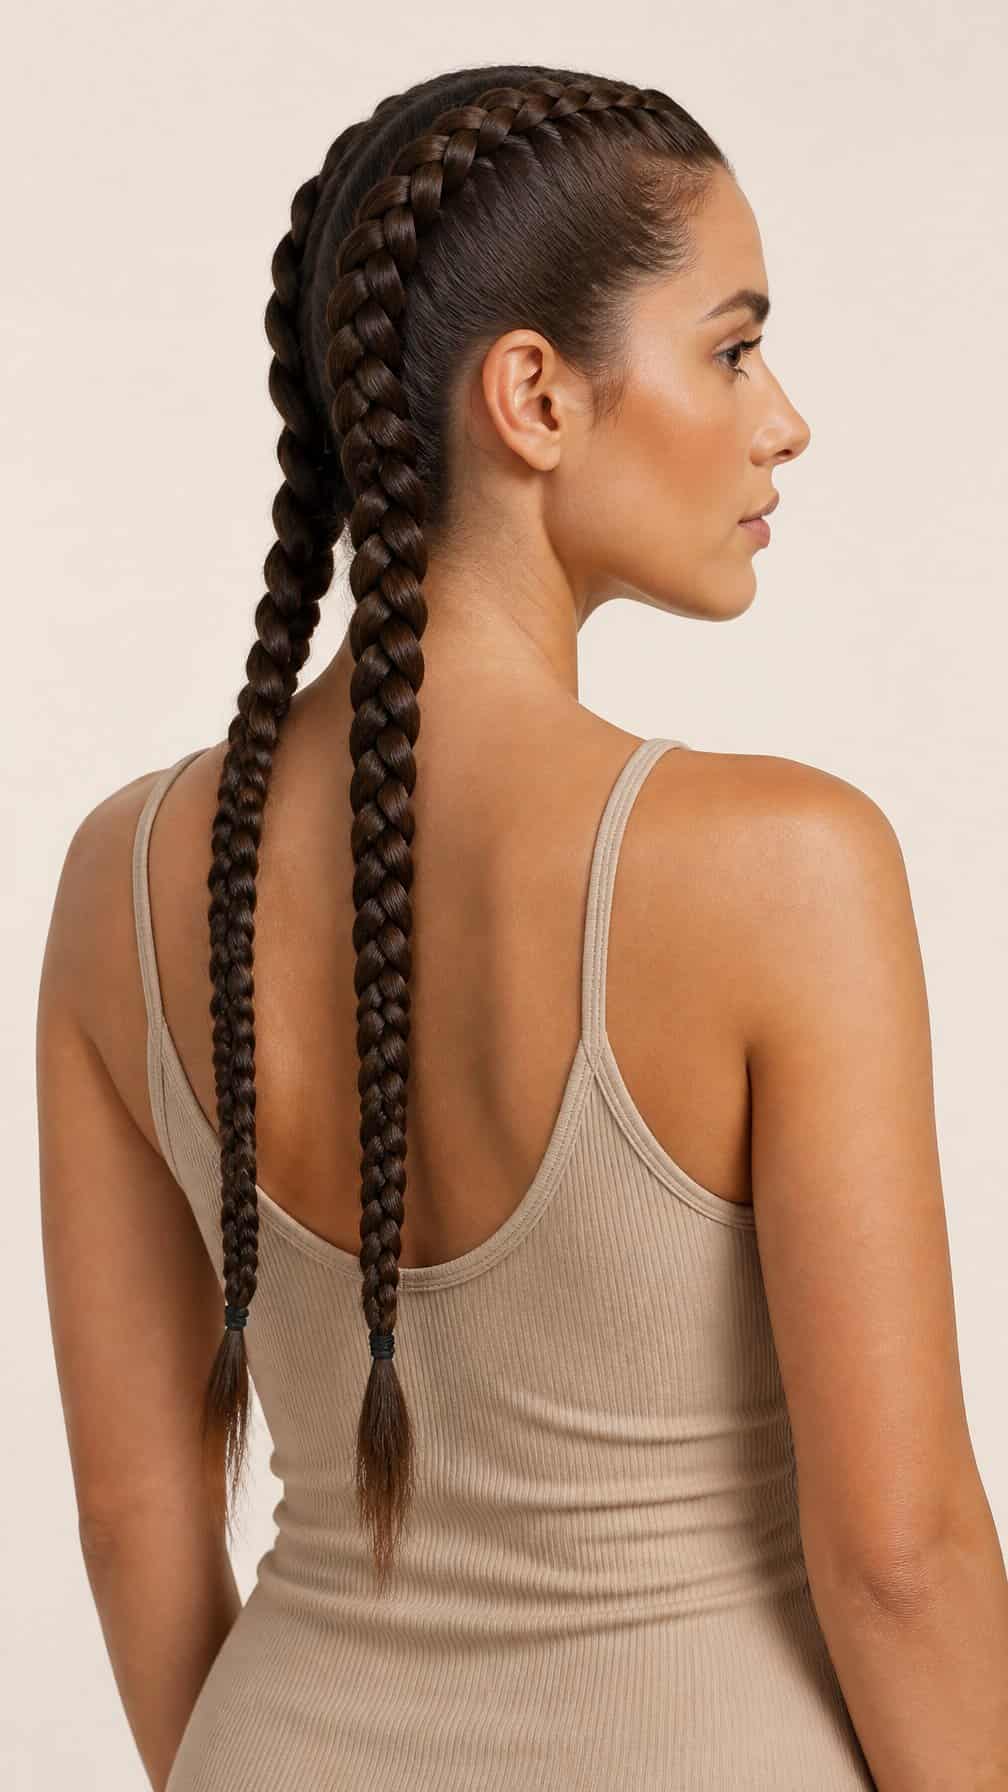
I part my hair down the center and create two tight Dutch or French braids, starting at the hairline and working toward the nape. I continue each braid through the lengths, securing the ends with small elastics.
This style keeps long hair close to my head, so it works well for workouts, travel, and busy days. I smooth a small amount of lightweight gel over my roots and tuck loose strands into the braid for a cleaner finish.
I use firm, even tension without pulling painfully, then loosen the edges slightly for comfort. A satin scarf during sleep can help preserve the shape overnight.
8) Lace Braid Updo
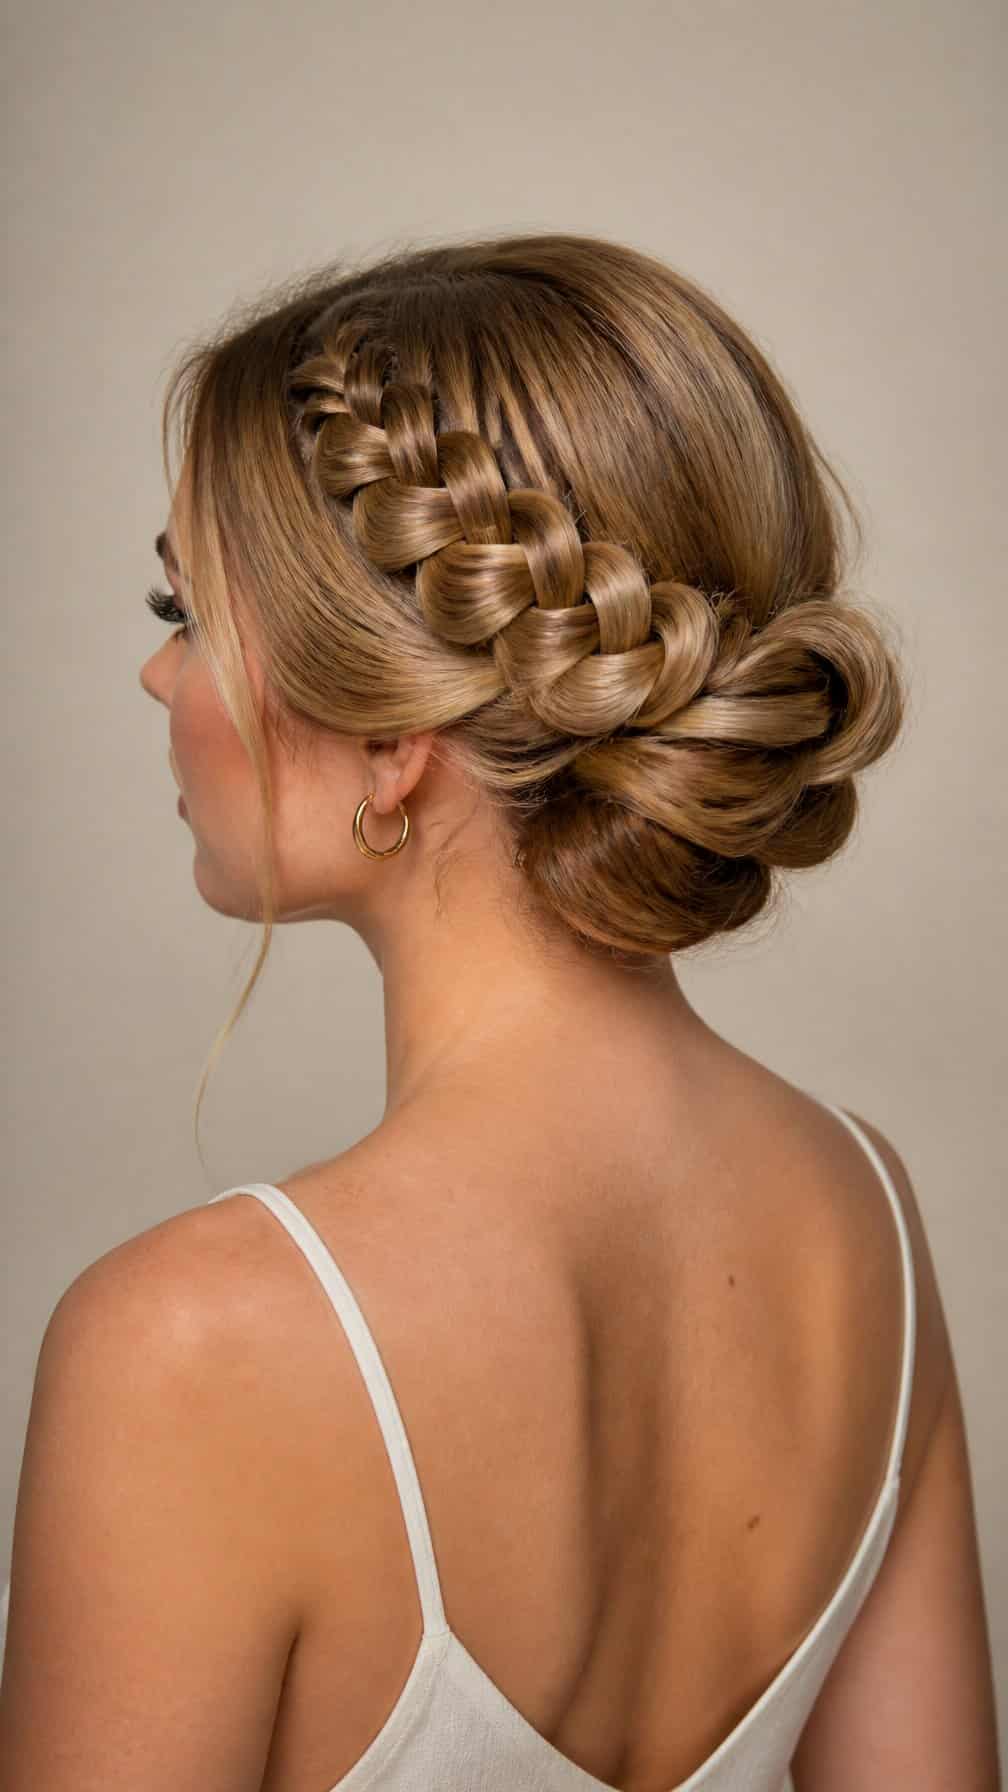
I start this style by sweeping my hair to one side and weaving a lace braid along the hairline, adding strands only from the lower section. This keeps the braid close to my head while leaving the top smooth and controlled.
I gather the remaining length into a low bun at the nape and secure it with pins. I tuck the braid around the bun, placing pins beneath the braided sections so they stay hidden. A light mist of flexible hairspray helps manage loose strands without making the style stiff.
I find this updo works best on hair with some texture, since freshly washed, slippery strands may loosen more quickly. I gently loosen the braid for a softer finish, or keep it snug for a cleaner, more structured look.
9) Four-Strand Braid
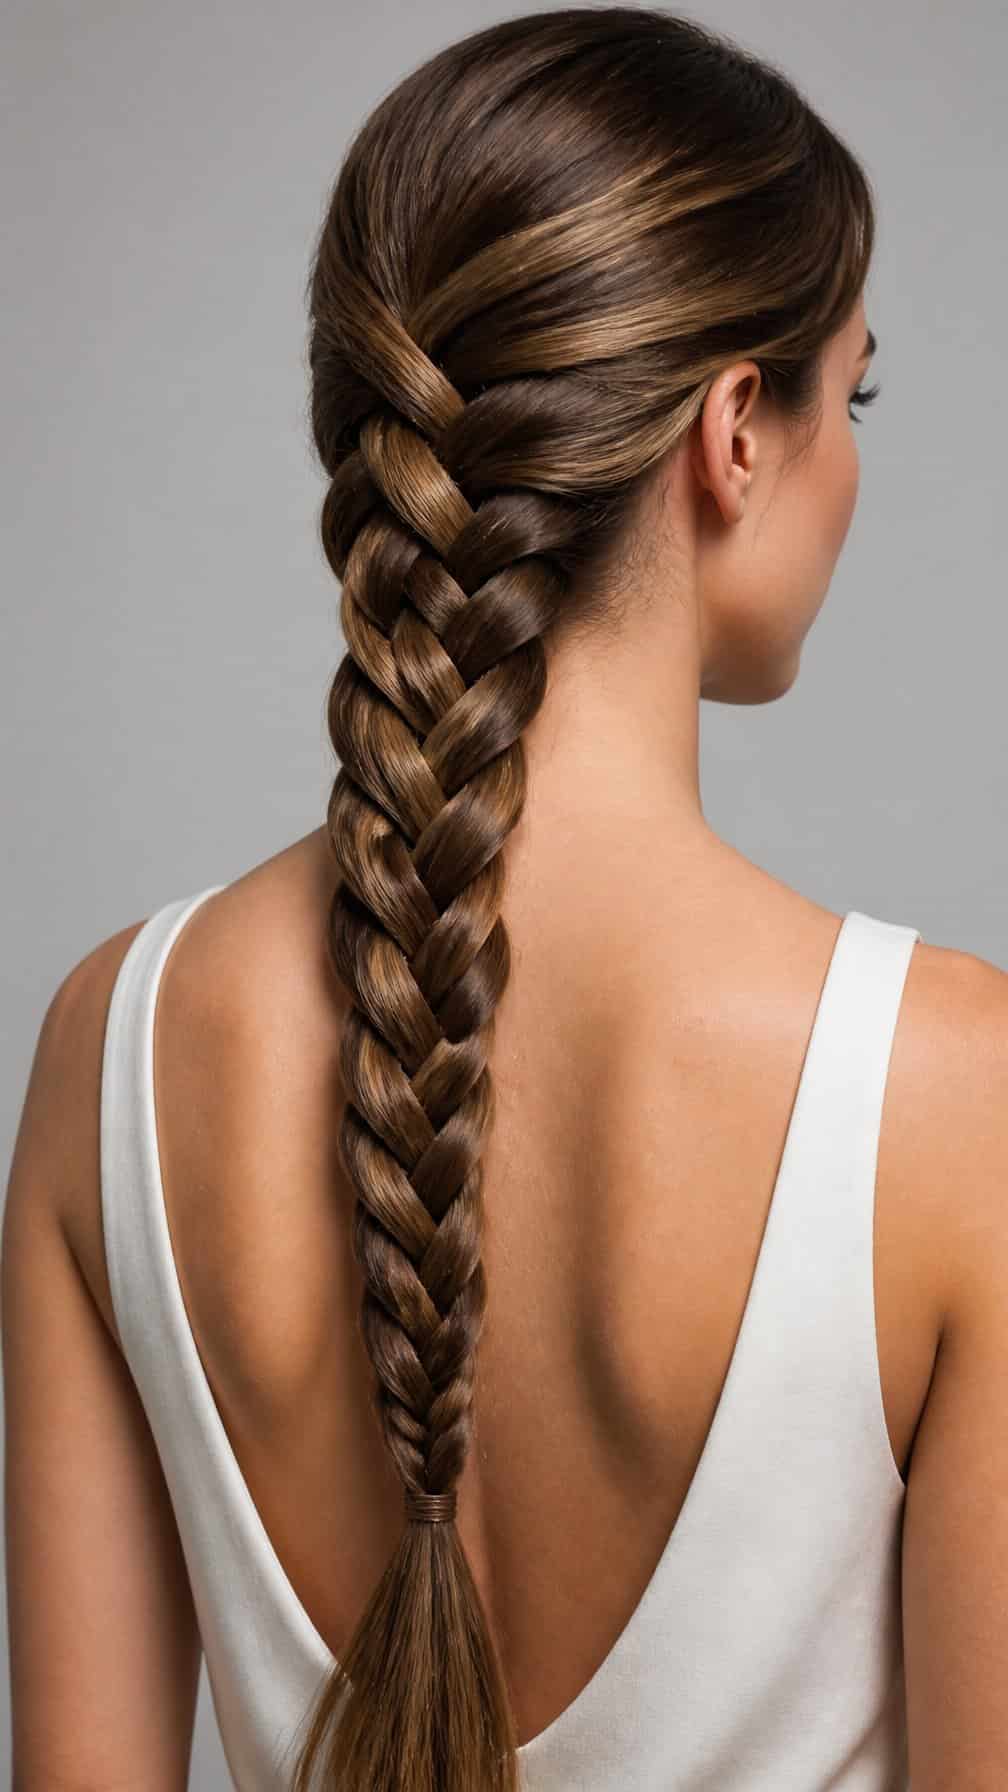
I divide the hair into four equal sections and cross the outer strands over and under the inner sections in a steady pattern. This braid creates a flatter, more detailed finish than a standard three-strand style.
I work with smooth, detangled hair and keep consistent tension as I braid. A small amount of styling cream helps control flyaways without making the sections stiff or difficult to handle.
I secure the end with a discreet elastic, then gently adjust the braid so its pattern remains visible. For extra hold, I mist the finished style lightly with hairspray, focusing on the sides and ends.
10) Five-Strand Braid
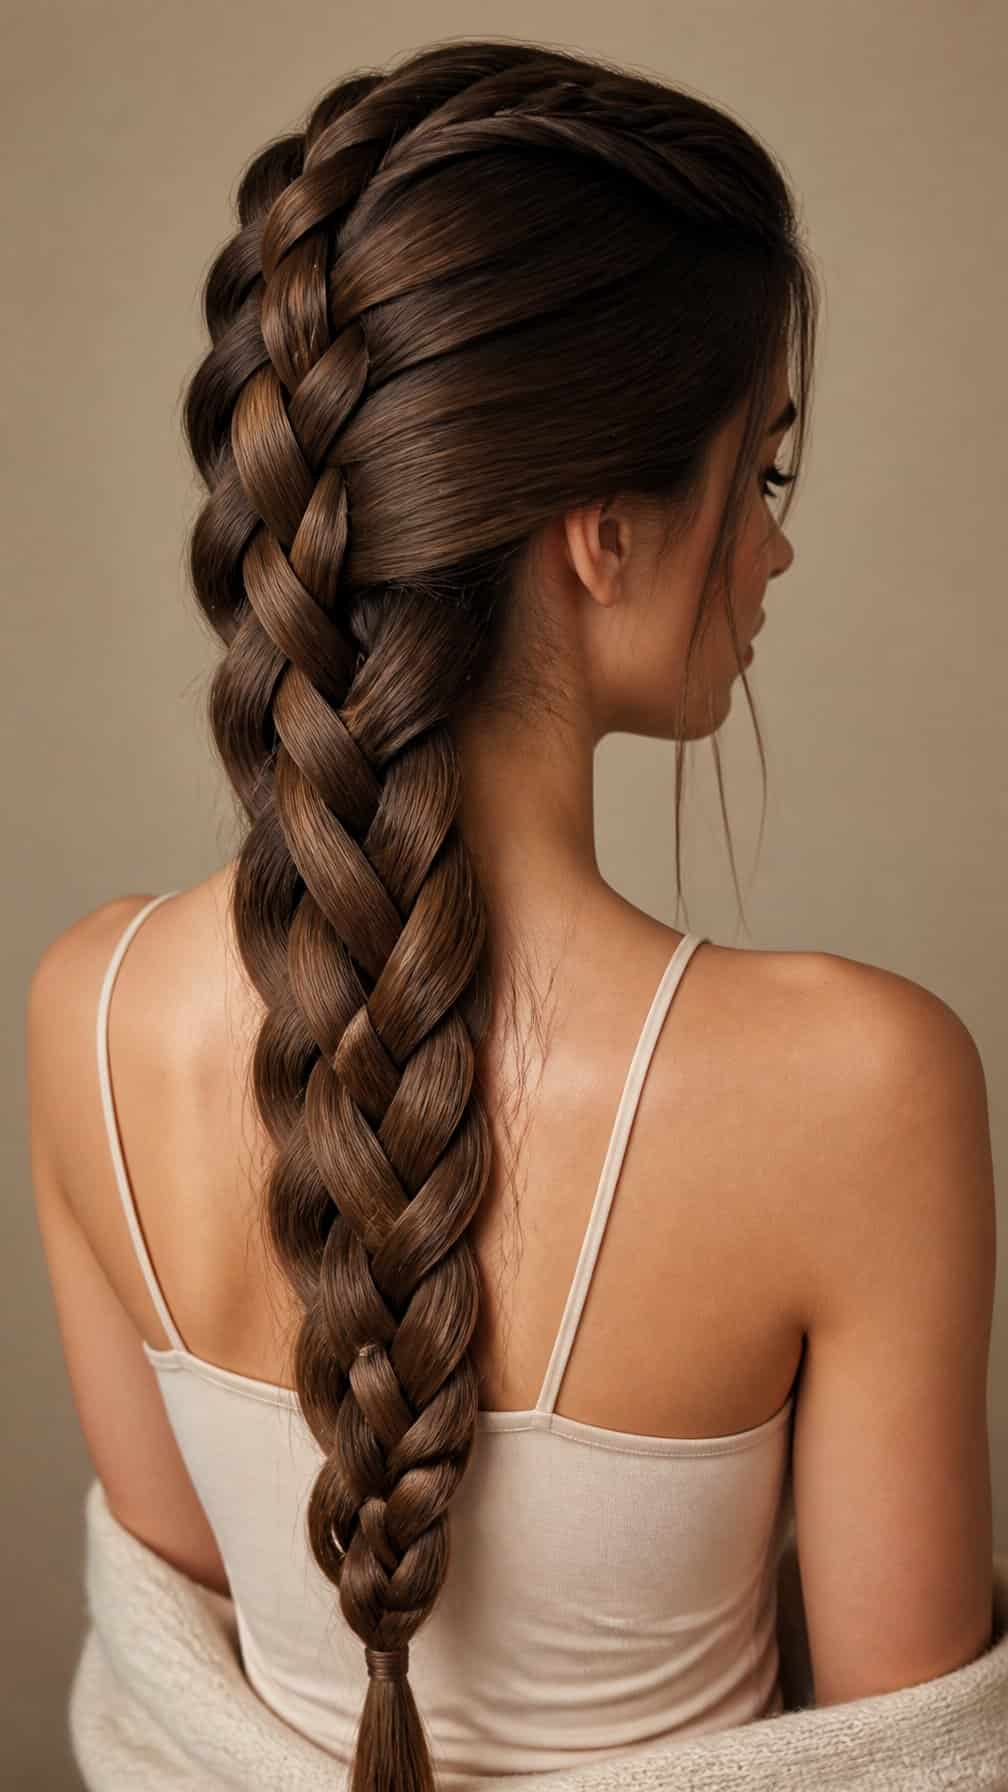
I use a five-strand braid when I want a structured style with more detail than a standard plait. I divide the hair into five even sections, then cross the outer strands over and under the neighboring pieces in a repeating pattern.
This braid works best on long, detangled hair with light texture. I secure the ends with a small elastic and gently loosen the outer loops for a fuller shape. A small amount of styling cream helps control flyaways without making the sections stiff. I keep the braid centered for a polished look or drape it over one shoulder for a softer finish.
11) Infinity Braid
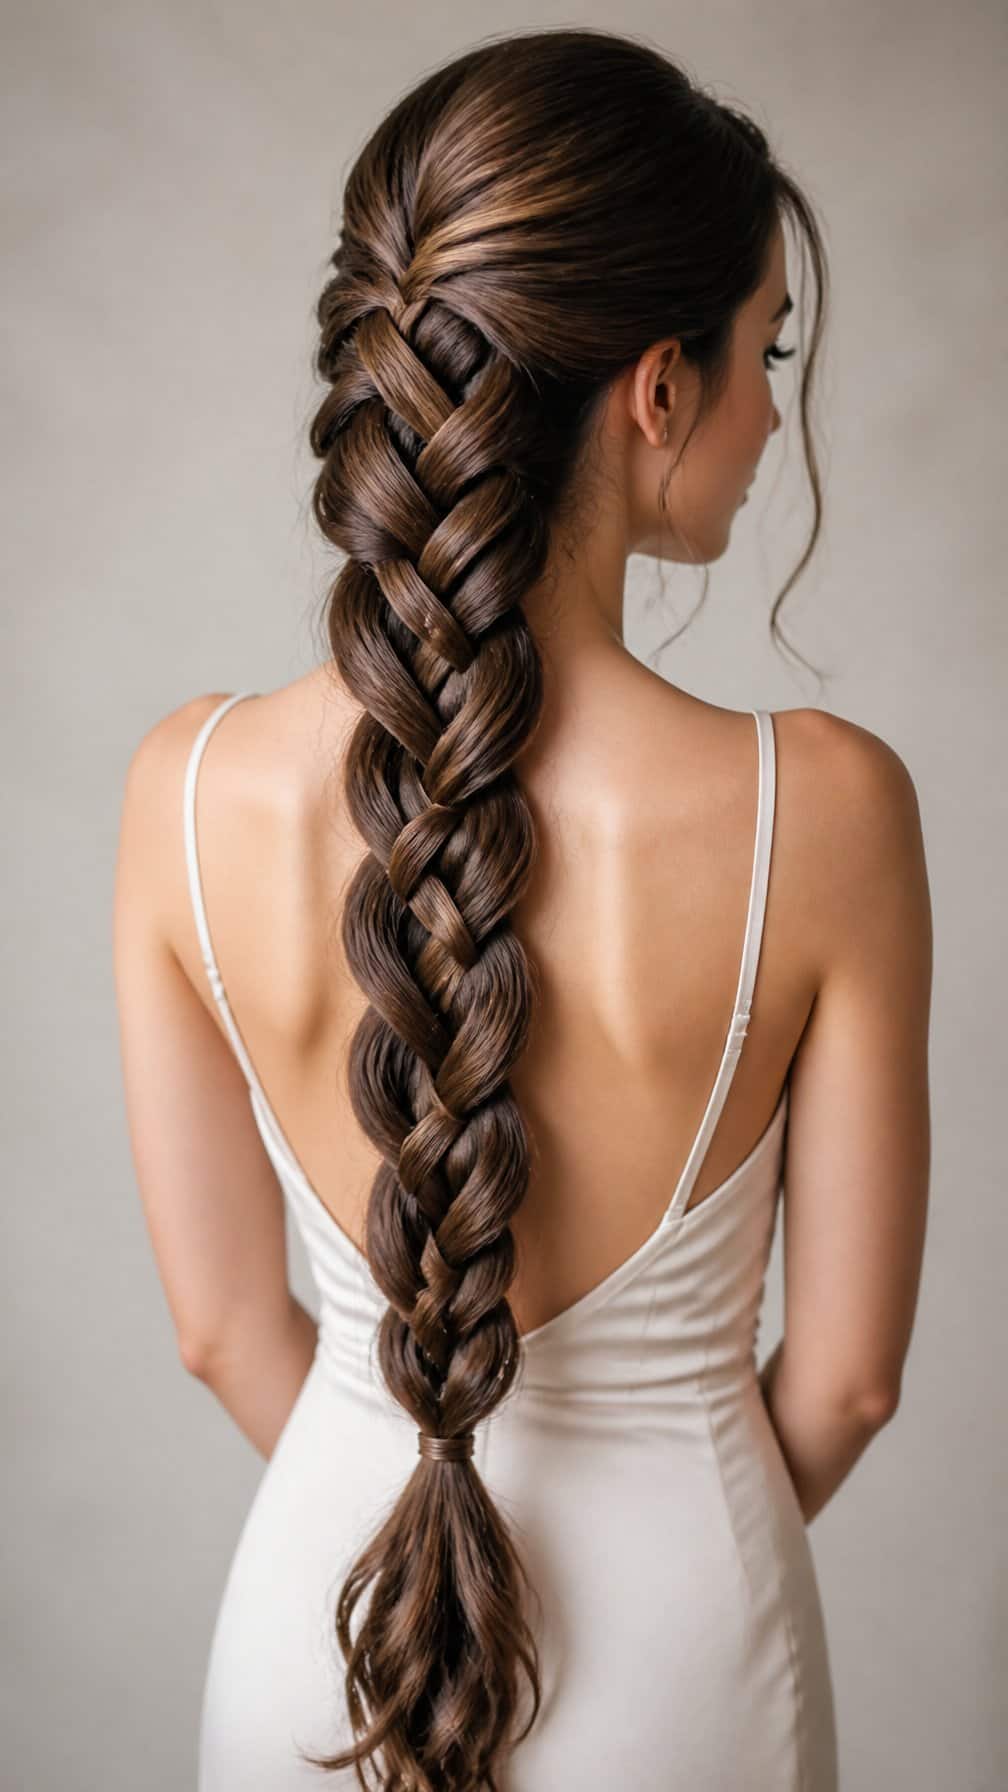
I create this braid by repeatedly wrapping a small strand around two larger sections in a continuous figure-eight pattern. The technique produces a detailed, interwoven look while keeping the main lengths secured.
I start with smooth, detangled hair and divide it into two sections. Working patiently with consistent tension helps the pattern stay even, especially on long or layered hair. I finish with a discreet elastic and gently loosen the edges for a softer shape.
This style suits straight, wavy, and lightly textured hair. I use a small amount of styling cream or flexible-hold spray to reduce flyaways without making the braid stiff.
12) Pull-Through Braid Ponytail
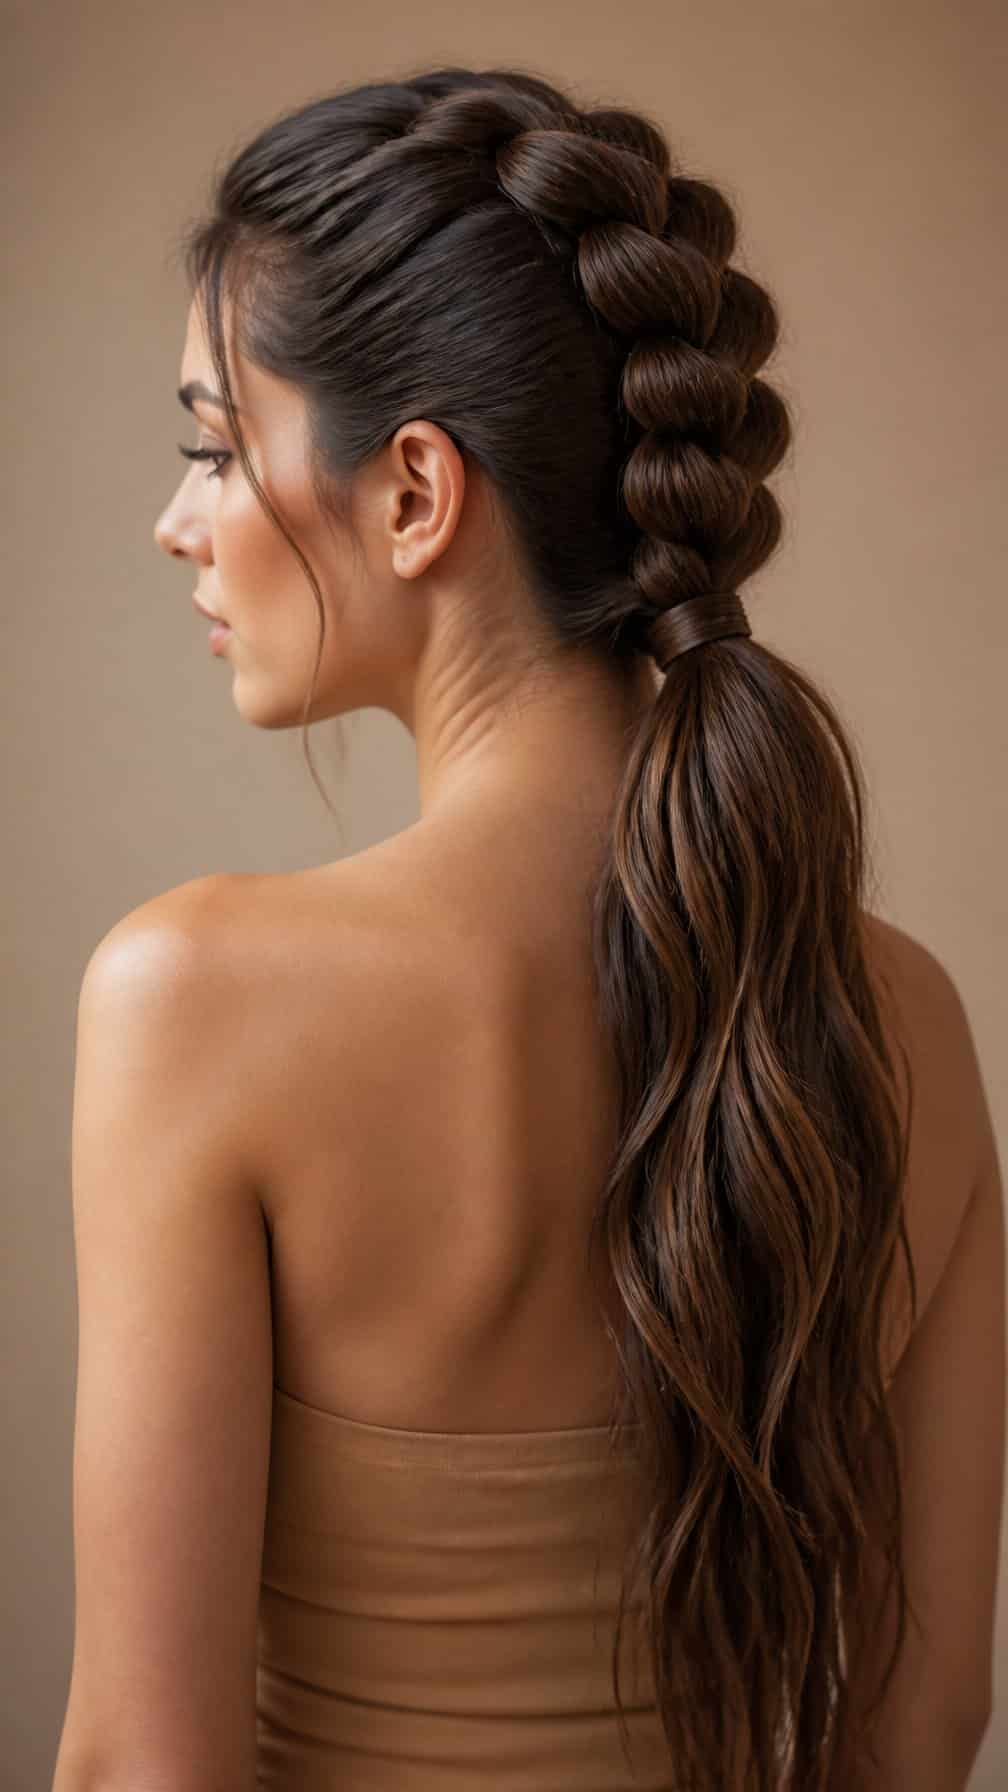
I create this style by securing a high or mid-height ponytail, dividing it into smaller sections, and pulling each section through the one beneath it. The repeated loops produce a full, woven effect without requiring traditional braiding skills.
I use clear elastics that match my hair color and gently loosen each loop for added width. Smooth sections keep the pattern defined, while a light-hold spray helps control flyaways and keeps the ponytail tidy throughout the day.
13) Braided Low Chignon
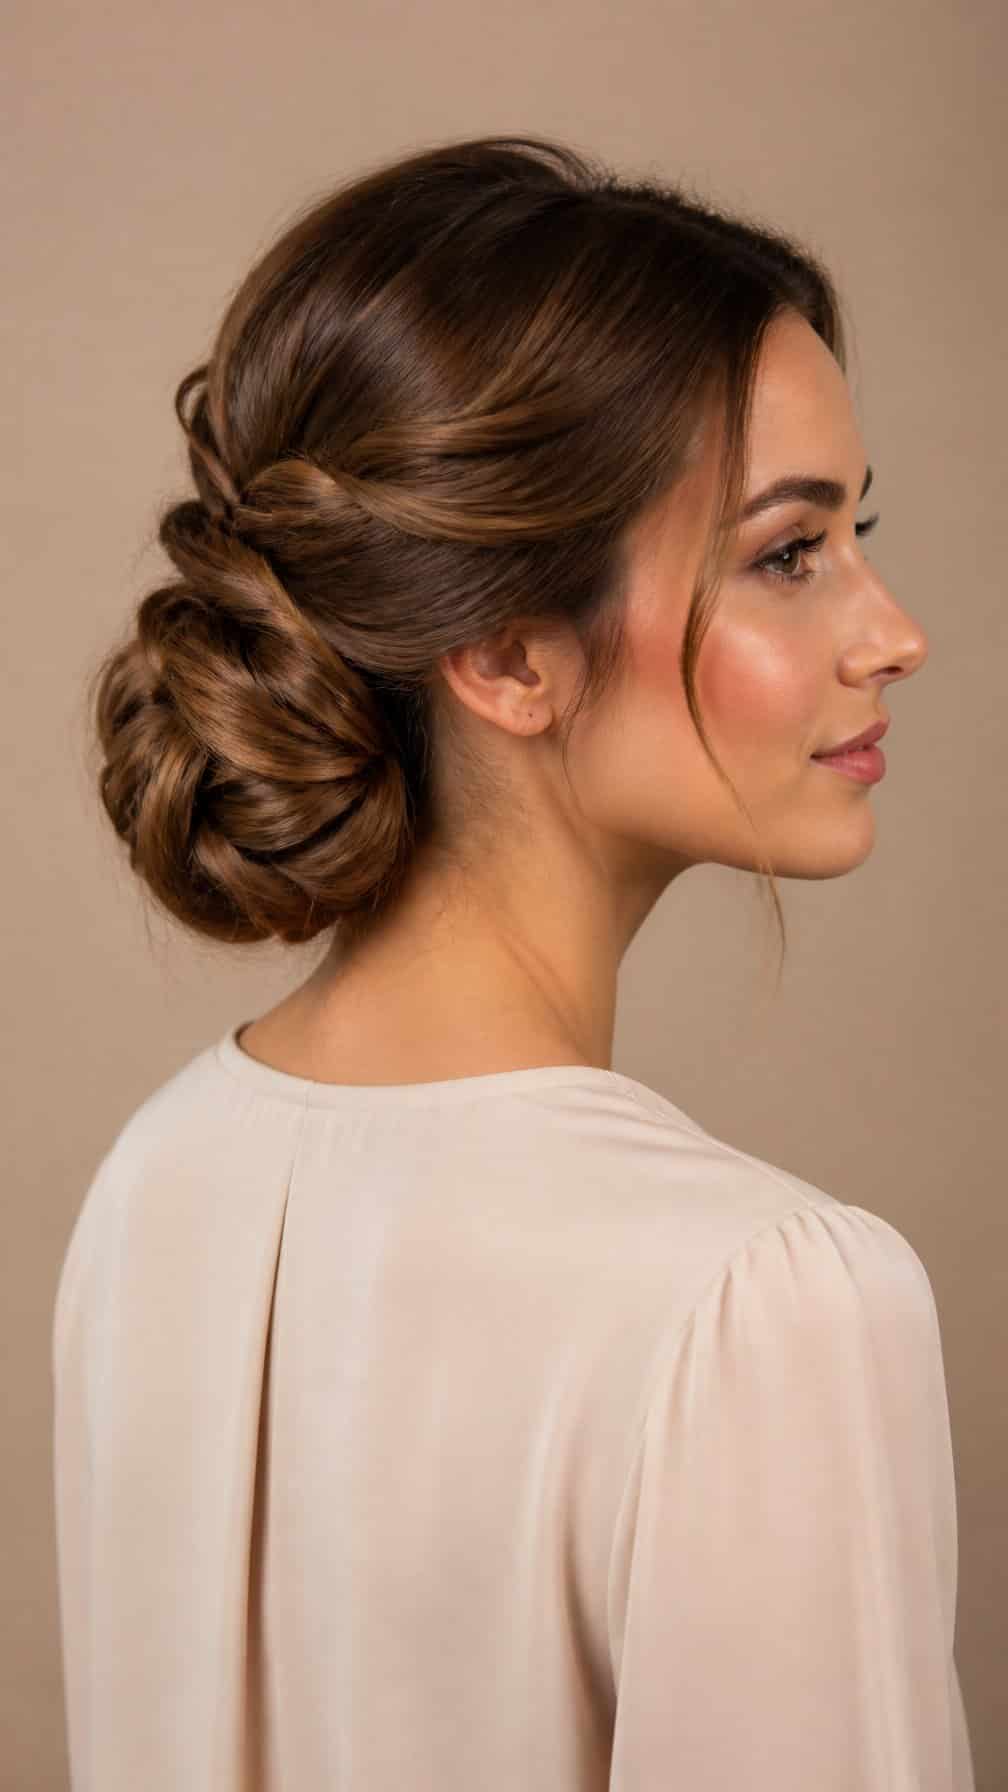
I create this style by braiding the lower sections of my hair, then wrapping the braids into a chignon at the nape. The low placement keeps the shape polished without adding height, while the braided texture helps secure the coil.
I smooth my roots with a light styling cream and anchor the bun with several bobby pins placed in different directions. For longer or heavier hair, I use a small elastic at the braid ends before pinning them underneath.
I leave a few face-framing strands loose when I want a softer finish. A light mist of flexible hairspray helps control flyaways while allowing the braid’s pattern to remain visible.
14) Milkmaid Braids
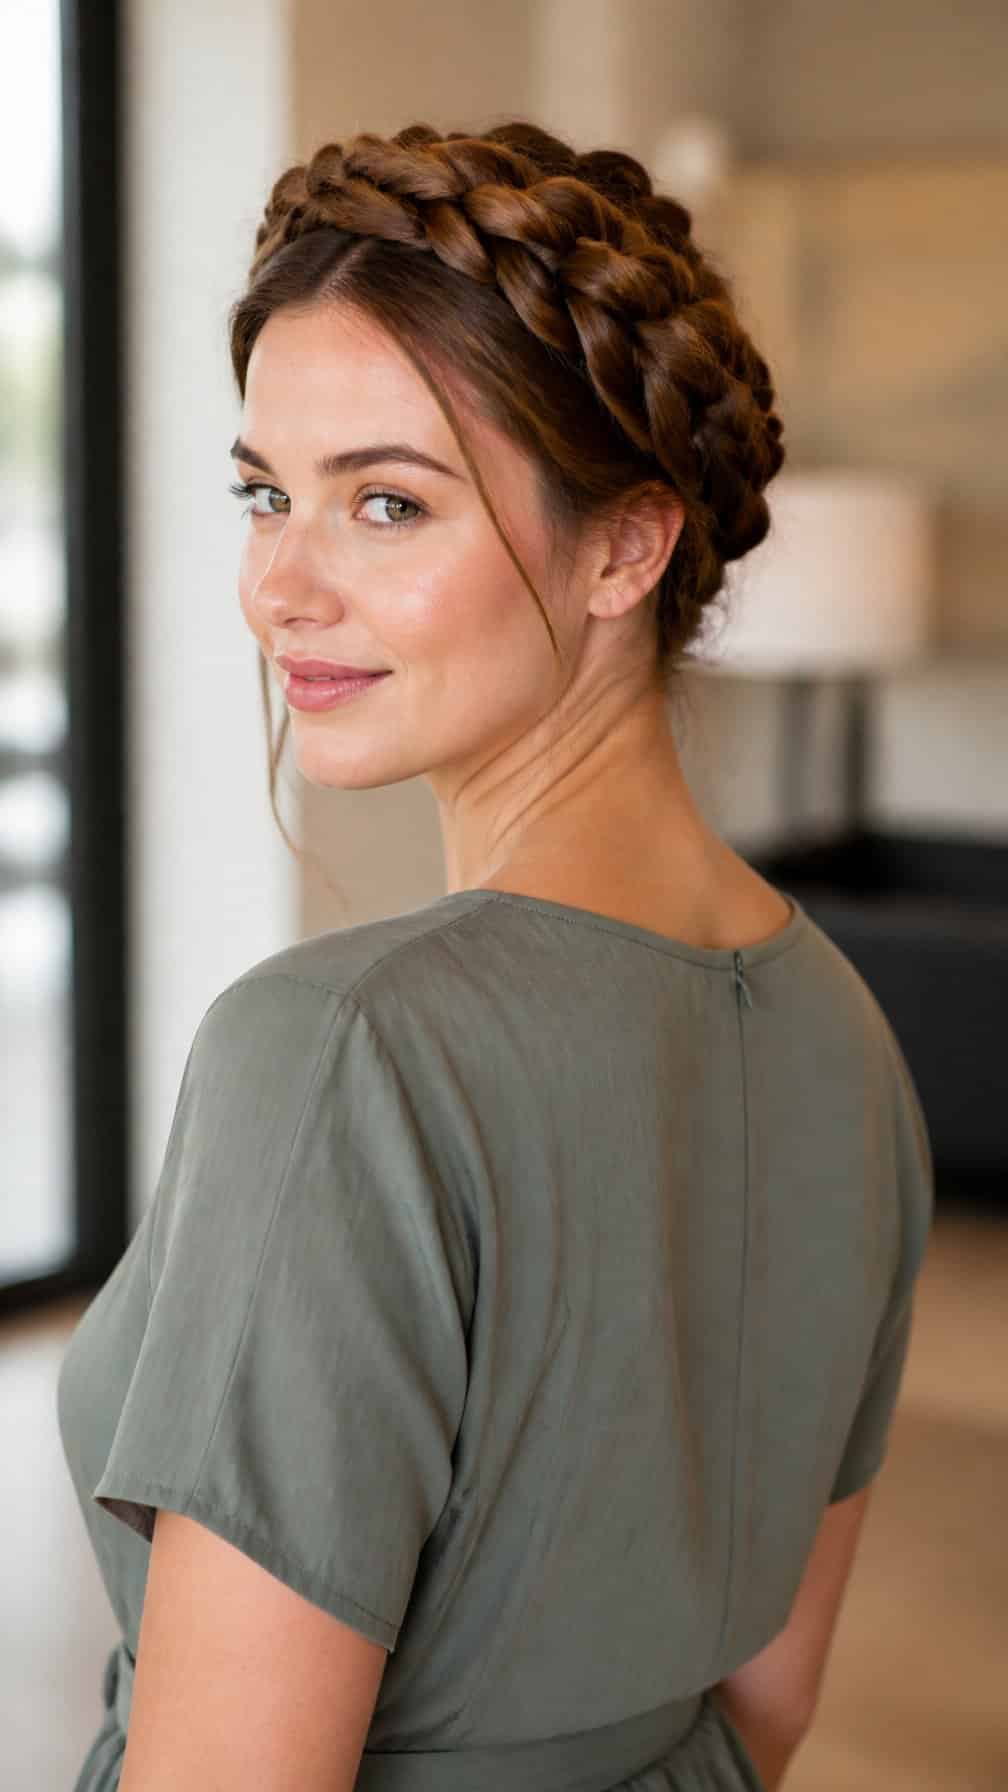
I divide my hair into two even sections and braid each side from behind the ears to the ends. I pull gently at the braid edges to add width, then cross the braids over my crown and secure them with discreet pins. This placement keeps the style neat while distributing the weight across my head.
I smooth flyaways with a small amount of styling cream before pinning. For long, thick hair, I anchor the braids at several points rather than relying on one pin, which helps prevent shifting throughout the day. A light mist of flexible-hold spray preserves the shape without making the braids stiff.
15) Dutch Fishtail Braid
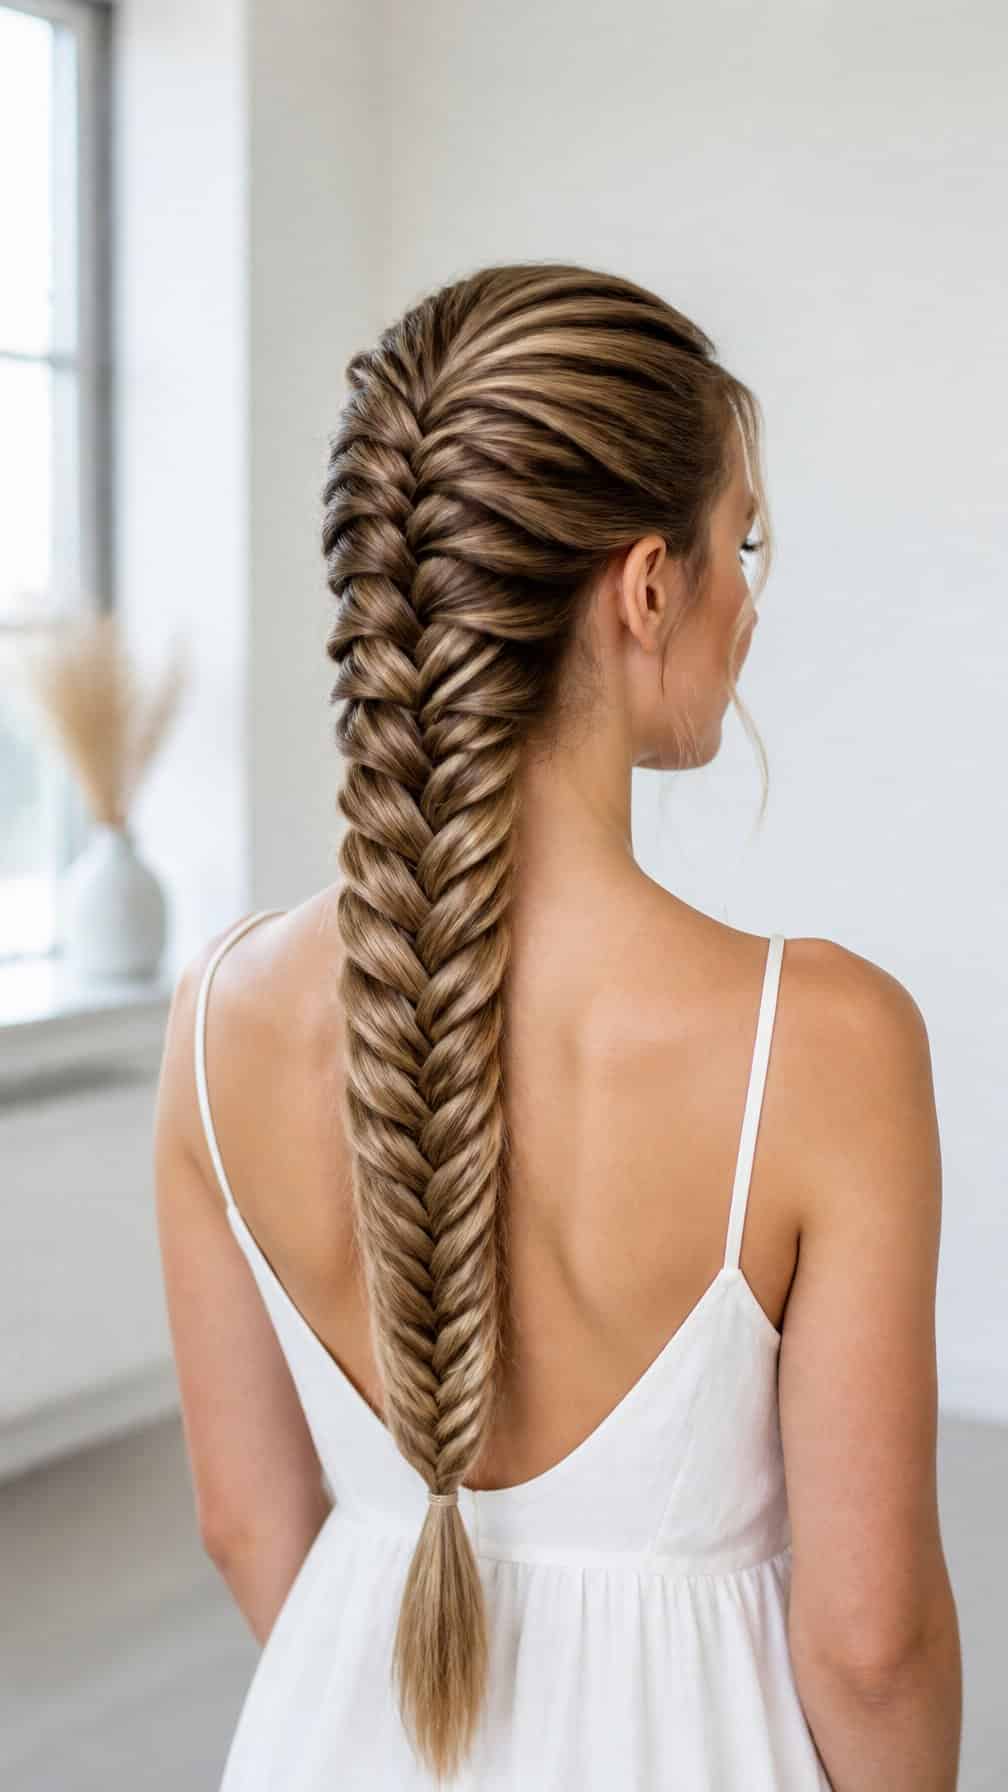
I create this braid by crossing small sections under the center, which gives the pattern a raised, woven appearance. I keep the sections consistent for a neat finish, or pull them gently apart after securing the end for added width and texture.
I start with dry, detangled hair and work down one side or from a low ponytail. A small amount of styling cream helps control flyaways without making the braid stiff. I secure the end tightly with a clear elastic, then anchor loose strands with discreet pins when needed.
Its layered structure holds well through a full day, especially when I avoid taking oversized sections. For long, thick hair, I use a stronger elastic and braid firmly near the nape before loosening the outer edges.
16) Braided High Ponytail
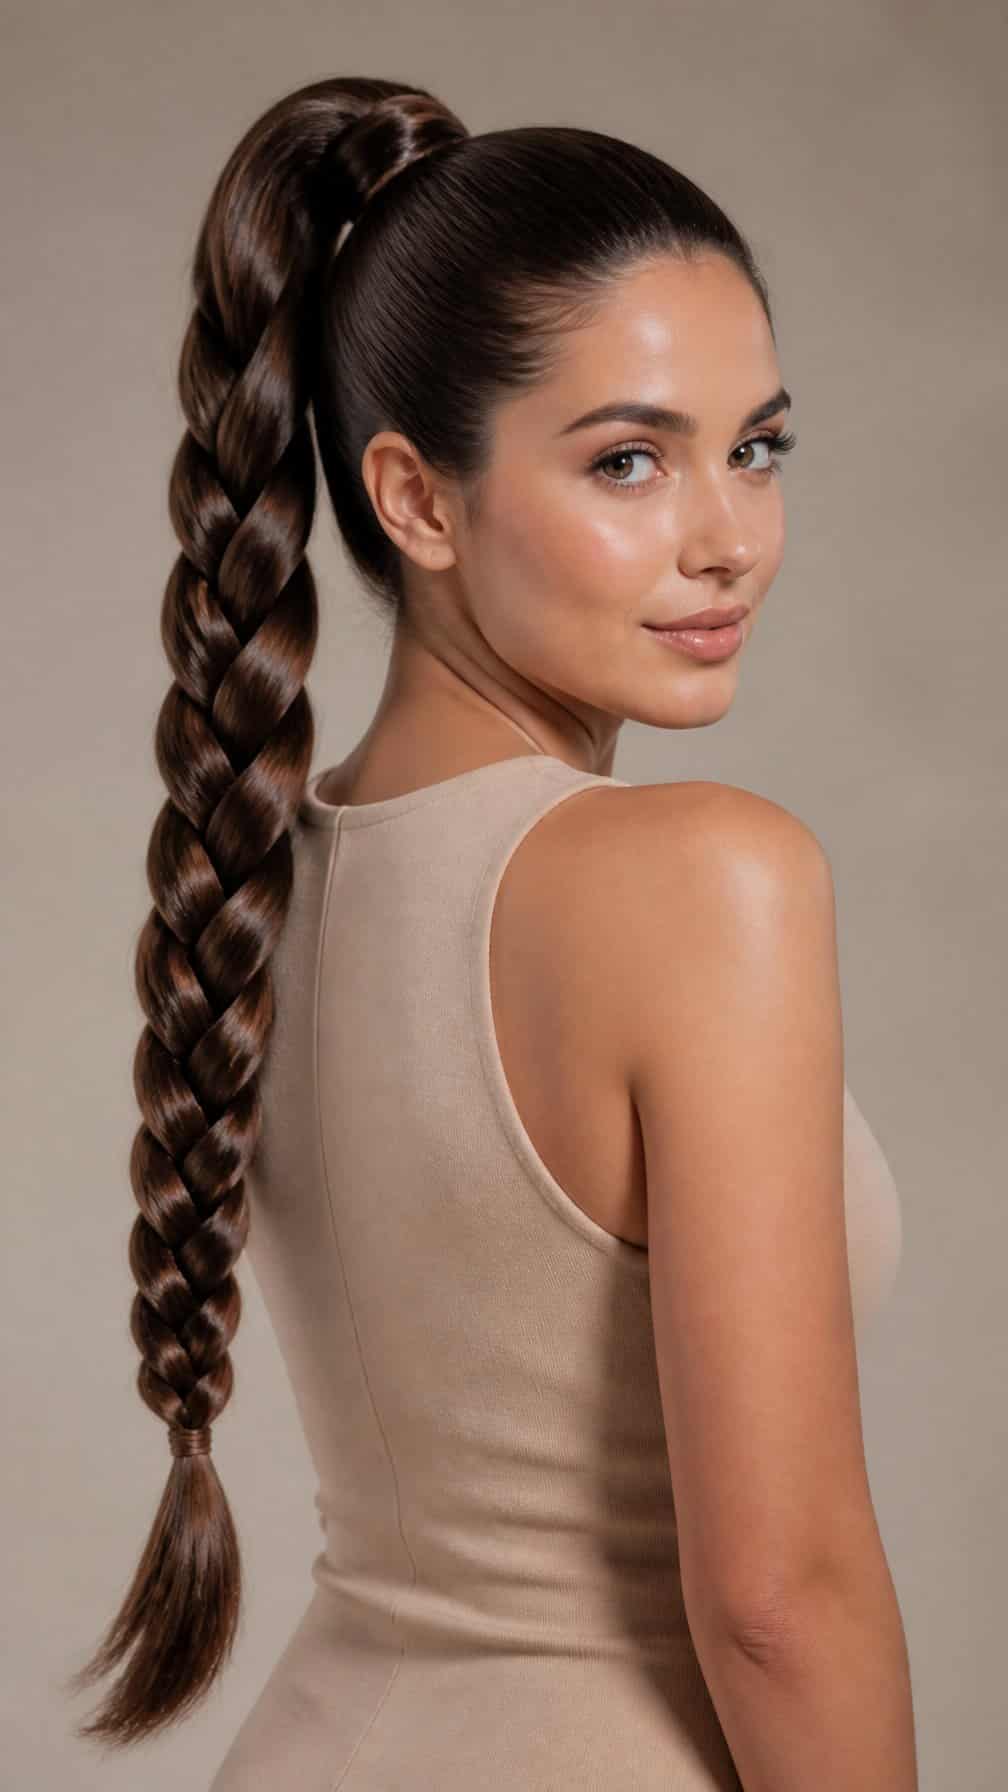
I gather my hair into a high ponytail and secure it firmly before dividing the length into three sections. I braid tightly from the base to the ends, then fasten it with a small elastic that matches my hair color.
For extra hold, I smooth a small amount of styling gel over the crown and along the sides before braiding. I also wrap a thin strand of hair around the ponytail base to conceal the elastic and create a cleaner finish.
I prefer this style for active days because the elevated braid keeps the lengths controlled without weighing down the roots. A light mist of flexible-hold spray helps manage flyaways while preserving movement.
17) French Braid Pigtails
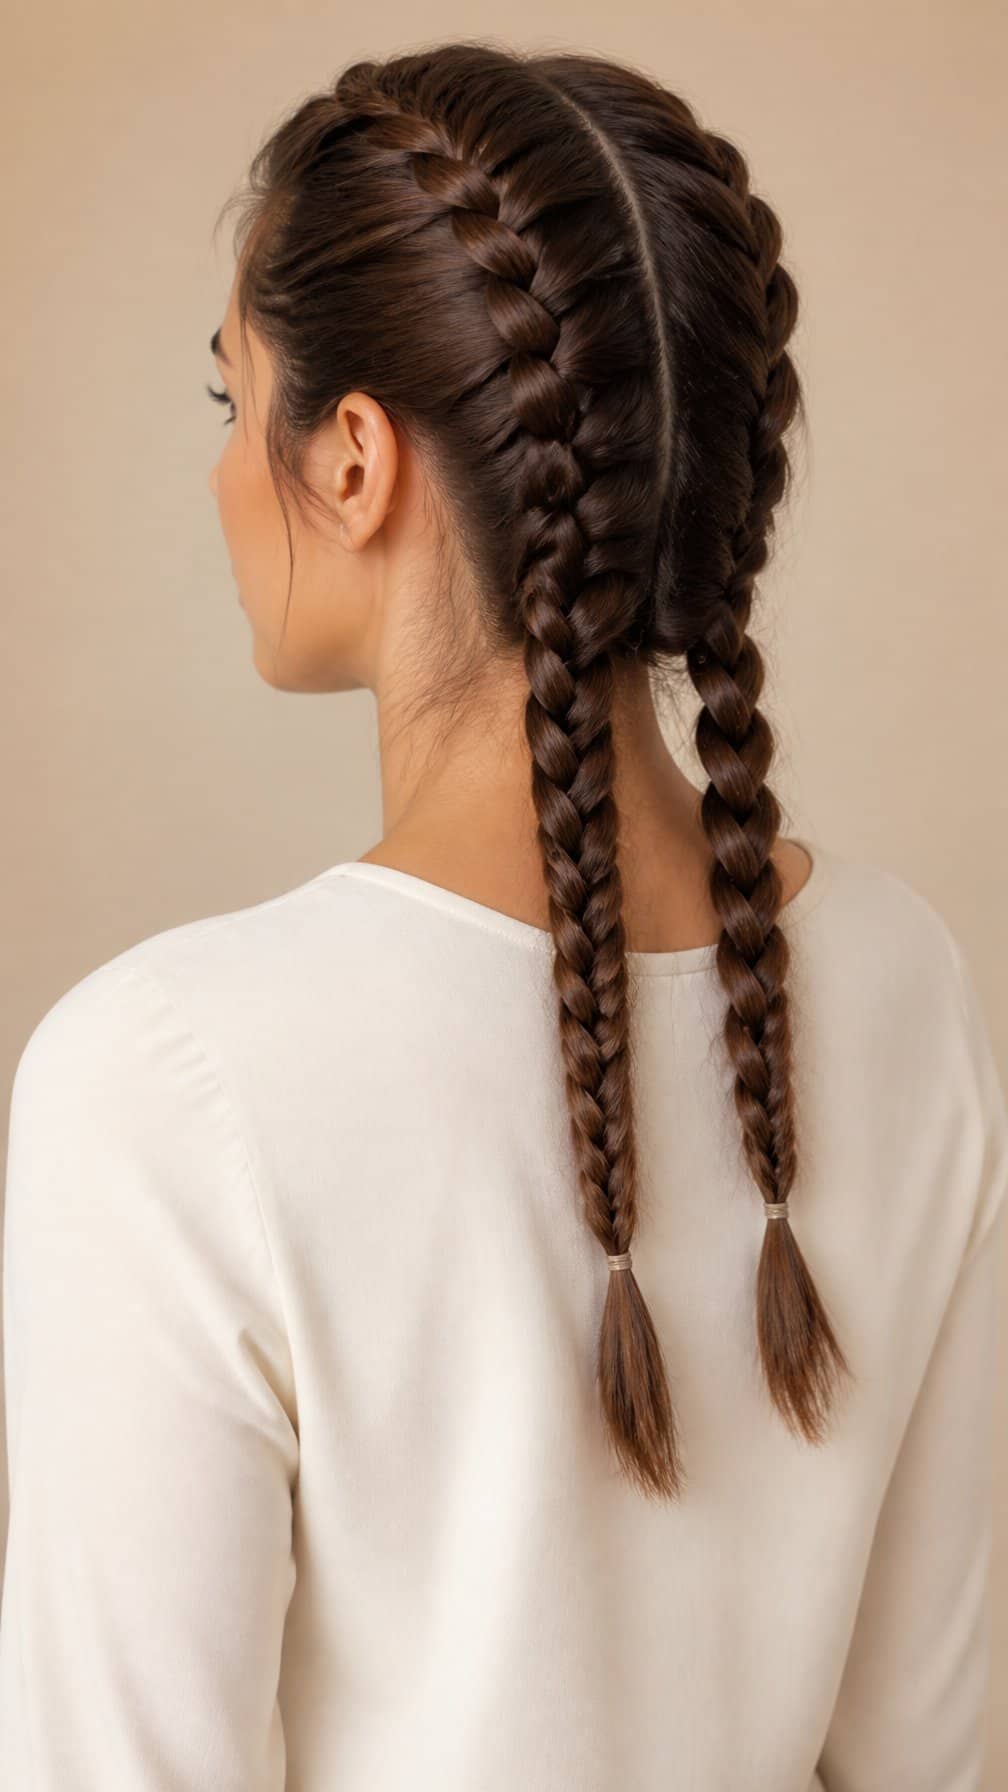
I divide my hair down the center and create a French braid on each side, adding small sections evenly as I work toward the nape. I continue with regular three-strand braids, securing the ends with snag-free elastics.
I keep the braid tension firm but comfortable, especially around my hairline. A light styling cream smooths flyaways and improves grip without making my hair stiff. For extra hold, I mist the finished braids lightly with flexible hairspray.
This style keeps long hair controlled while maintaining a balanced, youthful shape. I use smaller sections for a defined pattern or wider sections for a softer, more relaxed finish.
18) Crown Braid with Low Bun
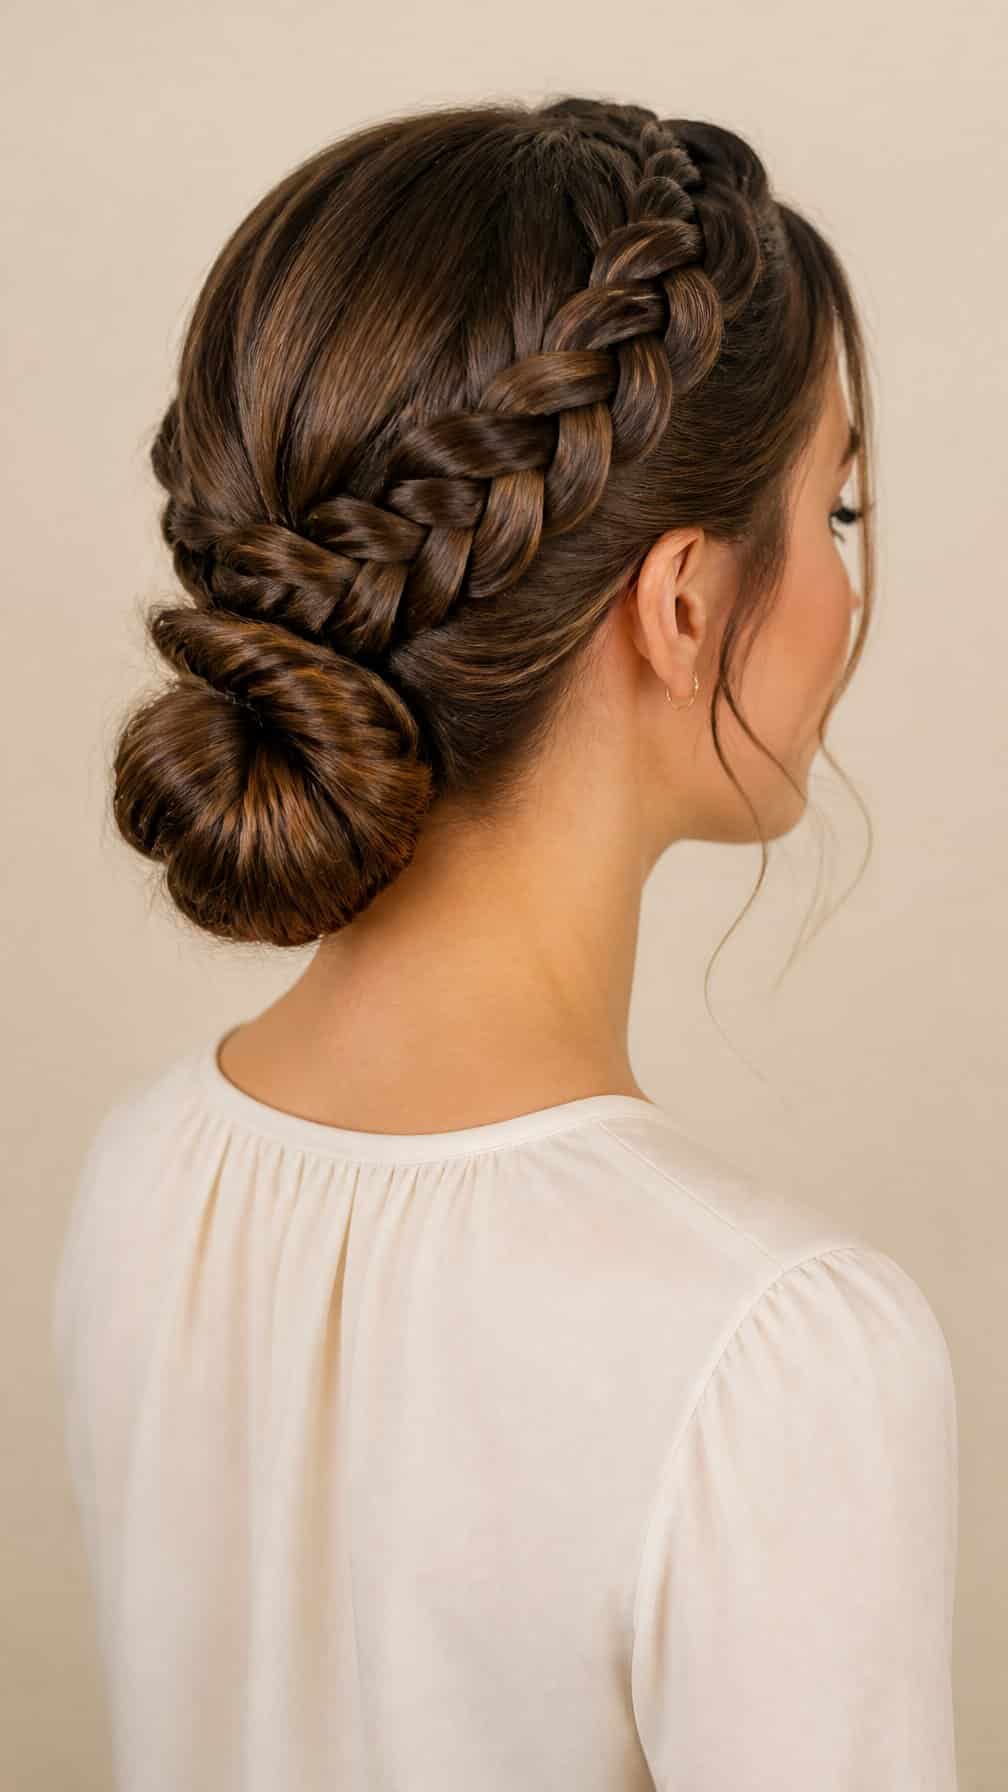
I create this style by braiding one section from each side of my head, guiding both braids along the crown, and securing them near the opposite ear. I gather the remaining hair into a low bun at the nape, then pin the braid ends beneath it.
I prefer lightly textured hair because it gives the braids more grip and helps the bun hold its shape. I use small bobby pins that match my hair color, placing them under the braid rather than across its surface.
For extra security, I anchor the bun with a strong elastic before pinning it into place. A light layer of flexible hairspray smooths flyaways without making the braids stiff.
19) Half-Up Waterfall Braid
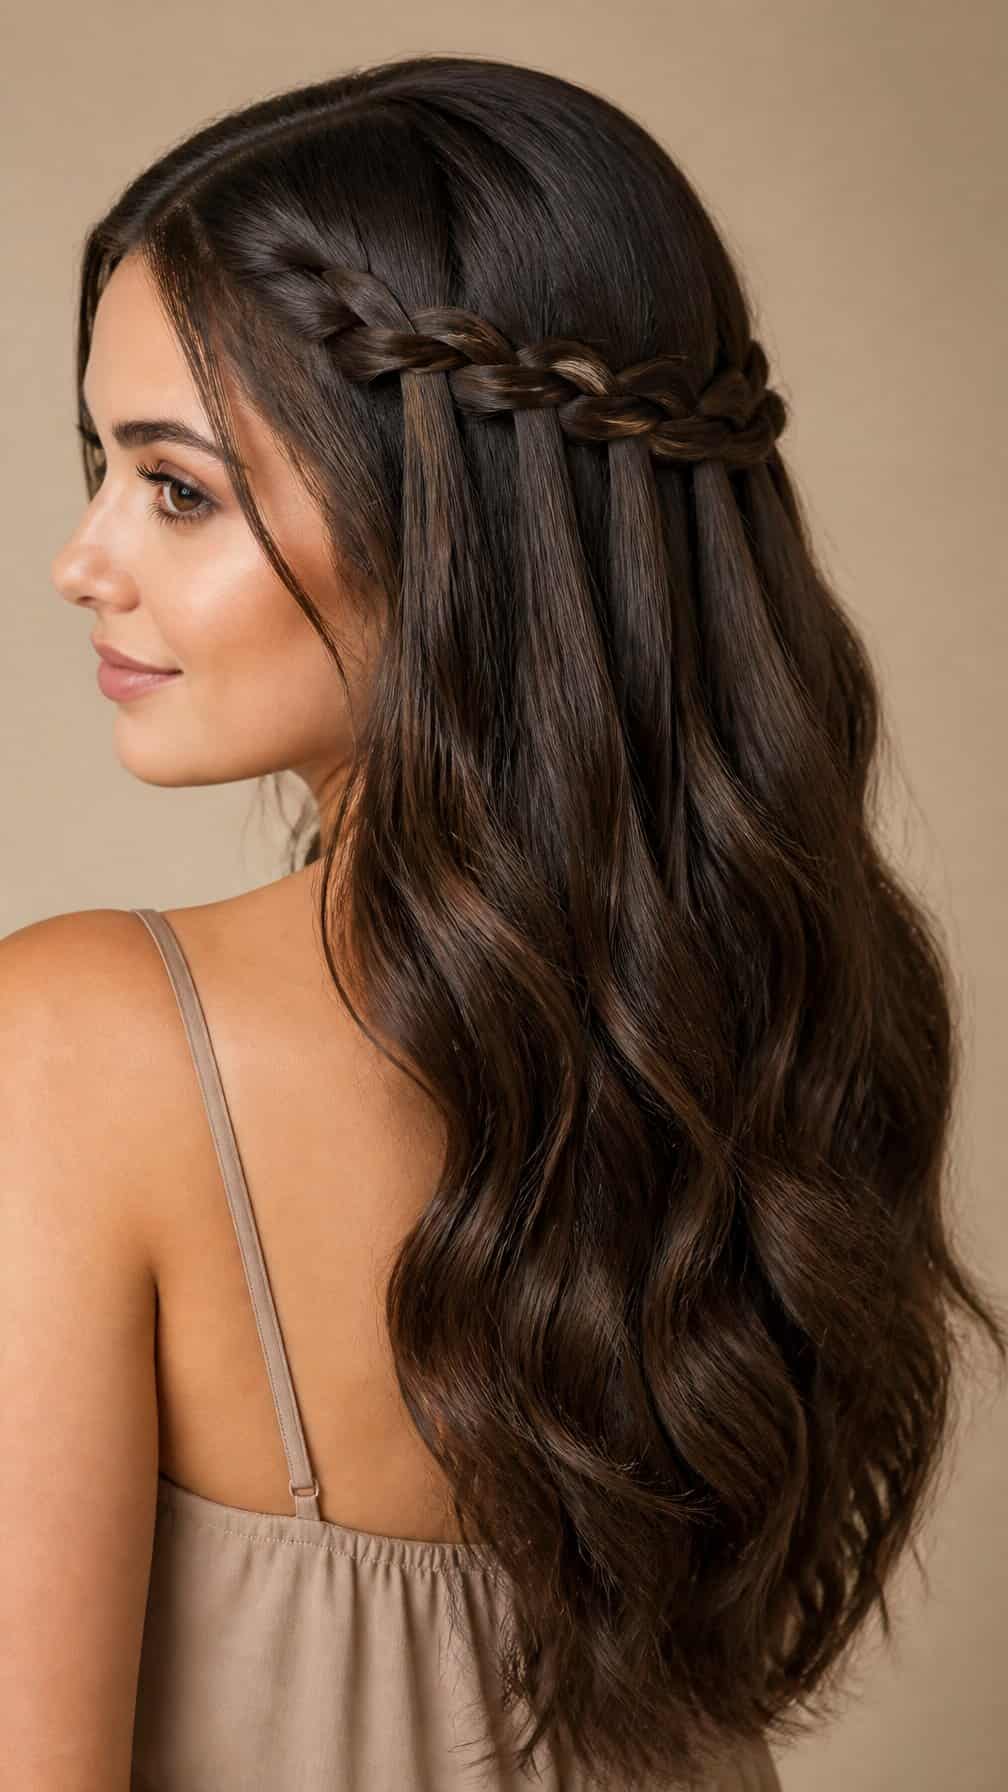
I weave a waterfall braid from one temple toward the opposite side, allowing each dropped strand to fall naturally through the braid. I secure the braid with a small elastic behind my ear, then gently loosen the woven sections for a softer finish.
This style keeps the front and crown controlled while leaving the rest of my long hair down. I smooth flyaways with a light styling cream and add discreet pins beneath the braid when I need extra hold. Its structure works well on straight, wavy, or lightly curled hair.
20) Braided Bubble Ponytail
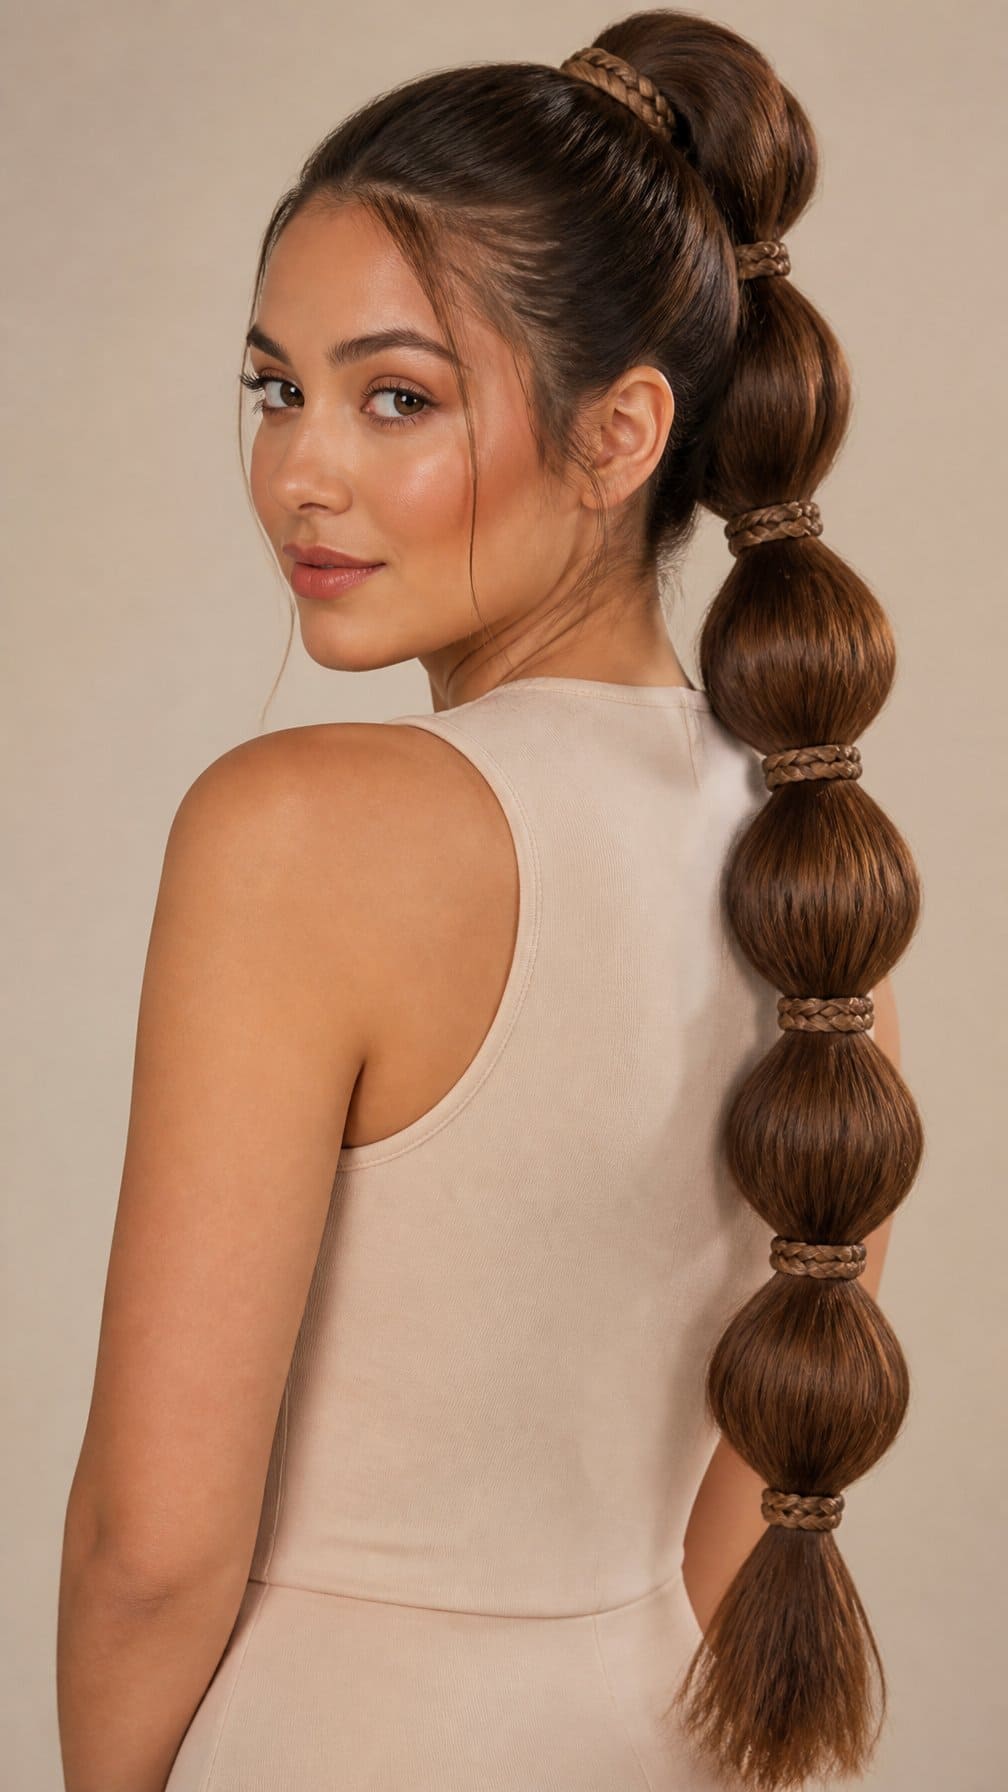
I secure my long hair into a high or mid-height ponytail, then create evenly spaced sections with small elastics. I gently pull each section outward to form rounded bubbles, keeping the tension consistent so the shape looks balanced.
For added detail, I braid the base or wrap a small strand around the first elastic before forming the bubbles. I smooth flyaways with a light styling cream and choose snag-free elastics to reduce pulling.
I find this style works best on straight or lightly textured hair, though a little dry shampoo can add grip to freshly washed strands. A final mist of flexible hairspray helps the bubbles maintain their shape without making the ponytail stiff.
21) Snake Braid
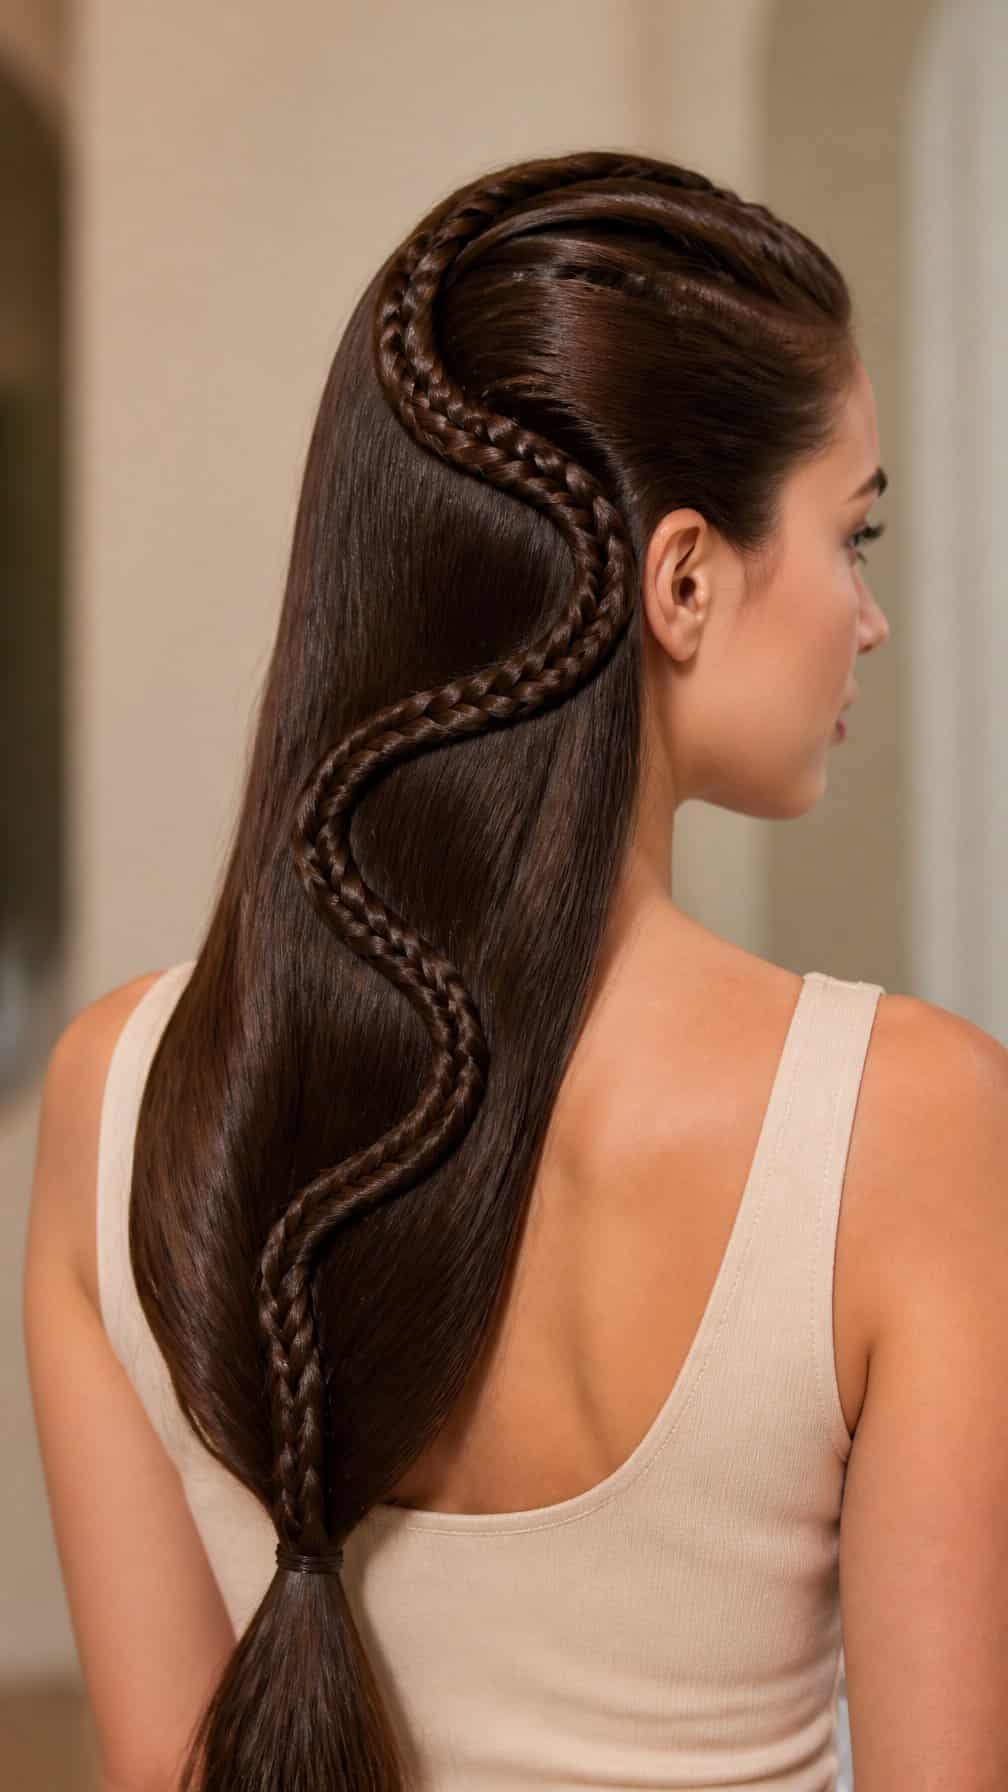
I create this look by weaving a narrow braid, then gently pulling it outward so it forms a subtle, winding shape. The elongated pattern adds visual interest without requiring complicated sections or accessories.
I prefer starting with smooth, detangled hair and securing the braid with a small elastic that matches my hair color. A light styling cream helps control flyaways, while a firm but flexible hairspray keeps the shape intact throughout the day.
22) Celtic Knot Braid
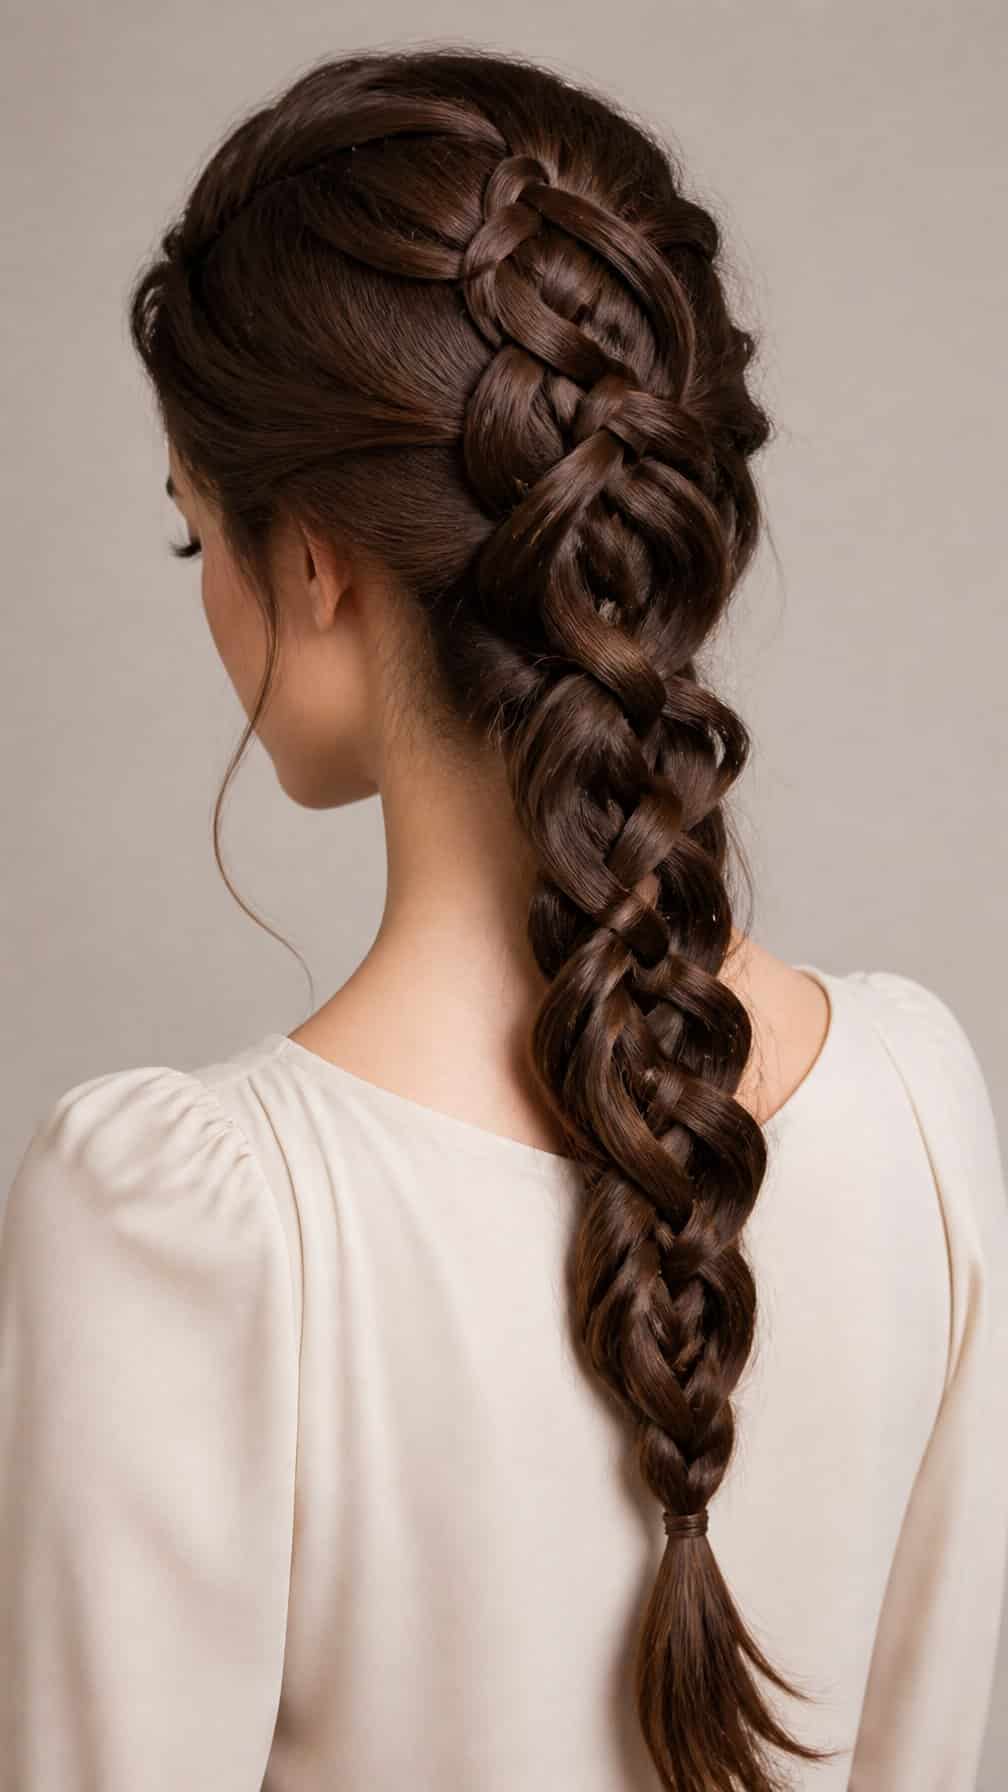
I create this style by looping sections of long hair through one another, forming a compact knot that resembles traditional Celtic patterns. I secure the design with small elastics and pins, keeping the remaining length smooth and controlled.
I find this braid works best on lightly textured hair because added grip helps each loop stay defined. A small amount of styling cream reduces flyaways without making the knot stiff, while a firm elastic at the end helps the braid hold throughout the day.
23) Halo Braid
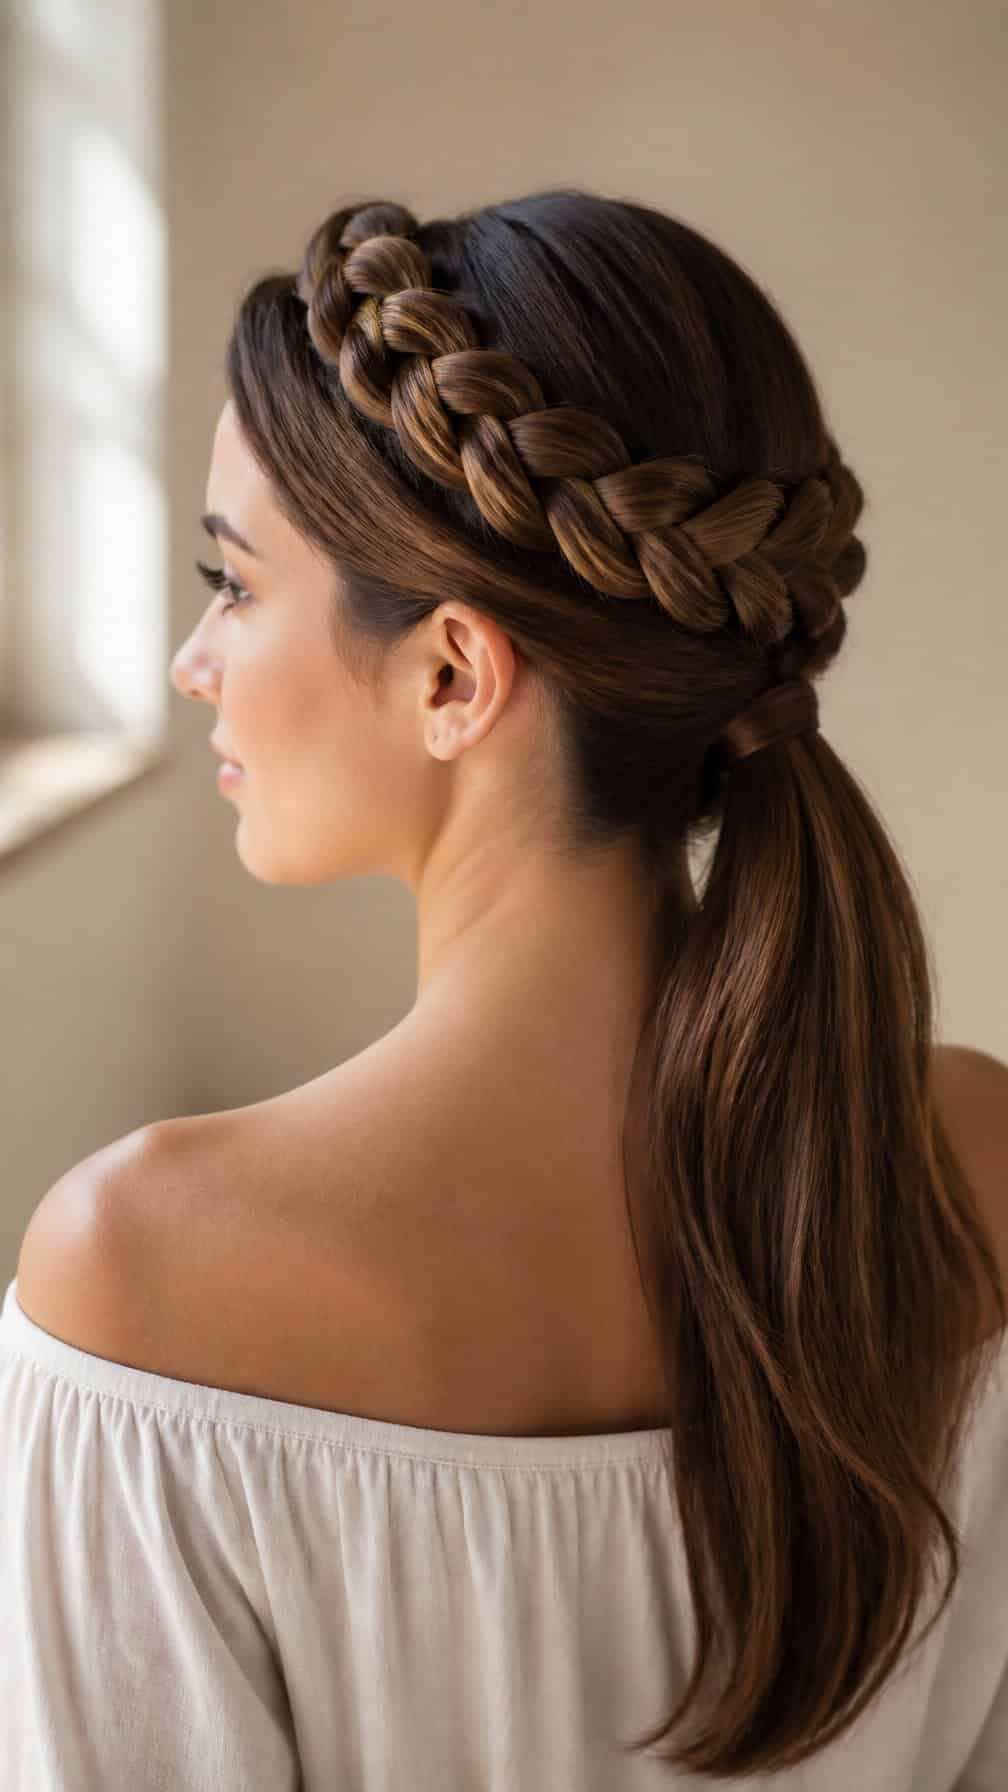
I create this style by braiding each side of my hair, then wrapping the plaits around the crown and securing them with discreet pins. I leave a few face-framing strands loose for a softer finish.
This arrangement keeps the lengths contained and distributes tension around my head instead of concentrating it at one point. I smooth flyaways with a small amount of styling cream and anchor the ends beneath the opposite braid. For extra hold, I finish with light hairspray.
24) Mermaid Braid
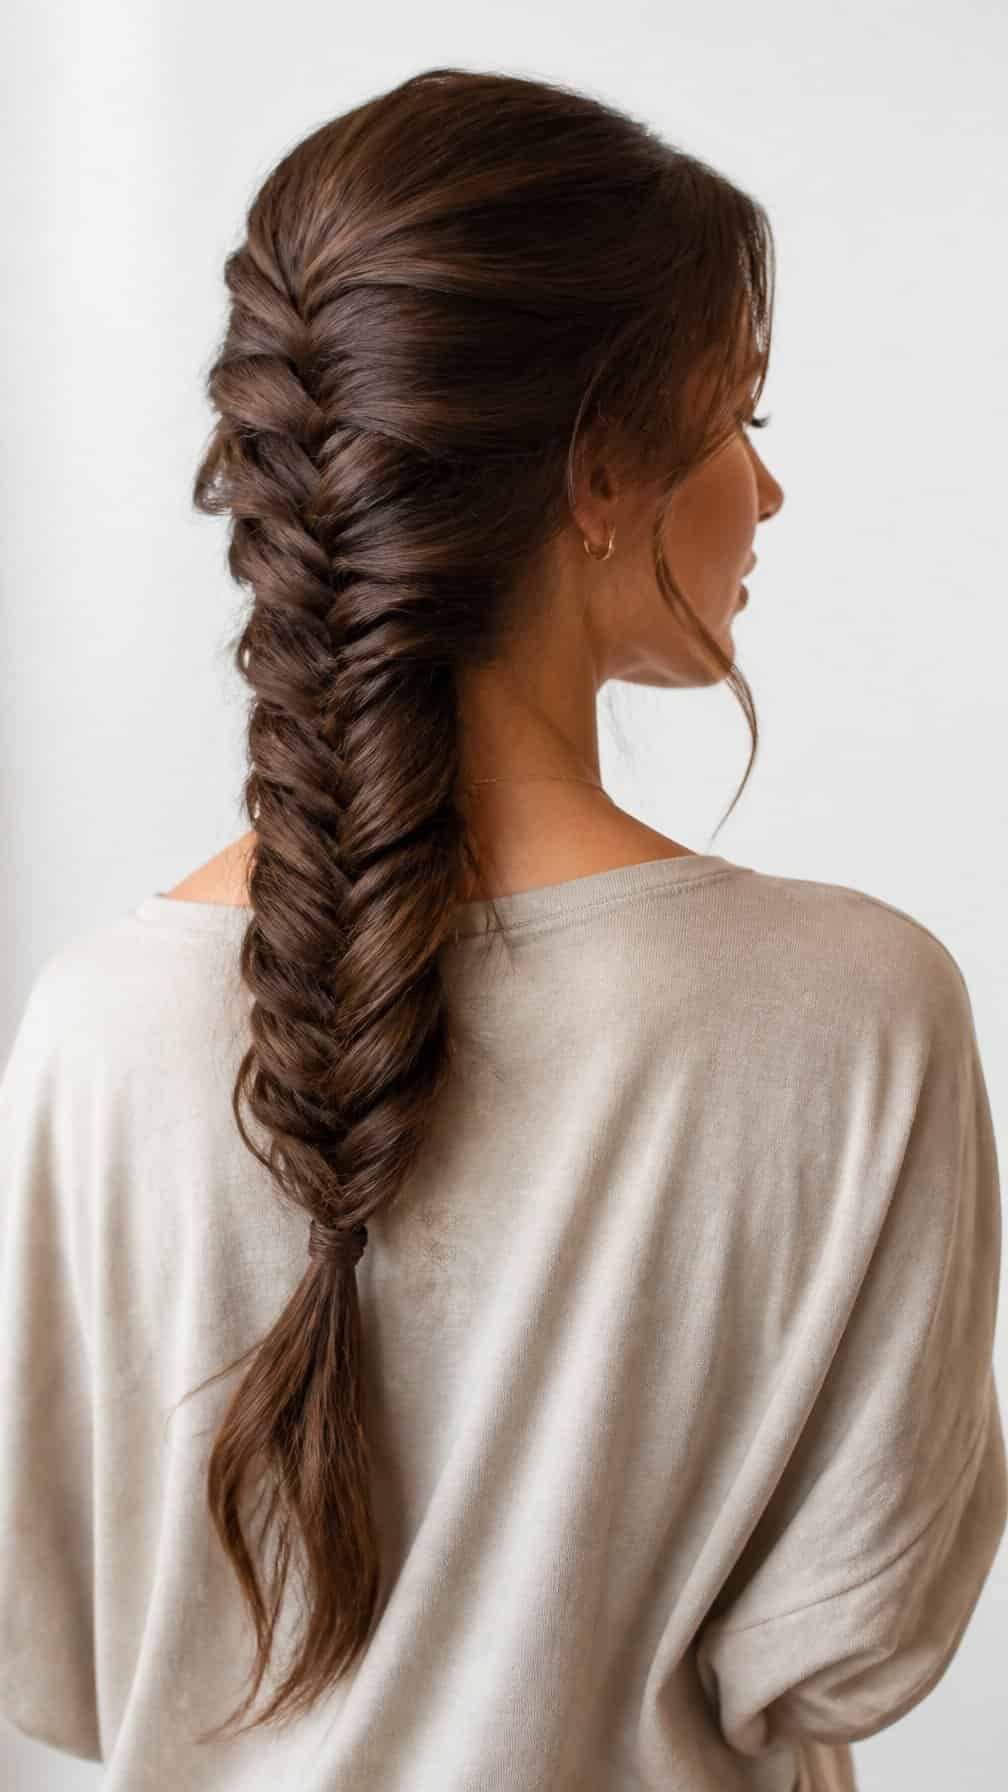
I create this style by dividing long hair into two low sections and crossing small strands from each side toward the center. The loose, layered structure gives the braid a flowing appearance while keeping the lengths gathered.
I secure the lower end with a clear elastic, then gently pull the outer edges to add width and soften the shape. I apply a light styling cream beforehand to reduce flyaways without making the braid stiff.
For lasting hold, I anchor the braid near the nape with discreet pins and finish with flexible hairspray. This method works best on hair with some texture, but I can add waves first if my hair feels too slippery.


