

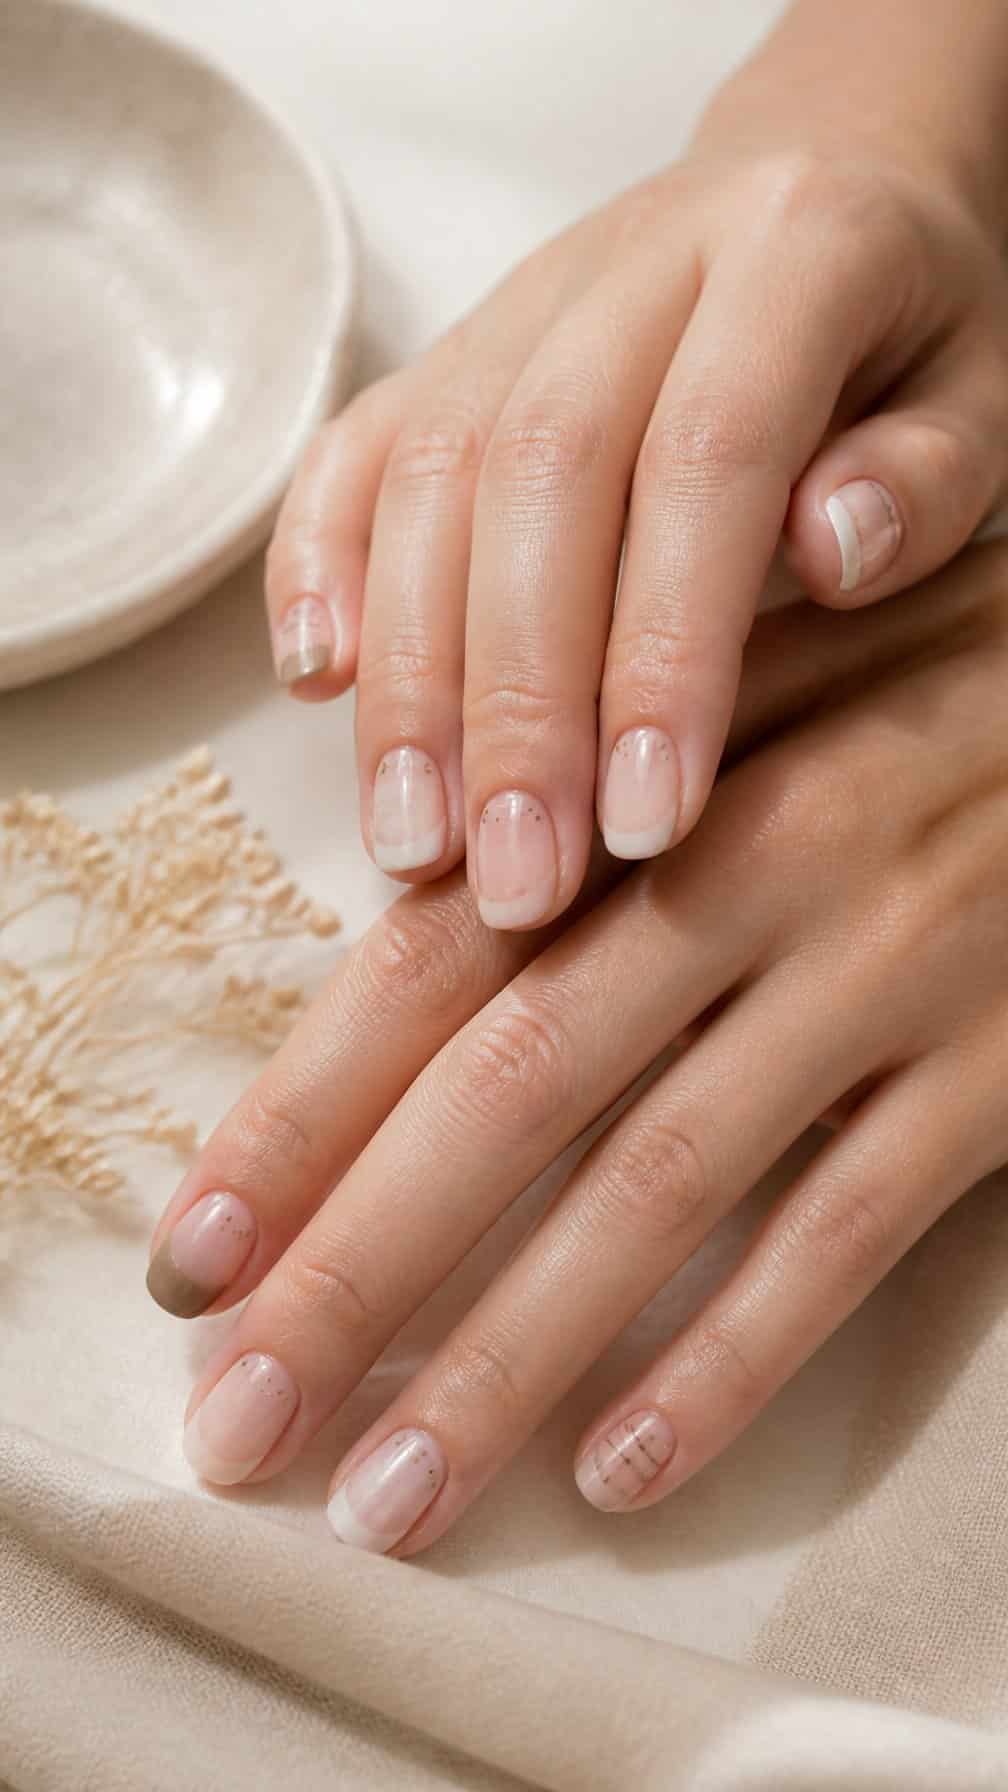
A barely-there manicure lets you enhance your natural nails without creating a heavily polished look. I’ll explore understated colors, soft finishes, and refined details that keep your hands looking neat, fresh, and effortless.
Save for later
Want to come back to this story? Save it with your email so it is easy to find again.
You can find a natural nail design that suits your tone, nail shape, and preferred level of polish. I’ll also cover how to choose sheer shades and care for your manicure so the finish stays smooth and understated.
Table of Contents
- 1 1) Sheer Nude Gloss
- 2 2) Barely Blushed Pink
- 3 3) Milky White Wash
- 4 4) Soft Beige Tint
- 5 5) Natural French Tips
- 6 6) Micro French Manicure
- 7 7) Nude Ombré Fade
- 8 8) Rosy Translucent Nails
- 9 9) Peachy Sheer Polish
- 10 10) Almond-Toned Nude
- 11 11) Short Rounded Nude Nails
- 12 12) Barely-There Pink Chrome
- 13 13) Subtle Pearl Finish
- 14 14) Clear Gloss with Gold Flecks
- 15 15) Natural Matte Nude
- 16 16) Sheer Taupe Nails
- 17 17) Creamy Ivory Tint
- 18 18) Minimalist White Line Art
- 19 19) Blush-Tipped Nails
- 20 20) Translucent Mocha Nude
- 21 21) Soft Pink Half-Moons
- 22 22) Bare Nails with Glossy Tips
- 23 23) Delicate Nude Polka Dots
- 24 24) Sheer Lavender Tint
- 25 25) Natural Nail Negative Space
1) Sheer Nude Gloss

I choose a sheer nude polish when I want my nails to look neat without appearing heavily made up. Its translucent finish lets my natural nail tone show through while adding a soft, even gloss.
I start with shaped, gently buffed nails and apply a thin base coat. One coat of nude polish creates a subtle wash of color; a second coat adds slightly more coverage without losing the barely-there effect.
I keep the edges clean with a small brush dipped in remover. A glossy top coat smooths the surface and helps the manicure look fresh, while regular cuticle oil maintains a tidy finish between applications.
2) Barely Blushed Pink

I use a sheer blush-pink polish to add a soft wash of color while keeping the natural nail visible. The translucent finish suits short, neatly filed nails and gives the manicure a clean, understated look.
I apply one thin coat for the most delicate effect, or layer a second coat when I want slightly more coverage. I finish with a glossy topcoat to smooth the surface and protect the polish without making the color appear opaque.
3) Milky White Wash
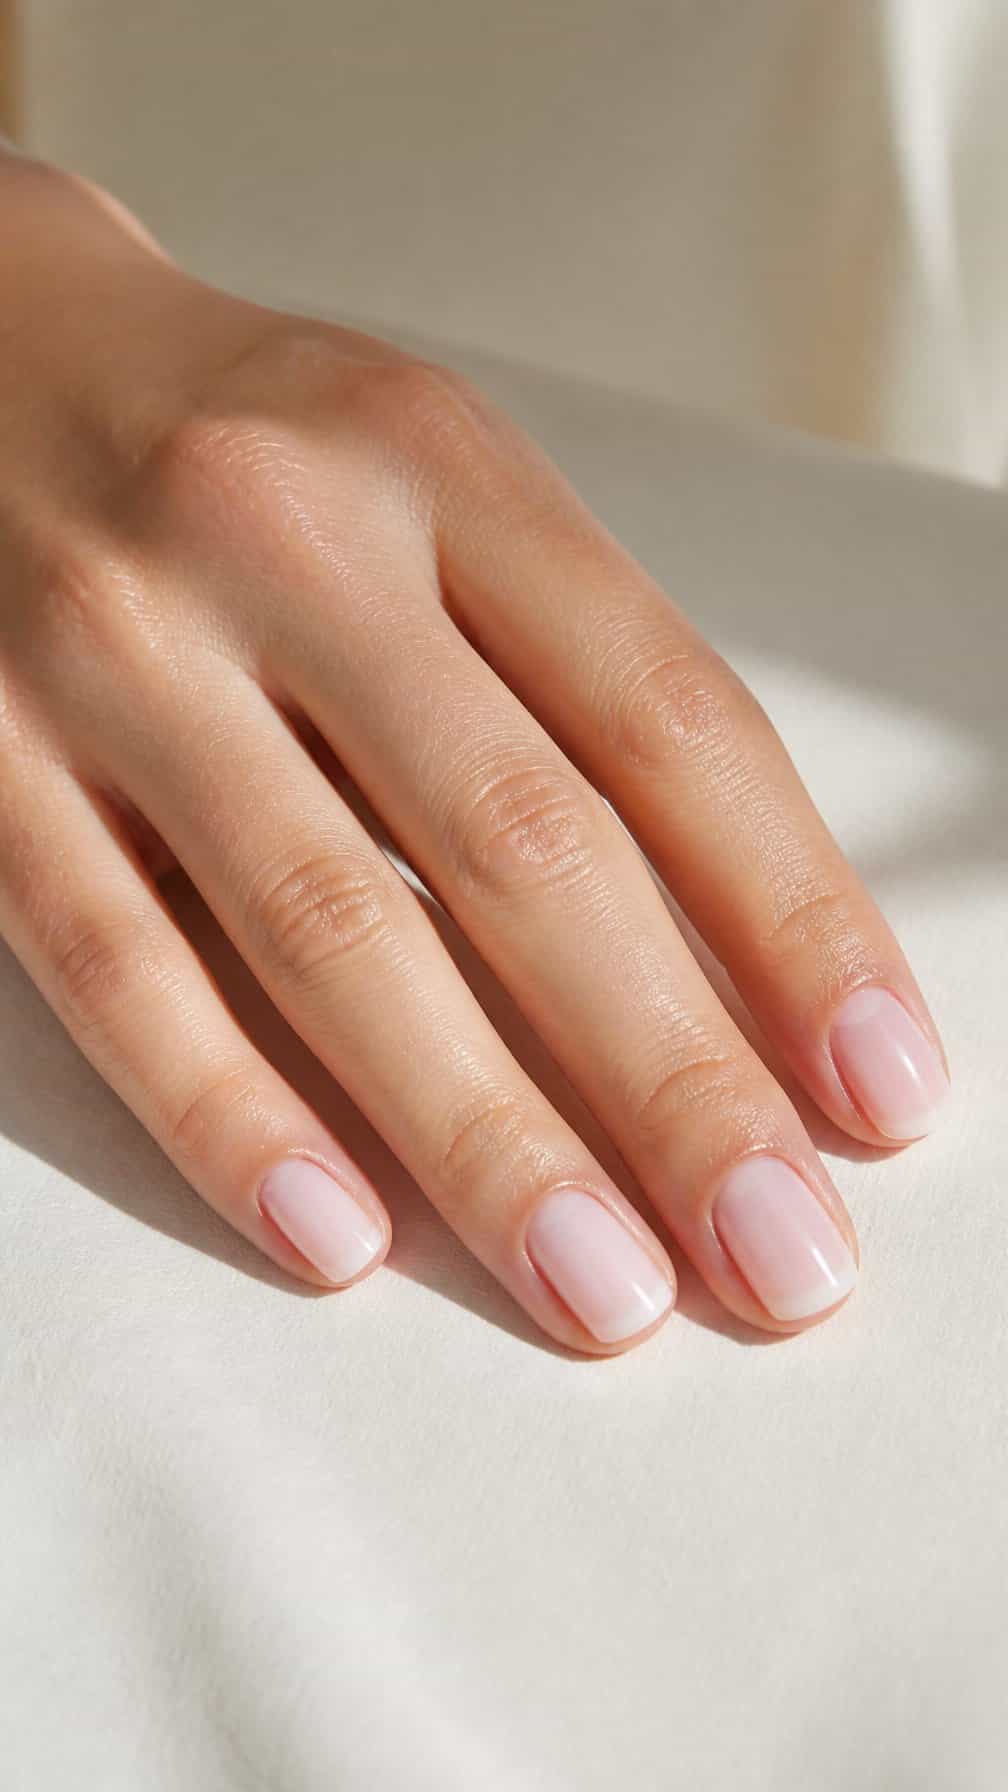
I use a sheer milky white polish to soften the natural nail without covering its visible texture completely. The translucent finish lets the tips show through gently, creating a clean, even look that suits short and medium-length nails.
I prefer two thin coats for adjustable coverage. One coat gives my nails a subtle veil, while a second coat adds a little more opacity without making the manicure appear heavy. I finish with a glossy top coat to smooth the surface and extend wear.
4) Soft Beige Tint

I use a sheer beige polish to even out my nail color while keeping the natural nail visible. The warm, neutral tint adds a clean finish without looking fully opaque, making it suitable for short nails and understated everyday styling.
I prefer applying two thin coats, allowing each layer to dry before adding the next. A glossy top coat smooths the surface and helps the beige tint look polished, while a nourishing cuticle oil keeps the surrounding skin neat.
5) Natural French Tips
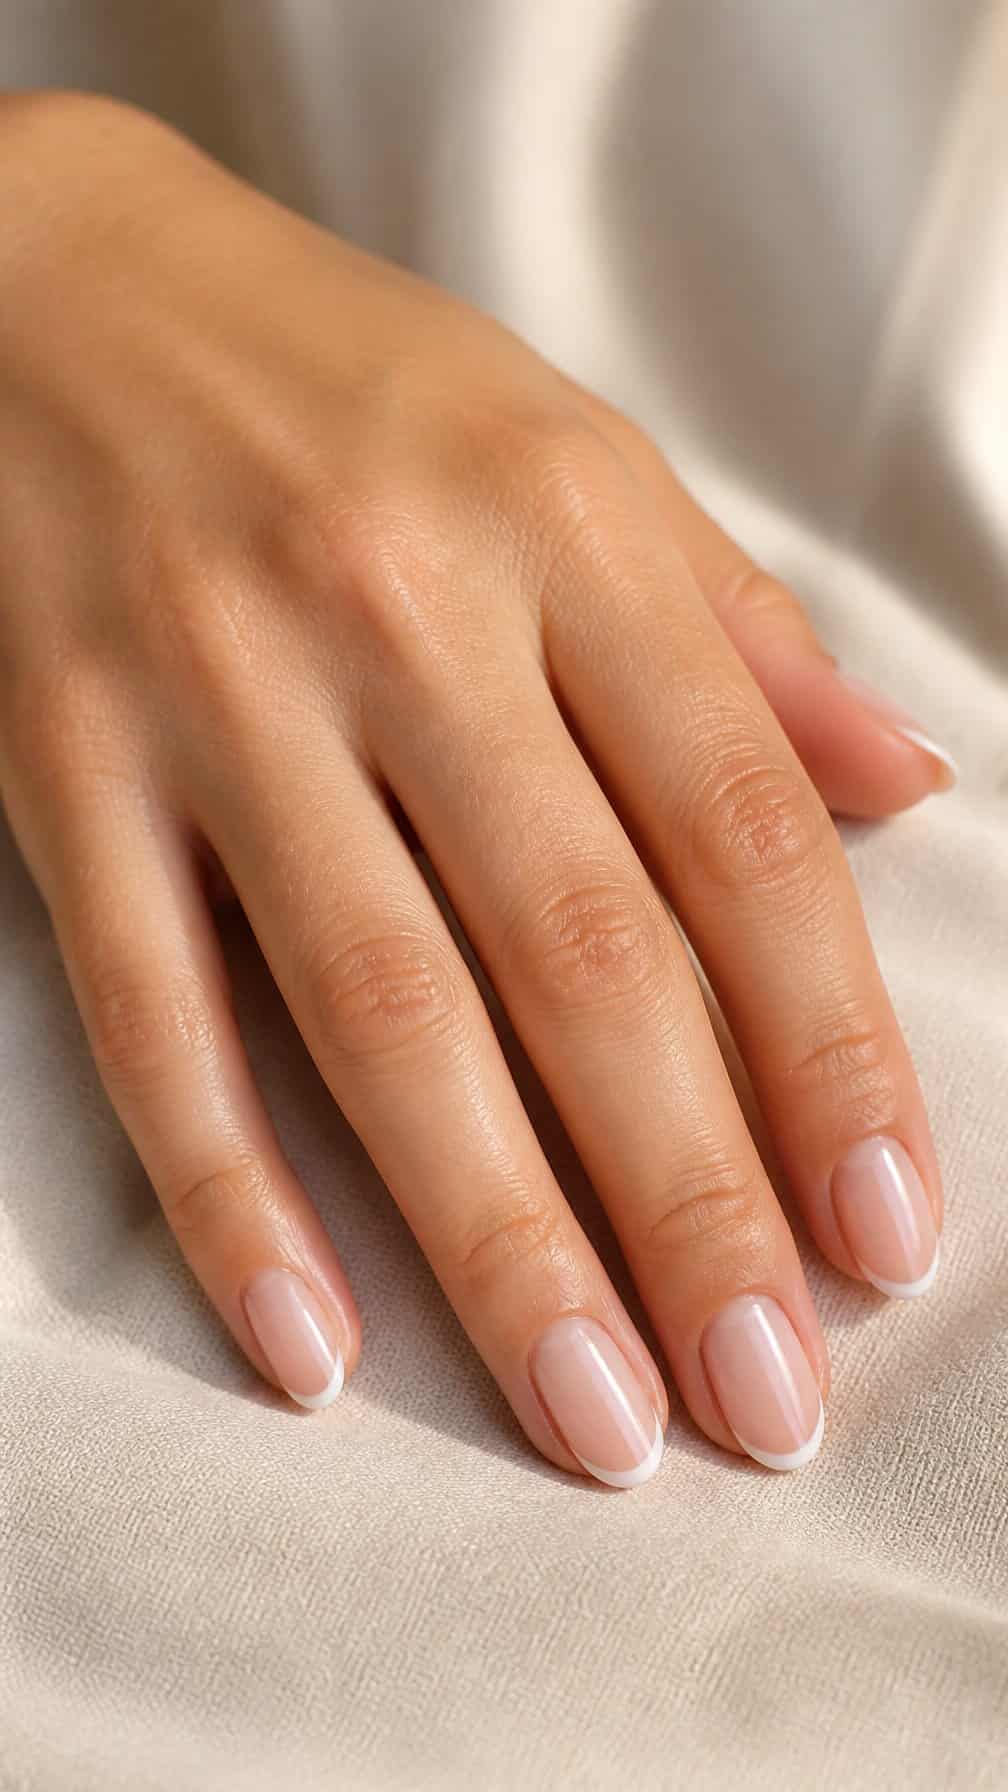
I keep the base sheer and close to my natural nail color, then add a thin white line along each free edge. This approach gives me the recognizable French manicure shape without creating a strong contrast.
I prefer a soft white, ivory, or pale beige tip rather than bright white. I also keep the line slightly rounded to follow my nail’s natural curve, which helps the design look neat and understated.
For a longer-lasting finish, I seal the tips and the entire nail with a clear top coat. I refresh the top coat every few days to maintain shine and protect the fine white edges.
6) Micro French Manicure

I keep the tips exceptionally thin, tracing a narrow white line across the natural edge of each nail. This technique preserves a clean, barely-there look while adding enough contrast to define the shape.
I prefer a sheer pink, beige, or transparent base so my nails remain visible beneath the polish. I use a fine brush for control, especially on short nails where a wider tip can quickly look heavy.
For a softer finish, I choose an off-white or pale cream instead of bright white. I keep every tip consistent in thickness, then seal the design with a glossy topcoat for a smooth, polished surface.
7) Nude Ombré Fade

I create this barely-there manicure by blending a sheer nude base into a softly translucent tip. The gradual shift keeps the nails looking natural while adding subtle dimension. I choose a shade close to my skin tone, then layer thin coats so the fade stays smooth rather than opaque.
I use a makeup sponge or detail brush to soften the transition before sealing the design with a glossy topcoat. Short, rounded nails suit this look especially well, but the clean gradient also works on almond or squoval shapes. I keep the finish even and avoid sharp color breaks for a refined result.
8) Rosy Translucent Nails

I use a sheer pink polish to give my nails a soft, natural flush while keeping the free edge visible. The translucent finish adds subtle color without looking opaque, making it suitable for short or medium-length nails.
I apply two thin coats and let each layer dry before adding a glossy topcoat. I keep the shape simple, usually choosing a rounded or softly squared edge so the manicure maintains its barely-there appearance.
This design works well when I want a polished look that still shows my natural nail texture. I refresh the topcoat every few days to maintain shine and help protect the delicate layers.
9) Peachy Sheer Polish

I use peachy sheer polish when I want a soft wash of color that still lets my natural nails show through. Its warm undertone can complement many skin tones, while one thin coat keeps the finish subtle and light.
I apply the polish in narrow, even strokes from the base to the tip, then add a second coat if I want slightly more coverage. I leave the edges clean and finish with a glossy topcoat to smooth the surface and extend wear.
This shade works well for short nails because it adds warmth without creating a strong contrast. I also like it for simple occasions when I want my manicure to look neat but not heavily styled.
10) Almond-Toned Nude

I choose an almond-toned nude when I want a soft manicure with a little warmth. Its beige base complements many skin tones, while subtle peach or tan undertones keep the color from looking stark.
I keep the shape short to medium and file the edges into a gentle almond point. One sheer coat creates a barely-there wash, while two coats provide smoother coverage without making the nails look heavy.
I finish with a high-shine topcoat and tidy the cuticles with nourishing oil. This design works well for everyday wear because it looks polished without drawing attention away from the rest of the outfit.
11) Short Rounded Nude Nails
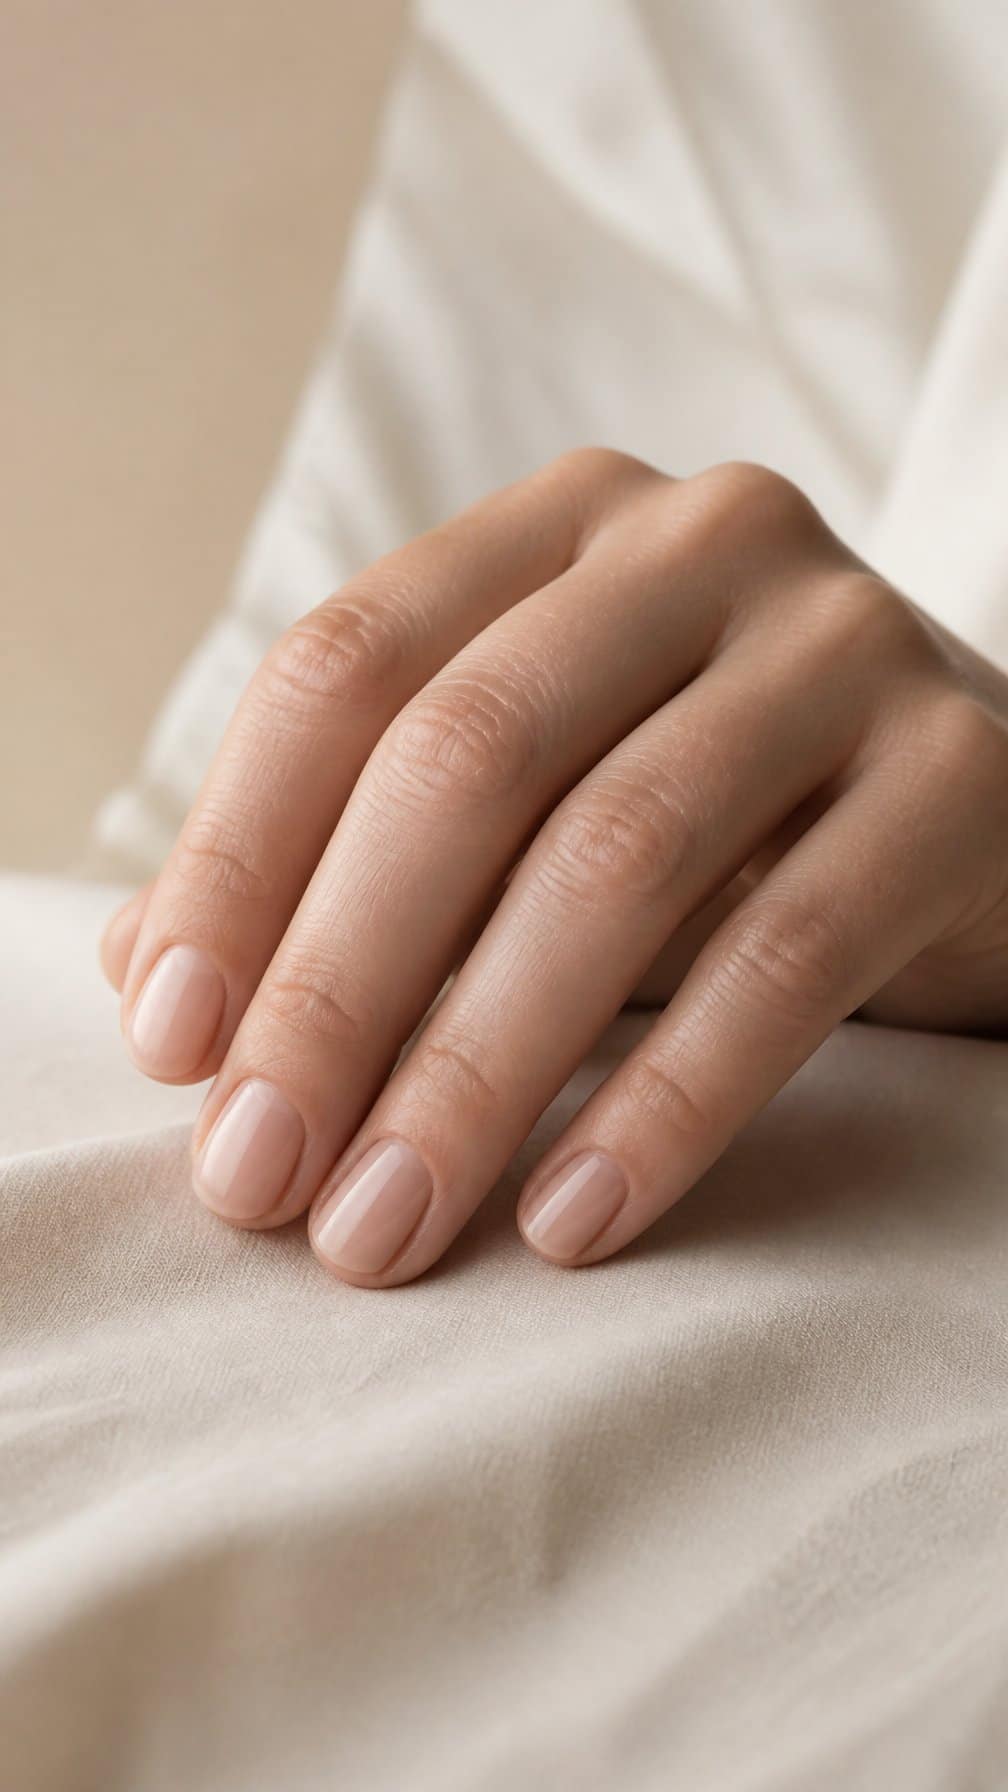
I keep the length short and shape the edges into a soft, rounded silhouette. This outline follows the natural curve of my fingertips, making the manicure look neat without drawing strong attention to the nail shape.
I choose a nude polish that closely matches my skin’s undertone, then apply two thin coats for even coverage. A glossy topcoat adds a clean finish, while a sheer formula lets more of my natural nail show through.
I maintain this design by filing gently in one direction and applying cuticle oil regularly. The simple color works well for everyday outfits, office settings, and occasions when I want polished nails that remain understated.
12) Barely-There Pink Chrome

I use a sheer pink base to keep this manicure close to the natural nail while adding a soft, reflective finish. The chrome powder catches light without creating a strong metallic contrast, so the result stays polished and understated.
I prefer a short, softly rounded shape for this design because it keeps the delicate color balanced. A glossy top coat smooths the surface and helps the fine chrome effect look even across each nail.
13) Subtle Pearl Finish

I like a sheer pearl finish when I want my natural nails to look polished without strong color. The translucent base lets my nail tone remain visible, while a fine pearlescent sheen adds gentle dimension. I keep the finish thin and even so it catches light softly rather than appearing metallic.
I usually shape my nails with a short, rounded edge and apply one or two sheer coats. A glossy topcoat smooths the surface and helps the subtle shimmer look clean. This design works well for everyday wear because it adds detail without competing with other colors or accessories.
14) Clear Gloss with Gold Flecks
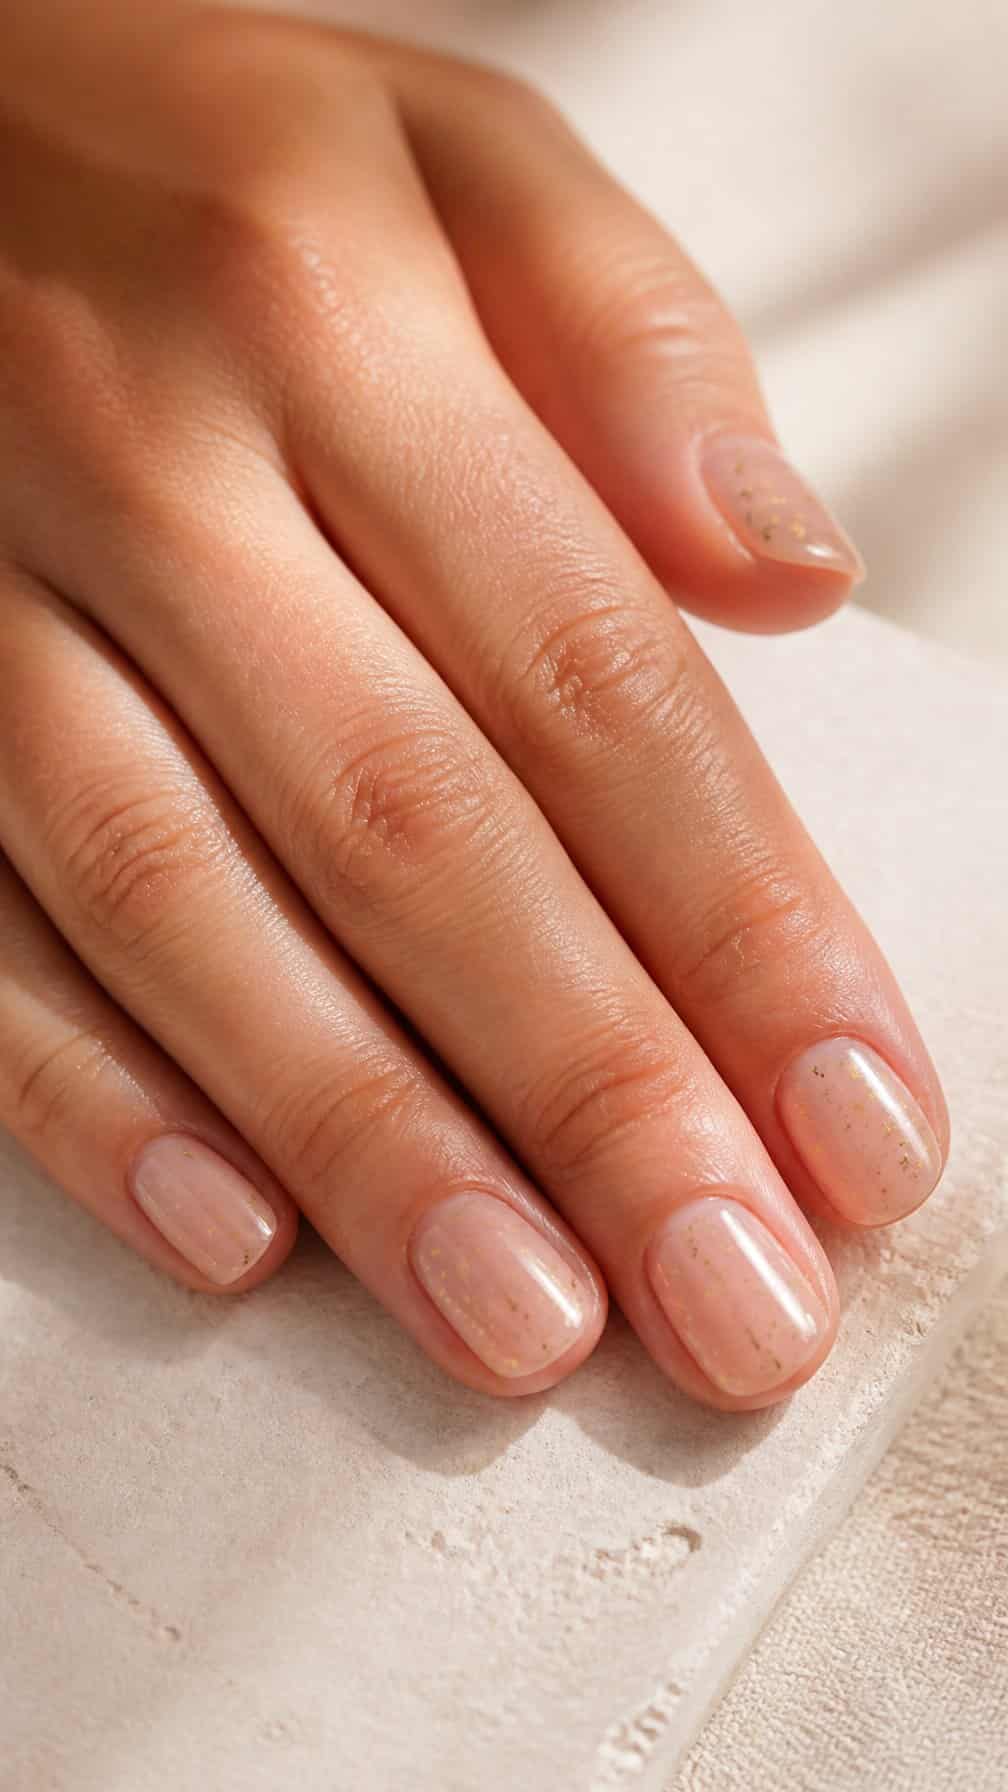
I keep the base nearly bare with a thin layer of clear gloss, allowing my natural nail color and subtle ridges to remain visible. Small gold flecks add a restrained accent without covering the nail’s clean appearance.
I place the flecks unevenly, concentrating a few near the tips or along one side of each nail. This irregular spacing keeps the design relaxed and prevents it from looking too uniform.
I finish with another layer of clear topcoat to smooth the surface and secure the flecks. Short, softly shaped nails suit this manicure especially well, while a sheer nude base can add gentle warmth if my nails look uneven.
15) Natural Matte Nude
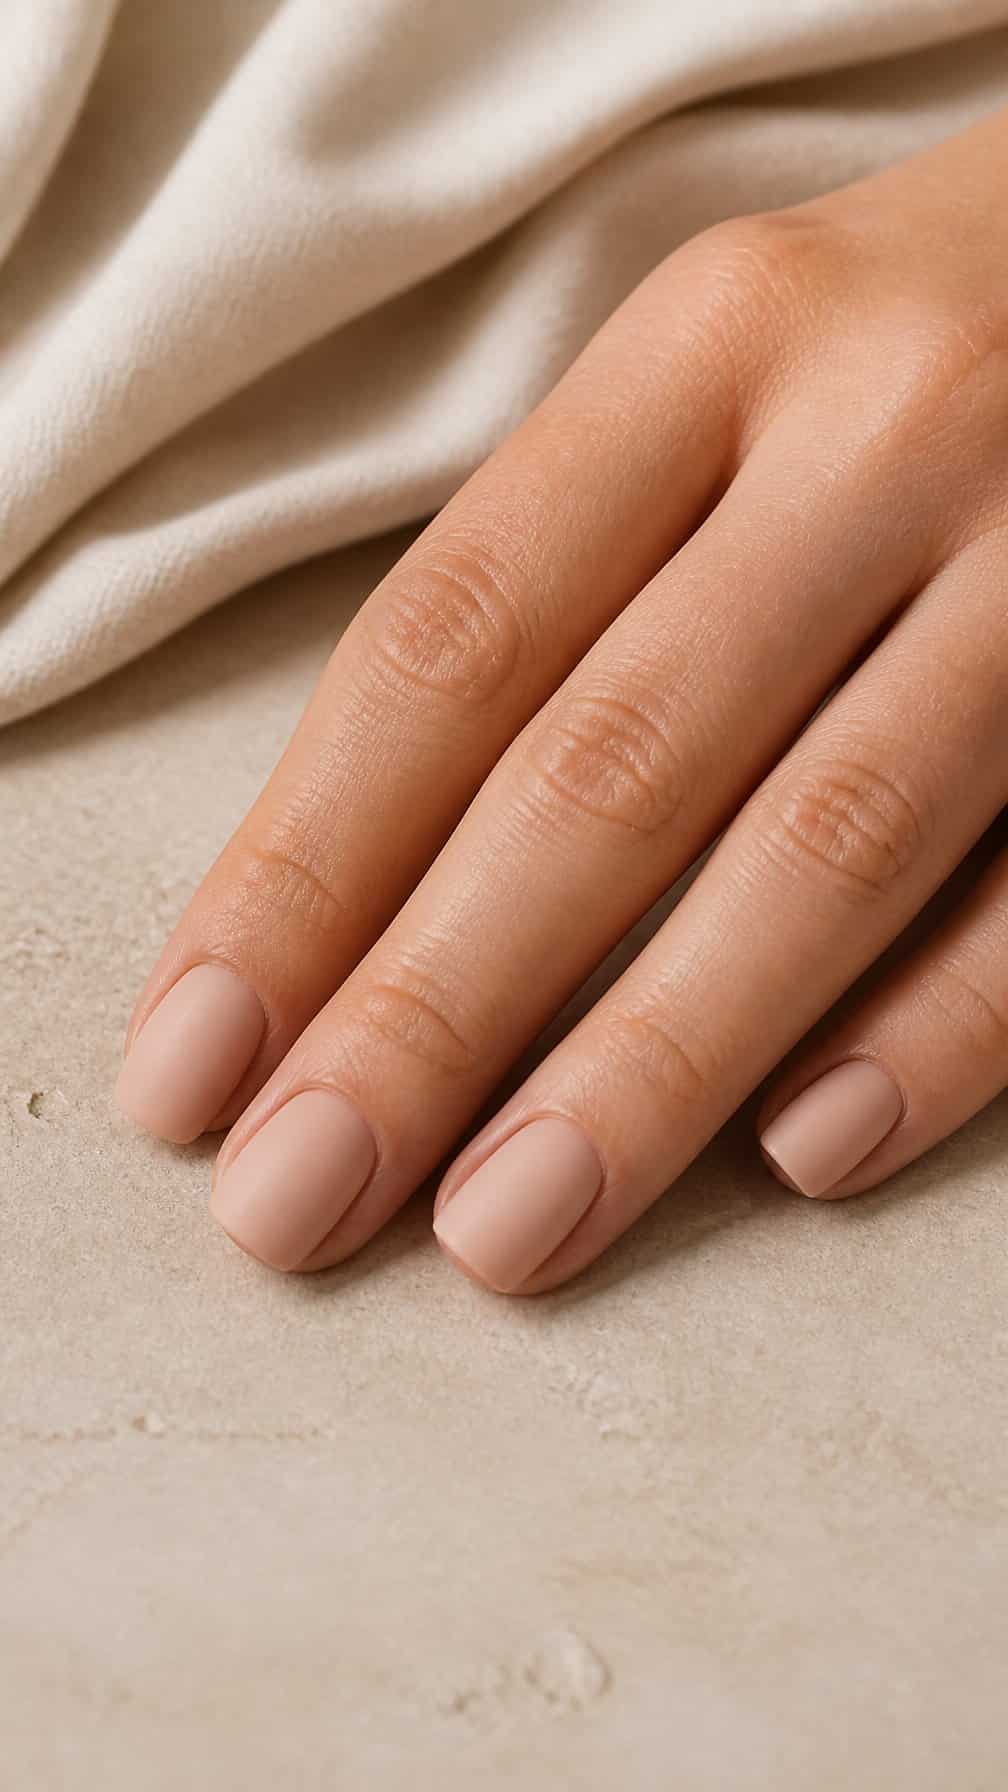
I choose a matte nude polish that closely matches my natural skin tone for a clean, understated finish. The soft, nonreflective surface keeps the manicure subtle while making each nail look neat and intentional.
I prepare my nails with gentle shaping, cuticle care, and a smoothing base coat before applying two thin layers of nude polish. After it dries, I add a matte top coat to reduce shine and help the color wear evenly.
I prefer a shade with a slightly warm or neutral undertone because it blends naturally with my hands. A short, rounded or softly squared shape complements this design without making it look overly styled.
16) Sheer Taupe Nails

I like sheer taupe polish when I want a barely-there manicure with a little more warmth than beige. Its translucent finish lets my natural nail show through while adding a soft, muted tint that suits short or neatly shaped nails.
I usually apply two thin coats, allowing each layer to dry before adding the next. This keeps the color delicate and helps prevent streaks, while a glossy topcoat gives my nails a smooth, polished finish without making the design look heavy.
17) Creamy Ivory Tint
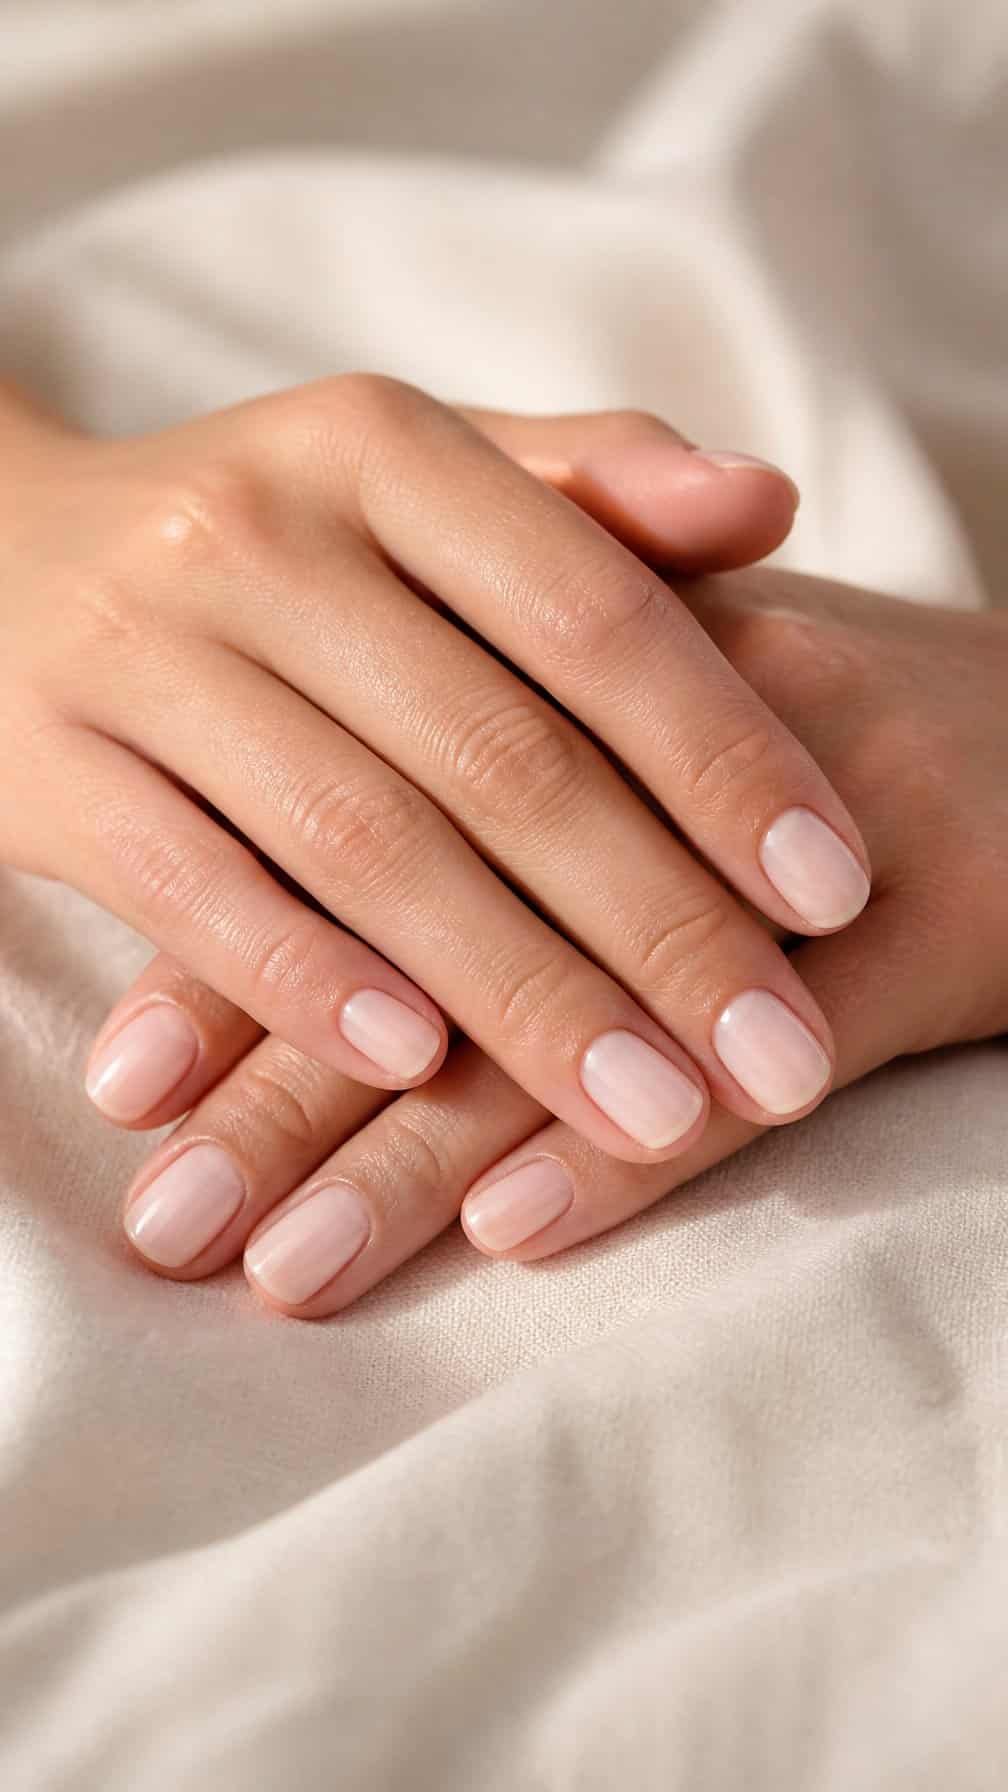
I use a creamy ivory polish when I want a soft, polished look without strong contrast. Its warm undertone keeps the manicure from appearing stark, while the sheer finish allows some natural nail color and texture to show through.
I apply one thin coat for a barely-there wash or build to two coats for more coverage. I keep the edges neat and finish with a glossy topcoat, which smooths the surface and helps the pale shade look even.
This design suits short, rounded, and softly squared nails. I choose a formula with a fluid texture because thick ivory polish can look streaky, especially near the cuticle.
18) Minimalist White Line Art
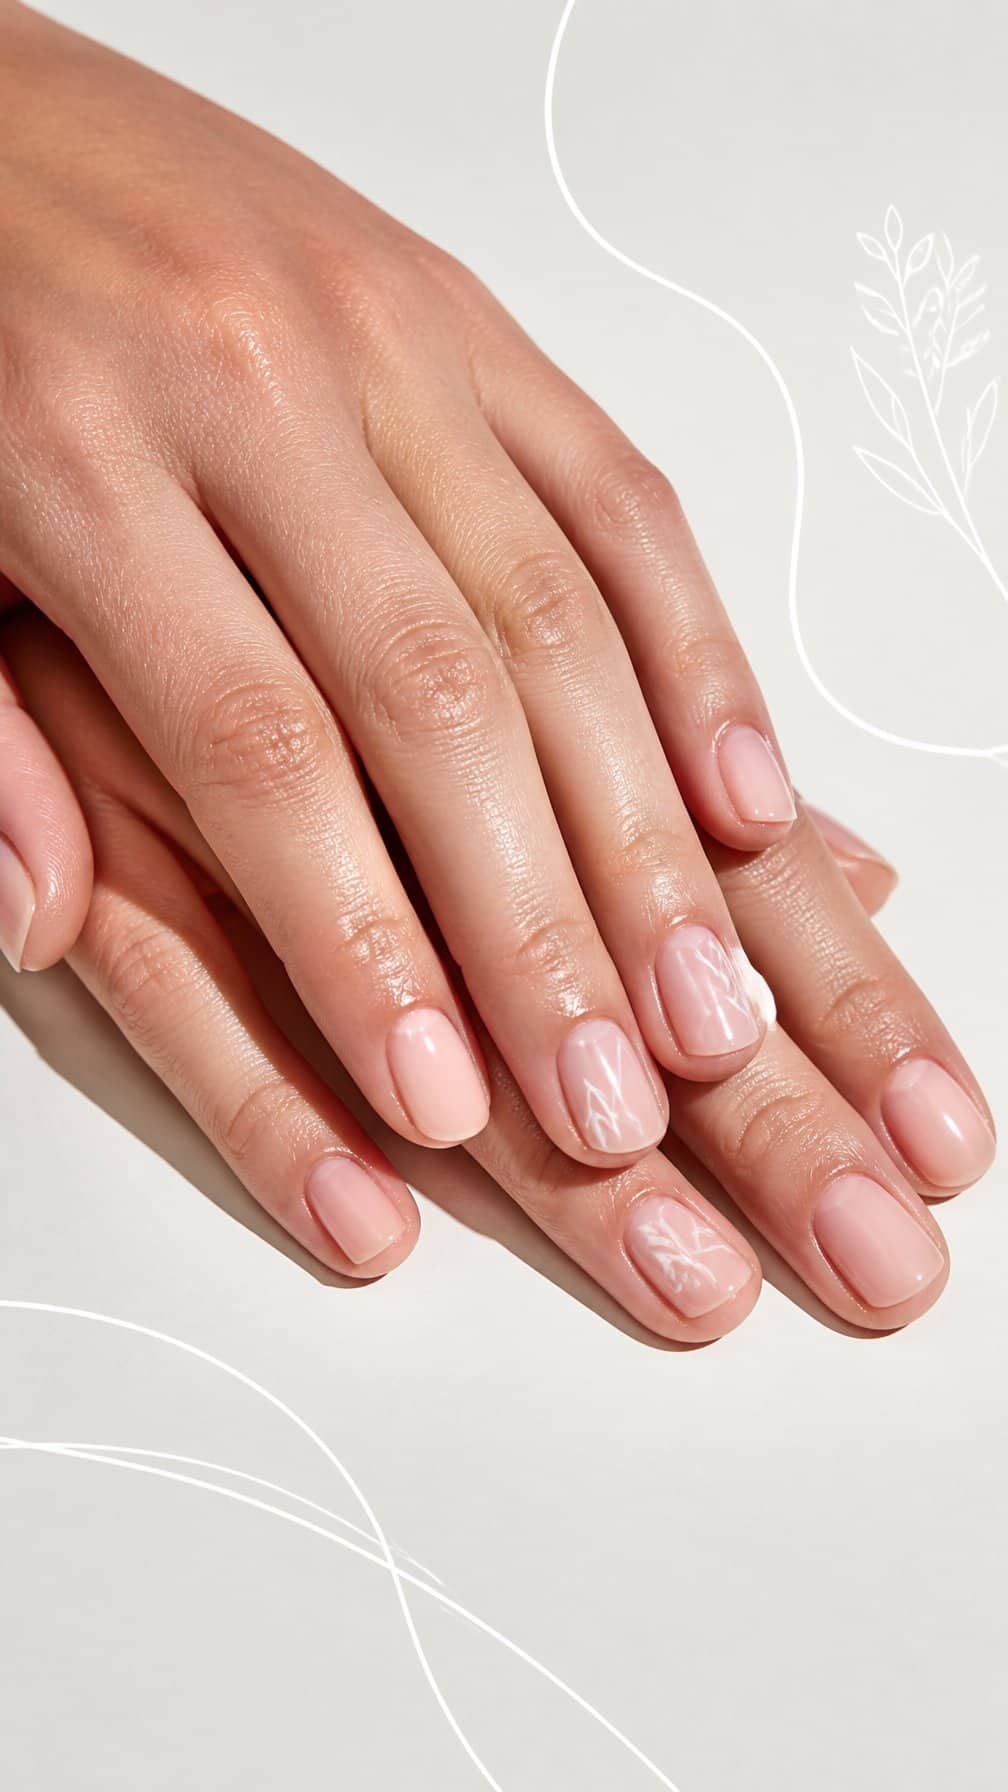
I keep this design clean with one or two fine white lines over a sheer nude base. A curved stripe near the cuticle, a tiny arch, or a simple wave adds structure without covering the natural nail.
I prefer a milky or translucent polish underneath because it softens the contrast and keeps the manicure understated. I use a thin nail-art brush or striping tool, then seal the design with a clear top coat.
For a balanced look, I place the lines on alternating nails rather than repeating the same pattern across every finger. This approach works well on short nails and lets the natural nail show through.
19) Blush-Tipped Nails

I use a sheer blush-pink base and add a thin, softly curved tip in a slightly deeper rose shade. The close color match keeps the design subtle while giving the natural nail a clean, polished edge.
I prefer a rounded or squoval shape for this look because it follows the gentle curve of the tip. A glossy top coat adds definition without making the manicure feel heavy, while a satin finish creates a softer appearance.
I keep the tip narrow and slightly translucent rather than drawing a bright, opaque line. This placement lets my natural nail show through and makes the design easy to wear with casual or formal outfits.
20) Translucent Mocha Nude

I use a translucent mocha nude to add soft, warm color while keeping the natural nail visible. Its sheer finish creates a polished look without the heaviness of opaque polish, making it suitable for short, medium, and neatly shaped nails.
I apply one thin coat for a barely-there tint or layer a second coat for slightly more coverage. I keep the shape simple, such as a rounded square or soft oval, then finish with a glossy topcoat to emphasize the smooth, glasslike surface.
21) Soft Pink Half-Moons

I keep the base sheer and close to my natural nail color, then add a soft pink curve along each cuticle. The rounded shape follows my nail’s natural growth line, creating a neat detail without covering the full nail.
I use a fine brush or half-moon stencil to keep the edges even. After the pink polish dries, I apply a thin glossy top coat, extending it over the tips to protect the design and maintain a smooth finish.
22) Bare Nails with Glossy Tips

I keep the nail beds bare and add a clear, high-shine layer only to the tips. This subtle contrast gives my manicure a clean finish while preserving the natural color and shape of each nail.
I file the tips into a soft square or rounded shape, then smooth the edges before applying polish. For a precise result, I use a thin brush and follow the natural curve rather than creating a thick band.
I seal the entire nail with a clear topcoat, extending it slightly over the free edge. This design works well on short nails and pairs easily with casual or polished outfits.
23) Delicate Nude Polka Dots

I start with a sheer nude base that matches my natural nail tone, then add tiny white or soft beige dots near the cuticles and tips. I keep the spacing irregular but balanced, which gives the manicure a delicate, understated finish without looking overly arranged.
I use a dotting tool or the rounded end of a fine manicure brush to control the size. After the dots dry, I apply a thin layer of clear topcoat to smooth the surface and help the design last.
24) Sheer Lavender Tint

I use a sheer lavender polish to add a cool, barely-there wash of color while keeping my natural nails visible. One thin coat creates a soft tint, while two coats provide a slightly clearer lavender finish without looking opaque.
I keep the shape short and lightly rounded so the color stays understated. After applying the polish, I seal it with a glossy top coat to smooth the surface and help the delicate shade wear evenly.
25) Natural Nail Negative Space

I keep the base of my nails bare and add a slim white curve near the tips. This negative-space design lets my natural nail color remain visible while the crisp detail gives the manicure a polished finish. I prefer a sheer nude base to soften the contrast.
For a more subtle version, I use one small dot or short line on each nail rather than a full pattern. I place the accents slightly off-center so the design feels intentional without looking busy. A glossy top coat brings the finish together and helps protect the exposed-looking sections.


