

Busy mornings do not require a complicated routine. I can help you find simple makeup approaches that suit different skin types, schedules, features, and everyday settings without demanding perfection or extensive tools.
Save for later
Want to come back to this story? Save it with your email so it is easy to find again.
You can create a polished, comfortable look in just a few practical steps, whether you prefer sheer coverage, soft definition, or a fresh, minimal finish. I’ll guide you through adaptable ideas for work, video calls, errands, brunch, and long days when your makeup needs to stay manageable.
Table of Contents
- 1 1) Tinted Moisturizer and Concealer
- 2 2) Brushed-Up Brows and Clear Brow Gel
- 3 3) Cream Blush and Lip Balm
- 4 4) Five-Minute Soft Brown Eyeshadow
- 5 5) Mascara and Peachy Lip Tint
- 6 6) No-Foundation Spot Concealing
- 7 7) Dewy Skin with Highlighter
- 8 8) Monochromatic Peach Makeup
- 9 9) Easy Everyday Nude Makeup
- 10 10) Quick Rosy Cheek Makeup
- 11 11) Brown Eyeliner and Mascara
- 12 12) Barely-There Makeup with Tinted Balm
- 13 13) Cream Bronzer and Tinted Lip Oil
- 14 14) Fresh-Faced Makeup for Work
- 15 15) Fast Makeup for Dry Skin
- 16 16) Simple Makeup for Oily Skin
- 17 17) Natural Makeup for Hooded Eyes
- 18 18) Quick Makeup for Glasses Wearers
- 19 19) Minimal Makeup for Mature Skin
- 20 20) Three-Product Morning Makeup
- 21 21) Makeup Using Only Cream Products
- 22 22) No-Makeup Makeup with Skin Tint
- 23 23) Five-Minute Brunch Makeup
- 24 24) Soft Definition with Taupe Shadow
- 25 25) Quick Makeup for Video Calls
1) Tinted Moisturizer and Concealer
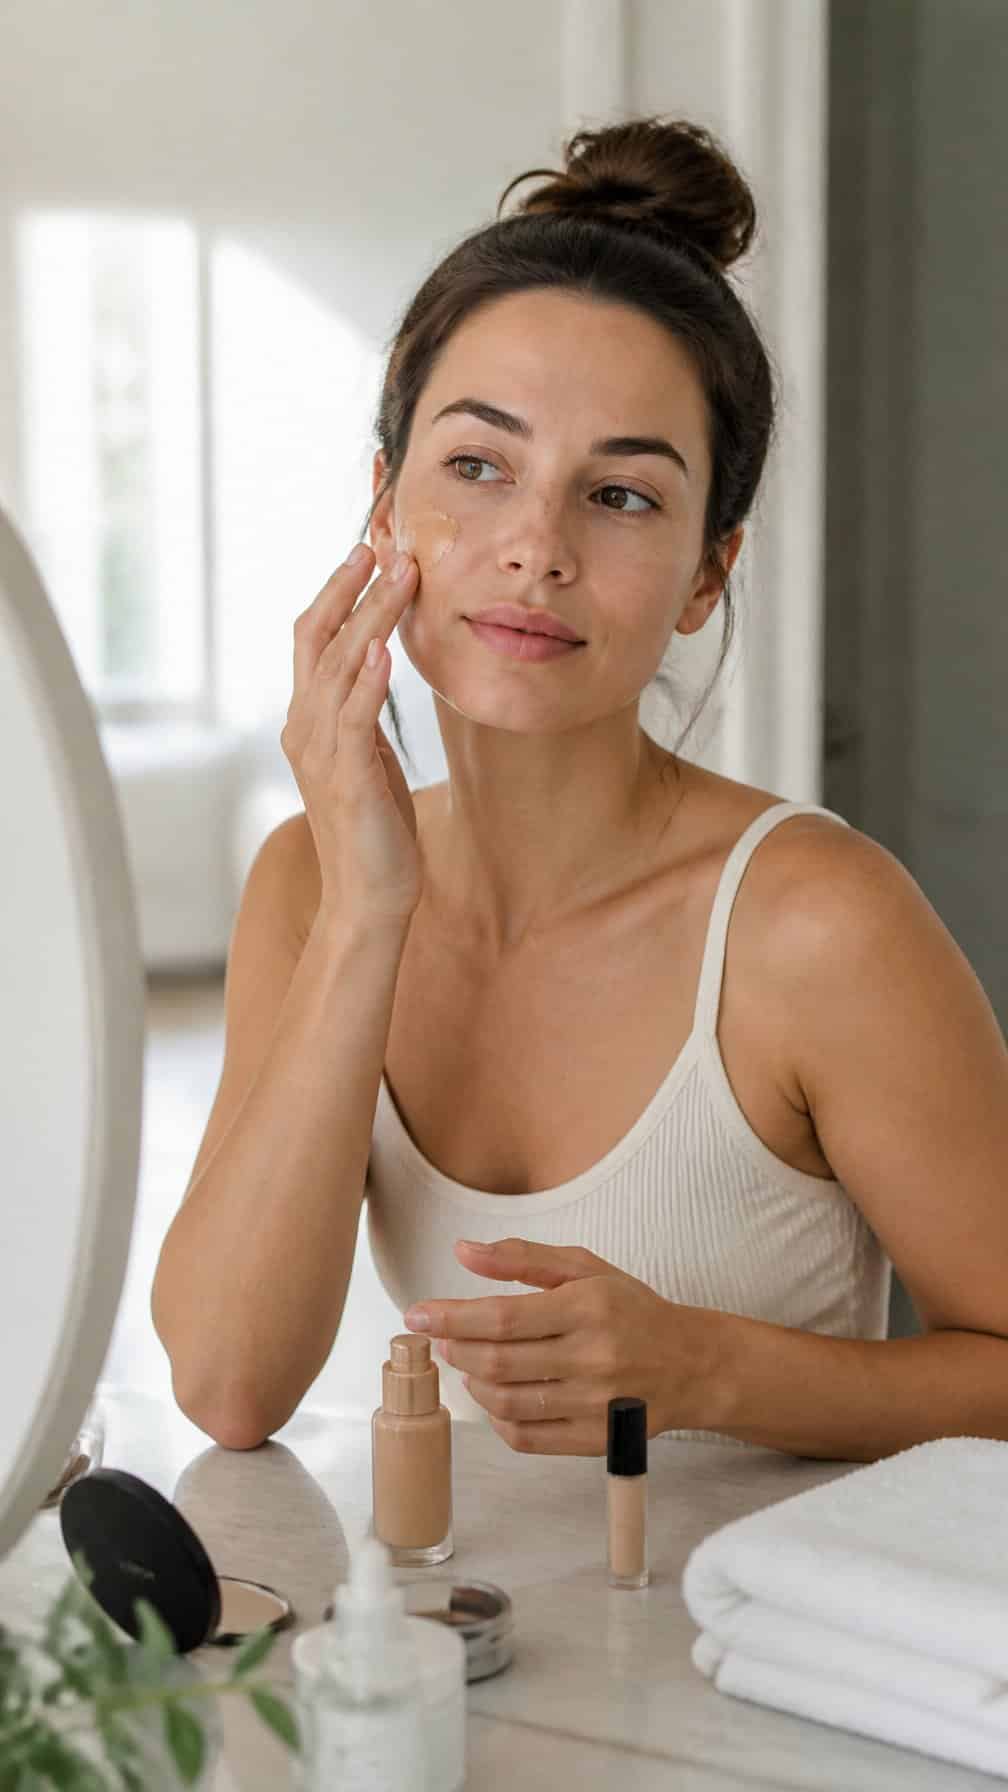
I smooth a thin layer of tinted moisturizer over my face with my fingers, starting at the center and blending outward. It evens my skin tone while keeping the finish light and natural, which works well when I have only a few minutes.
I add concealer only where I need more coverage, such as under my eyes or around redness near my nose. I tap it in with my ring finger or a small brush instead of rubbing, then set the creasiest areas with a small amount of powder.
2) Brushed-Up Brows and Clear Brow Gel
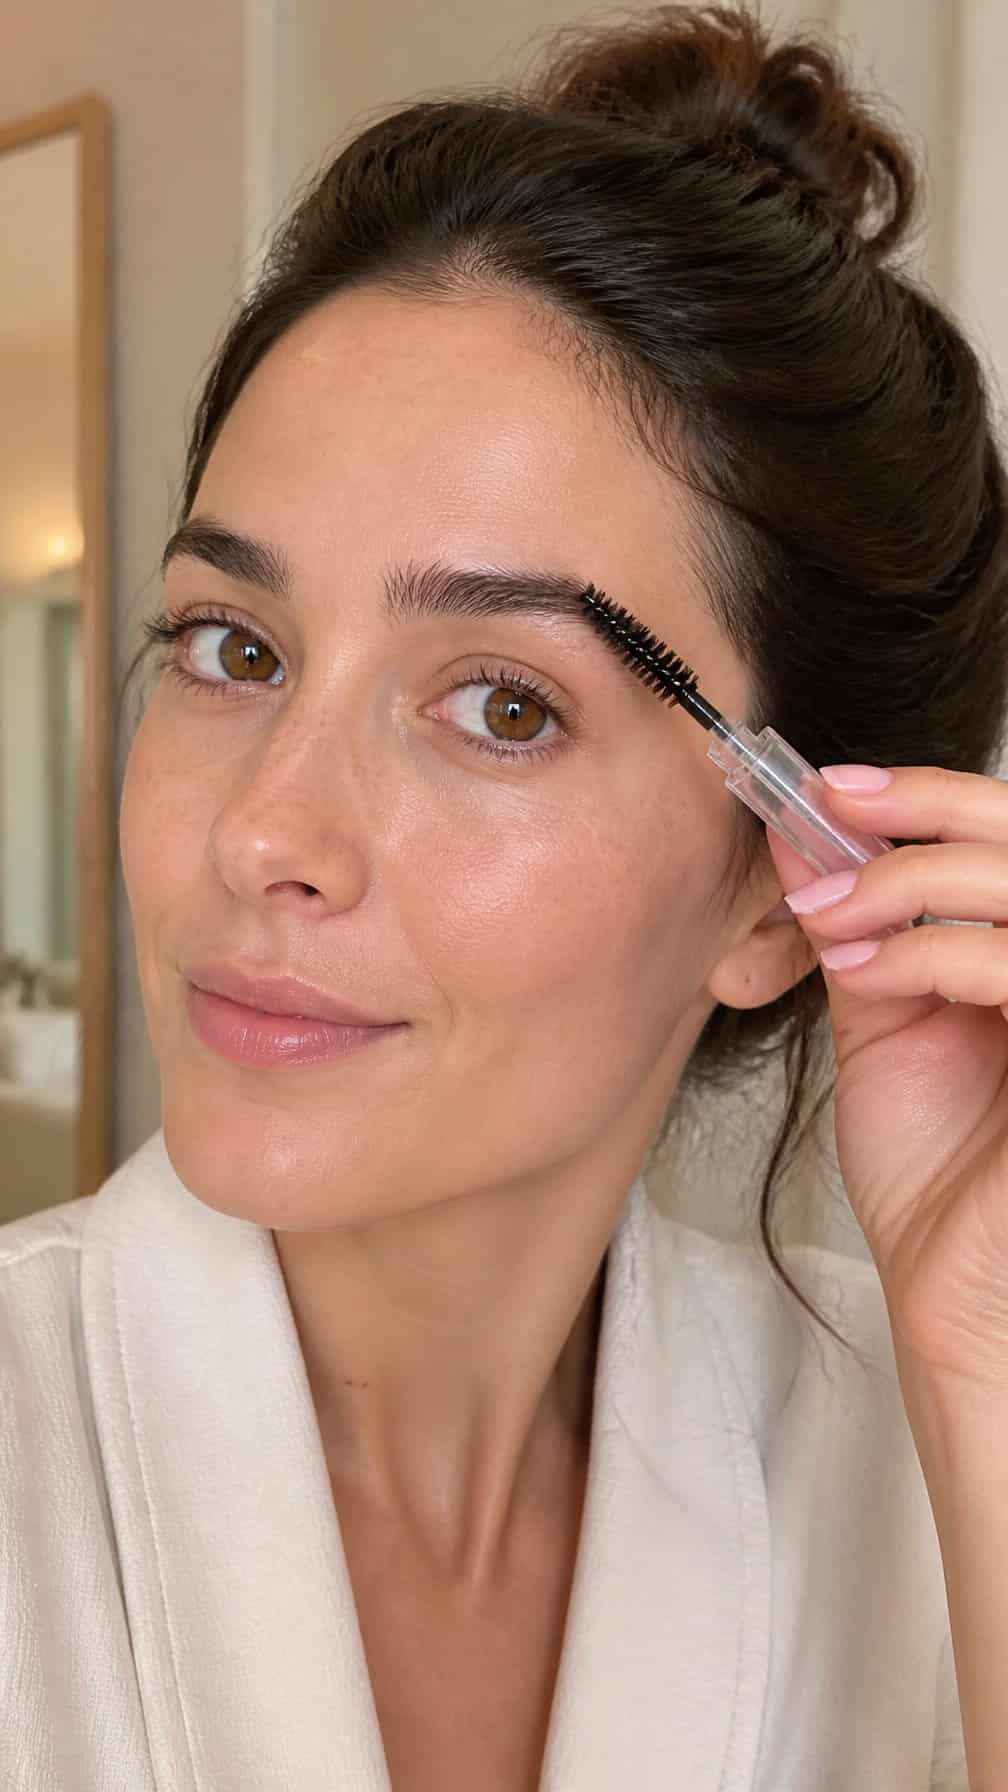
I brush my brows upward with a clean spoolie, following their natural shape rather than forcing every hair straight up. This quick step adds structure and helps me see which sparse areas need light filling.
I use a clear brow gel to hold the hairs in place without adding color. I apply a small amount from the inner brow toward the tail, then wipe excess product from the spoolie before making a second pass.
For a softer finish, I let a few hairs keep their natural direction instead of pressing them flat. This look works well with tinted moisturizer, mascara, and lip balm when I want definition without a full makeup routine.
3) Cream Blush and Lip Balm
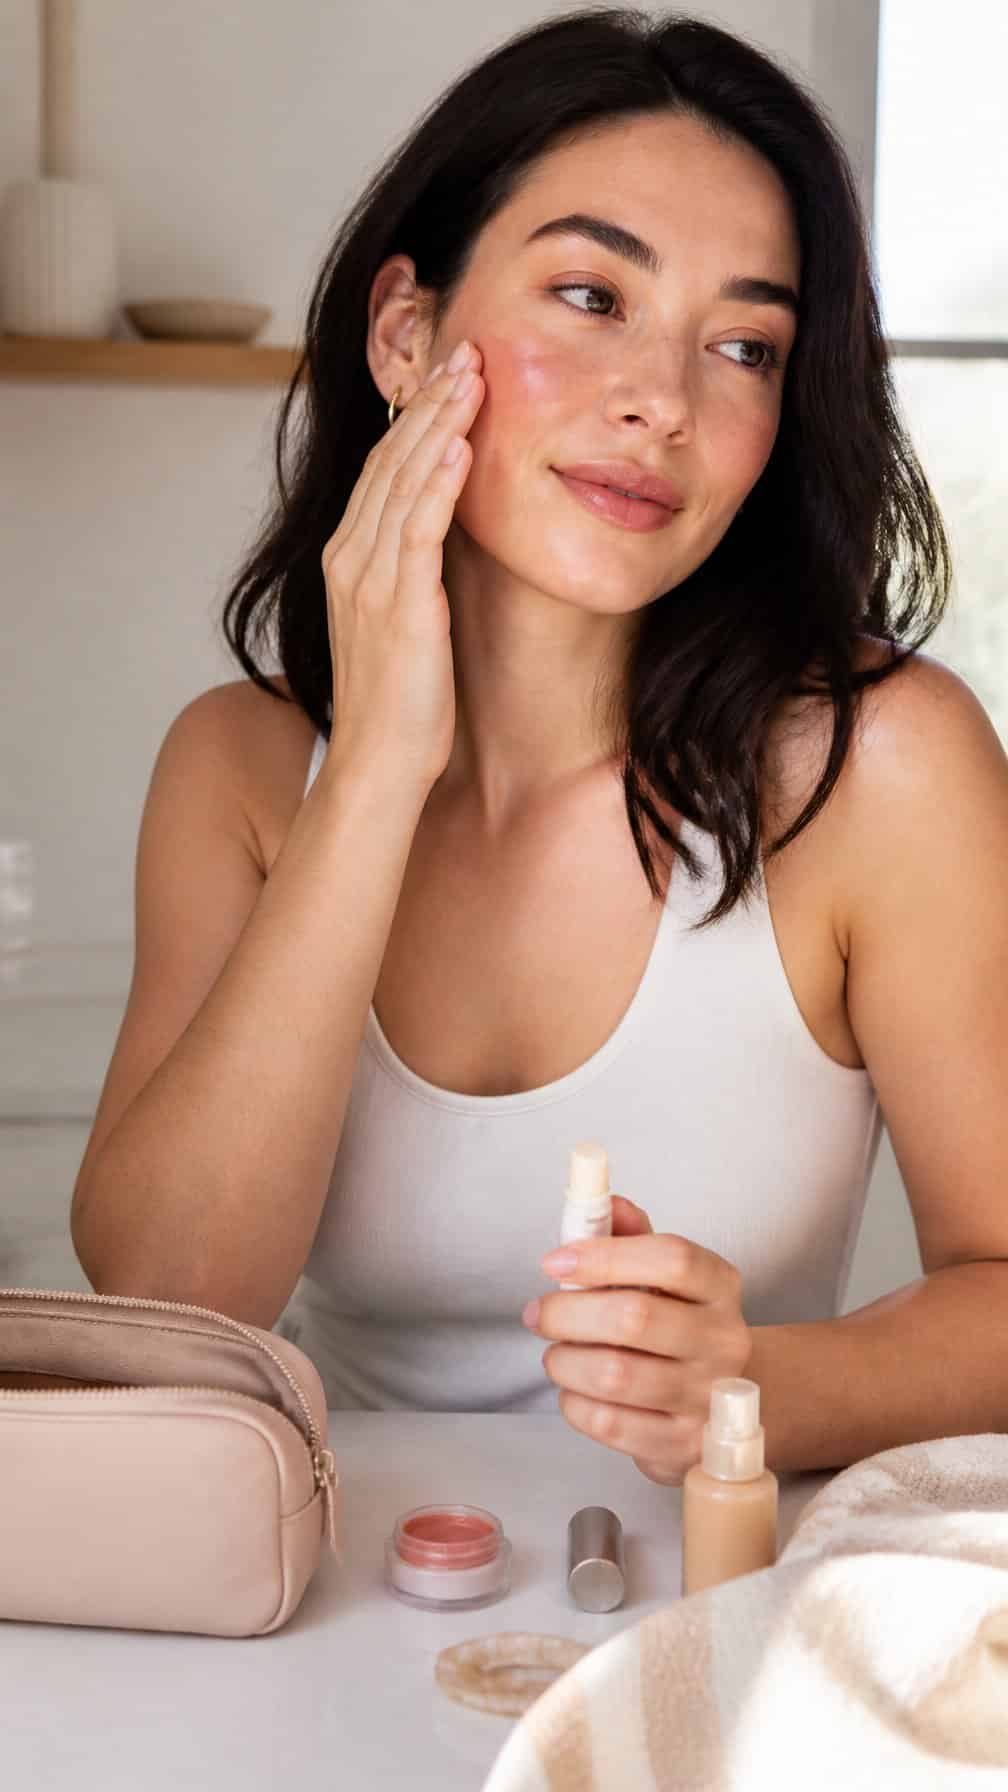
I tap a small amount of cream blush onto my cheeks with my fingertips, blending it toward my temples for a soft, fresh finish. I use the remaining product across my nose for a subtle connection between the cheeks.
I choose a tinted lip balm in a shade close to my natural lip color. It adds moisture and gentle definition without requiring a mirror or precise application. When my skin feels dry, I apply balm first and let it settle before adding blush.
4) Five-Minute Soft Brown Eyeshadow
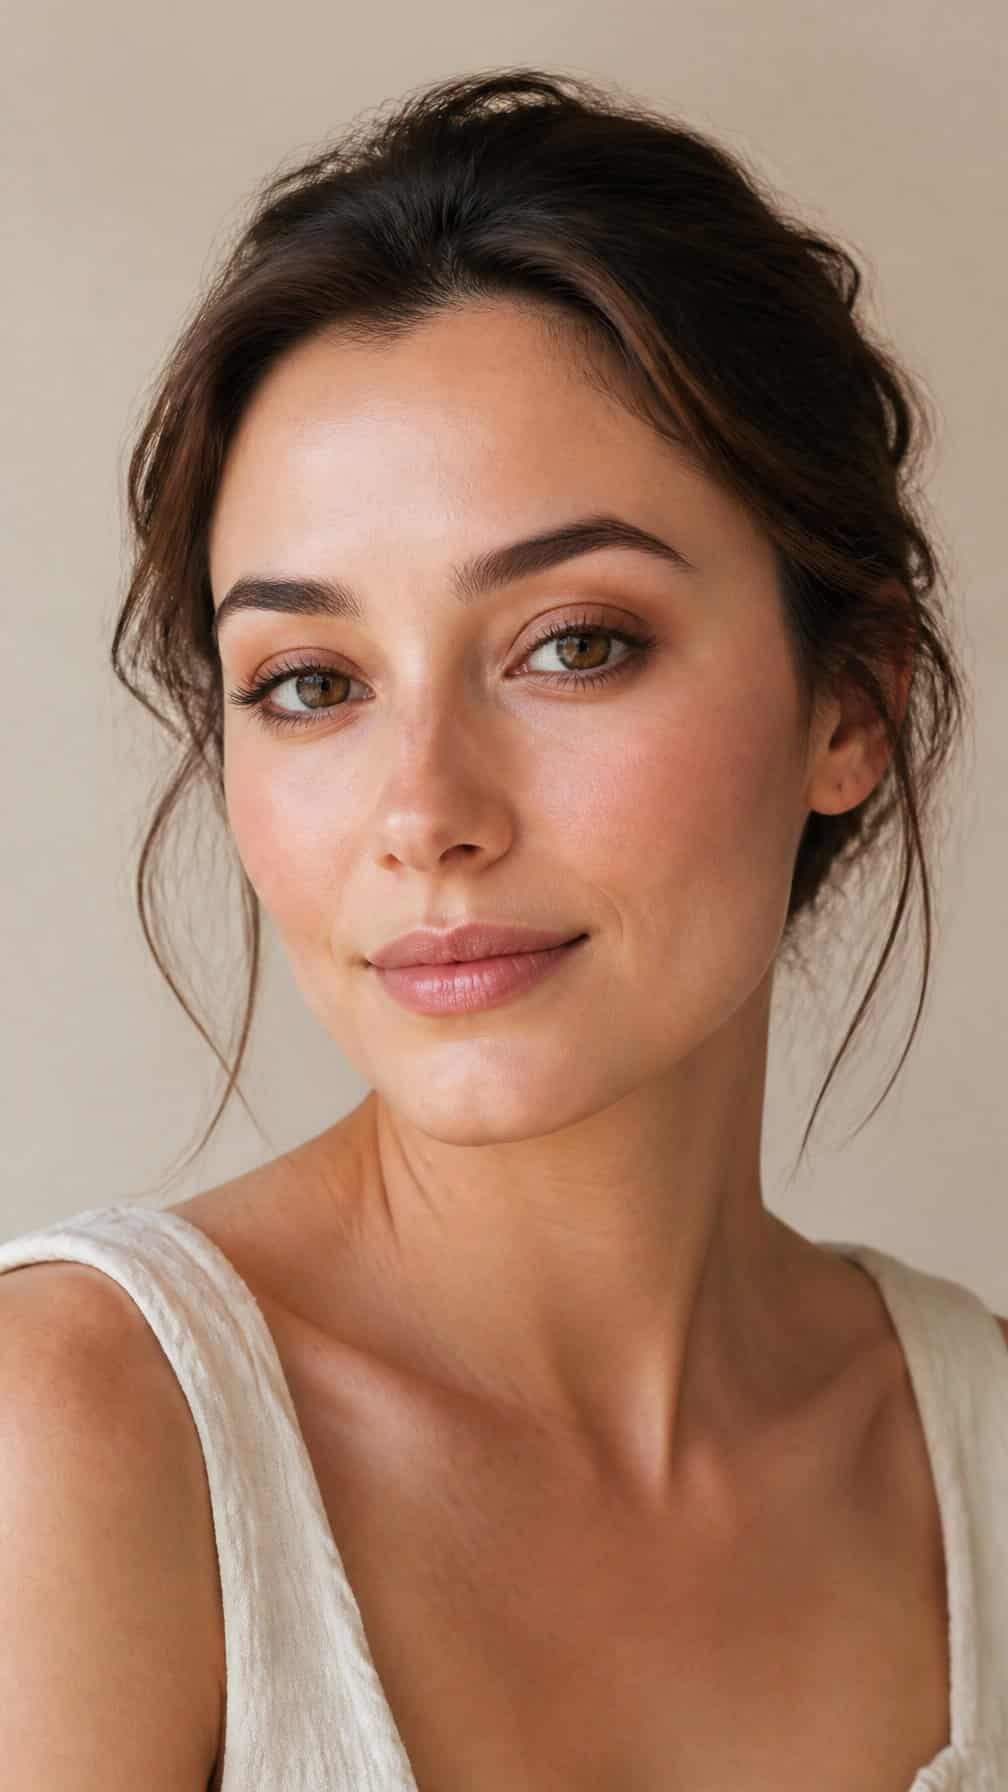
I sweep a matte light-brown shadow through my crease, using a fluffy brush and small back-and-forth motions. Then I press a slightly deeper brown onto the outer corners to add gentle definition without creating a sharp edge.
I brighten the center of each lid with a soft beige shade, blending the borders with a clean brush. A thin line of brown shadow along my upper lash line makes my lashes look fuller while keeping the finish understated.
I curl my lashes and apply one coat of mascara, concentrating at the roots. I leave the lower lash line mostly bare or use the leftover crease color for a subtle, balanced effect.
5) Mascara and Peachy Lip Tint

I curl my lashes, then apply one coat of lengthening mascara from the roots upward. I add a second coat only to the outer lashes, which gives my eyes definition without making them look heavy or clumpy.
I tap peachy lip tint onto the center of my lips and blend it outward with my fingertip. I also press the remaining color onto my cheeks for a coordinated flush, keeping the edges soft and sheer.
I choose a tint with a lightweight, moisturizing formula when my lips feel dry. A quick check in natural light helps me spot uneven blending before I leave.
6) No-Foundation Spot Concealing
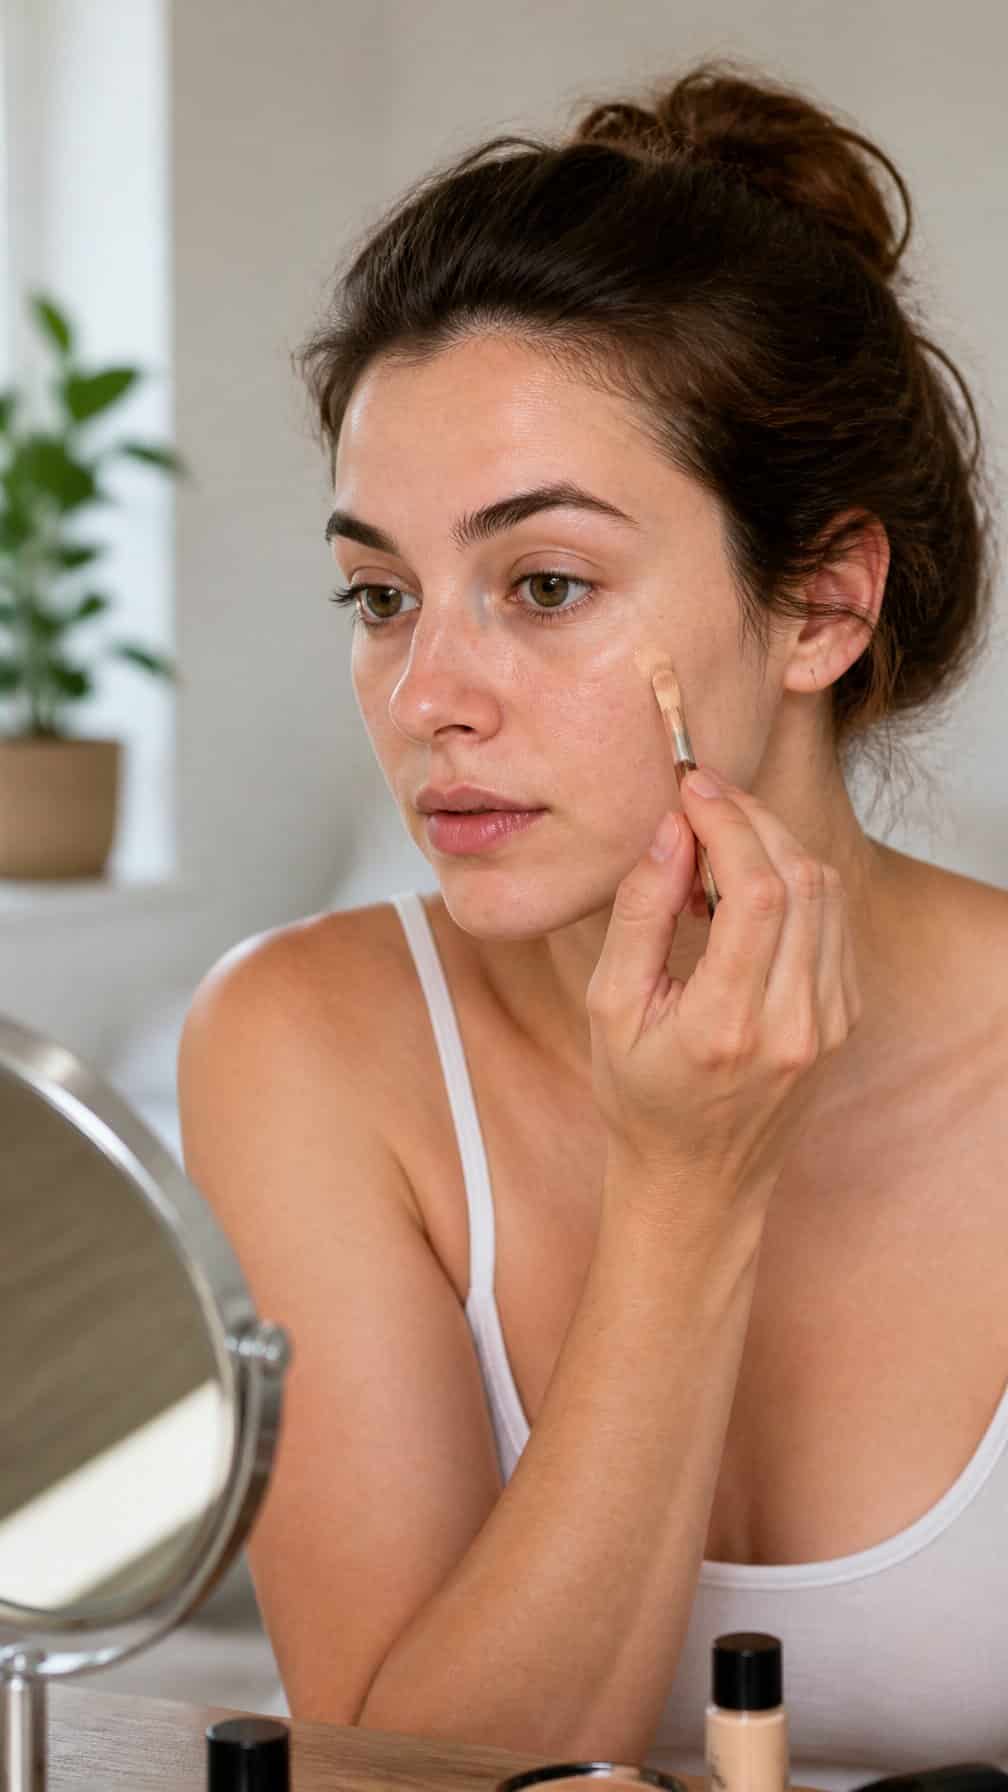
I apply a small amount of concealer only where I need coverage, such as around my nose, over a blemish, or beneath my eyes. I use my fingertip or a small brush to tap the edges until they blend into my natural skin.
I choose a shade that matches my complexion rather than one much lighter, which keeps the finish even and subtle. After concealing, I press a little translucent powder onto areas that crease or become shiny, leaving the rest of my skin fresh and bare.
7) Dewy Skin with Highlighter
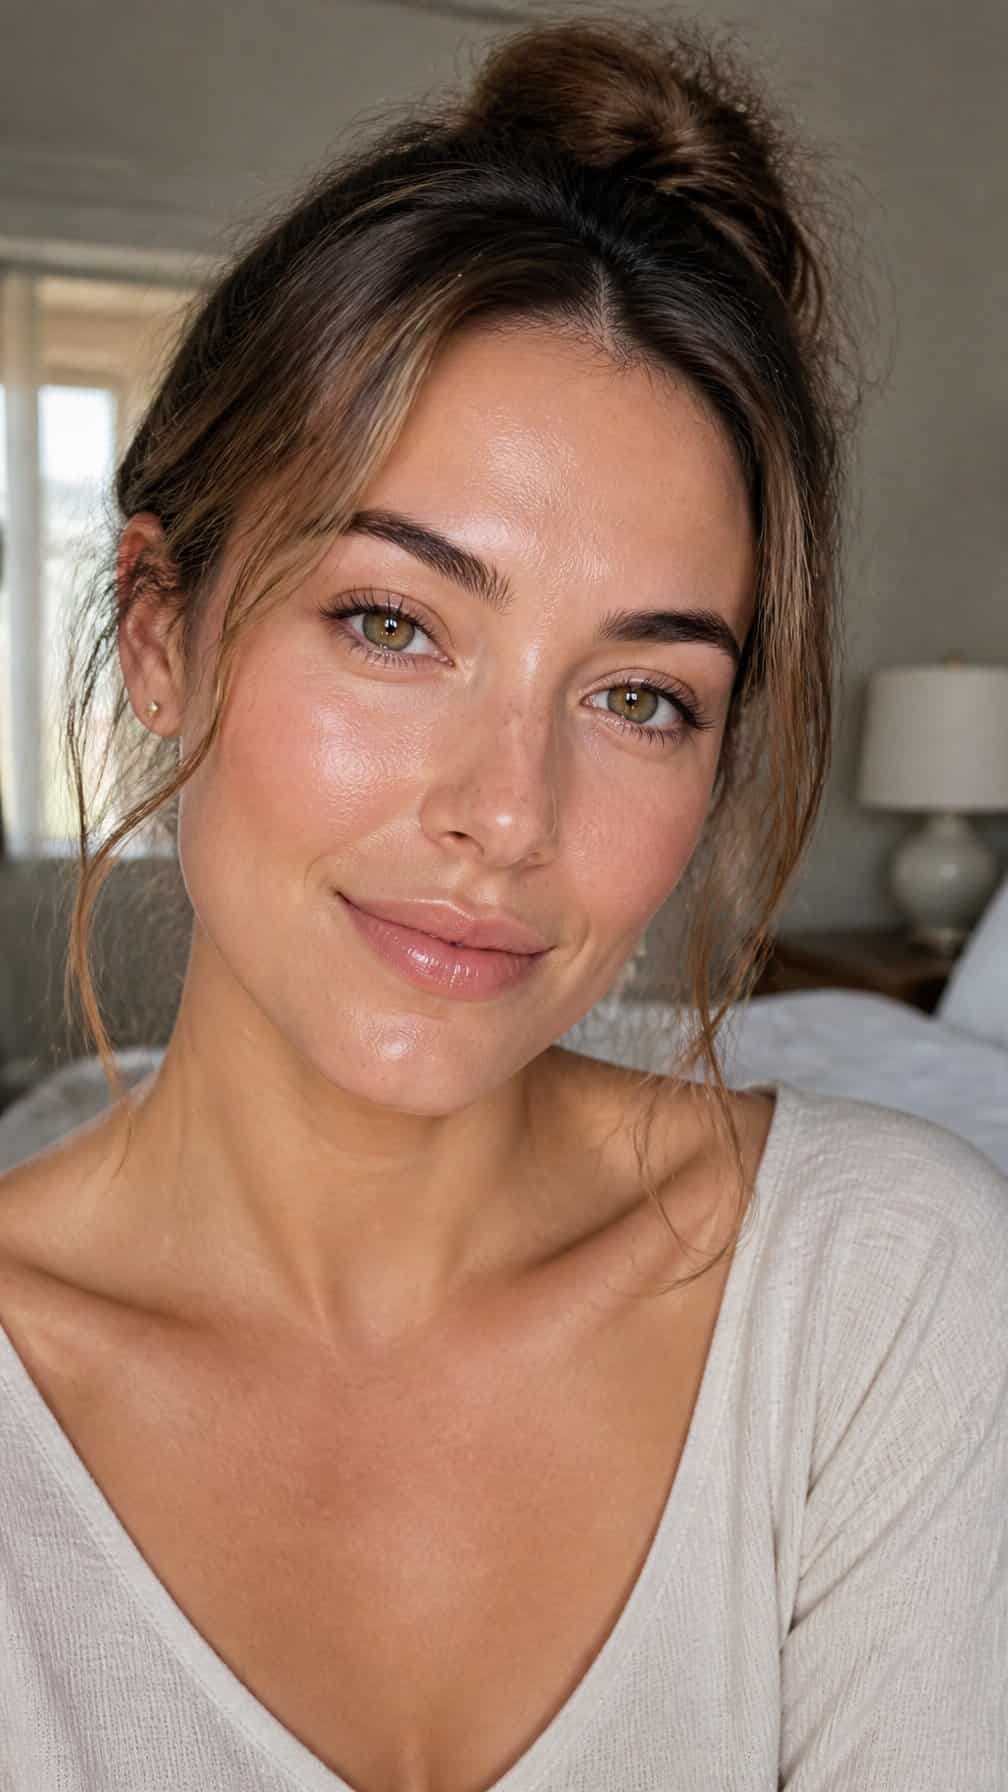
I start with lightweight moisturizer, then apply a sheer, skin-like foundation only where I need coverage. I tap cream blush onto my cheeks before adding a small amount of liquid highlighter to the tops of my cheekbones.
I use my fingers or a damp sponge to blend the edges, keeping the finish fresh rather than glittery. I also press a little highlighter onto the bridge of my nose and the center of my eyelids for subtle dimension.
I set only areas that crease or become oily, such as my nose and chin. This keeps my skin looking naturally luminous while helping the makeup stay comfortable through the morning.
8) Monochromatic Peach Makeup
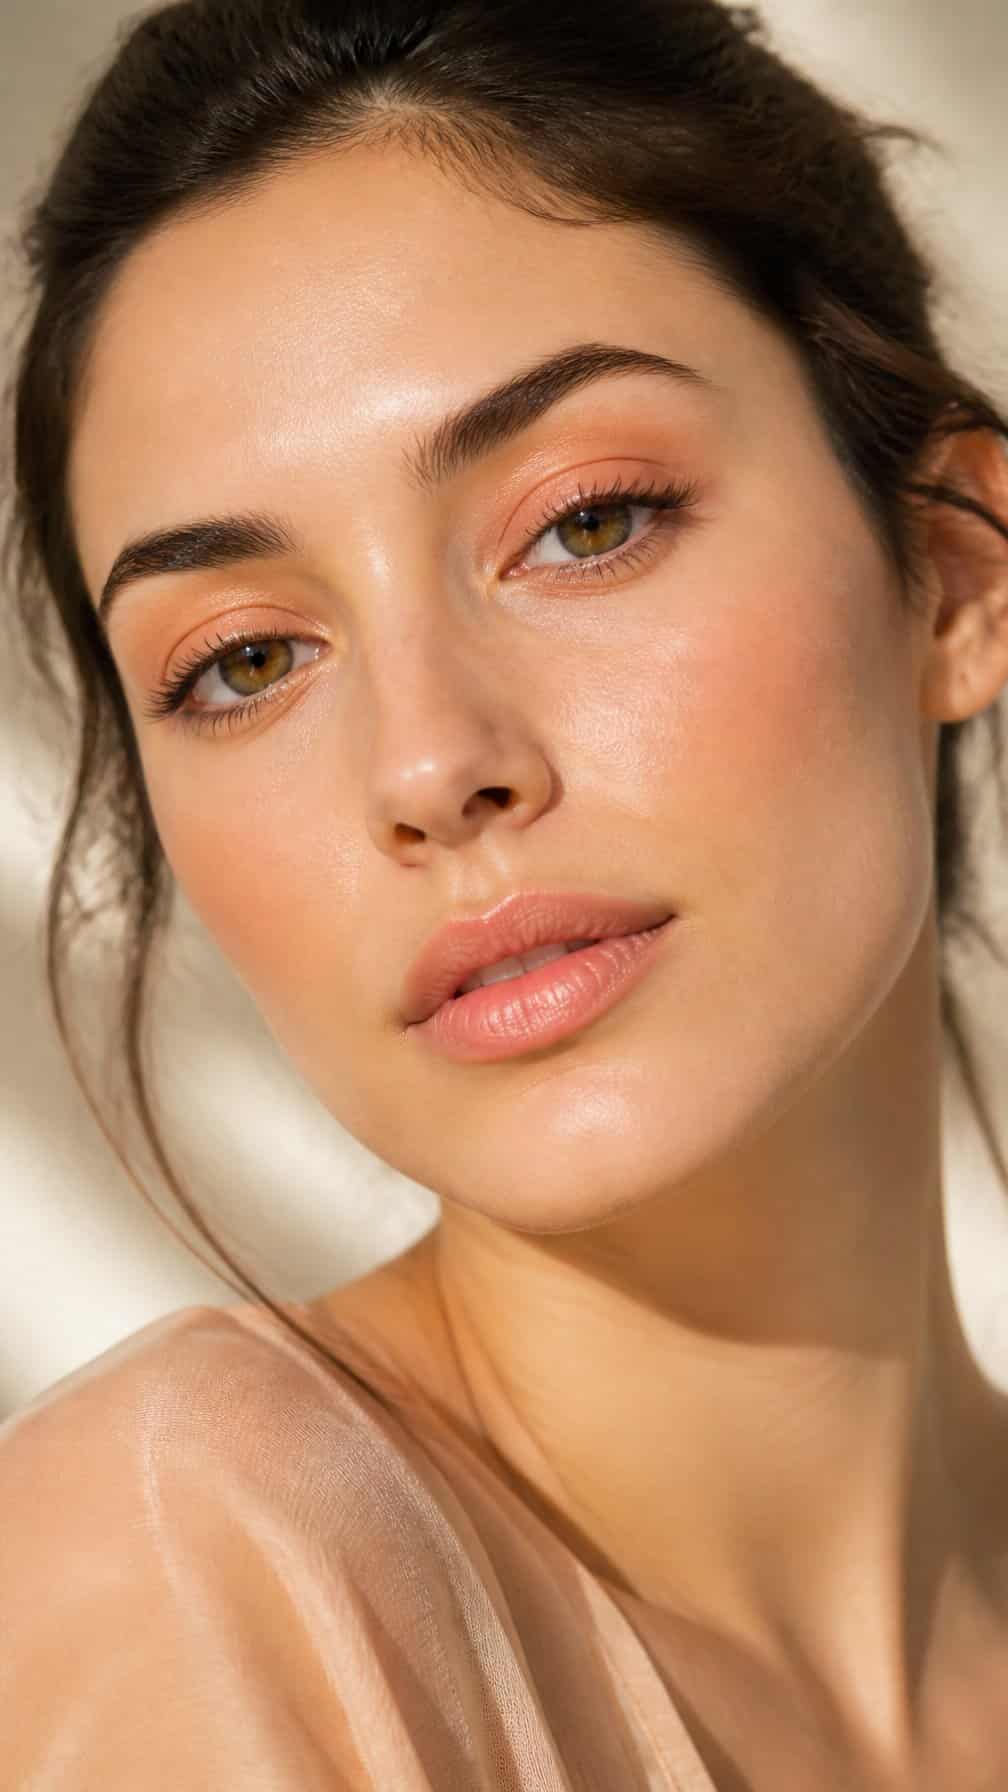
I use one peach-toned palette across my eyes, cheeks, and lips for a coordinated look that takes only a few products. I sweep a soft peach shadow over my lids, keeping the edges lightly blended for a fresh finish.
Next, I tap peach blush onto the apples of my cheeks and blend it toward my temples. I choose a cream formula when I want the color to look sheer and skin-like, especially in natural morning light.
For my lips, I apply a tinted balm or satin lipstick in a similar shade. I keep mascara minimal and skip heavy contouring so the peach tones remain the focus without making the makeup feel overly matched.
9) Easy Everyday Nude Makeup
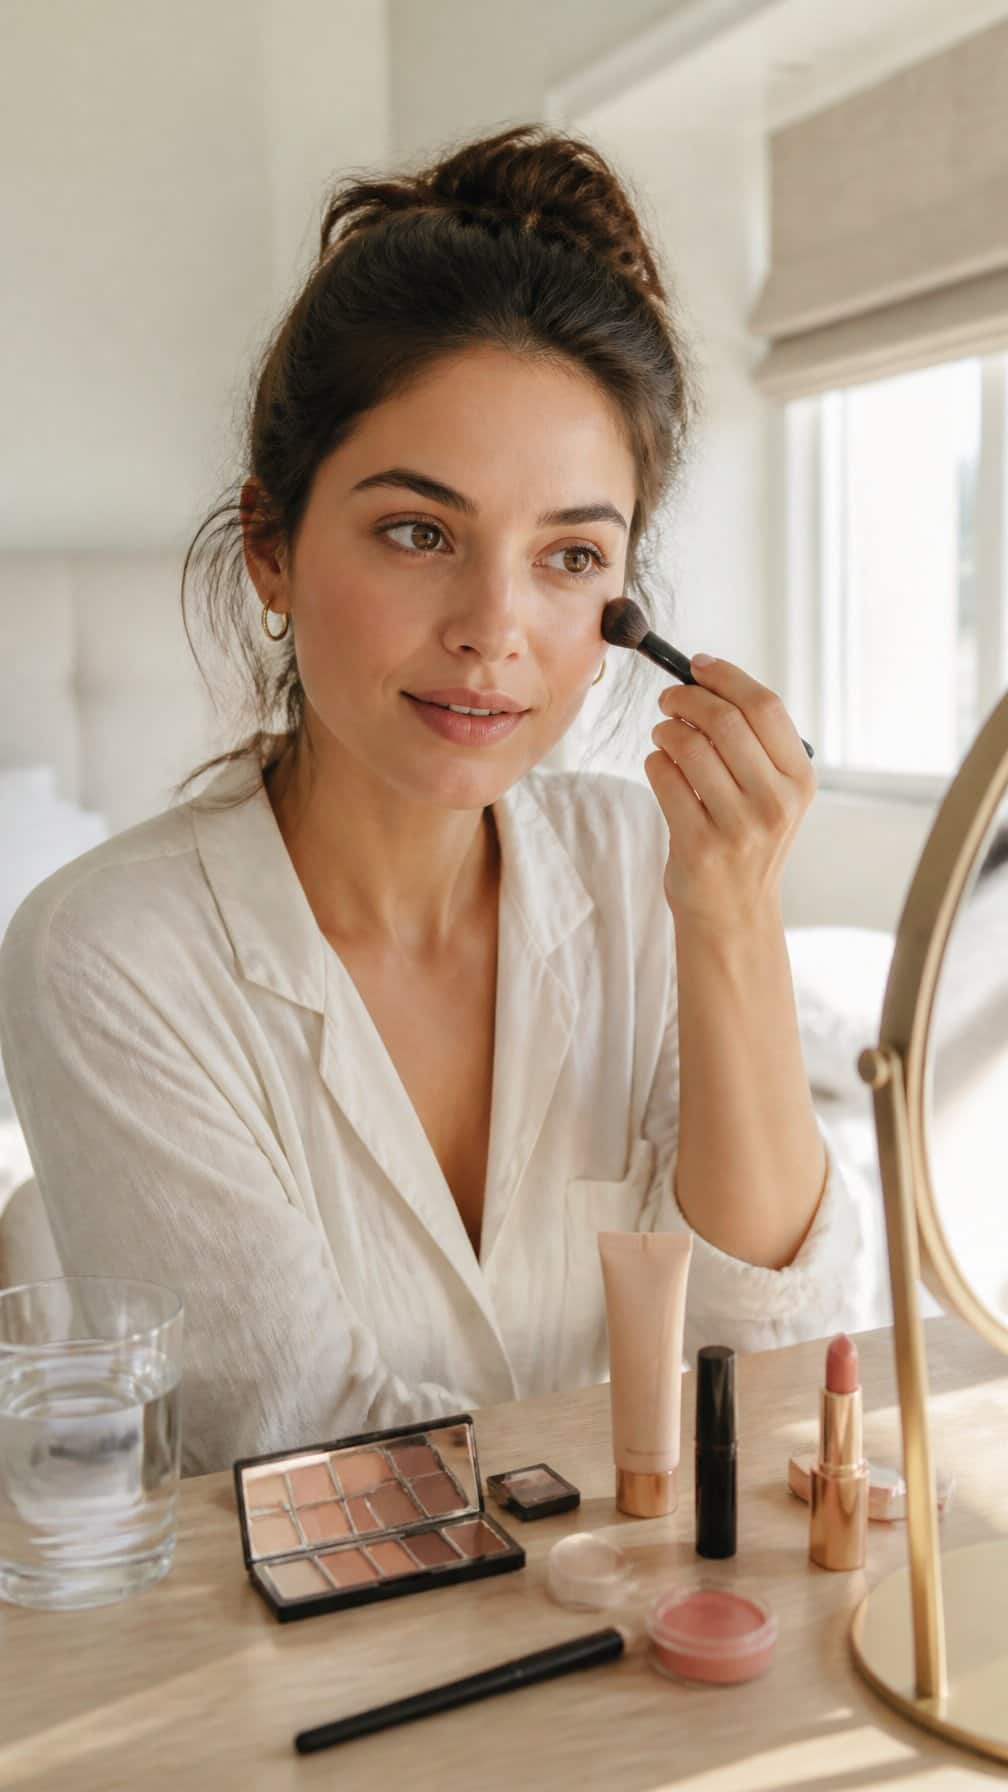
I start with a light, even base that lets my natural skin show through. I apply concealer only where I need extra coverage, then set the center of my face with a small amount of translucent powder.
I sweep a soft beige or warm brown shadow across my lids, keeping the edges blended and understated. A brown pencil along the upper lash line adds definition without the sharper look of black liner.
I use a muted peach or rose blush on the apples of my cheeks and blend it toward my temples. A tinted balm in a similar neutral shade finishes the look while keeping my lips comfortable.
10) Quick Rosy Cheek Makeup
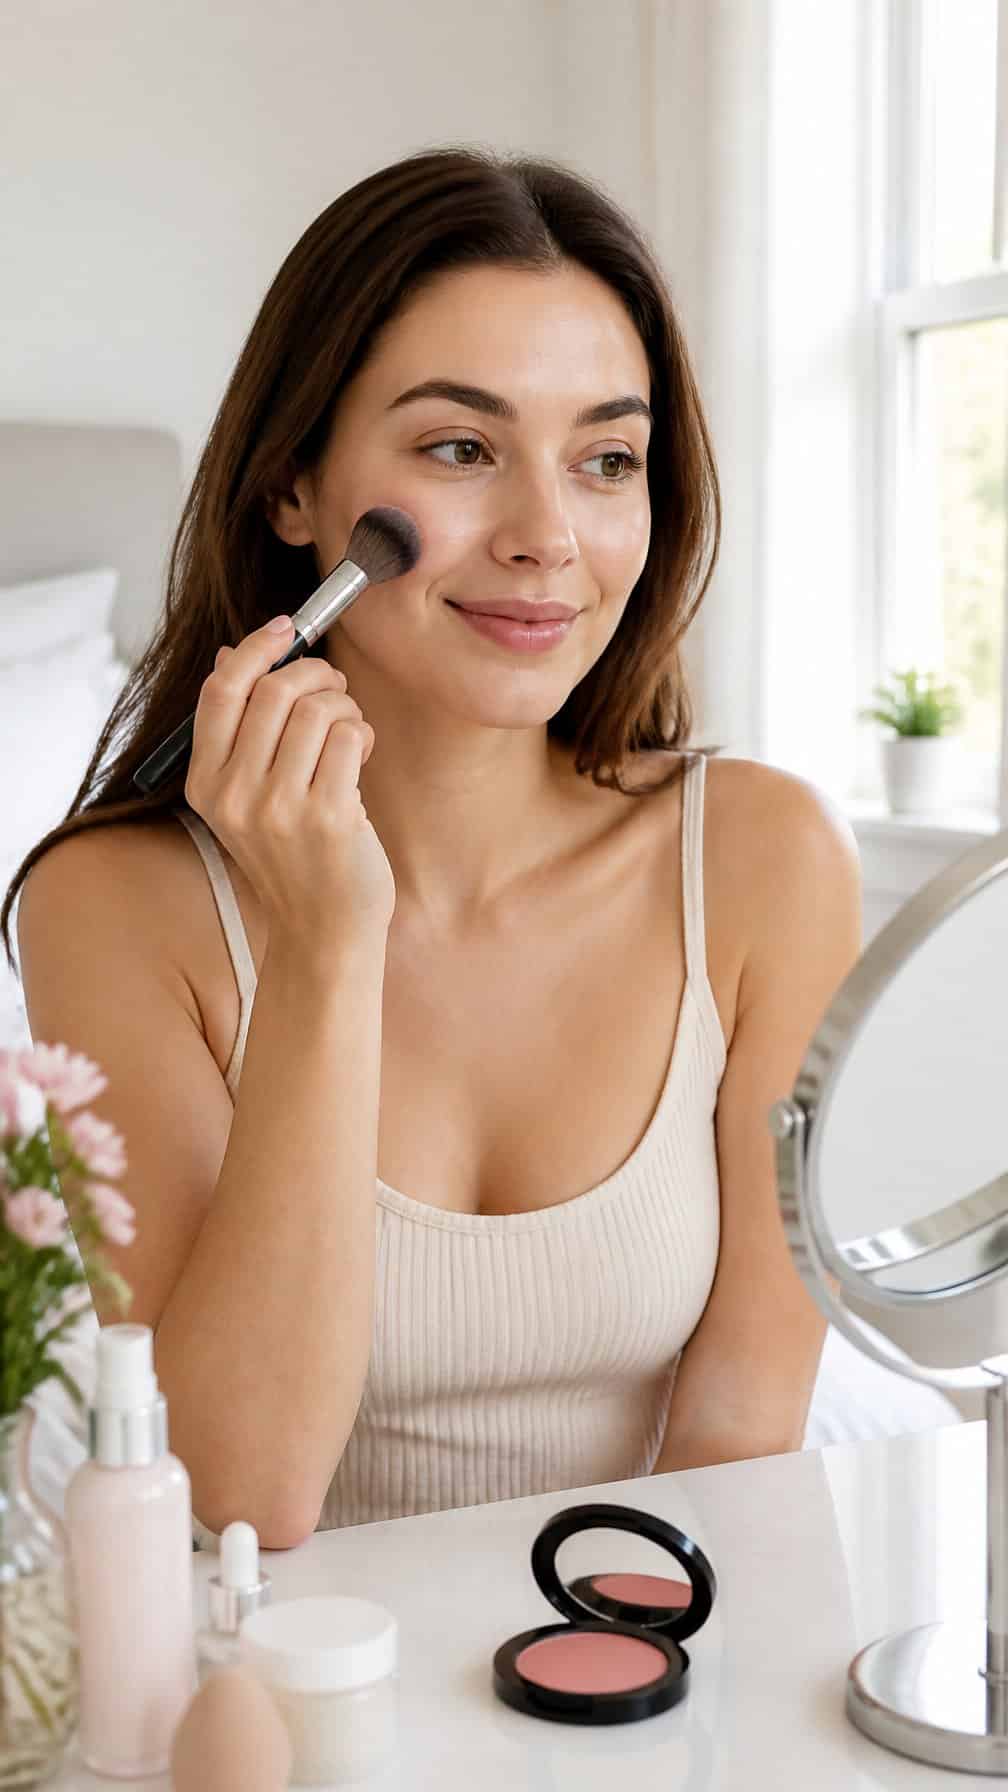
I start with a small amount of cream blush on my fingertips, then tap it onto the apples of my cheeks. I blend upward toward my temples to keep the color soft and lifted without creating a sharp edge.
I choose a rosy shade close to my natural flush and build it gradually. If the color looks too strong, I soften it with the clean side of my sponge or press a little foundation over the edges.
For a coordinated finish, I tap the remaining blush across my nose and lightly onto my lips. I keep the rest of my makeup simple—brushed brows, curled lashes, and tinted balm—so the cheeks remain the main feature.
11) Brown Eyeliner and Mascara
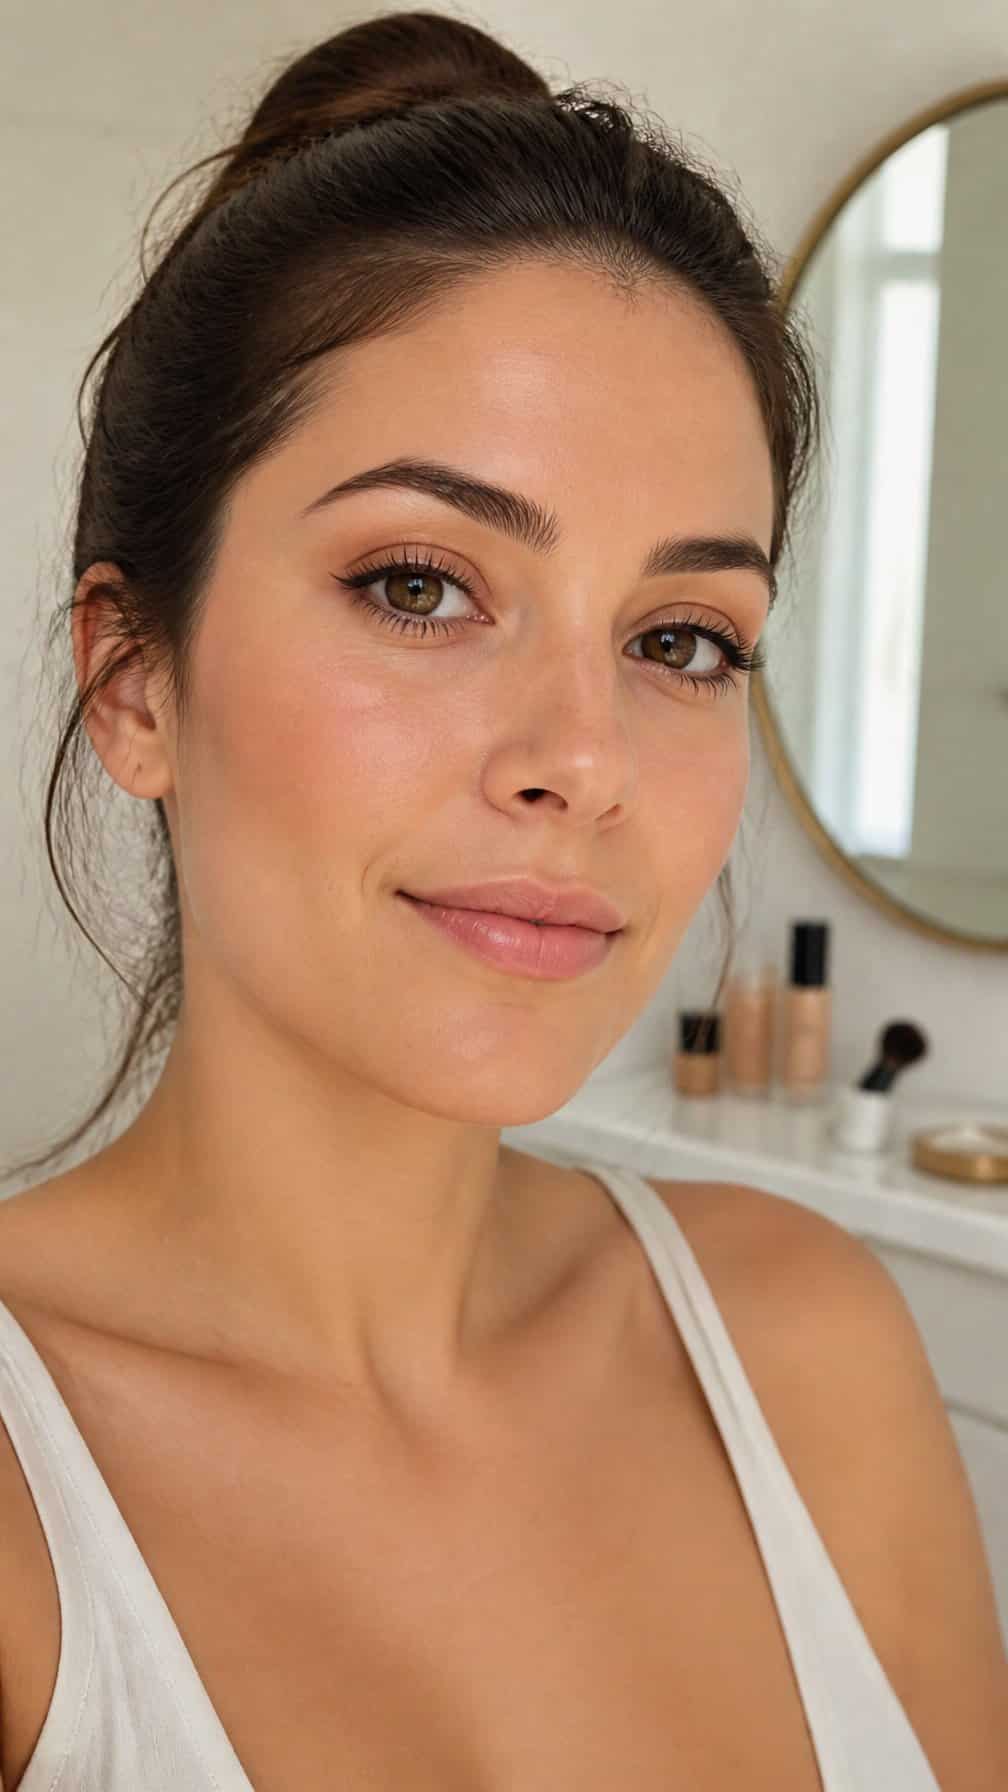
I use a soft brown pencil along my upper lash line, keeping the shape thin and close to the roots. Brown gives my eyes definition without the stronger contrast of black, which makes this look easy to wear during a busy morning.
I smudge the line slightly with a small brush, then apply one coat of brown or black-brown mascara. I focus on the upper lashes and add a light touch to the lower lashes only if I want more definition.
I pair this eye makeup with brushed brows, cream blush, and a tinted lip balm. The result looks polished but remains forgiving when I apply it quickly.
12) Barely-There Makeup with Tinted Balm
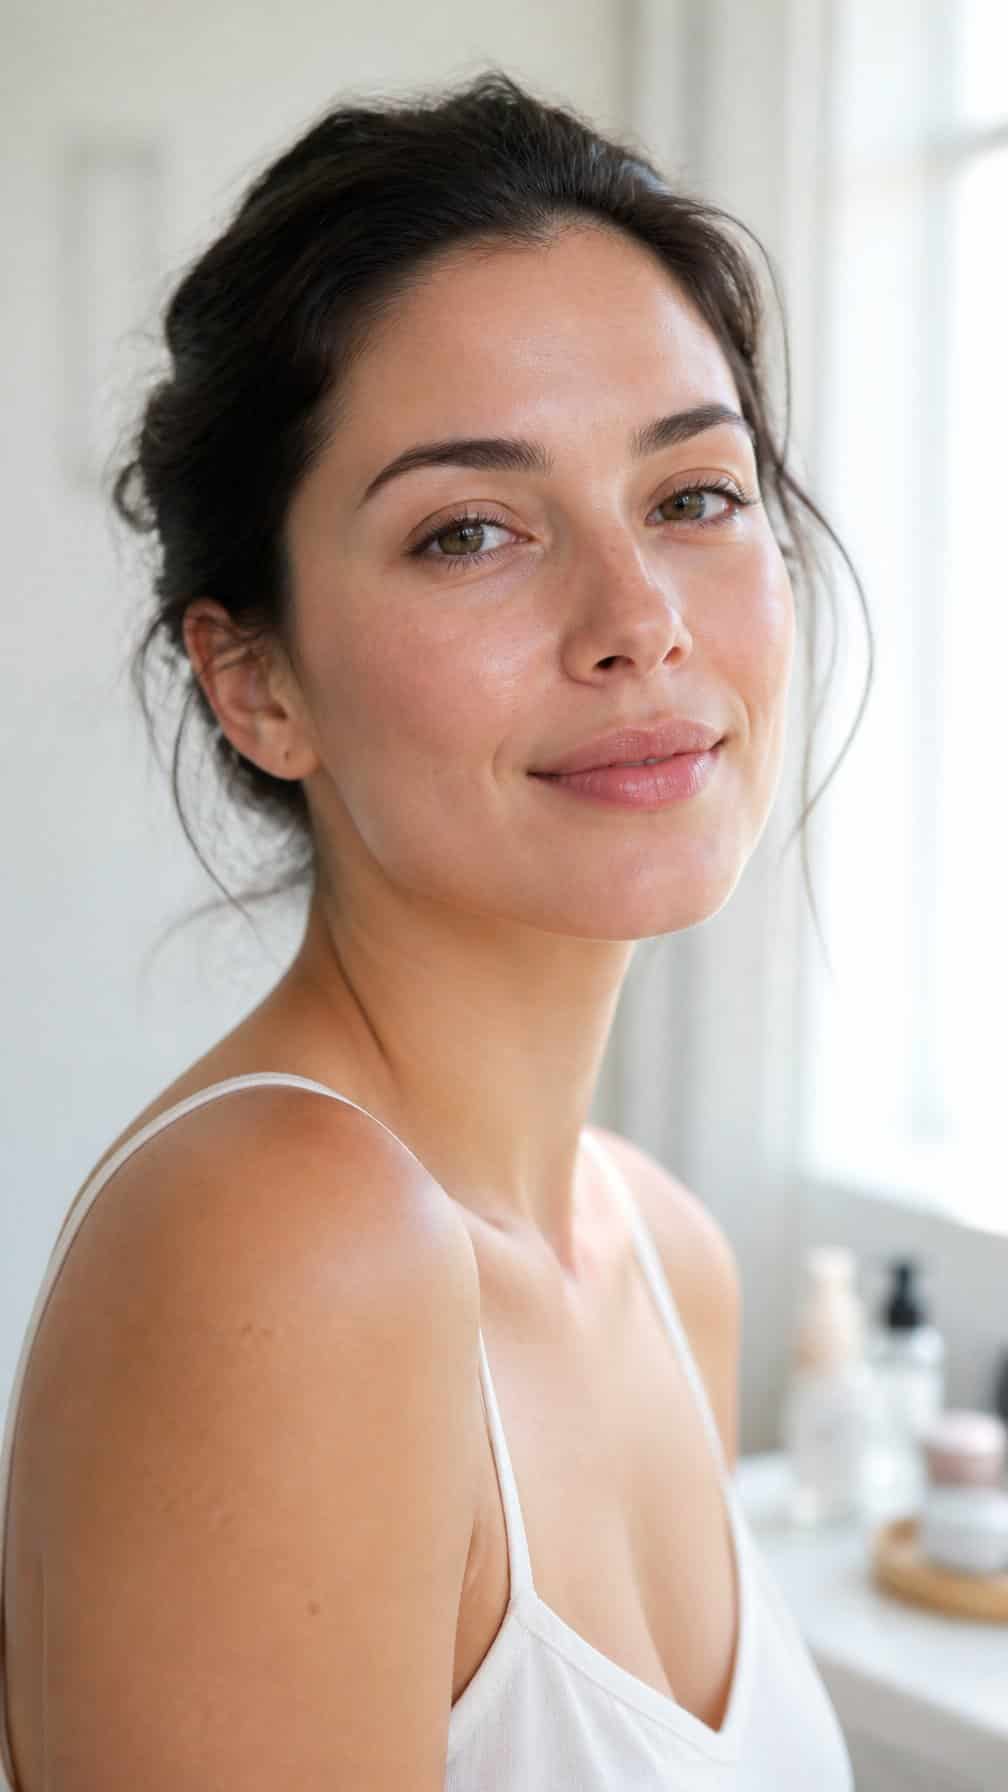
I start with a tinted balm to even out my complexion while keeping my skin’s natural texture visible. I blend a small amount from the center of my face outward, adding coverage only where redness needs softening.
I tap the same balm onto my cheeks and lips for a coordinated flush. A fingertip works well for quick blending, and I keep the edges sheer so the color looks softly diffused rather than defined.
I brush my brows upward, curl my lashes, and apply one light coat of mascara if I have time. This routine takes only a few minutes and leaves me with a fresh, comfortable finish that suits a busy morning.
13) Cream Bronzer and Tinted Lip Oil
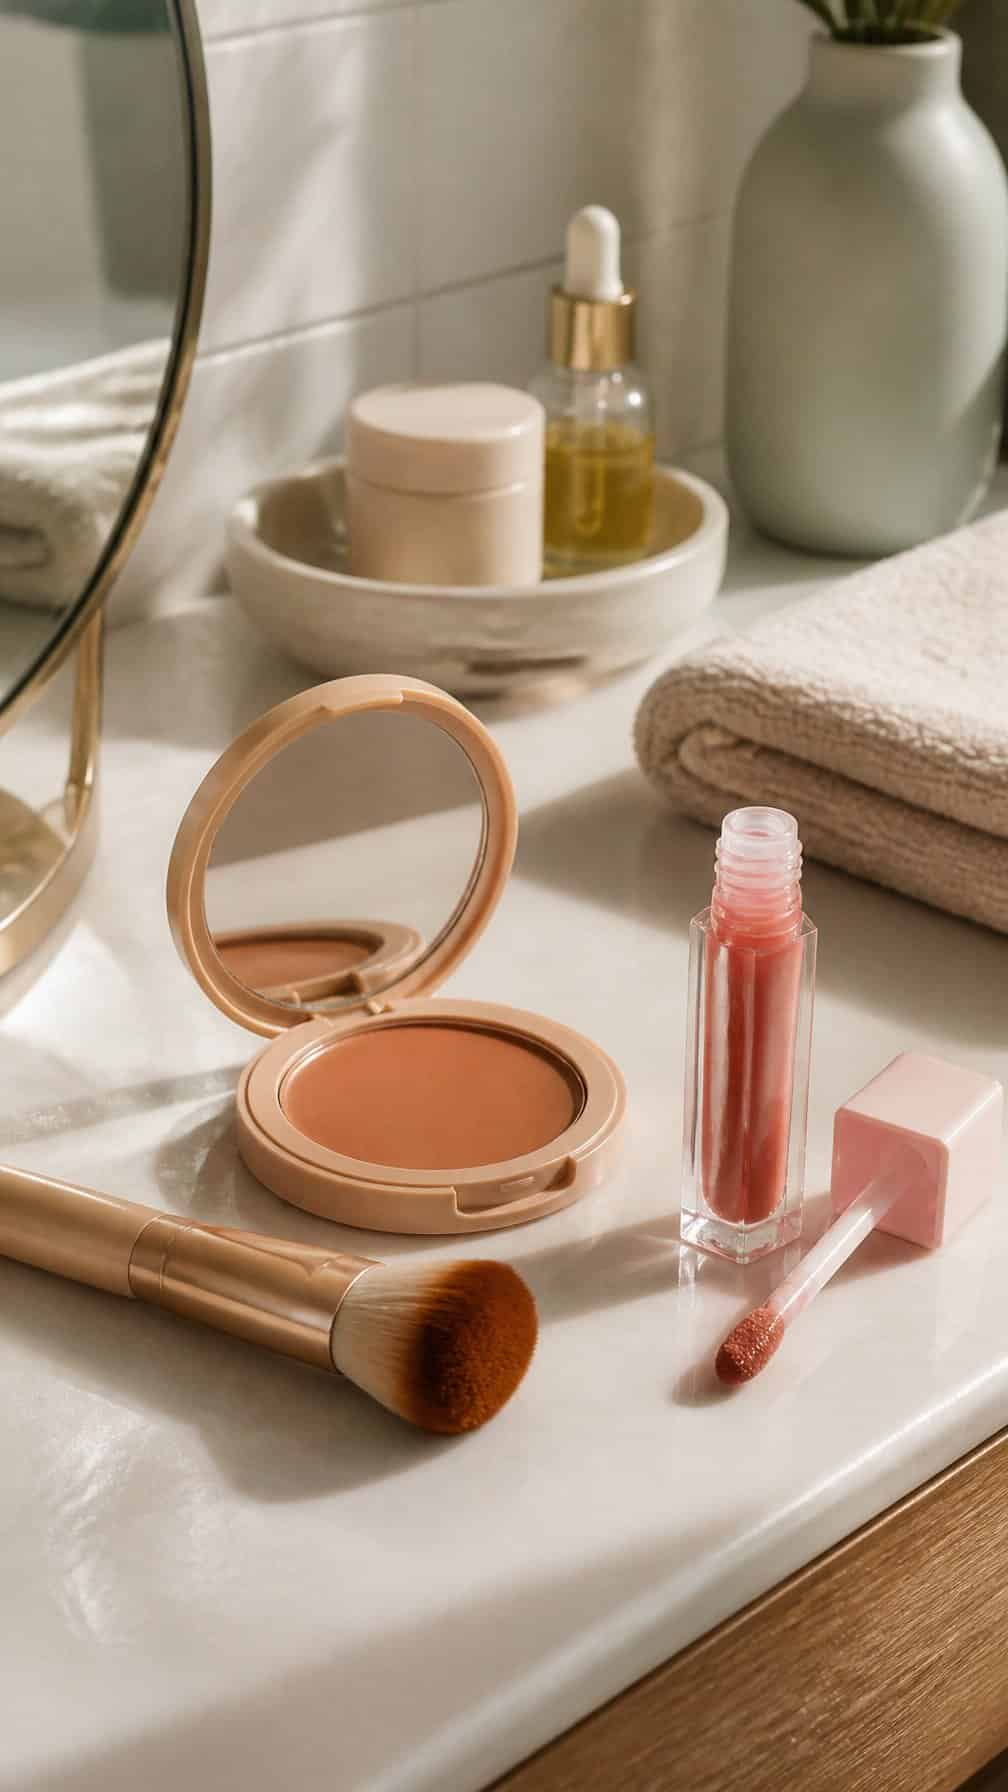
I warm a small amount of cream bronzer between my fingers, then press it along my cheekbones, temples, and the bridge of my nose. I blend the edges with a damp sponge or clean fingertips so the color stays sheer and even.
For my lips, I use tinted lip oil for lightweight color and a comfortable, glossy finish. I apply one layer directly from the tube, blot lightly if needed, and add a second layer only to the center for a subtle wash of shine.
14) Fresh-Faced Makeup for Work
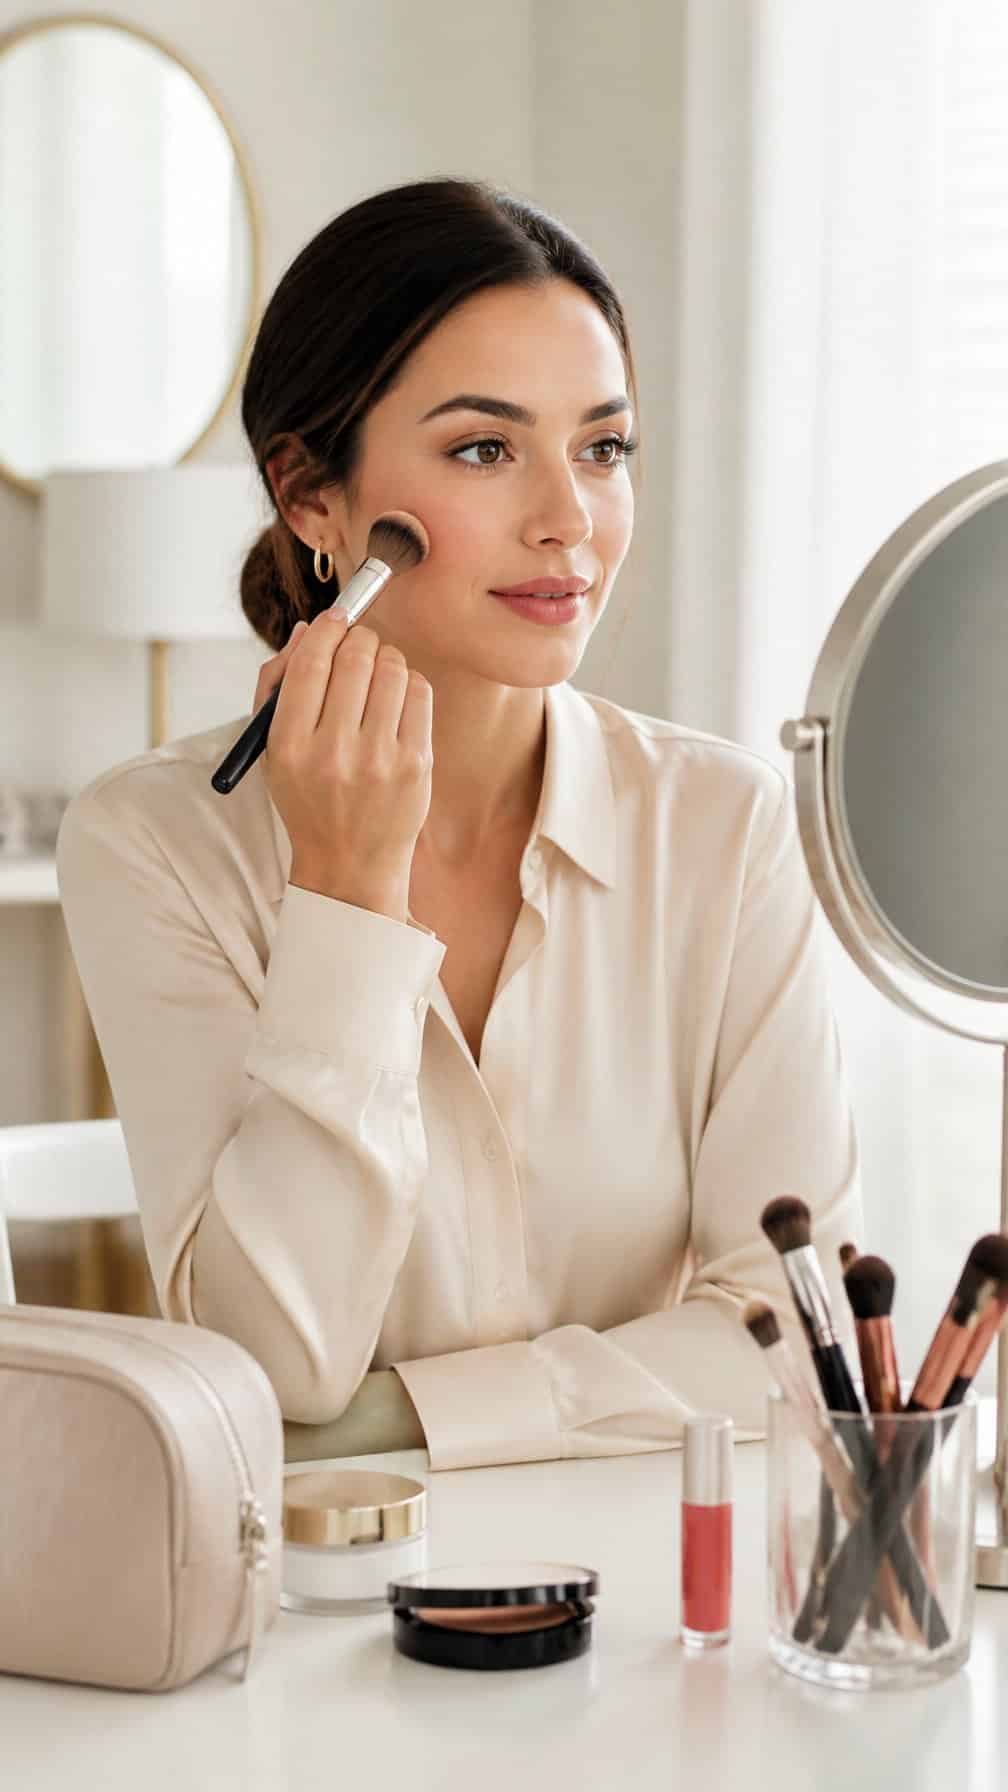
I start with lightweight skin tint, applying it only where I want to even out redness or discoloration. I tap concealer beneath my eyes and around my nose, then set those areas with a small amount of translucent powder.
I add a muted cream blush high on my cheeks and blend it toward my temples for a natural flush. A soft taupe shadow through my crease adds definition without looking too formal, while brown mascara keeps my eyes polished but gentle.
I brush my brows upward and fill only sparse areas with a fine pencil. I finish with tinted balm in a shade close to my natural lip color, keeping the look comfortable through a full workday.
15) Fast Makeup for Dry Skin
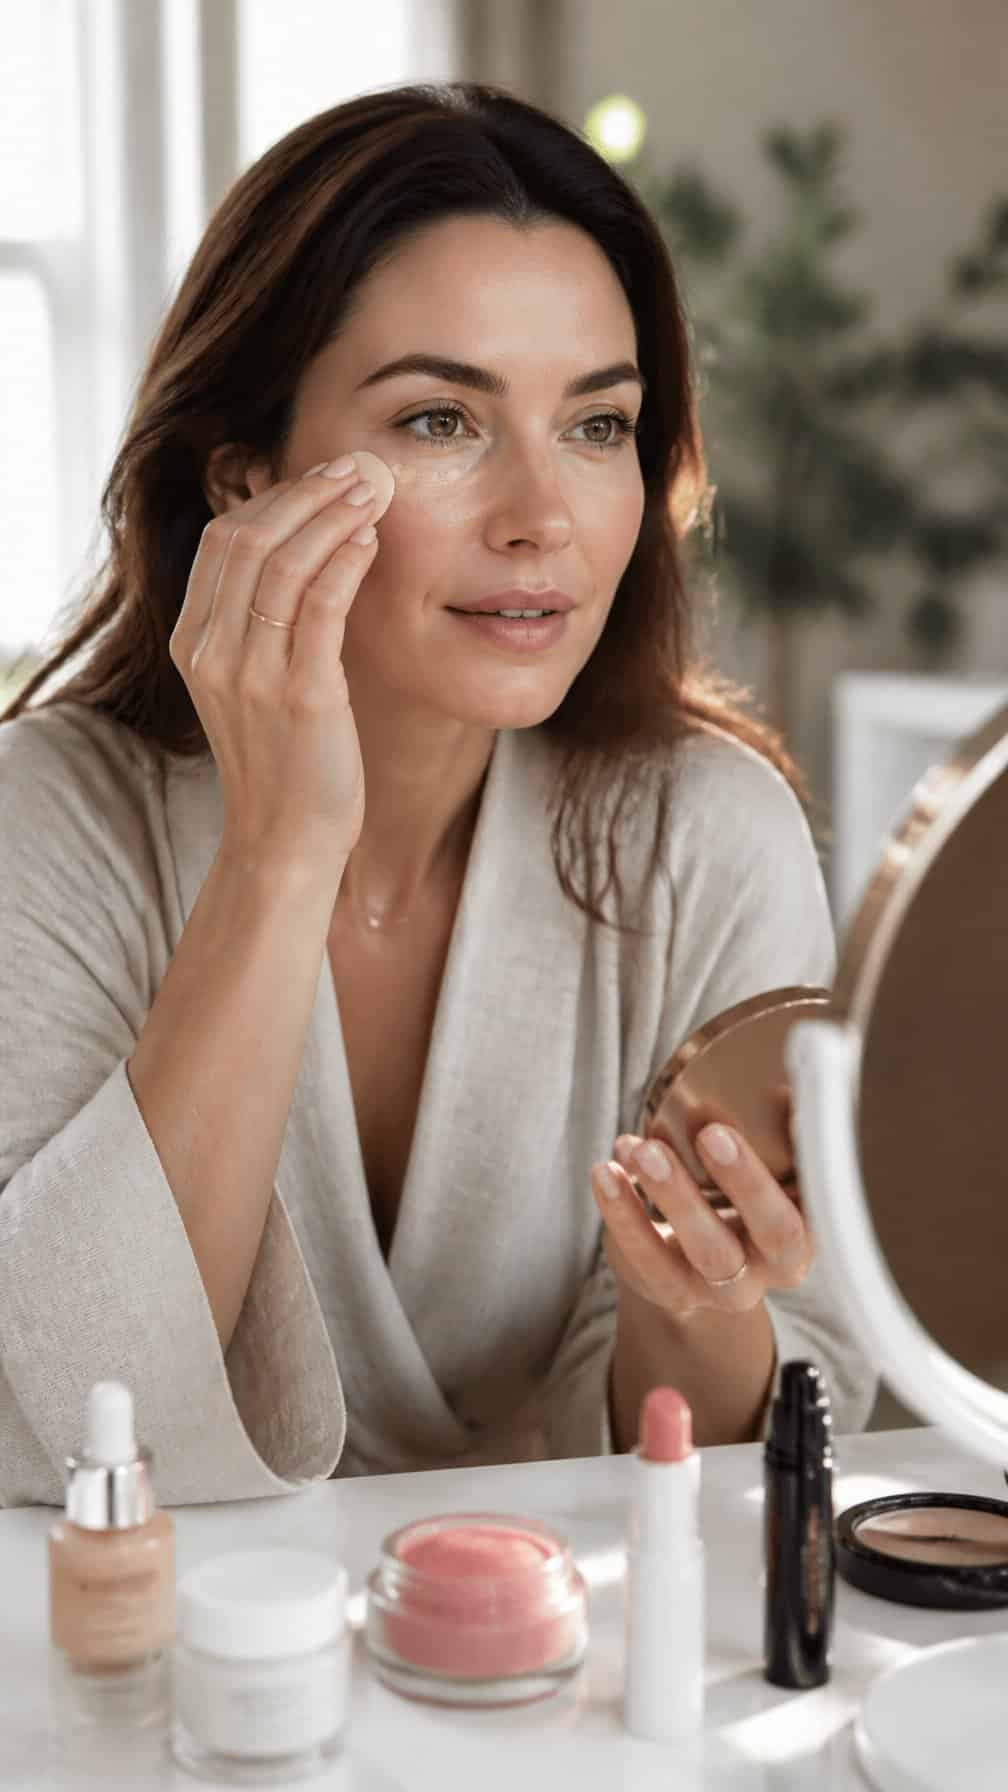
I start with a lightweight moisturizer, pressing it into dry areas instead of rubbing. After a minute, I apply a thin layer of hydrating skin tint with my fingers, which lets my natural texture show without adding excess product.
I tap cream blush onto my cheeks and blend the edges with a damp sponge. I prefer a satin or dewy formula because powder can emphasize flaky patches, especially around my nose and mouth.
I finish with brow gel, one coat of mascara, and a nourishing tinted lip balm. If my skin still looks tight, I press a tiny amount of moisturizer over the high points of my face rather than adding more foundation.
16) Simple Makeup for Oily Skin
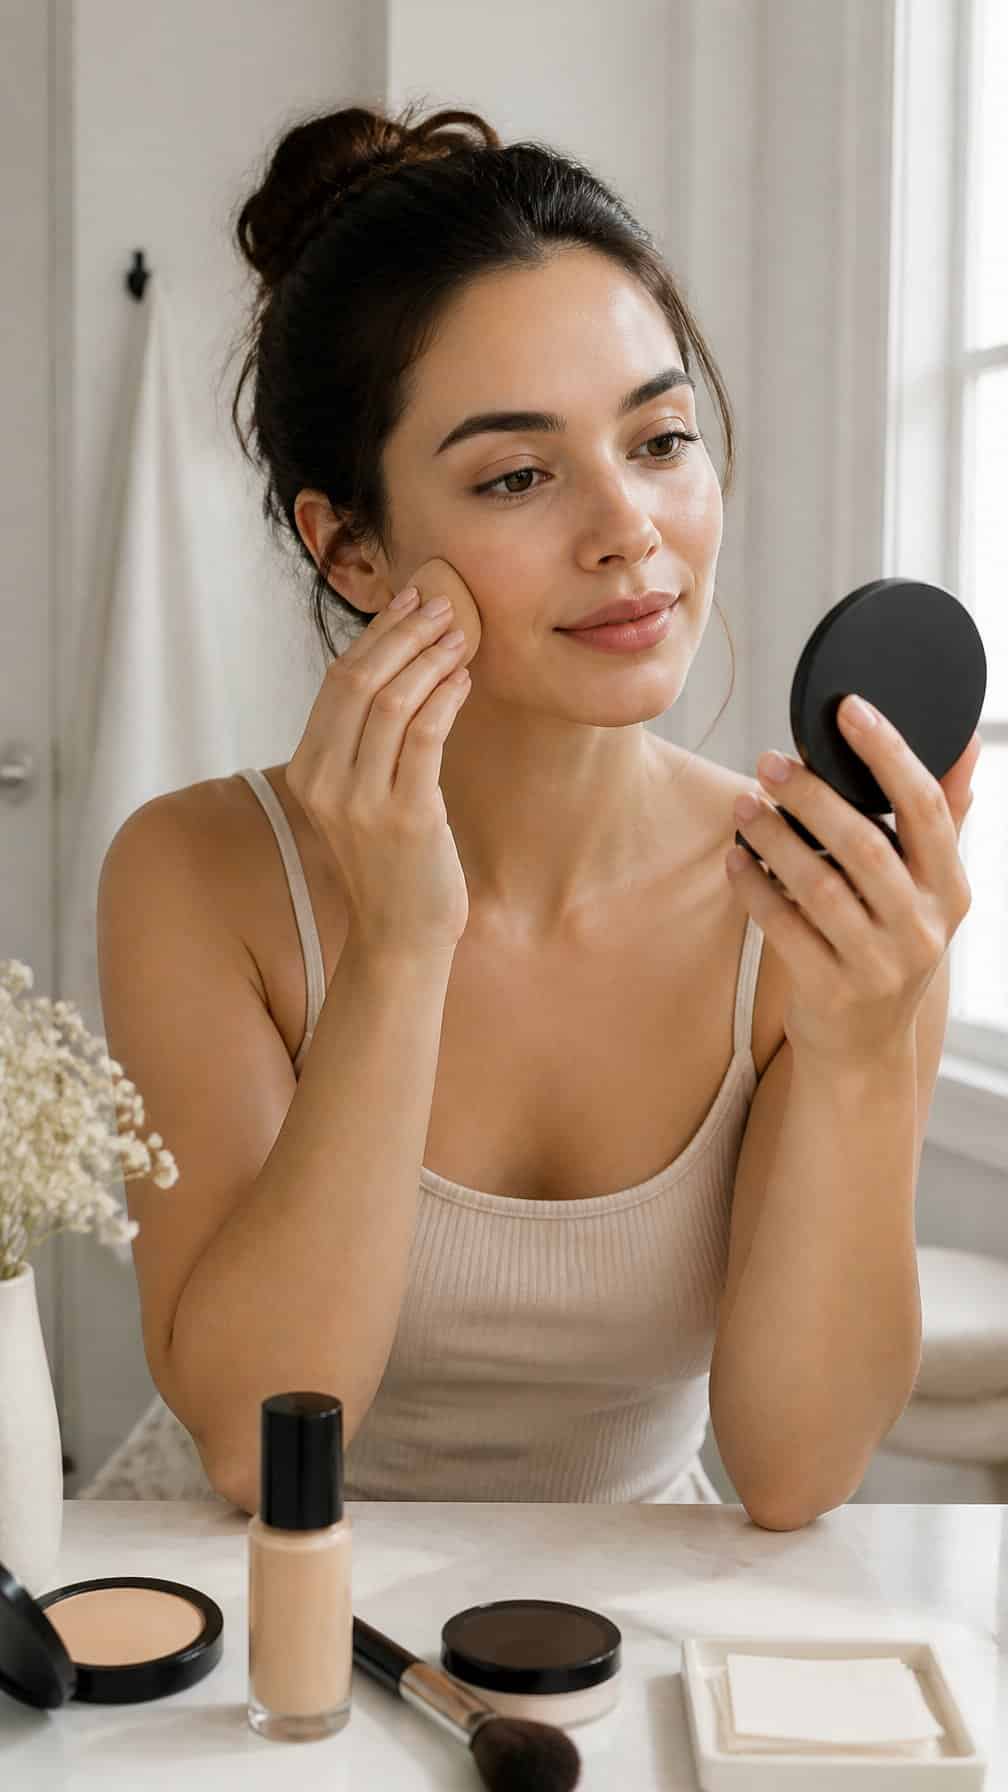
I start with a lightweight, oil-free moisturizer and give it a minute to absorb. Then I press a small amount of mattifying primer onto my forehead, nose, and chin rather than applying it everywhere.
I use a thin layer of long-wear foundation or tinted moisturizer, focusing coverage where I need it. I blend with a damp sponge or clean fingers, then set the center of my face with translucent powder.
For quick touch-ups, I carry blotting papers instead of adding repeated layers of powder. I press them gently against shiny areas to lift excess oil without disturbing my base.
I choose waterproof or tubing mascara and a powder blush, which usually hold their shape better on my skin than cream formulas. A soft neutral eyeshadow keeps the look polished without requiring detailed blending.
17) Natural Makeup for Hooded Eyes
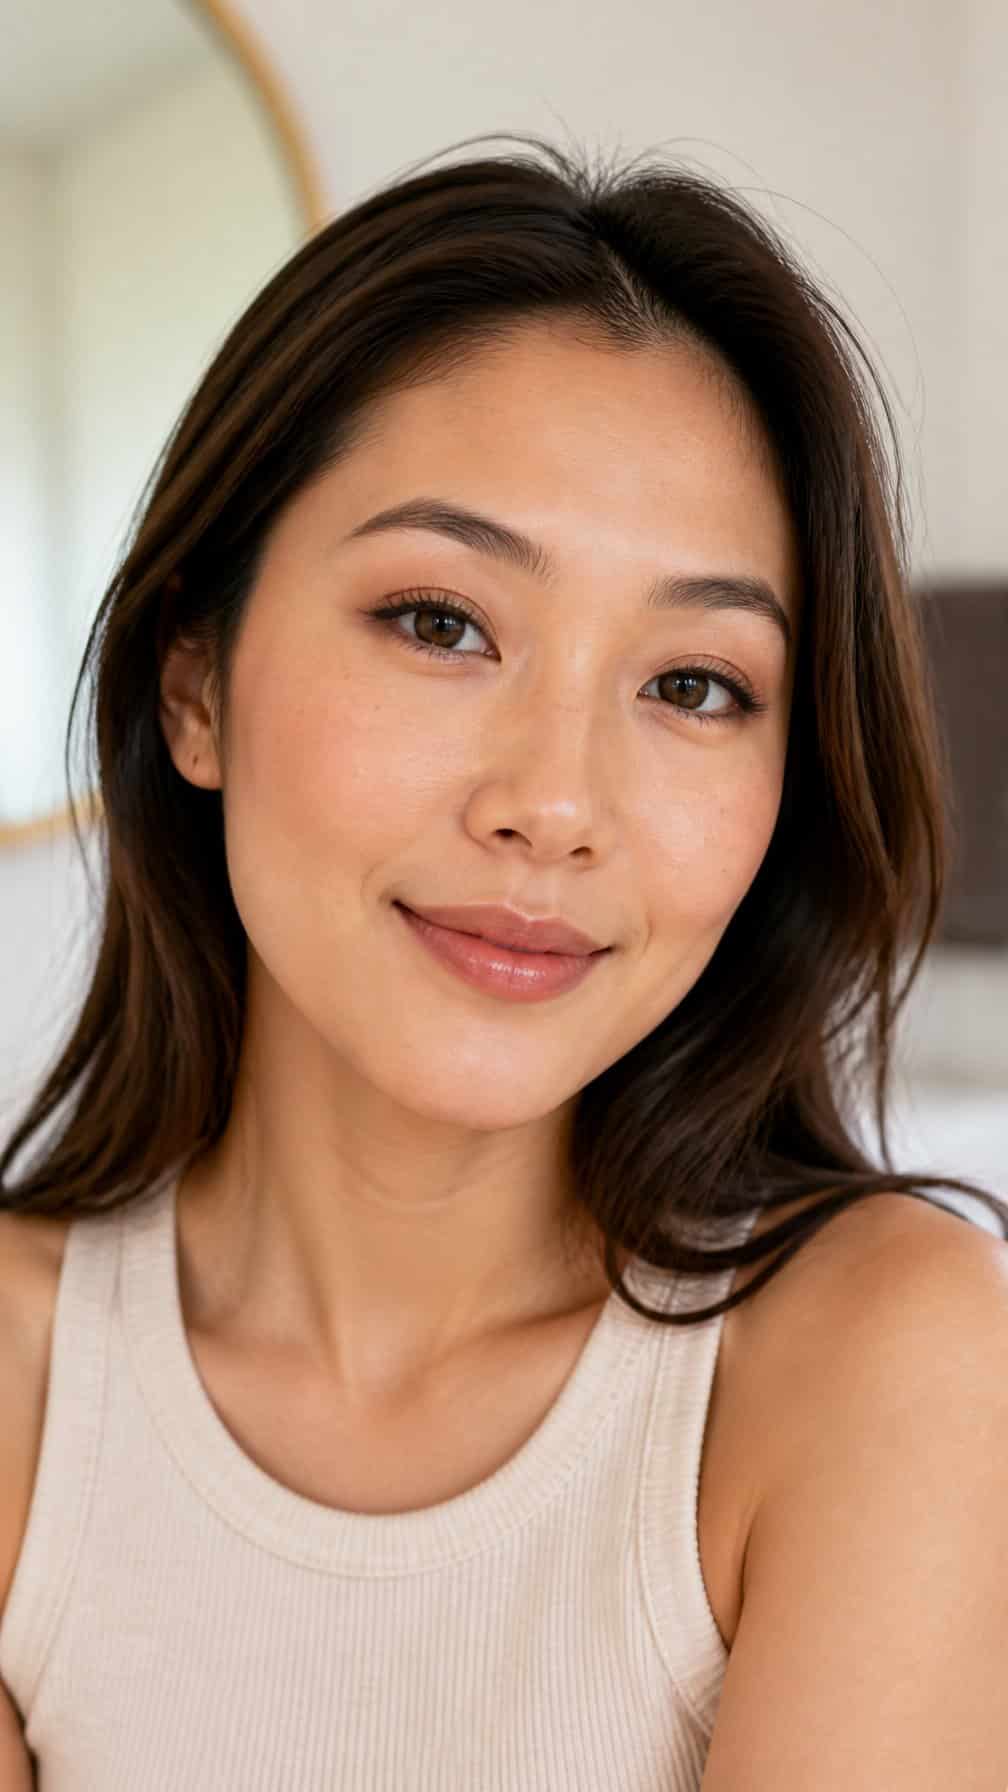
I keep the eye makeup matte and softly blended so it stays visible when my eyes are open. I sweep a neutral shade slightly above my natural crease, then add a deeper tone along the outer corner rather than placing it only in the fold.
I use a thin line of brown eyeliner close to my upper lashes and extend it just a little past the outer corner. Curling my lashes and applying mascara mainly at the roots adds definition without making the lid area look crowded.
I finish with a light touch of concealer under my eyes, blending it toward the temples. A subtle beige or champagne shade on the inner corners brightens my face while keeping the look natural.
18) Quick Makeup for Glasses Wearers
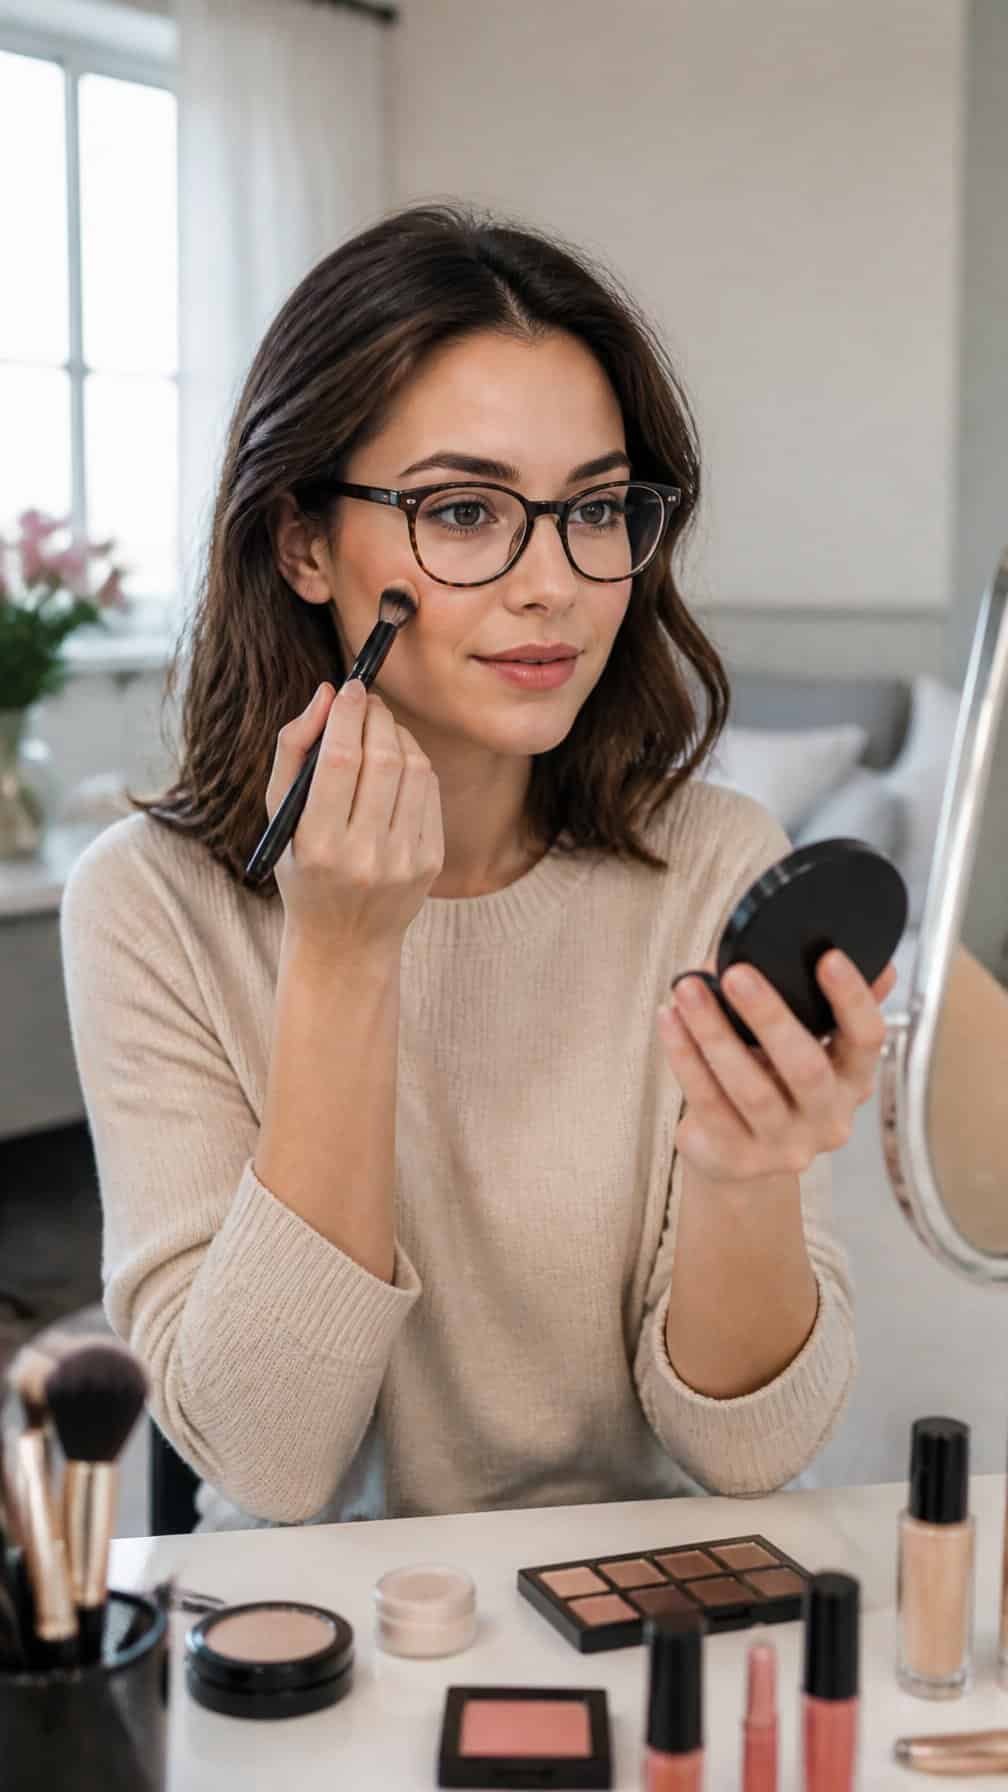
I start with a thin layer of concealer where my frames create shadows, especially beside my nose and beneath my eyes. I set those areas lightly with translucent powder to reduce creasing and keep my glasses from slipping.
I curl my lashes and apply a lengthening, smudge-resistant mascara, focusing on the roots rather than building heavy volume. I avoid excess product on the tips because thick lashes can touch the lenses.
I define my brows with a fine pencil or tinted gel so they remain visible behind the frames. For eyeshadow, I use a soft matte shade across the lid and add a slightly deeper tone along the crease when I want more definition.
I finish with cream blush and a comfortable lip color. If my frames are bold, I keep the rest of my makeup simple and use clean, blended edges.
19) Minimal Makeup for Mature Skin
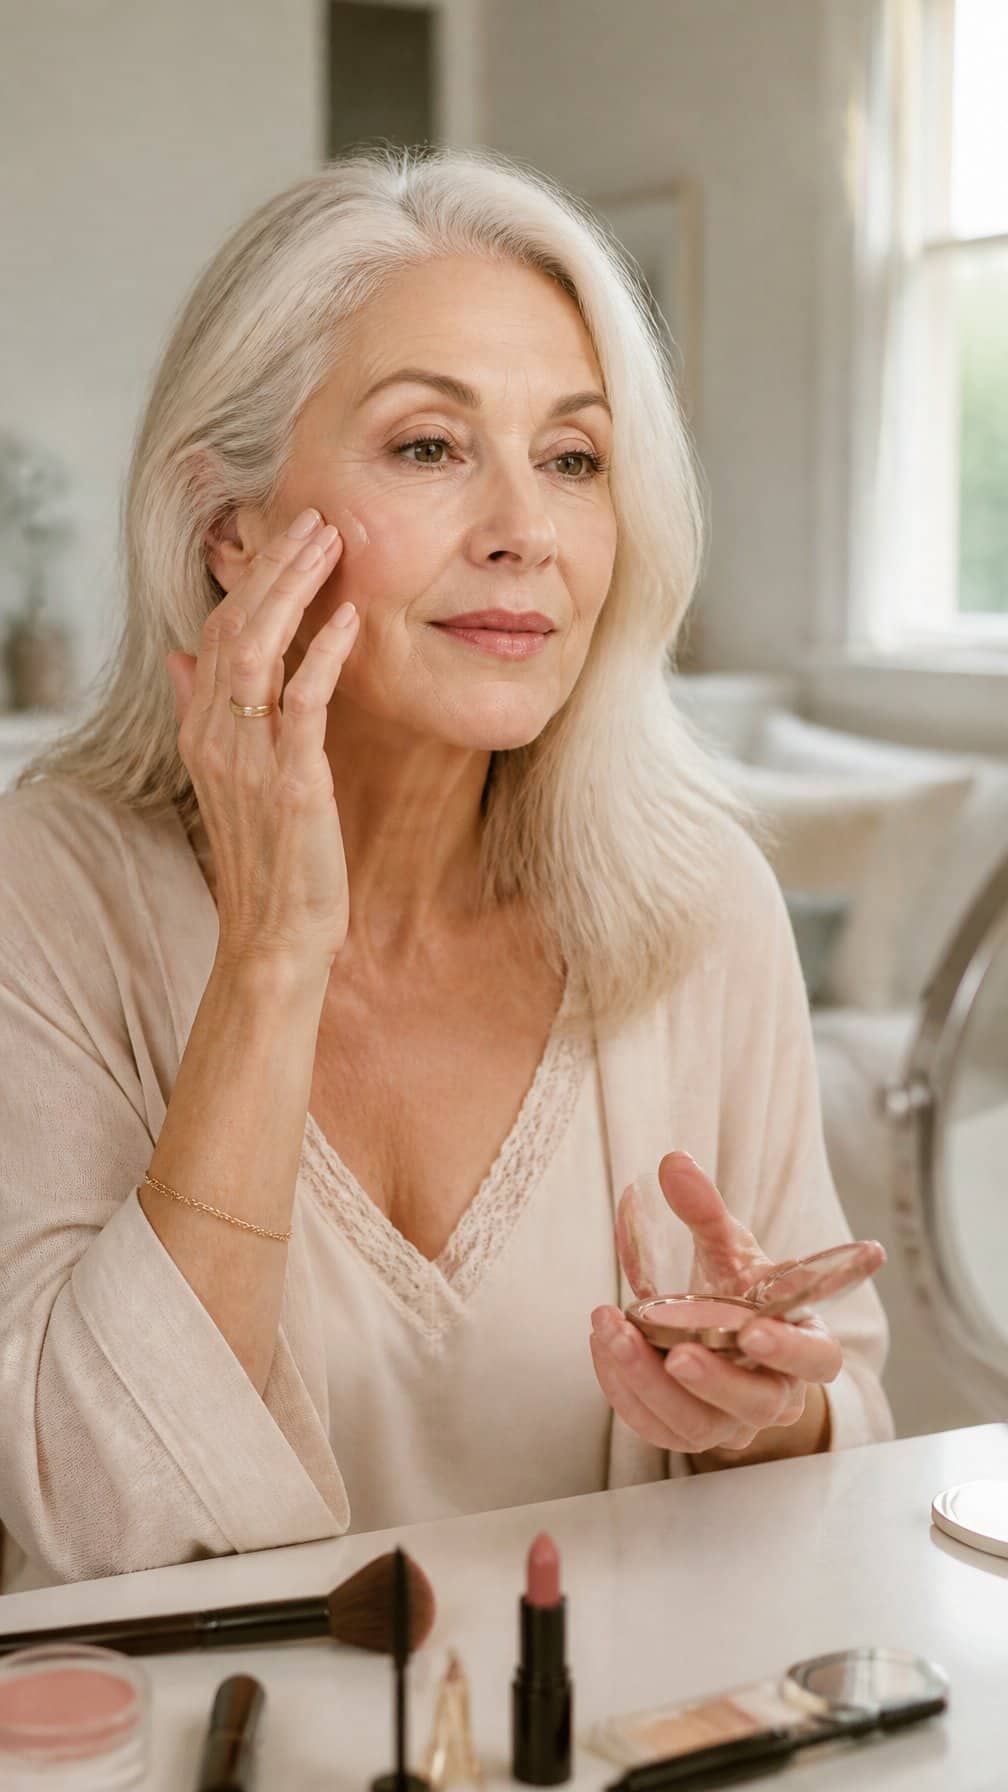
I start with a light moisturizer and a thin layer of skin tint, keeping coverage focused on redness or uneven areas. I tap concealer only where needed, since heavy layers can settle into fine lines.
I use a cream blush high on my cheeks and blend it outward with my fingers. A soft taupe or brown shadow adds definition without emphasizing texture, while a brown pencil along the upper lash line keeps the eyes looking defined but gentle.
I finish with a brushed brow gel and a moisturizing lip color. I usually skip powder except around the nose or center of the forehead, where a small amount can reduce shine without making the skin look dry.
20) Three-Product Morning Makeup
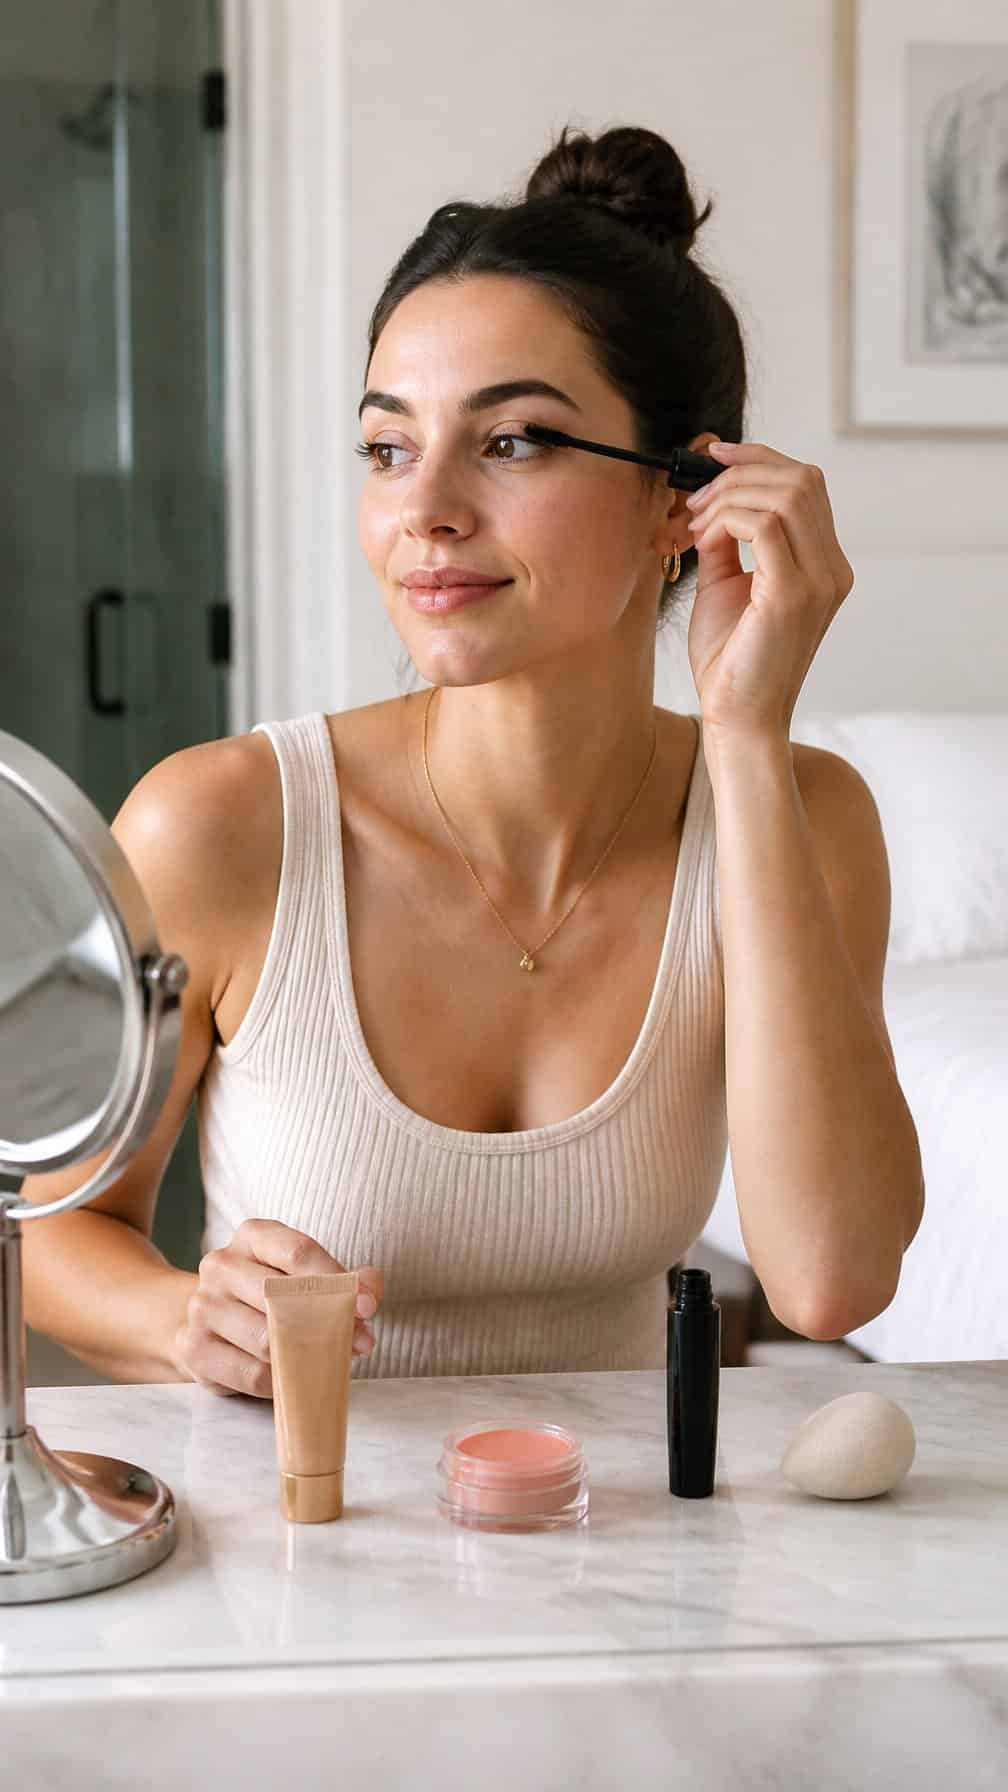
I keep rushed mornings simple with three products: tinted moisturizer, cream blush, and brow gel. I apply the moisturizer with my fingers, blend blush across my cheeks and lightly over my nose, then brush my brows upward to add definition without making them look heavy.
This routine evens my complexion, adds controlled color, and frames my eyes in a few minutes. I choose a tinted moisturizer with a comfortable finish, a sheer blush that blends easily, and a brow gel close to my natural hair color for a polished result.
21) Makeup Using Only Cream Products
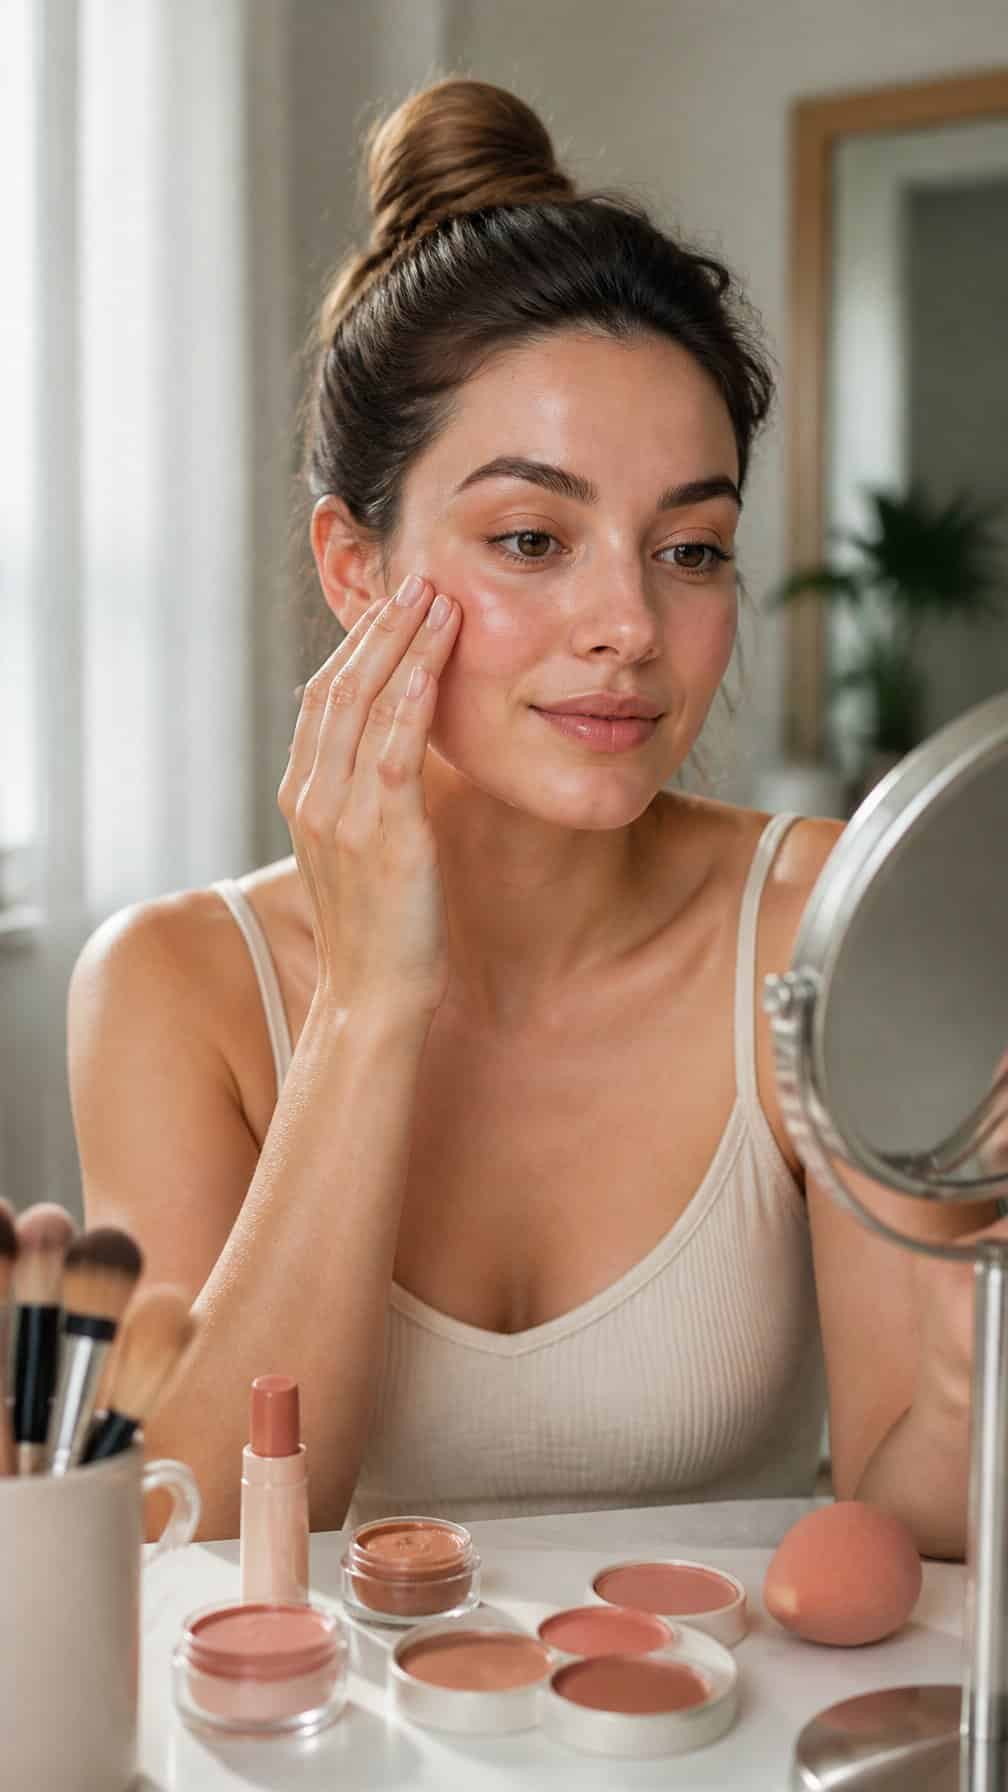
I use a cream foundation or skin tint, then tap cream concealer under my eyes and around redness. I blend both with my fingers, which warms the products and keeps the finish thin.
I press cream blush onto the apples of my cheeks and sweep the remainder across my nose. A small amount of cream bronzer along my cheekbones and hairline adds gentle definition without needing extra brushes.
For my eyes, I use a neutral cream shadow or a little bronzer through the crease. I finish with mascara, then apply a tinted lip balm or cream lipstick to my lips and dab the excess onto my cheeks.
I set only the areas that crease or become shiny, such as my under-eyes and the sides of my nose. Leaving the rest of the cream products unset keeps my makeup looking fresh rather than overly matte.
22) No-Makeup Makeup with Skin Tint

I apply a thin layer of skin tint with my fingers, starting at the center of my face and blending outward. I choose a shade that matches my neck and leave freckles or small marks visible instead of adding extra coverage.
I tap concealer only where I need it, usually around my nose or beneath my eyes. A small amount of cream blush adds color without making the base look heavy, while brushed-up brows and curled lashes keep the face looking awake.
I finish with clear balm or a soft tinted lip product. If my skin becomes shiny, I press a little translucent powder onto my forehead and nose, keeping the cheeks fresh and natural.
23) Five-Minute Brunch Makeup
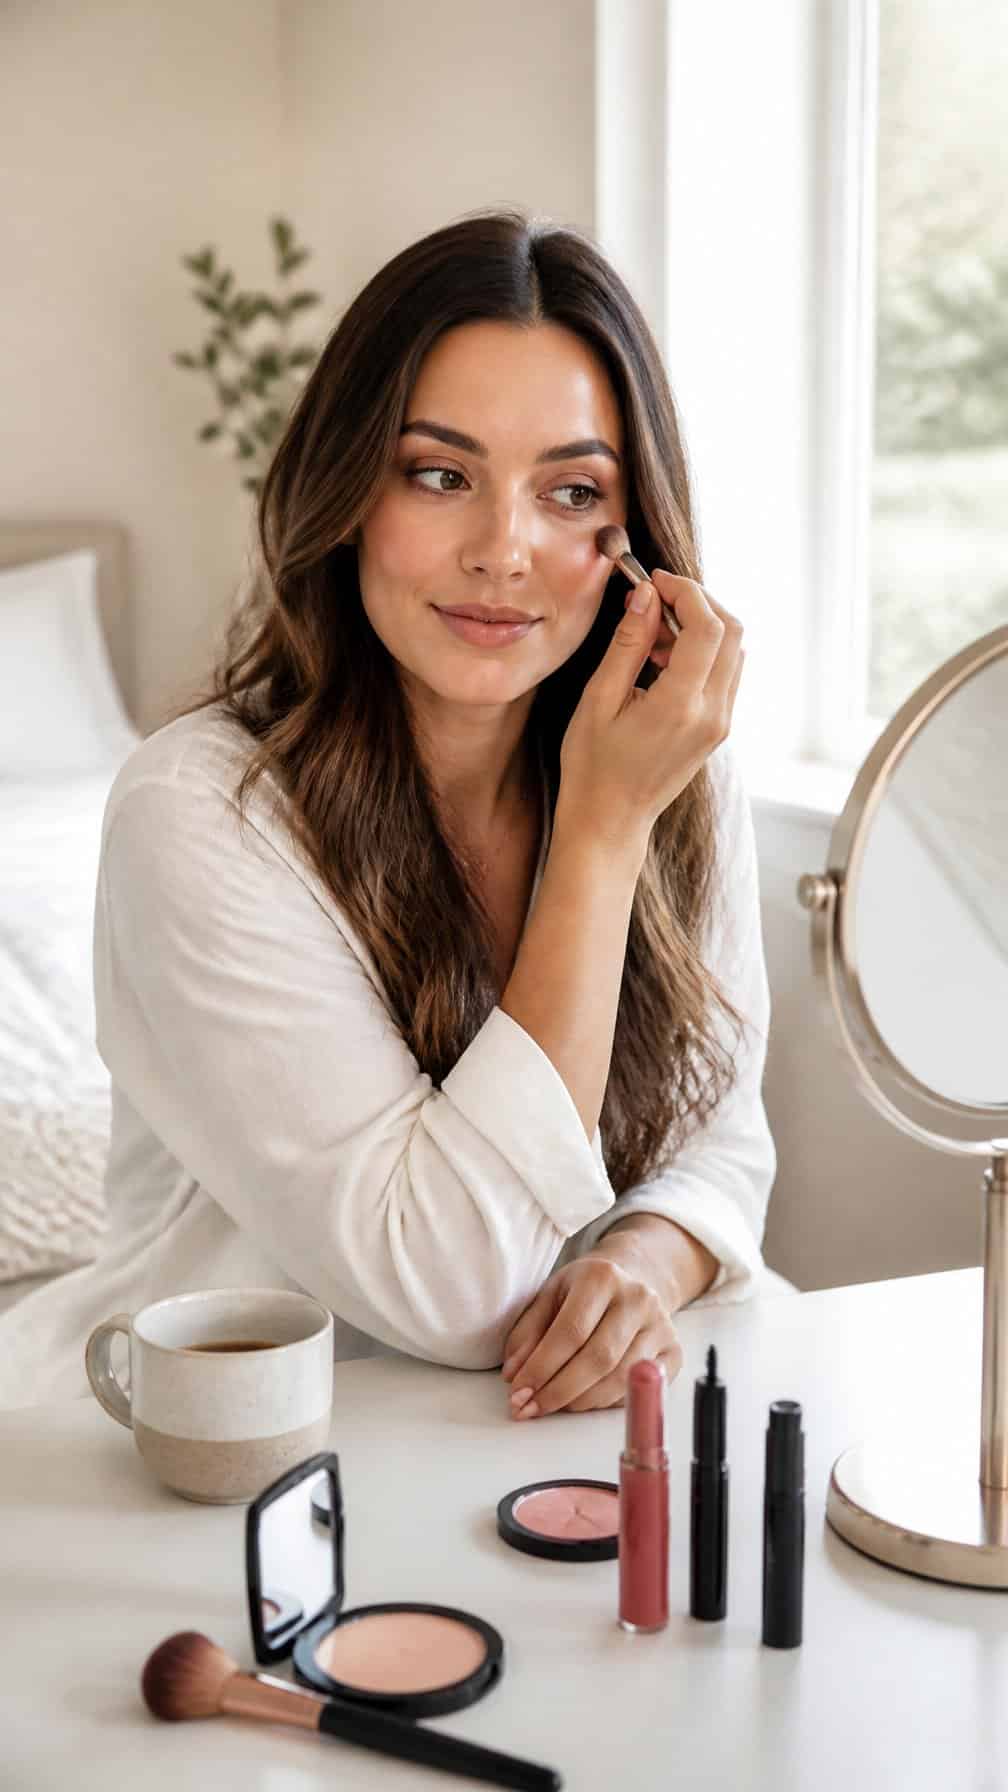
I start with tinted moisturizer, applying it only where my skin needs evening. A small amount of concealer brightens the inner corners of my eyes and covers any remaining redness without making the base look heavy.
I sweep a warm neutral blush across my cheeks and lightly over my nose for a fresh, coordinated look. Then I brush my brows upward with tinted gel, using short strokes to fill only the sparse areas.
I add one layer of brown mascara, concentrating on the outer lashes to define my eyes without creating a formal effect. A tinted balm finishes the look with comfortable color and enough moisture for a relaxed brunch.
24) Soft Definition with Taupe Shadow
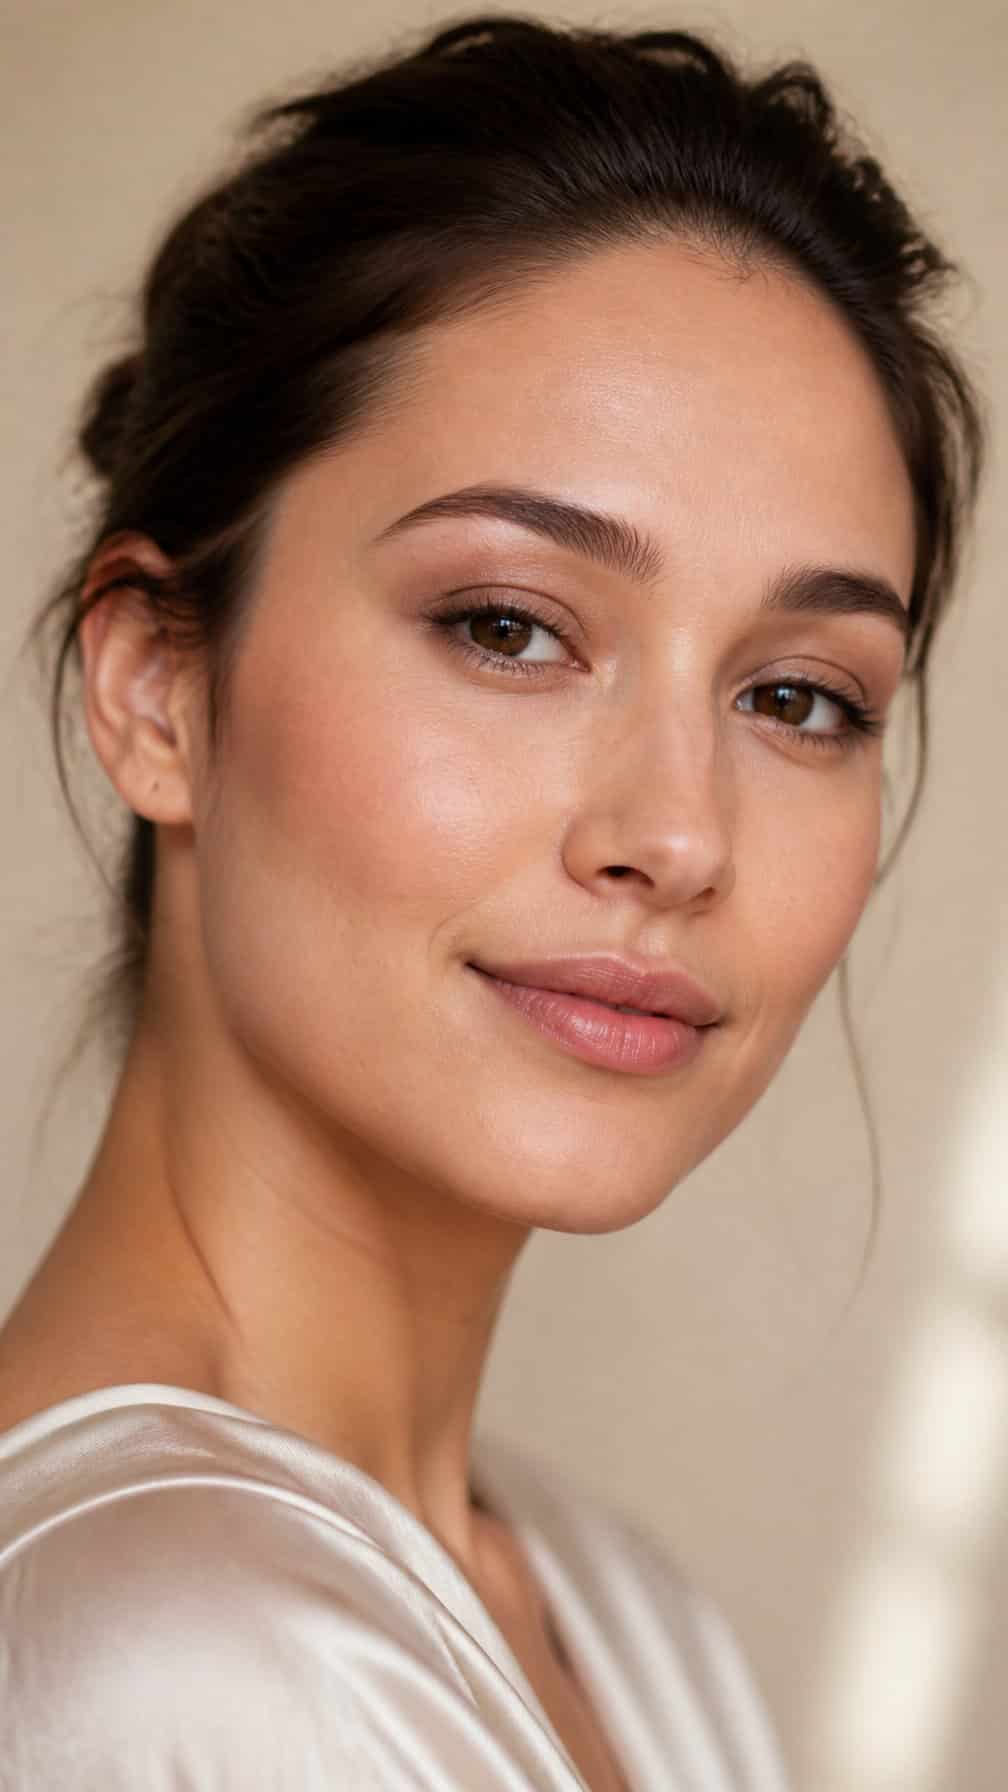
I sweep a matte taupe shadow across my lids, keeping the color close to the natural crease. I use a small blending brush to soften the edges without spreading the shadow too high.
I add a slightly deeper taupe along the upper lash line and outer corner for quiet definition. A light coat of mascara finishes the look while keeping my eyes open and polished.
I pair the eyeshadow with brushed brows, cream blush, and a muted pink or nude lip. The neutral tones work well for mornings when I want structure without a heavily made-up appearance.
25) Quick Makeup for Video Calls
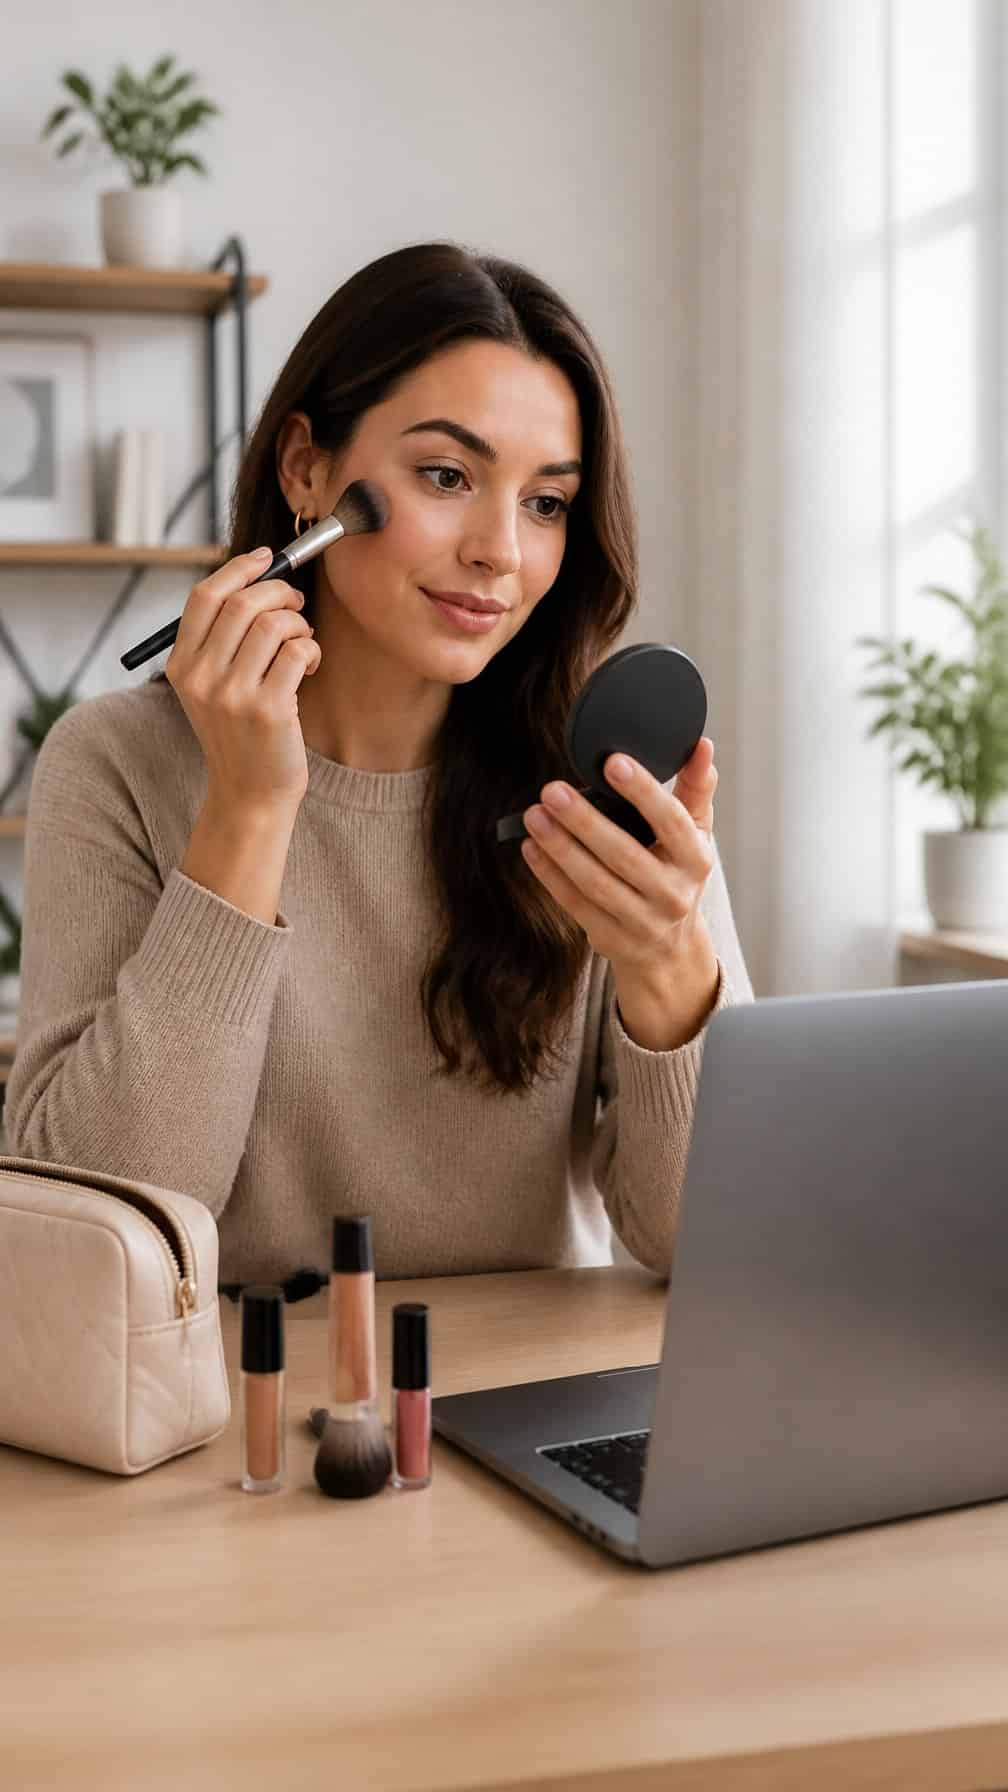
I start with moisturizer, then apply a thin layer of skin tint only where my complexion looks uneven. I add concealer beneath my eyes and around my nose, blending the edges so the coverage stays natural on camera.
I brush my brows upward and fill only sparse areas with a fine pencil. A small amount of cream blush on my cheeks adds definition without requiring precise placement.
I curl my lashes and apply mascara to the upper lashes, focusing on the roots. For a polished finish, I tap tinted balm onto my lips and blot once to remove excess shine.


