

A polished manicure does not require elaborate tools or hours of free time. I can create simple designs on short or long nails by combining clean shapes, subtle accents, classic colors, and playful details that suit different styles.
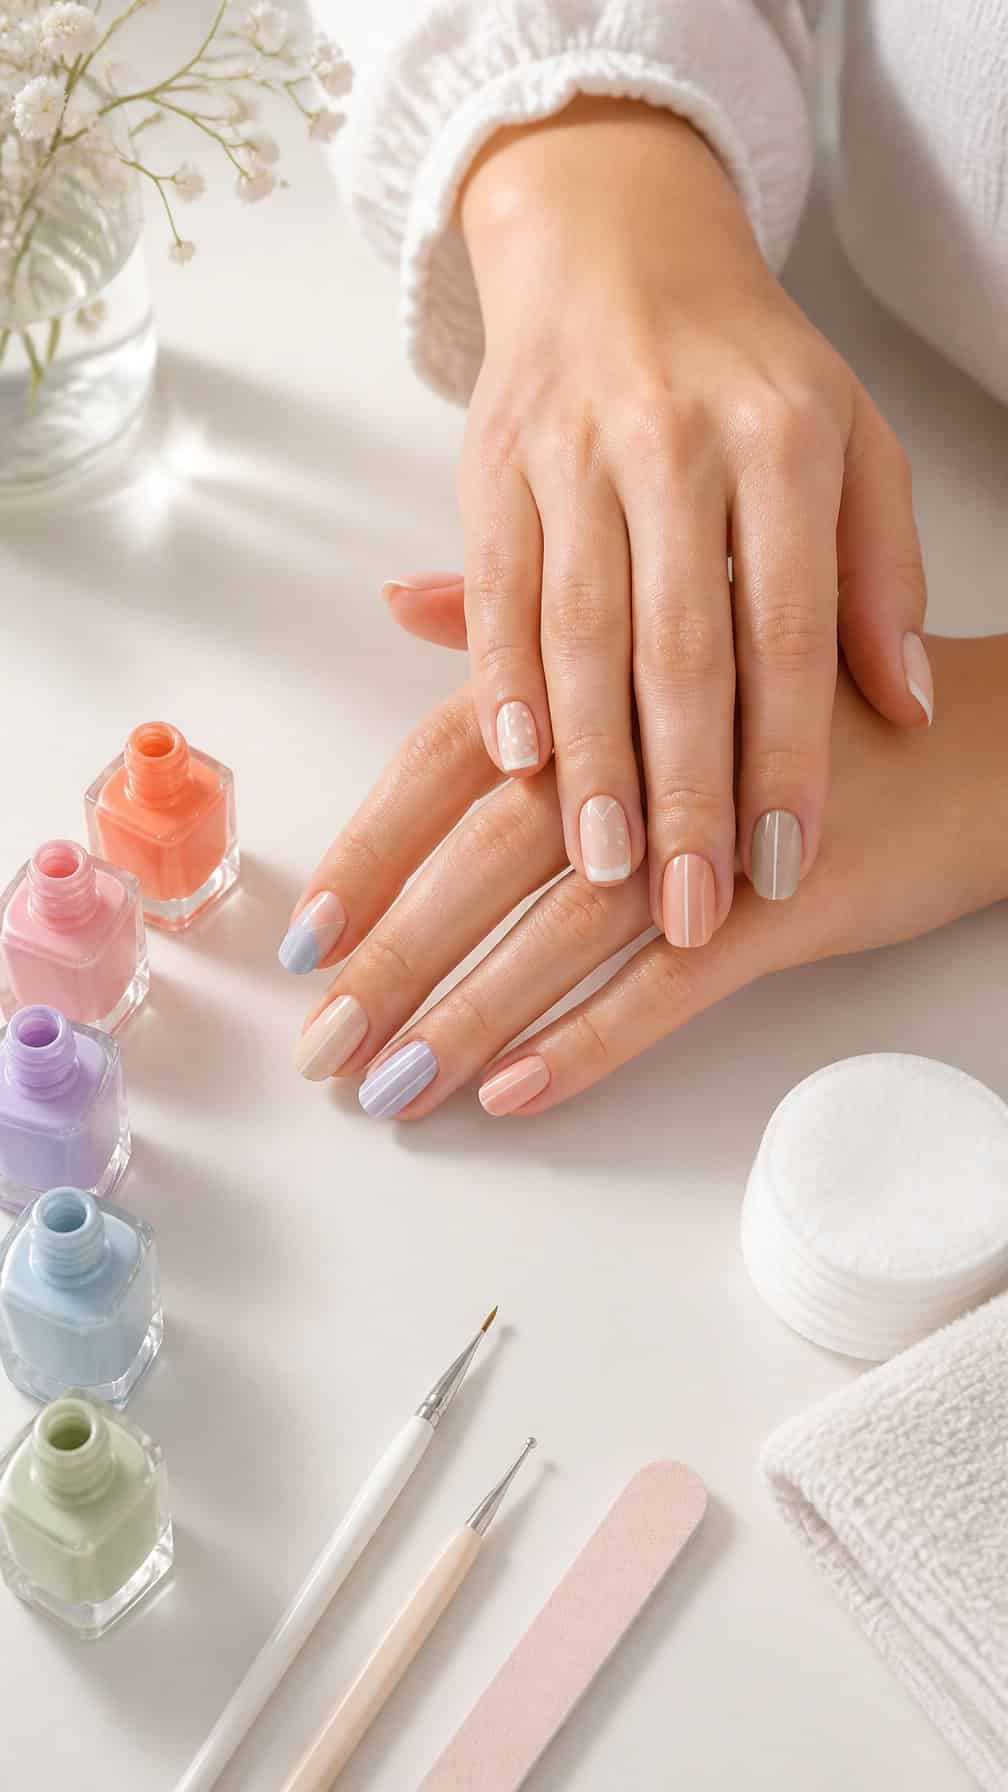
Save for later
Want to come back to this story? Save it with your email so it is easy to find again.
These ten-minute nail designs help me refresh my manicure quickly while keeping the process simple and approachable. I can also prepare my nails properly and add finishing care to help each look stay neat and polished.
Table of Contents
- 1 1) Minimalist nude nails with a white dot
- 2 2) Classic French tips with a sheer pink base
- 3 3) Diagonal two-tone pastel nails
- 4 4) Tiny black heart accent nails
- 5 5) Glossy solid cherry-red nails
- 6 6) Matte black nails with a glossy tip
- 7 7) Pastel rainbow stripe nails
- 8 8) Negative-space half-moon nails
- 9 9) White nails with gold foil accents
- 10 10) Lavender nails with tiny white flowers
- 11 11) Sky-blue nails with cloud dots
- 12 12) Pink nails with a single glitter accent
- 13 13) Checkerboard accent nail design
- 14 14) Terracotta nails with a beige stripe
- 15 15) Pearl-effect white nails
- 16 16) Short nails with metallic silver tips
- 17 17) Sage-green nails with black dots
- 18 18) Coral nails with a white wave
- 19 19) Nude nails with minimalist black lines
- 20 20) Pink-and-white color-blocked nails
- 21 21) Deep plum nails with gold dots
- 22 22) Soft yellow nails with daisy accents
- 23 23) Blue French tips on a nude base
- 24 24) Reverse French manicure with red tips
- 25 25) Peach nails with white polka dots
- 26 26) Chocolate-brown nails with cream swirls
- 27 27) Clear nails with tiny star stickers
- 28 28) Rose-gold glitter accent nails
- 29 29) Mint-green nails with diagonal lines
- 30 30) White nails with a single blue flower
1) Minimalist nude nails with a white dot
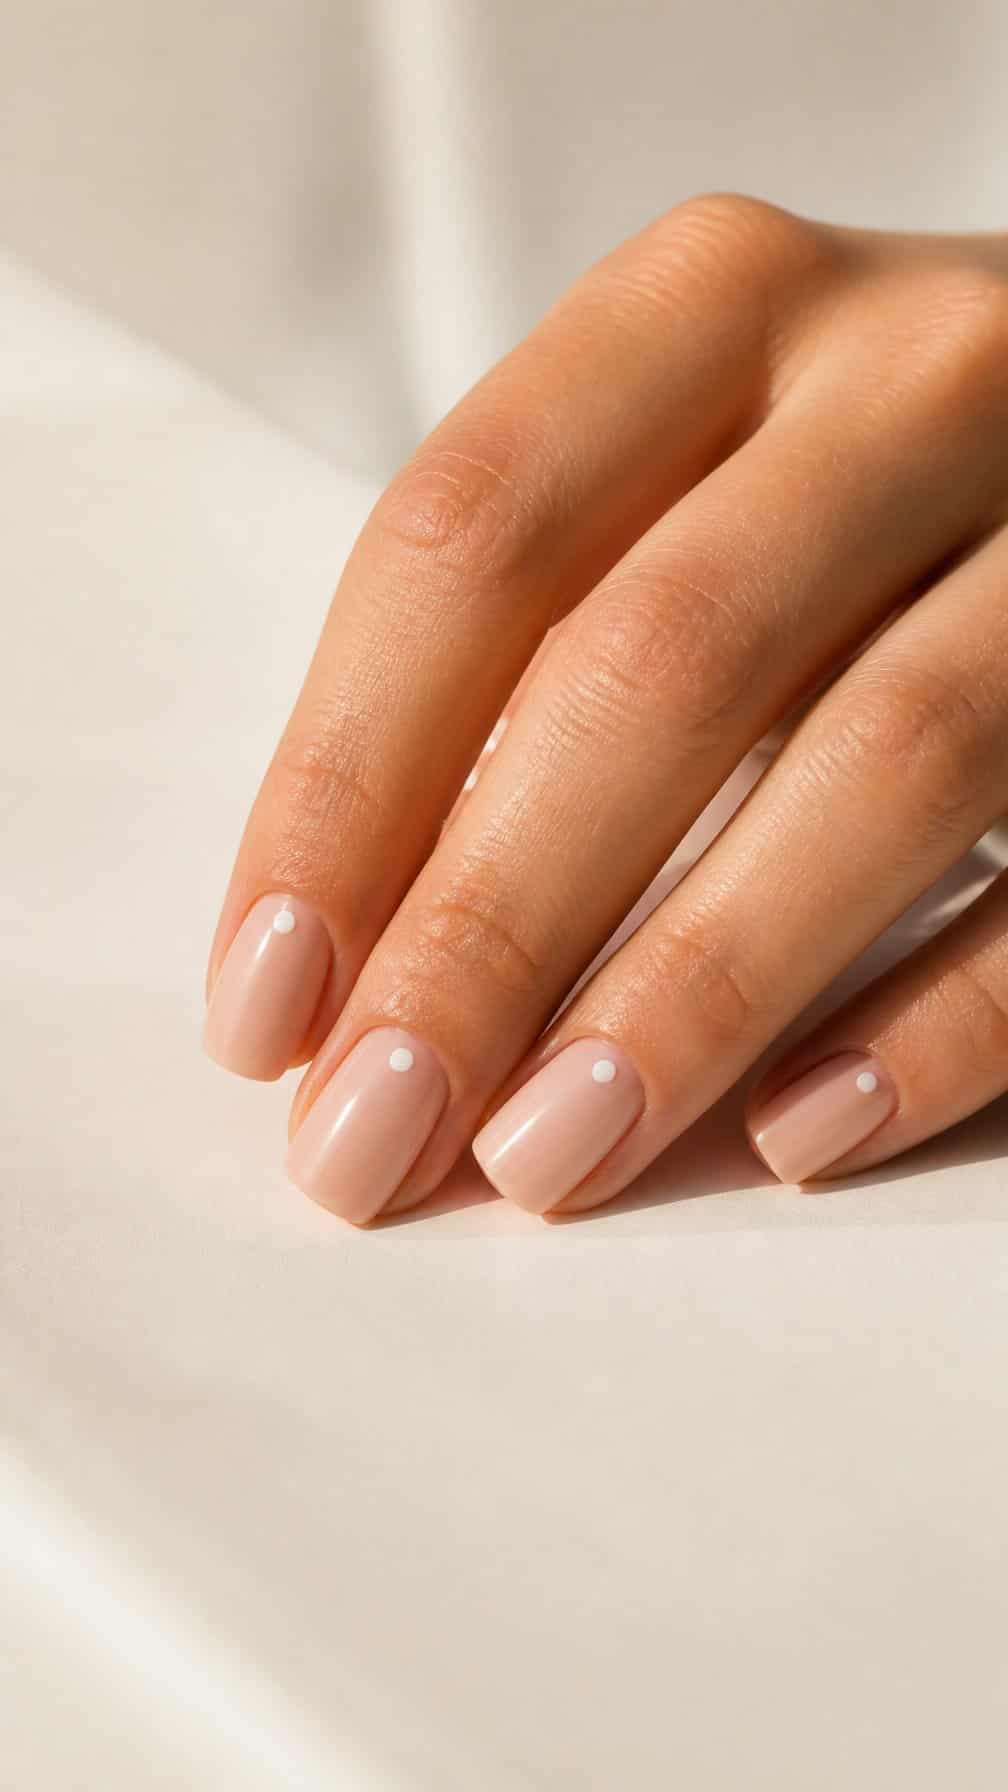
I start with a sheer nude polish that matches my skin tone and apply one or two thin coats. After it dries, I use a dotting tool or the rounded end of a bobby pin to place one small white dot near the base of each nail.
I keep the dots evenly sized but do not worry about perfect symmetry. A quick layer of clear topcoat smooths the surface and helps the design last. For speed, I paint the nude base on every nail first, then add the dots once the polish feels dry to the touch.
2) Classic French tips with a sheer pink base
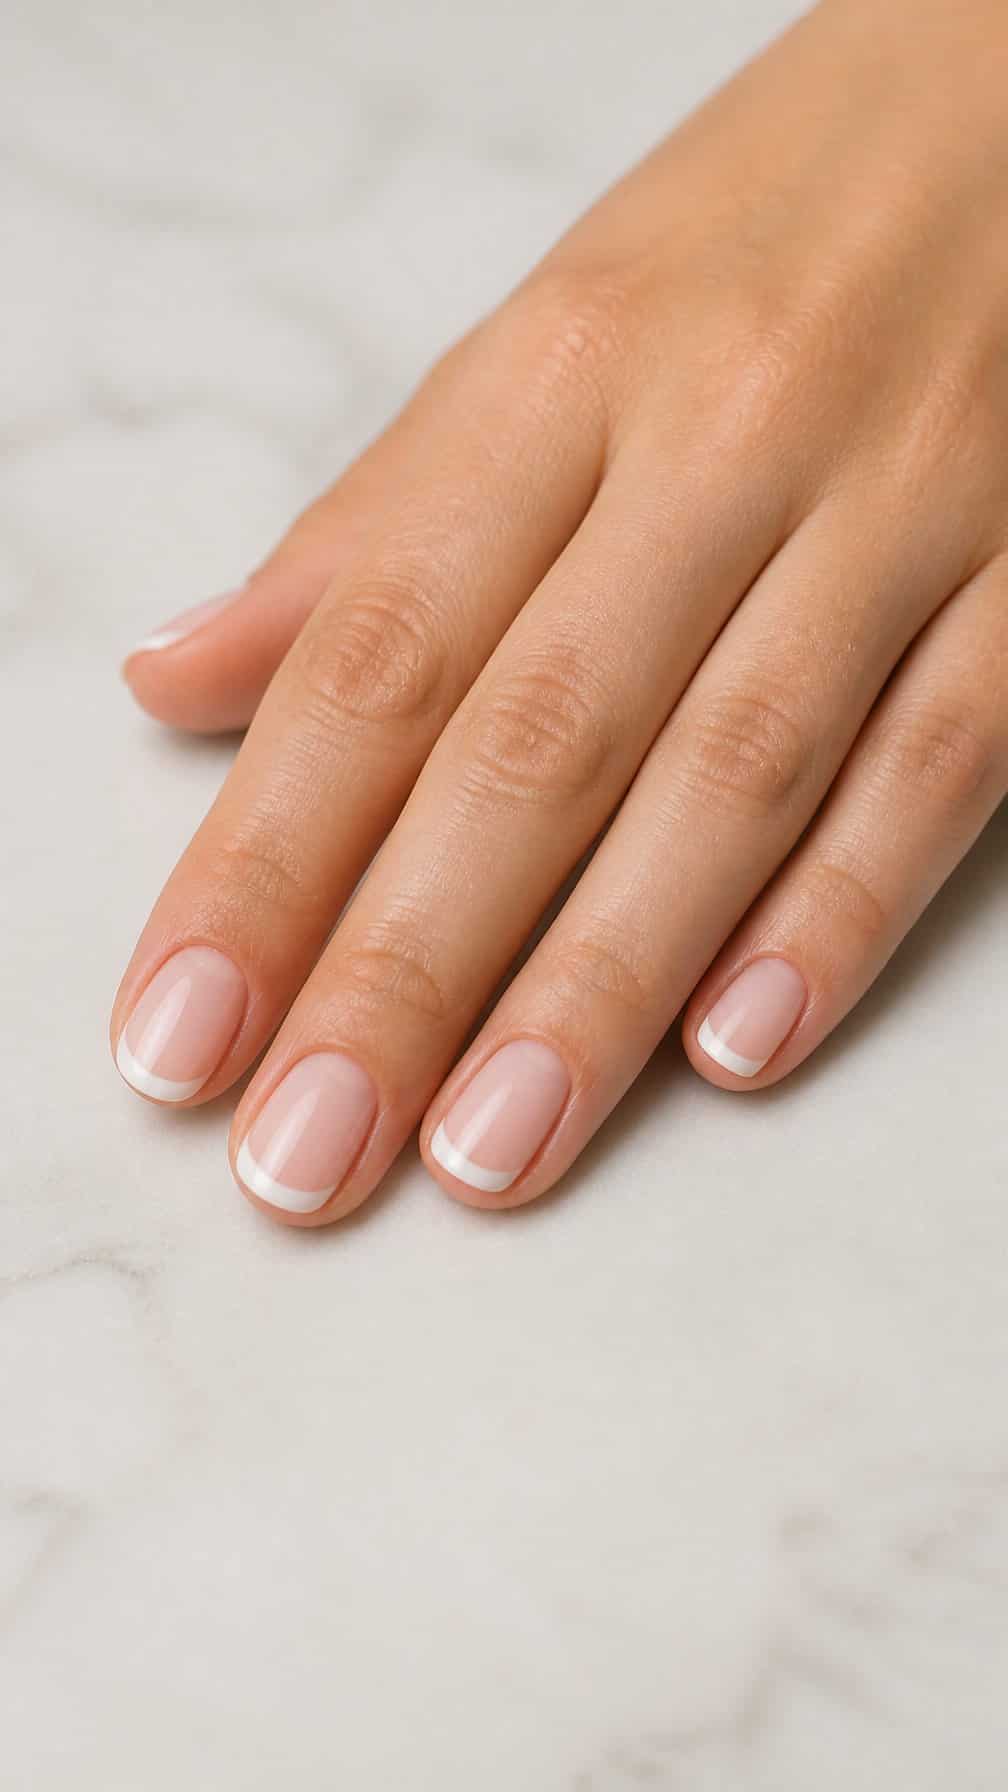
I start with a sheer pink polish to even out my nails while keeping the finish natural. Once it dries, I use a white striping brush or French-tip guide to paint a thin line across each free edge.
I keep the tips slightly curved to follow my nail shape, then clean uneven edges with a small brush dipped in acetone. This design works best when I use two thin layers rather than one thick coat.
I finish with a clear top coat to smooth the surface and protect the white tips. For a ten-minute version, I choose quick-drying formulas and wait briefly between layers.
3) Diagonal two-tone pastel nails
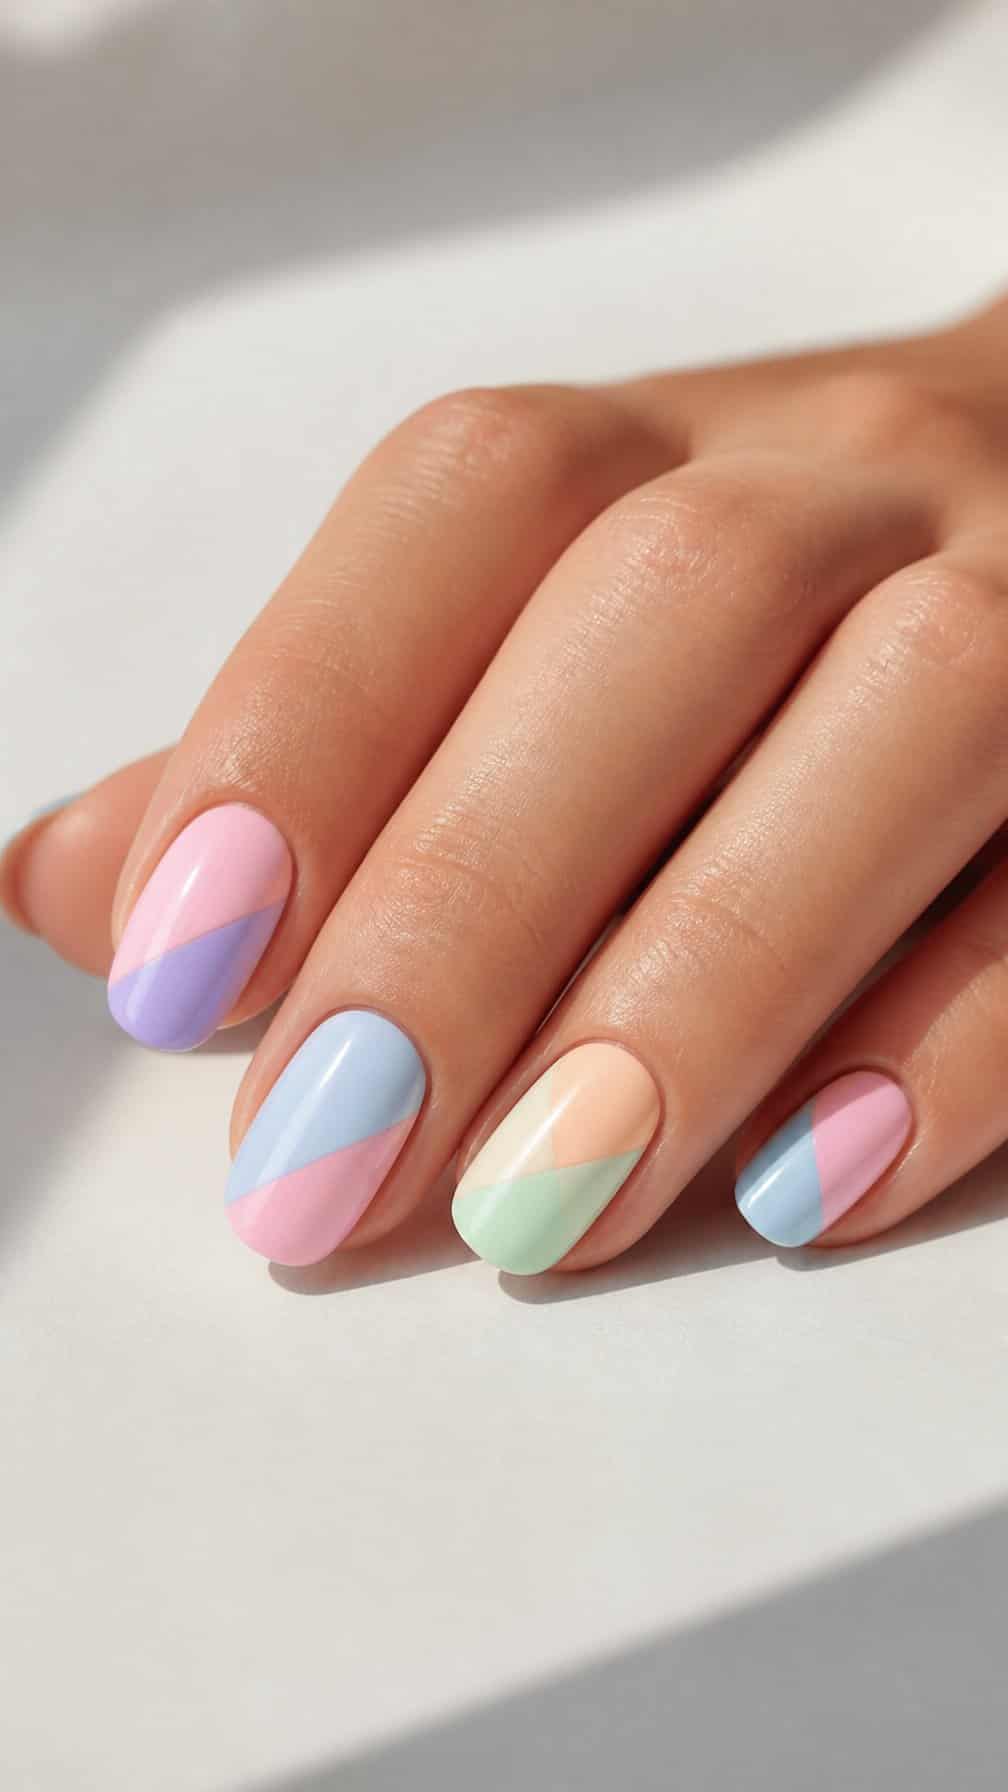
I start with a pale base color and let it dry for a minute or two. Then I place a strip of tape diagonally across each nail, covering the section I want to keep visible.
I brush a second pastel shade over the exposed area, using thin, even strokes. Soft combinations such as lavender and mint, peach and pale blue, or pink and butter yellow create a clean contrast without looking harsh.
I remove the tape while the second polish remains slightly wet, then add a clear topcoat once both colors have set. For sharper lines, I use nail-striping tape or a small angled brush to tidy the edge.
4) Tiny black heart accent nails
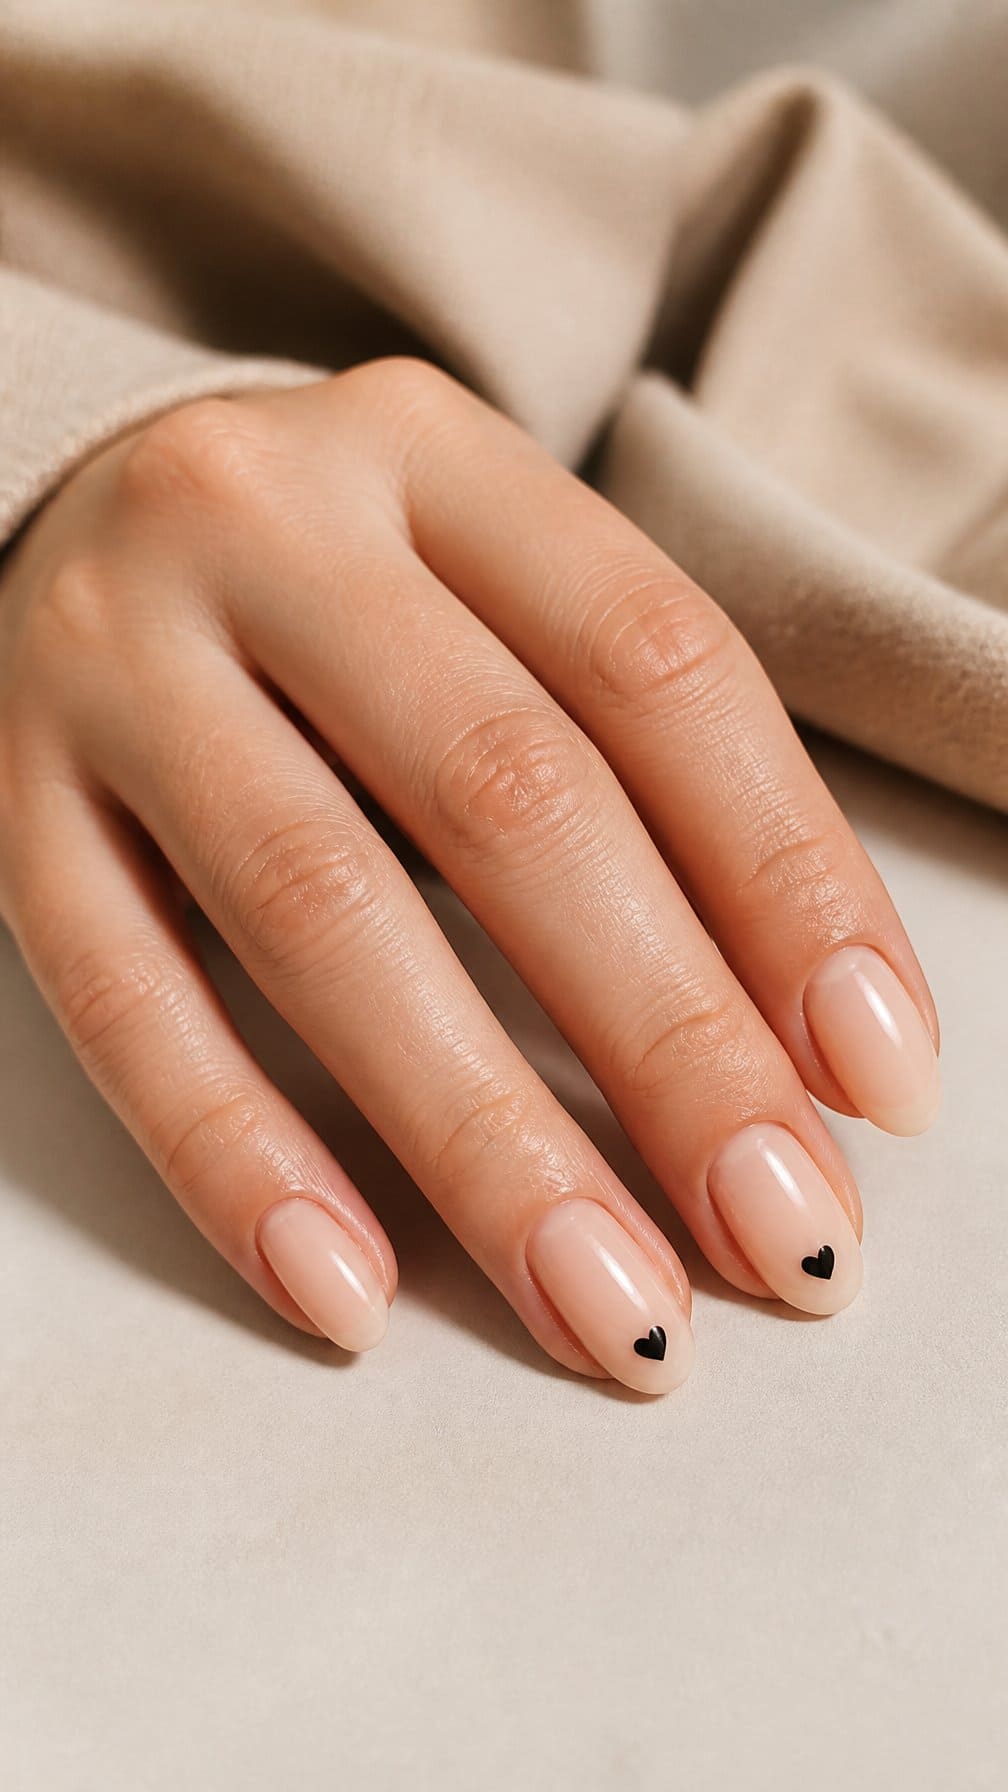
I keep the base simple with sheer pink, nude, or clear polish, then add one tiny black heart near the cuticle or along the side of each accent nail. I use a fine nail-art brush or a dotting tool to place two small dots and drag them into a point.
I usually decorate one or two nails per hand and leave the rest solid. This keeps the design balanced and lets the small heart stand out without requiring precise artwork on every nail.
After the hearts dry, I add a thin layer of top coat. I avoid pressing the brush down, which can smear the shape before it sets.
5) Glossy solid cherry-red nails
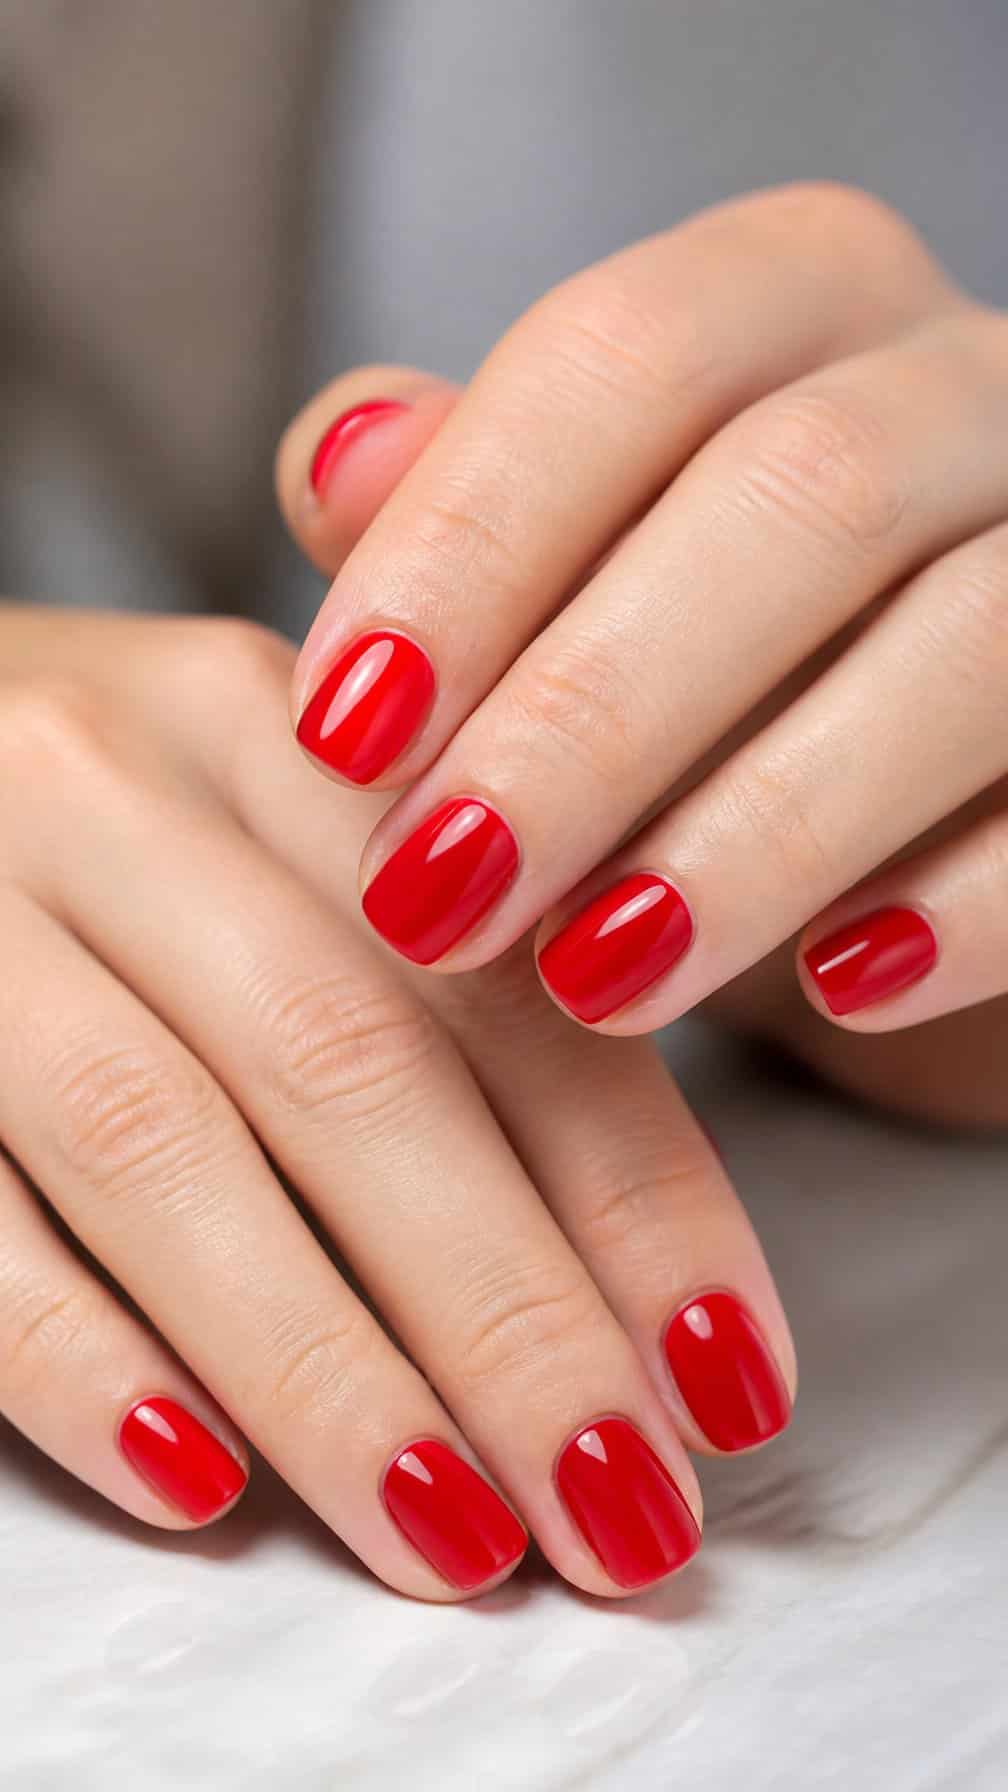
I start by shaping my nails evenly and wiping away any oil so the polish adheres smoothly. I apply one thin coat of cherry-red polish, let it dry briefly, then add a second coat for full, even color.
I keep the edges neat by guiding the brush down the center first, followed by each side. After the color sets, I add a glossy topcoat, sweeping it across the tips to help protect the finish from early chips.
6) Matte black nails with a glossy tip
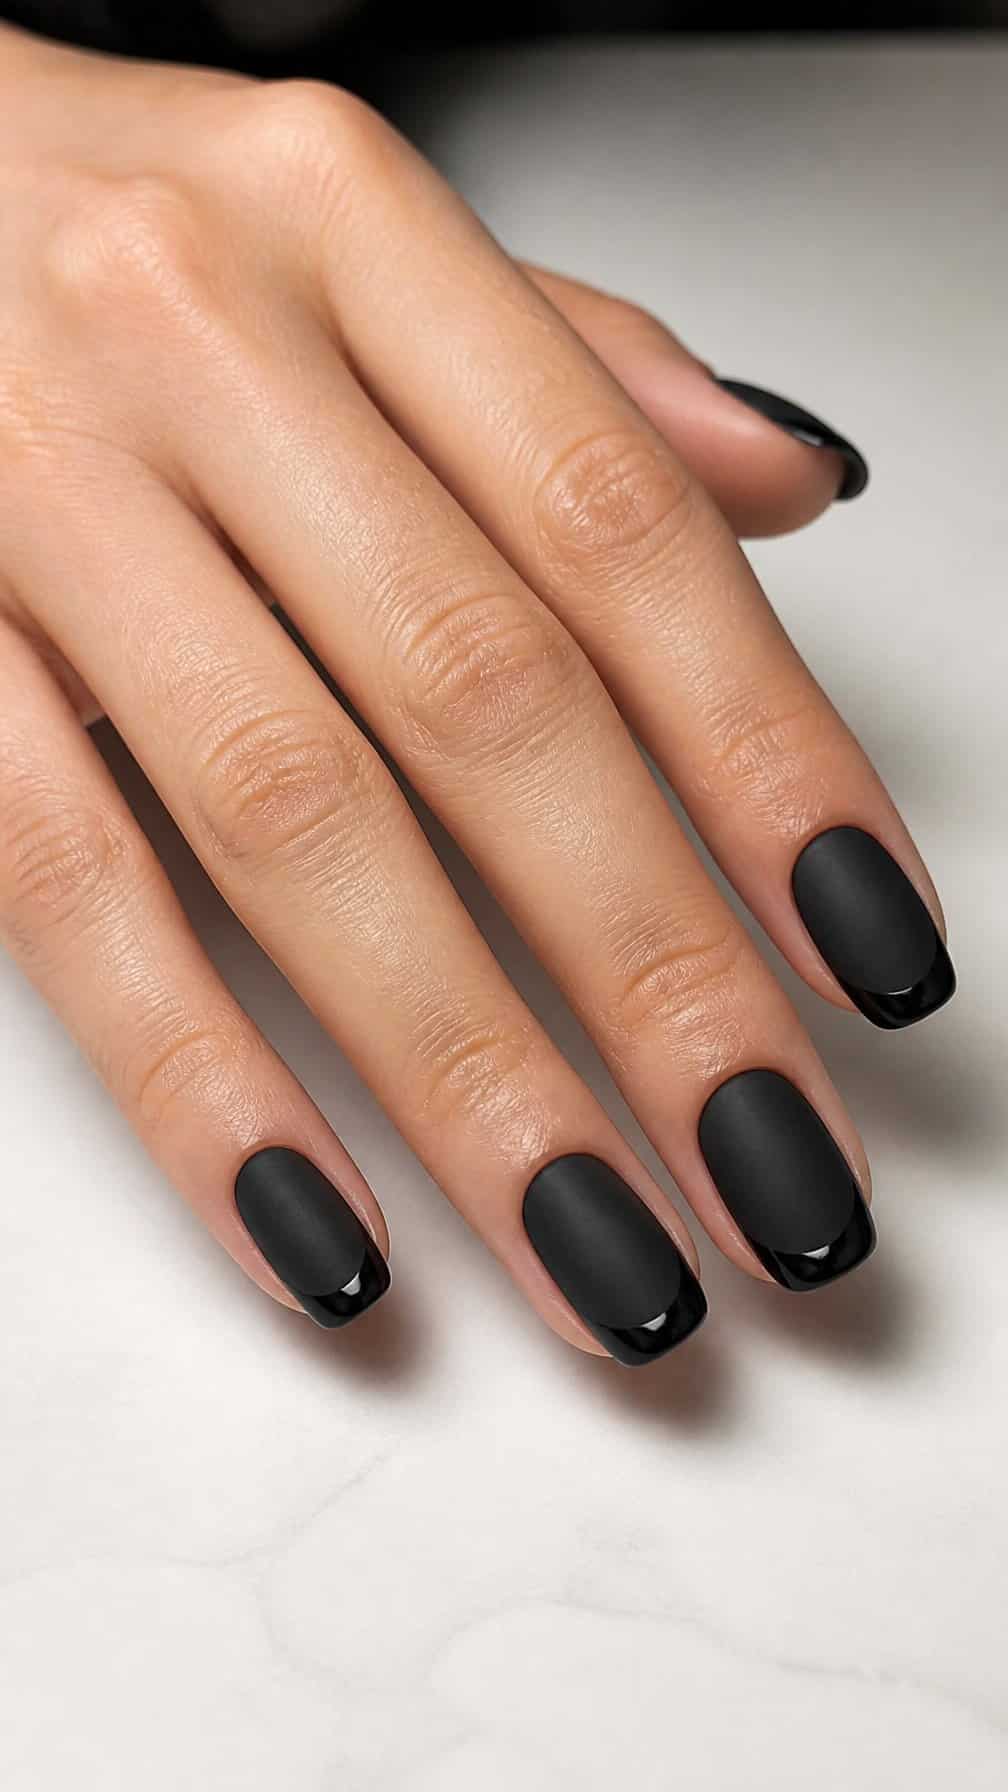
I start with a black base coat and let it dry completely before applying a matte top coat. Once the surface feels smooth and dry, I paint a narrow glossy stripe across each tip, using the natural nail edge as my guide.
For a crisp finish, I use a fine detail brush or French-tip guide stickers. I keep the glossy band thin so the contrast stays clean, then seal only the shiny tips with clear top coat. This design works on short or long nails and takes about ten minutes with quick-drying polish.
7) Pastel rainbow stripe nails
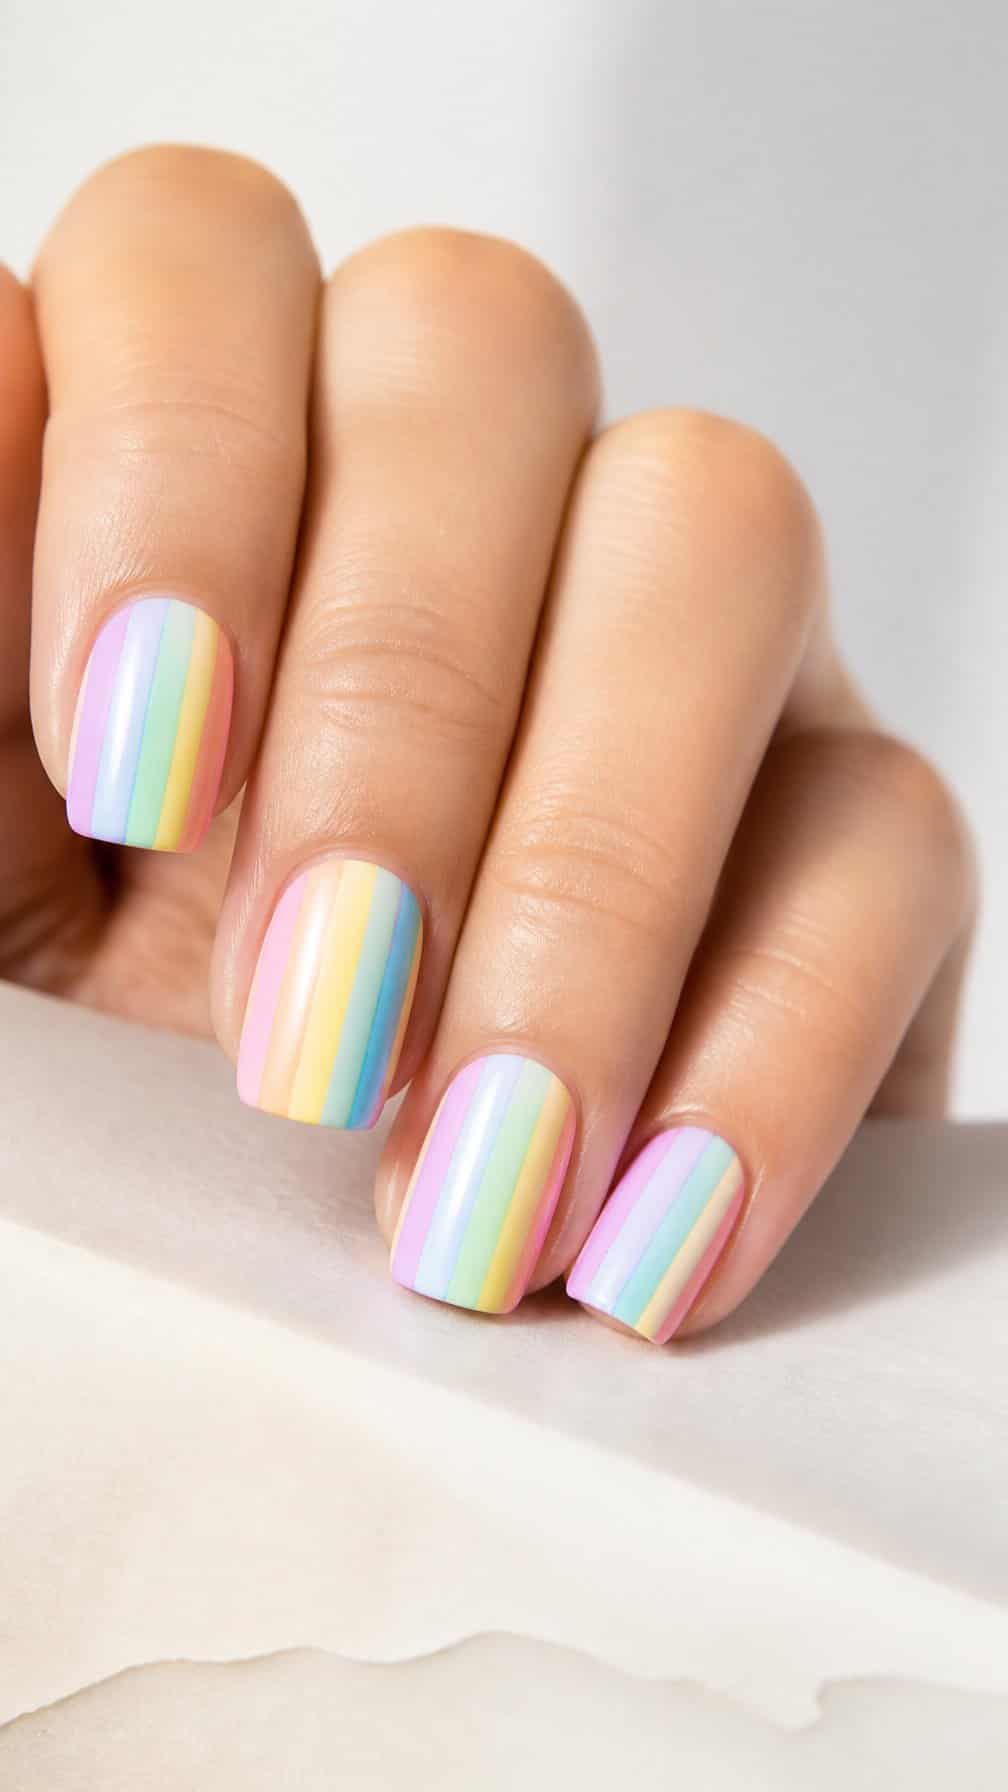
I start with a pale base coat and let it dry briefly. Using a fine nail-art brush or a striping brush, I paint narrow vertical lines in soft pink, yellow, blue, green, and lavender. I keep the stripes slightly uneven for a relaxed finish rather than trying to create perfect spacing.
I work one nail at a time and use thin layers to prevent smudging. If the brush feels too loaded, I wipe excess polish from one side before painting each stripe.
After the colors dry, I add a clear top coat to smooth the surface and protect the design. I prefer a glossy finish, but a matte top coat gives the pastel colors a softer appearance.
8) Negative-space half-moon nails
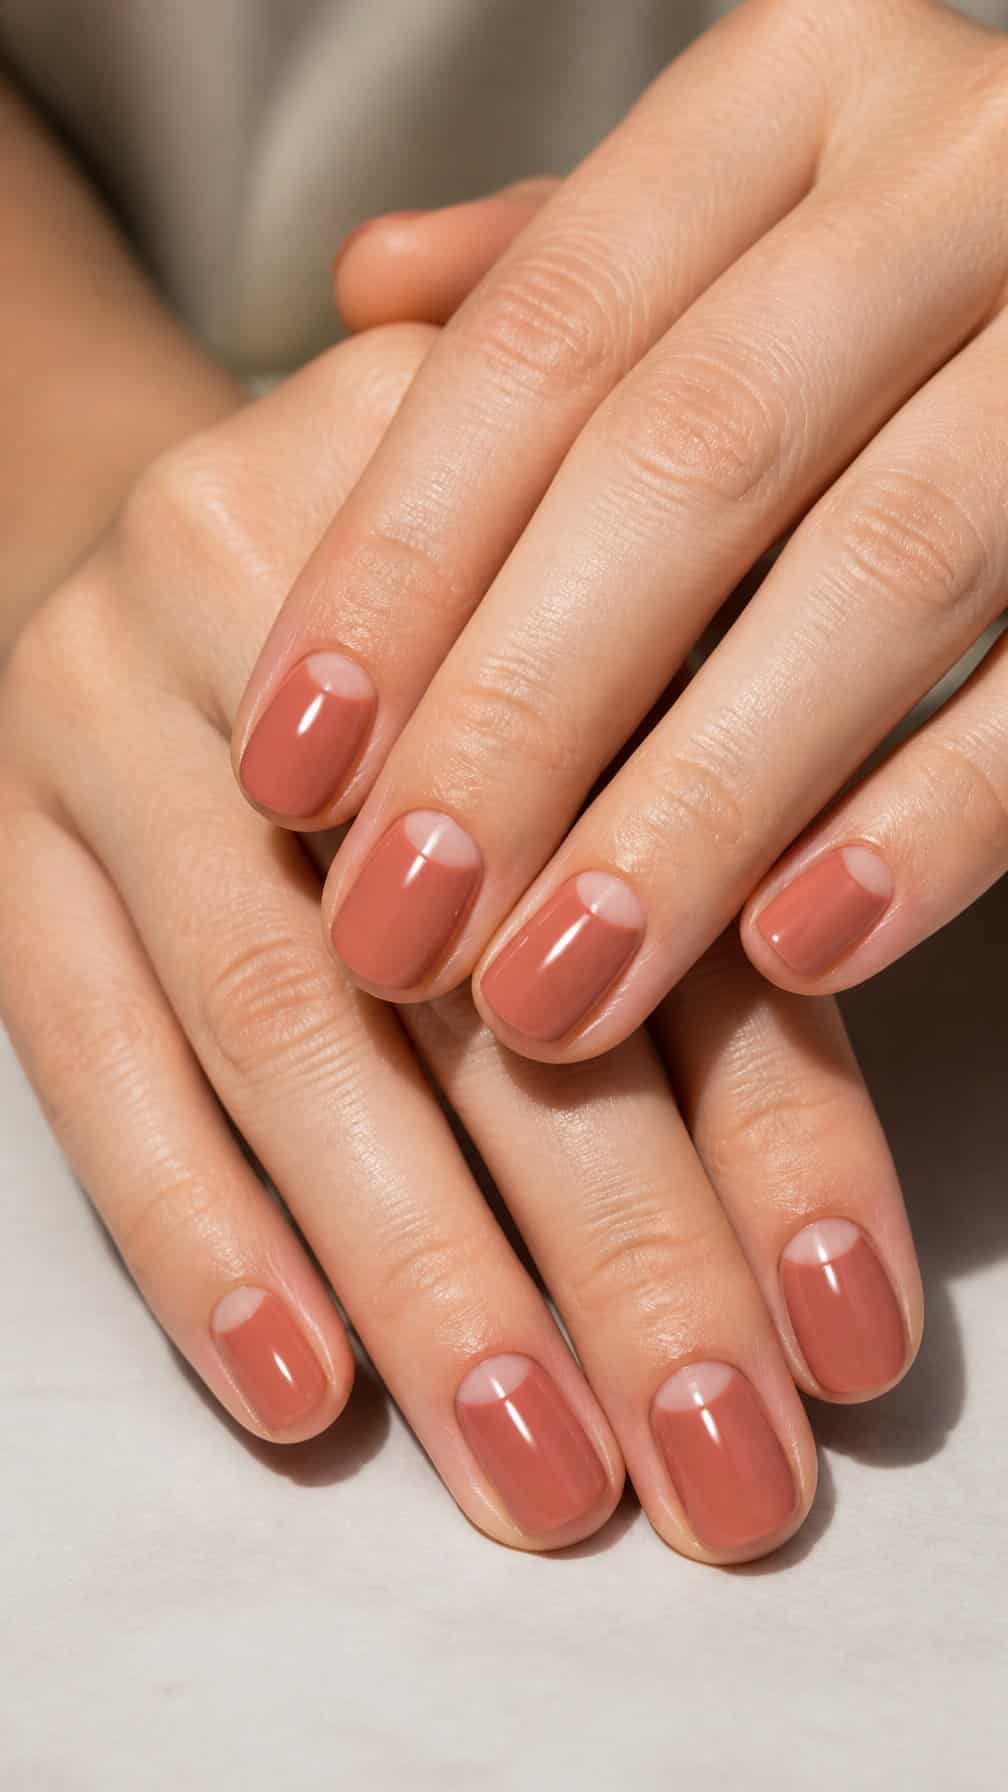
I start with clean, dry nails and place a small round sticker near each cuticle, leaving the half-moon area uncovered. I paint the rest of each nail with one coat of polish, then add a second coat if needed.
I remove the stickers while the polish remains slightly wet to keep the curve neat. After the color dries, I apply a clear top coat, brushing lightly over the edge where the polish meets the bare nail. This design works well with contrasting shades or a single muted color.
9) White nails with gold foil accents
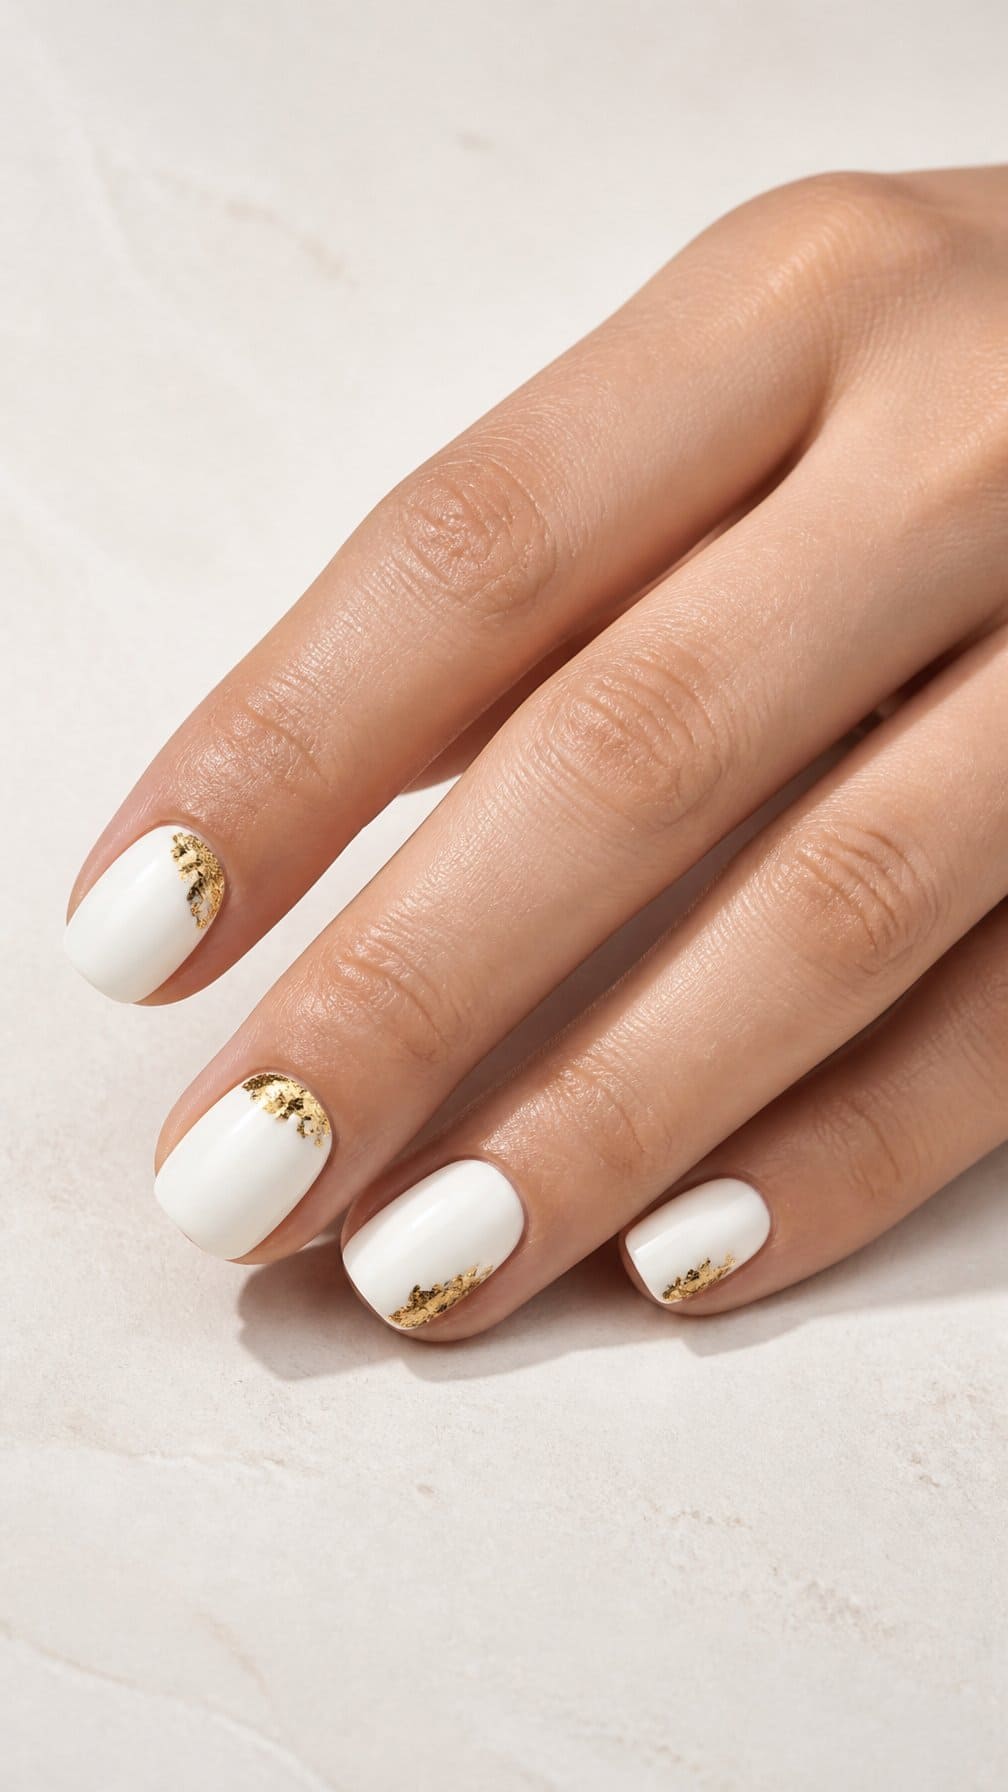
I start with two thin coats of white polish and let each layer dry briefly. I then apply small pieces of gold foil near the cuticle or along one side of each nail, using tweezers for precise placement.
I keep the foil irregular rather than matching every nail. A clear top coat smooths the surface and helps hold the accents in place, while a narrow gold detail brush can add tiny lines where foil feels too bold.
10) Lavender nails with tiny white flowers
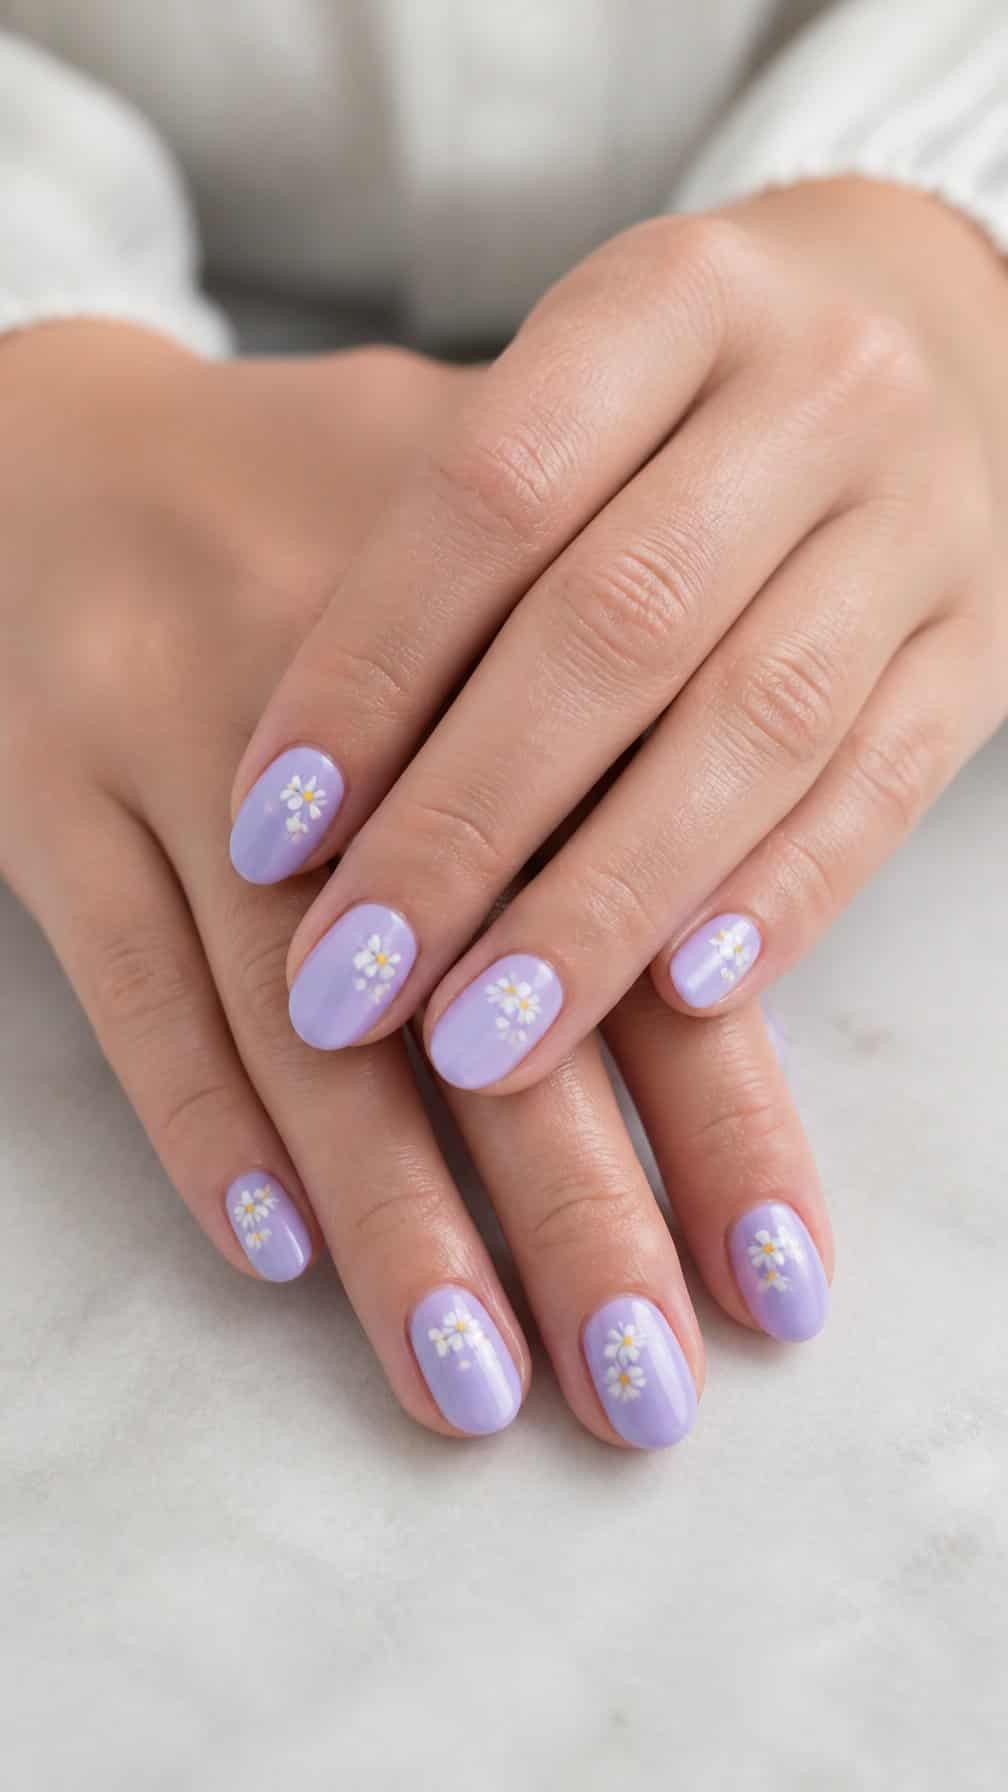
I brush on a lavender polish as the base and let it dry briefly. Using a white nail-art pen or fine brush, I add five small dots in a circle to create each flower, then place one dot in the center.
I keep the flowers near the cuticle or along one side of each nail so the design stays balanced without taking extra time. A toothpick works well for placing neat dots if I do not have a detail brush.
I finish with a clear top coat after the flowers dry. This smooths the surface, adds shine, and helps protect the delicate white details.
11) Sky-blue nails with cloud dots
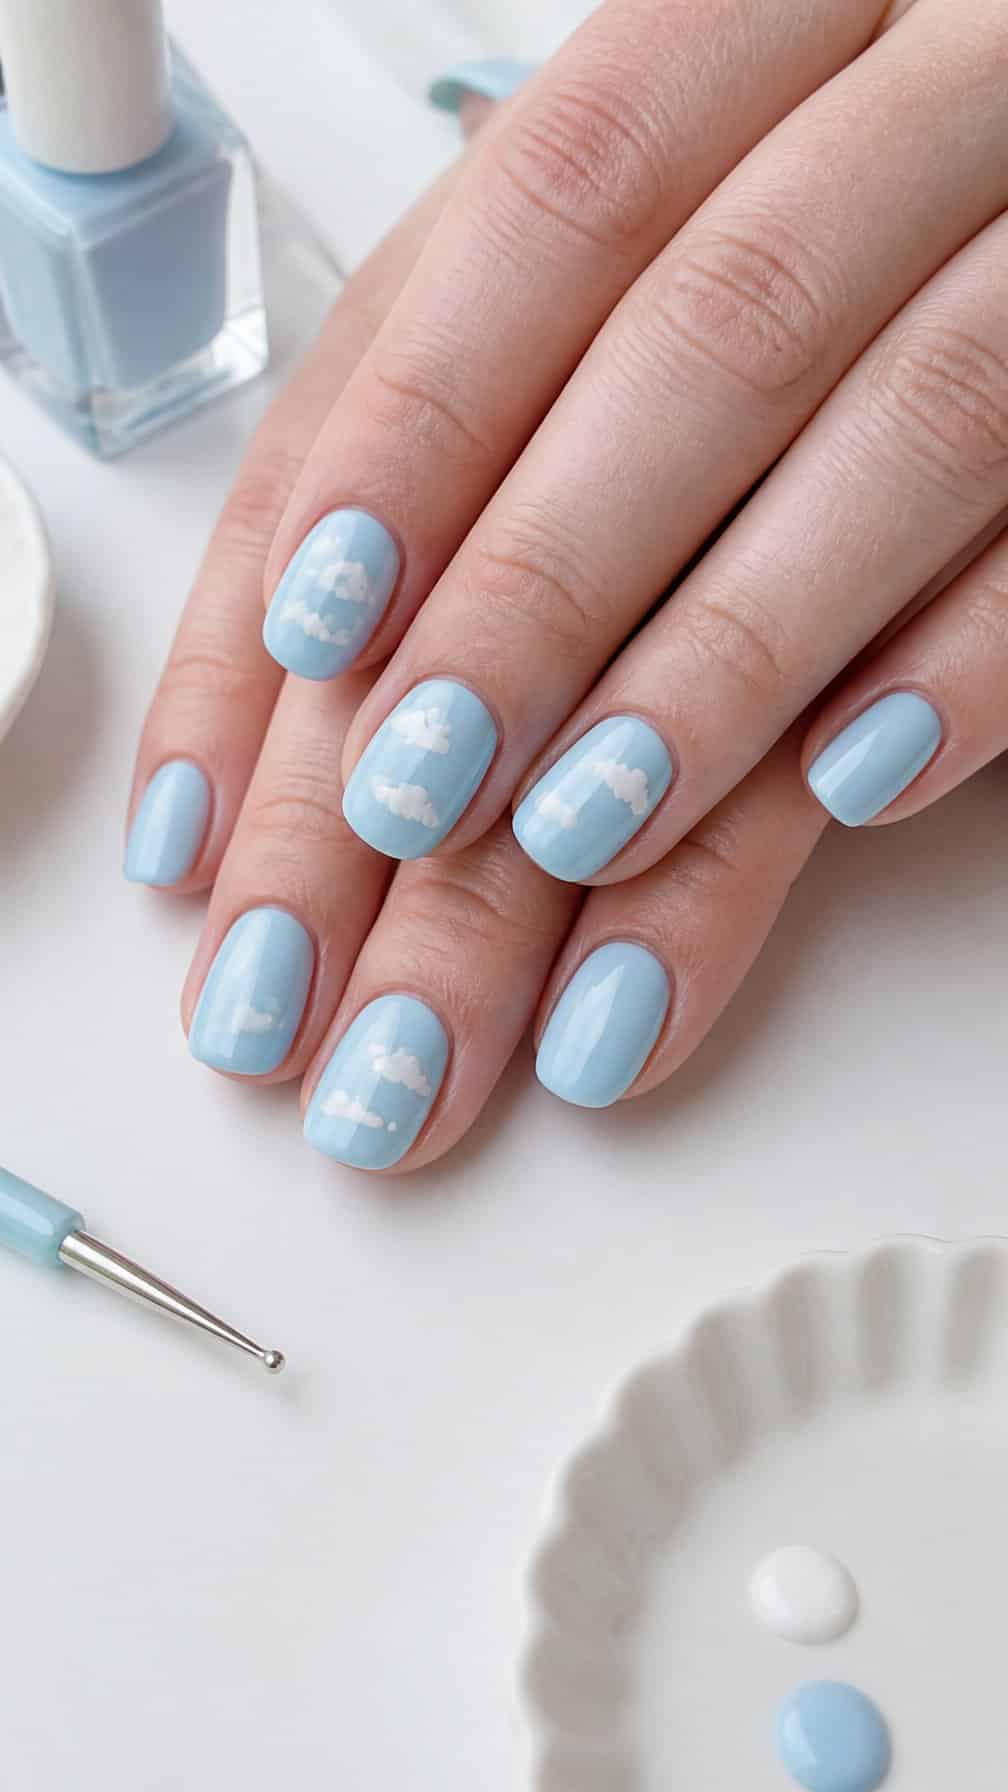
I start with two thin coats of sky-blue polish and let them dry briefly. Using a dotting tool or the rounded end of a bobby pin, I place three or four white dots near the tip of each nail, grouping them into small cloud shapes.
I vary the cloud placement slightly so the design looks relaxed rather than perfectly uniform. A quick-drying top coat smooths the dots and helps protect the finish without adding extra detail.
12) Pink nails with a single glitter accent
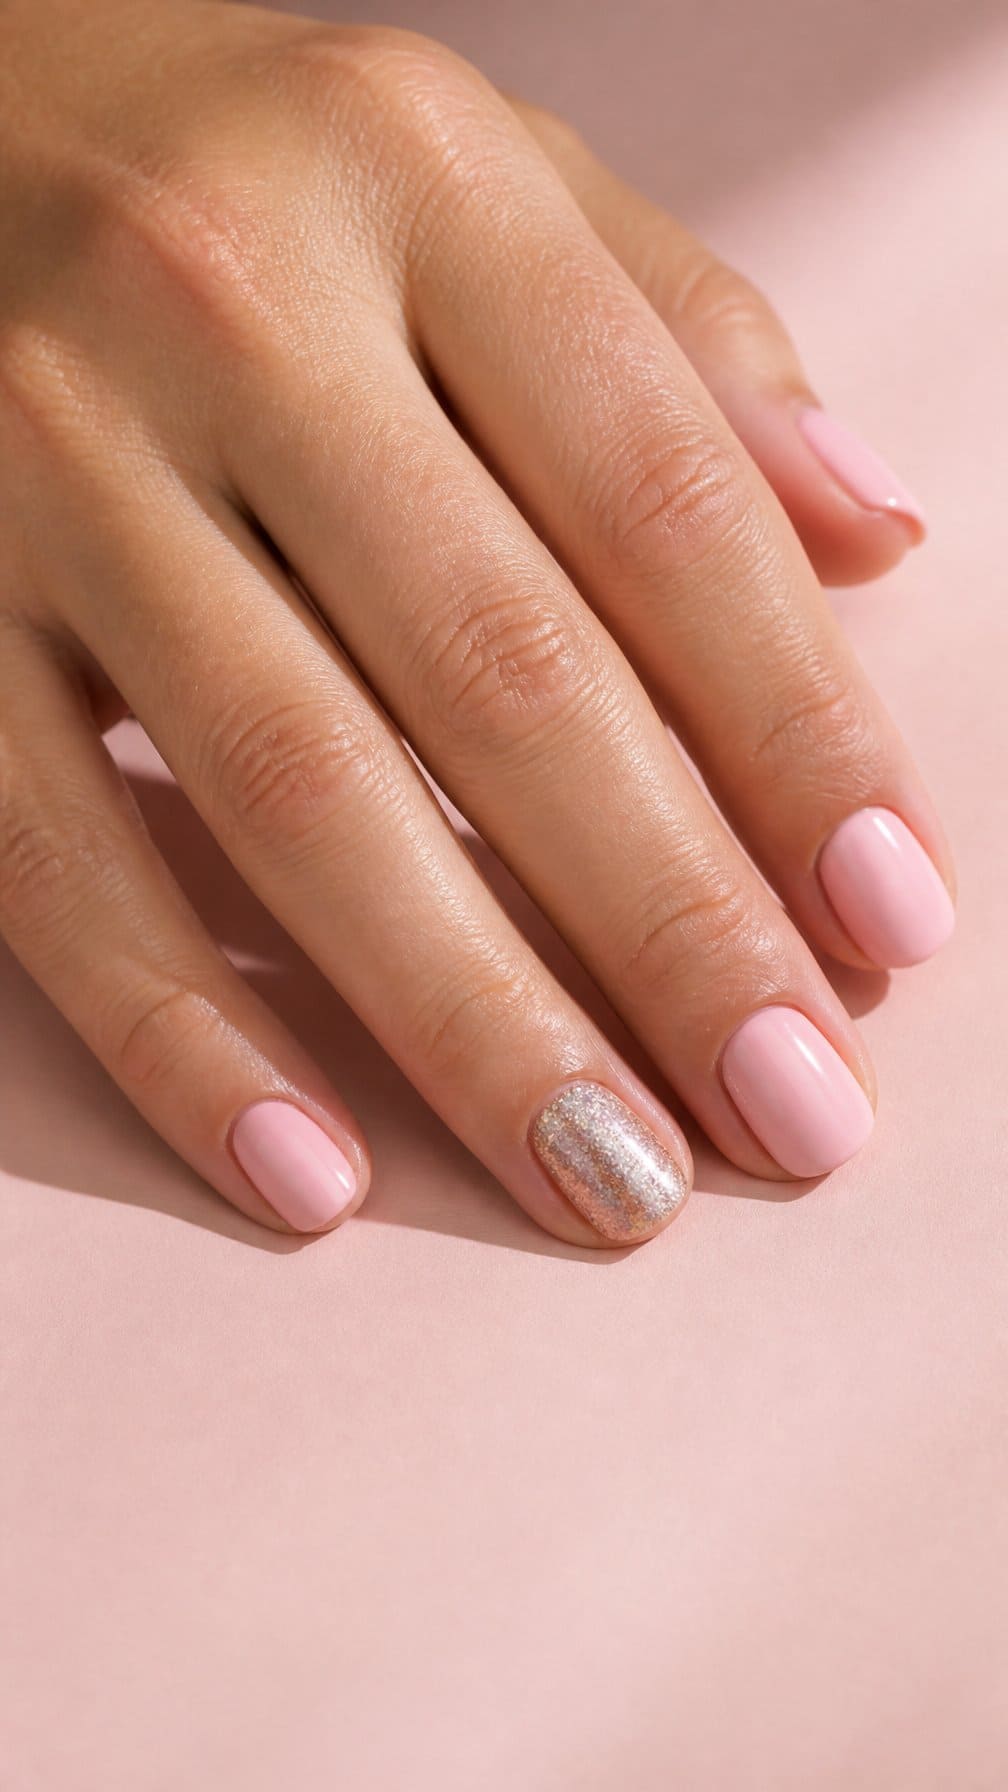
I start with a soft pink polish on every nail, applying two thin coats for even coverage. After the color dries, I paint one accent nail with fine silver glitter, choosing the ring finger for a balanced look.
I keep the glitter concentrated near the cuticle or cover the entire accent nail, depending on the finish I want. A clear top coat smooths the surface and helps both polishes last longer. This design works best with quick-drying formulas and minimal cleanup.
13) Checkerboard accent nail design
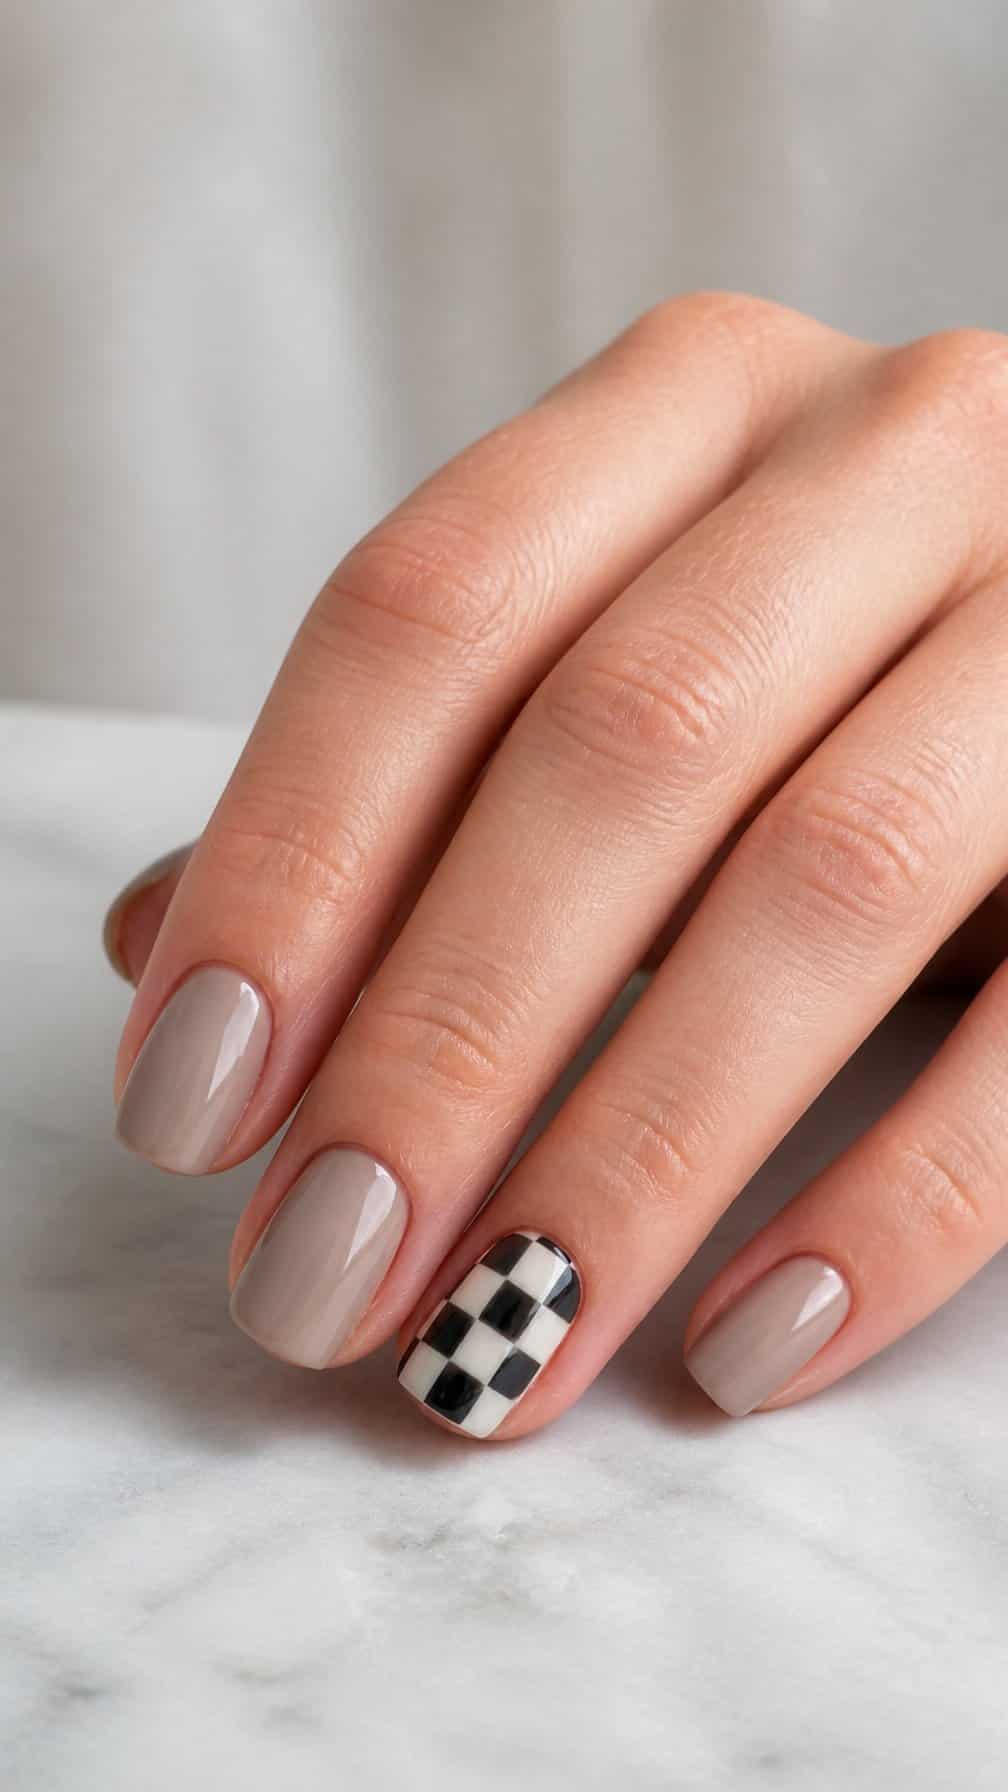
I paint one accent nail with alternating black and white squares, keeping the remaining nails in a solid shade. After applying a light base color, I use a thin brush or striping tape to create straight vertical and horizontal lines.
I fill every other square with black polish and let the design dry before adding a glossy top coat. I keep the squares small for a detailed look or make them larger for an easier ten-minute version.
14) Terracotta nails with a beige stripe
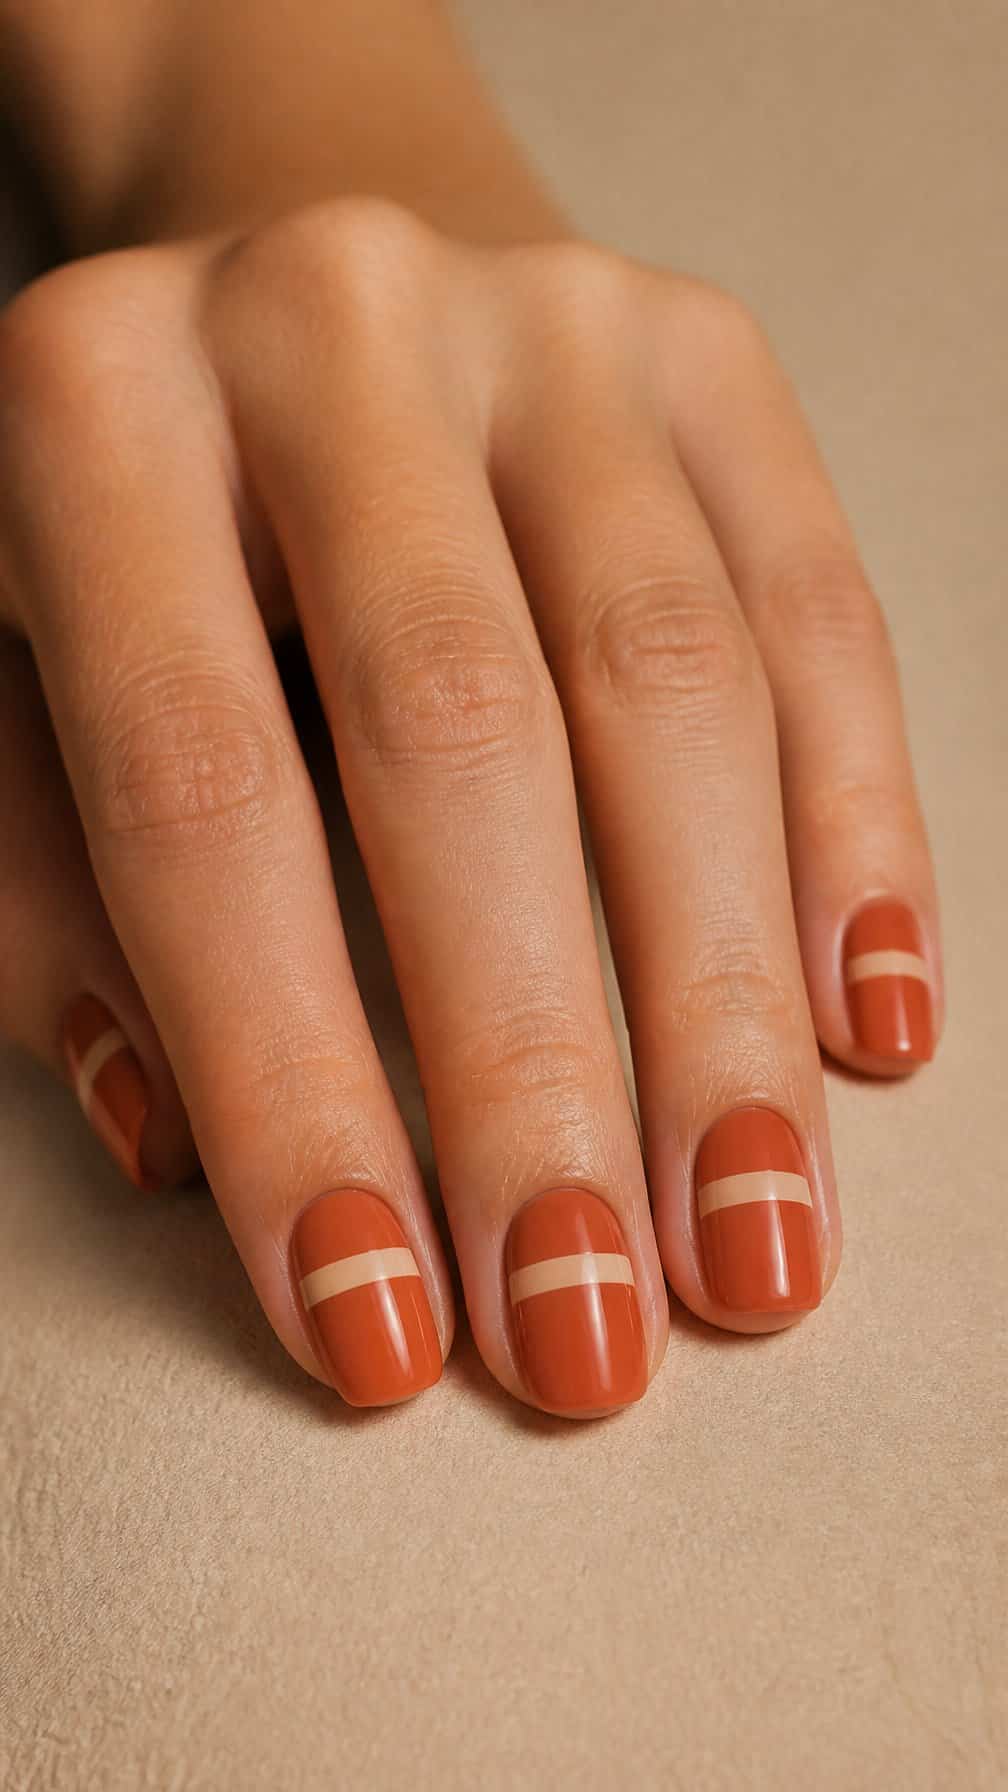
I start by applying two thin coats of terracotta polish and letting each layer dry briefly. Its warm, earthy tone works well on short or medium nails and gives the design a polished base.
Once the color feels set, I place a strip of beige nail tape across each nail, slightly above the center. I press the edges down firmly, then paint a narrow beige stripe beneath it with a fine brush.
I remove the tape while the beige polish remains slightly wet, then seal the design with a glossy top coat. For a softer look, I use a matte top coat instead.
15) Pearl-effect white nails
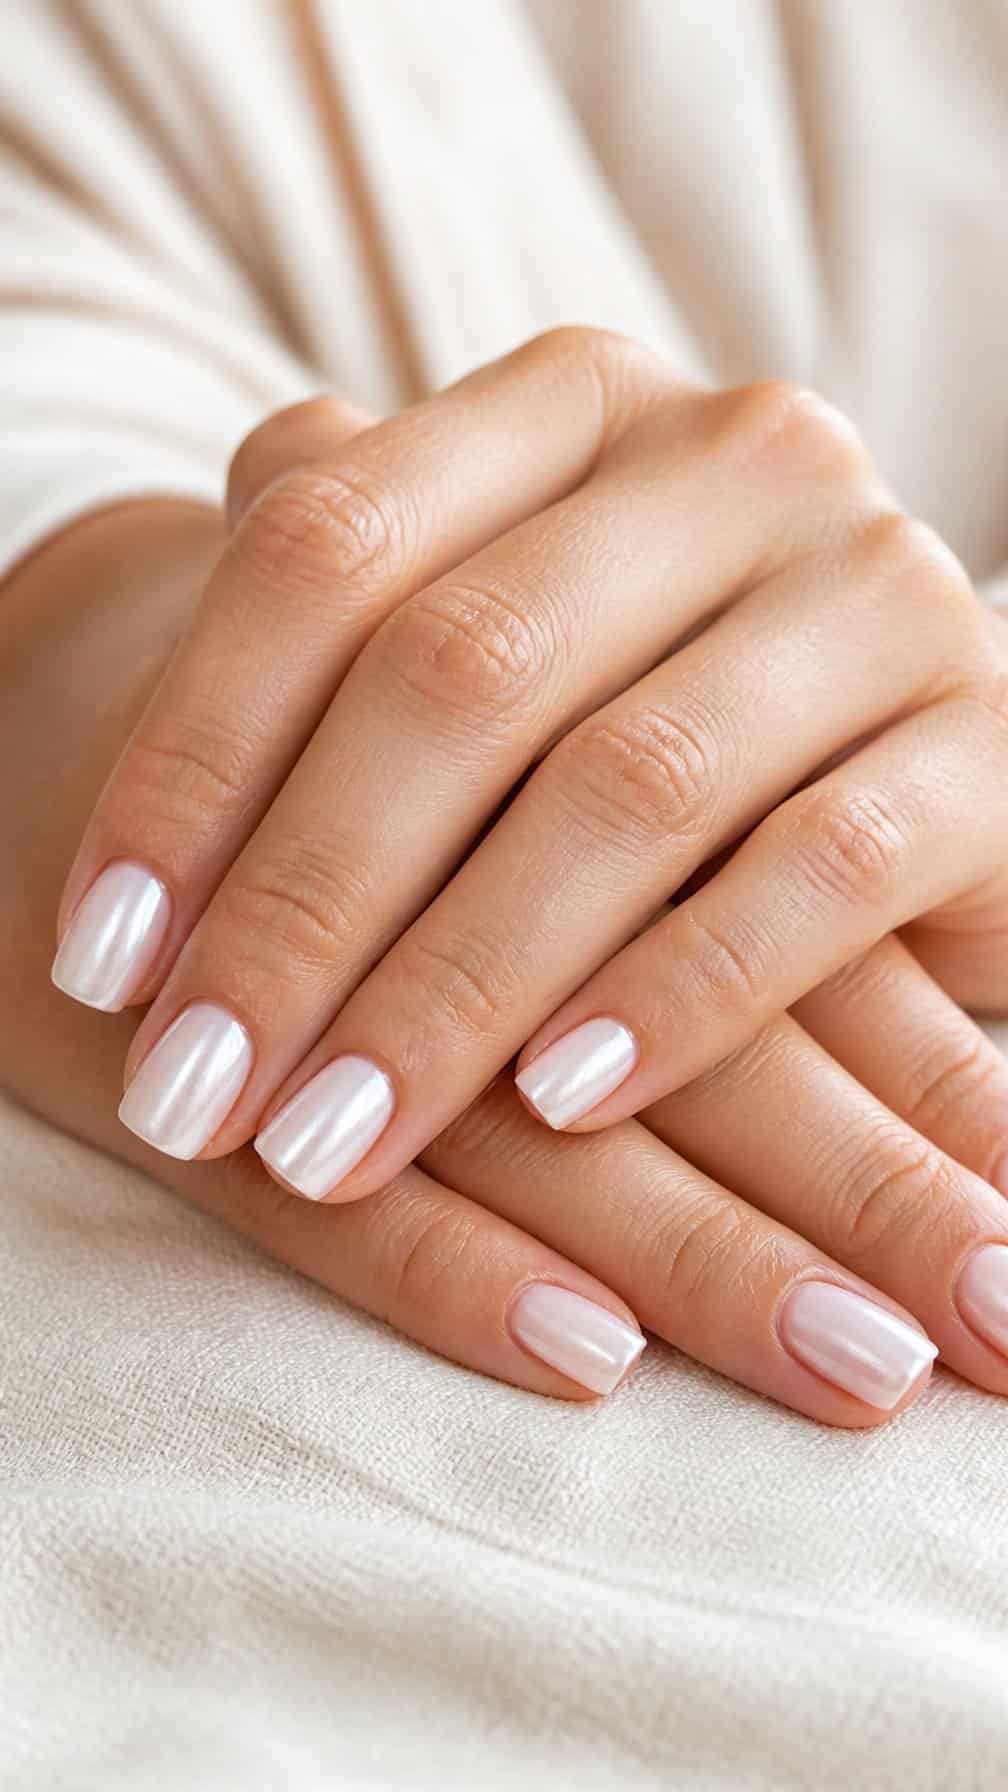
I start with a smooth coat of white polish, then let it dry fully to prevent streaks. I apply a thin layer of pearl or chrome powder with a sponge applicator, using light pressure to build a soft, reflective finish.
I seal the surface with a glossy top coat, brushing carefully across the tips. I keep the design plain for a clean look, or add one tiny rhinestone near the cuticle of each accent nail. The pearly effect works best on short, neatly shaped nails.
16) Short nails with metallic silver tips
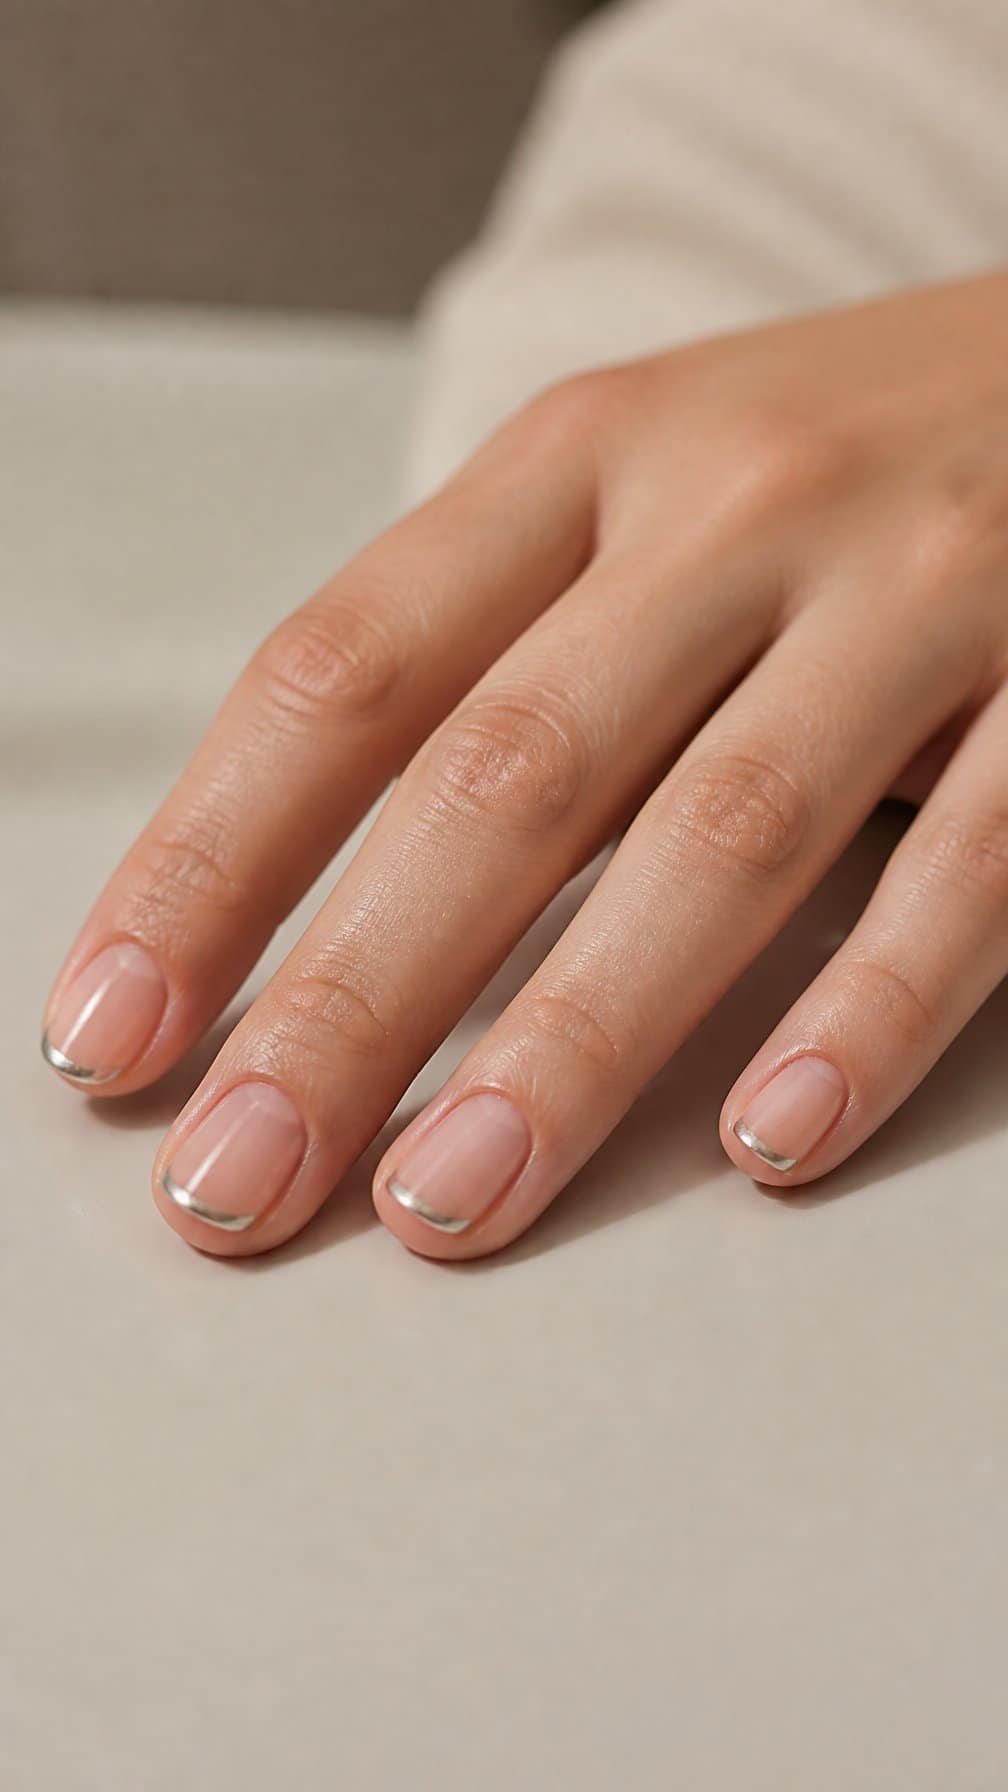
I keep the base sheer or pale pink so the metallic silver tips stand out without making short nails look crowded. After the base coat dries, I place thin French-tip guides near the edges and brush on silver polish.
I remove the guides while the polish remains slightly wet, then correct uneven lines with a small brush dipped in remover. A glossy topcoat smooths the surface and helps the reflective finish last. For a softer effect, I use a thin silver line instead of a full tip.
17) Sage-green nails with black dots
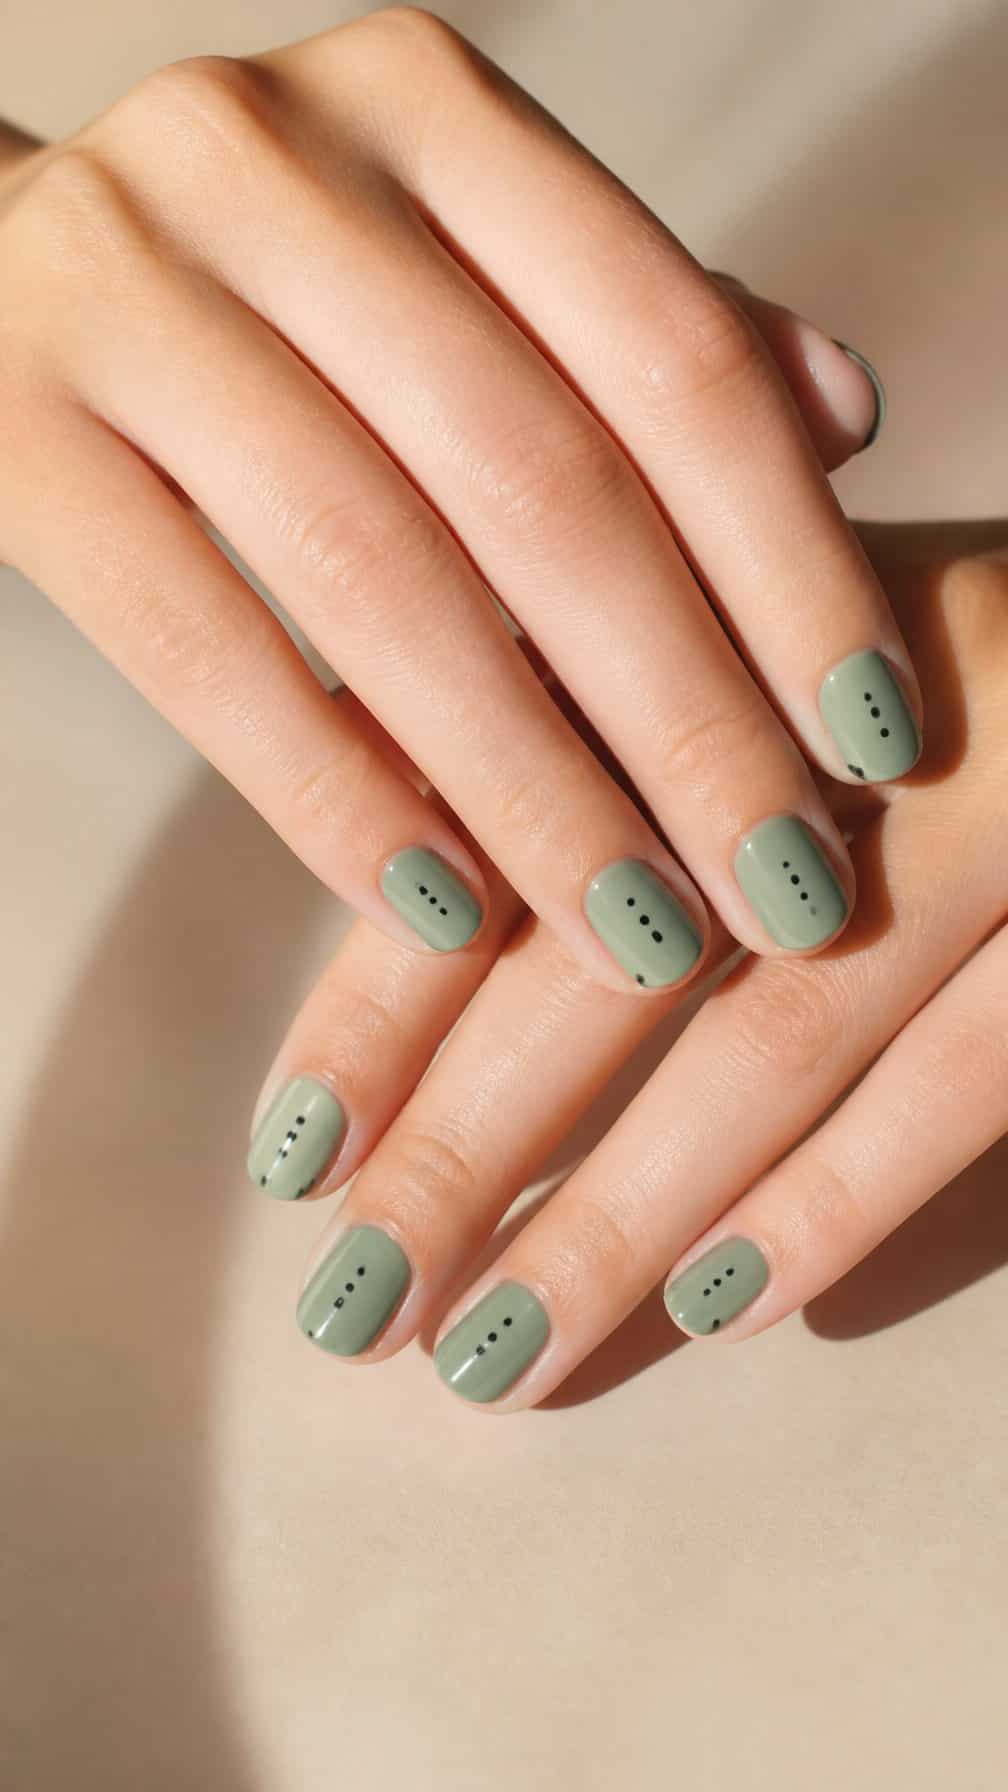
I paint each nail with two thin coats of sage-green polish, allowing a short drying period between layers. The muted color gives the design a clean base without looking plain.
After the polish dries, I use a dotting tool or the rounded end of a bobby pin to add small black dots. I place them near the cuticle, along one side, or in a simple scattered pattern for slight variation.
I finish with a clear top coat to smooth the dots and protect the color. For a quicker version, I add dots to only two accent nails.
18) Coral nails with a white wave
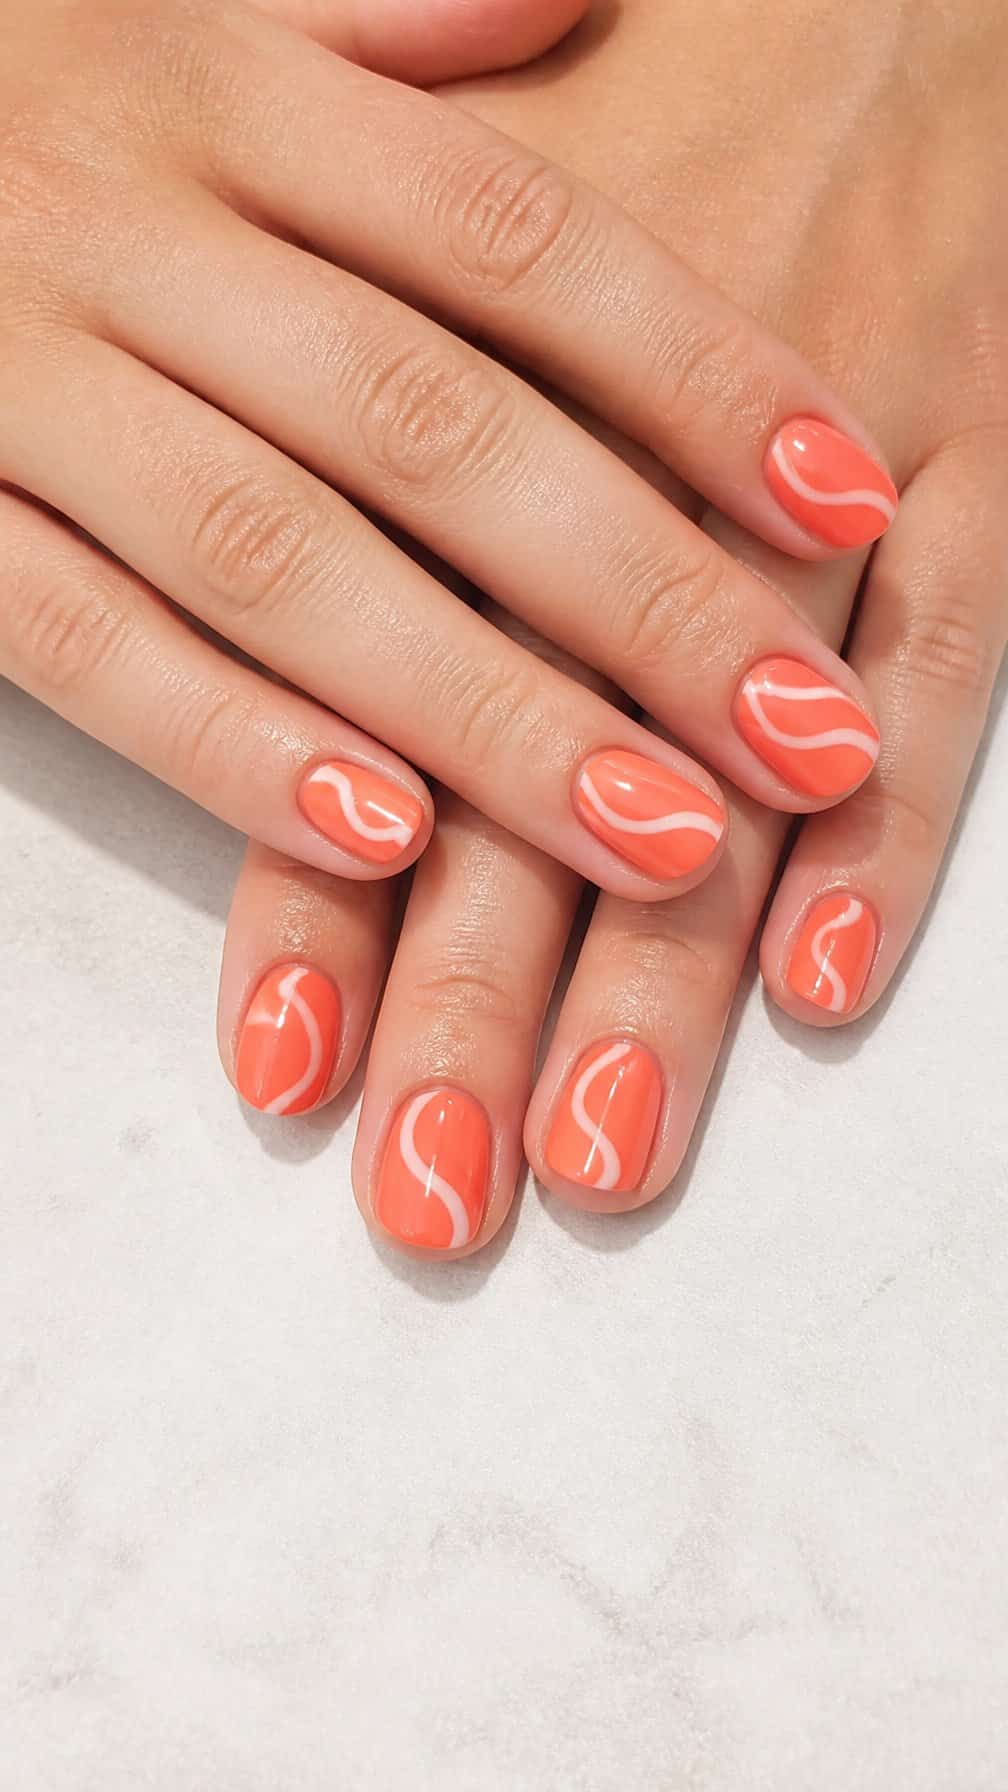
I start with a coral polish on clean, shaped nails and let it dry for a few minutes. The warm shade creates a bright base without requiring extra layers or detailed preparation.
Using a thin nail-art brush or a toothpick, I draw one loose white wave across each nail. I keep the line slightly uneven so it looks hand-painted rather than perfectly geometric, then add a second curve beside it if I want more movement.
I finish with a clear topcoat after the white polish dries. This design works well on short nails because the curved line follows the nail’s shape without making the surface look crowded.
19) Nude nails with minimalist black lines
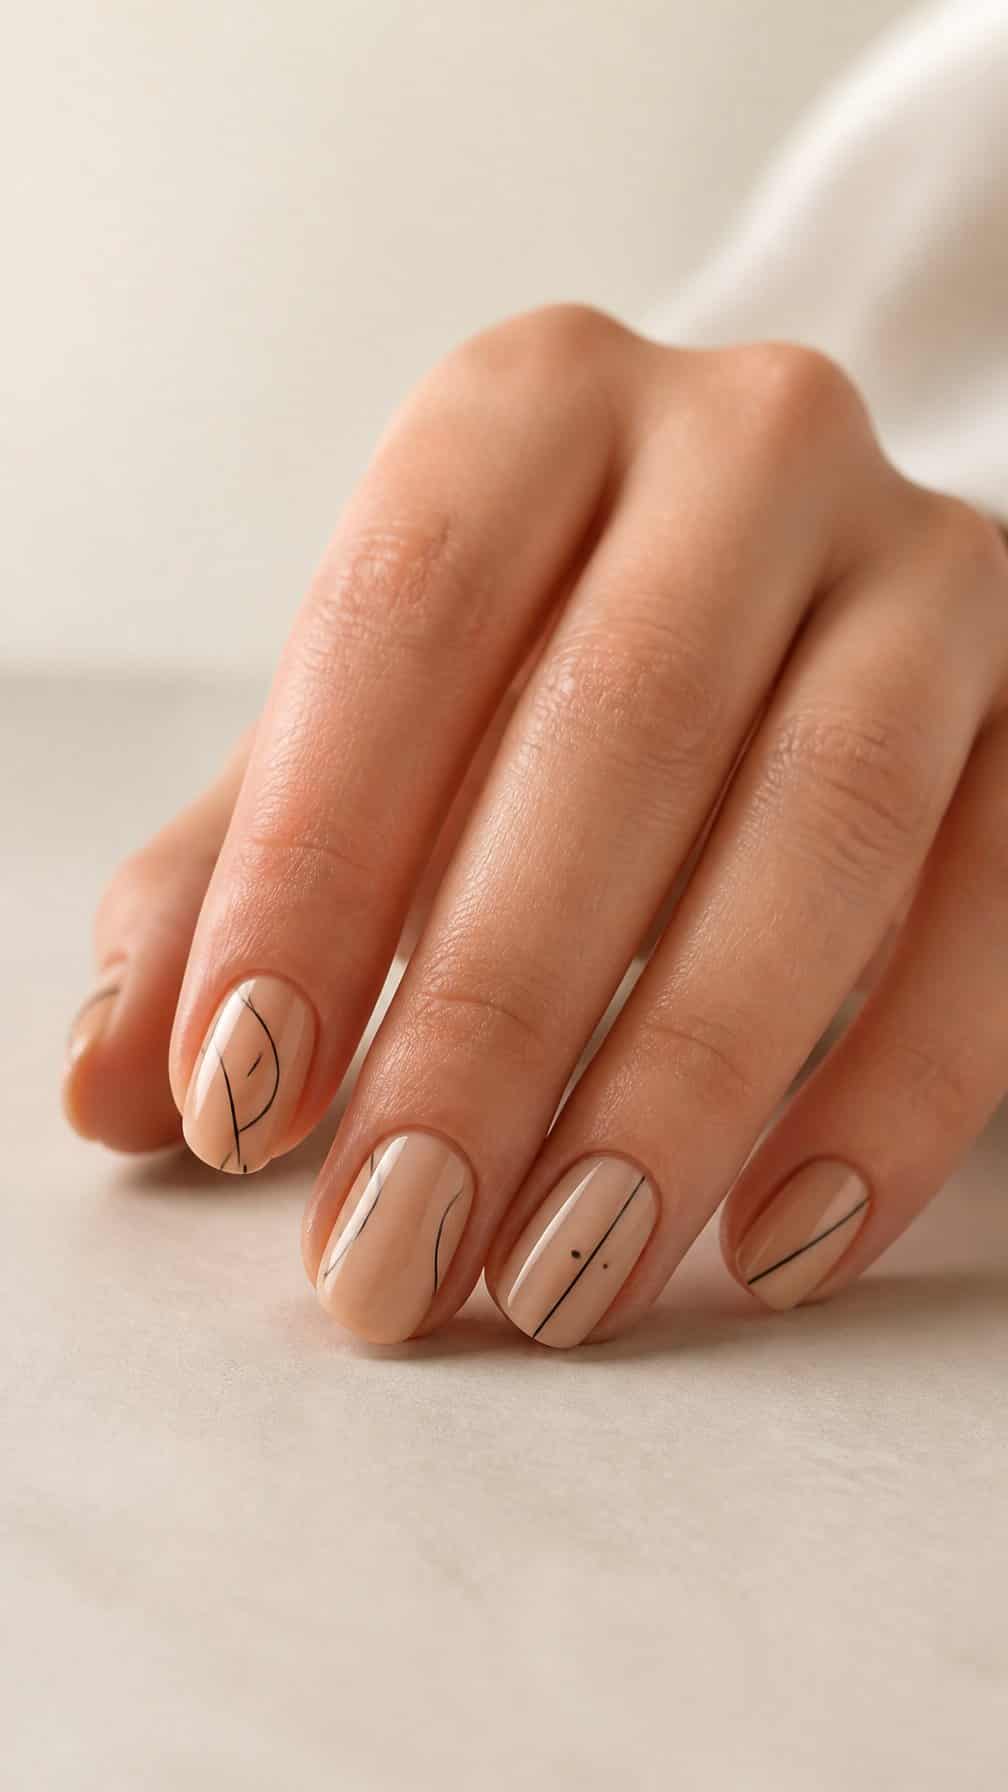
I start with a sheer nude polish that matches my skin tone, then let it dry before adding the detail. Using a fine nail-art brush or black striping pen, I draw one thin line on each nail, keeping the placement slightly different for a clean, modern look.
I prefer short vertical strokes, tiny curves, or diagonal lines because they take only a few seconds and remain easy to control. I keep the lines narrow and leave plenty of nude space so the design stays balanced rather than crowded.
After the black polish dries, I seal each nail with a glossy top coat. I brush gently over the lines to prevent smearing, then clean the edges with a small brush dipped in remover.
20) Pink-and-white color-blocked nails
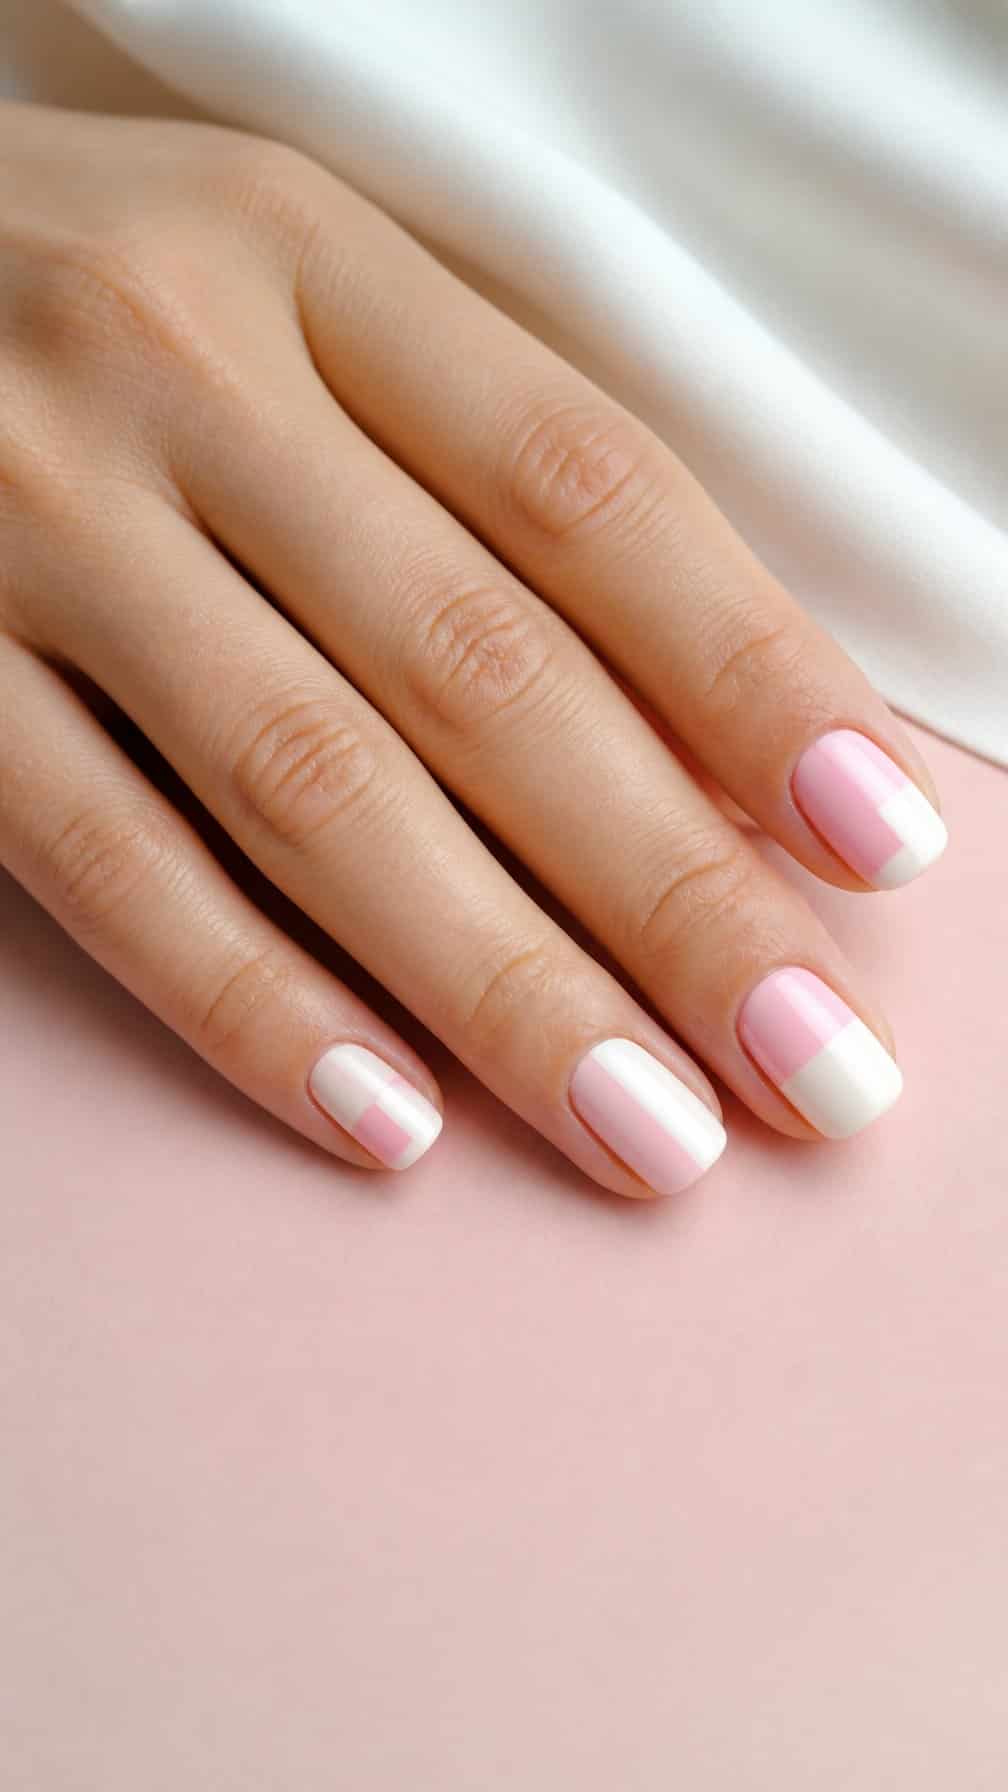
I divide each nail into two clean sections, using soft pink on one side and white on the other. I create the boundary with a straight diagonal, vertical, or horizontal line, depending on the look I want.
I apply the lighter color first and let it dry briefly before adding the second shade. For a sharper edge, I place thin nail tape over the dry polish, paint the exposed area, then remove the tape while the polish remains slightly wet.
I finish with a clear topcoat to smooth the surface and protect the color blocks. A fine detail brush helps correct uneven edges around the cuticle.
21) Deep plum nails with gold dots
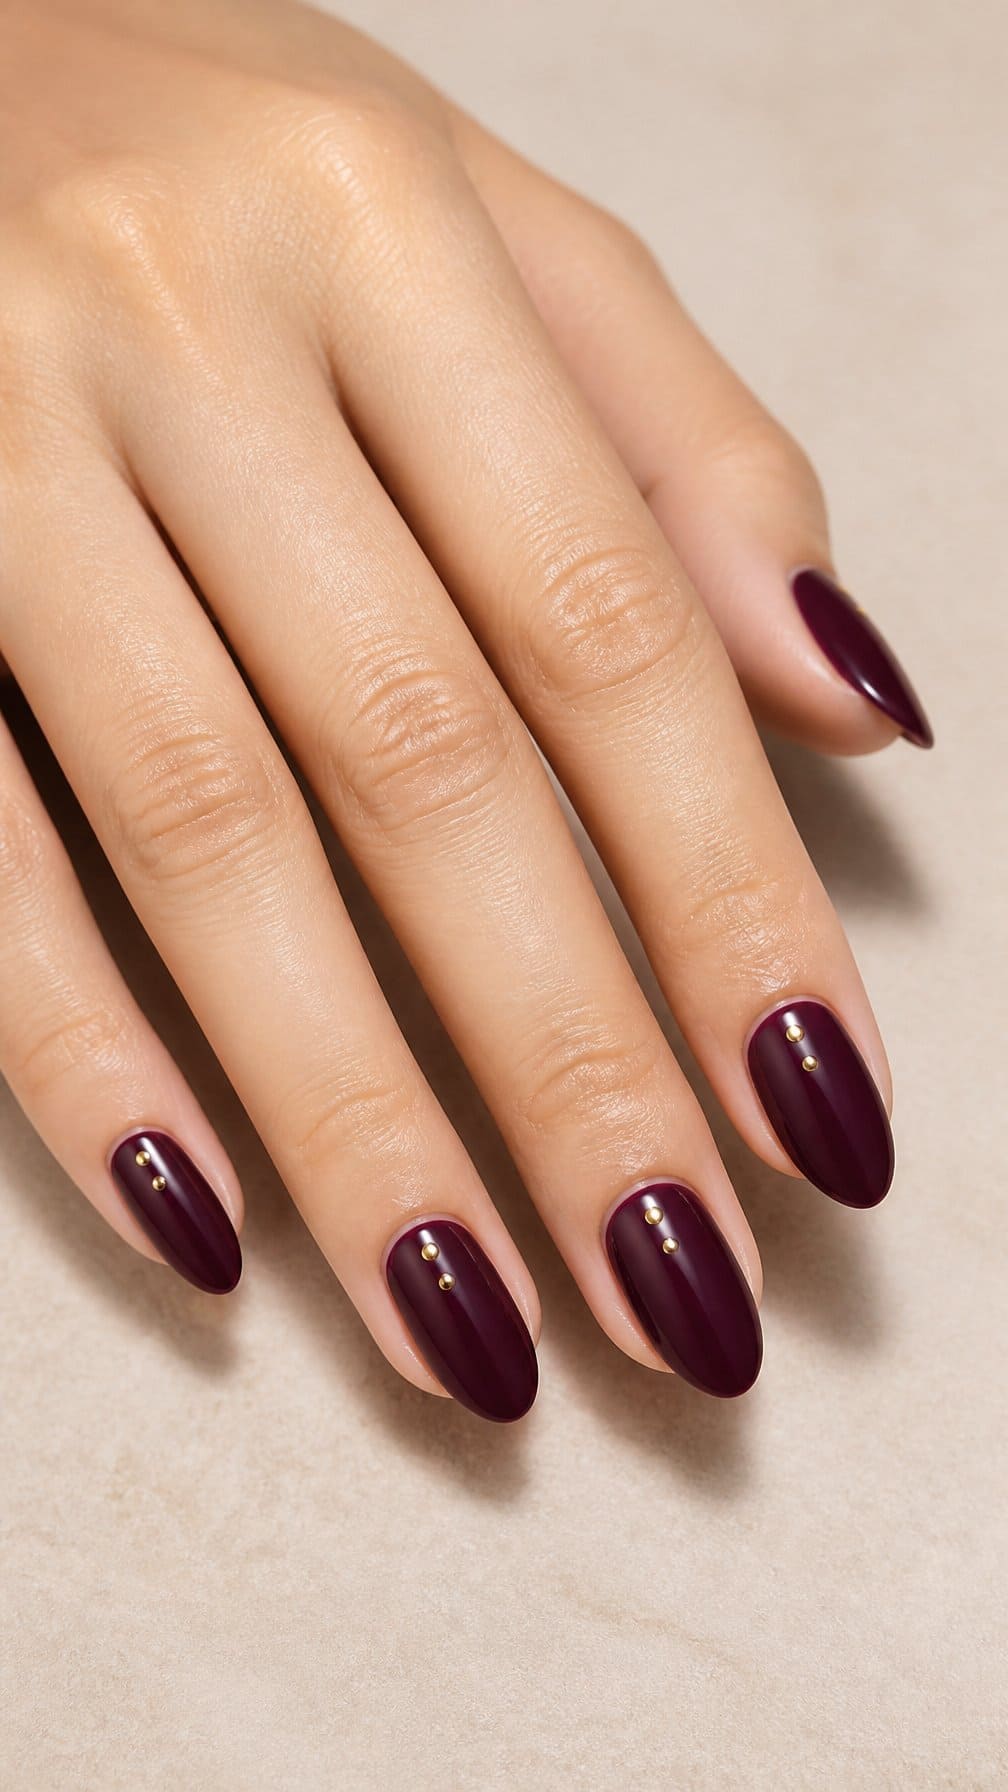
I start with two thin coats of deep plum polish, allowing each layer to dry briefly before adding the next. The rich color gives the manicure a polished look without requiring a detailed pattern.
I place small gold dots near the base of each nail using a dotting tool, bobby pin, or toothpick. I vary their size slightly for a relaxed finish, then add a clear top coat to smooth the surface and protect the design.
22) Soft yellow nails with daisy accents
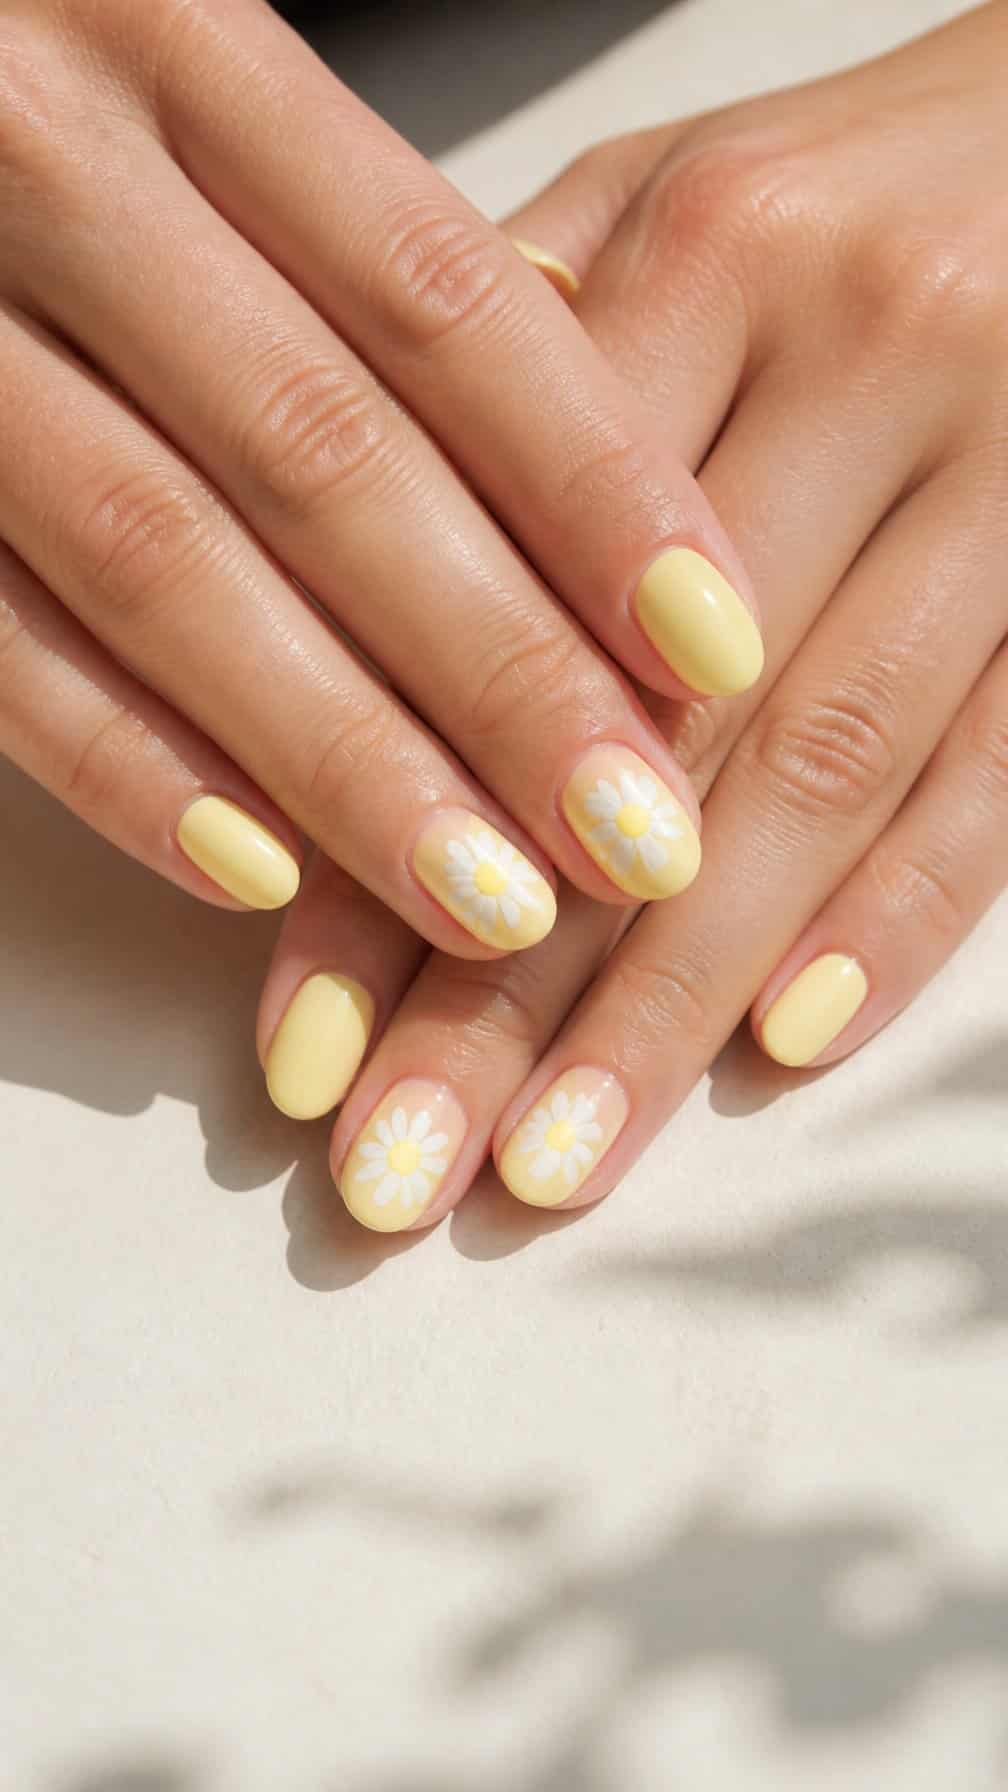
I use a soft yellow polish as the base, applying two thin coats for an even finish. After it dries, I add small white daisy petals near the tips or along one side of each nail.
A dotting tool or the rounded end of a bobby pin makes the flowers simple to create. I place five white dots in a circle, then add a tiny yellow center. A clear top coat seals the design and smooths the raised details.
23) Blue French tips on a nude base
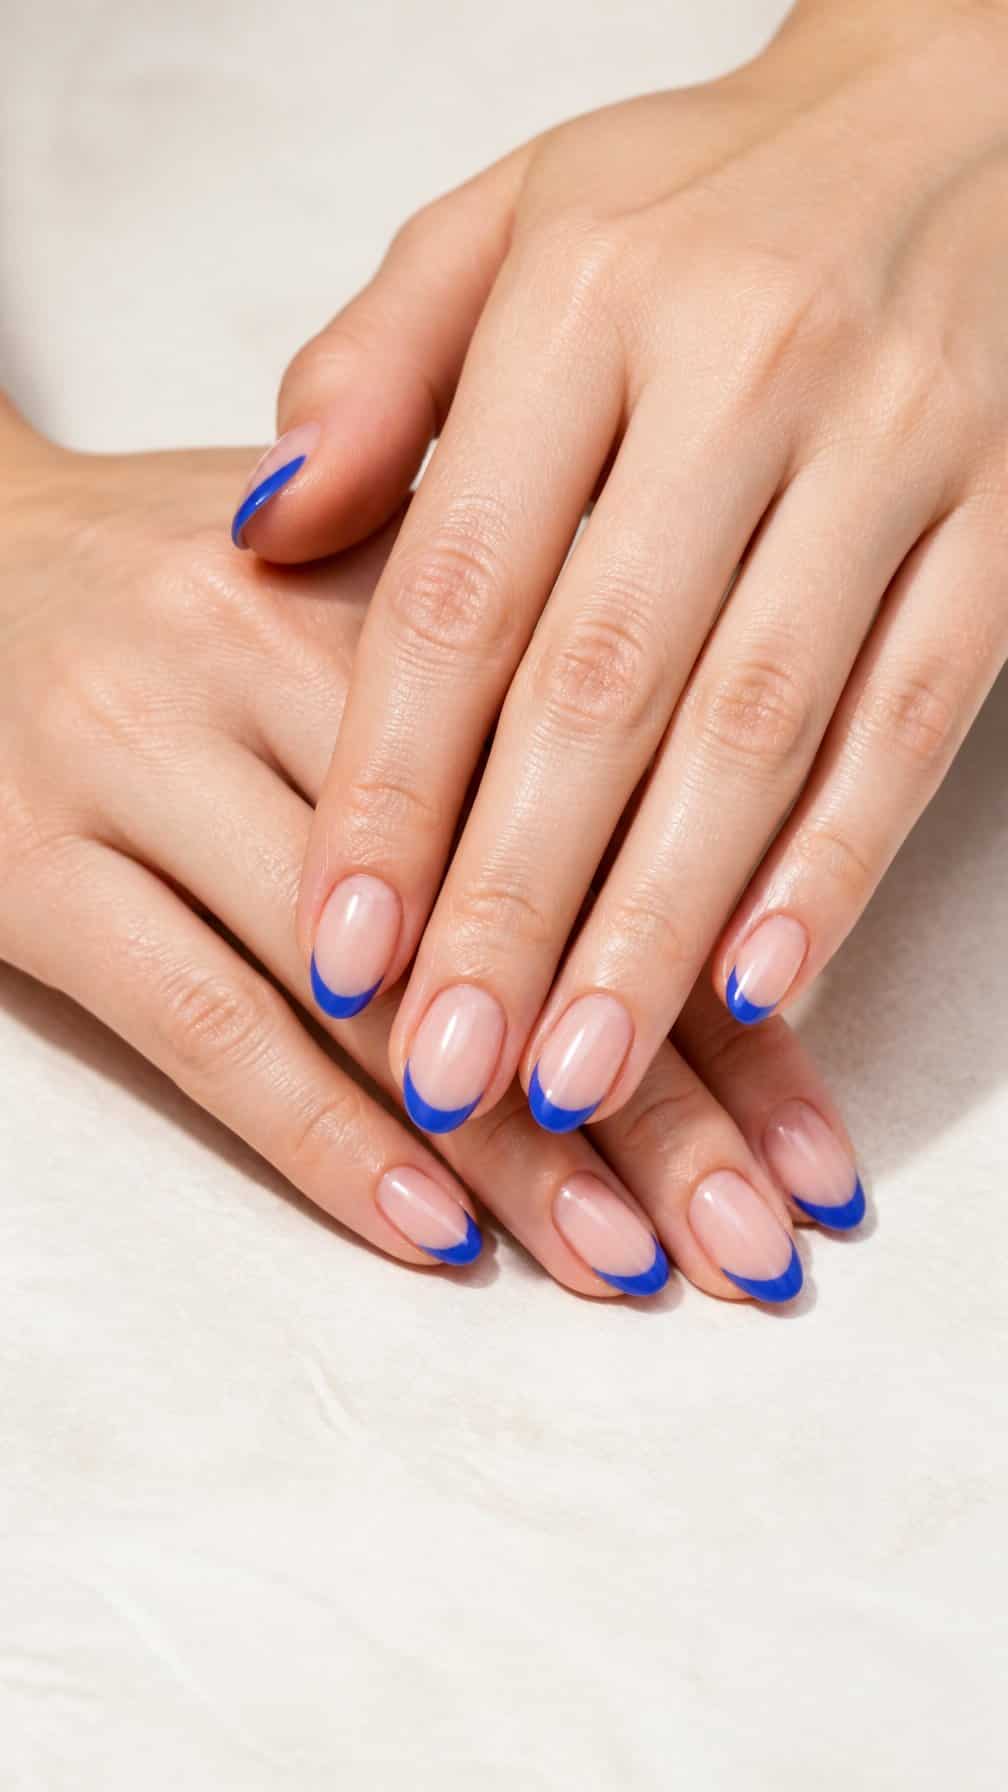
I start with a nude polish that matches my skin tone, then let it dry before adding the tips. Using a thin nail-art brush or French-tip guide, I paint a narrow blue curve across each free edge.
I keep the blue line slightly thicker at the center and taper it toward the sides for a clean shape. A steady hand helps, but I can correct small mistakes with a detail brush dipped in remover.
After the tips dry, I apply a clear top coat to smooth the surface and protect the design. I choose a bright blue for contrast or a muted shade for a softer finish.
24) Reverse French manicure with red tips
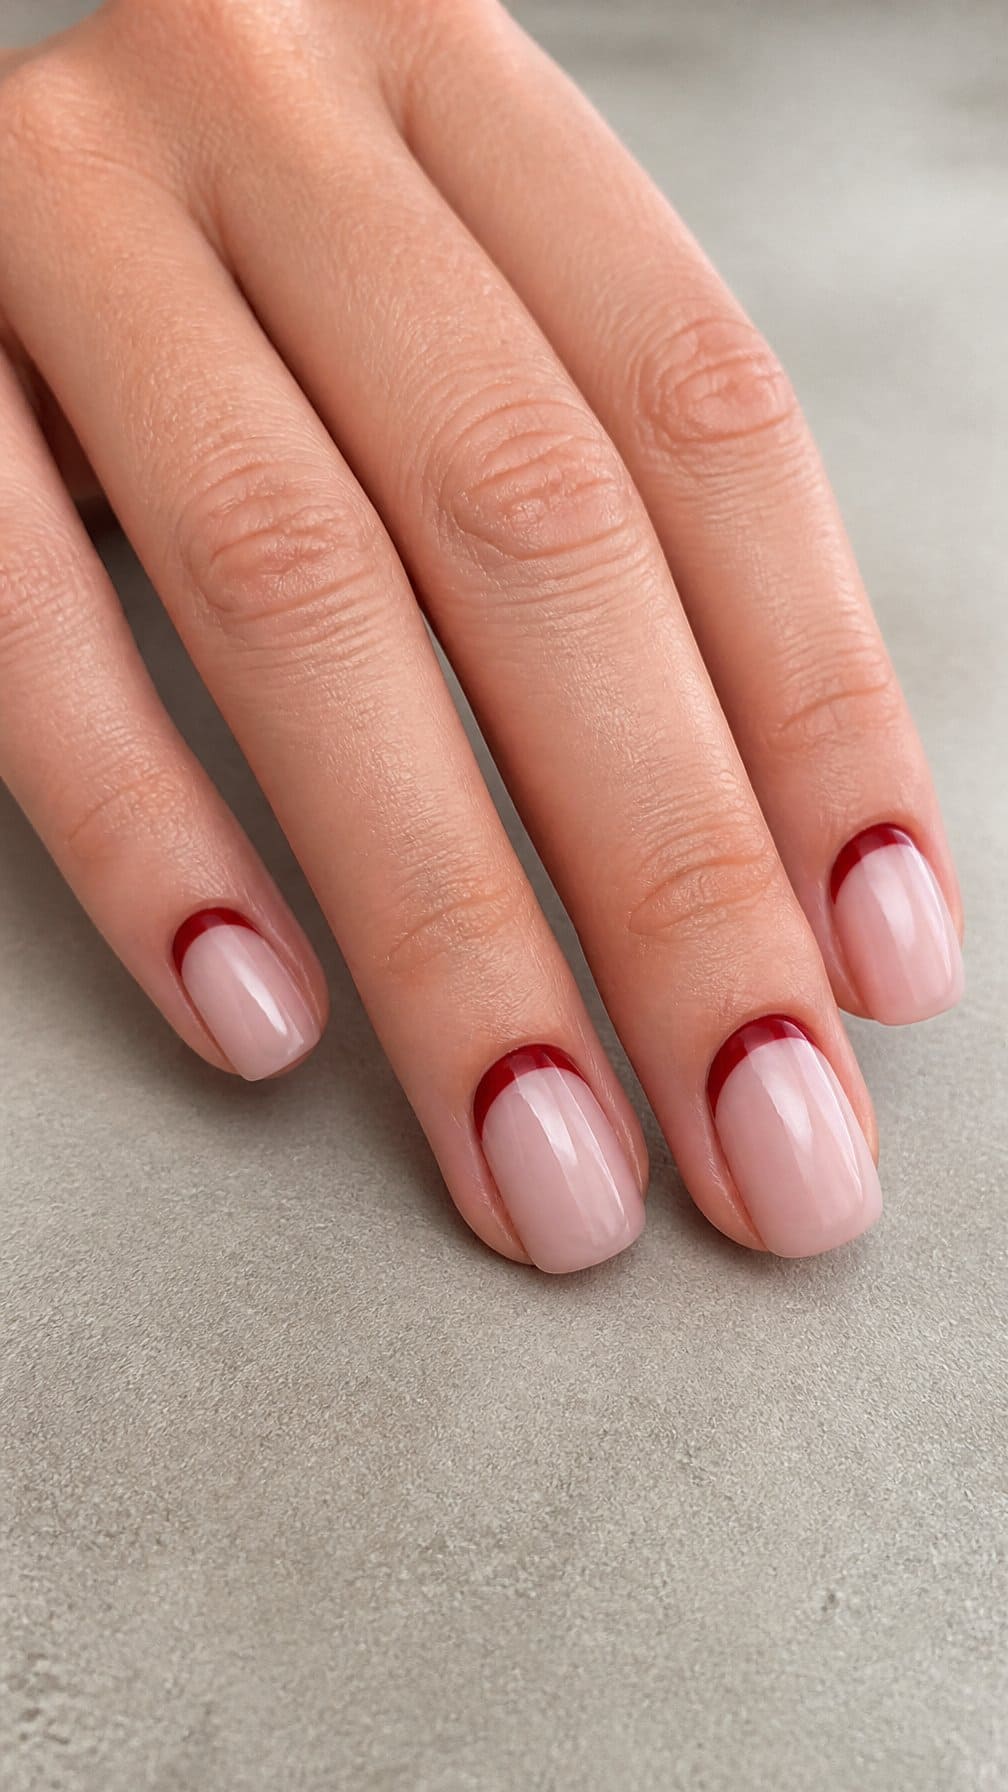
I start by applying a sheer nude or pale pink base and letting it dry briefly. Then I use a fine brush to paint a thin red crescent along the base of each nail, following the cuticle line rather than the free edge.
I keep the red band narrow for a clean reverse French effect. After it sets, I add a second coat where needed and seal the design with a glossy top coat, brushing across the tips to help prevent chipping.
25) Peach nails with white polka dots
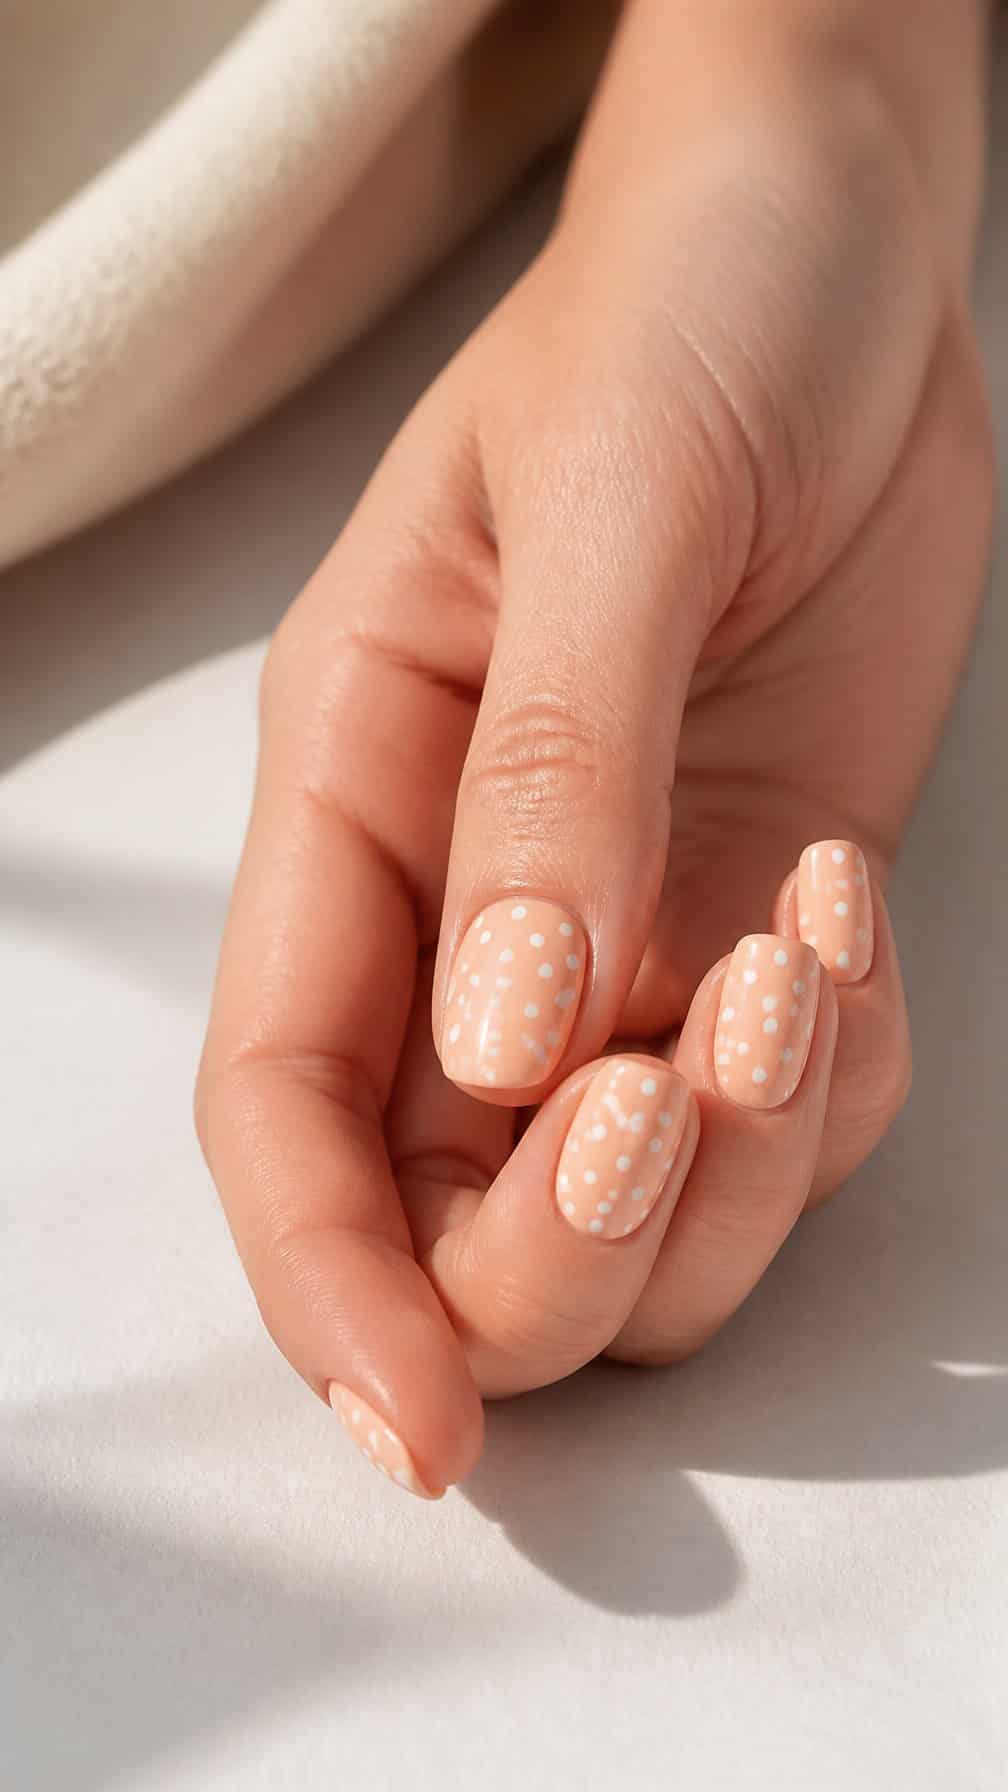
I start with two thin coats of peach polish, allowing each layer to dry before adding the pattern. The soft base keeps the design fresh and makes the white dots easy to see.
Using a dotting tool or the rounded end of a bobby pin, I place small white dots across each nail. I vary their spacing slightly rather than creating a rigid grid, which gives the manicure a relaxed finish.
After the dots dry, I apply a clear top coat to smooth the surface and protect the design. For a quicker version, I add dots to one or two accent nails and leave the others peach.
26) Chocolate-brown nails with cream swirls
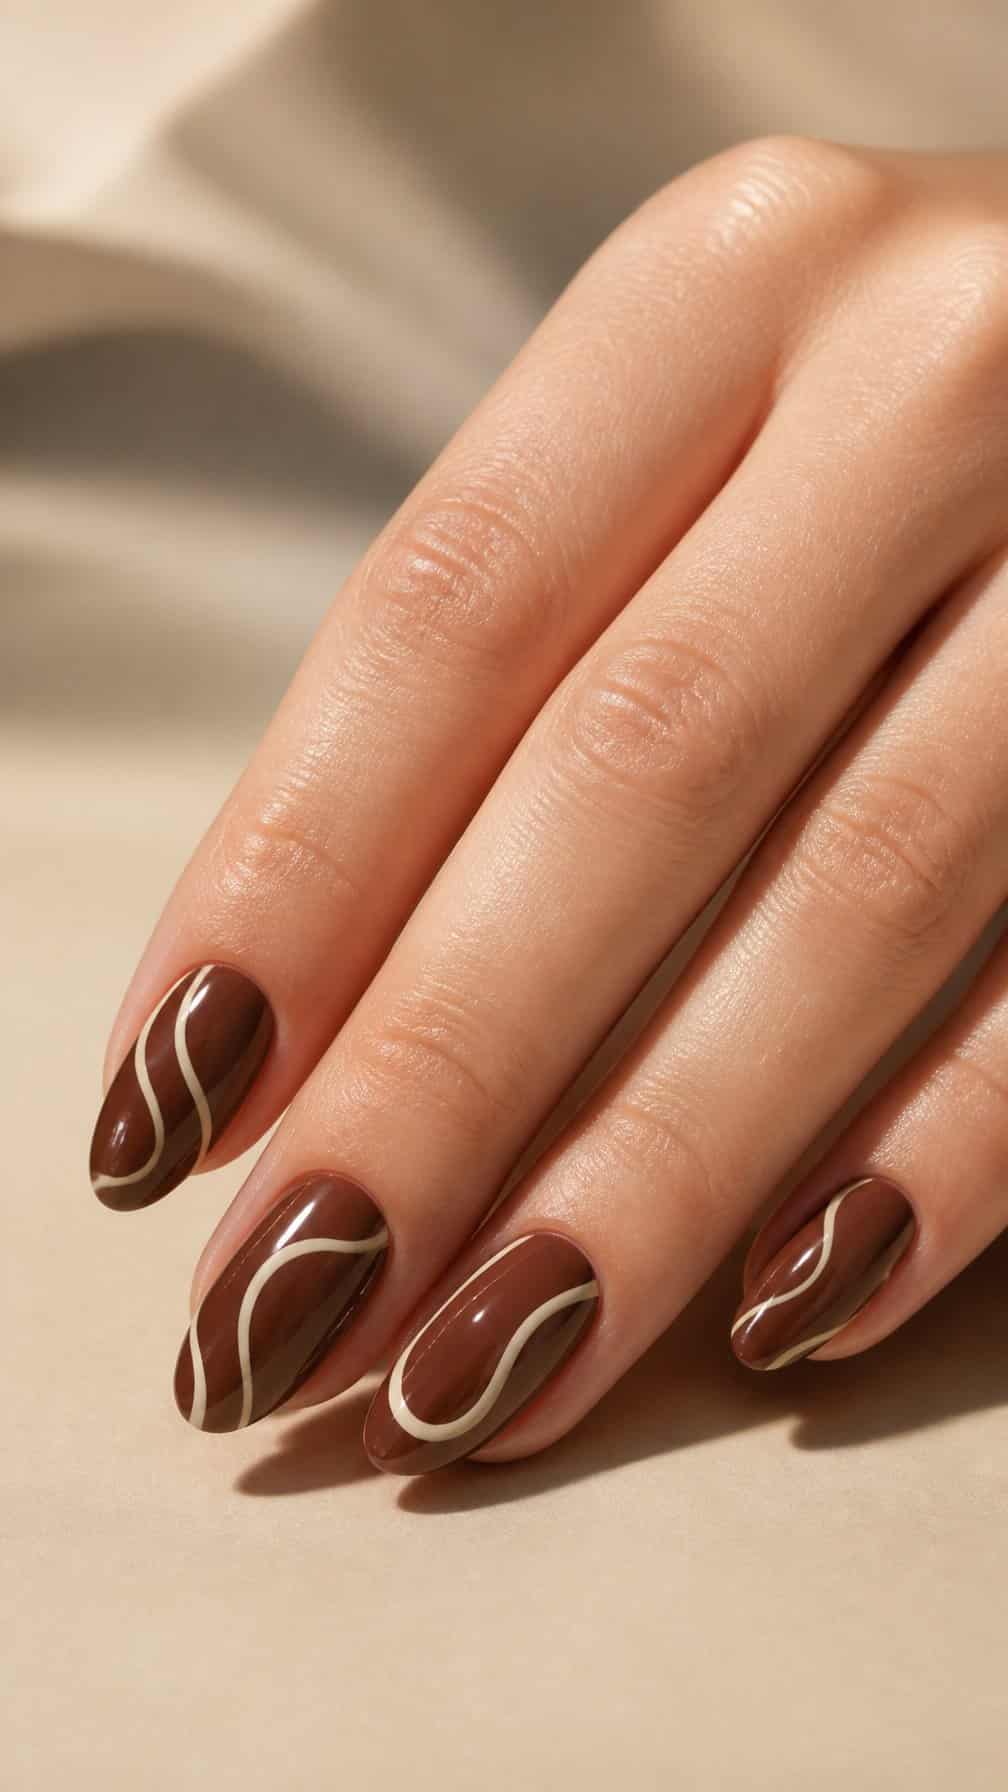
I use a rich chocolate-brown polish as the base, then add loose cream swirls with a fine nail-art brush or dotting tool. The contrast looks polished without requiring precise symmetry.
I let the brown coat dry first, then draw curved lines from different points on each nail. I vary the swirl size and direction to keep the design relaxed. A glossy topcoat smooths the surface and helps protect the detail.
27) Clear nails with tiny star stickers
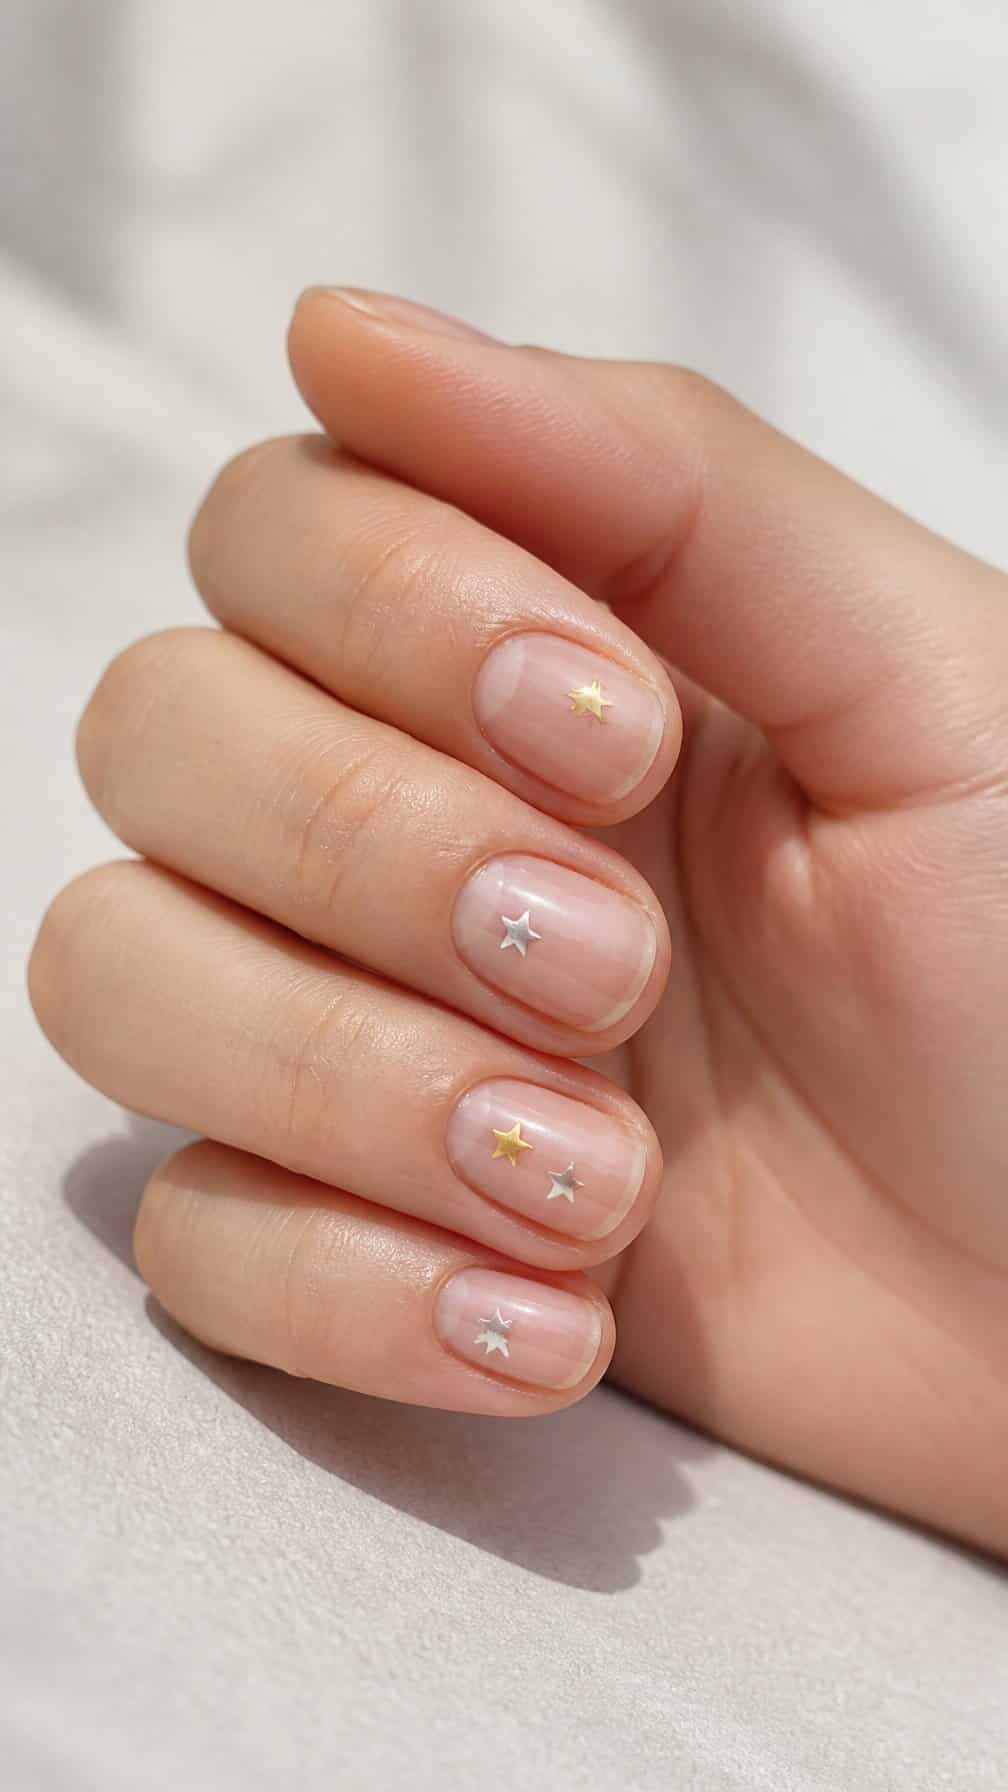
I start with clean, shaped nails and apply a clear or sheer nude base coat. Once it dries, I place tiny star stickers near the cuticle, along one side, or at the nail tip for a simple celestial detail.
I use tweezers to position each sticker accurately, then press the edges flat with a clean tool. A generous layer of clear top coat helps seal the stickers and smooths the surface.
For a balanced look, I place one or two stars on each nail rather than covering every space. Silver stars suit cool-toned polish, while gold stickers add warmth without making the design look busy.
28) Rose-gold glitter accent nails
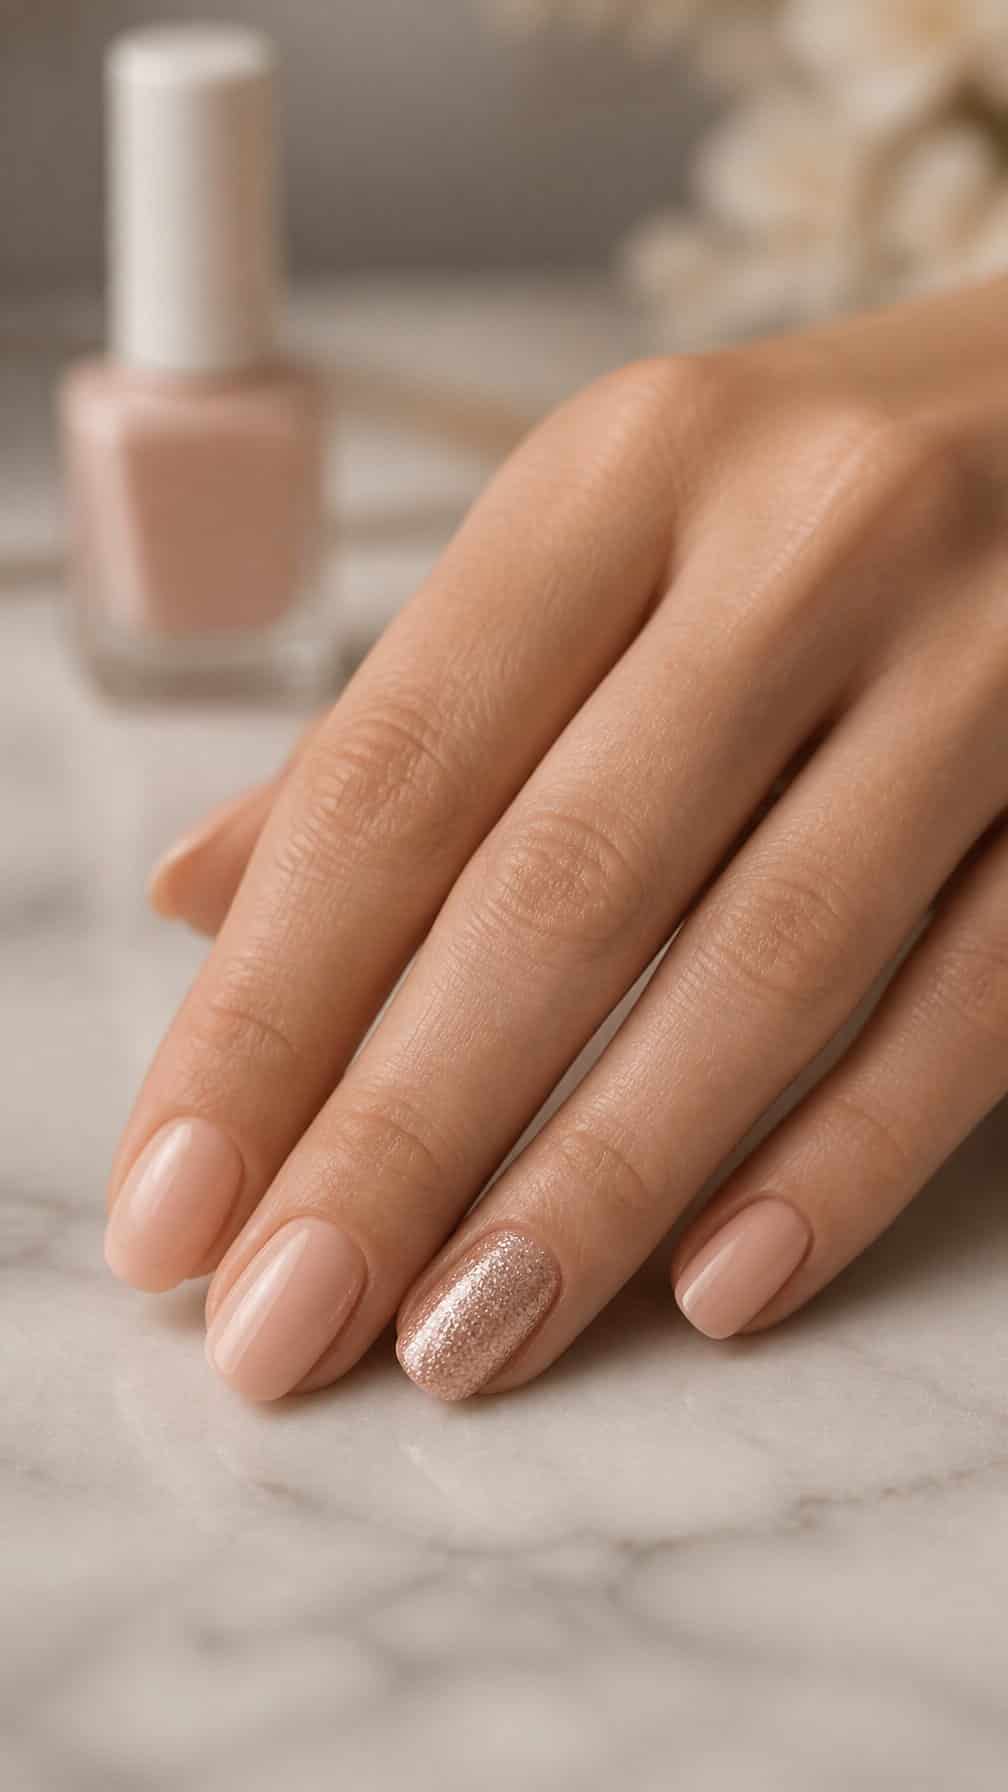
I paint most nails with a sheer nude or soft beige polish, then choose one accent nail on each hand. I apply rose-gold glitter in two thin coats, starting near the cuticle and brushing toward the tip. Thin layers dry faster and create a more even finish.
For a softer look, I dab the glitter onto the lower half of the accent nail and blend it upward with a clean brush. I finish every nail with a clear top coat, sealing the glitter and smoothing the surface.
29) Mint-green nails with diagonal lines
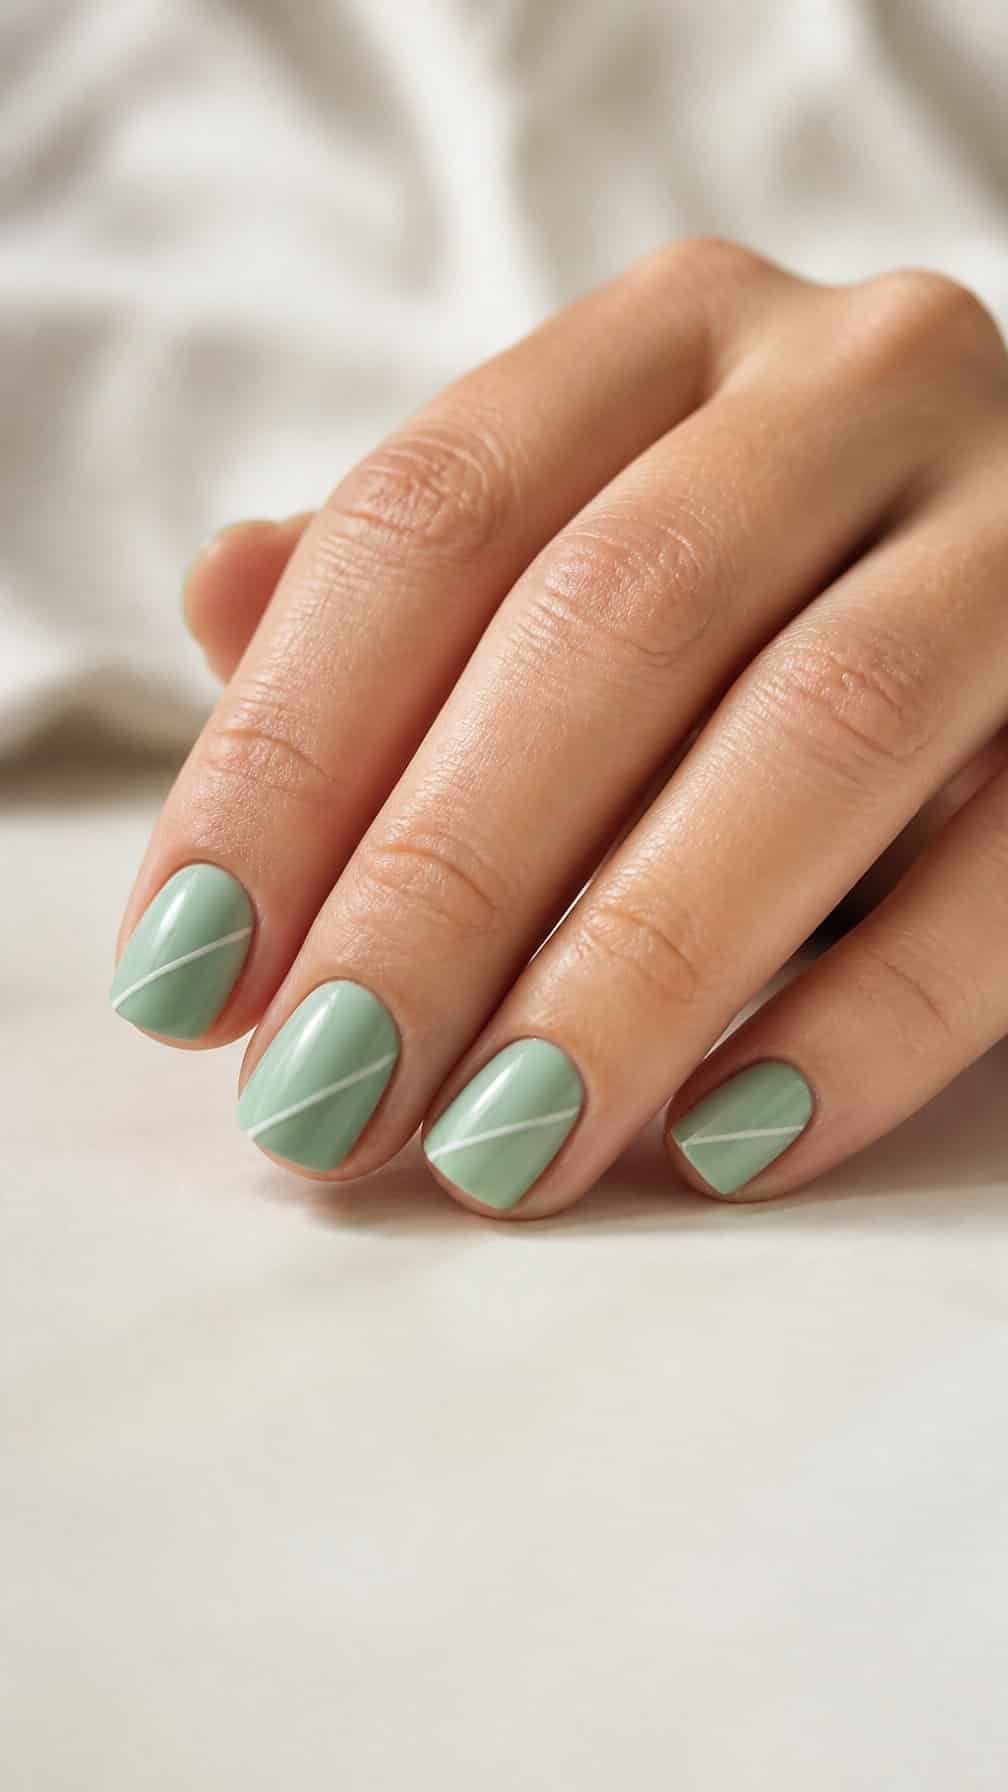
I start with two coats of mint-green polish and let them dry briefly. The soft color keeps the design fresh while providing enough contrast for a thin white, cream, or charcoal line.
Using a striping brush or fine nail-art pen, I draw one diagonal line across each nail, moving from one side near the cuticle toward the opposite tip. I keep the lines slightly varied in length for a relaxed, hand-drawn effect.
I add a second parallel line on selected nails rather than every finger. After the design dries, I seal it with a clear topcoat, brushing gently to avoid smearing the lines.
30) White nails with a single blue flower
I start with two thin coats of white polish and let them dry briefly. On one accent nail, I use a dotting tool or toothpick to place five small blue dots in a flower shape, then add a tiny yellow or navy dot in the center.
I keep the petals slightly uneven for a natural look and avoid adding extra flowers, leaves, or glitter. A fine brush helps sharpen the edges if needed, while a glossy top coat seals the design and smooths the raised dots.


