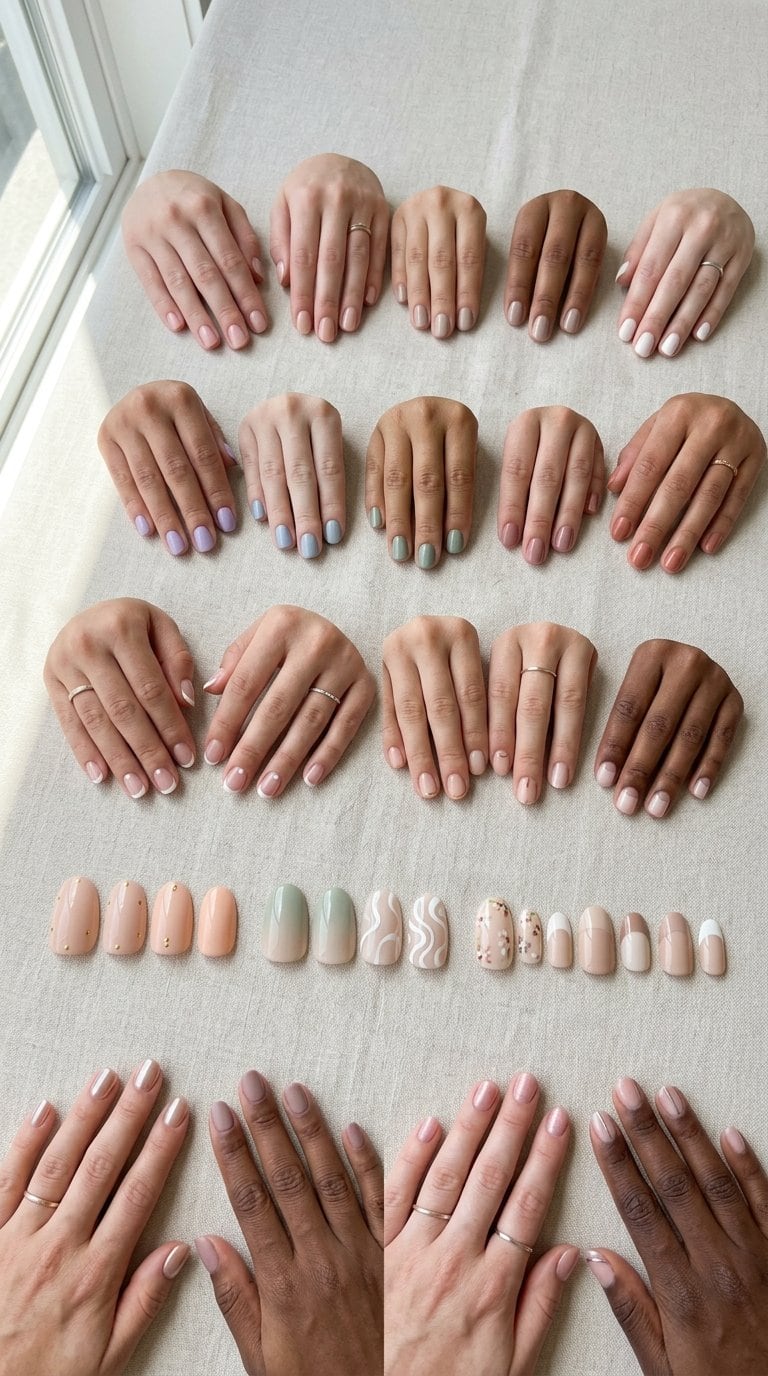
Short nails offer a practical canvas for polished, wearable designs that suit workdays, weekends, and everyday routines. You can create a neat, versatile manicure with simple colors, subtle details, and finishes that complement your personal style.
Save for later
Want to come back to this story? Save it with your email so it is easy to find again.
I’ll explore approachable ideas across soft neutrals, muted colors, classic shades, delicate accents, and minimalist patterns. You’ll also find guidance on choosing flattering shapes and finishes, along with practical ways to help your manicure stay fresh.
Table of Contents
- 1 1) Sheer Nude Gloss
- 2 2) Short French Tips
- 3 3) Milky White Nails
- 4 4) Soft Pink Blush
- 5 5) Neutral Micro-French Tips
- 6 6) Rounded Beige Nails
- 7 7) Short Matte Taupe
- 8 8) Tiny White Dots
- 9 9) Blush Pink Half-Moons
- 10 10) Short Mocha Nails
- 11 11) Minimalist Black Lines
- 12 12) Pale Lavender Nails
- 13 13) Short Sage Green Nails
- 14 14) Nude Nails with Gold Flecks
- 15 15) Simple Pearl Accent Nail
- 16 16) Short Rose Beige Nails
- 17 17) Thin Metallic Silver Tips
- 18 18) Creamy Peach Nails
- 19 19) Minimalist Daisy Accent
- 20 20) Short Dusty Blue Nails
- 21 21) Nude Nails with Tiny Hearts
- 22 22) Soft Gray Gloss
- 23 23) Short Terracotta Nails
- 24 24) Single-Line Abstract Accent
- 25 25) Classic Red Short Nails
- 26 26) Nude Nails with White Waves
- 27 Choosing Colors, Shapes, And Finishes
- 28 Selecting a Practical Nail Length
- 29 Matching Designs to Your Daily Routine
- 30 Choosing Long-Lasting Polish Finishes
- 31 Making Everyday Manicures Last
- 32 Preparing Nails Before Polish
- 33 Preventing Chips and Peeling
- 34 Simple Removal and Nail Care
1) Sheer Nude Gloss
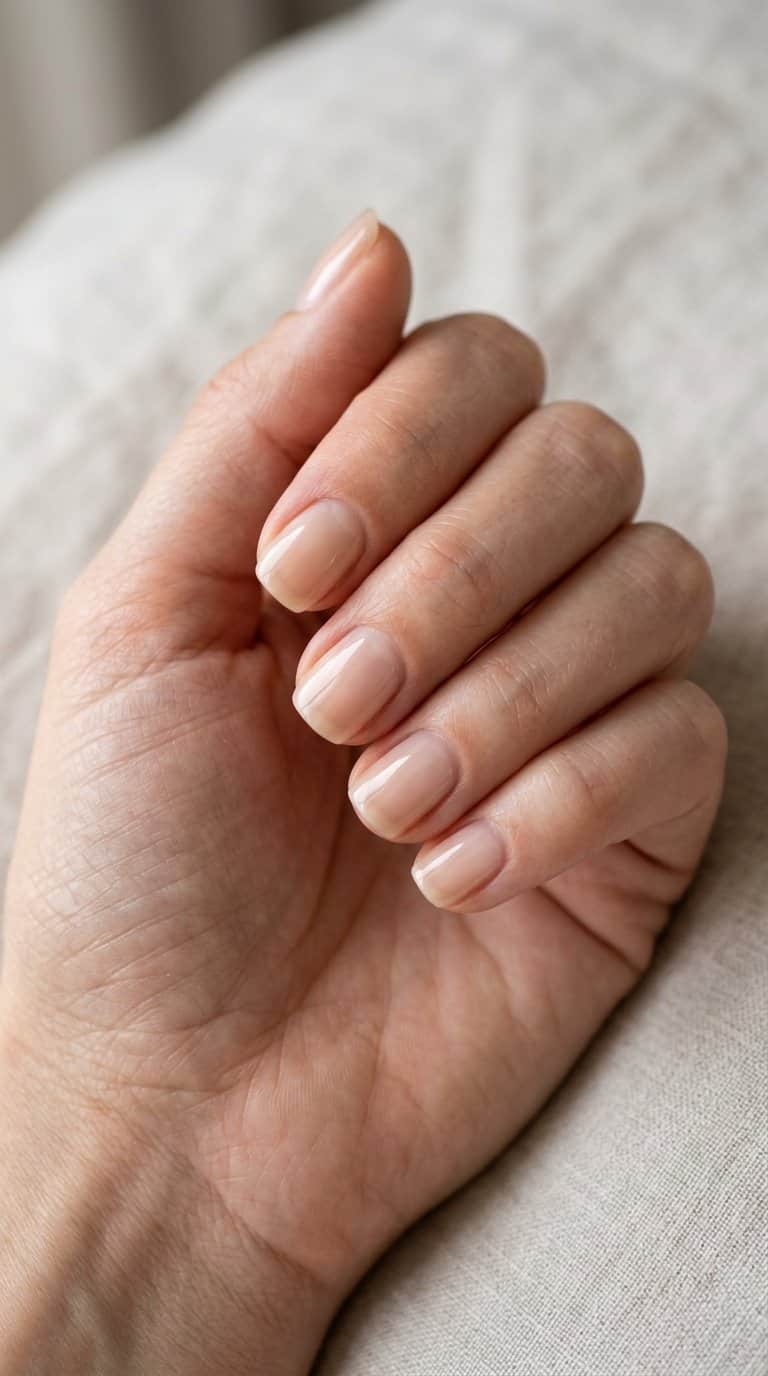
I use a sheer nude polish when I want my short nails to look neat without drawing too much attention. The translucent finish lets my natural nail show through, while the soft beige or pink tint adds a clean, polished appearance.
I start with shaped, lightly buffed nails and apply a thin base coat. Two fine layers of sheer color create a smoother look than one thick coat, and a glossy topcoat adds shine while helping the manicure last through daily tasks.
I choose a nude shade close to my skin tone for a subtle effect, or select a slightly pinker tint for added contrast. This design works well with rounded, squoval, and softly square nail shapes.
2) Short French Tips
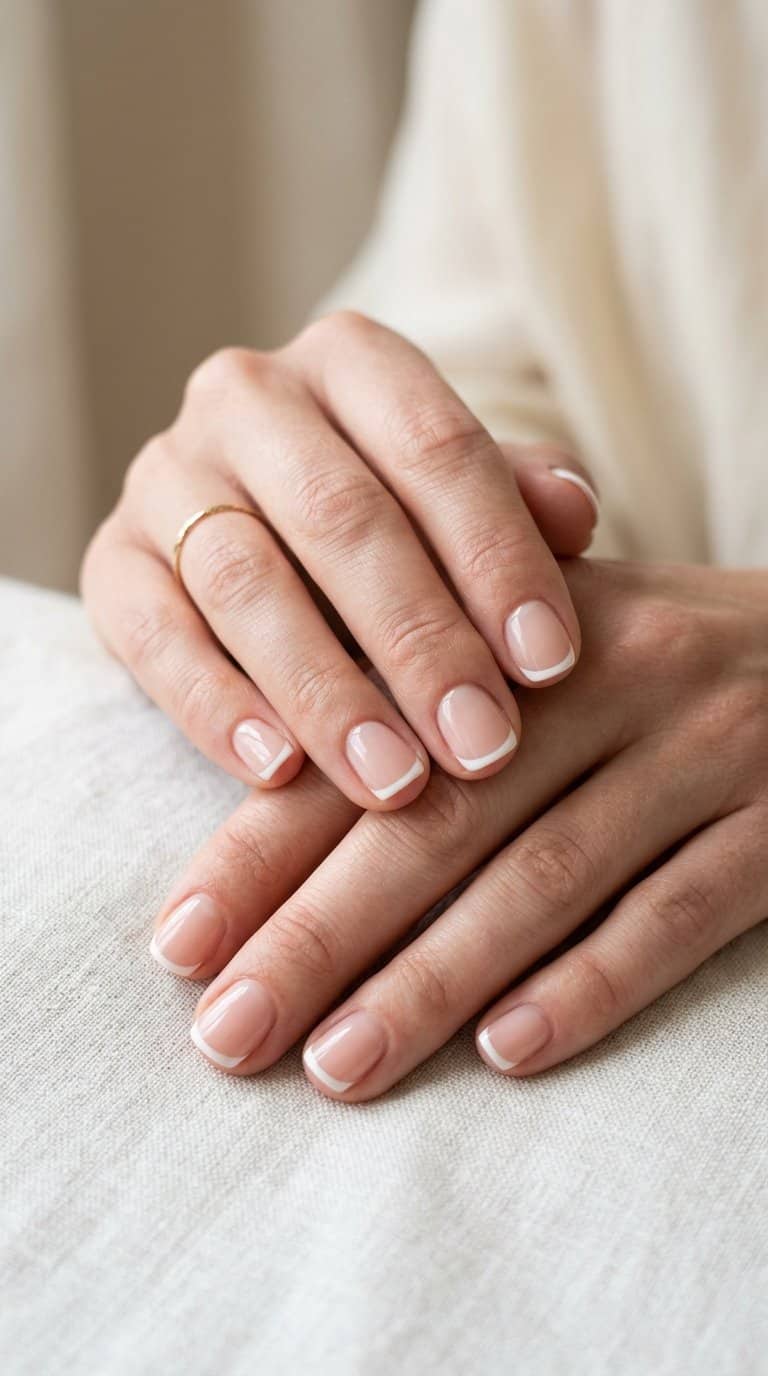
I keep the classic French tip clean by using a sheer pink or nude base with a thin white line across each free edge. On short nails, I slightly curve the tips to follow the natural shape, which keeps the design balanced without making the nails look crowded.
I also like a micro-French style when I want a subtler finish. I use a fine brush to add narrow tips in white, soft beige, or a muted color, then seal the design with a glossy topcoat for a smooth surface.
For more variety, I switch the white tips for black, navy, or a single accent shade. I keep the base neutral and match the tip shape across every nail so the manicure stays neat and suitable for everyday wear.
3) Milky White Nails
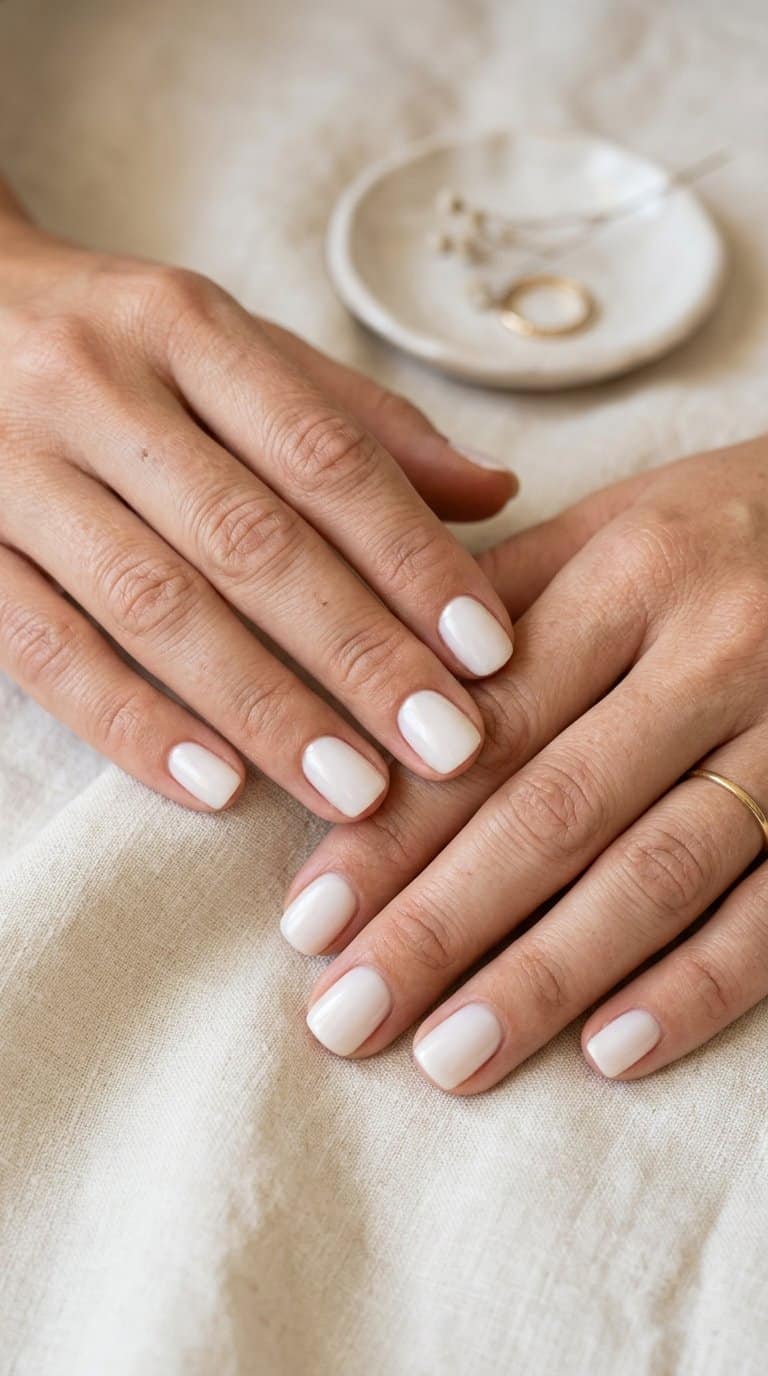
I like milky white polish for its soft, clean finish and subtle shine. I apply two thin coats over short, neatly shaped nails, allowing each layer to dry before adding the next. The semi-sheer color keeps the look natural while adding a polished touch.
I usually choose a rounded or squoval shape to complement this simple design. A glossy topcoat enhances the creamy finish, while a sheer version creates a lighter, more translucent effect. I keep the edges precise because uneven polish stands out against the pale color.
4) Soft Pink Blush
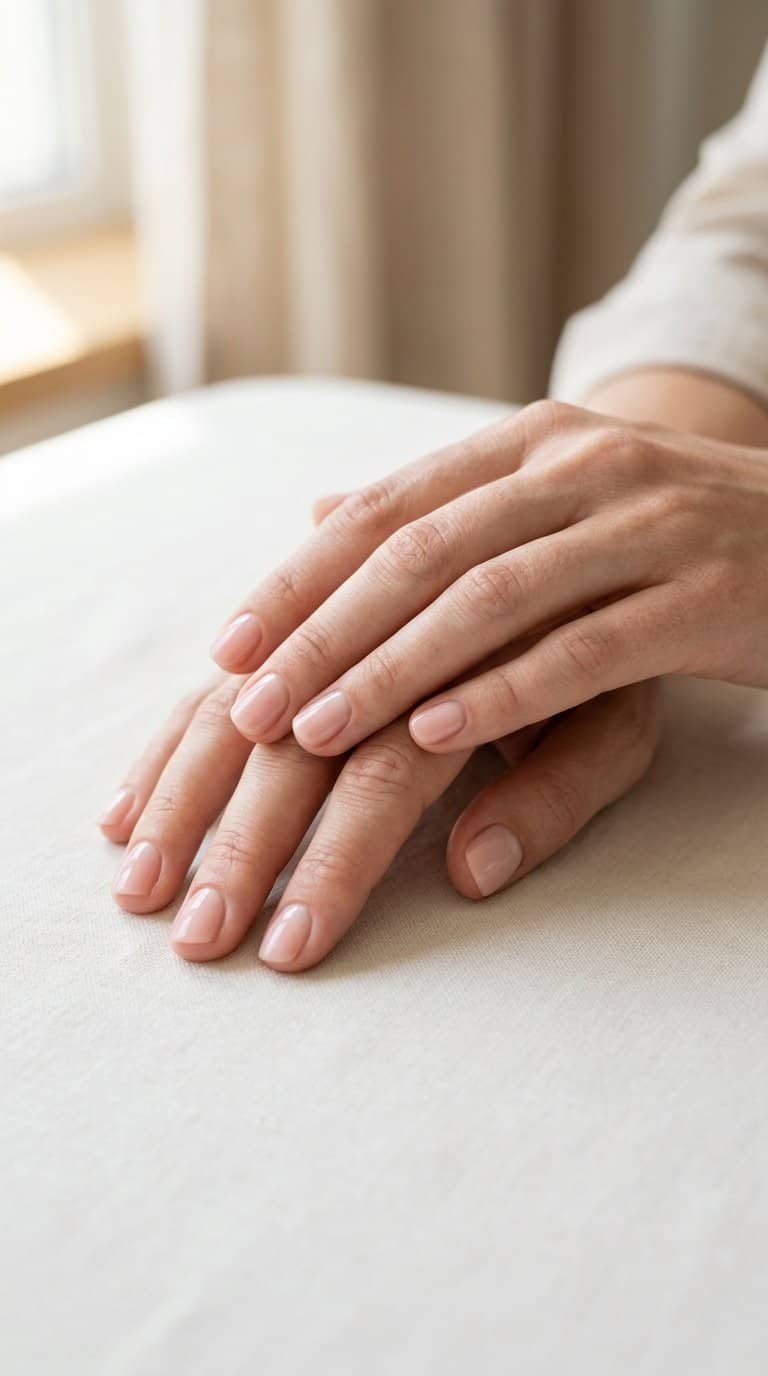
I use a sheer blush-pink polish when I want short nails to look neat without feeling overly styled. The translucent finish lets the natural nail show through, while one or two thin coats create a soft, even wash of color.
For a clean result, I shape each nail with a rounded or squoval edge and apply polish in narrow strokes from base to tip. I add a glossy topcoat to smooth the surface and extend the manicure’s polished appearance.
This design works well for everyday outfits because its muted tone pairs easily with denim, neutral clothing, and brighter colors. I refresh the topcoat after a few days to maintain shine and protect the free edge.
5) Neutral Micro-French Tips
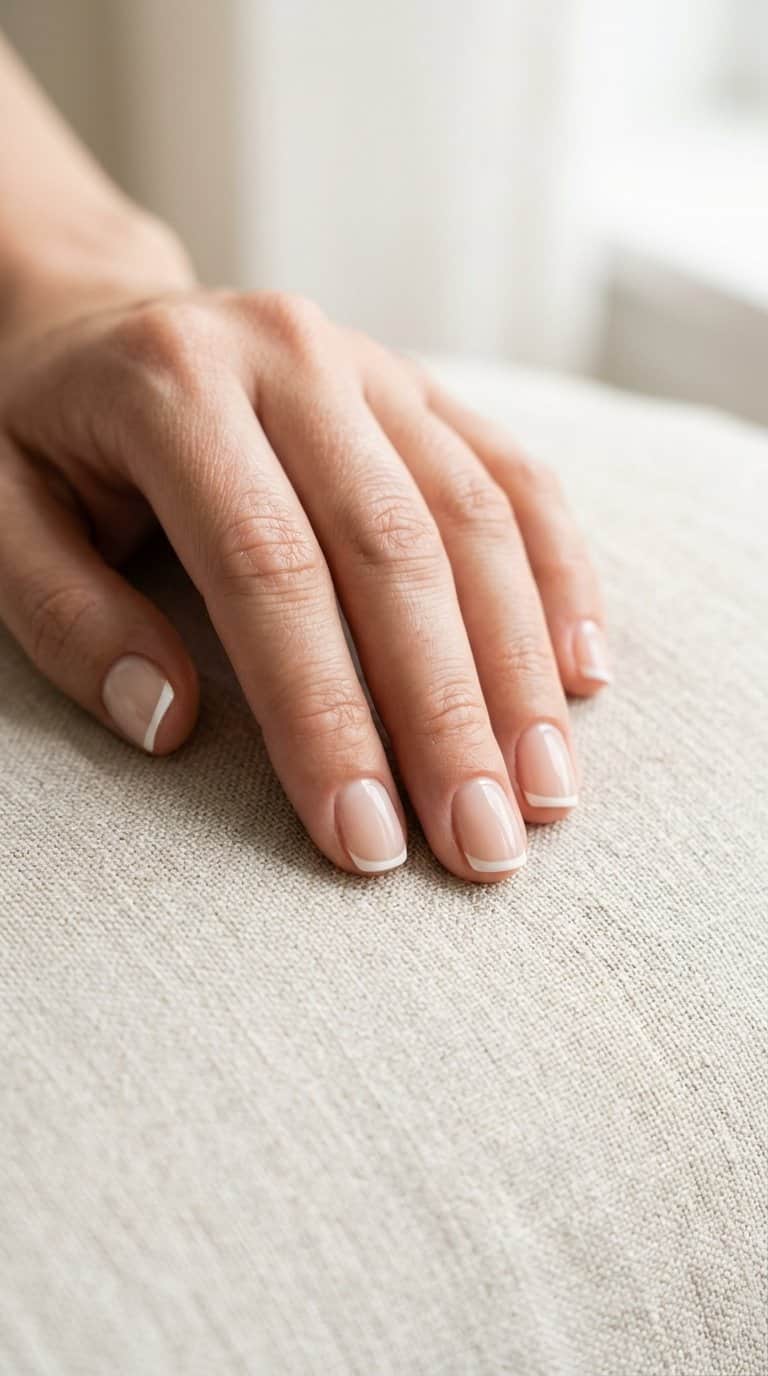
I use a sheer beige, blush, or soft pink base to keep these short nails looking clean and natural. A very thin white, cream, or taupe line follows the free edge, creating a subtle French tip without making the nails appear shorter.
I prefer a rounded or softly squared shape for this design because it keeps the narrow tips balanced. The neutral colors work well with casual clothing, office outfits, and minimal jewelry, while the fine detail adds polish without demanding attention.
For easier maintenance, I seal the design with a glossy top coat and leave a small gap around the cuticle when applying color. I can also switch the tip to muted brown or pale gray when I want a less traditional finish.
6) Rounded Beige Nails
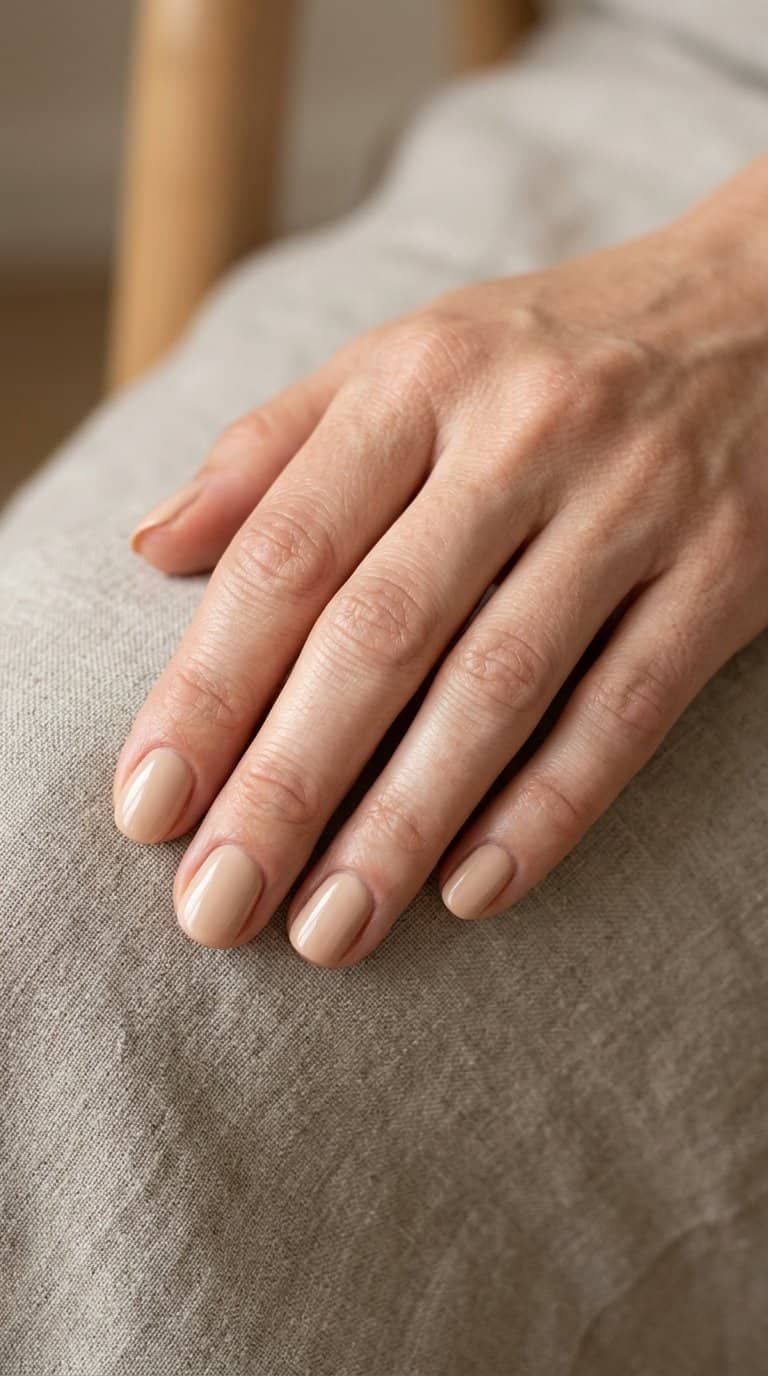
I choose a soft beige polish when I want short nails to look neat without drawing too much attention. The rounded shape follows my natural nail line, creating a clean finish that suits both casual outfits and polished workwear.
A sheer or creamy beige keeps the design understated, while a slightly warmer shade complements my skin tone. I usually apply two thin coats and add a glossy topcoat to smooth the surface and extend the manicure’s wear.
This style works well when I need a versatile base for everyday activities. I can leave it minimal or add a tiny detail, such as a fine white dot near the cuticle, without making the short length look crowded.
7) Short Matte Taupe
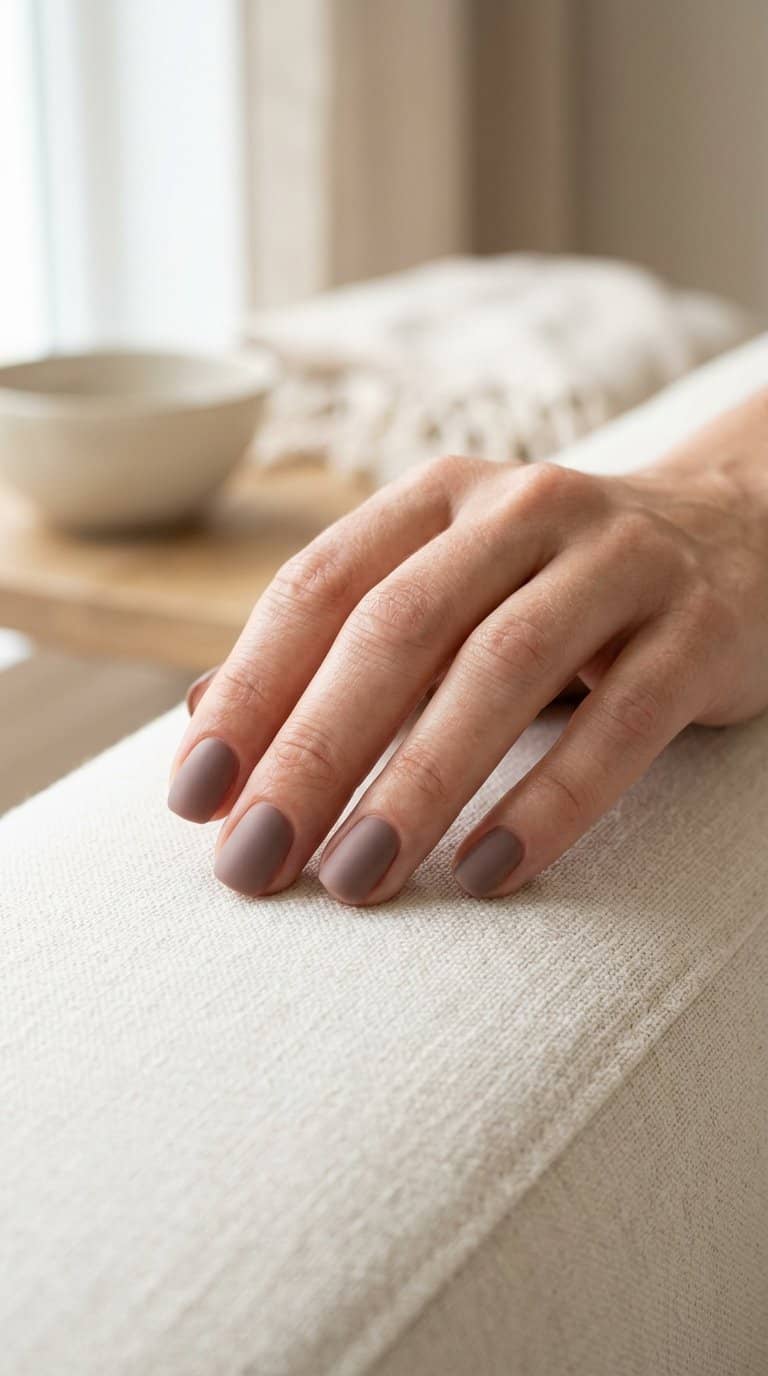
I like matte taupe on short nails because it creates a polished look without appearing too formal. The muted beige-gray shade works well with neutral clothing, denim, and darker colors, while its soft finish keeps the design understated.
I usually file the nails into a short rounded or squoval shape before applying the color. Two thin coats provide even coverage, and a matte topcoat removes shine while helping the manicure look smooth and neat.
This design suits everyday routines because minor chips and growth appear less noticeable than they might with brighter shades. I can also add a single glossy accent nail or a thin metallic line when I want a small detail without changing the simple base.
8) Tiny White Dots
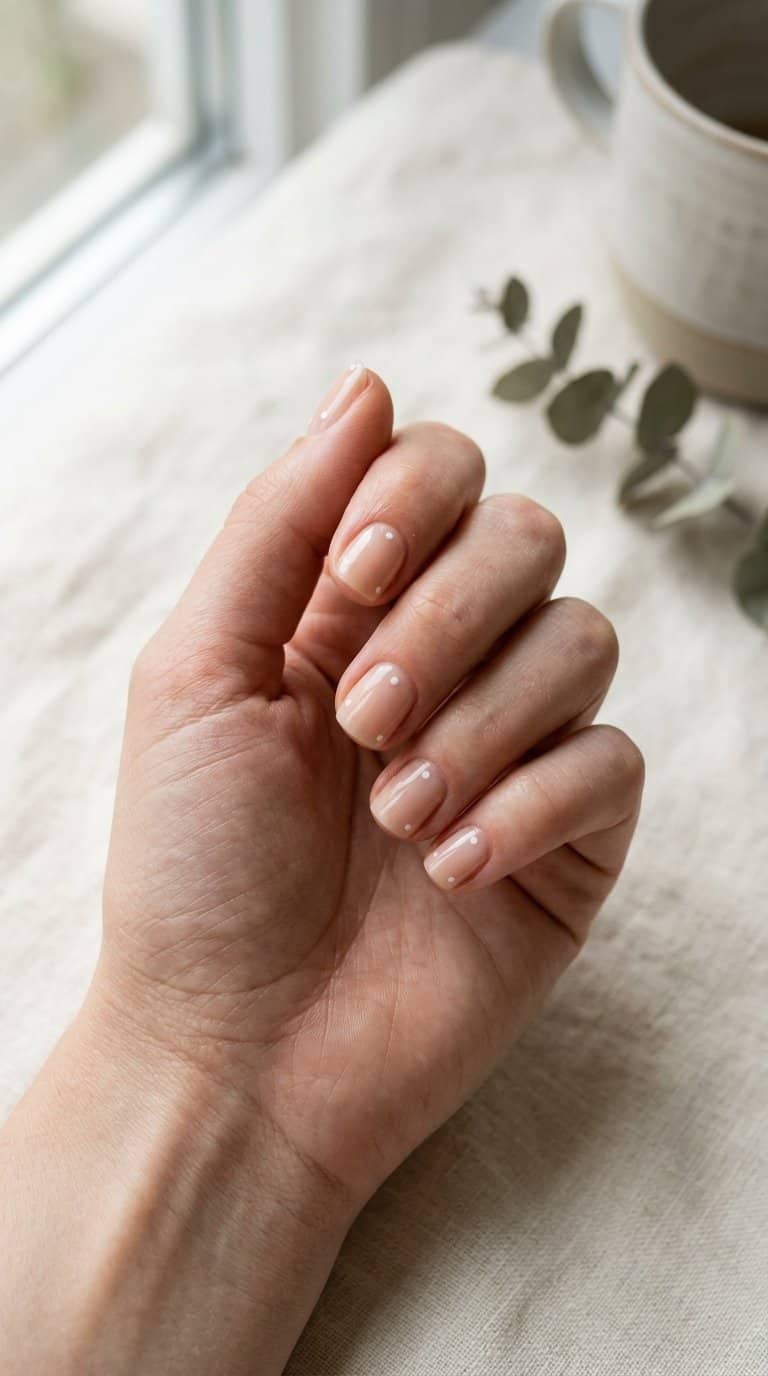
I use tiny white dots to add a clean detail without making short nails look busy. I place one dot near the cuticle on each nail, or arrange three dots in a gentle curve over a sheer nude base. A dotting tool gives me more control, but the rounded end of a bobby pin also works.
I prefer white polish with a soft, opaque finish so each mark stays visible against the base color. After the dots dry, I apply a thin top coat to smooth the surface and help prevent smudging. This design pairs well with beige, pale pink, light gray, and clear polish.
9) Blush Pink Half-Moons
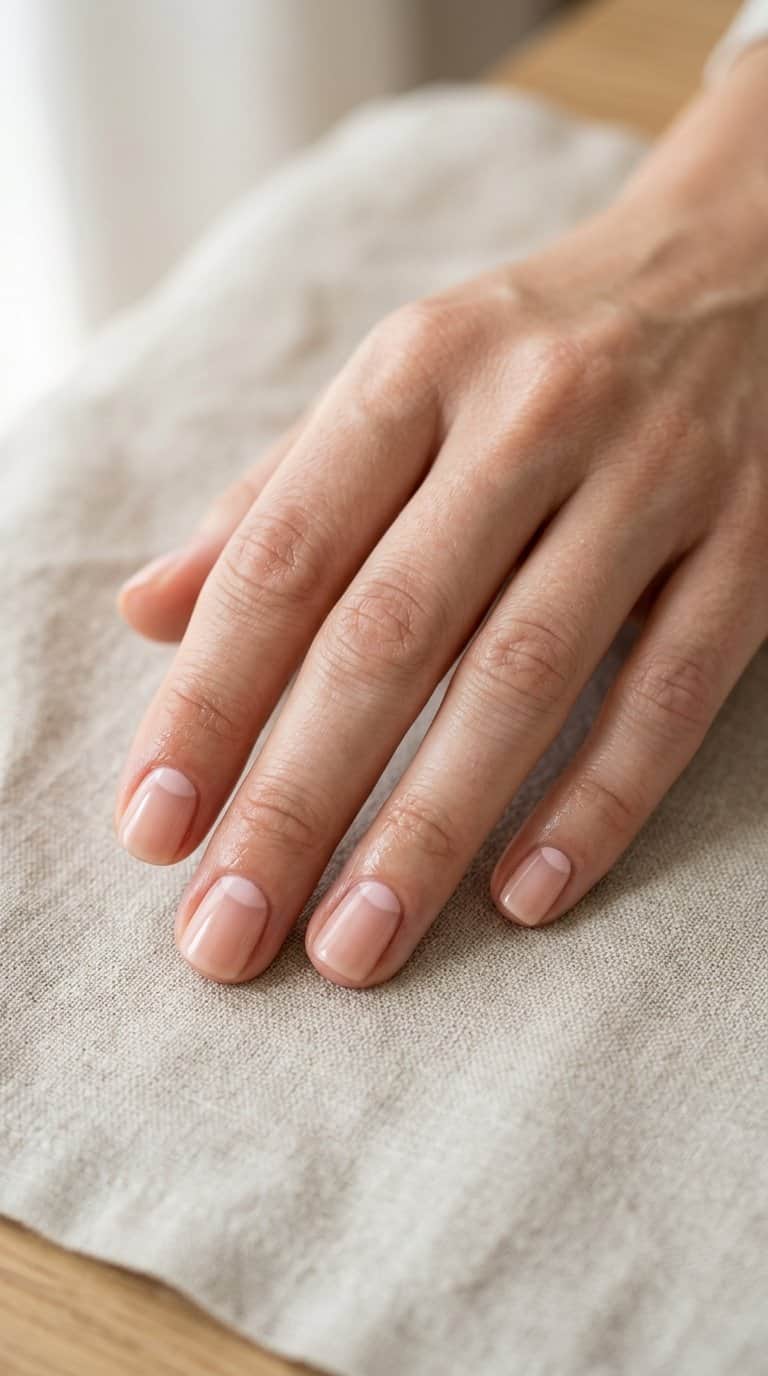
I like this design for its clean contrast and soft finish. I paint the nails blush pink, then leave a slim crescent of the natural nail visible near each cuticle. The rounded shape suits short nails and keeps the look polished without adding visual weight.
I use a fine detail brush to sharpen the half-moon edges after the base coat dries. A glossy top coat helps blend the colors and protects the exposed-looking crescent, while a sheer pink base can create a subtler version.
10) Short Mocha Nails
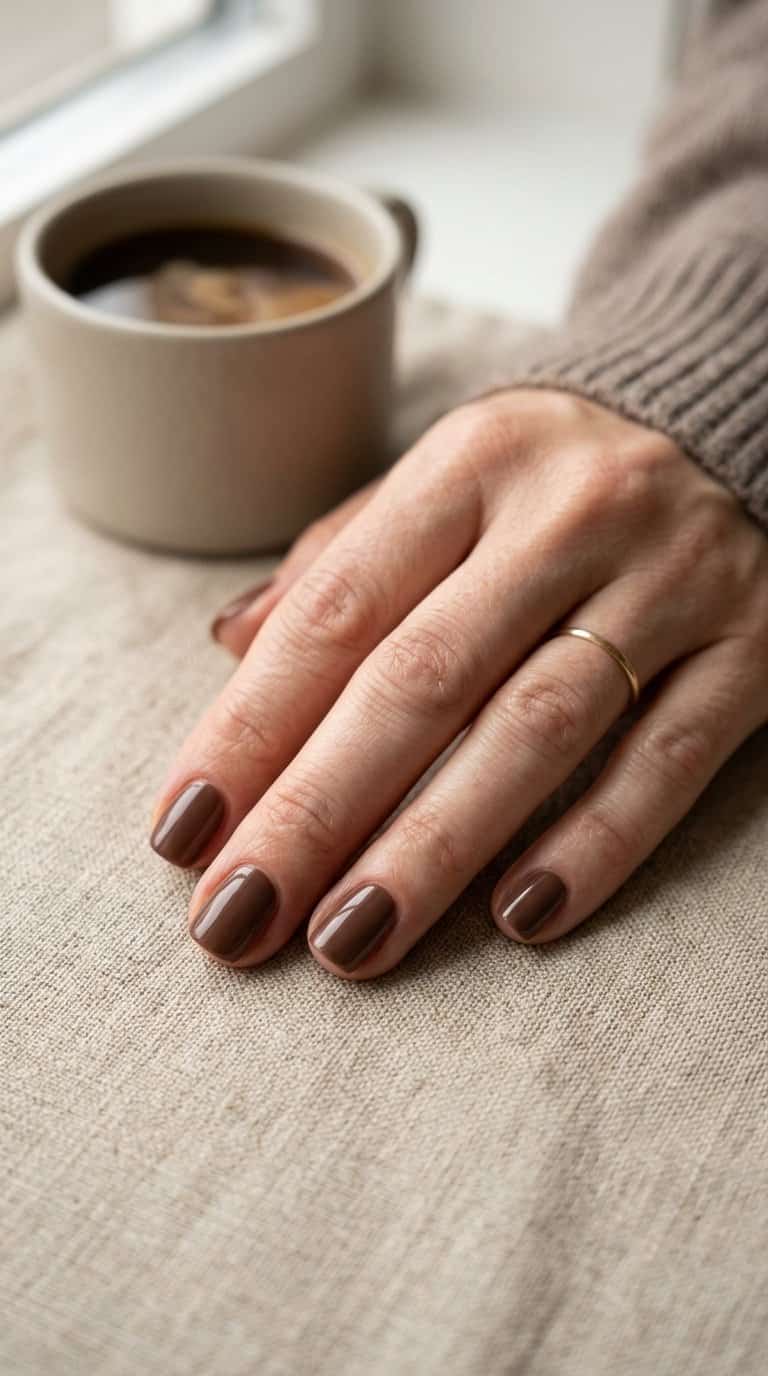
I like mocha polish for its warm, neutral color and polished appearance. On short nails, the shade looks neat without requiring extra length or elaborate details.
I usually choose a medium brown with a creamy finish for everyday wear. A glossy topcoat adds smoothness, while a matte finish gives the manicure a softer, more understated look.
For a simple variation, I paint each nail a slightly different brown, ranging from light latte to deep cocoa. I keep the shapes consistent and use thin coats to create an even finish.
11) Minimalist Black Lines
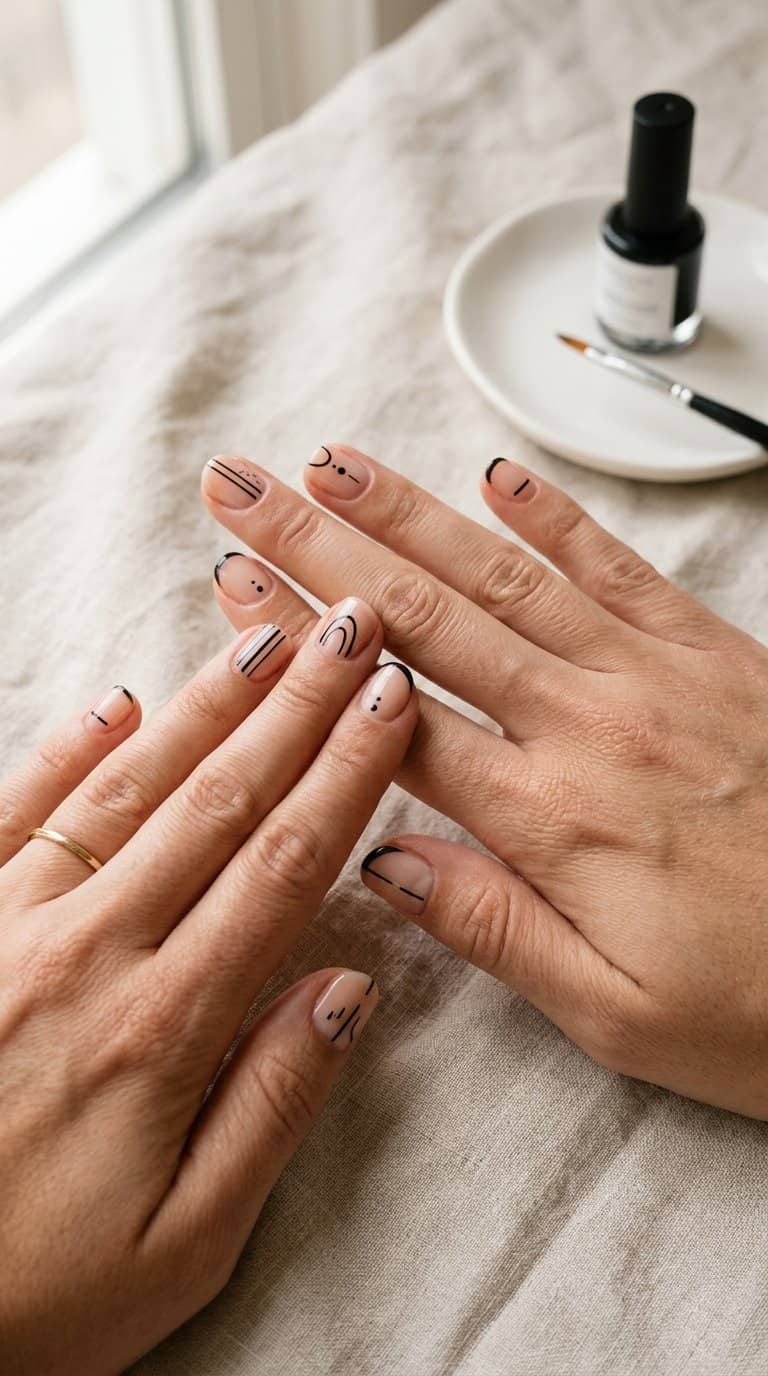
I use a sheer nude or soft pink base to keep this design clean and versatile. After it dries, I add one thin black line across each nail, placing it horizontally, vertically, or slightly off-center for a subtle geometric effect.
I prefer a fine nail-art brush or striping tool for precise edges. A single line suits very short nails, while two uneven lines create more visual interest without making the manicure look busy.
I seal the design with a glossy top coat to smooth the surface and protect the details. For a softer finish, I choose matte top coat, which gives the black lines a modern, understated appearance.
12) Pale Lavender Nails
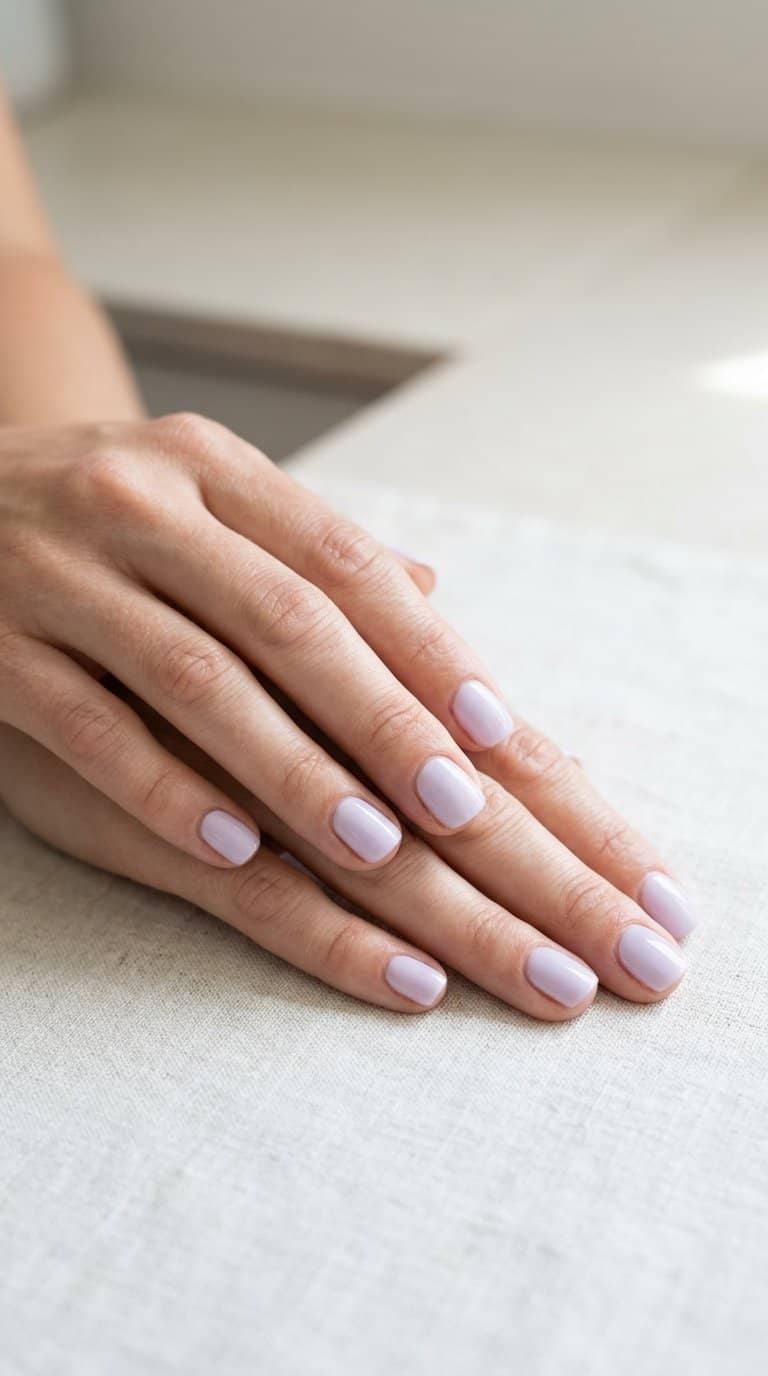
I like pale lavender polish for its soft color and clean appearance. On short nails, this cool pastel shade creates a neat finish without looking too bold, making it easy to wear with casual or work outfits.
I usually choose a sheer or creamy formula, depending on the look I want. One thin coat gives a subtle wash of color, while two coats provide a smoother, more noticeable finish.
For added detail, I sometimes use a glossy topcoat to highlight the lavender tone. A rounded or softly squared nail shape pairs well with this shade and keeps the manicure looking polished.
13) Short Sage Green Nails
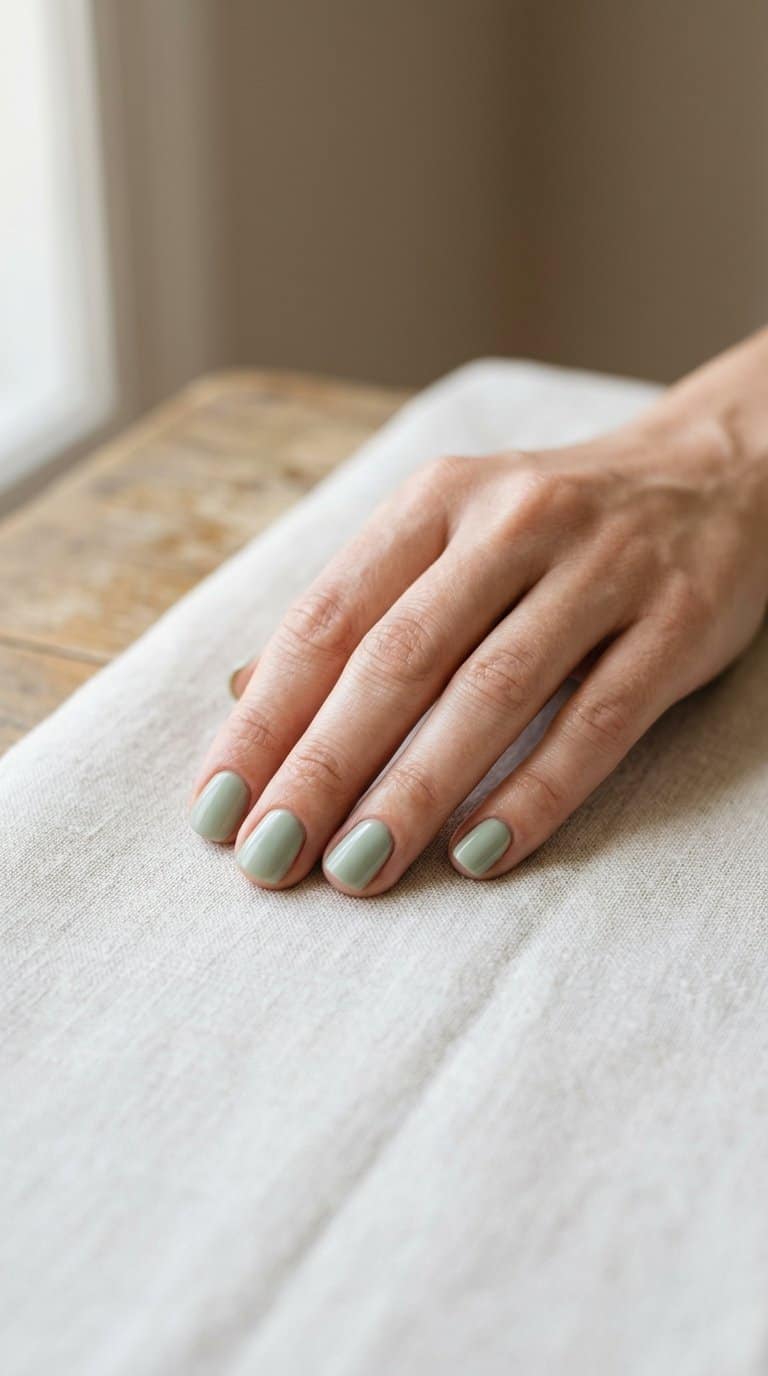
I like sage green on short nails because its muted tone looks polished without feeling formal. I usually choose a creamy, opaque finish for a clean everyday manicure, keeping the shape softly rounded or squoval.
For a subtle design, I add one thin white line near the tip of each accent nail. The contrast gives the manicure definition while keeping the overall look simple. A glossy topcoat helps the color appear smooth and fresh.
When I want more variation, I pair sage green with a neutral beige on one or two nails. I find this combination works well with casual clothing and office-ready outfits, while the short length keeps the design practical.
14) Nude Nails with Gold Flecks
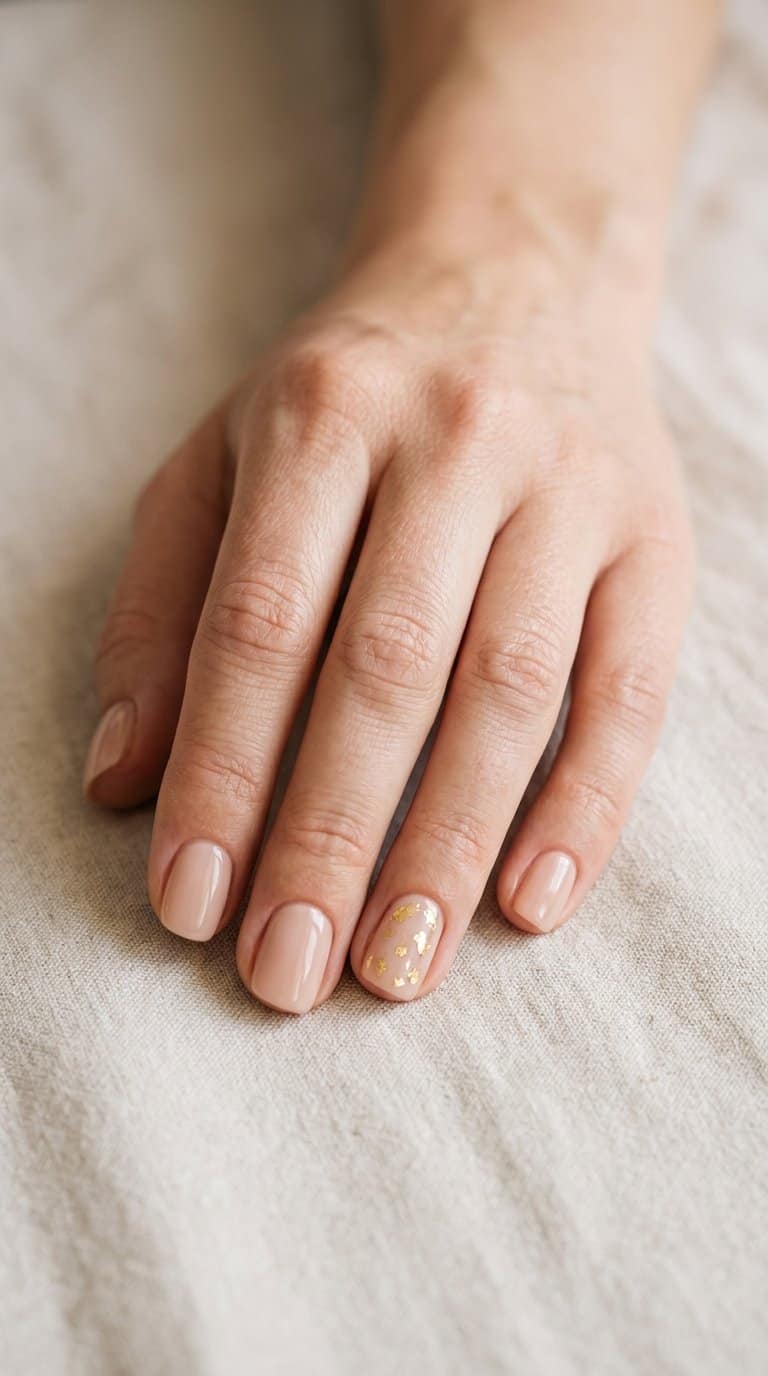
I start with a sheer nude base that matches my skin tone and keeps the look soft. I add small gold flakes near the cuticle or across one or two nails, leaving enough space for the nude polish to remain visible.
I prefer irregular flecks because they create subtle variation without making the design look busy. A glossy top coat smooths the surface and helps the metallic details stand out against the neutral background.
This design works well for short nails because the light base keeps the manicure visually open. I use fine gold pieces for a delicate finish or slightly larger flakes when I want more noticeable detail while keeping the style suitable for everyday wear.
15) Simple Pearl Accent Nail
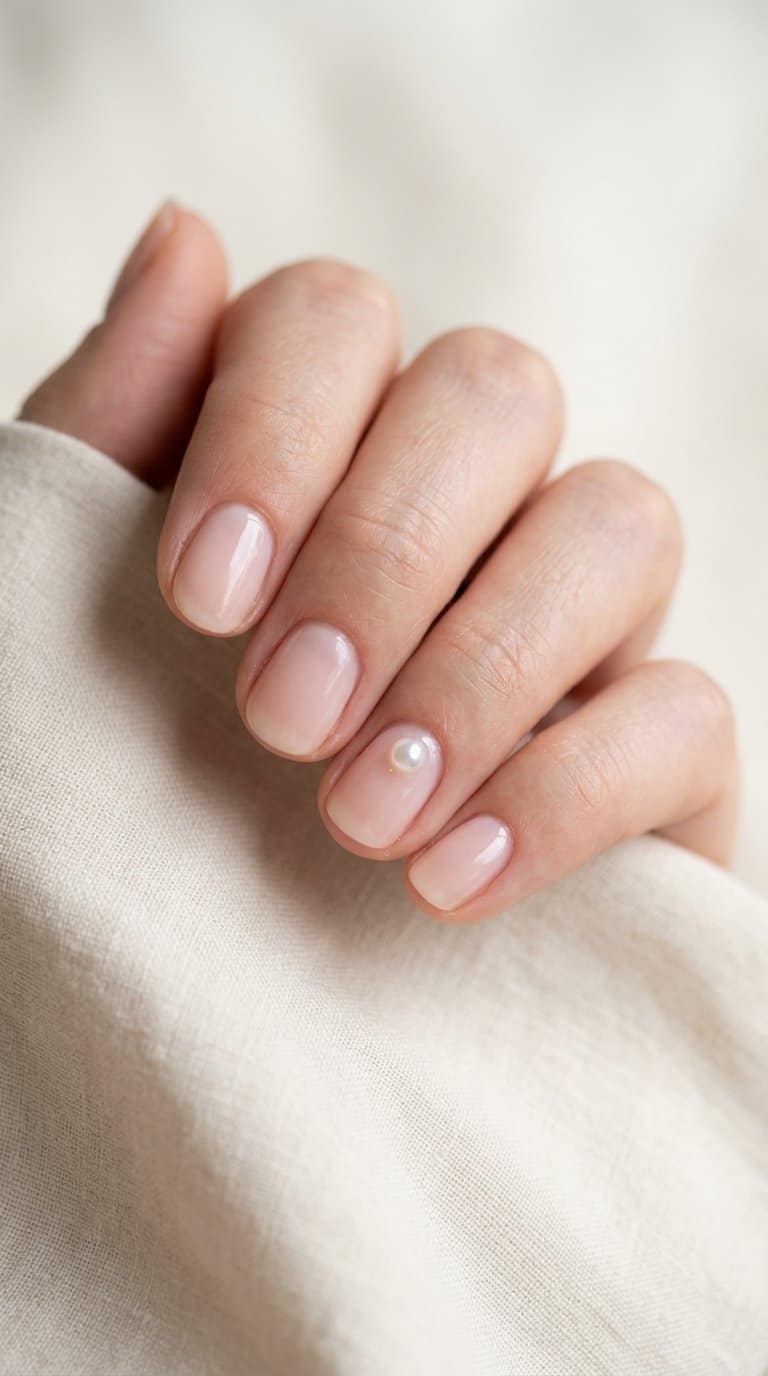
I keep most nails in a sheer pink, beige, or soft white polish, then add one small pearl accent to each hand. I place the pearl near the cuticle or slightly off-center, depending on the nail shape. This placement adds detail without making short nails look crowded.
I use nail glue or a small amount of builder gel to secure the pearl, then seal around its base with a clear top coat. A single pearl suits everyday outfits, while a tiny cluster creates a more decorative finish without taking up much space.
16) Short Rose Beige Nails
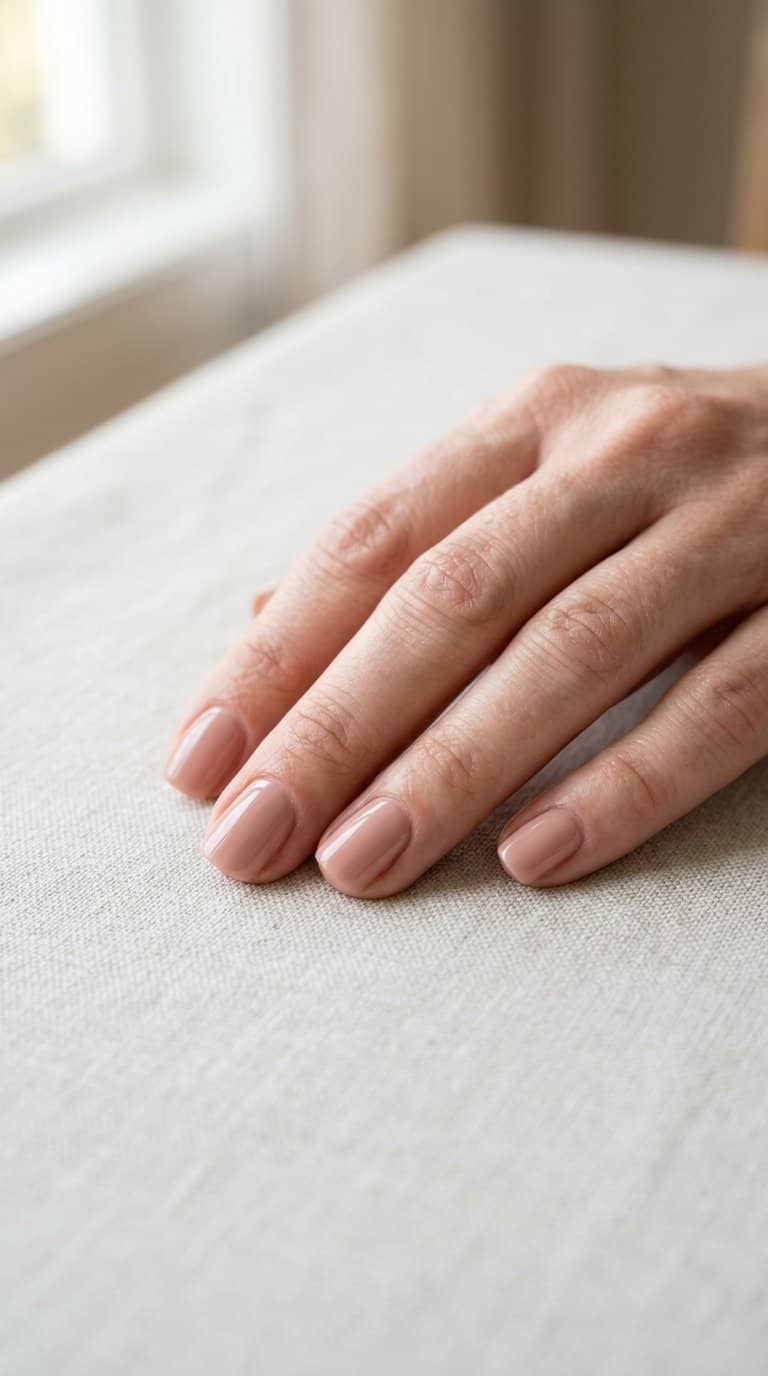
I like rose beige polish for its soft pink-brown tone and understated finish. On short nails, this shade looks neat without feeling plain, making it a practical choice for work, errands, and everyday plans.
I usually choose a creamy, opaque formula for a smooth appearance, then shape my nails into a short rounded or squoval style. A glossy top coat adds definition, while a satin finish creates a quieter look.
For a small detail, I sometimes add one thin gold line near the cuticle or place a tiny pearl accent on a single nail. These subtle touches keep the design simple while giving the neutral color more visual interest.
17) Thin Metallic Silver Tips
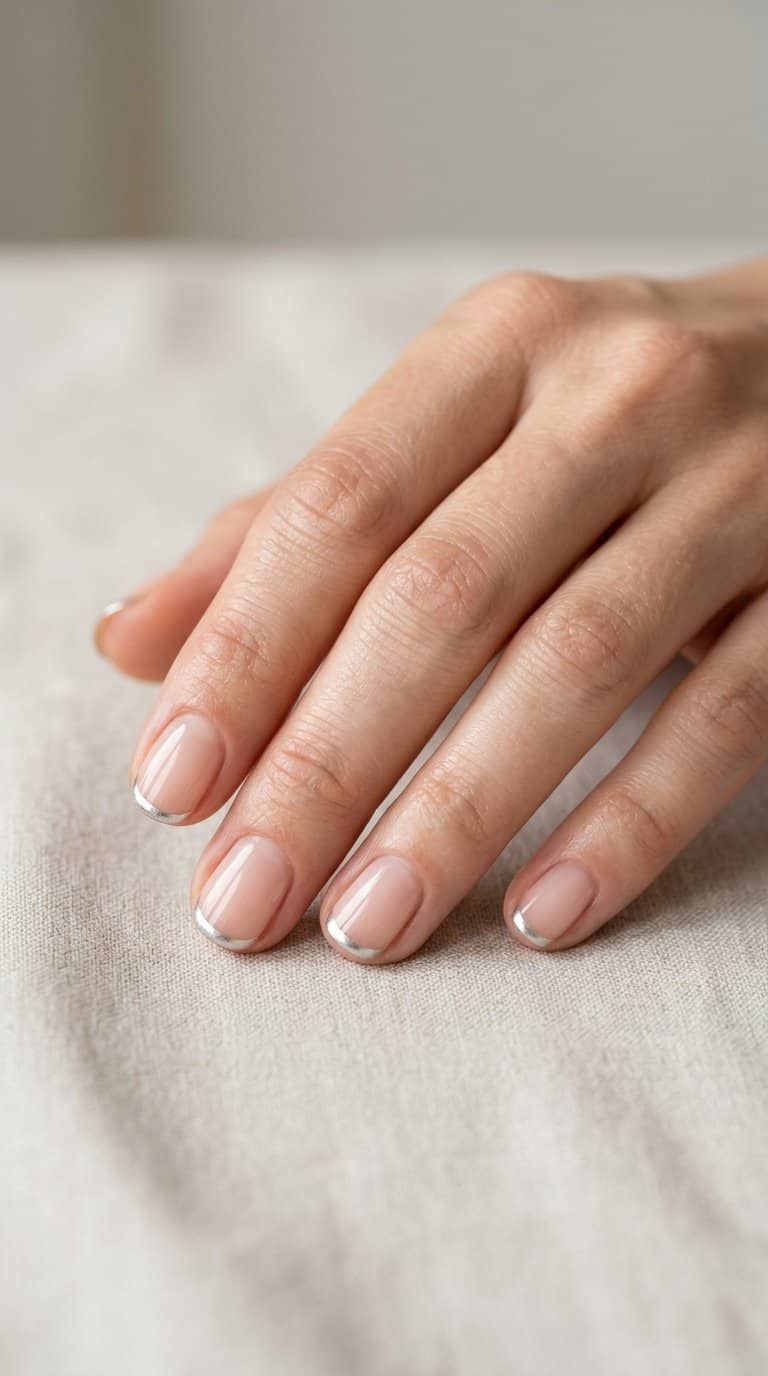
I keep the base sheer or close to my natural nail color, then add a narrow silver line across each free edge. The reflective finish gives my short nails a clean detail without making them look crowded.
I use a fine nail-art brush or metallic striping polish for better control. Slightly rounding the tips follows the shape of my nails and keeps the design neat as they grow.
I pair the silver with a glossy top coat to smooth the surface and reduce snagging. For a softer effect, I choose brushed silver; chrome silver creates a sharper contrast against a nude base.
18) Creamy Peach Nails
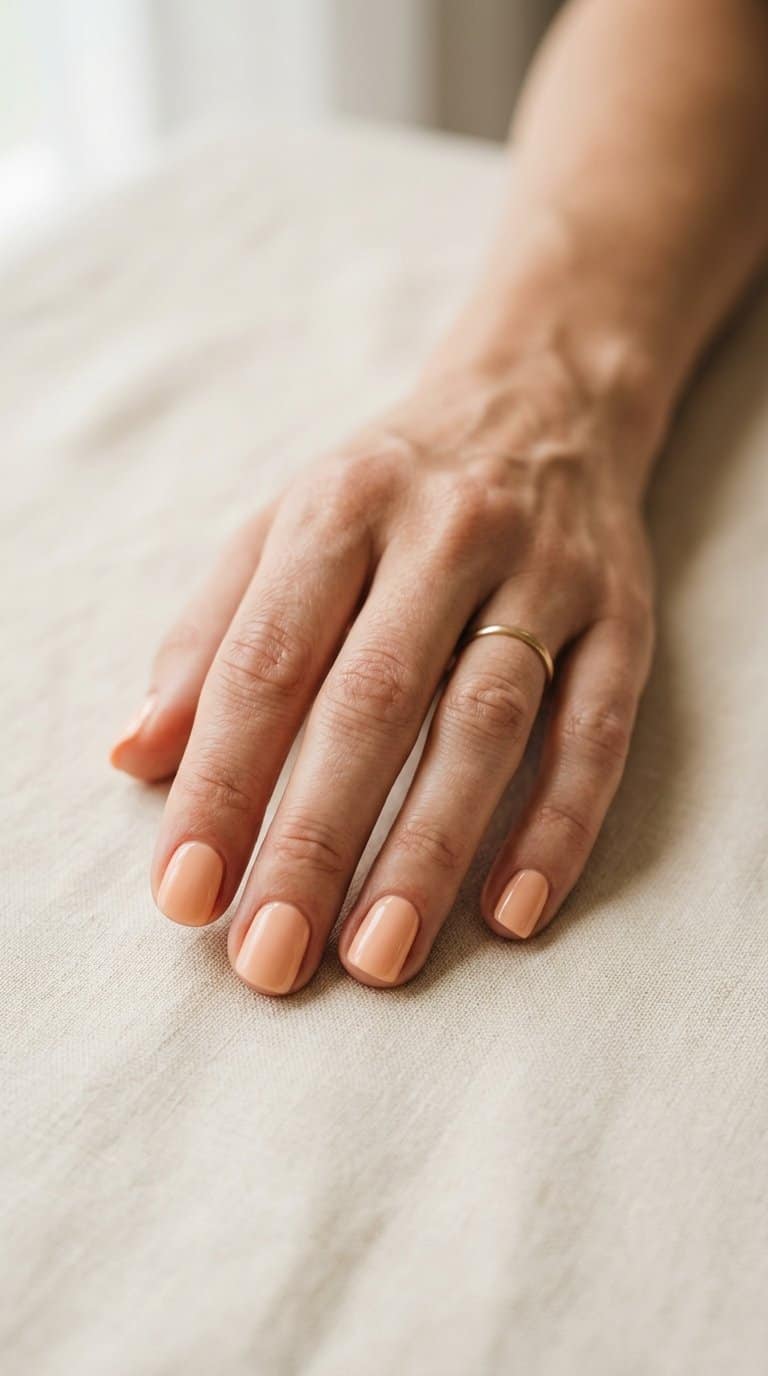
I like creamy peach polish for its soft, warm finish and easy coordination with everyday outfits. The muted orange-pink tone adds gentle color without making short nails look crowded, while a smooth glossy topcoat keeps the surface fresh and polished.
I usually pair this shade with a rounded or softly squared shape because both profiles complement its understated look. Two thin coats create even coverage, and a careful layer around the cuticles helps the manicure appear neat as the nails grow.
For a subtle variation, I add a fine white line near the tip or place one small gold dot on each ring finger. I keep the details minimal so the peach base remains the main feature.
19) Minimalist Daisy Accent
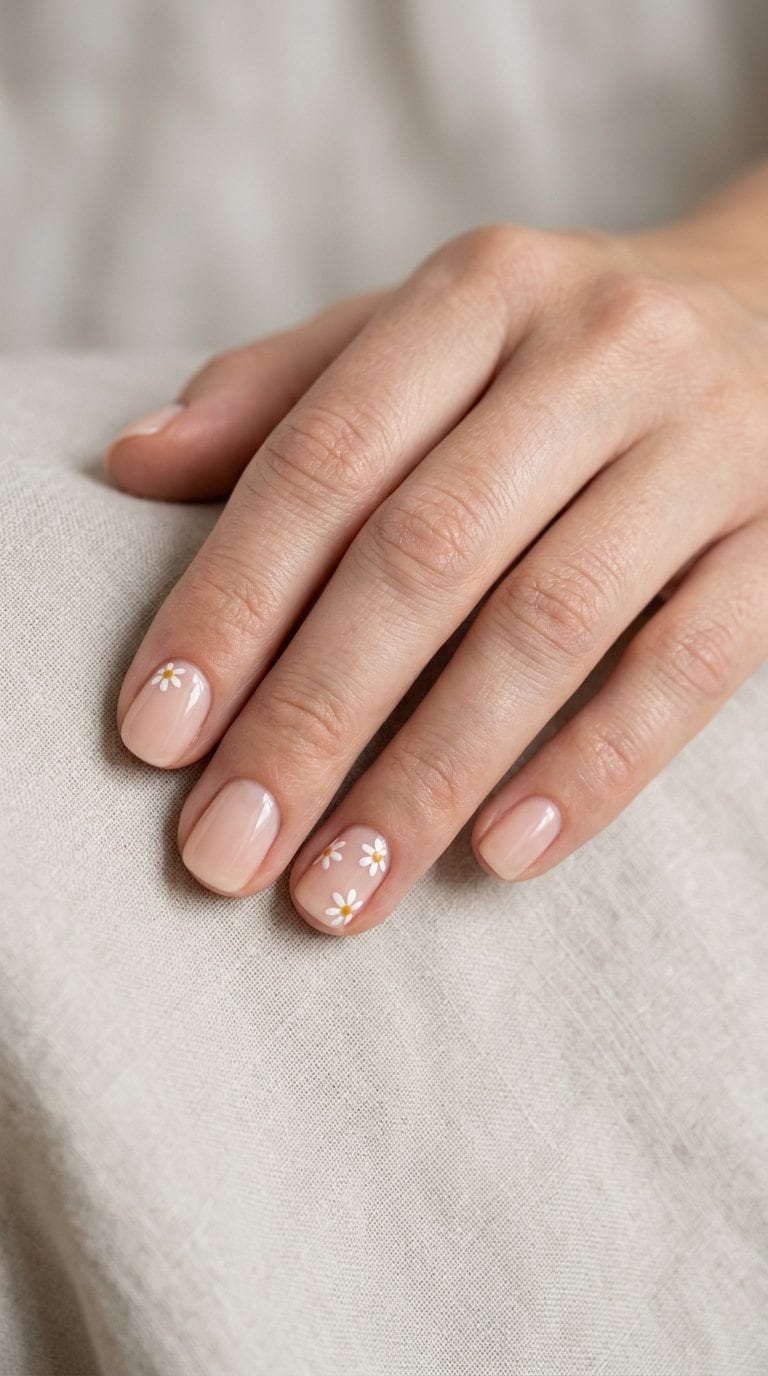
I keep the base sheer pink, beige, or soft white to let the design stay light and wearable. On one or two short nails, I add a small daisy with five white petals and a yellow center, placing it near the cuticle or slightly off-center.
I use a fine nail-art brush or dotting tool for cleaner petals, then seal the design with a glossy top coat. I prefer matching the remaining nails to the flower’s center or using a clear finish for a barely-there look.
20) Short Dusty Blue Nails
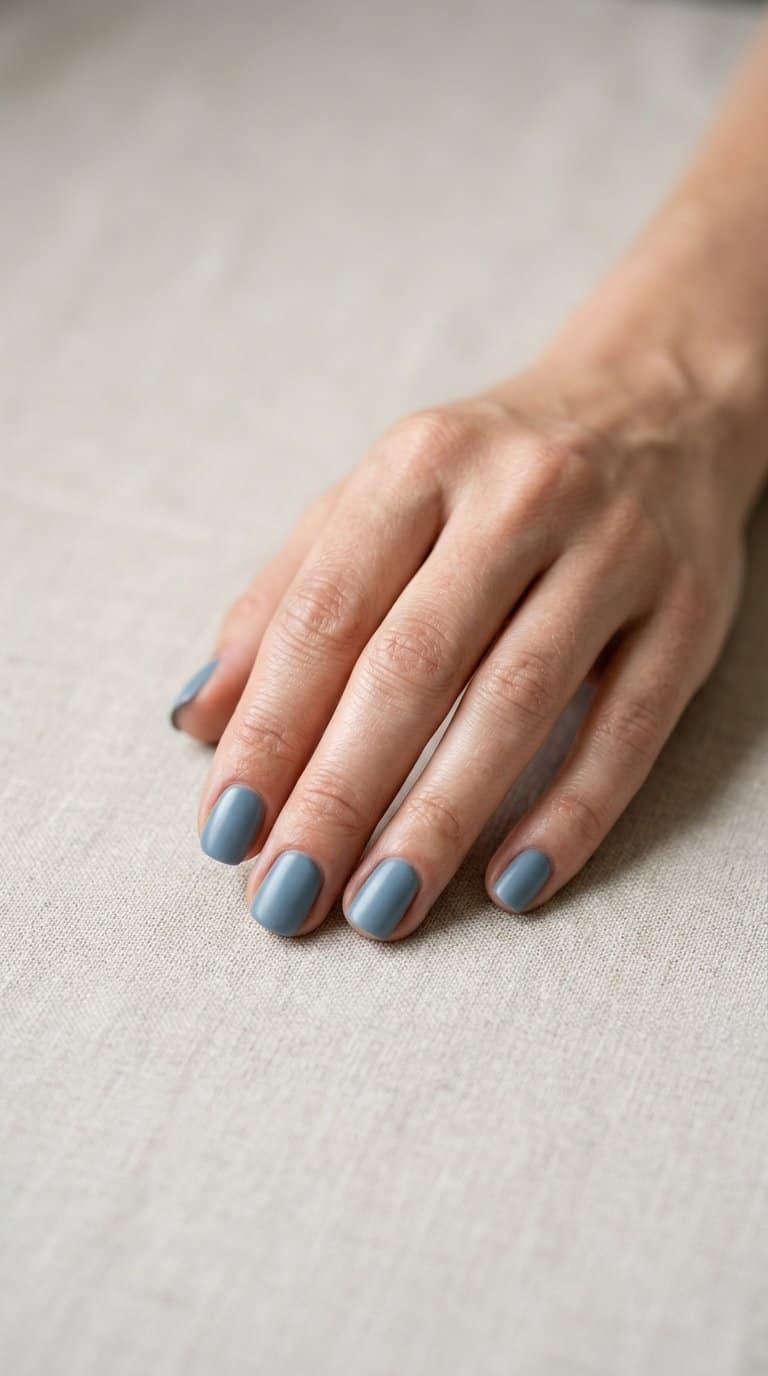
I like dusty blue polish on short nails because its muted color feels neat without looking plain. I usually keep the shape softly rounded or lightly squared to match the clean, understated finish.
For added detail, I might paint one accent nail with a thin white line, a small silver dot, or a matte topcoat. These accents stay subtle and work well for everyday outfits, from denim and knits to simple office clothing.
21) Nude Nails with Tiny Hearts
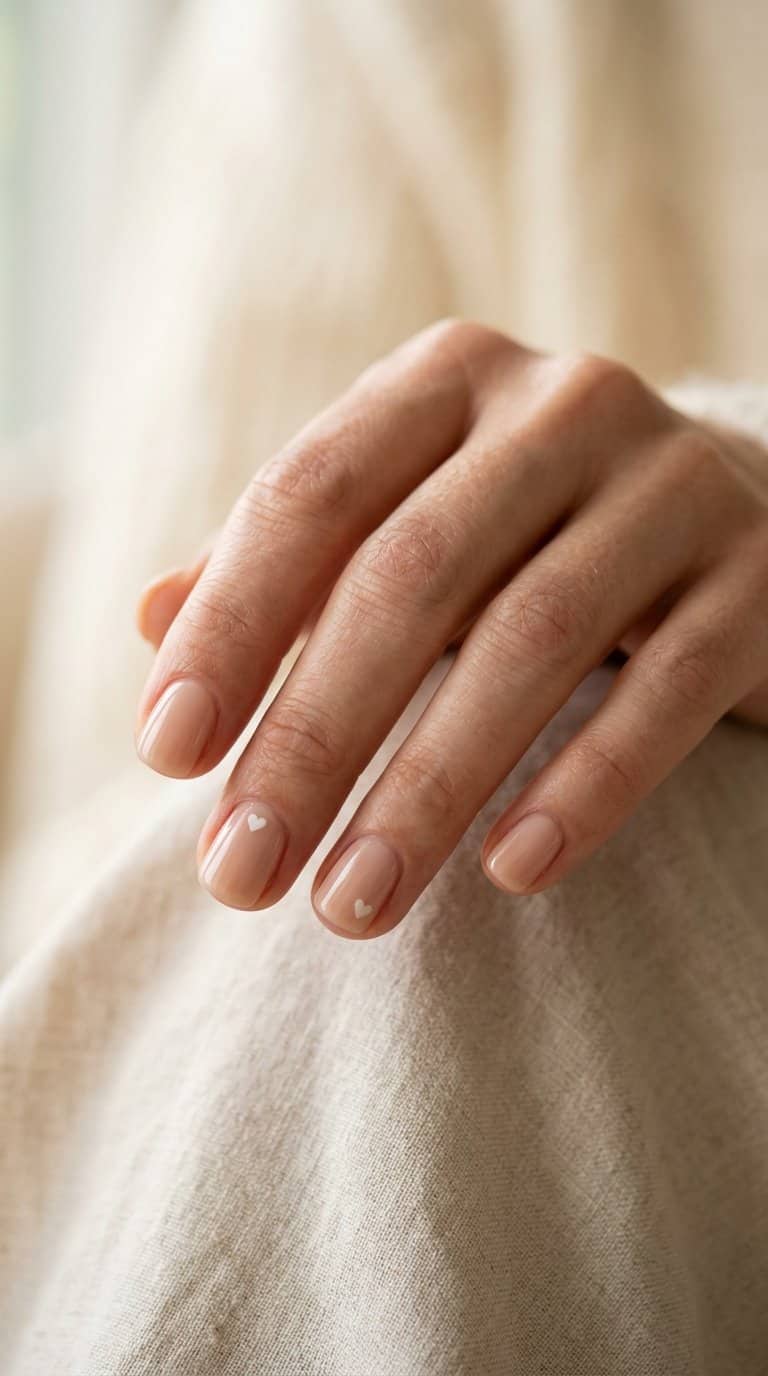
I use a sheer nude polish as the base because it keeps the design subtle and easy to coordinate with everyday outfits. I add one or two tiny hearts near the cuticle or along the side of each nail, leaving plenty of open space for a clean finish.
I prefer white, soft pink, or deep red hearts, depending on the look I want. A fine nail-art brush or dotting tool helps me create small, even shapes without crowding the short nail surface.
I finish with a glossy top coat to smooth the details and protect the design. For a softer effect, I choose a matte top coat instead.
22) Soft Gray Gloss
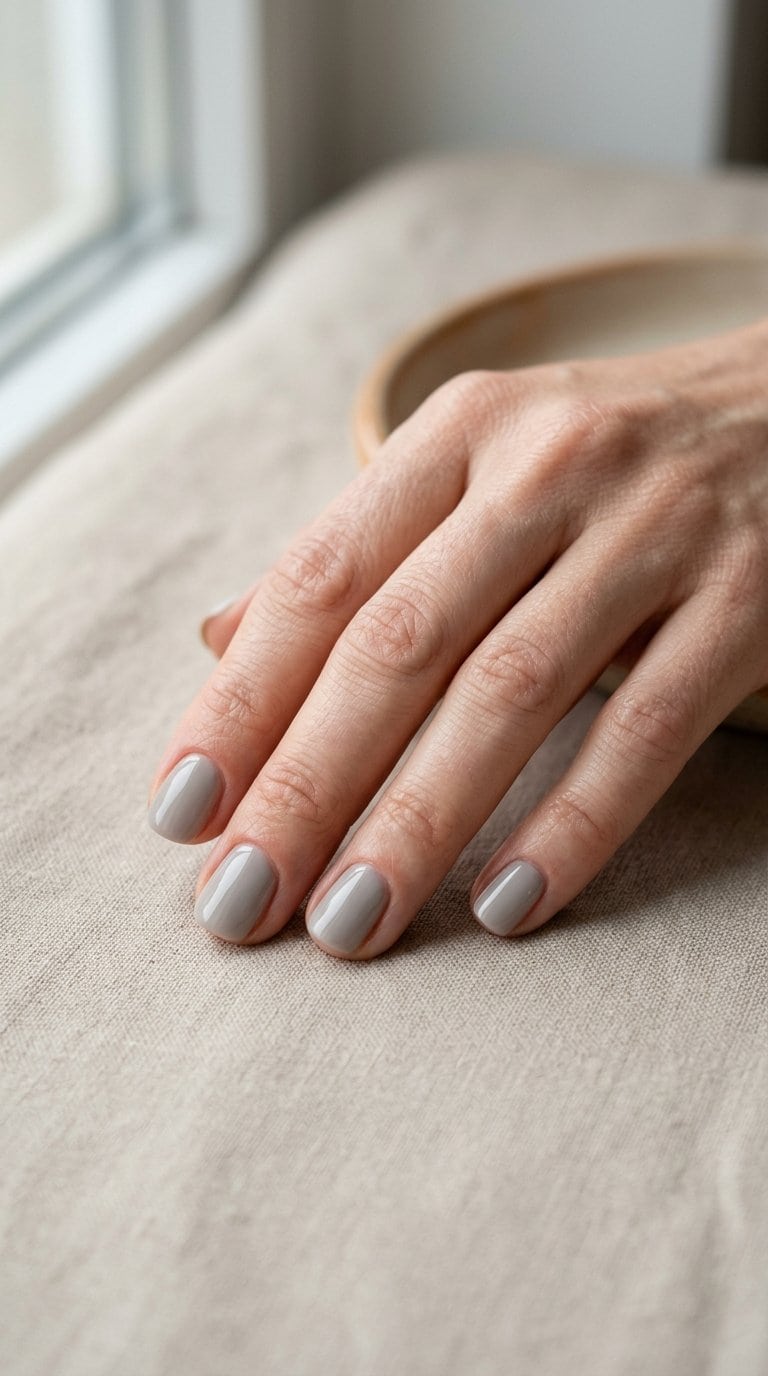
I like soft gray gloss for its clean, understated finish. The cool neutral shade adds polish without drawing too much attention, making it practical for work, errands, and casual plans.
On short nails, this color keeps the shape looking neat and defined. I would choose a sheer coat for a lighter effect or layer two coats for smoother, more even coverage.
A glossy topcoat brings out the gray’s subtle depth and helps the manicure look fresh. I keep the edges rounded or softly squared to match the simple, versatile style.
23) Short Terracotta Nails
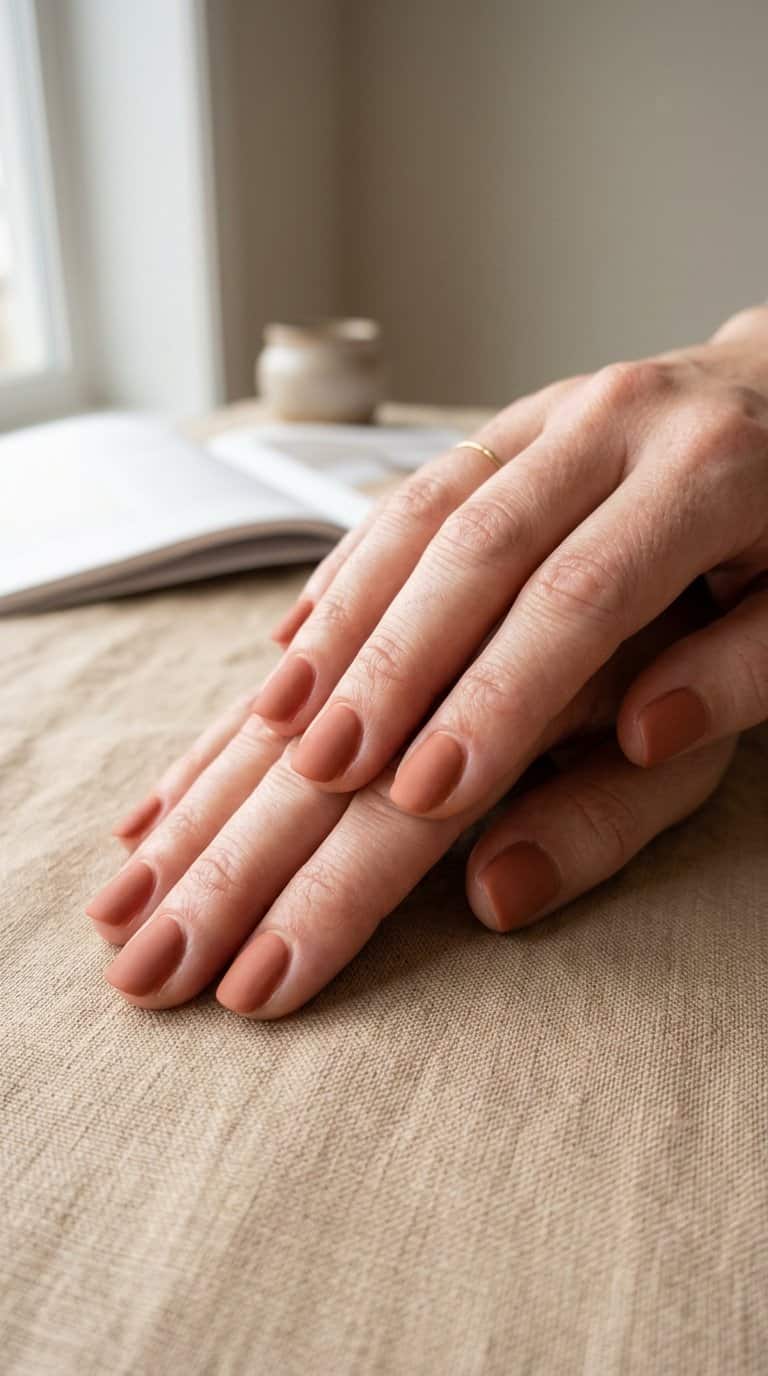
I like terracotta polish on short nails because its warm, earthy tone adds color without looking too bold. I find that a creamy finish keeps the design polished and suitable for work, errands, or casual plans. The shade also pairs easily with neutral clothing and gold jewelry.
For a subtle variation, I would use terracotta on most nails and leave one accent nail in a soft beige. A thin terracotta curve over the beige nail creates a simple detail while keeping the manicure coordinated. I prefer a rounded or softly squared shape for a balanced finish.
I would apply two thin coats and seal them with a glossy top coat. A matte top coat also works well when I want a softer, more understated texture.
24) Single-Line Abstract Accent
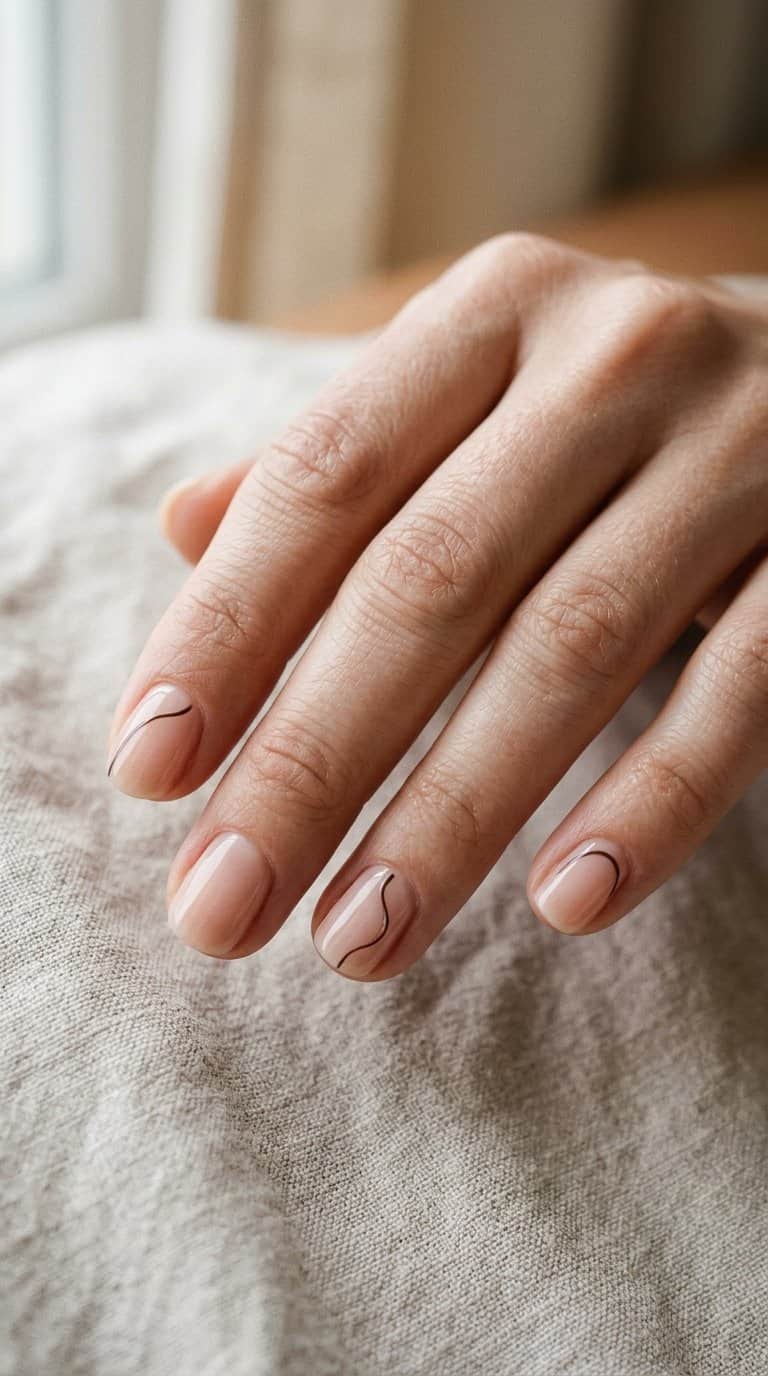
I start with a sheer nude, pale pink, or soft beige base to keep the design wearable. After it dries, I draw one thin, curved line across each short nail using black, brown, white, or a muted color. I vary the line’s position slightly so the set looks intentional without appearing identical.
I use a fine nail-art brush or a striping tool and apply the line in one steady motion. A glossy top coat protects the design, while a matte finish gives the abstract detail a softer, modern appearance.
25) Classic Red Short Nails
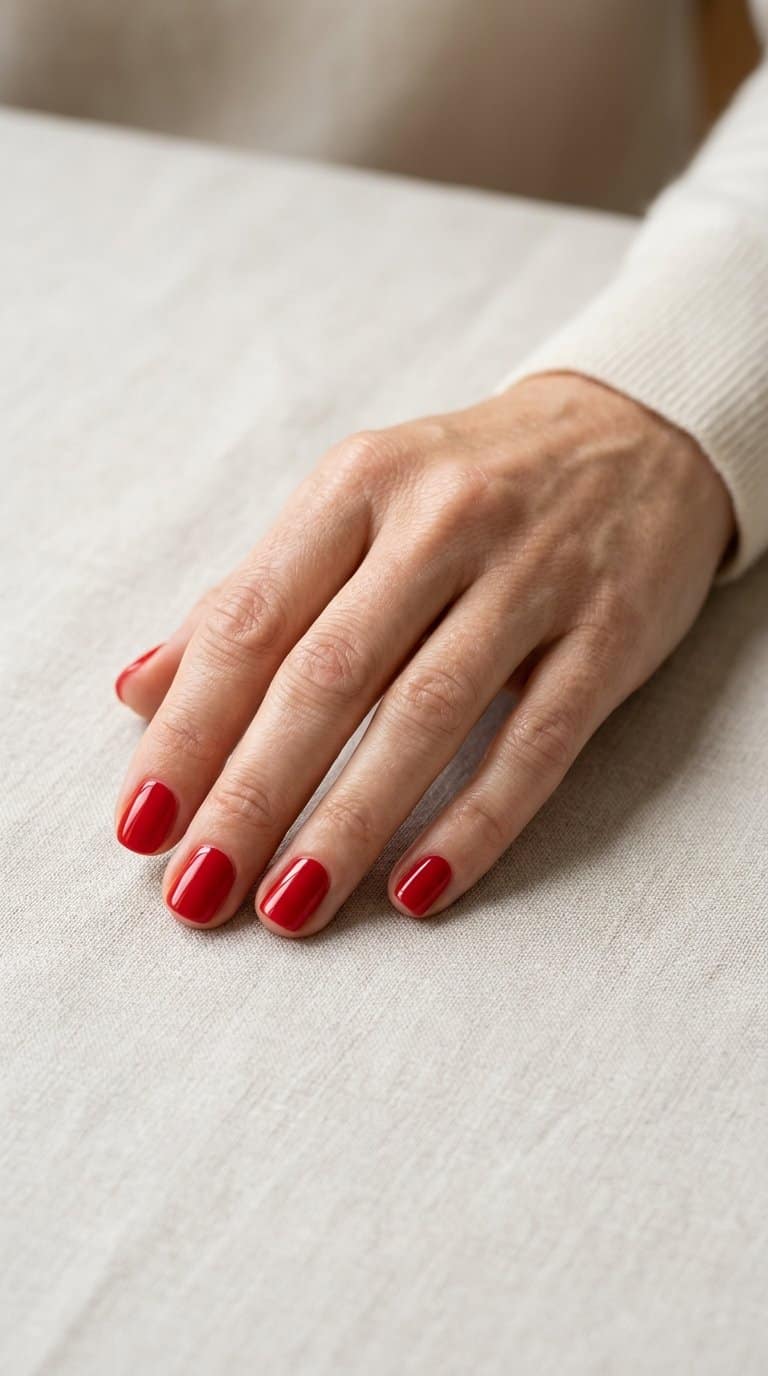
I use classic red polish when I want a clean, noticeable manicure without extra detail. On short nails, the solid color looks balanced and polished, while a rounded or softly squared shape keeps the finish practical for everyday wear.
I prefer applying two thin coats over a base coat, then sealing the tips with a glossy top coat. Red polish can show uneven edges, so I keep a small brush and remover nearby to tidy the cuticle line before the color dries.
For a softer look, I choose a blue-based red with a crisp finish. A warm tomato red creates a more casual effect, while deeper shades such as berry or wine suit cooler months and evening outfits.
26) Nude Nails with White Waves
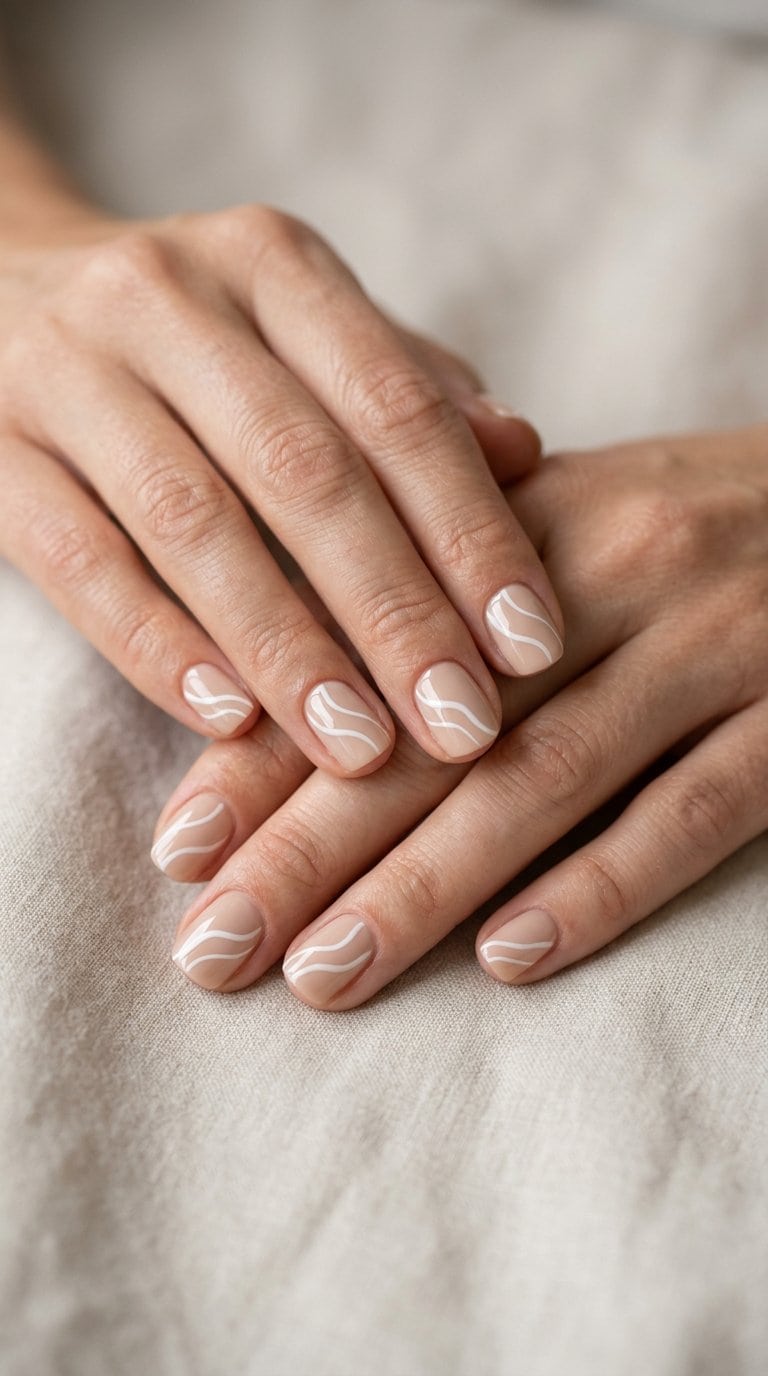
I start with a sheer nude base that matches my natural nail tone, then add thin white waves across each nail. I keep the lines slightly uneven so the design feels hand-painted rather than rigid.
I use a fine detail brush and build the waves with short, controlled strokes. Leaving some nude space between the lines keeps my short nails looking clean and balanced, while a glossy top coat sharpens the contrast and protects the design.
Choosing Colors, Shapes, And Finishes
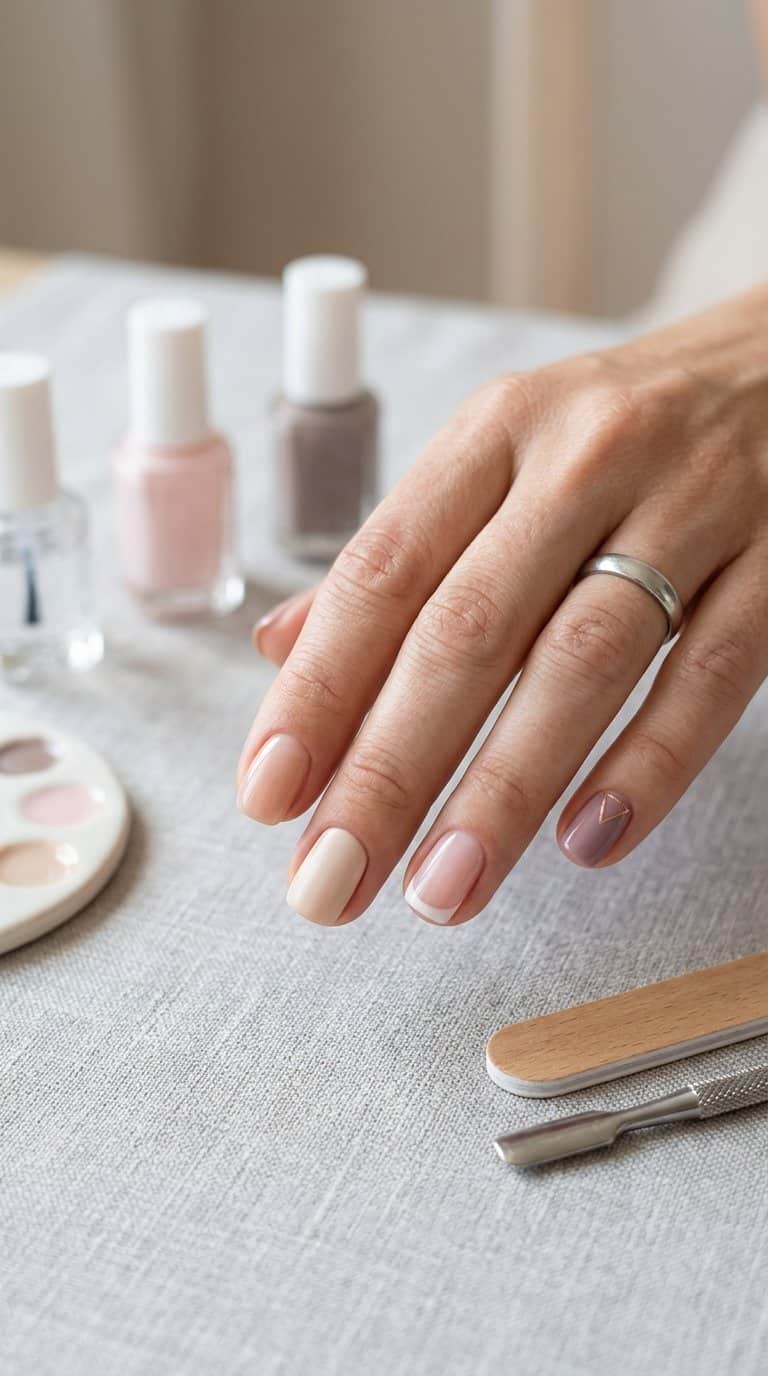
I choose nail colors, shapes, and finishes based on comfort, maintenance, and how well they fit my daily activities. Small adjustments, such as selecting a rounded edge or a sheer neutral polish, can keep short nails practical while still making each design look intentional.
Selecting a Practical Nail Length
I keep short nails at or just beyond the fingertip when I need comfort for typing, cooking, or handling small objects. This length reduces snagging and leaves enough surface for simple details such as dots, micro-French tips, or one accent nail.
I file each nail to match the shortest one rather than forcing every nail to the same extended length. For shape, I usually choose round or squoval edges because they follow the fingertip and resist catching on fabric. Soft square nails provide more visible width for horizontal stripes, but I soften the corners to reduce chips.
Matching Designs to Your Daily Routine
I match the design to the tasks I perform most often. Sheer beige, pale pink, and muted gray suit workplaces with conservative dress codes, while a single deep-green or blue accent adds color without covering every nail.
For frequent hand washing, childcare, gardening, or food preparation, I choose compact patterns with fewer raised elements. Tiny dots, narrow side lines, and solid color blocks usually stay neat longer than bulky charms. If I type throughout the day, I keep embellishments away from the free edge and use symmetrical designs that do not distract from the nail’s short shape.
Choosing Long-Lasting Polish Finishes
I select the finish according to how visible daily wear will be. Glossy polish makes sheer neutrals and dark colors look crisp, but scratches and tip wear may show more clearly. A good top coat helps seal the edge when I brush it lightly across the nail tip.
I use cream finishes for reliable coverage and easy touch-ups. Metallic and shimmer polishes can disguise small surface marks, while matte finishes create a softer look but may show oils or fingerprints. For regular maintenance, I prefer thin polish layers, complete drying time, and a fresh top coat every few days.
Making Everyday Manicures Last
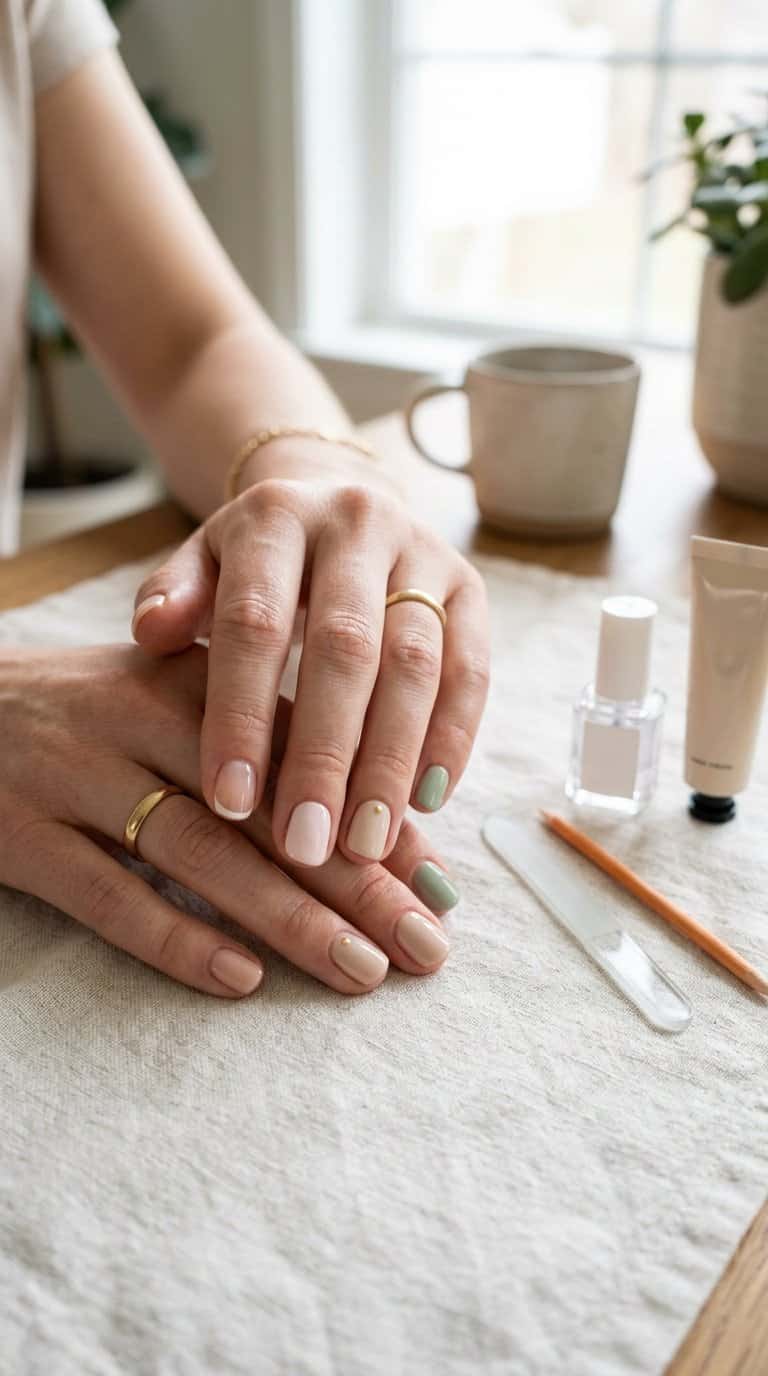
I keep everyday manicures durable by starting with clean, dry nails, applying thin polish layers, and protecting the free edge. Gentle removal and regular cuticle care also help short nails stay smooth between designs.
Preparing Nails Before Polish
I begin by washing my hands with mild soap, then dry every nail thoroughly. Moisture or oil can interfere with adhesion, so I wipe each nail with rubbing alcohol or a small amount of acetone before applying base coat.
I shape short nails with a fine-grit file, using strokes in one direction rather than sawing back and forth. I smooth rough edges and avoid cutting the cuticle, since trimming living skin can cause irritation. Instead, I soften it with cuticle remover and gently push it back.
I apply a thin ridge-filling or strengthening base coat, keeping it slightly away from the skin. After it dries, I add two thin color coats and let each layer set before applying the next.
Preventing Chips and Peeling
I seal the polish by brushing a small amount across the nail tip. This protects the edge, which often contacts keyboards, packaging, and other surfaces throughout the day. I also keep polish off my skin because lifted edges can encourage peeling.
I wear rubber gloves when washing dishes, cleaning, or handling strong detergents. Water exposure can make nails expand and contract, while cleaning chemicals may weaken polish and dry the surrounding skin.
For a quick touch-up, I smooth a tiny chip with a file, apply matching color only to the damaged area, and finish with top coat. I avoid adding thick layers over loose polish, since that usually creates a raised edge that catches on fabric.
Simple Removal and Nail Care
I remove polish with cotton soaked in acetone, holding it against each nail for about 10 seconds before wiping toward the tip. This loosens the color and reduces the need to scrub, especially around glitter or darker shades.
After removal, I wash my hands and apply cuticle oil or a fragrance-free hand cream to the nails, cuticles, and fingertips. I pay extra attention to dry sidewalls, which can split and catch on clothing.
I keep nails at a practical short length and file small snags as soon as I notice them. Between manicures, I leave polish off when my nails feel thin, sore, or unusually dry, allowing the surface to recover with regular moisturizing.