Your eye shape can guide the way you place liner, shadow, and highlight, helping you create makeup that feels balanced and comfortable. With the right approach, you can adapt popular techniques to complement your natural lid structure.

Save for later
Want to come back to this story? Save it with your email so it is easy to find again.
These 22 eye makeup ideas help you choose techniques that suit your eye shape while giving you room to explore different finishes and styles. I’ll cover practical options for common eye shapes, along with versatile looks that let you adjust definition, dimension, and emphasis to match your features.
Table of Contents
- 1 1) Almond Eyes: Classic Winged Liner
- 2 2) Round Eyes: Elongated Cat-Eye Shadow
- 3 3) Hooded Eyes: Matte Crease Definition
- 4 4) Downturned Eyes: Upturned Outer-Corner Liner
- 5 5) Upturned Eyes: Smoky Lower Lash Line
- 6 6) Monolid Eyes: Gradient Shimmer Wash
- 7 7) Deep-Set Eyes: Bright Inner-Corner Highlight
- 8 8) Protruding Eyes: Soft Matte Lid Shadow
- 9 9) Close-Set Eyes: Outer-Corner Emphasis
- 10 10) Wide-Set Eyes: Inner-Corner Definition
- 11 11) Small Eyes: Nude Waterline and Lifted Lashes
- 12 12) Large Eyes: Balanced Full-Lid Smoky Eye
- 13 13) Monochromatic Peach Makeup for Almond Eyes
- 14 14) Cut Crease for Hooded Eyes
- 15 15) Halo Eye for Round Eyes
- 16 16) Soft Brown Smoky Eye for Deep-Set Eyes
- 17 17) Graphic Liner for Monolid Eyes
- 18 18) Floating Crease for Hooded Eyes
- 19 19) Tightlined Lash Look for Small Eyes
- 20 20) Reverse Cat Eye for Downturned Eyes
- 21 21) Inner-Corner Wing for Close-Set Eyes
- 22 22) Colored Lower-Lash Accent for Large Eyes
- 23 Understanding Eye Shape And Lid Structure
- 24 How To Identify Your Eye Shape
- 25 Why Lid Space And Brow Bone Placement Matter
- 26 Techniques For Balanced, Comfortable Eye Makeup
- 27 Choosing Placement For Shadow, Liner, And Mascara
- 28 Adapting Color And Finish To Your Features
- 29 Preventing Creasing, Smudging, And Uneven Wear
1) Almond Eyes: Classic Winged Liner

I follow the natural curve of my upper lash line, starting with a thin line at the inner corner and gradually increasing its thickness toward the outer edge. Almond eyes suit this shape because their outer corners already create a balanced, lifted effect.
I extend the line slightly past my outer corner, aiming the wing toward the end of my brow rather than drawing it sharply upward. I keep both wings similar in length and angle by checking them with my eyes open.
I finish with mascara concentrated on the outer lashes. This keeps the liner defined while preserving the almond shape and avoiding a heavy look.
2) Round Eyes: Elongated Cat-Eye Shadow

I place the deepest shadow along the outer third of the upper lash line, extending it slightly past the outer corner. This directional shape adds length without covering the natural roundness of my eyes.
I blend the shadow outward and slightly upward, keeping the inner lid lighter and more open. A narrow line of dark color along the upper lashes reinforces the elongated effect, while softening the lower outer corner prevents the look from becoming too heavy.
I finish with mascara focused on the outer lashes. I comb them diagonally toward the temples rather than straight upward, which supports the lifted shape and keeps the center of the eyes from appearing overly round.
3) Hooded Eyes: Matte Crease Definition

I use a matte shadow slightly above the natural crease, where it remains visible when my eyes are open. A taupe, soft brown, or muted plum adds definition without reflecting light across the fold.
I blend the color upward and outward with a small, tapered brush, keeping the deepest pigment near the outer corner. Then I apply a lighter matte shade to the lid and inner corner to maintain contrast and open the eye area.
I keep shimmer away from the fold, since it can emphasize texture or transfer onto the upper lid. A thin line of dark shadow along the upper lash line completes the look without reducing visible lid space.
4) Downturned Eyes: Upturned Outer-Corner Liner

I keep the liner thin across the upper lash line, then angle the outer wing slightly upward rather than following the natural downward slope. This direction lifts the visual focus while keeping the shape balanced.
I start the wing above the outer corner and connect it back toward the center of the lid. I avoid extending the line too far downward, which can emphasize the eye’s natural tilt.
I pair the liner with mascara concentrated on the upper outer lashes. A soft, matte shadow blended just above the crease can reinforce the lifted effect without making the makeup look heavy.
5) Upturned Eyes: Smoky Lower Lash Line

I balance my naturally lifted outer corners by placing deeper shadow along the lower lash line. I smudge a medium brown or charcoal shade from the outer corner toward the center, keeping the inner third lighter to maintain brightness.
I soften the edges with a small pencil brush rather than drawing a sharp line. On the upper lid, I use a lighter wash of shadow and keep the outer wing short, which connects the upper and lower definition without pulling the shape upward too strongly.
I finish with mascara focused on the lower lashes and the outer upper lashes. A thin layer keeps the smoky effect defined while preserving the open, lifted appearance of my eyes.
6) Monolid Eyes: Gradient Shimmer Wash

I start with a matte shade slightly deeper than my skin tone and sweep it across the visible lid, extending softly toward the outer corner. This creates subtle definition without relying on a crease.
Next, I press a light shimmer onto the center of my lid, then blend a medium-toned shimmer toward the outer edge. I keep the brightest shade near the inner corner to create a smooth gradient that remains visible when my eyes are open.
I use a thin, smudge-resistant liner close to the lashes and finish with curled lashes and lengthening mascara. I check the makeup with my eyes open, adjusting the shimmer placement so the color stays visible rather than disappearing beneath the lid.
7) Deep-Set Eyes: Bright Inner-Corner Highlight

I place a light, reflective shade at the inner corners to bring that area forward without adding depth to the crease. Champagne, soft gold, or pale peach shades work well, while stark white can look less natural.
I keep the brightest color near the tear ducts and blend it slightly onto the inner lid. Then I use a matte neutral shade through the crease, keeping the upper lid balanced rather than heavily shaded.
I prefer a small pencil brush for precise placement and tap off excess shimmer before applying. A thin line of light along the inner lower lash line can open the eyes further without competing with the highlight.
8) Protruding Eyes: Soft Matte Lid Shadow

I use a soft matte shadow across the lid to reduce the appearance of projection without adding shine. Taupe, muted brown, and soft gray work well for creating gentle depth while keeping the look balanced.
I apply the medium shade from the lash line to just above the natural crease, then blend the edges upward with a clean brush. I keep the inner corner and brow bone understated, since bright shimmer can emphasize the lid’s forward dimension.
For definition, I press a deeper matte shade along the upper lash line and slightly into the outer corner. I finish with mascara focused on the upper lashes, keeping the lower lash line softly defined rather than heavily outlined.
9) Close-Set Eyes: Outer-Corner Emphasis

I place the deepest eyeshadow on the outer third of each eyelid and blend it slightly upward toward the crease. This placement draws attention outward without adding heavy color near the inner corners.
I keep the inner half of the lid light with champagne, beige, or soft matte shades. A small amount of highlight at the inner corner can add brightness, while a thin line along the inner lash line keeps the look balanced.
I extend eyeliner just beyond the outer corner and angle the wing slightly upward. I apply extra mascara to the outer lashes, or add a few individual lashes there, to reinforce the elongated effect without making the eyes look crowded.
10) Wide-Set Eyes: Inner-Corner Definition
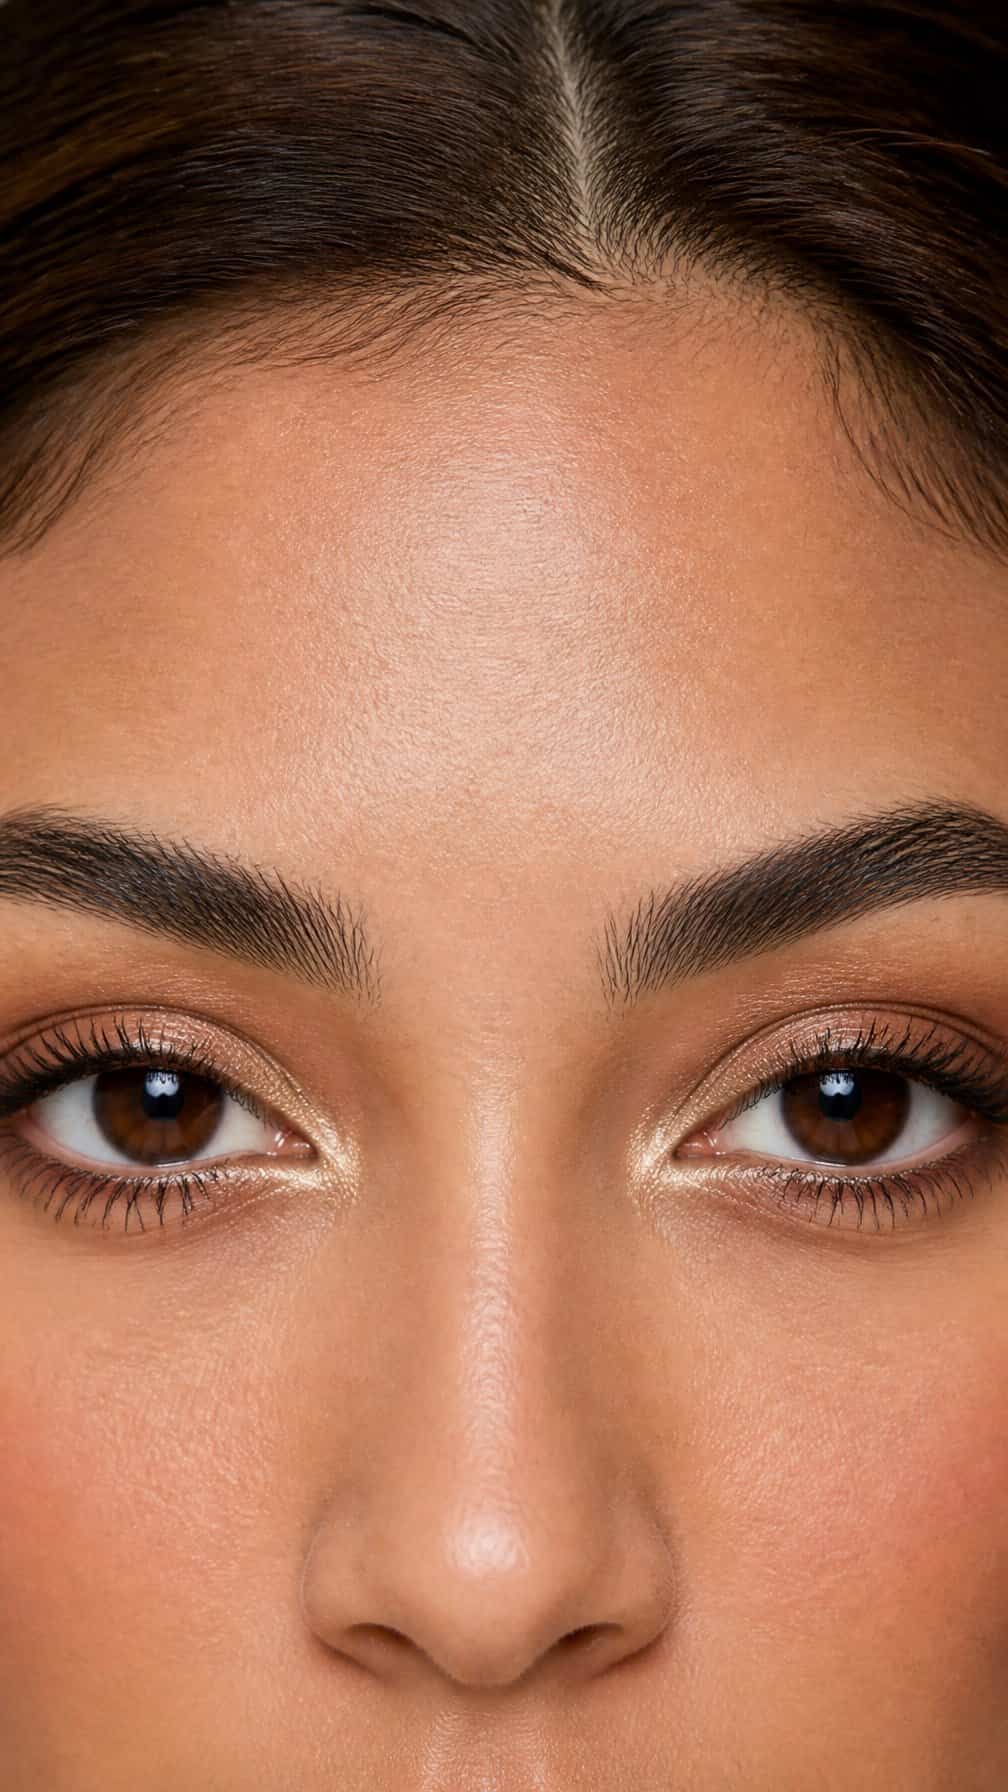
I bring the eyes closer together visually by placing the strongest definition near the inner corners. I press a medium-brown shadow into the inner crease and blend it slightly upward, keeping the outer half softer and lighter.
I add a small amount of the same shadow along the inner third of the upper lash line. A dark brown pencil gives controlled definition without creating a harsh block, while a thin inner-corner wing can sharpen the shape.
I keep shimmer subtle and place it just beside the tear duct rather than across the entire inner corner. I finish with mascara focused on the inner and center lashes, brushing the outer lashes outward without adding excessive length.
11) Small Eyes: Nude Waterline and Lifted Lashes

I apply a nude or soft beige pencil to my lower waterline to create a cleaner, more open appearance without the harsh contrast of white liner. I keep the color close to my natural skin tone for a subtle effect.
I concentrate mascara at the roots and center of my upper lashes, then angle the wand upward toward the outer corners. Curling my lashes before mascara helps lift them away from the lid, while a thin line of brown or black liner along the upper lash line adds definition without reducing visible lid space.
12) Large Eyes: Balanced Full-Lid Smoky Eye

I keep the smoky color across the full lid to complement the natural openness of large eyes. I start with a medium matte shade in the crease, then press a deeper brown or charcoal onto the lid, stopping just above the crease rather than extending far outward.
I soften the edges with a clean blending brush and add a small amount of the deepest shade along the upper lash line. I keep the lower lash line defined but controlled, using the medium shade instead of darkening the entire perimeter.
I place a satin highlight at the inner corner and beneath the brow’s highest point. I finish with mascara on the upper and lower lashes, keeping the outer layers separated so the full-lid shading remains visible.
13) Monochromatic Peach Makeup for Almond Eyes

I use peach shades across the lids, crease, cheeks, and lips to create a coordinated look that suits almond eyes. I sweep a light peach shadow over the lid, then blend a slightly deeper tone through the crease to define the natural fold without making the eyes look heavy.
I keep the outer corner softly lifted by concentrating the deepest peach shade along the upper lash line and outer third of the lid. A thin brown liner can add definition while preserving the warm, monochromatic effect.
I finish with peach blush and a satin peach lip, keeping the textures balanced. I prefer a matte or softly shimmery lid with a subtle cheek glow, so the makeup looks polished rather than overly reflective.
14) Cut Crease for Hooded Eyes

I place the crease slightly above my natural fold so the definition remains visible when my eyes are open. A matte medium-brown shadow creates structure, while a lighter shade across the lid adds contrast without making the eye look crowded.
I keep the darker color concentrated along the raised crease line and blend its edges upward toward the brow bone. For the lid, I use a thin layer of concealer or shimmer, stopping before the outer corner to preserve the eye’s shape.
I avoid applying too much product directly inside the fold, where it can transfer or disappear. Waterproof formulas and a light dusting of translucent powder help keep the cut crease crisp.
15) Halo Eye for Round Eyes

I place a medium-toned shadow in the inner and outer corners, leaving the center of the lid lighter. This arrangement adds definition around the eye while keeping its rounded shape visible.
I blend the darker shades slightly upward and outward rather than extending them straight across the crease. Then I tap a soft shimmer or light matte shade onto the center of the lid to create focused contrast.
I keep the lower lash line balanced by repeating the deeper corner shades beneath the outer and inner thirds. A precise coat of mascara, concentrated on the outer lashes, finishes the look without making the eyes appear smaller.
16) Soft Brown Smoky Eye for Deep-Set Eyes

I use warm brown shades to create a soft smoky effect without making deep-set eyes appear more recessed. I apply a matte tan shade slightly above the natural crease, then blend it upward toward the brow bone.
I place medium brown shadow on the outer corner and along the upper lash line, keeping the deepest color close to the lashes. A touch of satin bronze on the center of the lid adds dimension without overpowering the eye shape.
I keep the lower lash line softly defined with brown shadow, concentrating pigment near the outer third. Curling my lashes and adding mascara to the upper lashes helps open the eyes while preserving the balanced, diffused finish.
17) Graphic Liner for Monolid Eyes

I create graphic liner with clean, intentional shapes that remain visible when my eyes are open. I place the design slightly above the natural fold, then use a fine brush and waterproof gel to keep the edges precise.
I start with a thin line along the lash roots and extend it outward into a short angled wing. For more impact, I add a floating line above the fold, leaving a small gap between the two shapes. Black gives strong definition, while brown or navy creates a softer effect.
I keep the rest of my eye makeup simple so the liner stays prominent. Curling my lashes and applying mascara to the outer lashes helps frame the design without covering it.
18) Floating Crease for Hooded Eyes

I place the crease line slightly above my natural fold so it remains visible when my eyes are open. I use a matte, mid-tone shadow to sketch the shape, then blend the edges upward without covering the lid space.
I keep the inner corner and center lid lighter to create clear contrast. A thin layer of concealer can sharpen the floating line, but I avoid extending it too far toward the brow, which can make the placement look heavy.
I finish with a narrow wing or softly smudged outer corner. I check the makeup with my eyes open throughout the process, since that view shows whether the crease stays visible.
19) Tightlined Lash Look for Small Eyes

I apply dark eyeliner along the upper waterline, pressing the pigment between the lashes rather than drawing a thick line above them. This defines the lash roots while keeping the visible lid space open, which helps small eyes look more defined without making them appear enclosed.
I curl my lashes and add mascara mainly to the outer and center lashes. I keep the lower waterline bare or use a soft beige pencil, then blend a light neutral shadow across the lid for subtle contrast. This combination creates structure while preserving brightness.
20) Reverse Cat Eye for Downturned Eyes

I trace a thin line along my lower lash line, starting near the inner corner and extending slightly past the outer corner. I angle the wing upward toward the tail of my brow to counter the natural downward tilt.
I keep the upper lid softly defined with neutral shadow rather than a sharp upper-winged liner. Smudging the lower line creates a balanced, lifted effect while keeping the look wearable.
I use a waterproof pencil or gel liner to reduce transfer, then add mascara mainly to the outer lower lashes. For extra definition, I brighten the inner corner with a small touch of light eyeshadow.
21) Inner-Corner Wing for Close-Set Eyes

I extend a fine wing from the inner corner toward the bridge of my nose, keeping the line short and narrow. This placement draws visual attention outward and creates more balance between close-set eyes.
I keep the outer corners softly defined rather than adding a long, heavy wing there. A light shimmer on the inner lid and a matte shade through the outer crease reinforce the effect without crowding the eye area.
I use a waterproof pencil or gel liner for control, then sharpen the inner point with a small angled brush. I connect the wing to the upper lash line with a thin, even stroke and avoid lining the entire lower rim.
22) Colored Lower-Lash Accent for Large Eyes

I use a colored pencil or shadow along the lower lash line to highlight the spacious proportions of large eyes. Teal, plum, bronze, and cobalt create definition without adding heavy coverage to the upper lid.
I keep the line narrow near the inner corner and build slightly more color beneath the outer half. After blending the edges with a small brush, I apply black or brown mascara to the upper lashes and use minimal mascara below to keep the accent clean.
Understanding Eye Shape And Lid Structure
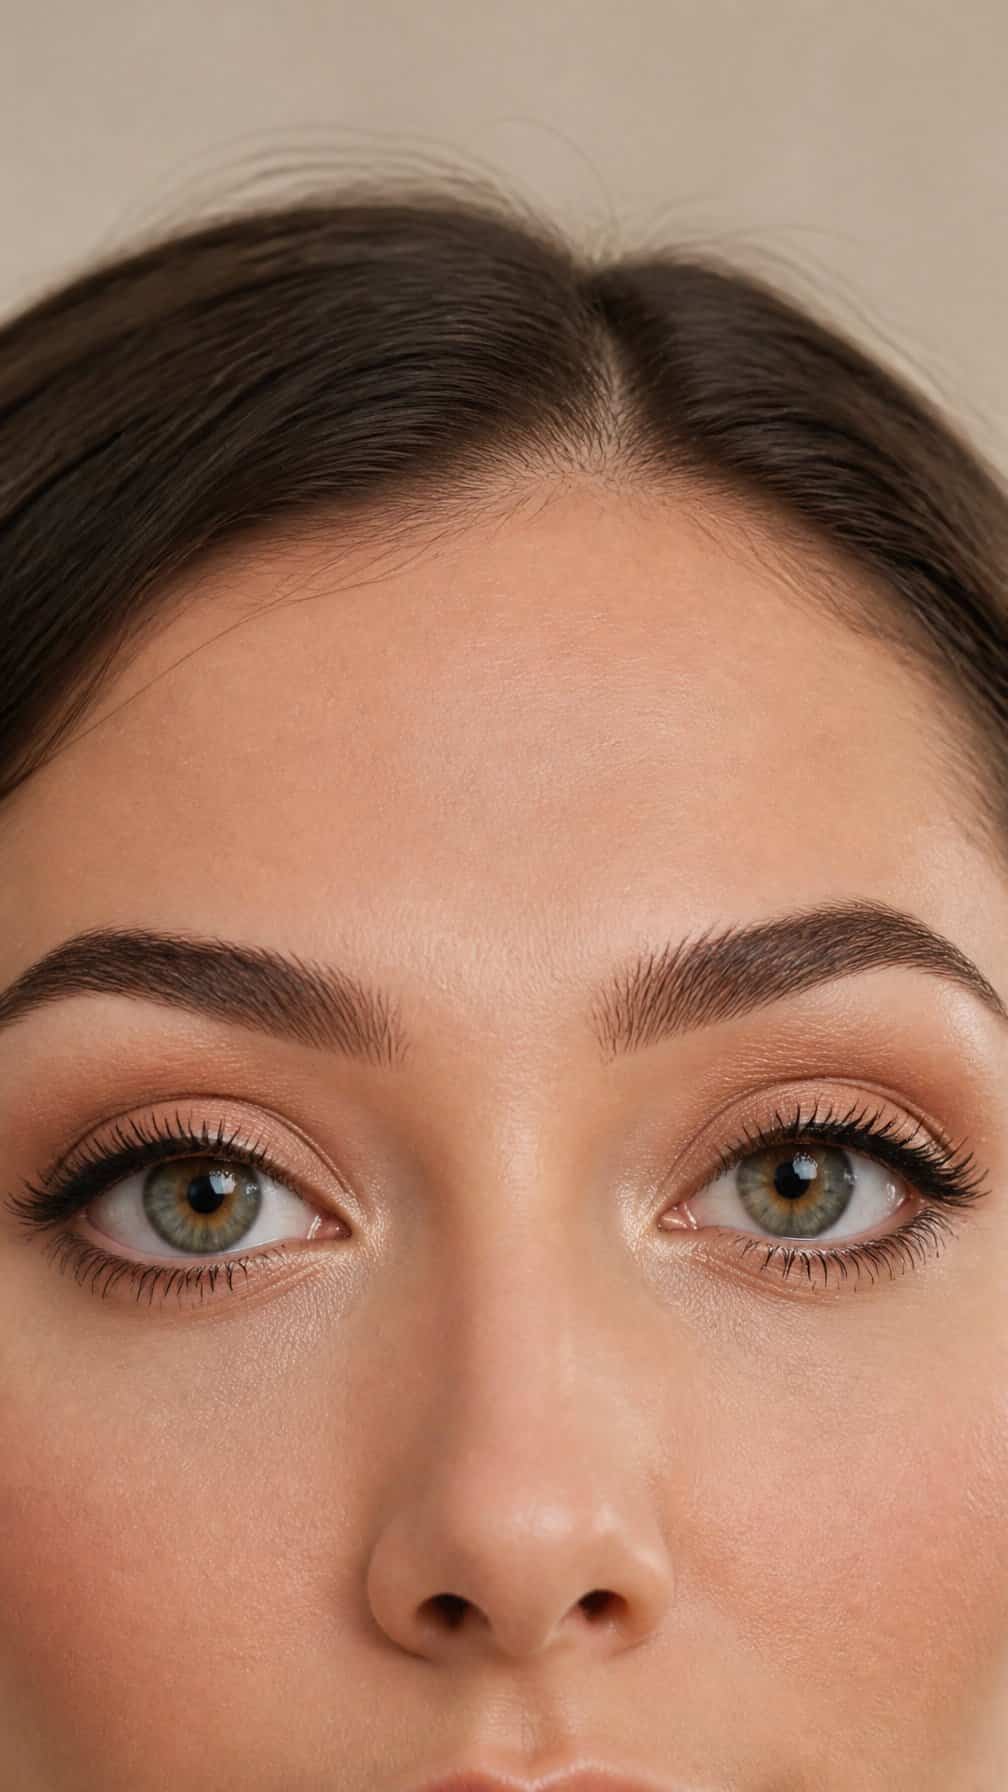
I assess eye shape by observing the visible crease, iris exposure, outer-corner angle, and the amount of lid showing when the eyes are open. I also consider lid space and brow bone position because they affect where shadow, liner, and highlight remain visible.
How To Identify Your Eye Shape
I start with the eyes relaxed and facing straight ahead in natural light. If the upper lid crease is hidden when the eyes are open, I identify the eyes as hooded. If the crease remains visible, I check the overall contour: almond eyes taper at both corners, while round eyes show more white around the iris.
I compare the outer corners with the inner corners to identify upturned or downturned eyes. I also check whether one eye differs slightly from the other, which is common and may require small placement adjustments.
| Feature I observe | Likely characteristic |
|---|---|
| Crease disappears under upper lid | Hooded |
| Iris touches or nearly touches upper and lower lids | Almond |
| Noticeable white above or below iris | Round |
| Outer corner sits higher | Upturned |
| Outer corner sits lower | Downturned |
Why Lid Space And Brow Bone Placement Matter
I treat lid space as the visible area between the lash line and crease. Limited space can cause dark shadow or thick liner to disappear when the eyes open, so I place crease color slightly above the natural fold and keep the lash line definition narrow. With more lid space, I can show stronger color transitions and graphic liner.
The brow bone also changes how makeup appears. A prominent brow bone can cast shadow over the lid, while a flatter area provides more room for blending and highlighting. I place shimmer on the mobile lid rather than directly beneath a projecting brow bone, where texture may become more noticeable. I also keep the brow’s natural arch in mind when extending winged liner or outer-corner shadow.
Techniques For Balanced, Comfortable Eye Makeup

I balance definition, color, and comfort by placing products according to my eye structure rather than following one fixed routine. I also adjust texture and setting methods to reduce transfer, creasing, and uneven wear.
Choosing Placement For Shadow, Liner, And Mascara
I place the deepest shadow where I want to create definition, usually along the outer corner and upper lash line. On hooded eyes, I blend some color slightly above the natural crease so it remains visible when the eyes are open. For downturned eyes, I angle the outer shadow and liner slightly upward instead of extending them downward.
I keep liner thin across the inner half of the lid and build thickness toward the outer corner when I want a lifted appearance. Tightlining the upper lash line adds density without taking up much lid space. I apply mascara mainly at the roots, directing the outer lashes outward and the center lashes upward to support the desired shape.
Adapting Color And Finish To Your Features
I use matte or satin shadow in areas that already appear prominent, such as a hooded crease or a rounded inner lid. I reserve shimmer for the center lid, inner corner, or brow bone, depending on where I want to reflect light. Fine shimmer usually feels more comfortable than chunky glitter, which can shed into the eyes.
I choose contrast deliberately. Deep brown often creates softer definition than black, while muted shades can add dimension without overwhelming smaller eyes. For sensitive eyes, I avoid applying loose powder or glitter close to the waterline and check that every product suits my personal tolerance.
Preventing Creasing, Smudging, And Uneven Wear
I start with a thin layer of eye primer or concealer, then set only where excess moisture causes movement. Too much powder can make shadow look dry and increase fallout, so I press on a small amount with a flat brush rather than sweeping repeatedly.
I apply waterproof or tubing mascara when my lashes touch the brow bone or lower lid. For liner that transfers, I layer a matching powder shadow over the pencil and keep the line close to the lashes. I also let cream products set before opening and closing my eyes repeatedly.
When one eyelid folds differently from the other, I compare both eyes while looking straight ahead and adjust placement individually. I remove buildup from the lash line before reapplying makeup, since oil and leftover product can cause patchy wear.