A quick weave gives you a practical way to change your look without committing to a permanent cut or color. You can explore polished, textured, short, long, and pulled-back styles while choosing a finish that suits your routine and personal taste.
Save for later
Want to come back to this story? Save it with your email so it is easy to find again.
You can use these 20 quick weave styles to find an easy change that matches your hair goals, face shape, and preferred level of maintenance. I’ll also cover color options, ways to choose a style for your hair type, and basic steps to help protect your natural hair and scalp.
Table of Contents
- 1 1) Sleek Middle-Part Quick Weave
- 2 2) Voluminous Side-Part Quick Weave
- 3 3) Short Blunt Bob Quick Weave
- 4 4) Long Bone-Straight Quick Weave
- 5 5) Loose Beach-Wave Quick Weave
- 6 6) Deep-Wave Quick Weave
- 7 7) Layered Shoulder-Length Quick Weave
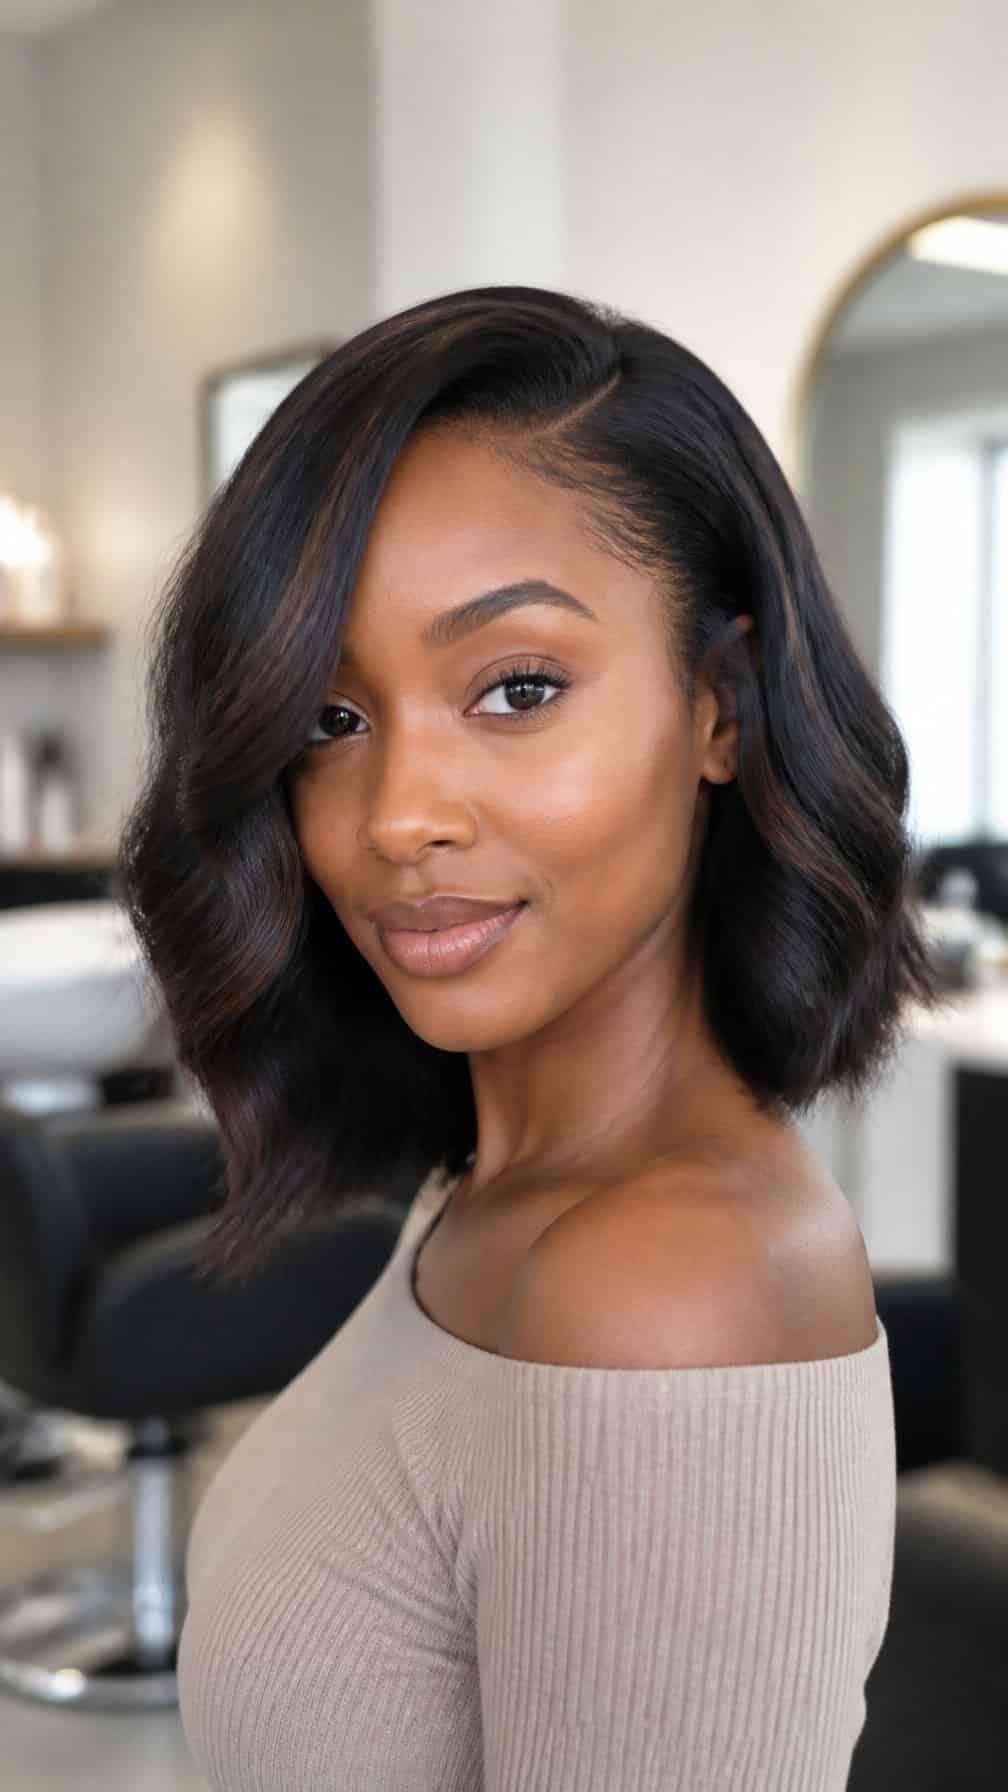
- 8 8) Asymmetrical Bob Quick Weave
- 9 9) Pixie-Cut Quick Weave
- 10 10) Half-Up, Half-Down Quick Weave
- 11 11) High-Ponytail Quick Weave
- 12 12) Low-Ponytail Quick Weave
- 13 13) Side-Swept Quick Weave
- 14 14) Curtain-Bang Quick Weave
- 15 15) Blunt-Bang Quick Weave
- 16 16) Face-Framing Layered Quick Weave
- 17 17) Honey-Blonde Quick Weave
- 18 18) Jet-Black Glossy Quick Weave
- 19 19) Burgundy Quick Weave
- 20 20) Caramel-Highlight Quick Weave
- 21 Choosing a Weave Style for Your Hair Type
- 22 Hair Texture and Density Considerations
- 23 Lifestyle and Maintenance Needs
- 24 Protecting Your Natural Hair and Scalp
- 25 Proper Installation Practices
- 26 Washing, Moisturizing, and Nighttime Care
1) Sleek Middle-Part Quick Weave
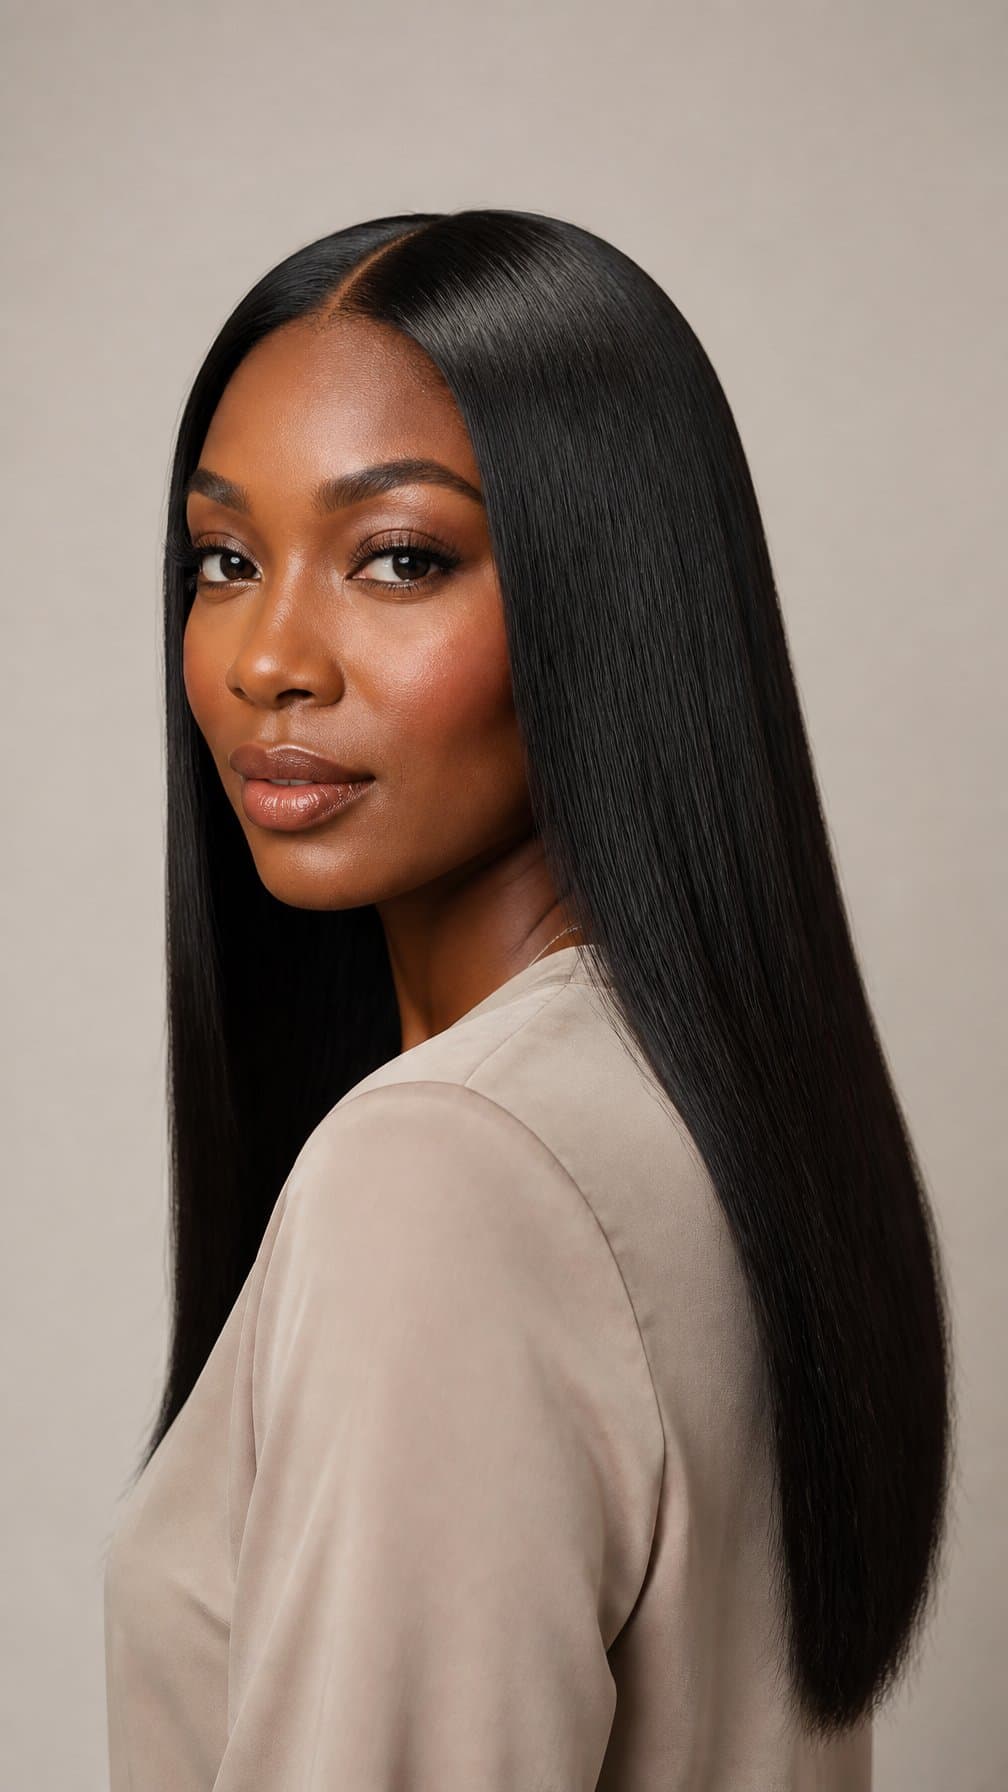
I choose a sleek middle part when I want a polished style with clean, balanced lines. The straight extensions fall evenly on both sides, creating a smooth shape that works well with casual outfits or dressier looks.
I use a flat foundation and secure the extensions close to the scalp for a neat finish. A small amount of styling gel helps refine the part and control flyaways without making the hair look stiff.
I usually trim the ends lightly to maintain an even shape. Wrapping the hair before bed helps preserve the smooth surface and reduces friction while I sleep.
2) Voluminous Side-Part Quick Weave
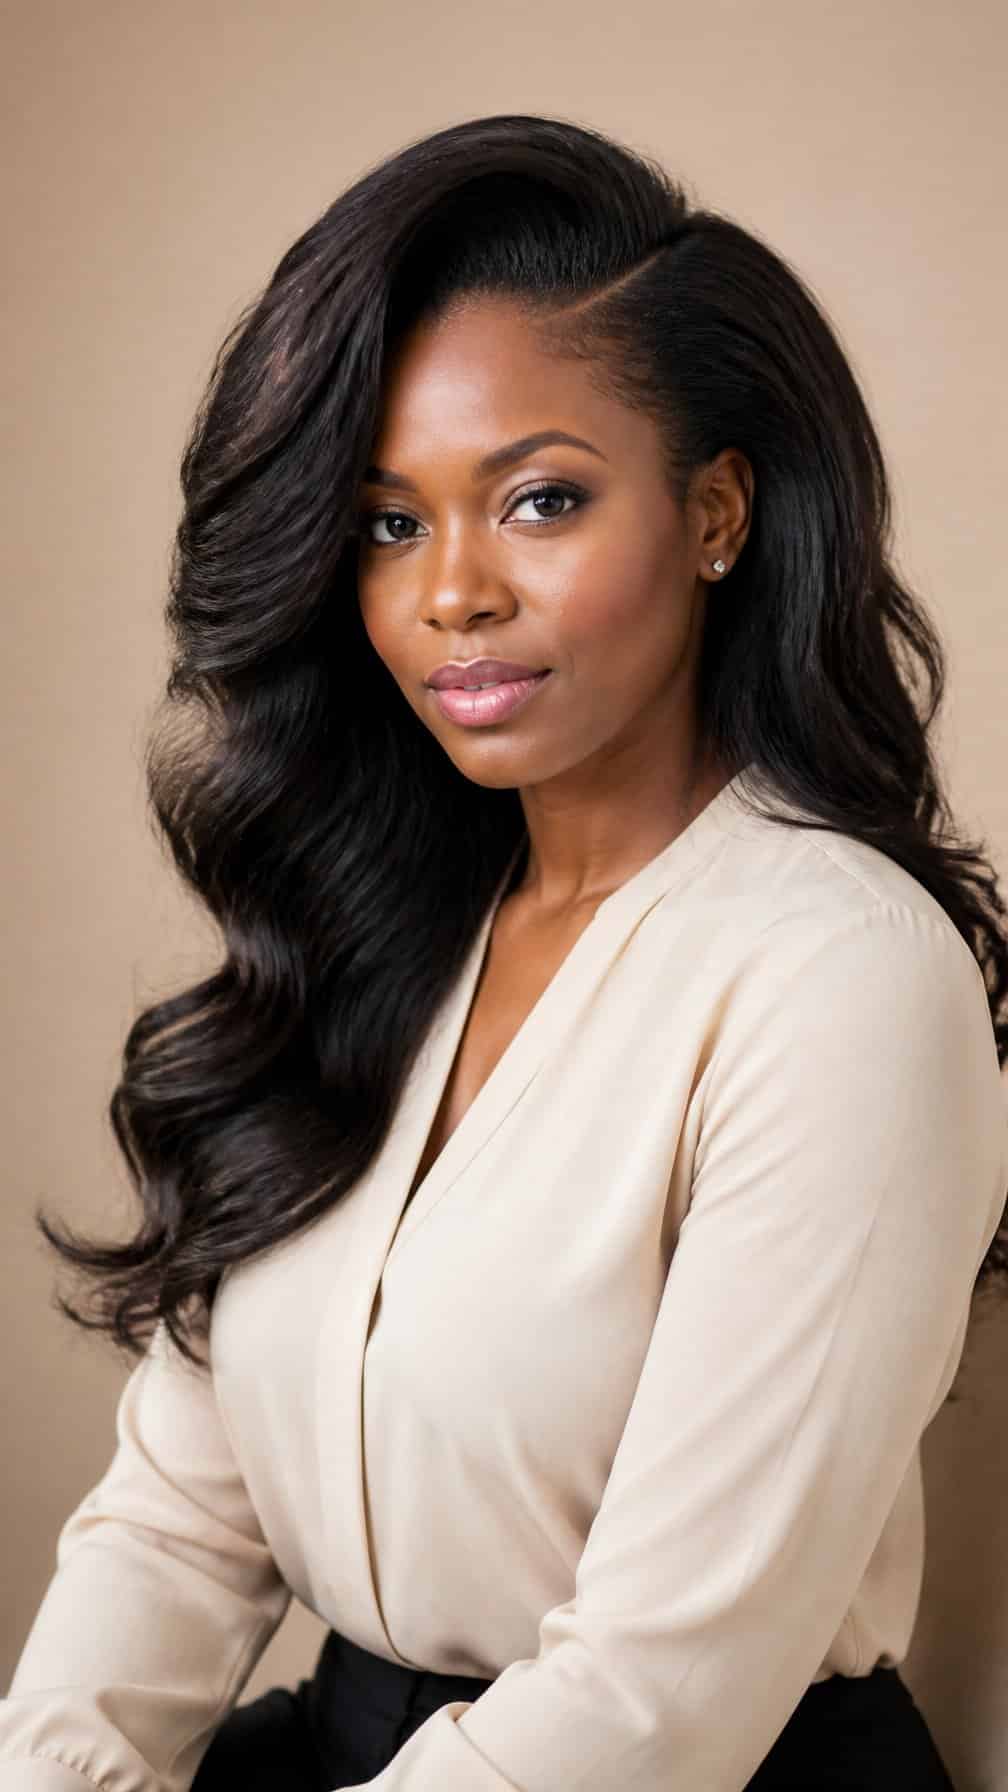
I create a deep side part and place the tracks to build height through the crown. I keep the sides smoother so the shape looks balanced rather than bulky. Loose waves or large curls add movement while preserving the style’s full appearance.
I usually choose medium- to long-length extensions for this look because they give the part more room to frame my face. I blend my leave-out carefully, or use a closure for fuller coverage, then finish with light holding spray and a wide-tooth comb. This style works well when I want noticeable volume without daily heat styling.
3) Short Blunt Bob Quick Weave
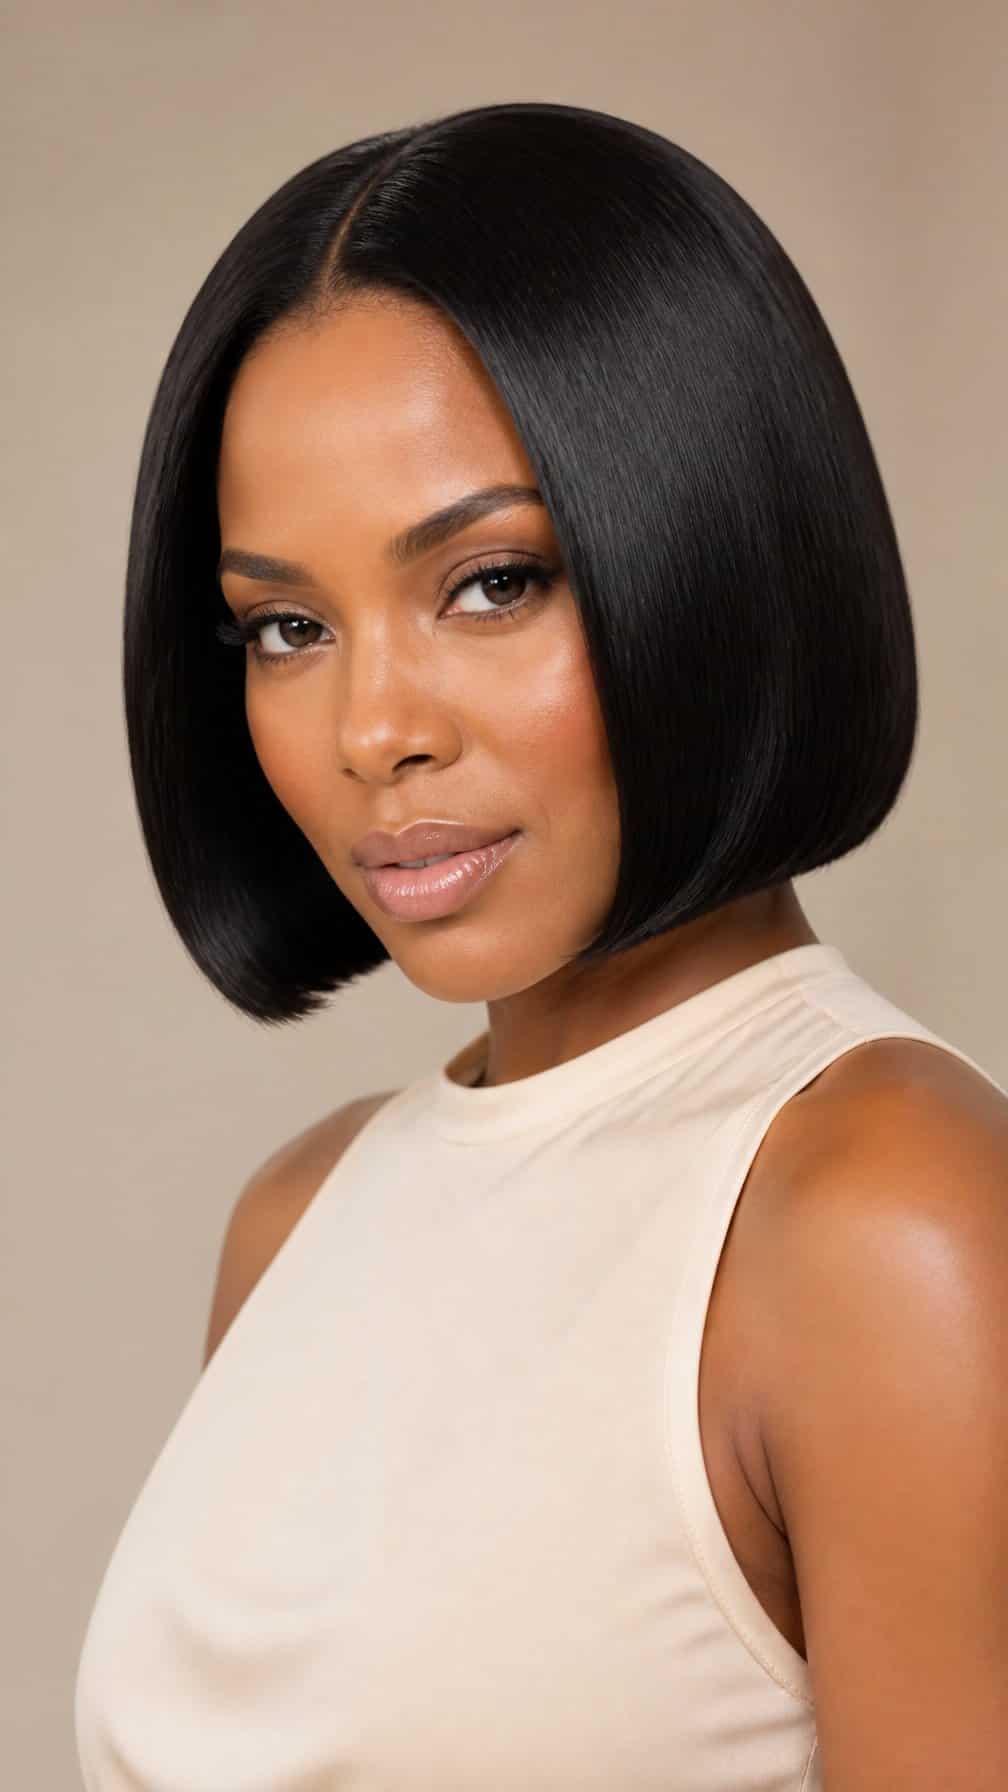
I choose a short blunt bob when I want a clean shape with minimal styling. Its even ends create a sharp line around the jaw, while a middle or side part changes the balance of the look.
I keep the finish sleek with a flat iron and a small amount of lightweight serum. This style works well with straight hair and can suit different face shapes when I adjust the length, part, or angle of the cut.
4) Long Bone-Straight Quick Weave
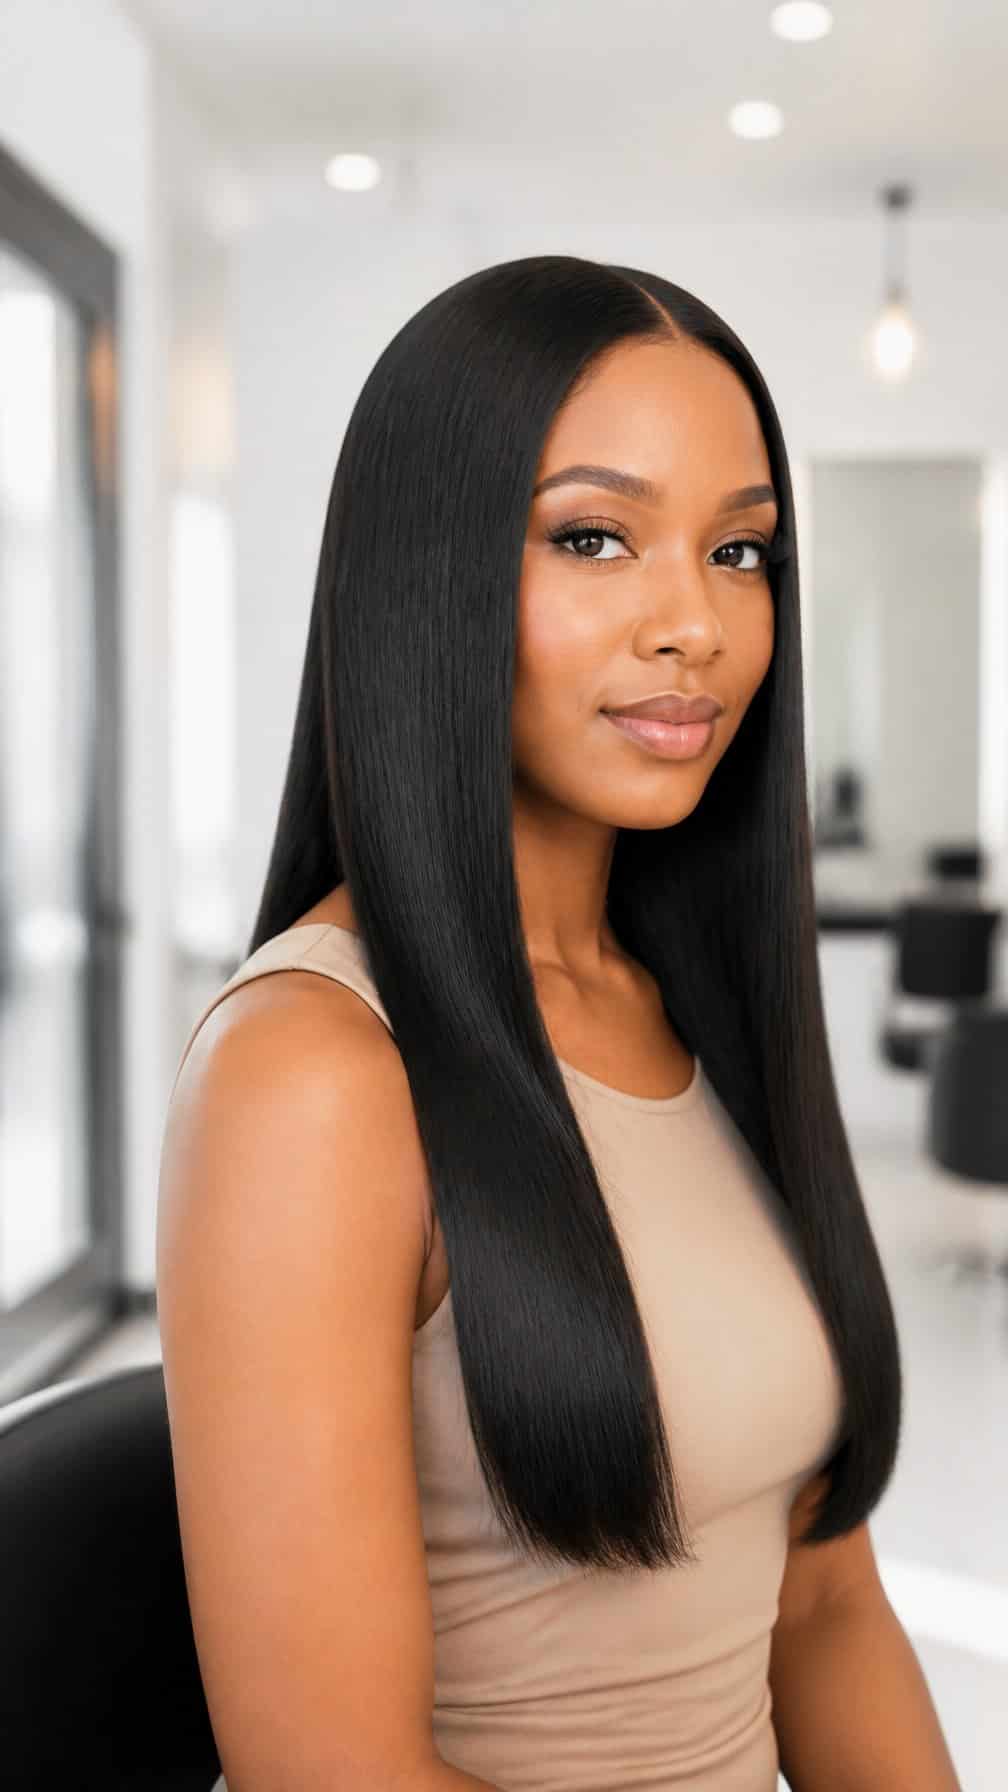
I choose this sleek style when I want length with a polished finish. The straight extensions fall past the shoulders, while a clean middle or side part frames my face and keeps the look structured.
I focus on a smooth foundation and secure cap placement before adding the tracks. After installation, I use a flat iron sparingly and apply a light heat protectant to maintain the straight texture without weighing it down.
This style works well with simple outfits because the length creates its own visual impact. I trim the ends as needed and wrap the hair at night to reduce frizz and preserve the shape.
5) Loose Beach-Wave Quick Weave
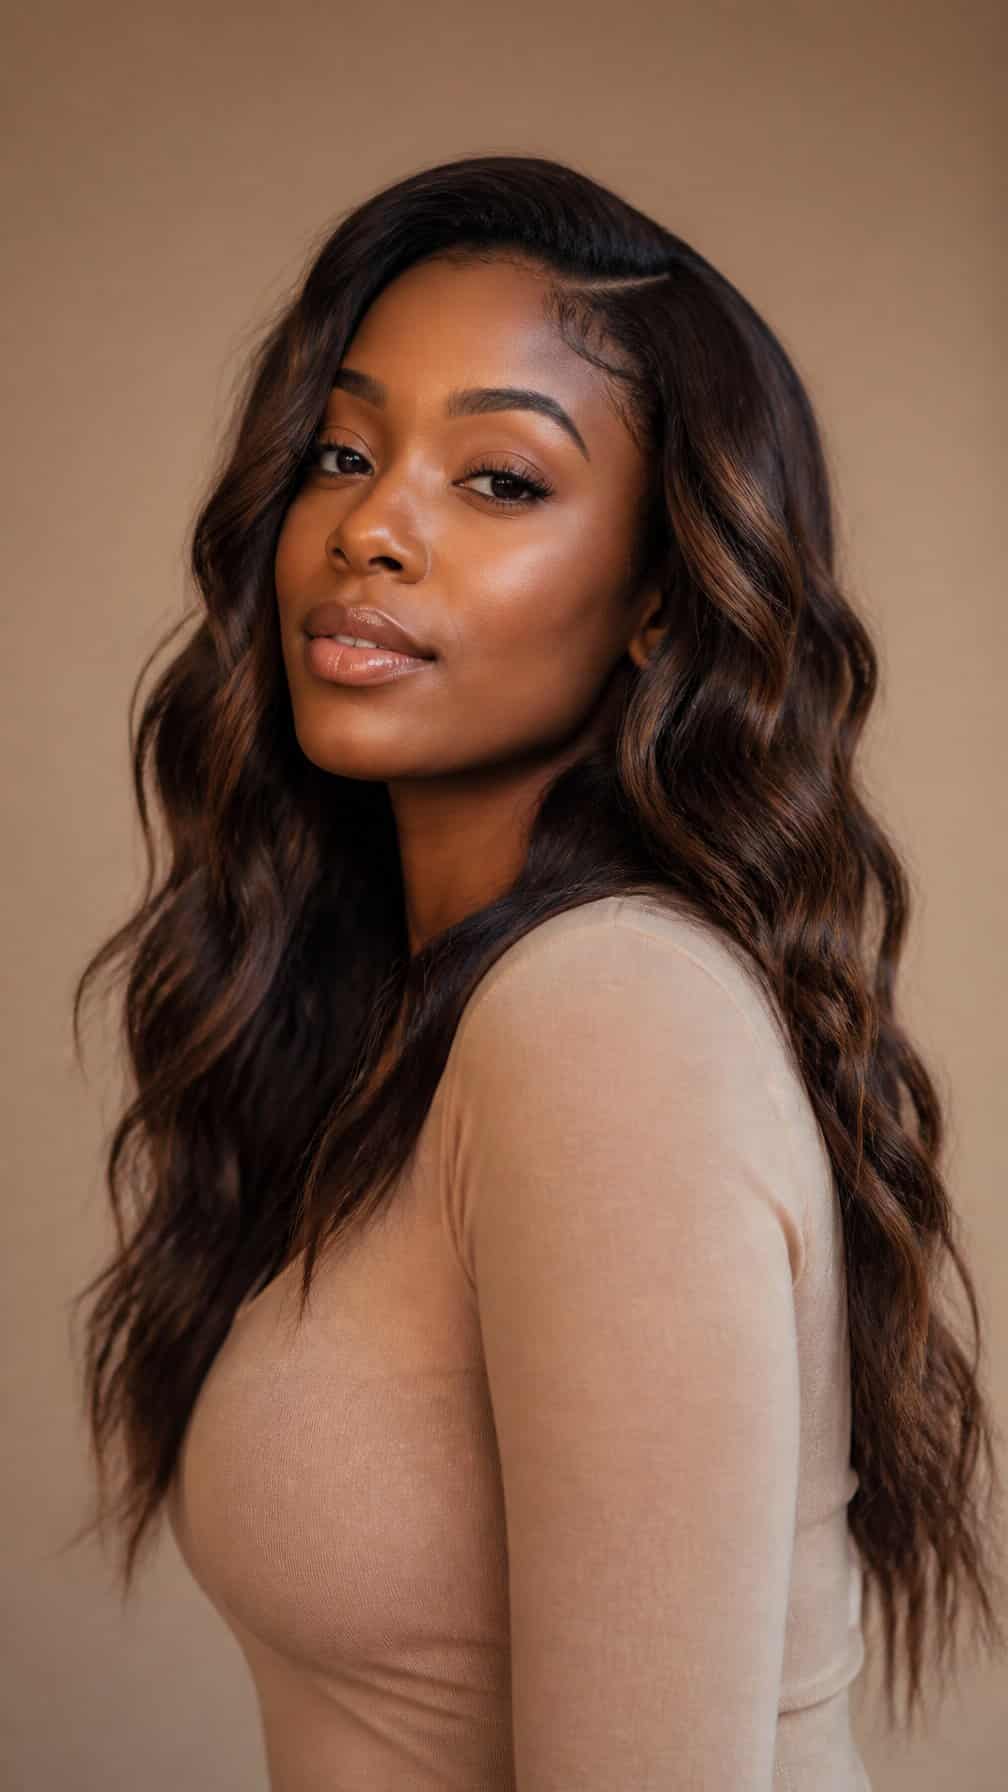
I choose loose beach waves when I want soft movement without a highly structured finish. The relaxed pattern frames my face and works well with casual outfits, while a side or middle part changes the overall shape.
I keep the wave size slightly varied to create a natural appearance. After installing the hair, I separate the curls gently with my fingers and apply a small amount of lightweight serum to reduce frizz without flattening the texture.
This style suits medium to long lengths and looks polished with minimal daily styling. I refresh the waves by wrapping a few sections around a large curling wand, then letting them cool before loosening them.
6) Deep-Wave Quick Weave
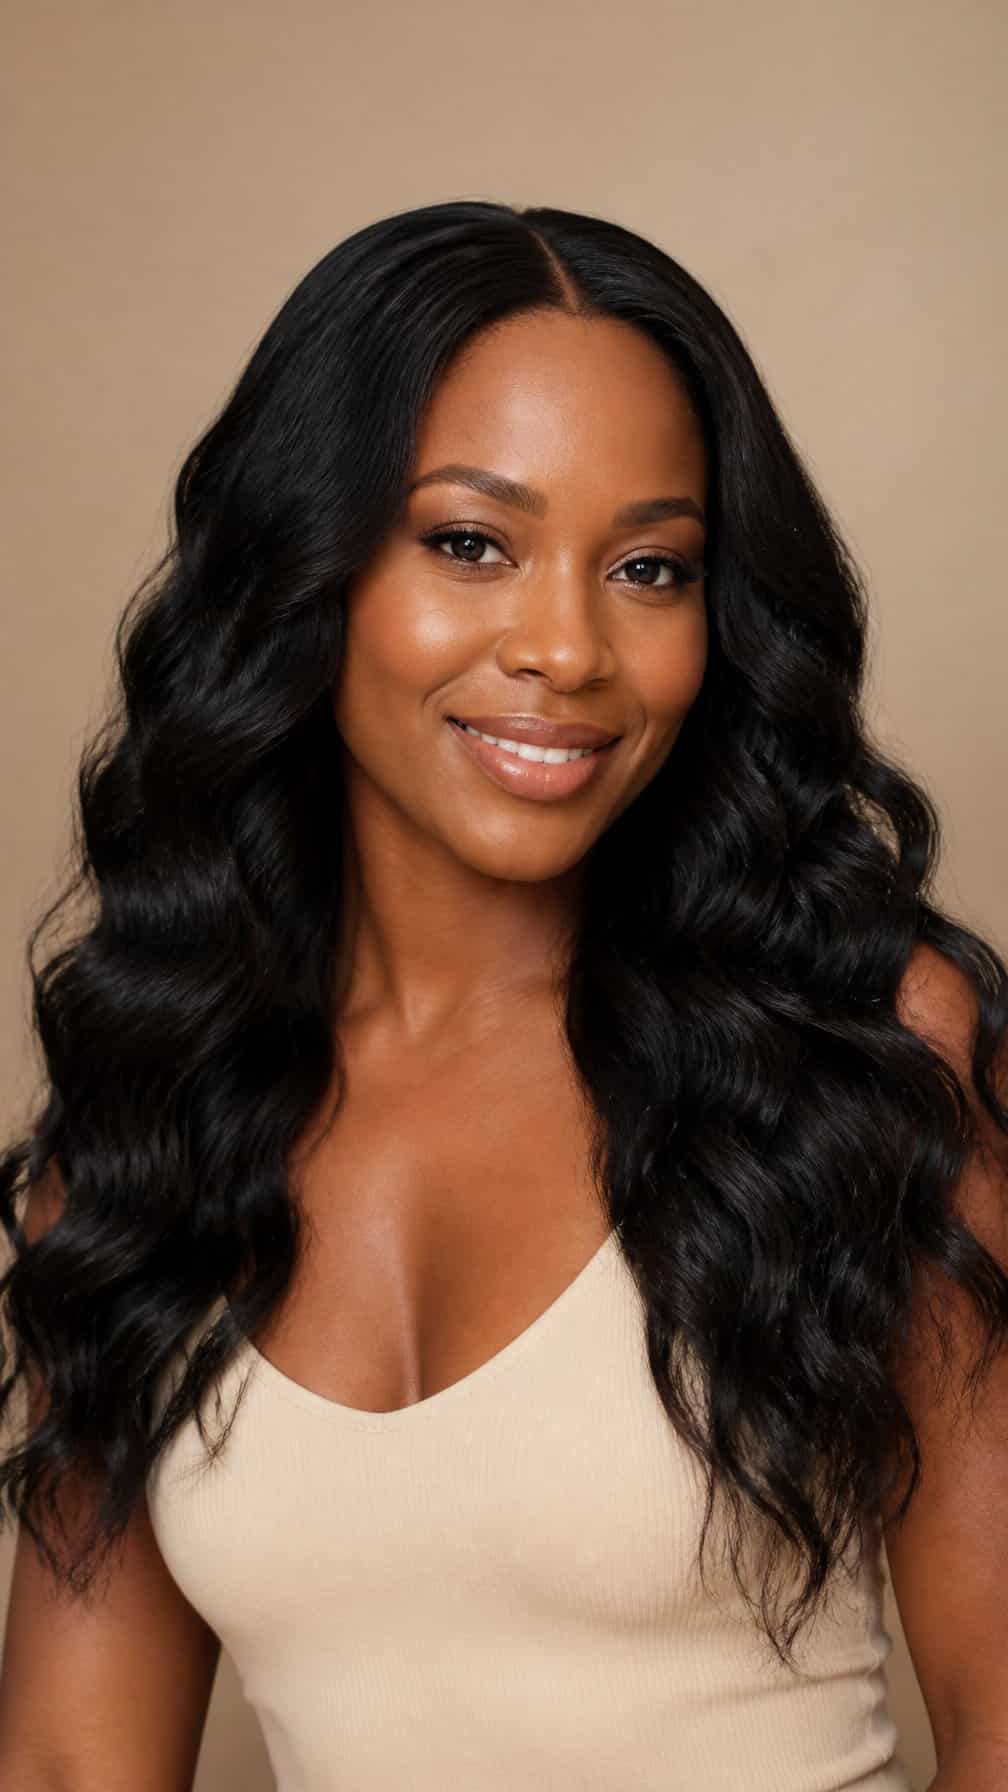
I choose deep-wave extensions when I want defined texture with noticeable movement. The curls form larger, flowing waves that frame my face and add body without requiring daily heat styling.
I usually pair this style with a middle or side part, depending on the shape I want. A side part gives the waves more volume on one side, while a middle part creates a balanced appearance. I use a lightweight mousse or curl cream to maintain definition without weighing the hair down.
For upkeep, I wrap the hair with a satin scarf before sleeping and gently separate the waves with my fingers in the morning. I avoid brushing the extensions when dry because that can loosen the pattern and create unnecessary frizz.
7) Layered Shoulder-Length Quick Weave
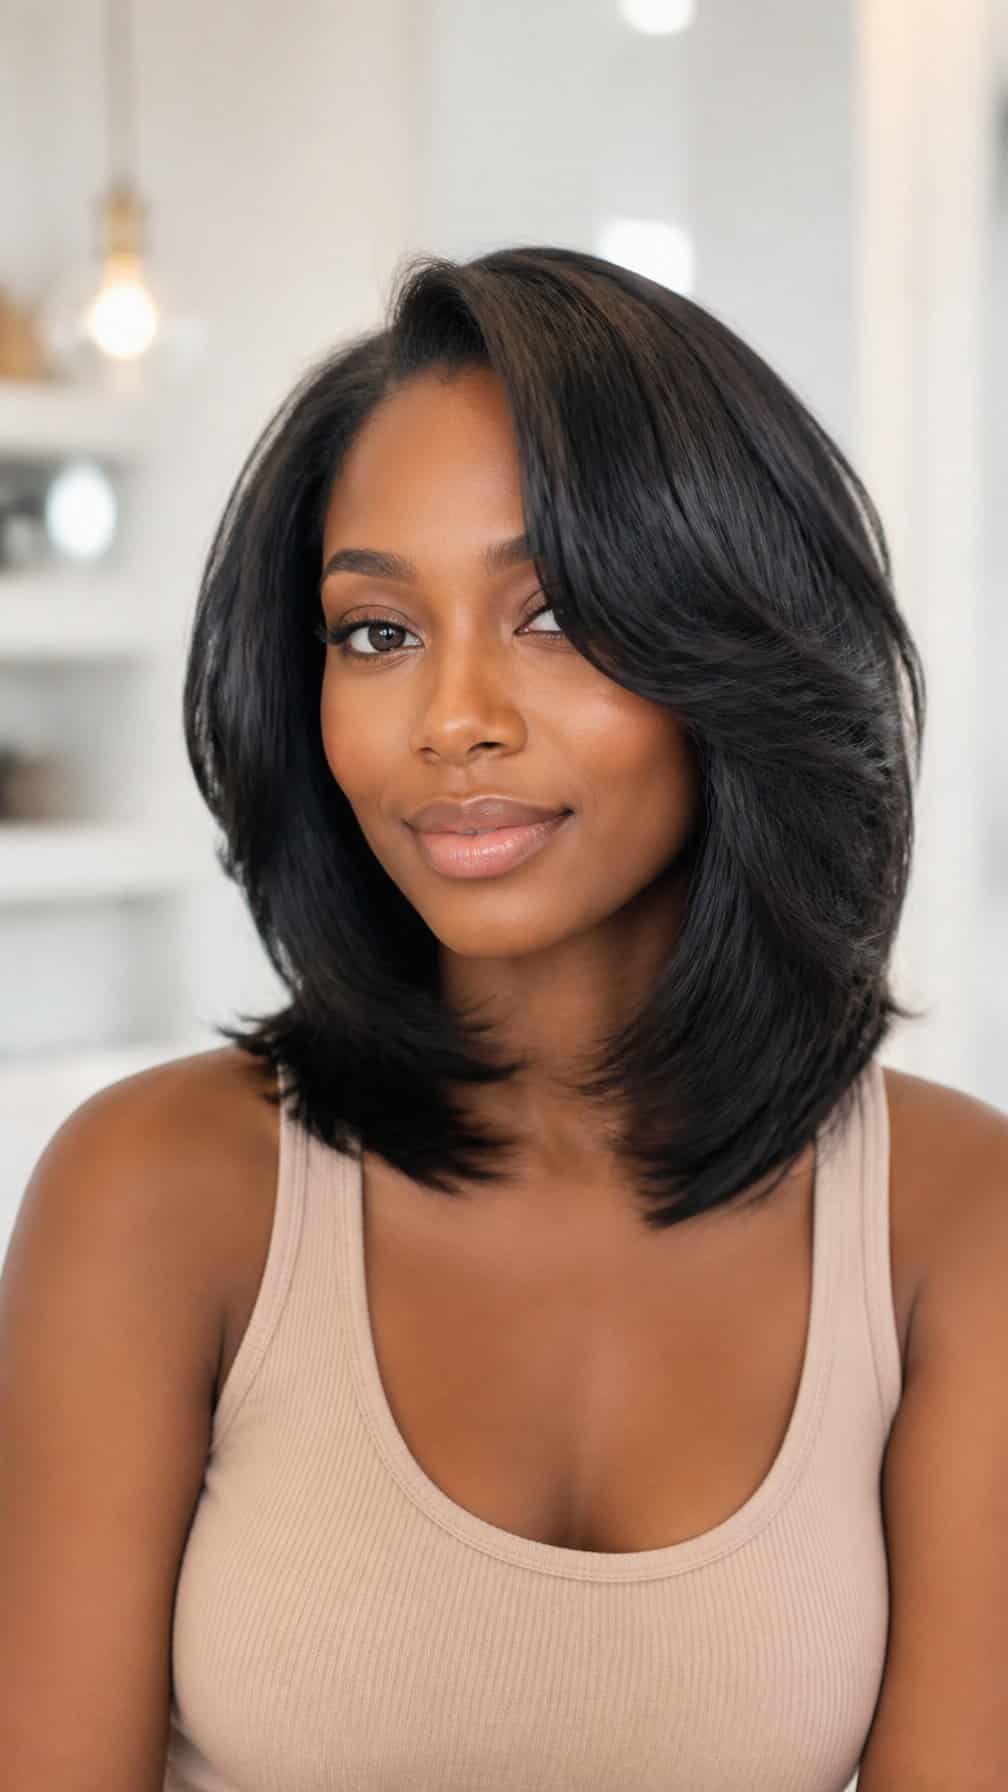
I like a layered shoulder-length quick weave when I want movement without committing to long hair. The staggered ends frame my face, while the medium length keeps styling practical for daily wear.
I usually choose soft layers that begin around my cheekbones or jawline, depending on the shape I want to emphasize. A side part adds volume at the crown, while a middle part creates a more balanced, polished look.
I use lightweight bundles to keep the style from feeling bulky. I can wear the layers straight for a smooth finish or add loose curls that show the different lengths. Regular wrapping at night helps preserve the shape and reduces friction.
8) Asymmetrical Bob Quick Weave
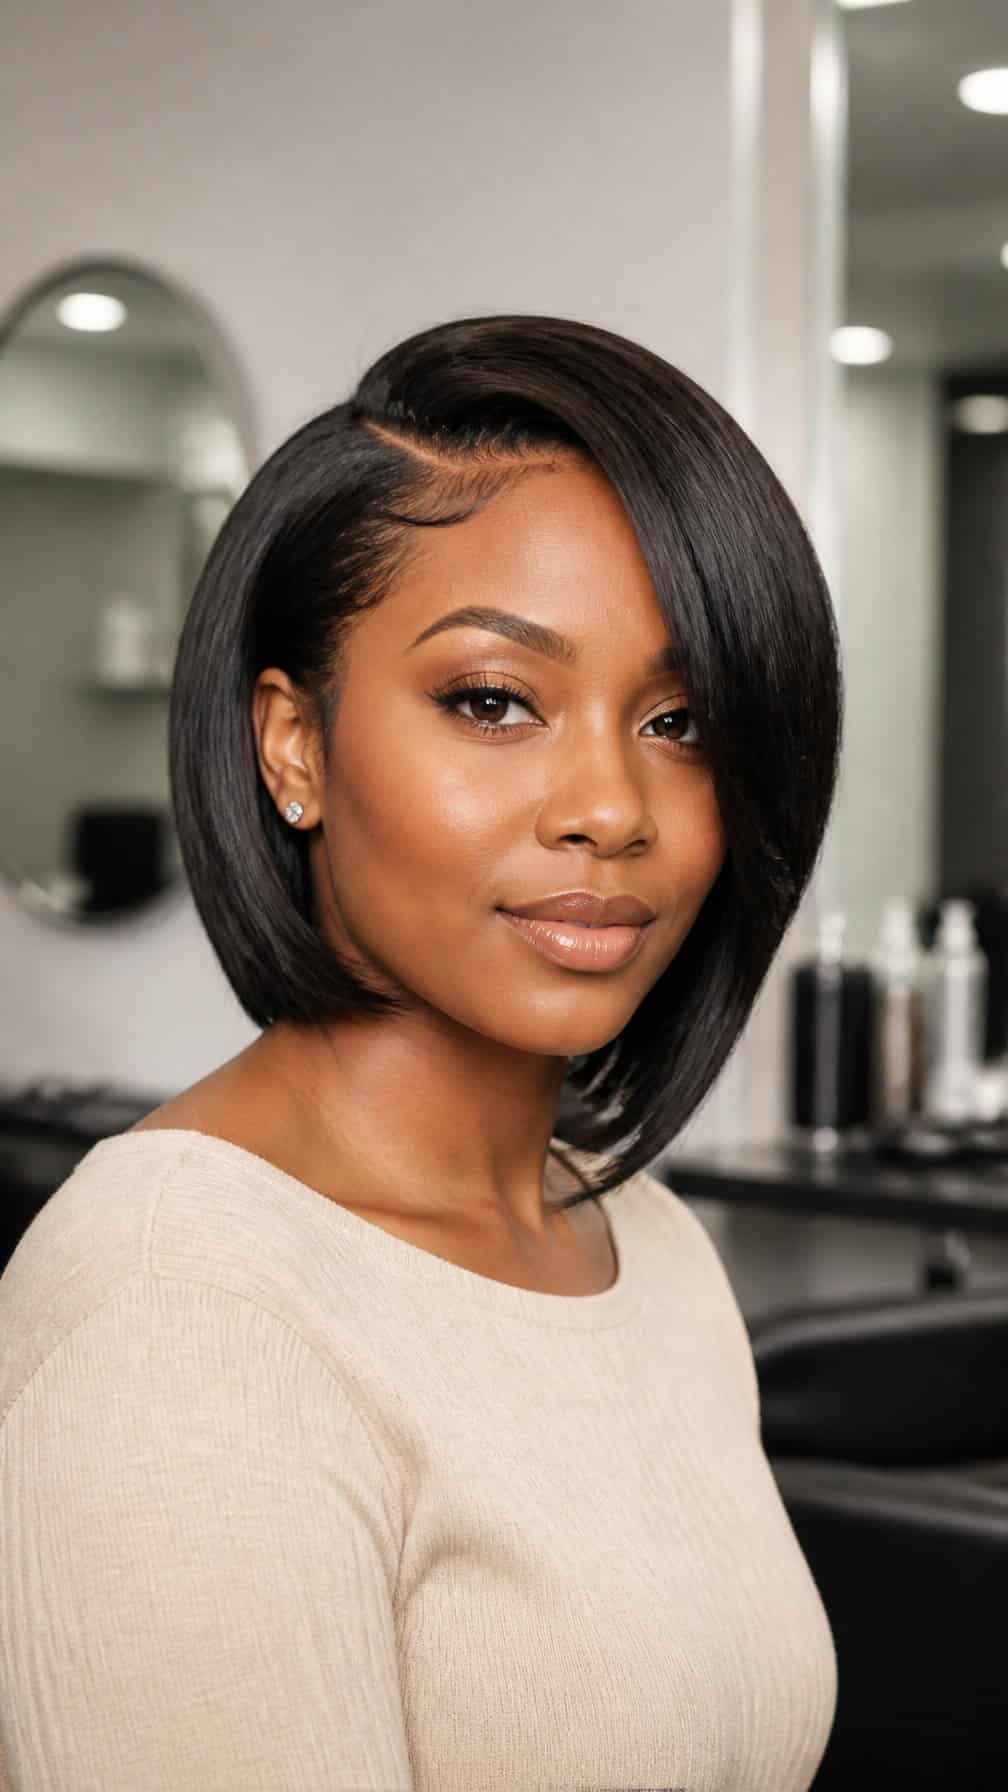
I like this cut because the uneven length creates a defined shape without requiring elaborate styling. I keep one side slightly longer than the other, then smooth the hair with a flat iron to emphasize the angled finish. A side part helps frame my face and makes the shorter side look intentional.
I choose straight, medium-density bundles for a clean silhouette and trim the ends after installation. I use heat protectant before styling and wrap the hair at night to preserve the shape. This option works well when I want a polished change that still feels practical for daily wear.
9) Pixie-Cut Quick Weave
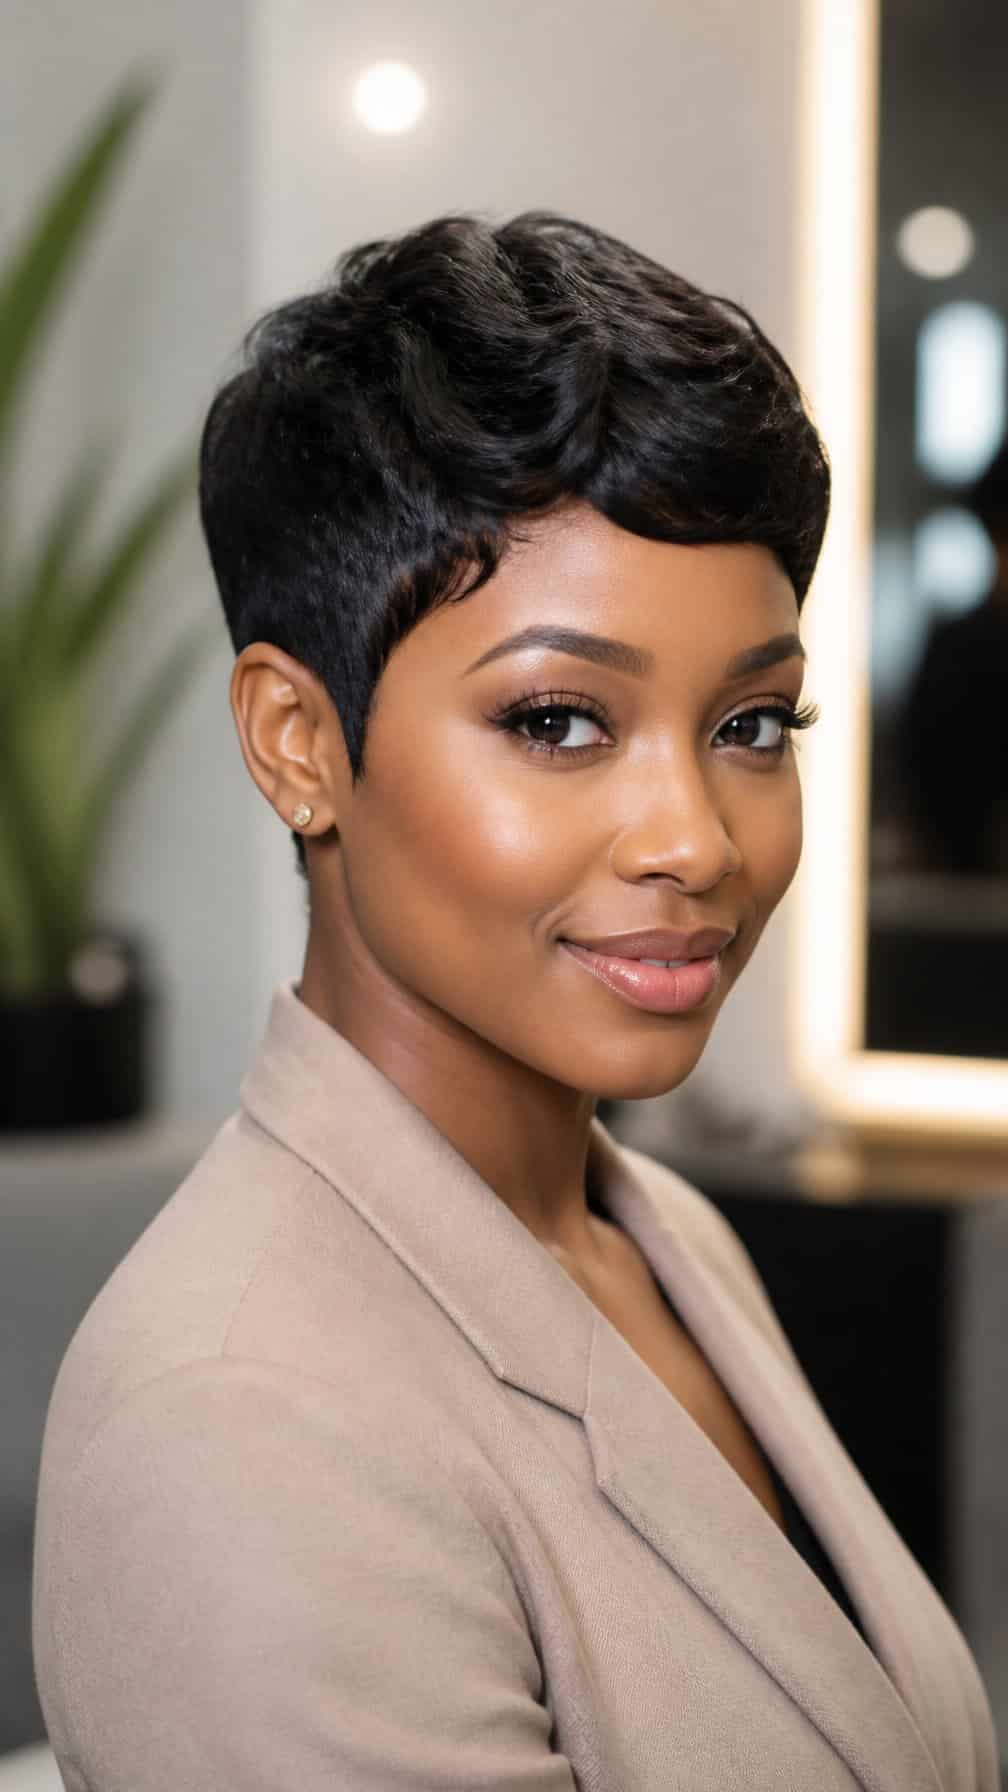
I use short layers and tapered sides to create a neat pixie shape with defined texture. This style frames my face, keeps the neck uncovered, and works well when I want a low-maintenance look without cutting my natural hair.
I choose straight, wavy, or lightly curled extensions based on the finish I want. I secure the weave close to the scalp, then shape the top with a small amount of styling product so the layers stay controlled without looking stiff.
I refresh the style by smoothing the sides and wrapping the hair before bed. A satin scarf helps reduce friction, while occasional edge maintenance keeps the outline clean.
10) Half-Up, Half-Down Quick Weave
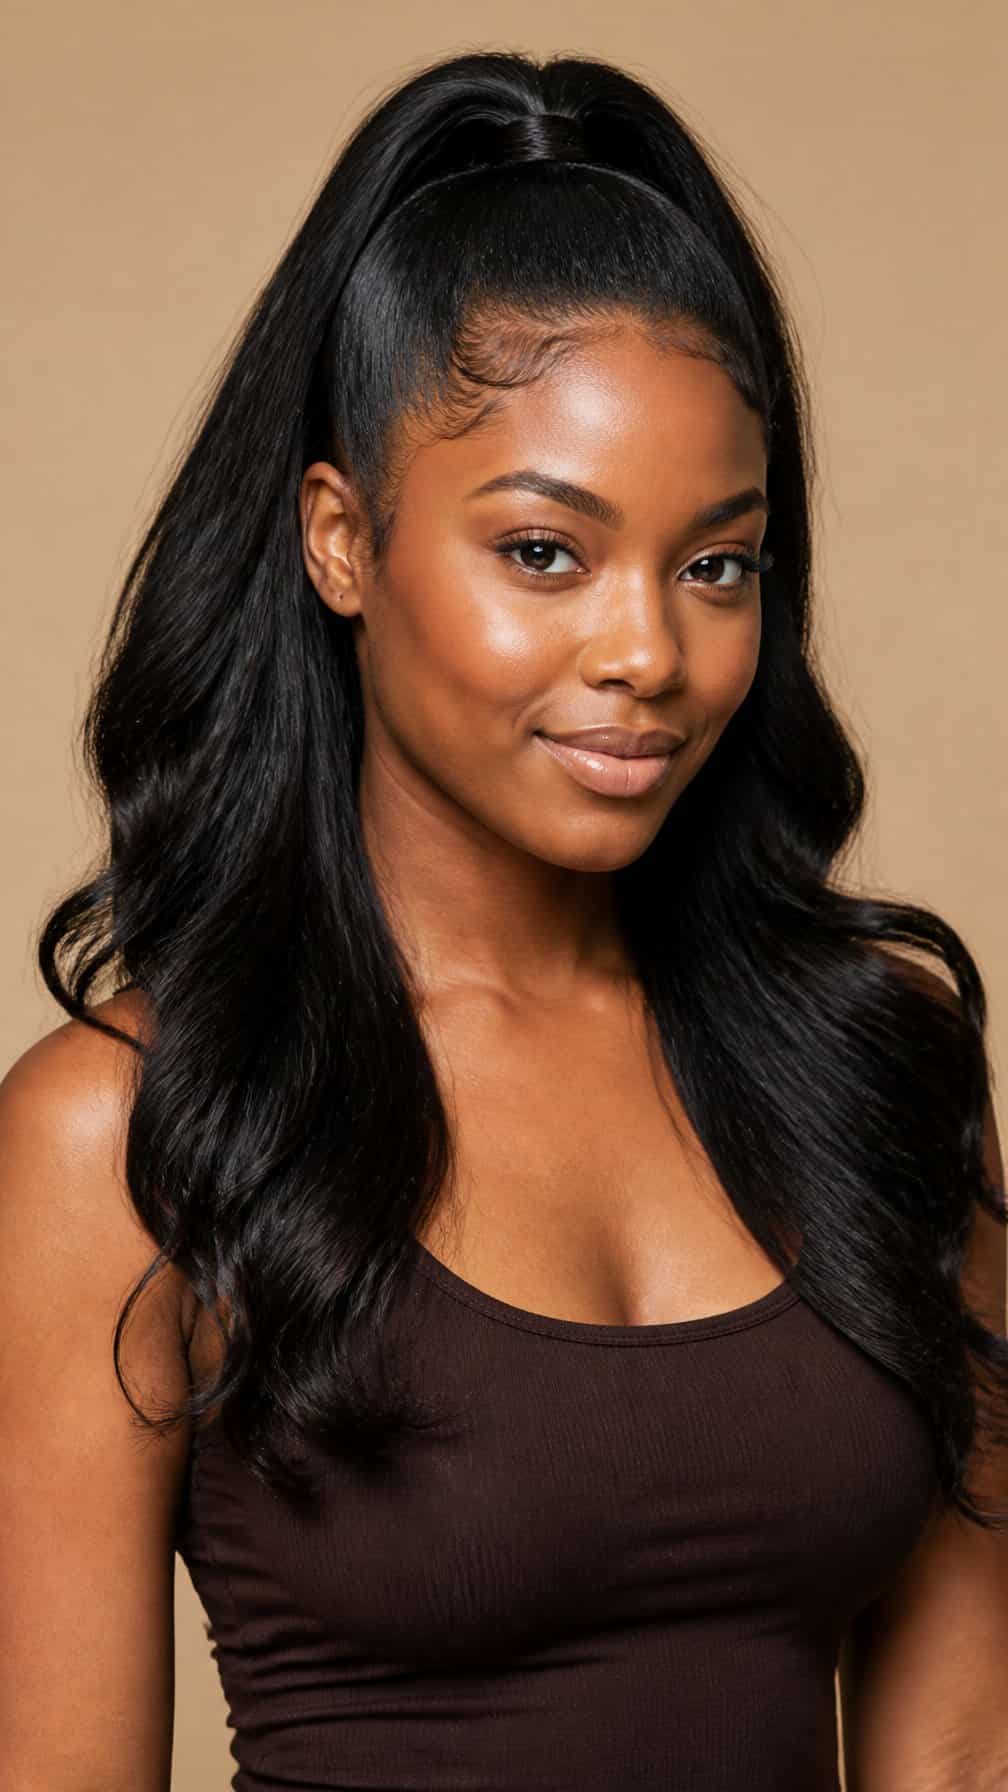
I keep the top section smooth and secure while letting the remaining hair fall freely around my shoulders. This arrangement gives me the structure of an updo without covering the length or movement of the weave.
I usually place the part near the crown and gather it with a small clip, elastic, or a few pins. I can leave the lower hair straight, curled, or softly waved, depending on the finish I want.
This style works well for casual plans and polished occasions. I use edge control sparingly around the hairline, then check that the attachment points stay hidden beneath the lifted section.
11) High-Ponytail Quick Weave
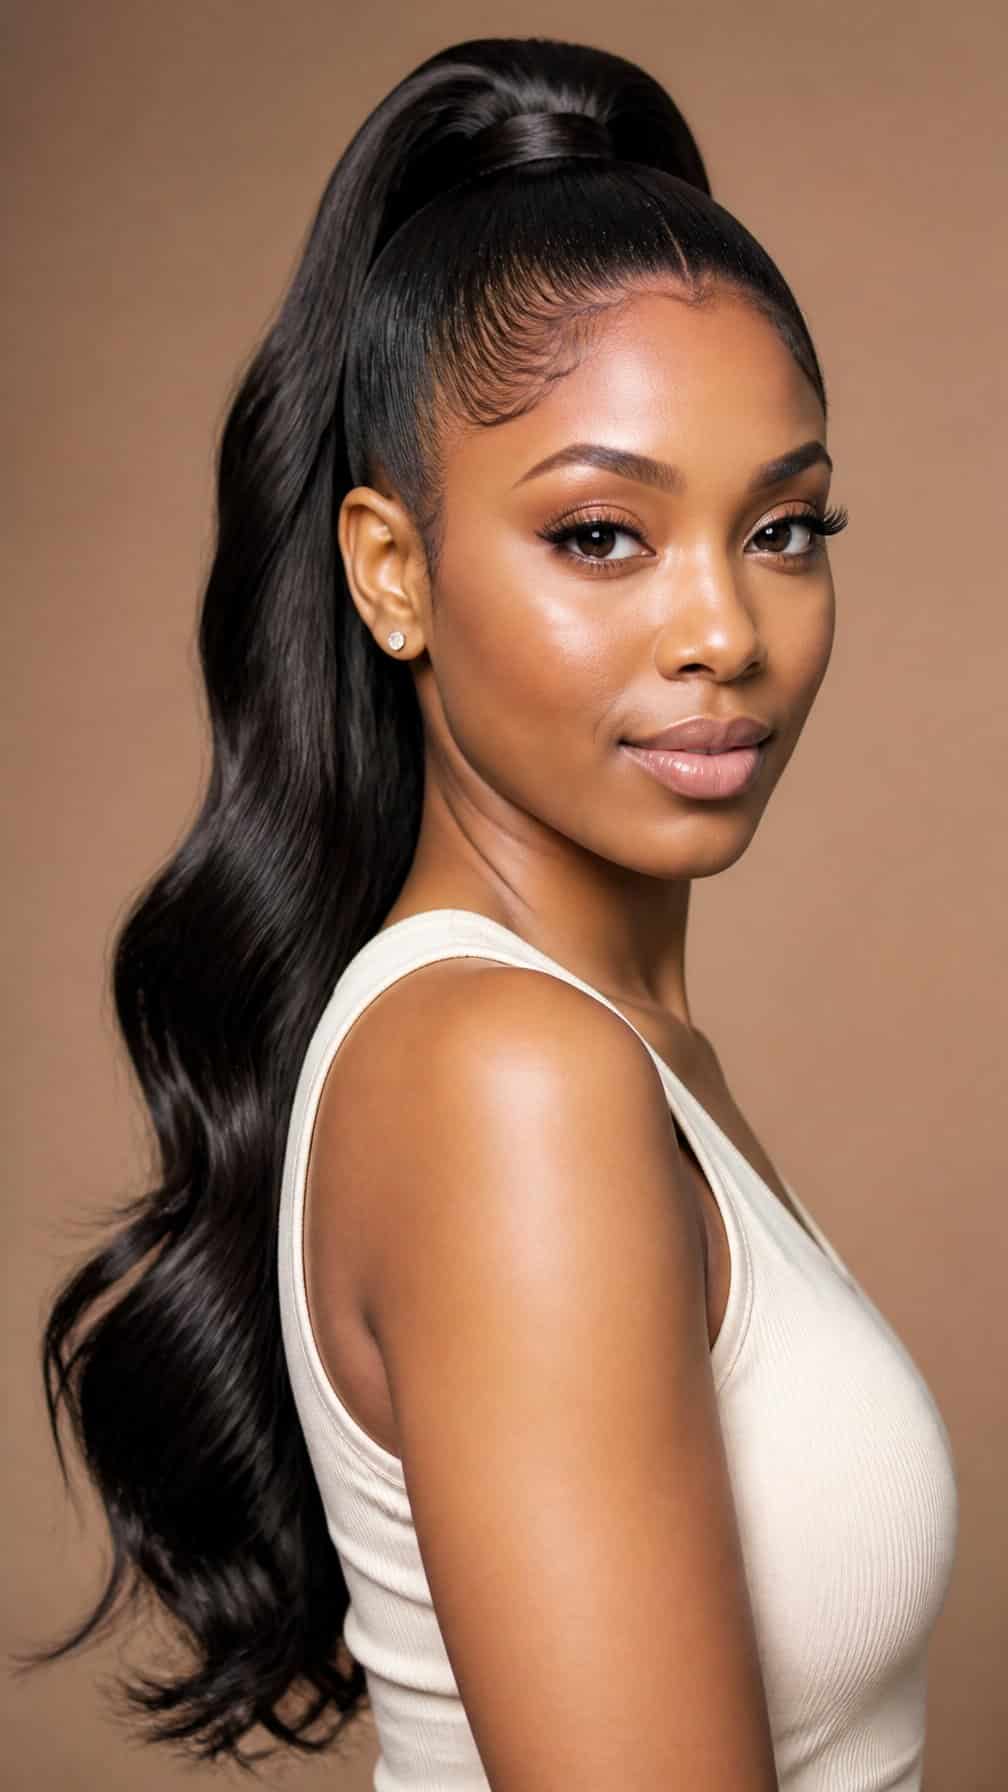
I like a high-ponytail quick weave when I want height without spending much time styling. I secure the added hair near the crown, then smooth my natural hair around the base for a clean finish. A wrapped strand can conceal the attachment and create a polished detail.
I usually choose straight or softly waved hair for a defined shape, while curls add more volume and movement. I keep the ponytail balanced and avoid pulling the base too tightly, which helps reduce unnecessary tension around my edges. A small amount of edge control can refine the hairline without making it stiff.
12) Low-Ponytail Quick Weave
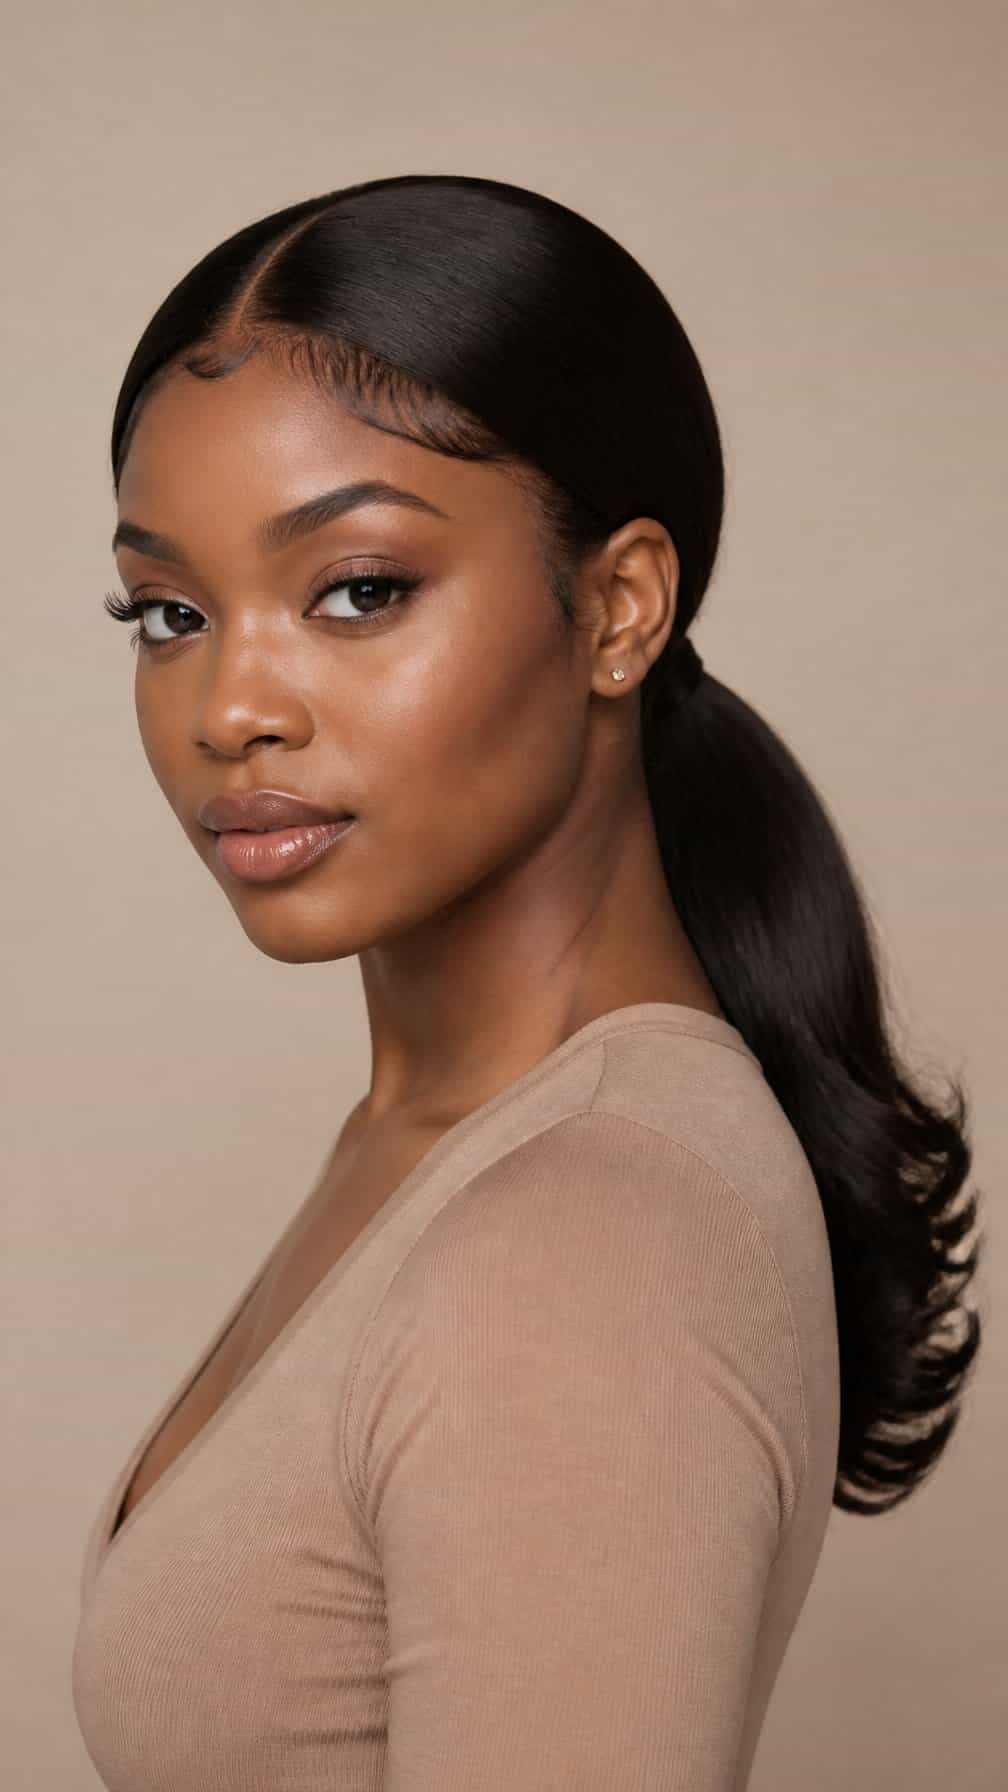
I use a low-ponytail quick weave when I want a neat style with minimal daily adjustment. I secure the extensions at the back of my head, leaving the hairline smooth and natural-looking. A middle or side part changes the shape without requiring a full restyle.
I brush the lengths into a low ponytail and wrap a small section of hair around the base to conceal the band. I prefer straight or lightly waved extensions for a polished finish, while textured hair creates a softer appearance. Edge control can help refine short hairs along the forehead.
I keep tension moderate when securing the ponytail, especially around my edges. A satin scarf at night helps reduce friction and keeps the style orderly between touch-ups.
13) Side-Swept Quick Weave
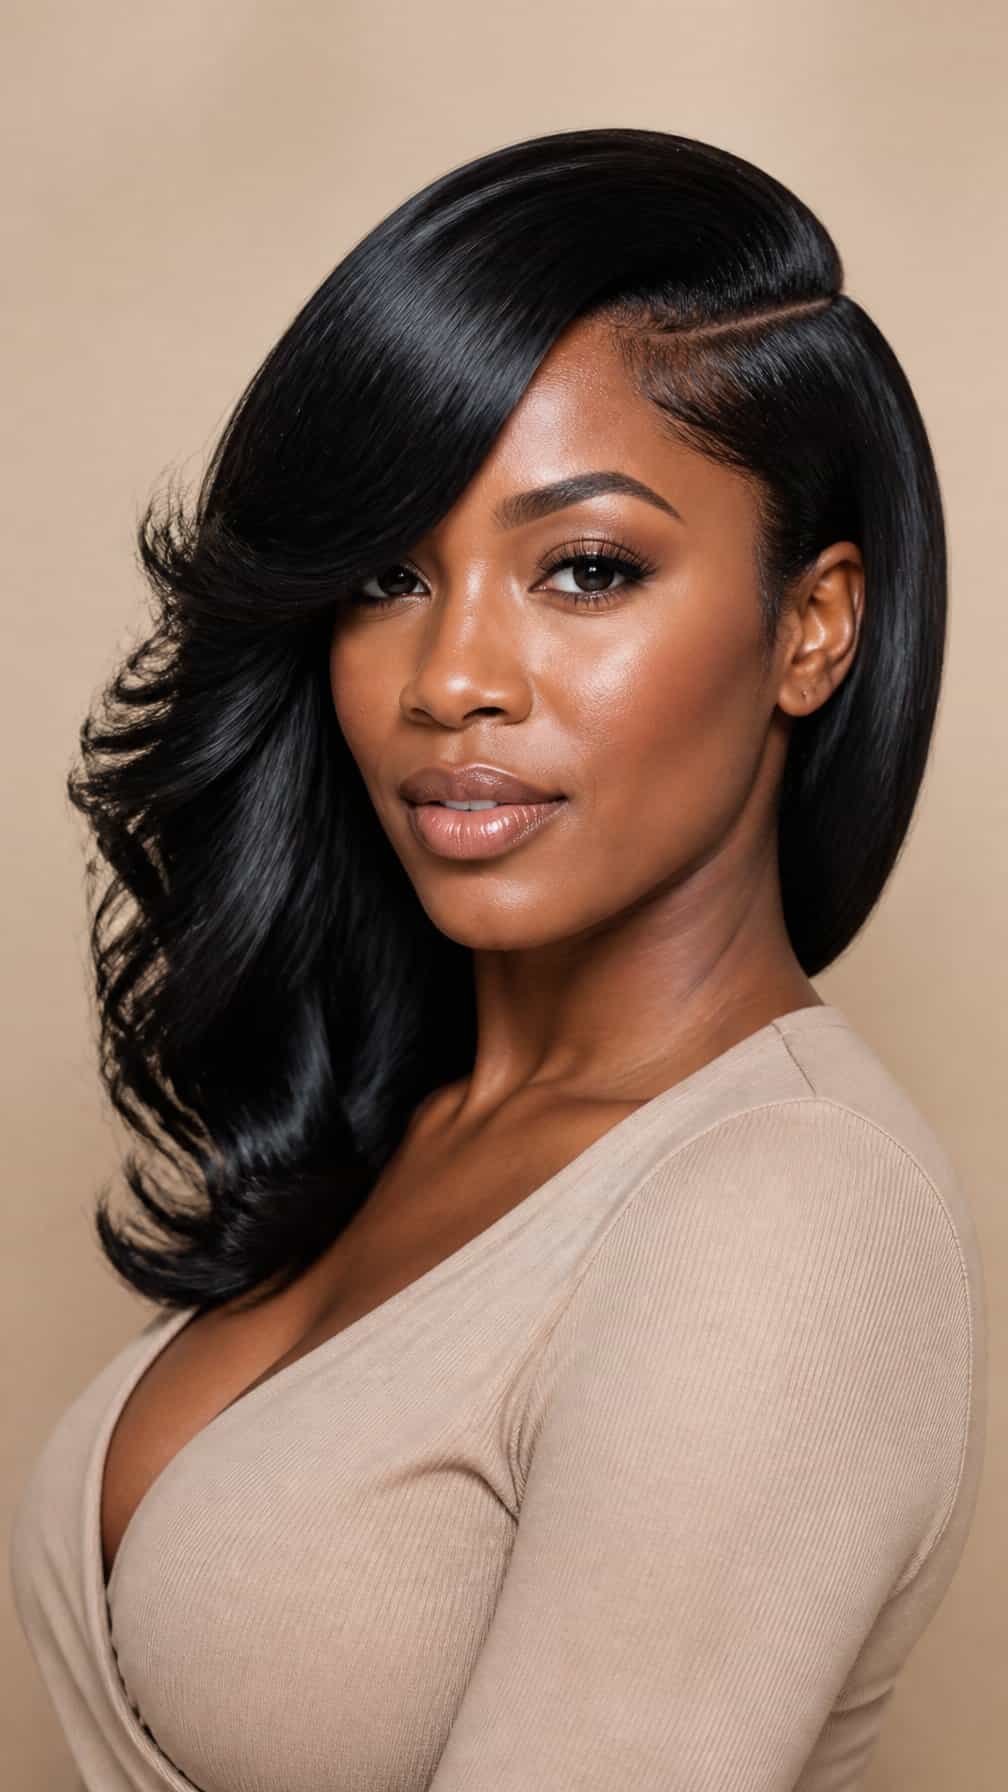
I wear this style with the part placed deeply on one side, letting the extensions fall across my forehead and cheek. The sweep creates an asymmetrical shape that works with straight, wavy, or softly curled hair.
I prefer medium-length extensions when I want an easy daily look, while longer pieces create more movement and styling options. I secure the hair with light holding products and avoid heavy buildup near the part.
For a polished finish, I smooth the shorter side close to my head and add a gentle bend to the ends. This style suits both casual outfits and dressier occasions without requiring a complicated routine.
14) Curtain-Bang Quick Weave
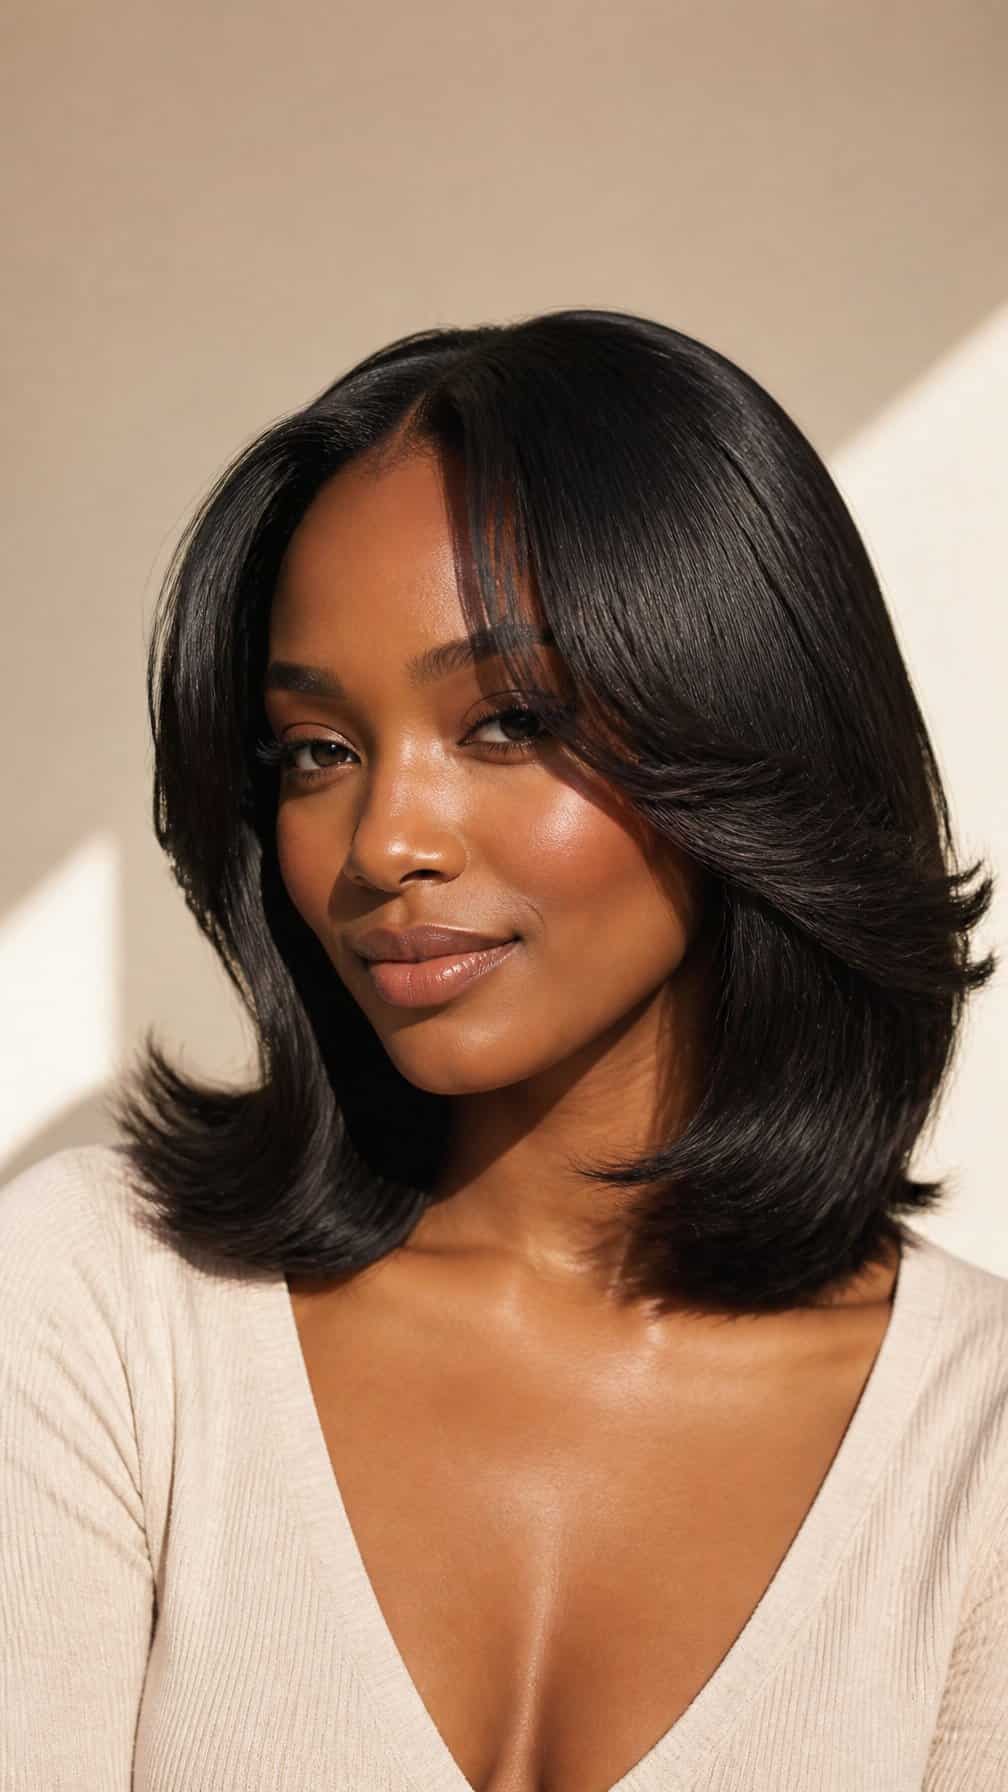
I use a center part and style the front layers to split softly at the forehead. This creates a curtain-bang shape that frames my eyes and cheekbones without requiring a full haircut.
I prefer medium-length extensions with light layering because they blend naturally into the bangs. I can wear the rest straight, softly curled, or flipped outward for a different finish.
I secure the weave carefully around the part and leave enough hair at the front for smooth blending. A small round brush and low heat help me shape the bangs while preserving movement and reducing bulk.
15) Blunt-Bang Quick Weave
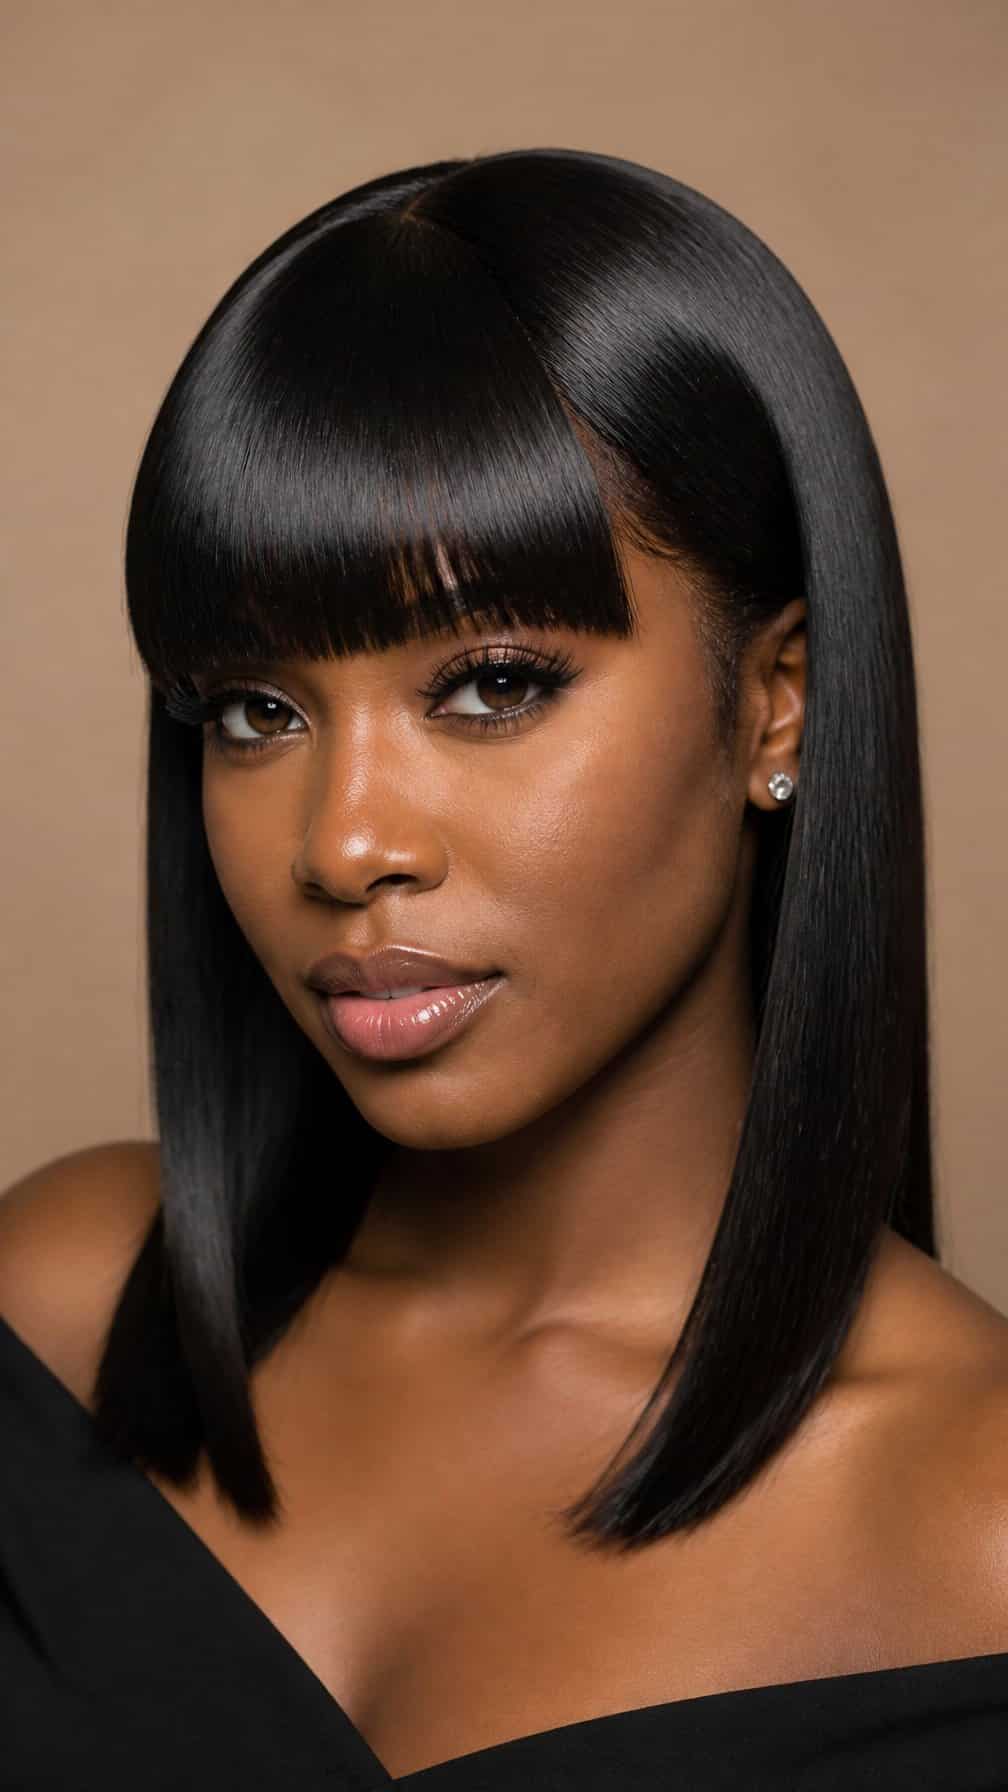
I choose this style when I want a structured look with minimal daily styling. The blunt bangs create a clean frame across my forehead, while the quick weave keeps the rest of the hair smooth and controlled.
I usually pair the bangs with a straight, shoulder-length cut so the shape stays balanced. A side part can soften the appearance, while a center part gives the style a sharper finish. I use a small flat iron and light edge control to maintain the shape without weighing down the hair.
This option works well for me when I want noticeable change without committing to a permanent haircut. I protect the bangs at night with a satin scarf and trim stray ends as needed to keep the line even.
16) Face-Framing Layered Quick Weave
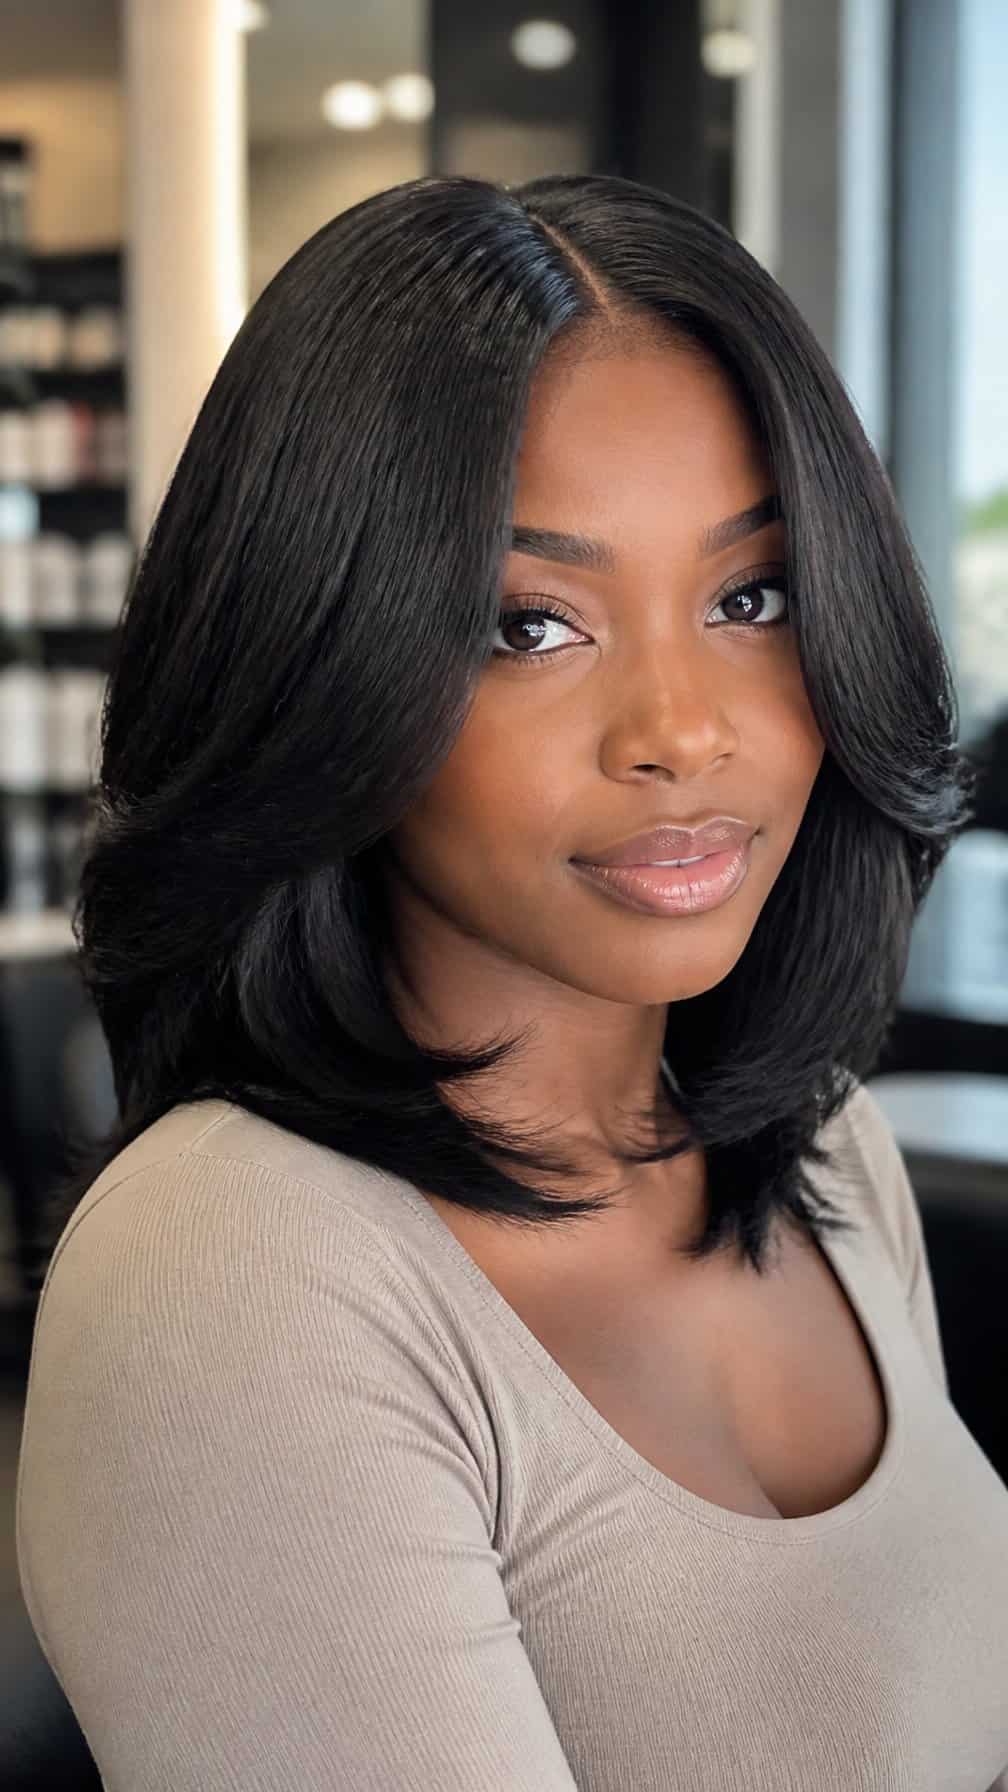
I choose layered lengths that fall around the cheeks and jaw to create a soft frame around my face. The shorter front pieces add shape, while longer layers keep the style balanced and easy to wear.
I usually select straight or lightly waved extensions so each layer remains visible. A side or middle part changes the placement of the face-framing pieces without requiring a full restyle.
I secure the weave with a smooth foundation and blend my leave-out or closure carefully at the part. Light trimming helps the layers sit naturally, and a small amount of serum can control frizz without weighing down the hair.
17) Honey-Blonde Quick Weave
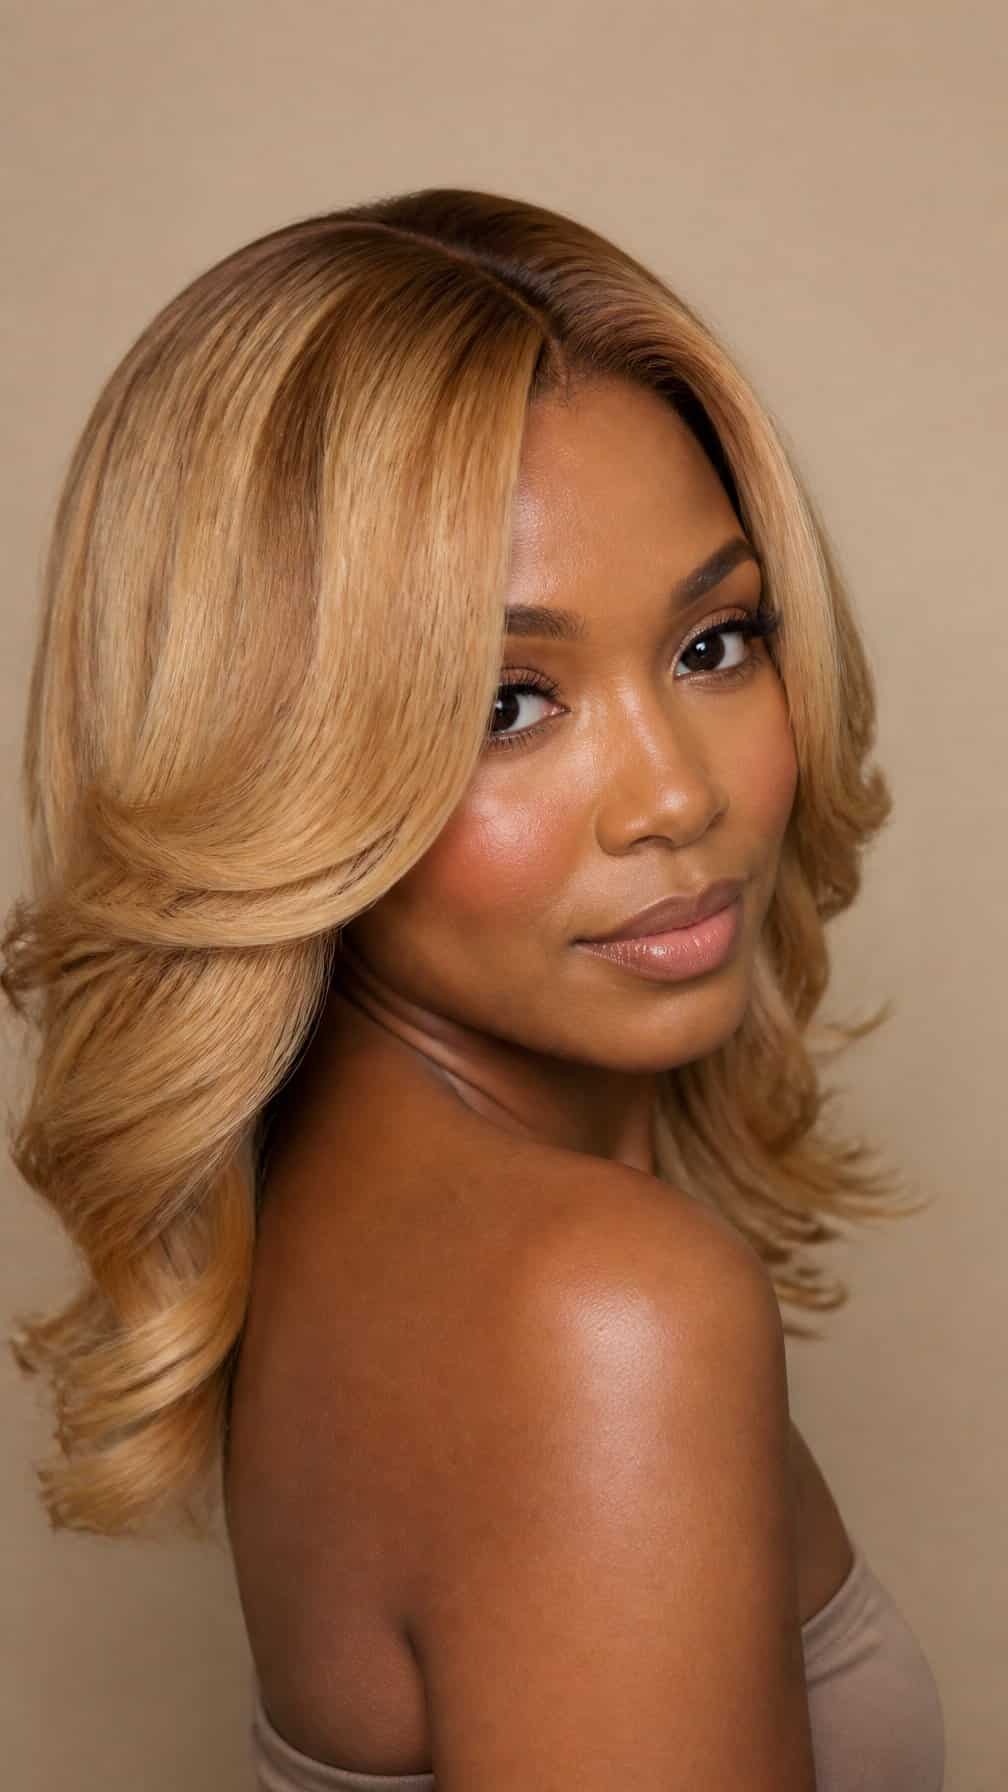
I choose honey-blonde extensions when I want a warm color change without committing to permanent dye. The golden tone adds brightness, while a darker root or blended leave-out keeps the style looking natural and balanced.
I usually pair this shade with soft waves, a sleek middle part, or shoulder-length layers. I match the extension texture to my natural hair and protect my leave-out with heat protectant before styling.
To maintain the color, I limit direct heat, wrap the hair at night, and use lightweight products that will not create buildup. Regular washing and careful detangling help preserve the wave pattern and shine.
18) Jet-Black Glossy Quick Weave
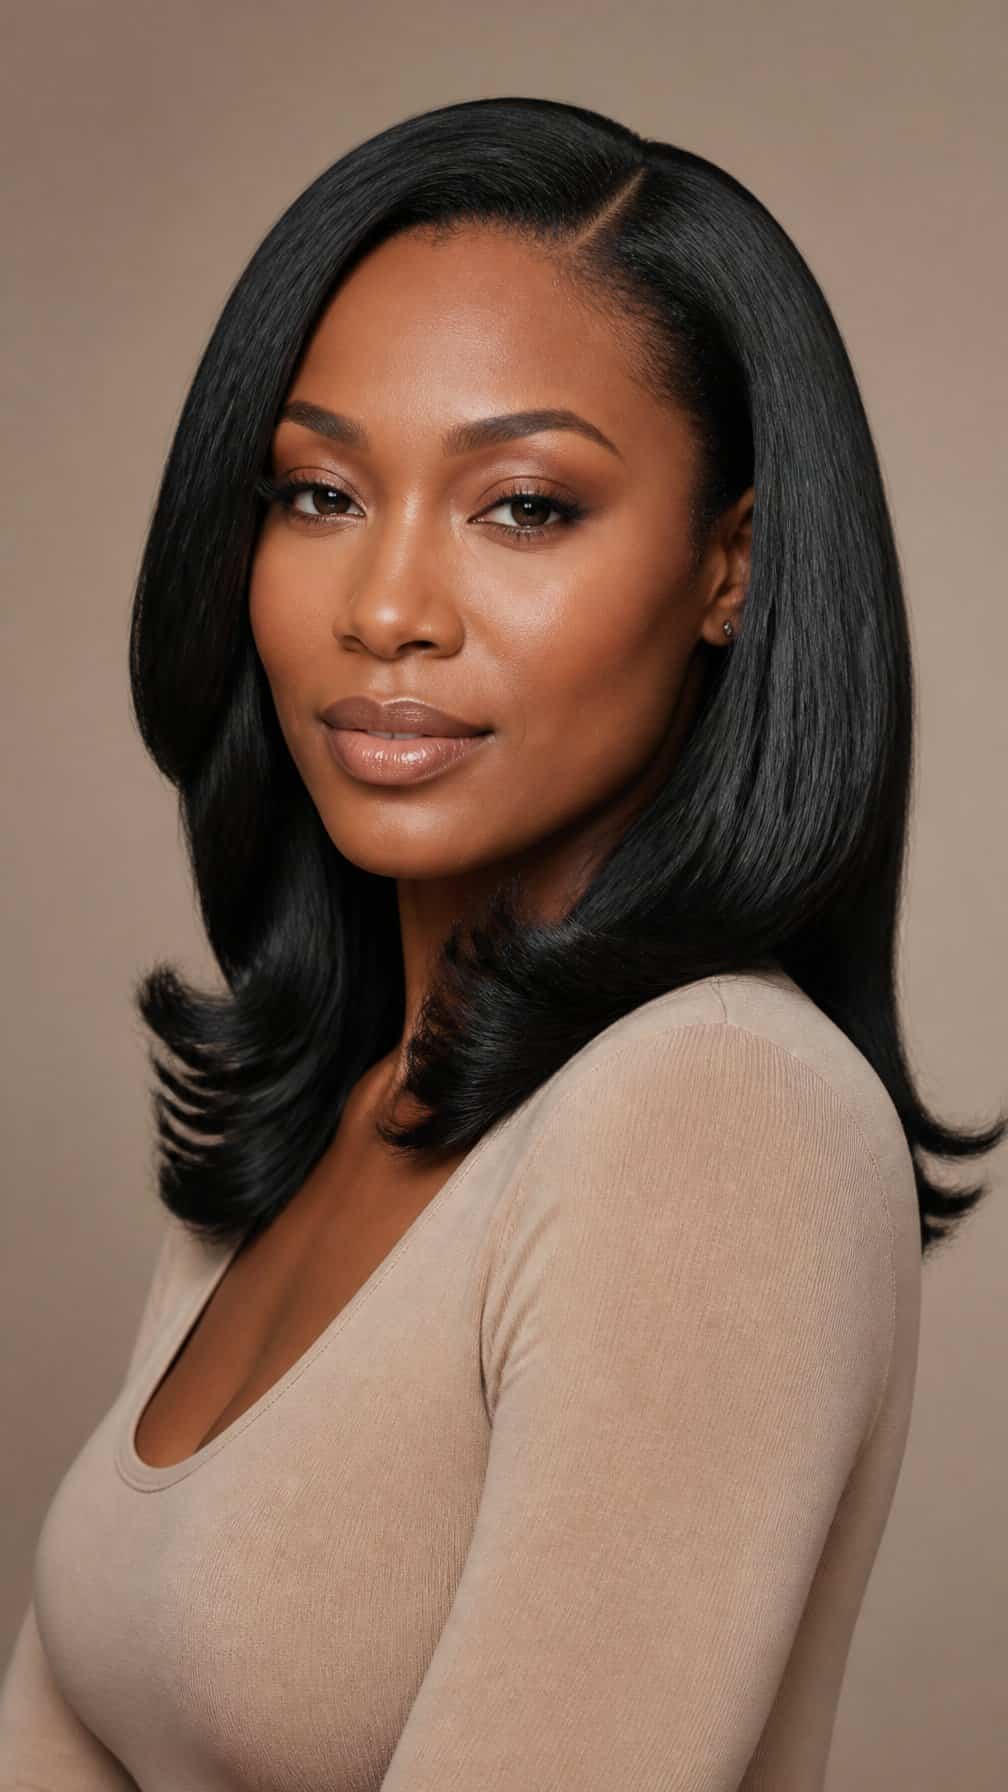
I use a deep jet-black shade to create a sleek, polished finish that suits both casual and formal looks. The glossy surface reflects light clearly, while a smooth middle or side part keeps the style structured and refined.
I prefer keeping the lengths even or adding subtle layers around the face for movement. A quick weave makes this look practical for a temporary change, and I protect the hair with a satin scarf at night to help maintain the shine and smooth shape.
19) Burgundy Quick Weave
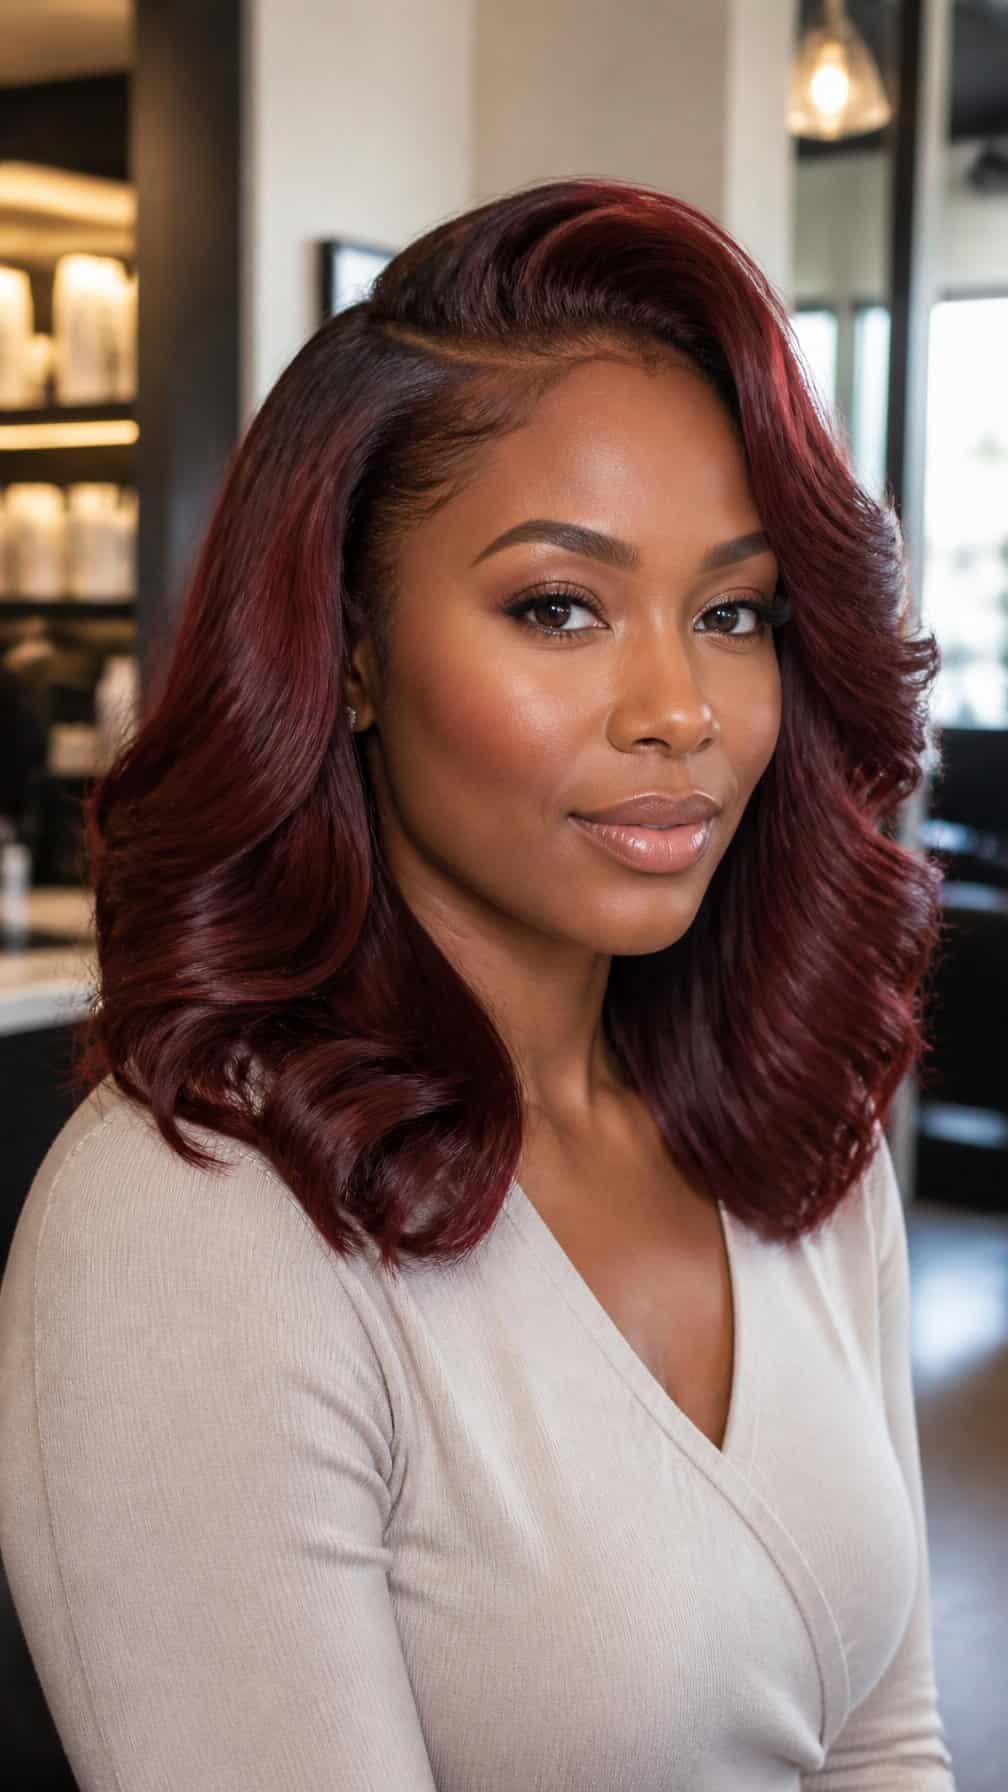
I choose a burgundy quick weave when I want a noticeable color change without committing to permanent dye. The deep red shade works well with straight, body-wave, or loose-curly textures, and I can select a tone ranging from wine to vibrant berry.
I keep the cut simple so the color remains the focus. A shoulder-length bob creates a polished shape, while long layers add movement around my face. I also match the part and texture to my usual styling routine for easier maintenance.
I protect the installed hair with a satin bonnet at night and limit direct heat. Regular wrapping helps preserve the smooth finish, while gentle cleansing around the leave-out or closure keeps the style neat.
20) Caramel-Highlight Quick Weave
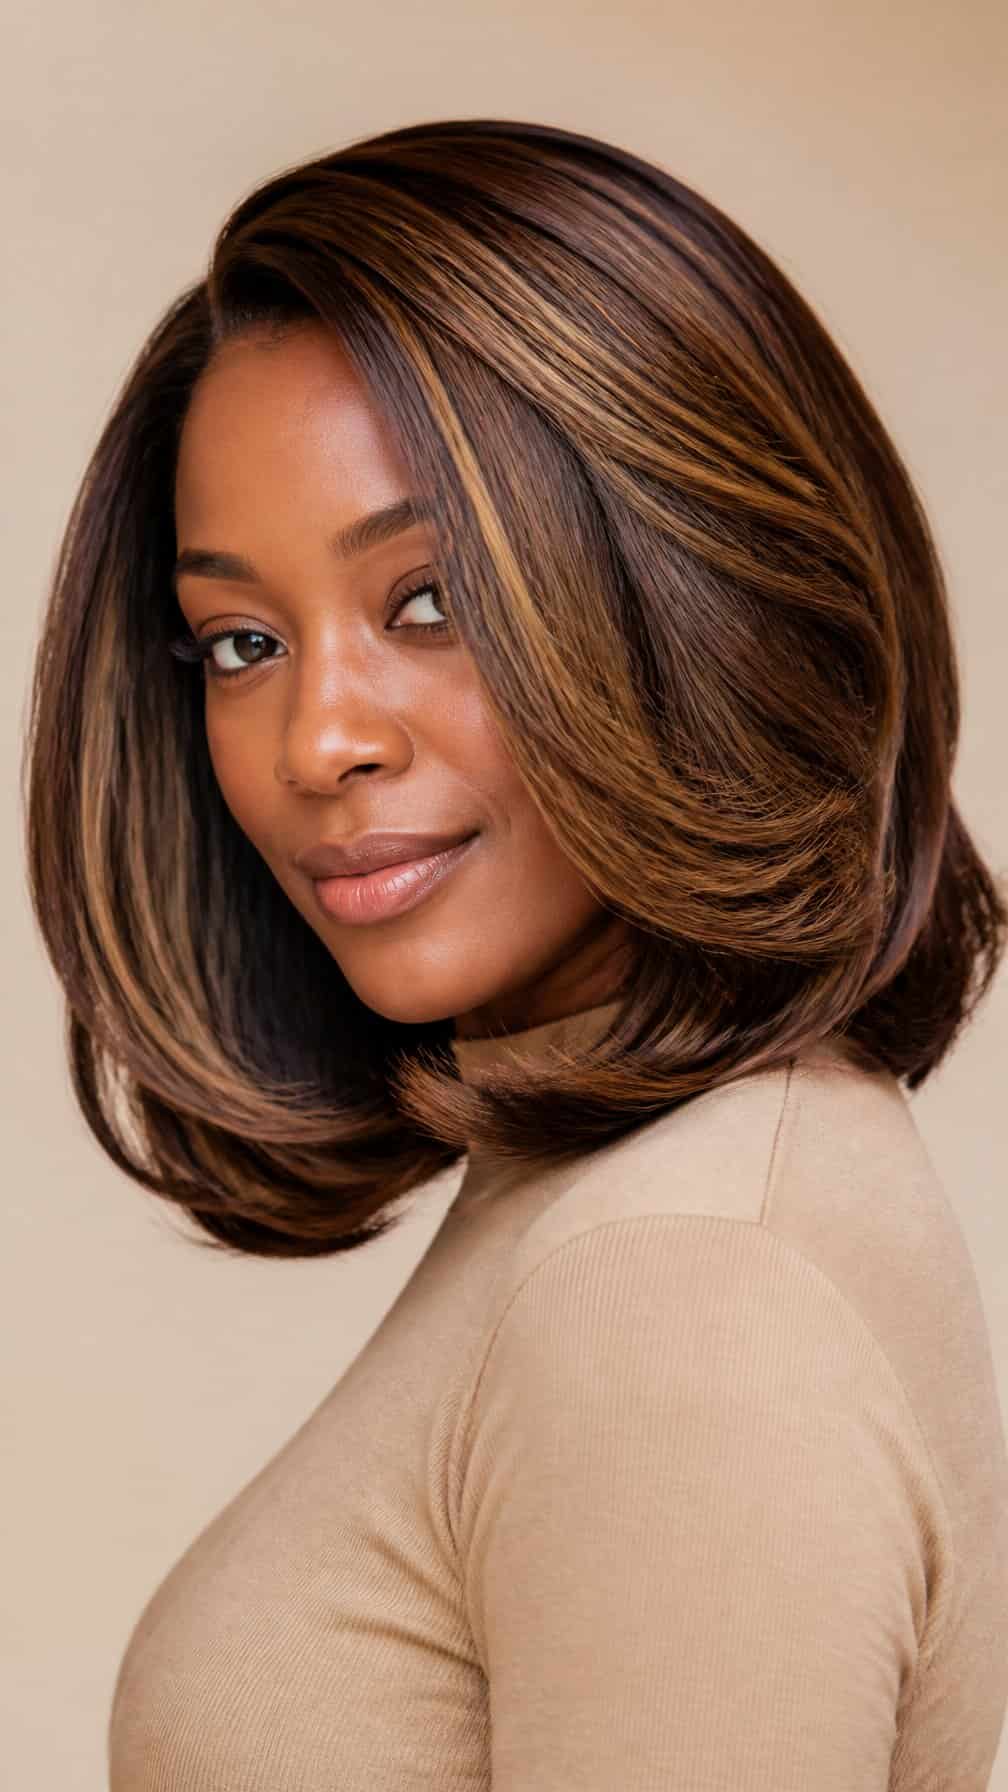
I use warm caramel pieces to add dimension to a quick weave without changing the entire color. The highlights stand out against a dark brown or black base, especially when I place them around the face and through the upper layers.
I usually pair this style with soft waves, loose curls, or a smooth middle part. These textures help the lighter strands blend naturally while giving the hairstyle visible movement.
I keep the highlight pattern balanced rather than placing every piece at the same distance. A stylist can adjust the shade and placement to suit my skin tone, natural hairline, and preferred level of contrast.
Choosing a Weave Style for Your Hair Type
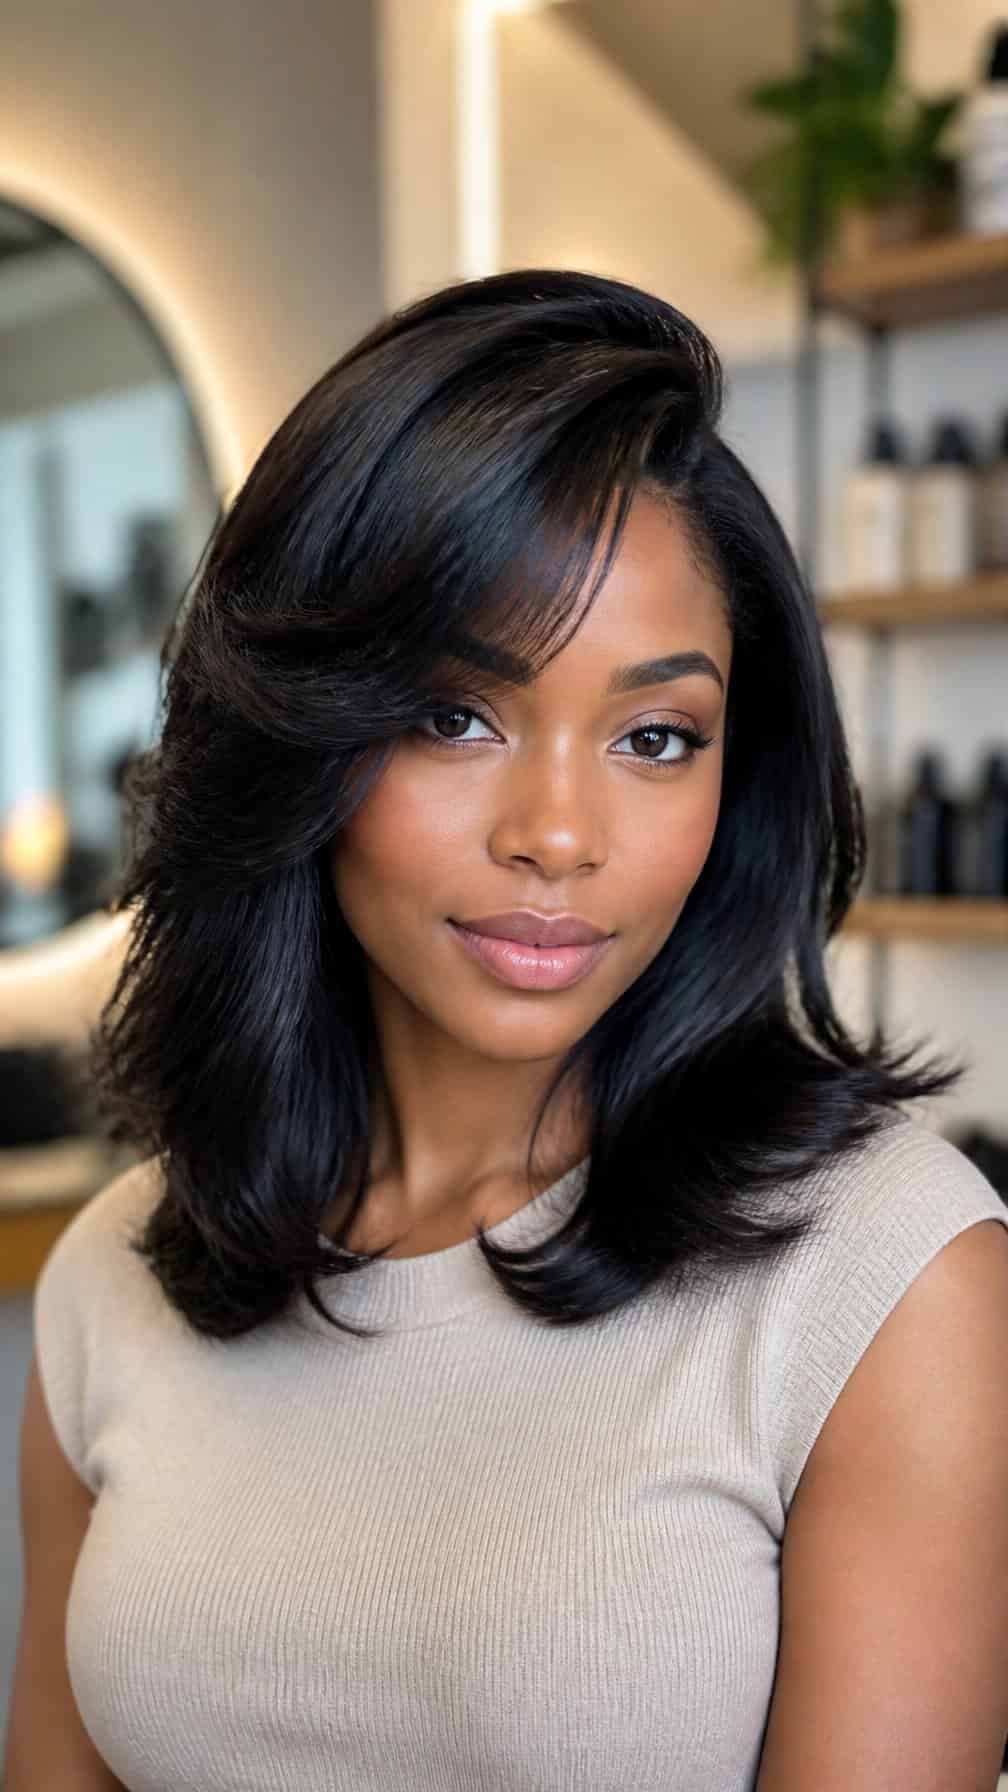
I choose a weave by matching the installation method, hair weight, and styling demands to my natural hair. Texture, density, daily routine, and maintenance time all affect how comfortable and practical the finished style will be.
Hair Texture and Density Considerations
I consider my hair’s density before selecting a quick weave. Fine or thinning hair usually works better with lightweight bundles, a partial style, or a closure that limits tension on the edges. Thick hair can support fuller looks, but I still avoid excess weight that may cause scalp discomfort.
My natural texture also affects blending and preparation. Straight or loosely textured hair may blend with silky extensions after gentle heat styling, while tightly coiled hair may need a flat braid pattern, molded base, or closure for a smooth finish. I protect my hair with a clean, dry base and avoid placing adhesive directly on fragile strands.
Lifestyle and Maintenance Needs
I match the style to my schedule and activity level. A short bob, layered cut, or straight shoulder-length weave needs less daily handling than long curls that require detangling and reshaping. If I exercise often, I choose a breathable style with a secure base and keep sweat from remaining on my scalp.
I also consider how long I plan to wear the weave. For a short-term change, a quick weave with a simple part may offer practical styling. If I need more flexibility, I select a closure, leave-out design, or versatile curl pattern that can support several looks without frequent heat or restyling.
Protecting Your Natural Hair and Scalp
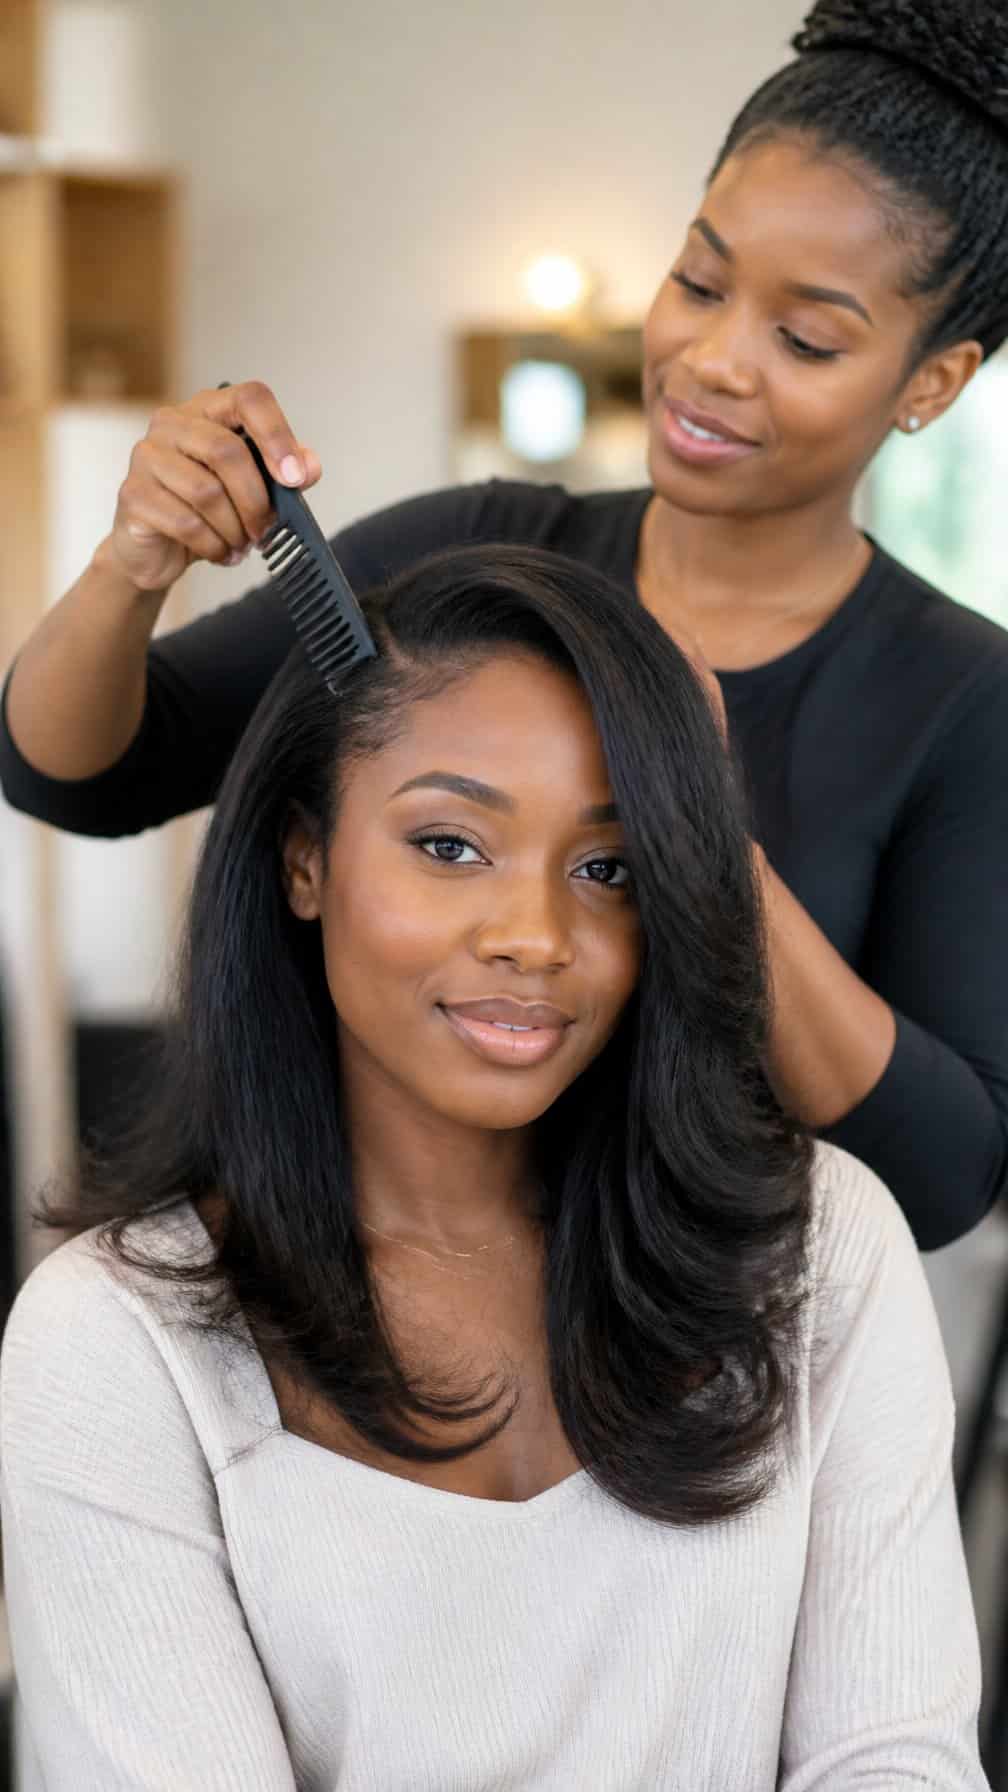
I protect my natural hair by reducing tension, keeping the scalp clean, and maintaining moisture beneath the weave. Careful installation, regular cleansing, and nighttime protection help me enjoy a quick style without neglecting the hair underneath.
Proper Installation Practices
I start with clean, fully dry hair and choose a low-tension braid pattern. Tight braids, cornrows, or thread can cause soreness, breakage, and thinning around the edges, so I ask the stylist to loosen any area that feels painful or pulls when I move my face.
I avoid installing a weave over irritated skin, open sores, or severe flaking. A breathable cap and properly fitted extensions reduce friction, while lightweight tracks prevent unnecessary pressure on the roots. I also leave enough time between installations to examine my scalp and trim damaged ends.
Warning signs to address early:
- Persistent tenderness or headache
- Redness, bumps, or swelling
- Broken edges or increased shedding
- Numbness or burning
Washing, Moisturizing, and Nighttime Care
I cleanse my scalp about every one to two weeks, adjusting the schedule if I sweat frequently or use heavy products. I dilute shampoo with water, apply it along the parts with an applicator bottle, and massage gently with my fingertips instead of scratching with my nails.
After rinsing, I press out excess water and dry the roots completely to limit lingering dampness. I apply a small amount of lightweight leave-in conditioner or scalp moisturizer where needed, avoiding heavy oils that can create buildup beneath the weave.
At night, I wrap the style with a satin scarf or use a satin pillowcase. I loosely secure long hair before sleeping, and I never go to bed with wet roots. I remove the weave according to the stylist’s timing rather than extending it after the scalp becomes uncomfortable or difficult to clean.