
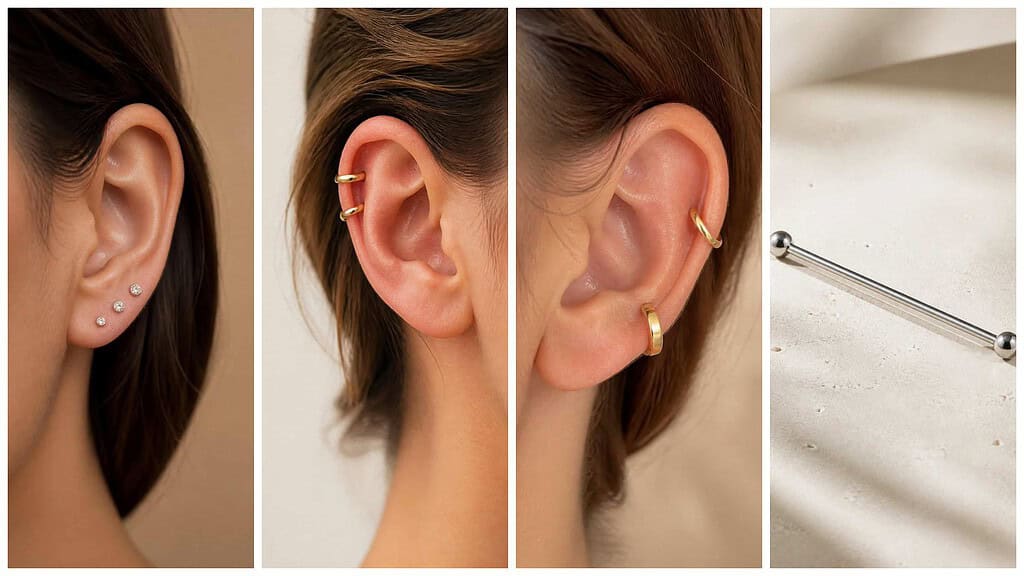
Planning a complete ear curation means balancing placement, proportion, metal, and personal style. I’ll walk through ideas for building a cohesive arrangement, from refined lobe groupings to distinctive cartilage combinations, so you can shape a look that feels intentional.
Save for later
Want to come back to this story? Save it with your email so it is easy to find again.
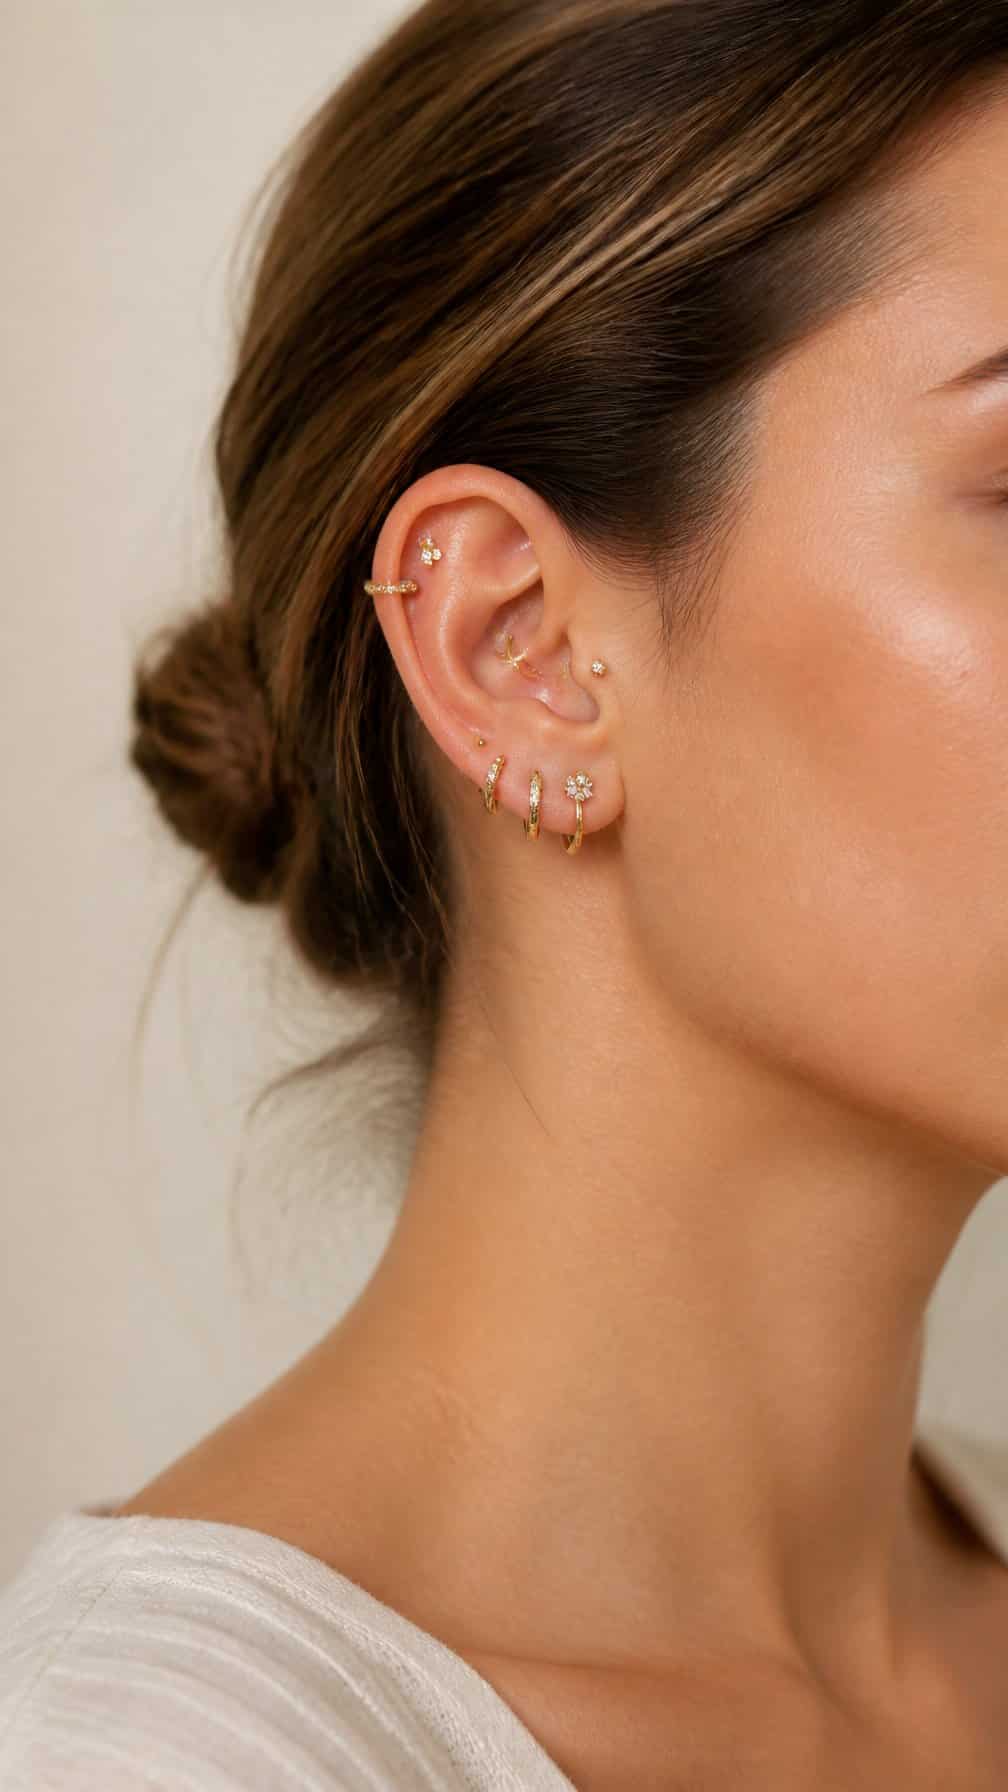
You can plan a balanced ear curation by combining varied placements, coordinated jewelry, and practical spacing for healing and comfort. I’ll also cover ways to mix metals, create contrast, and pair piercings across the ear without losing visual harmony. Safety and aftercare will guide every choice.
Table of Contents
- 1 1) Classic lobe and stacked lobe combination
- 2 2) Double lobe with a tiny gold hoop
- 3 3) Triple lobe with graduated studs
- 4 4) Upper-lobe constellation piercing
- 5 5) Single helix with a seamless hoop
- 6 6) Double helix with matching hoops
- 7 7) Forward helix trio with crystal studs
- 8 8) Flat piercing with a marquise gemstone
- 9 9) High helix with a huggie hoop
- 10 10) Industrial barbell with minimalist ends
- 11 11) Conch piercing with a bold gold hoop
- 12 12) Inner conch with a bezel-set stud
- 13 13) Double conch with coordinated hoops
- 14 14) Orbital conch with interconnected rings
- 15 15) Daith piercing with a curved clicker
- 16 16) Rook piercing with a curved barbell
- 17 17) Snug piercing with a tiny gemstone
- 18 18) Tragus piercing with a flat-back stud
- 19 19) Anti-tragus with a delicate bead
- 20 20) Forward helix and tragus pairing
- 21 21) Conch and helix balance
- 22 22) Lobe and daith contrast
- 23 23) Stacked lobes with a single helix
- 24 24) Mixed-metal ear curation
1) Classic lobe and stacked lobe combination
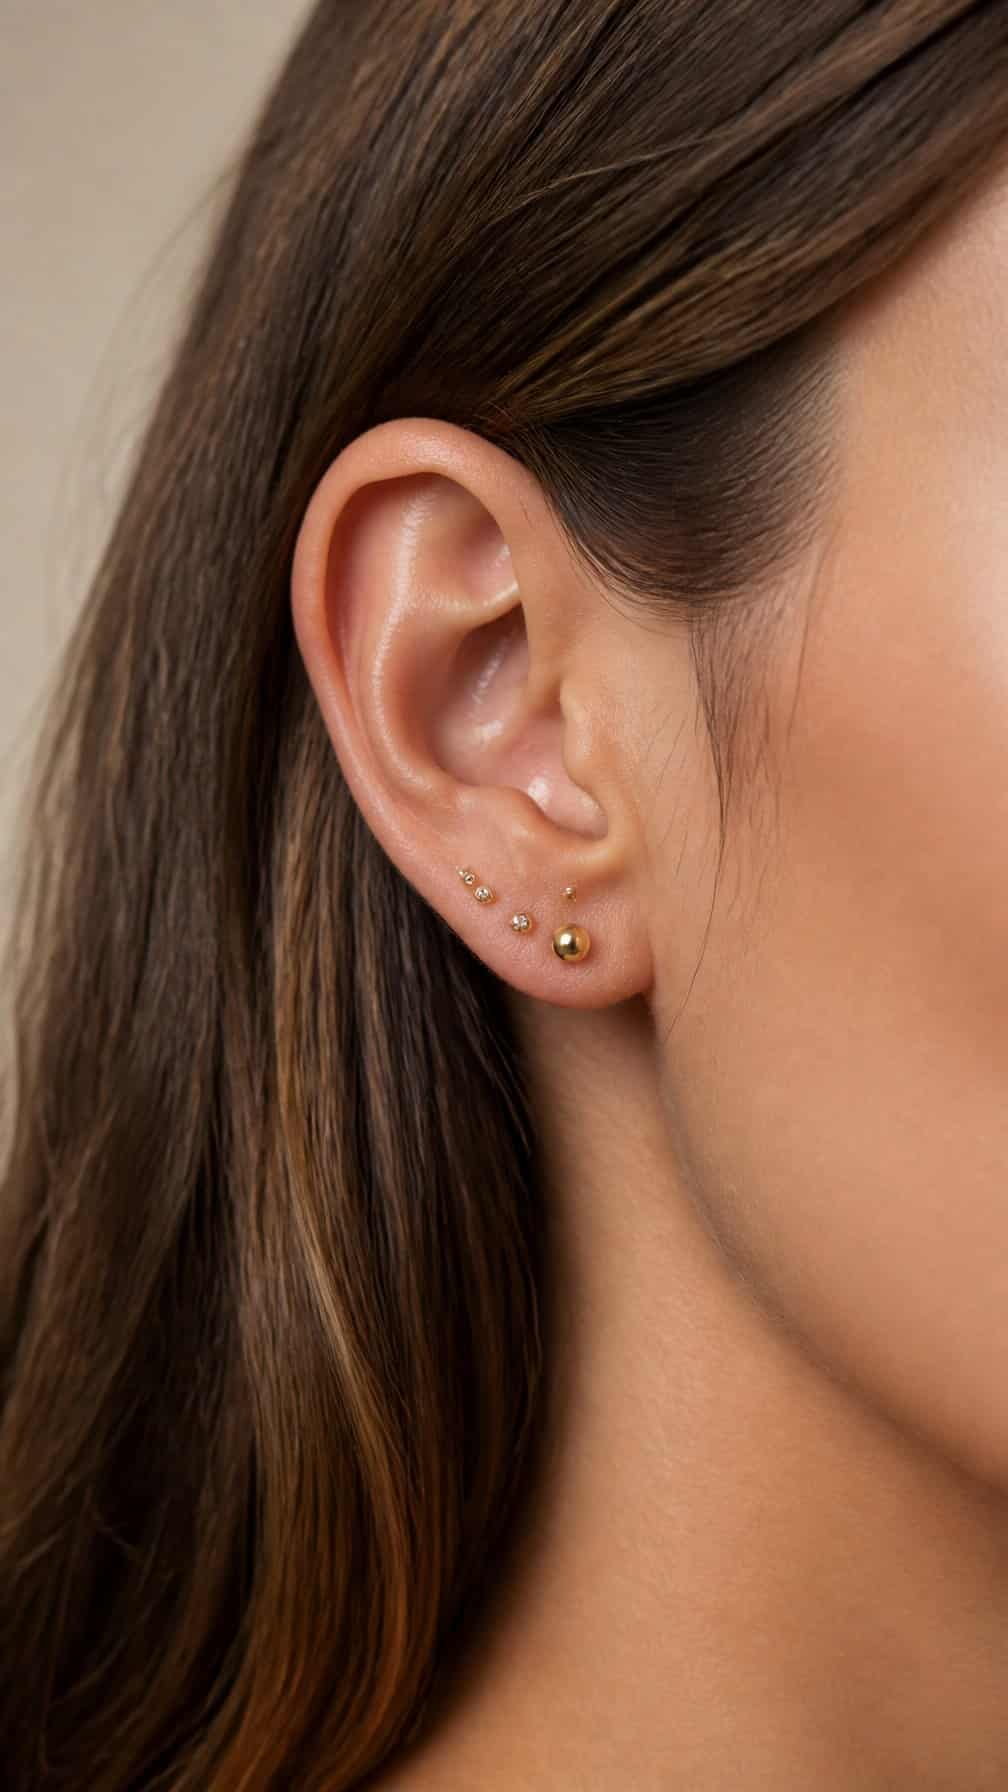
I use the first lobe piercing as the anchor, then add one or two smaller studs above it for a balanced stacked effect. This arrangement works well with simple jewelry, such as a round gemstone stud below and slim gold or silver beads above.
I leave enough space between each piercing to keep the layout clear and comfortable. When I plan the placement, I consider my ear shape, existing holes, and preferred jewelry size before piercing. Small hoops can replace the upper studs later, but lightweight pieces usually keep the stack looking neat.
2) Double lobe with a tiny gold hoop
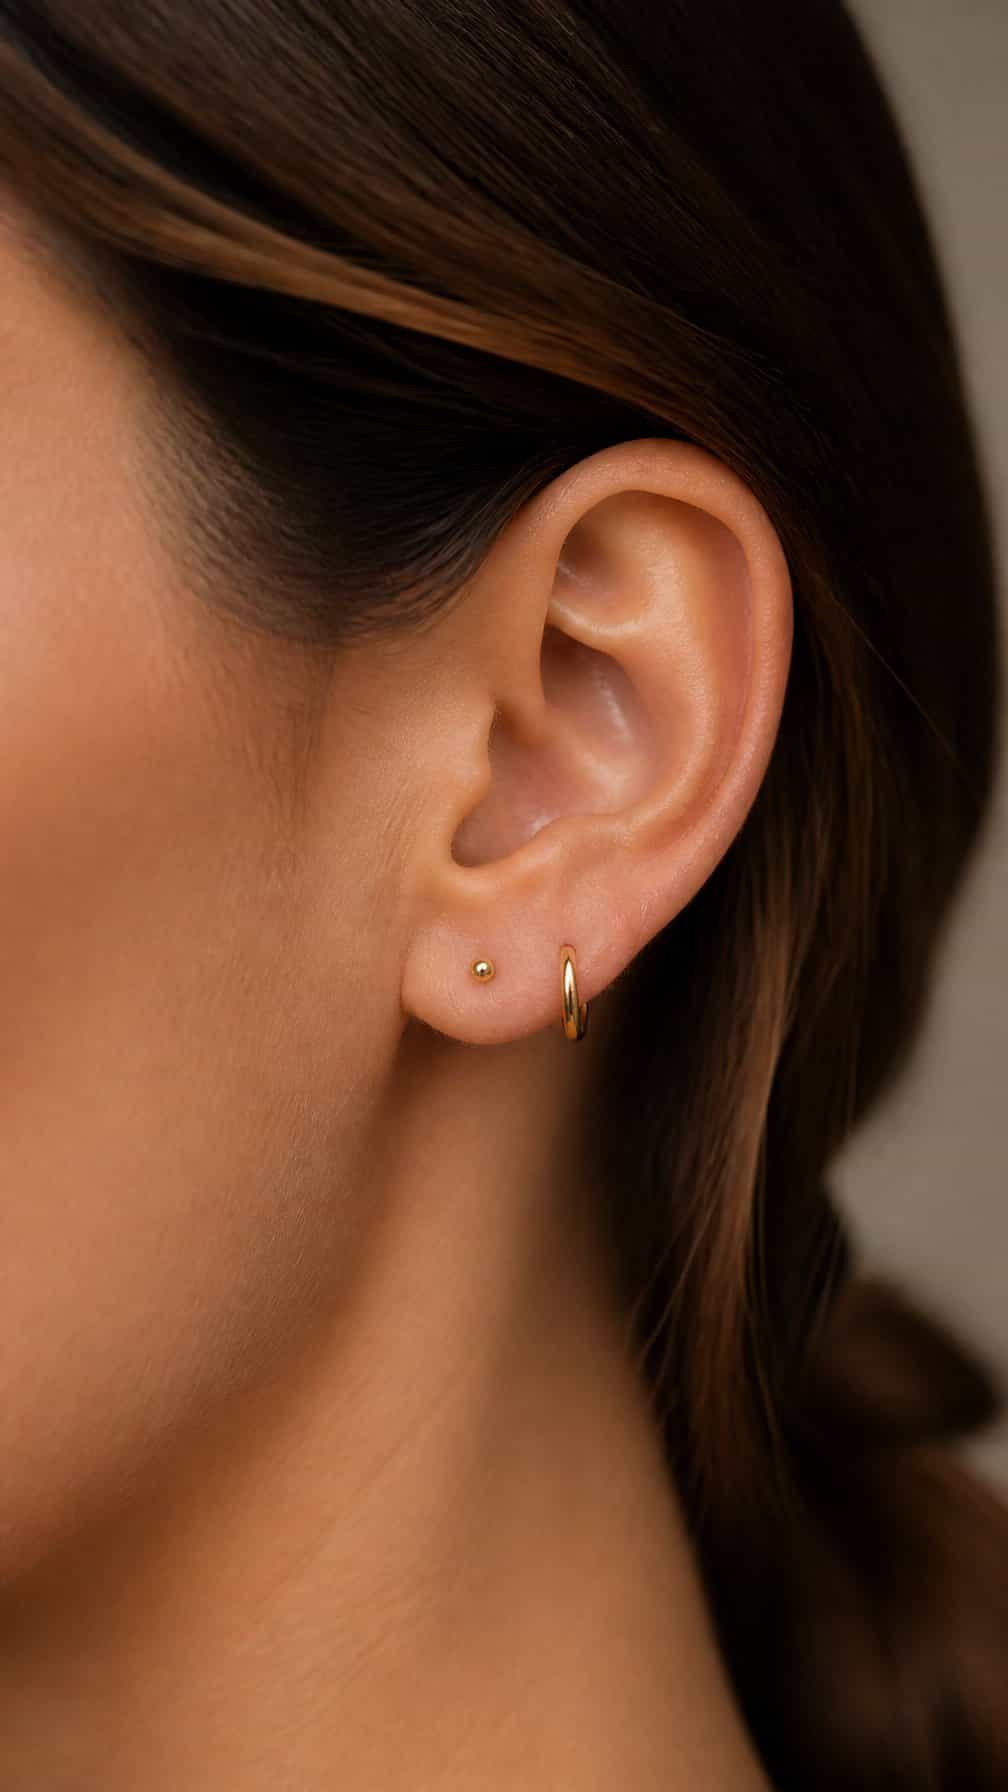
I like this pairing for its clean proportions: two lobe piercings placed in a gentle vertical line, with a tiny gold hoop in the upper position. The hoop adds movement without competing with a stud or larger piece in the first piercing.
I would choose a slim hoop with a snug diameter and a smooth finish for an understated look. My main consideration is spacing; the piercings should sit far enough apart for each hoop or stud to move comfortably without touching.
For a coordinated curation, I might use a small gold stud in the first lobe and repeat the metal elsewhere on the ear. I would confirm the placement with a professional piercer, especially if my lobes have limited room or uneven natural folds.
3) Triple lobe with graduated studs
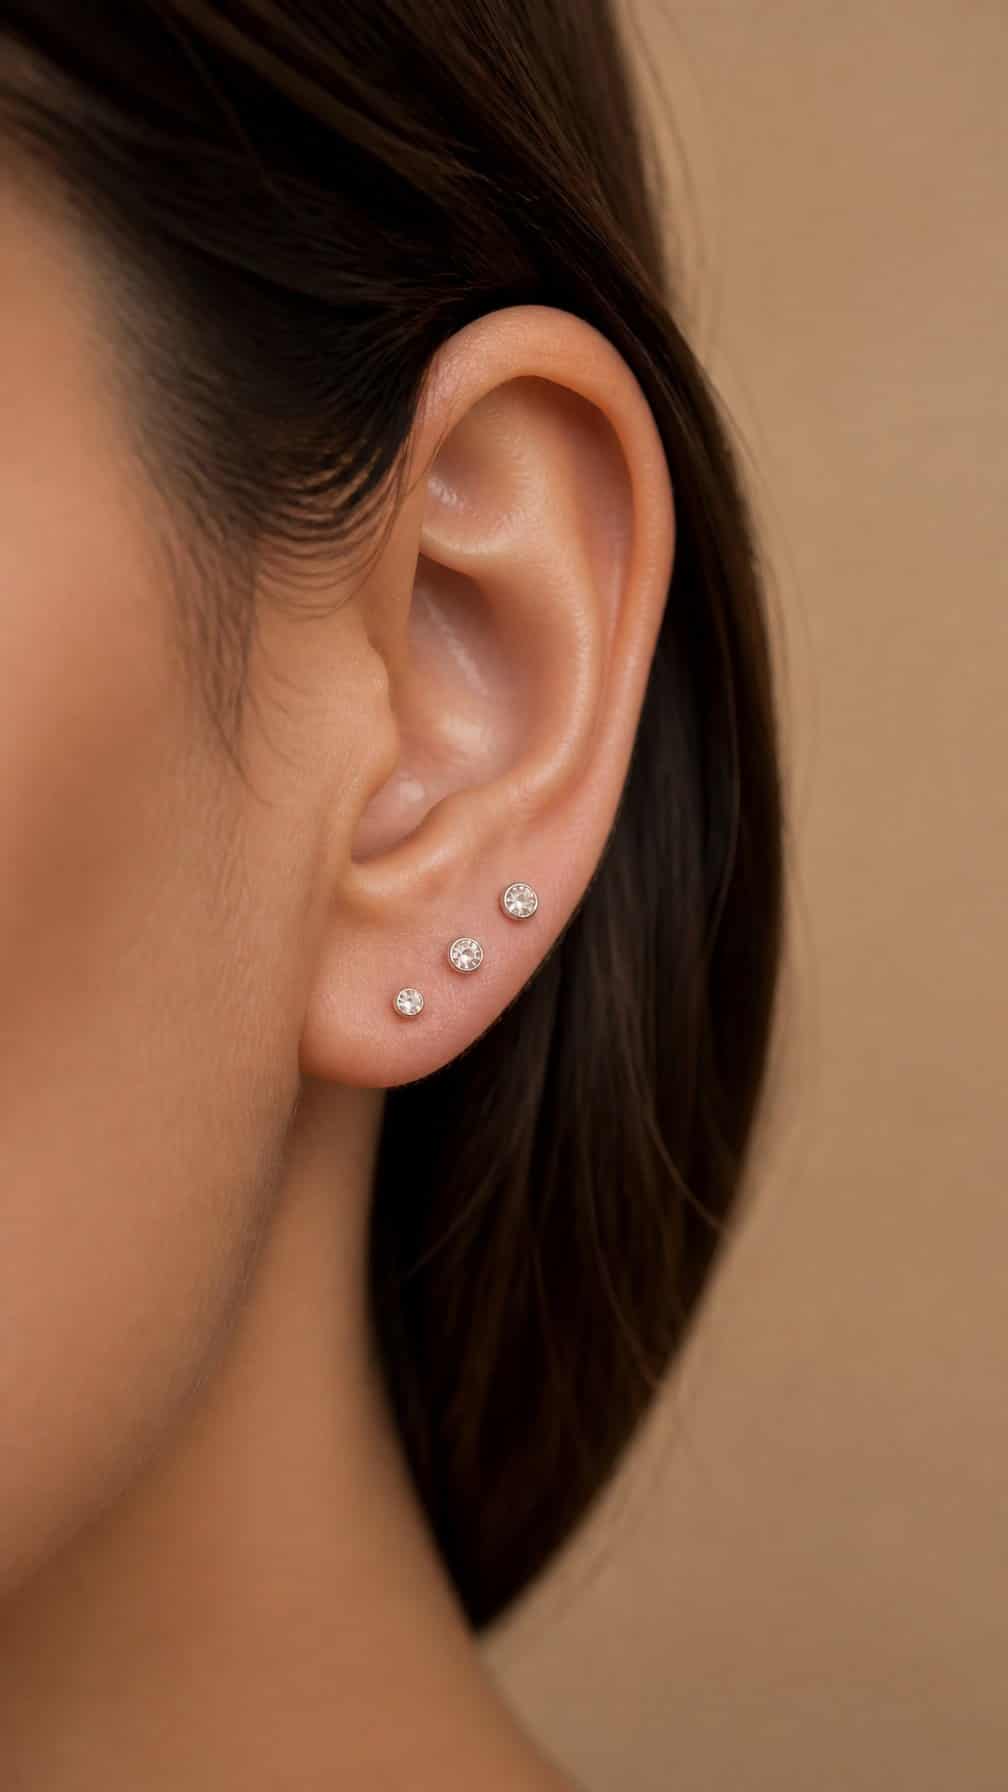
I place three studs along the lobe, moving from the smallest at the top to the largest at the bottom. This arrangement creates a clear progression while keeping the design balanced and easy to style.
I prefer matching metals and simple shapes for a polished look, such as round stones, flat discs, or tiny beads. I also check the spacing between each piercing so the studs remain distinct without appearing crowded.
This curation works well when I want visible detail without extending onto the cartilage. I can wear all three earrings together for symmetry or remove one when I want a lighter arrangement.
4) Upper-lobe constellation piercing
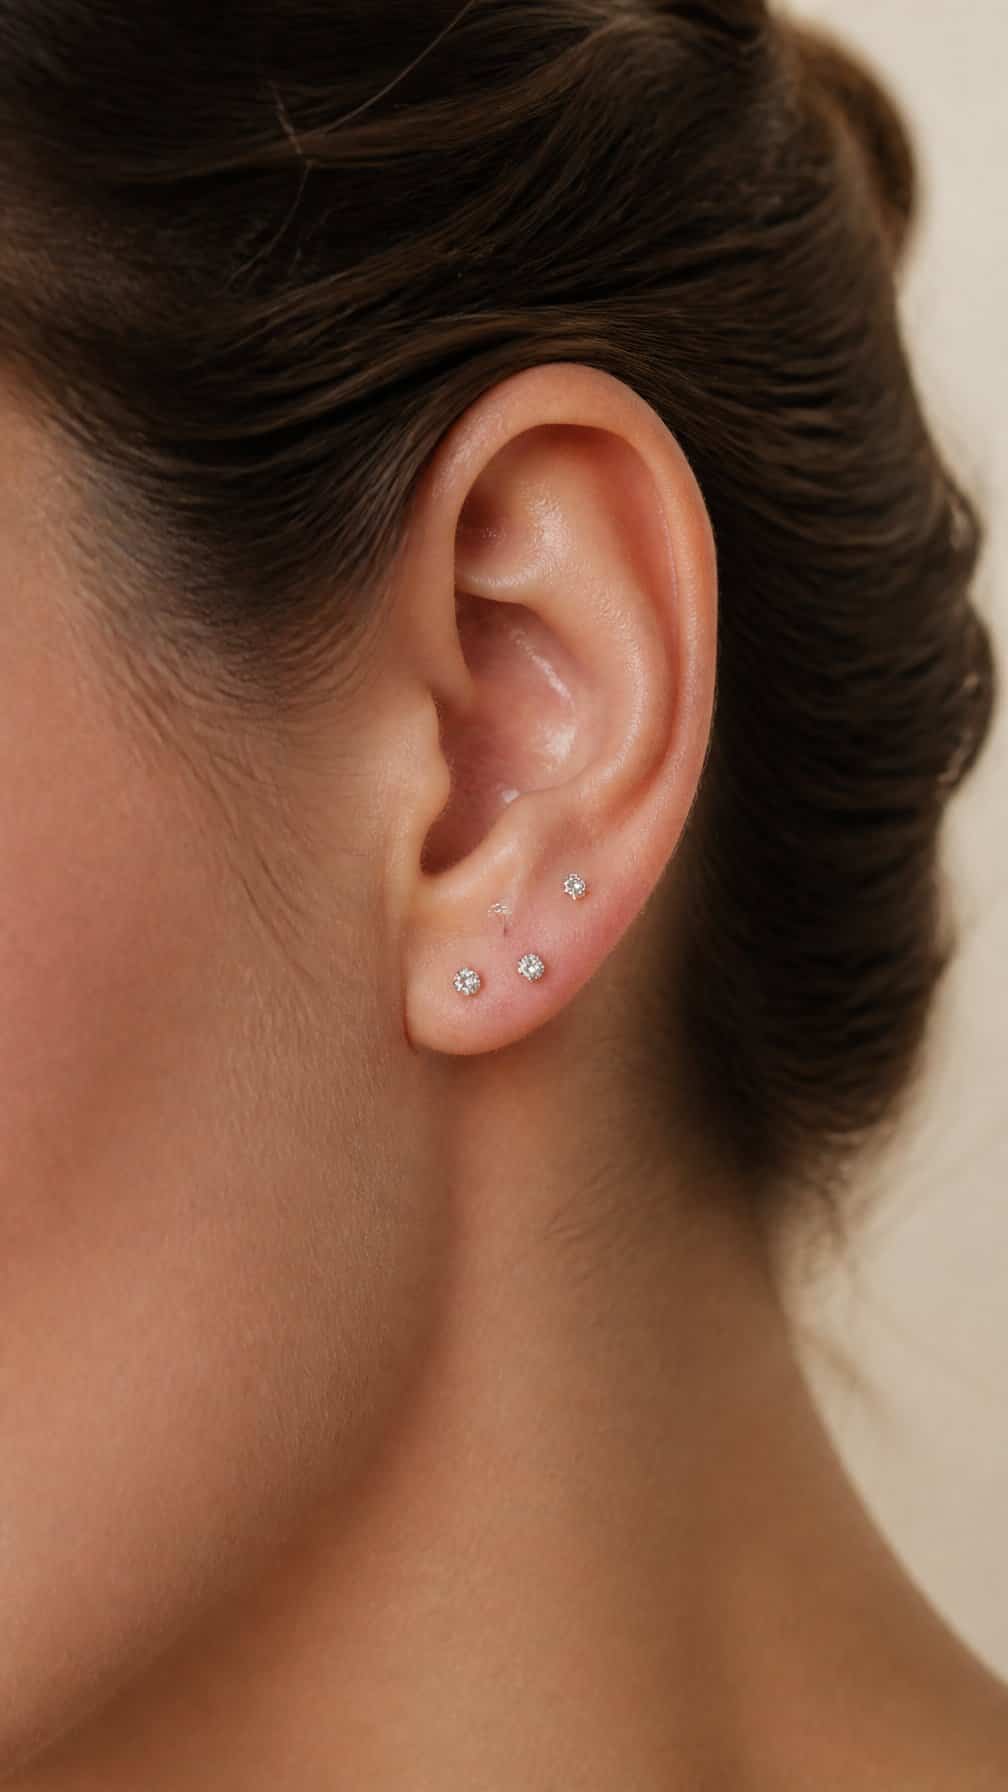
I use the upper lobe to build a small constellation around an existing lobe piercing. Two or three studs placed at slightly different heights create a deliberate pattern without extending into the cartilage. I usually choose a mix of tiny beads, stars, or geometric shapes, keeping the spacing balanced rather than perfectly identical.
I plan the arrangement with the ear’s natural shape in mind, since lobe thickness and available space vary. I also leave enough room between pieces for cleaning and swelling during healing. A professional piercer can mark several layouts first, helping me compare symmetry, jewelry size, and how the curation will look alongside hoops or lower-lobe studs.
5) Single helix with a seamless hoop
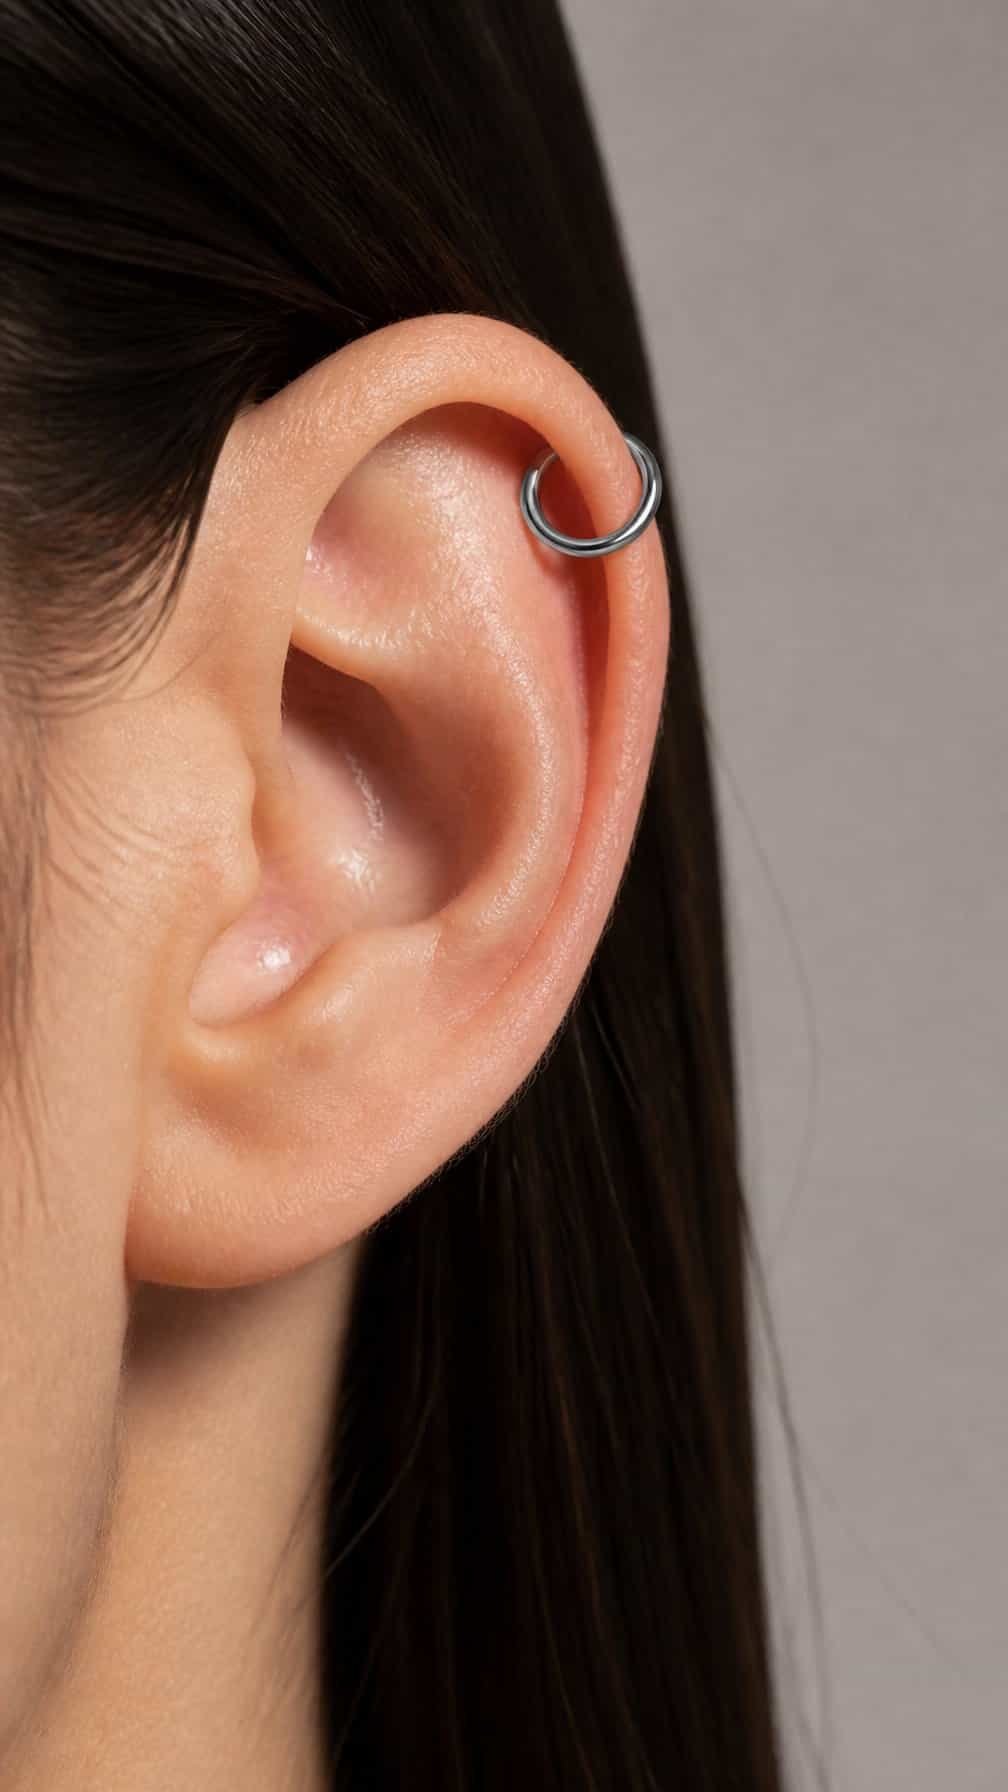
I like a single helix hoop for its clean, deliberate look. The placement sits along the upper ear, while the seamless design keeps the jewelry visually simple and easy to coordinate with studs or a lobe stack.
I would choose a snug hoop only after the piercing has fully healed, since the jewelry needs enough room to accommodate the ear’s shape without pressing against the cartilage. I also consider the hoop’s diameter, metal quality, and closure style before committing.
This option works well when I want one noticeable detail without building a dense arrangement. I can keep the rest of the ear minimal or add small pieces later as the curation develops.
6) Double helix with matching hoops
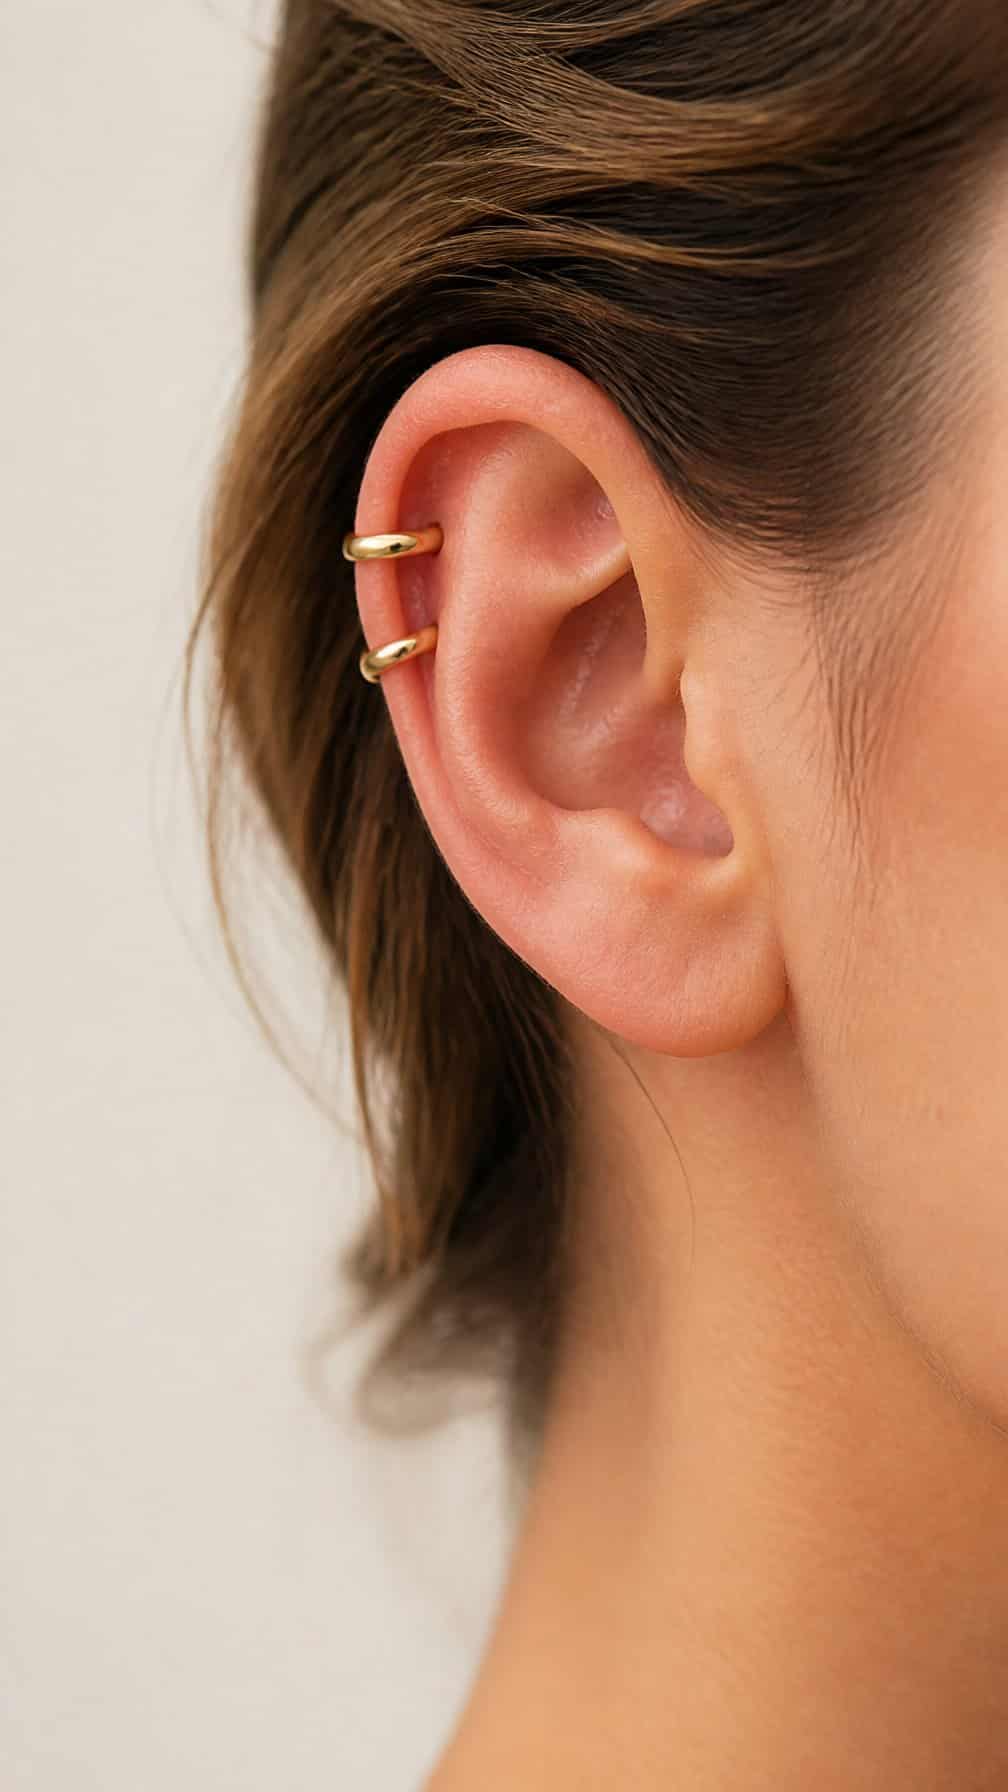
I like this arrangement for its clean, coordinated look. Two piercings along the upper ear follow the cartilage’s natural curve, while matching hoops create a consistent shape without making the lobe area feel crowded.
I would choose small, lightweight hoops with a slim profile, especially for a first double helix setup. Their diameter should suit the ear’s anatomy and leave enough space for swelling during healing. I would also keep both hoops in the same metal tone for a polished finish.
Because cartilage piercings can take several months to heal, I would plan the spacing with a professional piercer. I would avoid sleeping directly on that side and wait until the piercings settle before changing the jewelry.
7) Forward helix trio with crystal studs
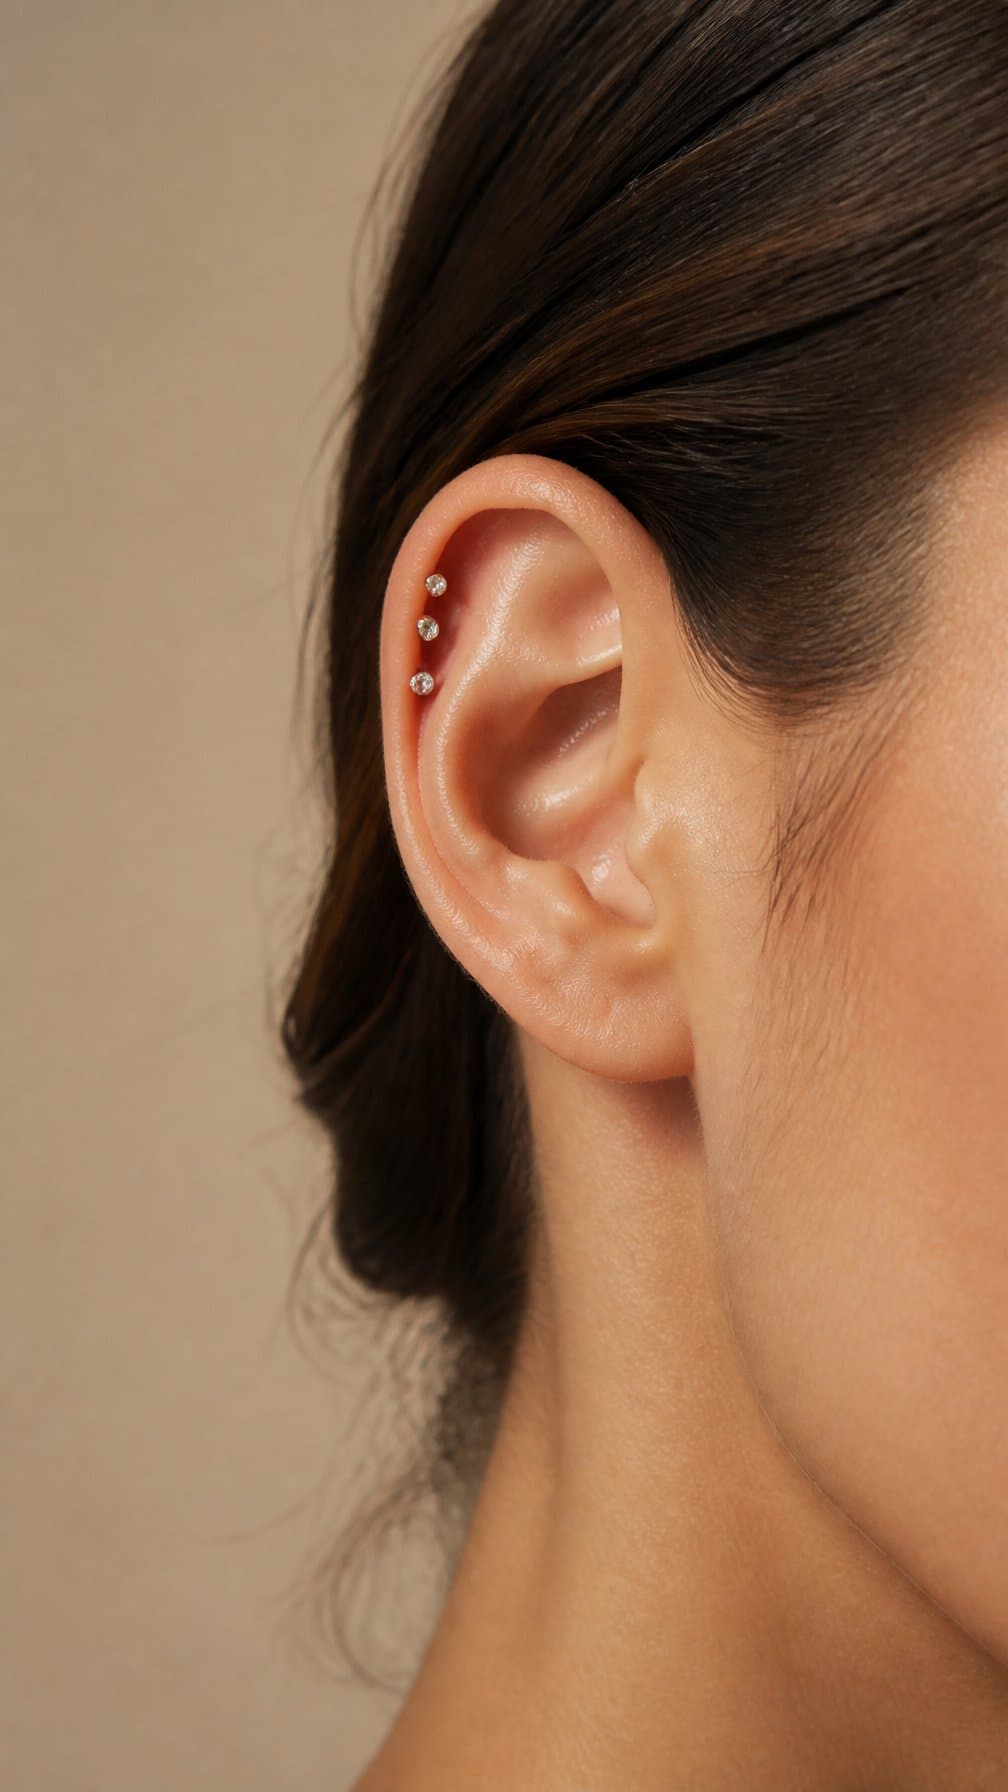
I like three small crystal studs along the forward helix for a neat, structured arrangement. Their close spacing creates a defined line, while matching stones keep the placement cohesive rather than visually crowded.
I would choose graduated sizes, with the smallest stud nearest the face and slightly larger stones above it. This arrangement follows the ear’s natural curve and gives each piercing a clear position. I would also leave enough space for cleaning and account for swelling during healing.
8) Flat piercing with a marquise gemstone
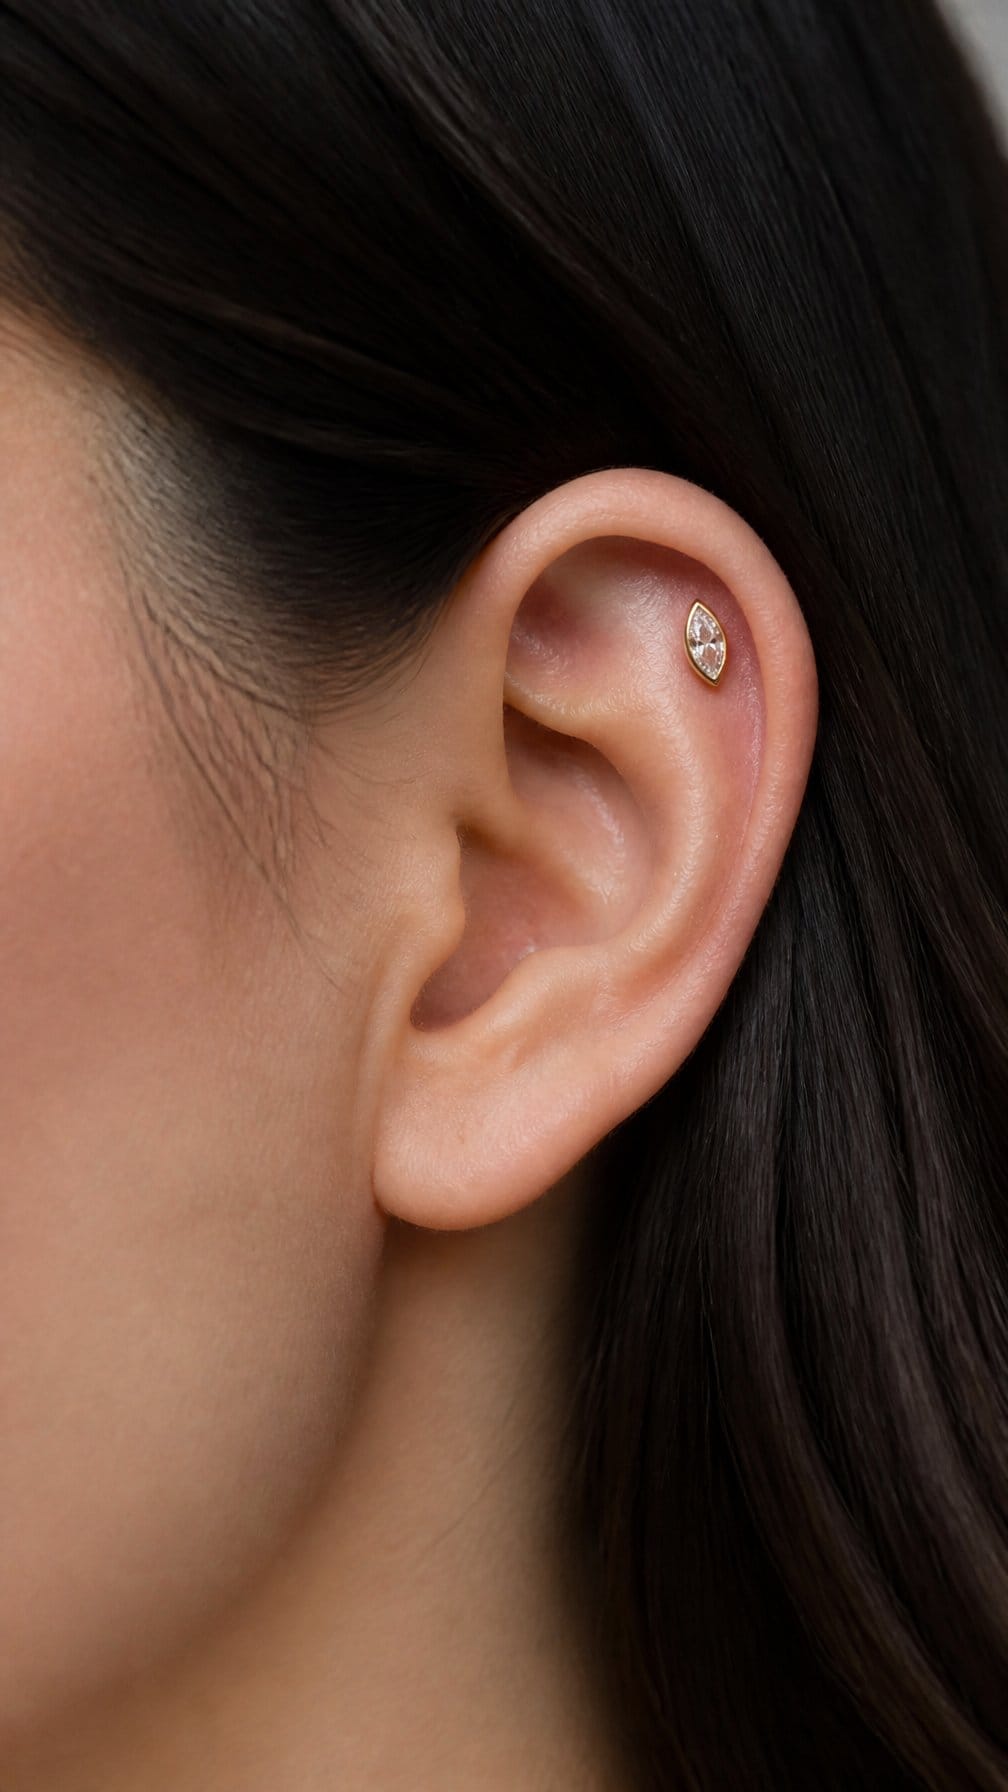
I like a flat piercing with a marquise gemstone when I want a refined focal point on the upper ear. The elongated shape draws attention along the ear’s natural lines, while a low-profile setting keeps the jewelry practical for everyday wear.
I would place it where the anatomy provides enough flat cartilage and leave room for nearby pieces. I would also consider the stone’s orientation: a vertical marquise creates a sharper look, while a horizontal setting feels wider and more graphic.
I would pair it with small huggies or simple lobe studs so the gemstone remains the main detail. During healing, I would avoid pressure from headphones and sleep carefully on the opposite side.
9) High helix with a huggie hoop
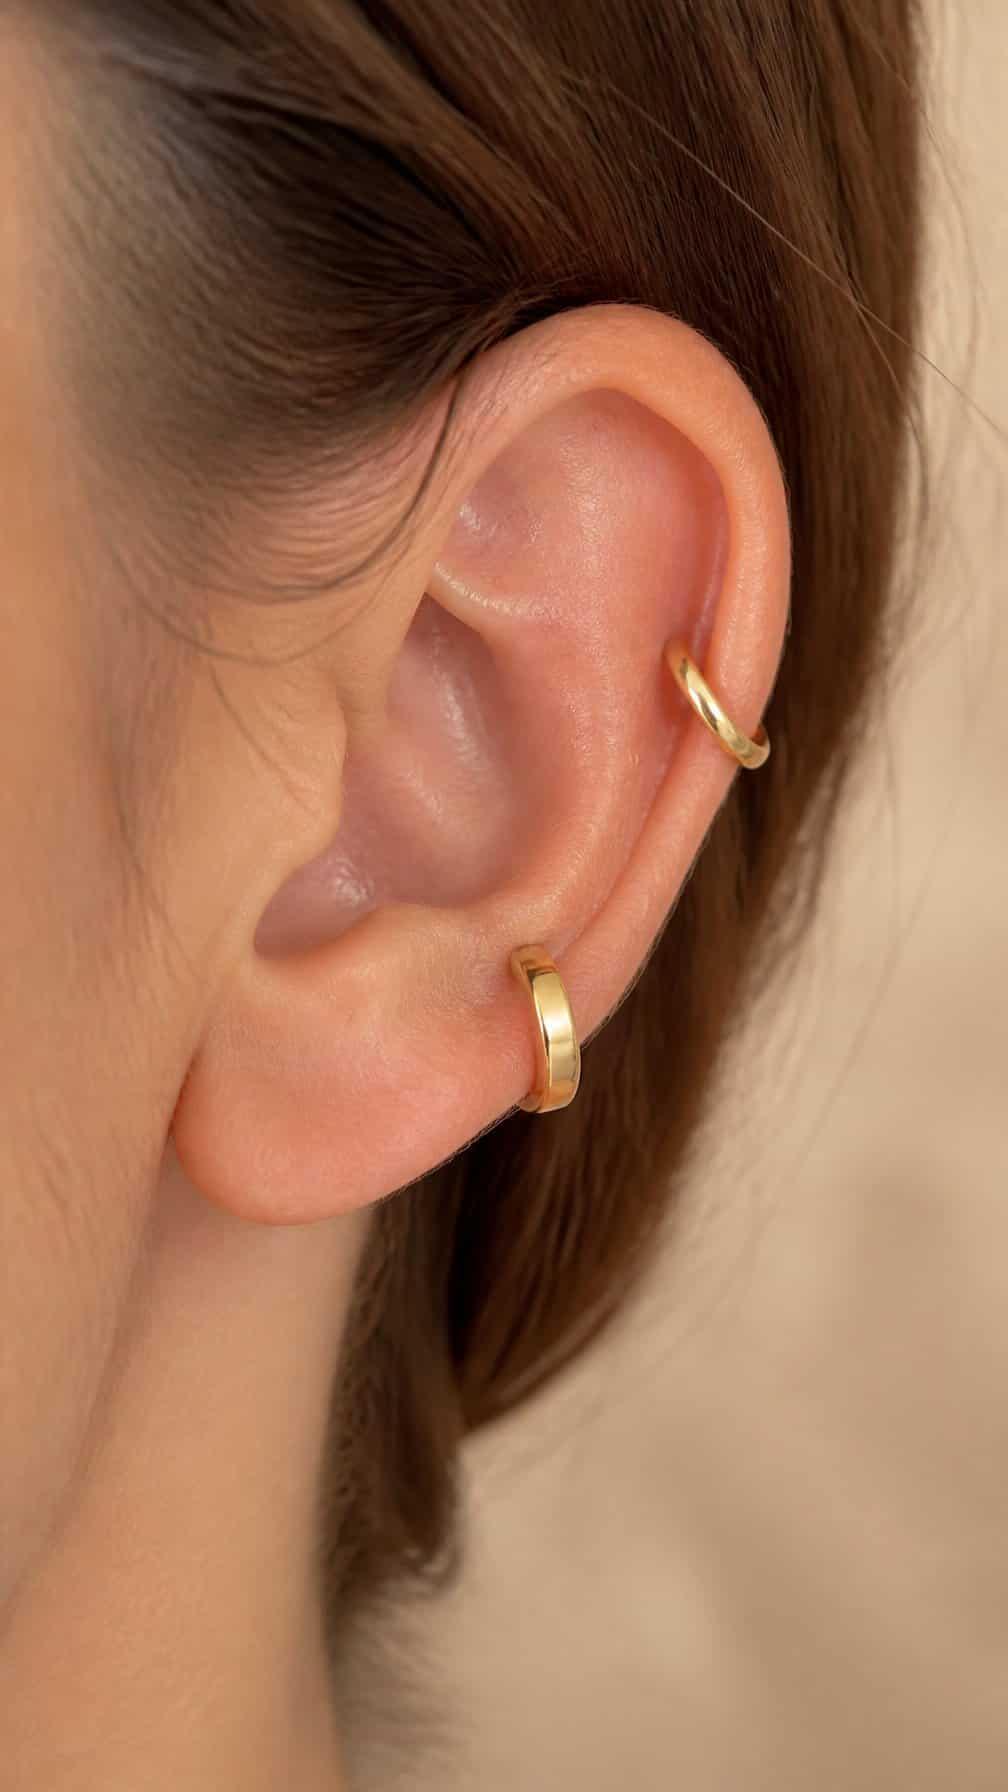
I like this placement for adding height without making the ear look crowded. The high helix sits near the upper rim, while a small huggie hoop follows the curve closely and keeps the profile neat. I would choose a lightweight hoop with a secure hinged closure to reduce pressure during daily wear.
For balance, I pair it with a simple lobe stud or a second helix piece in the same metal. I would leave enough space between nearby piercings for cleaning and swelling, and I would avoid sleeping directly on this side while it heals.
10) Industrial barbell with minimalist ends
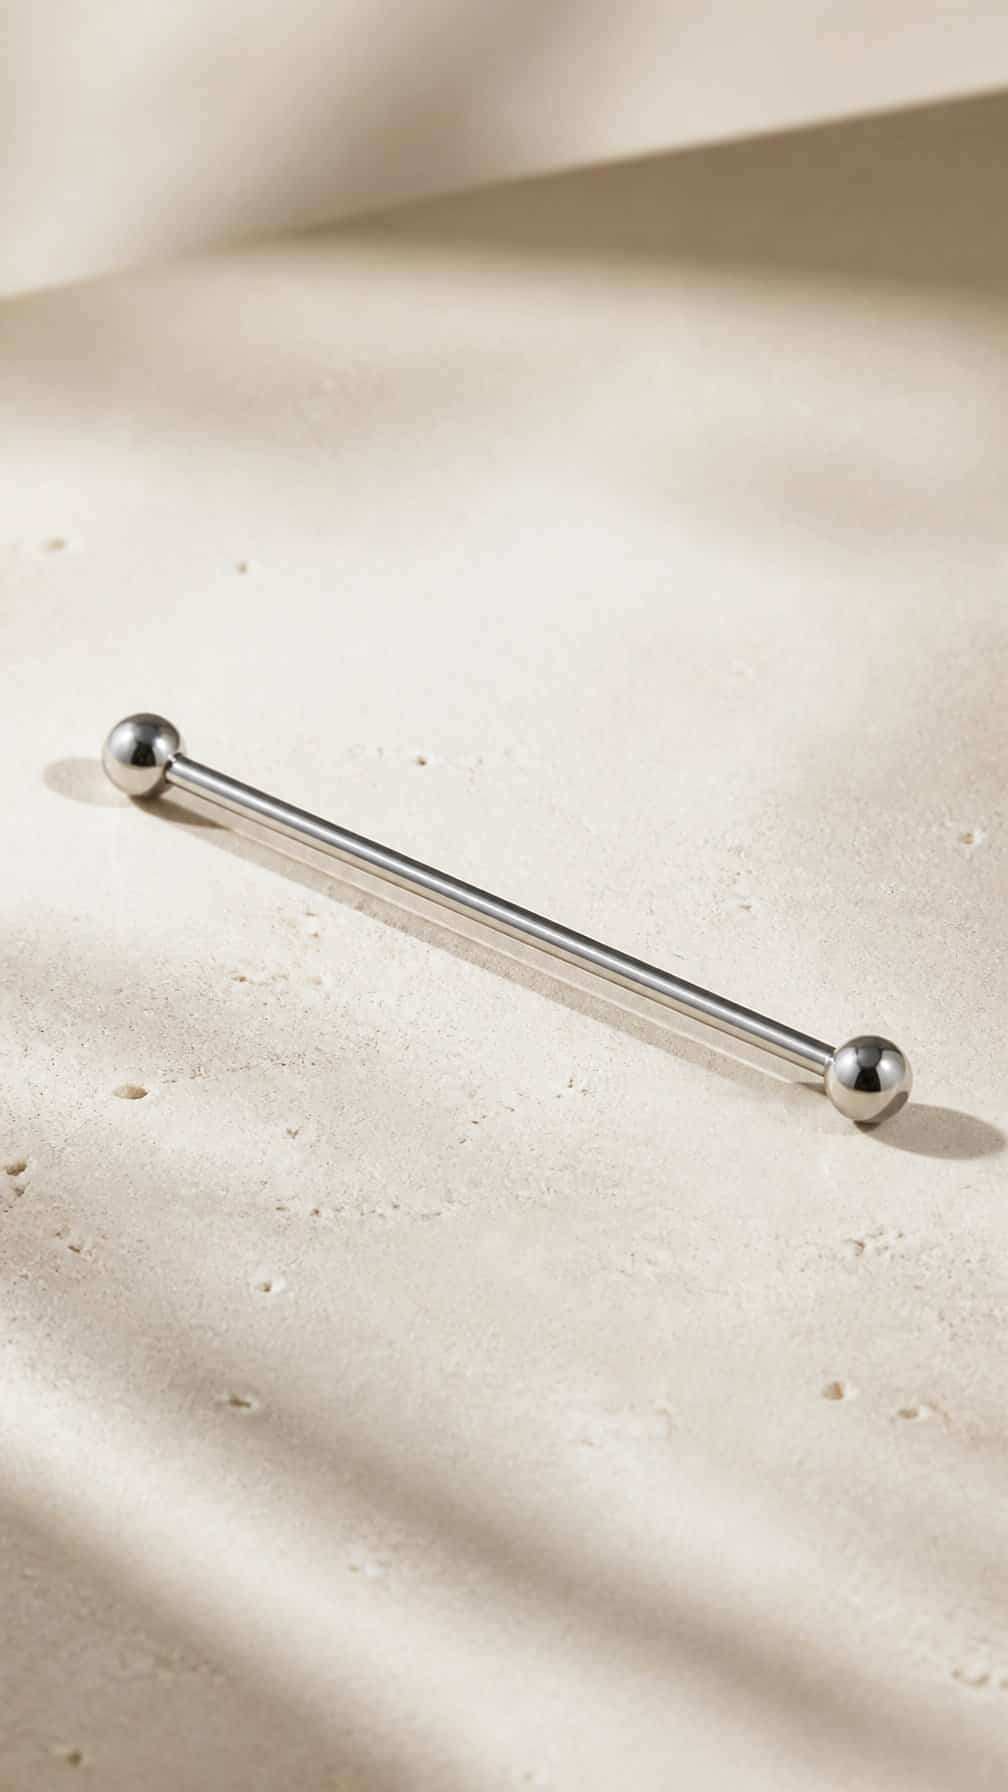
I like this placement for its clean, structured line across the upper ear. A straight bar connects two cartilage piercings, while small ball, disk, or bead ends keep the look restrained rather than ornate.
I would plan the anatomy and spacing with a professional piercer before choosing jewelry. Industrial piercings can require careful alignment, and the bar may feel less comfortable if the ear’s shape does not support a direct connection.
I prefer implant-grade titanium for a fresh piercing, with polished ends that match the rest of my curation. After healing, I can introduce subtle variations, such as one flat end and one tiny gem, without losing the minimalist effect.
11) Conch piercing with a bold gold hoop
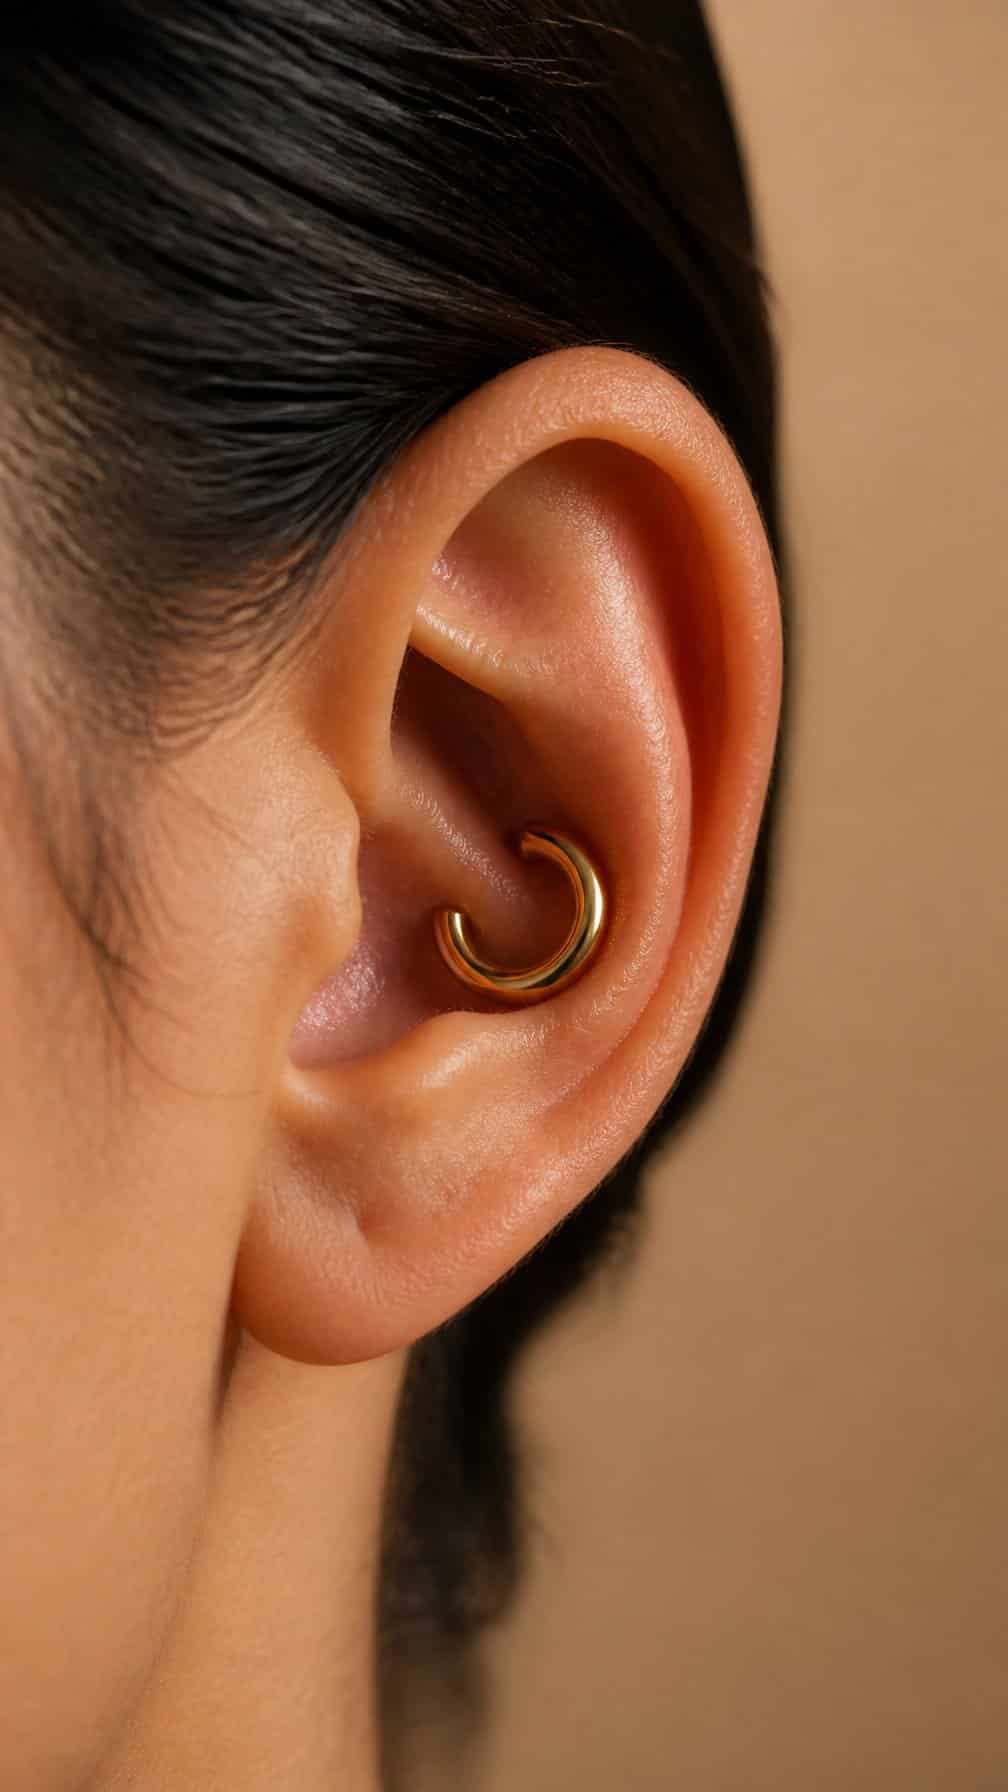
I like a bold gold hoop in the conch for the way it creates a clear focal point without filling the entire ear. I would pair it with smaller gold studs or slim hoops along the lobe and helix, keeping the metal consistent while letting the conch lead the arrangement.
I would choose the hoop size based on the ear’s shape and the desired movement. A snug ring looks polished and compact, while a slightly larger hoop adds more presence. I would also ask a professional piercer to assess the anatomy and recommend suitable jewelry thickness before planning the placement.
12) Inner conch with a bezel-set stud
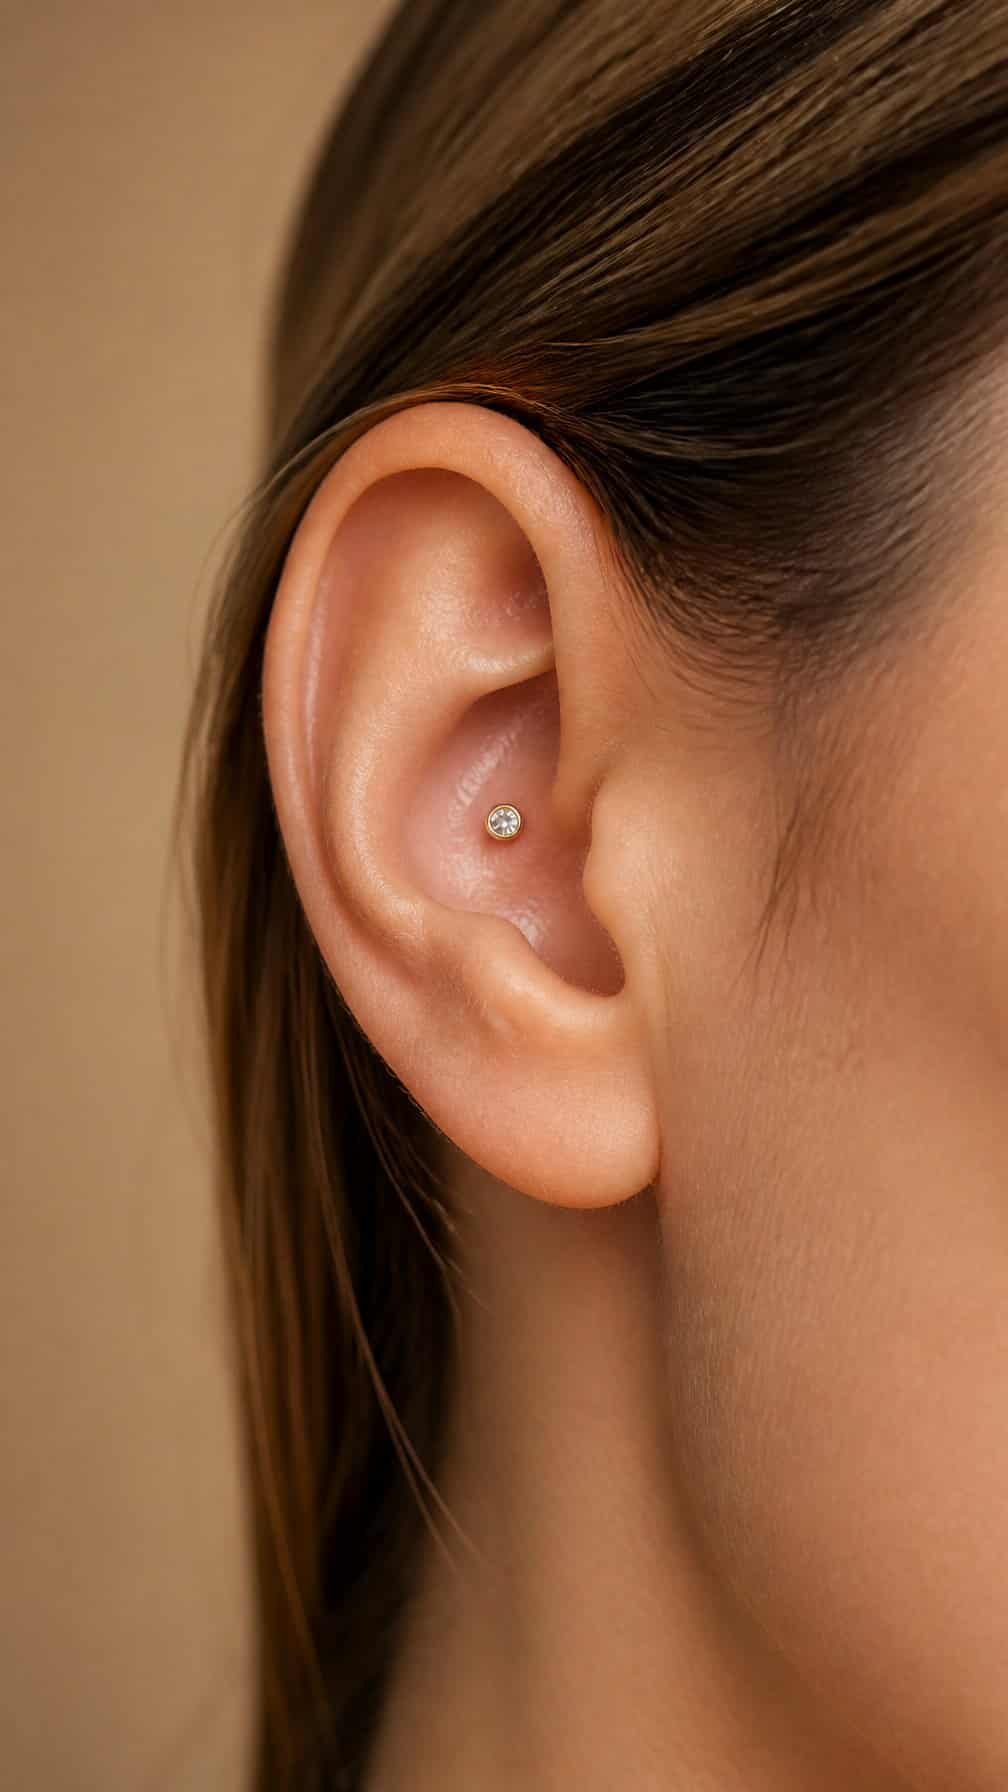
I like a bezel-set stud in the inner conch because its smooth rim gives the piercing a clean, structured look. The setting holds the stone securely and avoids prongs that might catch on hair, masks, or headphones. I would choose a small flat-back style for balanced proportions and easier day-to-day wear.
I would plan this placement around my existing jewelry, especially nearby lobe or helix pieces. A clear stone keeps the arrangement understated, while a colored gem can introduce contrast without adding visual clutter. I would also leave enough space for swelling and follow my piercer’s guidance on jewelry size and healing care.
13) Double conch with coordinated hoops
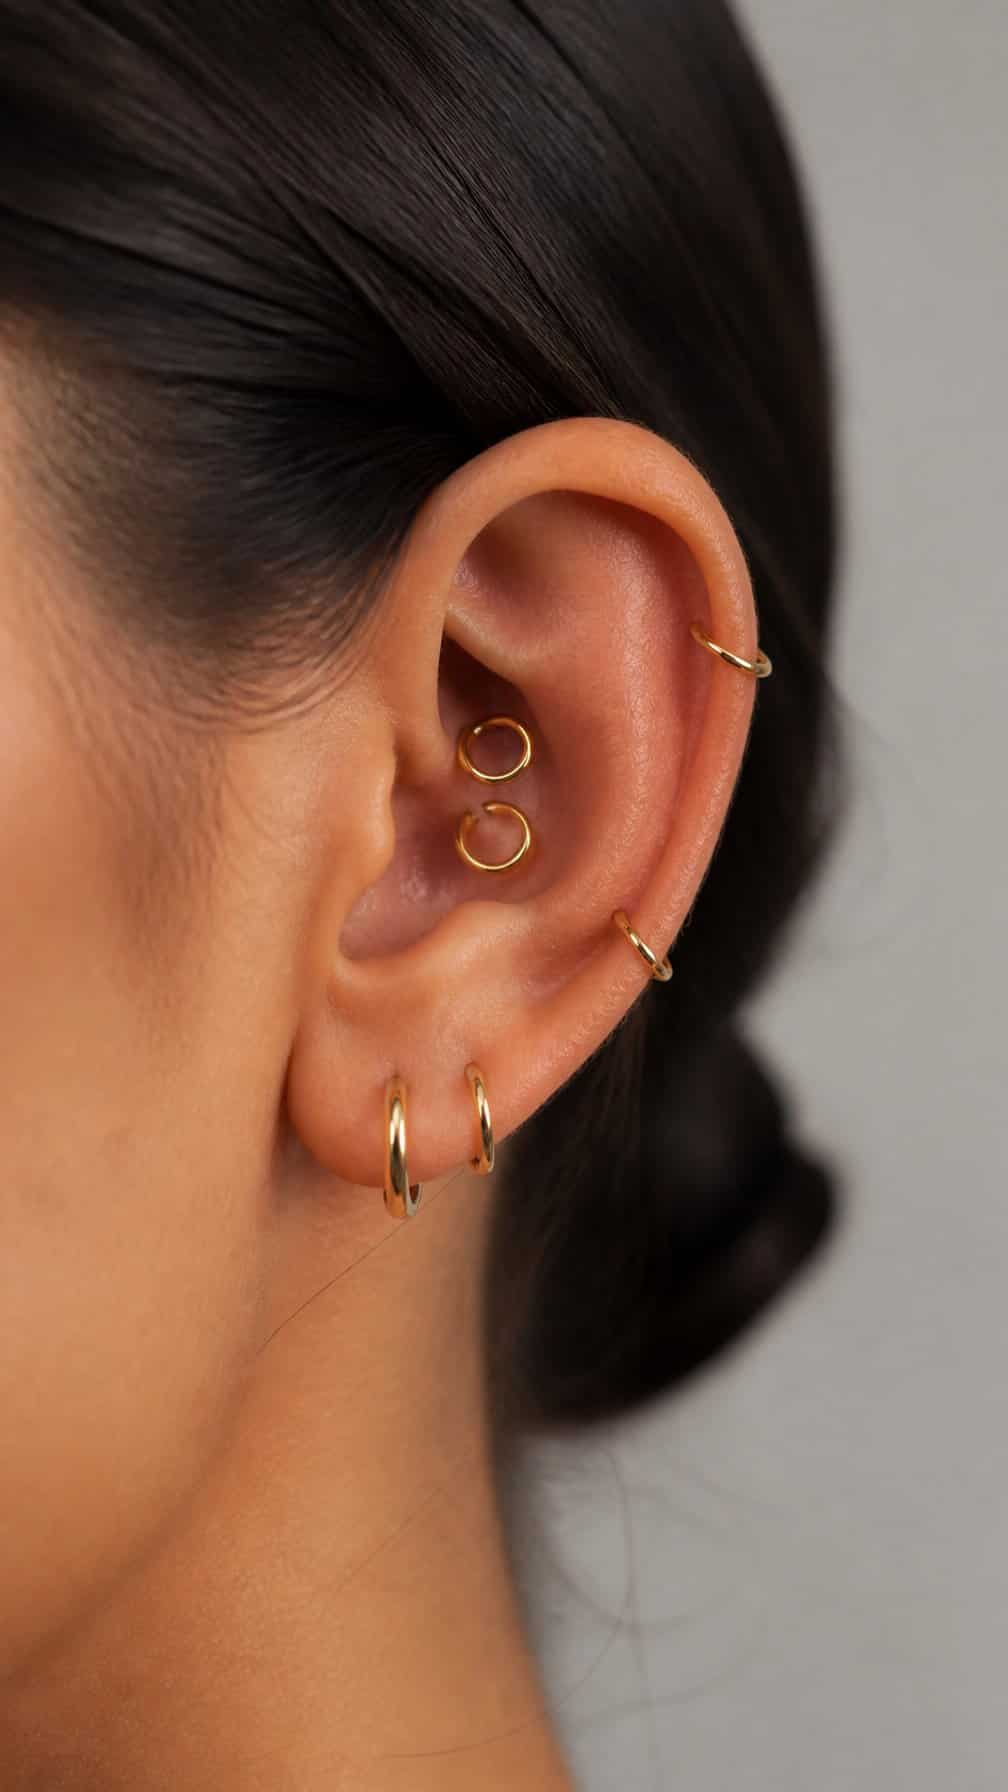
I like double conch piercings for the way they create a focused line through the ear’s center. I would choose two hoops with matching metal and similar proportions, leaving enough space between them to prevent visual crowding and allow room for swelling during healing.
I would ask a piercer to assess my conch anatomy before selecting jewelry. Small seamless hoops suit a restrained look, while slightly larger clickers create clearer separation. I would also consider my headphones, hair, and sleeping position, since conch piercings can experience pressure from everyday contact.
14) Orbital conch with interconnected rings
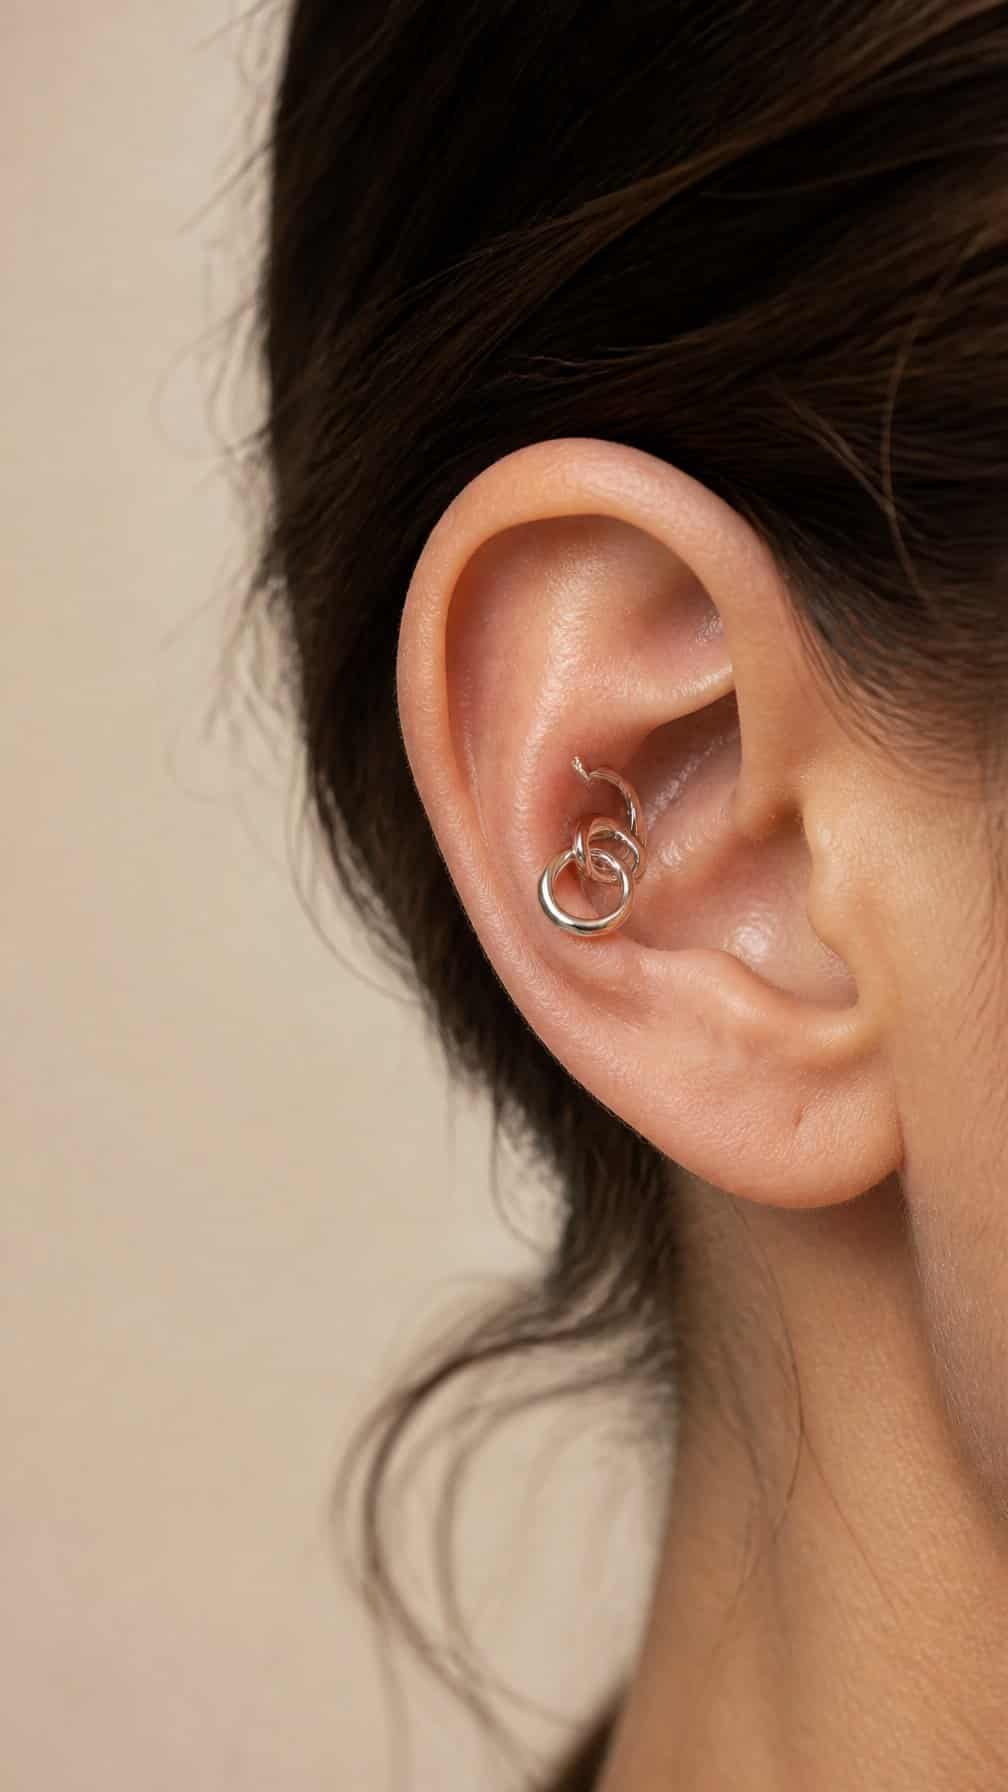
I like this arrangement for its clean, linked appearance: two conch piercings support one continuous ring or a matched pair of connected hoops. I would plan the jewelry placement carefully because the rings need to sit evenly without pressing against the inner ear.
A professional piercer can assess your anatomy, mark the entry points, and confirm that the jewelry will move comfortably. I would start with implant-grade titanium or another suitable initial material, then choose polished, seamless rings after healing permits. Sleeping pressure, headphones, and cleaning access all deserve consideration before committing to the design.
15) Daith piercing with a curved clicker
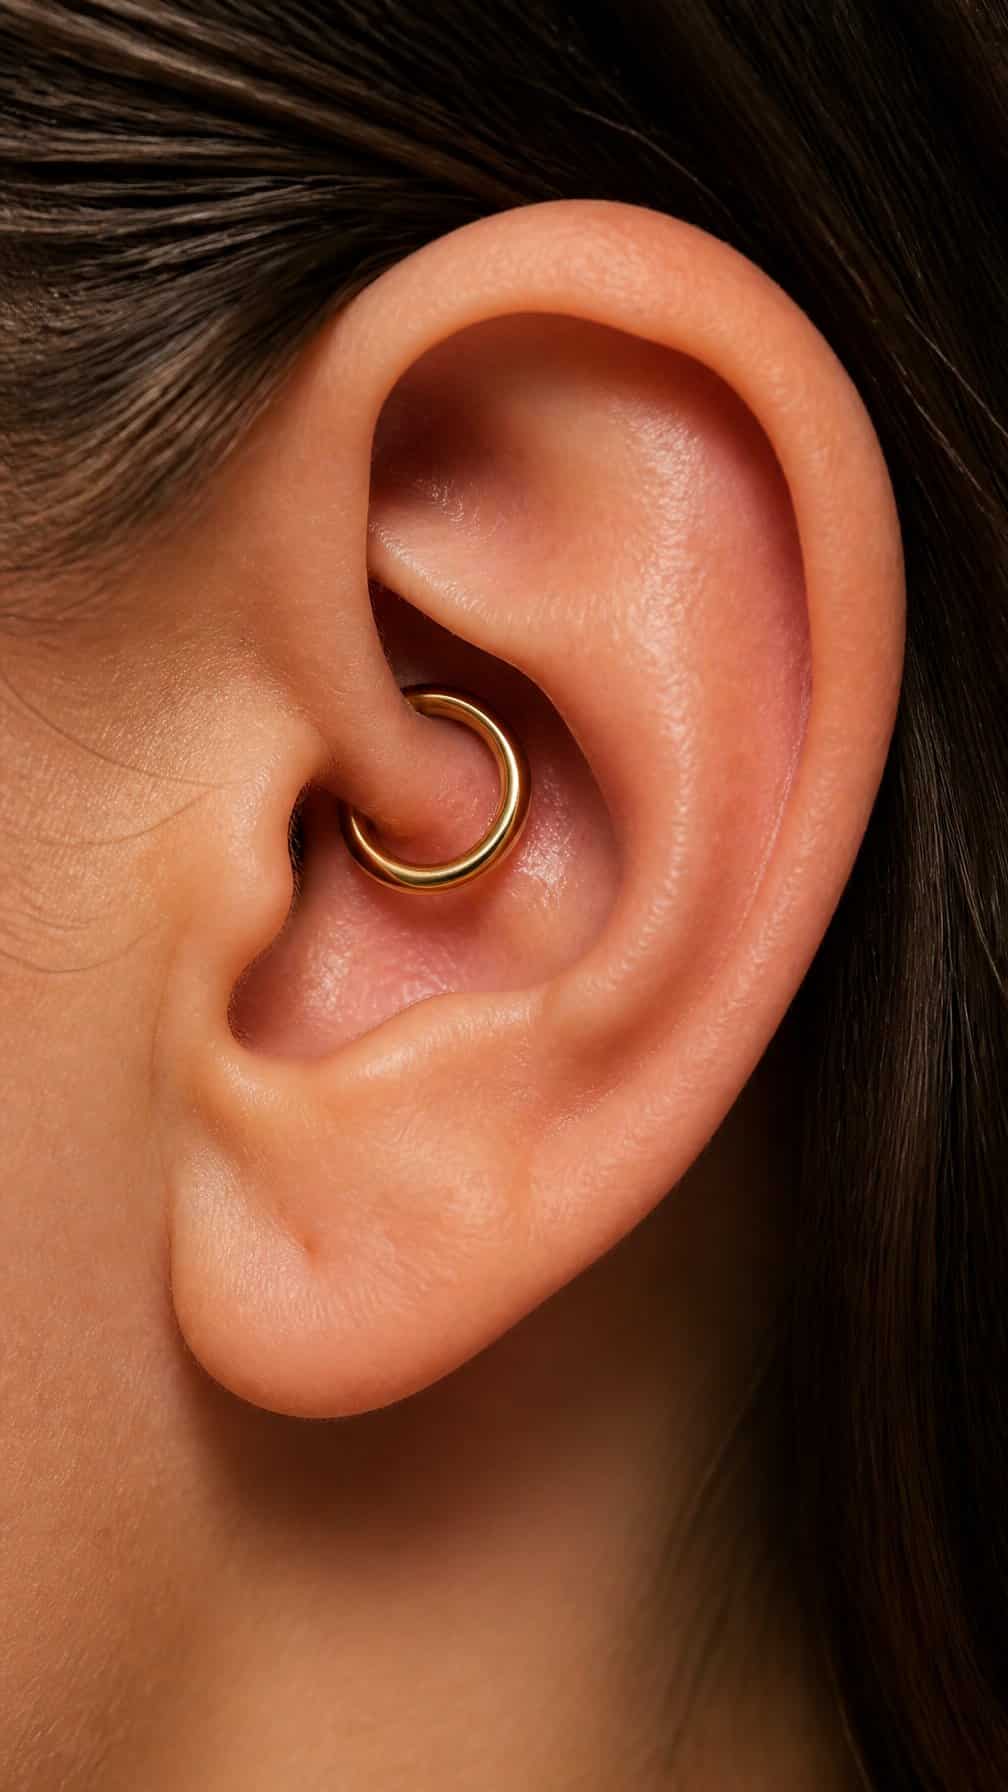
I like a curved clicker in the daith because its rounded shape follows the ear’s natural fold and creates a clean, continuous line. The hinged closure keeps the design practical while adding a polished detail that stands out without dominating the rest of the curation.
I would pair it with small, understated pieces in the lobe or helix to keep the inner-ear placement visually balanced. A plain gold clicker looks warm and refined, while silver or titanium gives the arrangement a cooler, more minimal finish.
Because daith anatomy varies, I would ask an experienced piercer to assess the fold and recommend an appropriately sized ring. I would also choose quality, body-safe jewelry and avoid changing it until the piercing has healed.
16) Rook piercing with a curved barbell
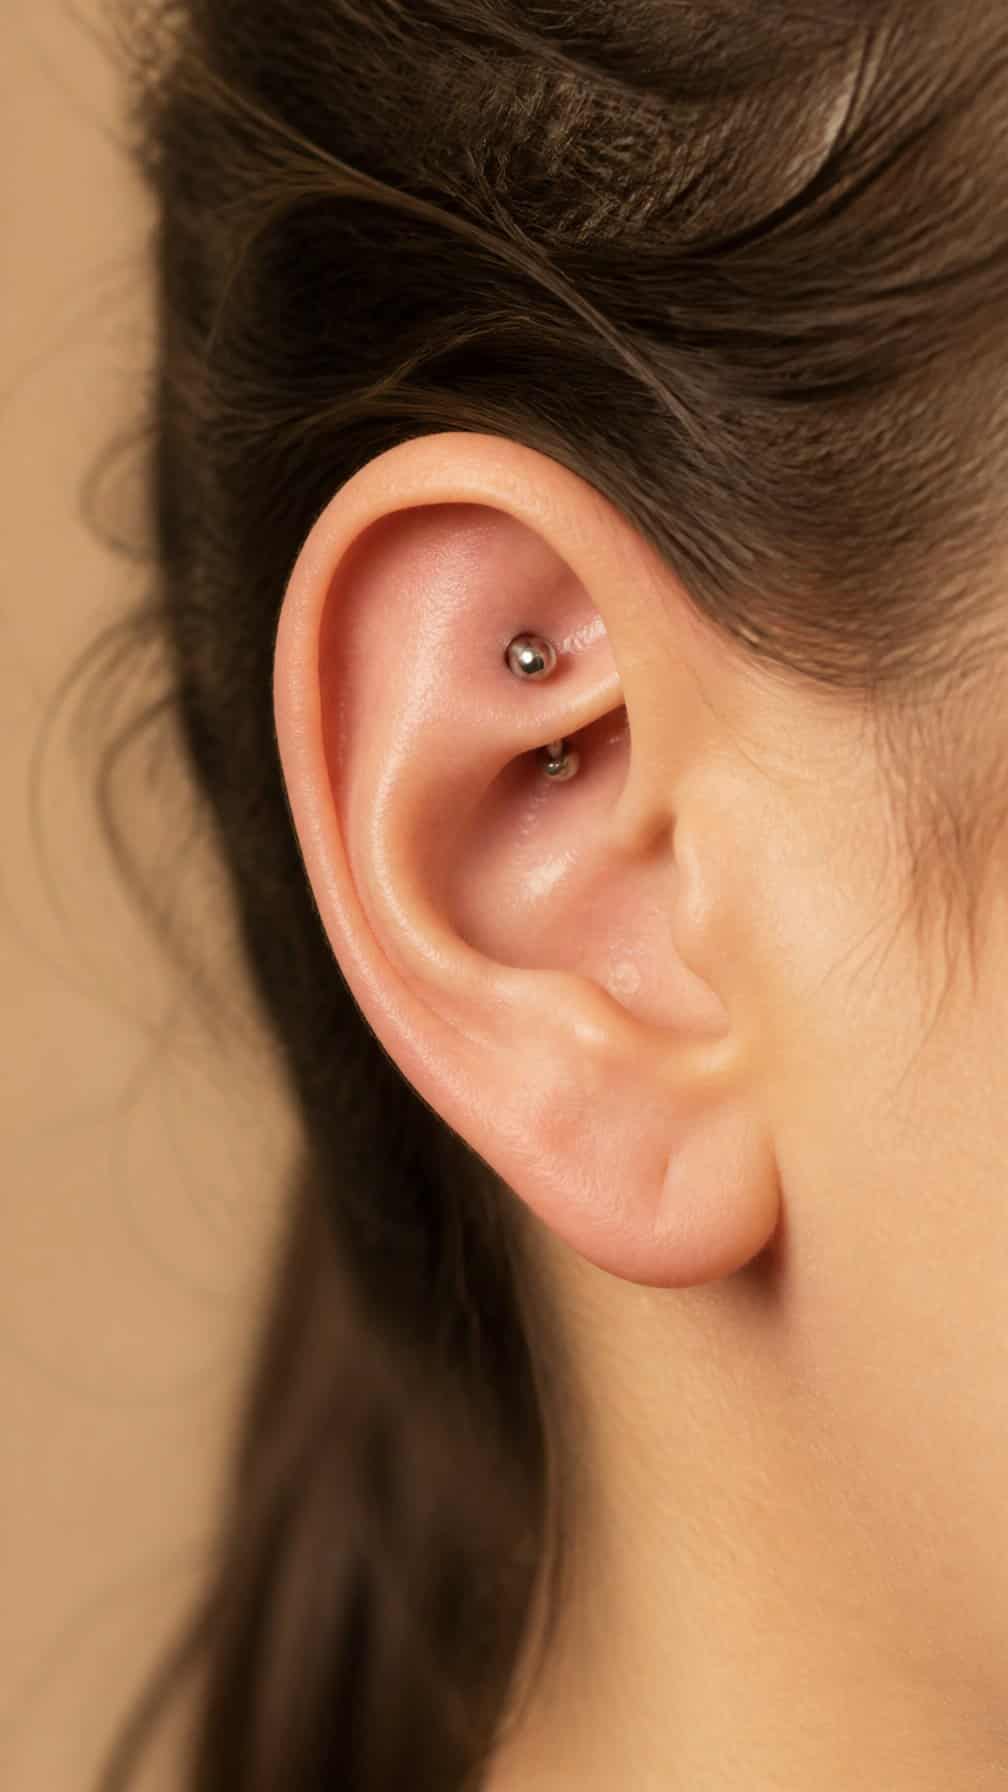
I like a curved barbell in the rook because it follows the ear’s natural fold and creates a neat, compact detail. The jewelry sits inside the upper cartilage ridge, so it works well for a curated look without adding much width from the front.
I would choose implant-grade titanium or solid gold, with a diameter fitted to my anatomy by a professional piercer. A small bead or understated end keeps the placement refined, while a decorative end adds subtle detail. I would also leave enough room for initial swelling and follow the piercer’s aftercare guidance.
17) Snug piercing with a tiny gemstone
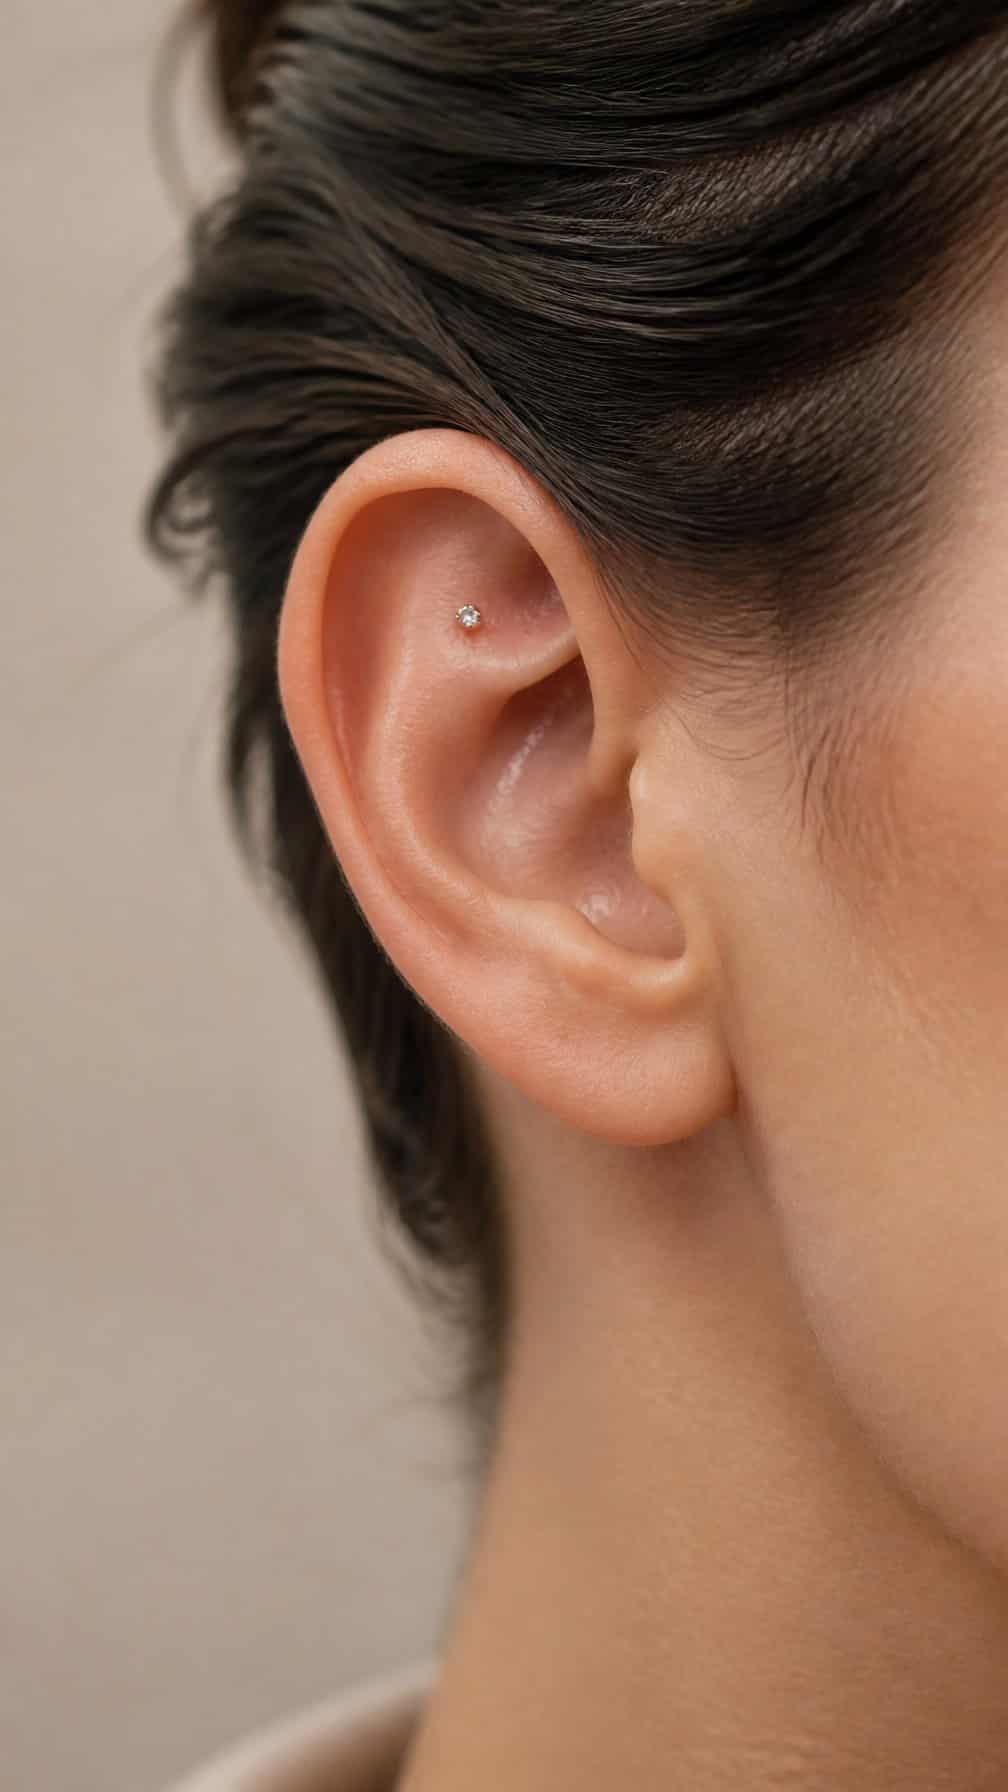
I like a snug piercing when I want a detailed placement that stays close to the ear’s inner curve. A tiny gemstone adds a precise point of color without making the arrangement feel crowded. I would choose a low-profile setting that follows the cartilage’s shape and sits comfortably beneath neighboring earrings.
Because snug piercings can experience pressure from headphones, helmets, and sleeping positions, I would plan the placement with daily habits in mind. I would also keep nearby jewelry simple, such as a small hoop or delicate stud, so the gemstone remains visible and the full curation keeps a balanced appearance.
18) Tragus piercing with a flat-back stud
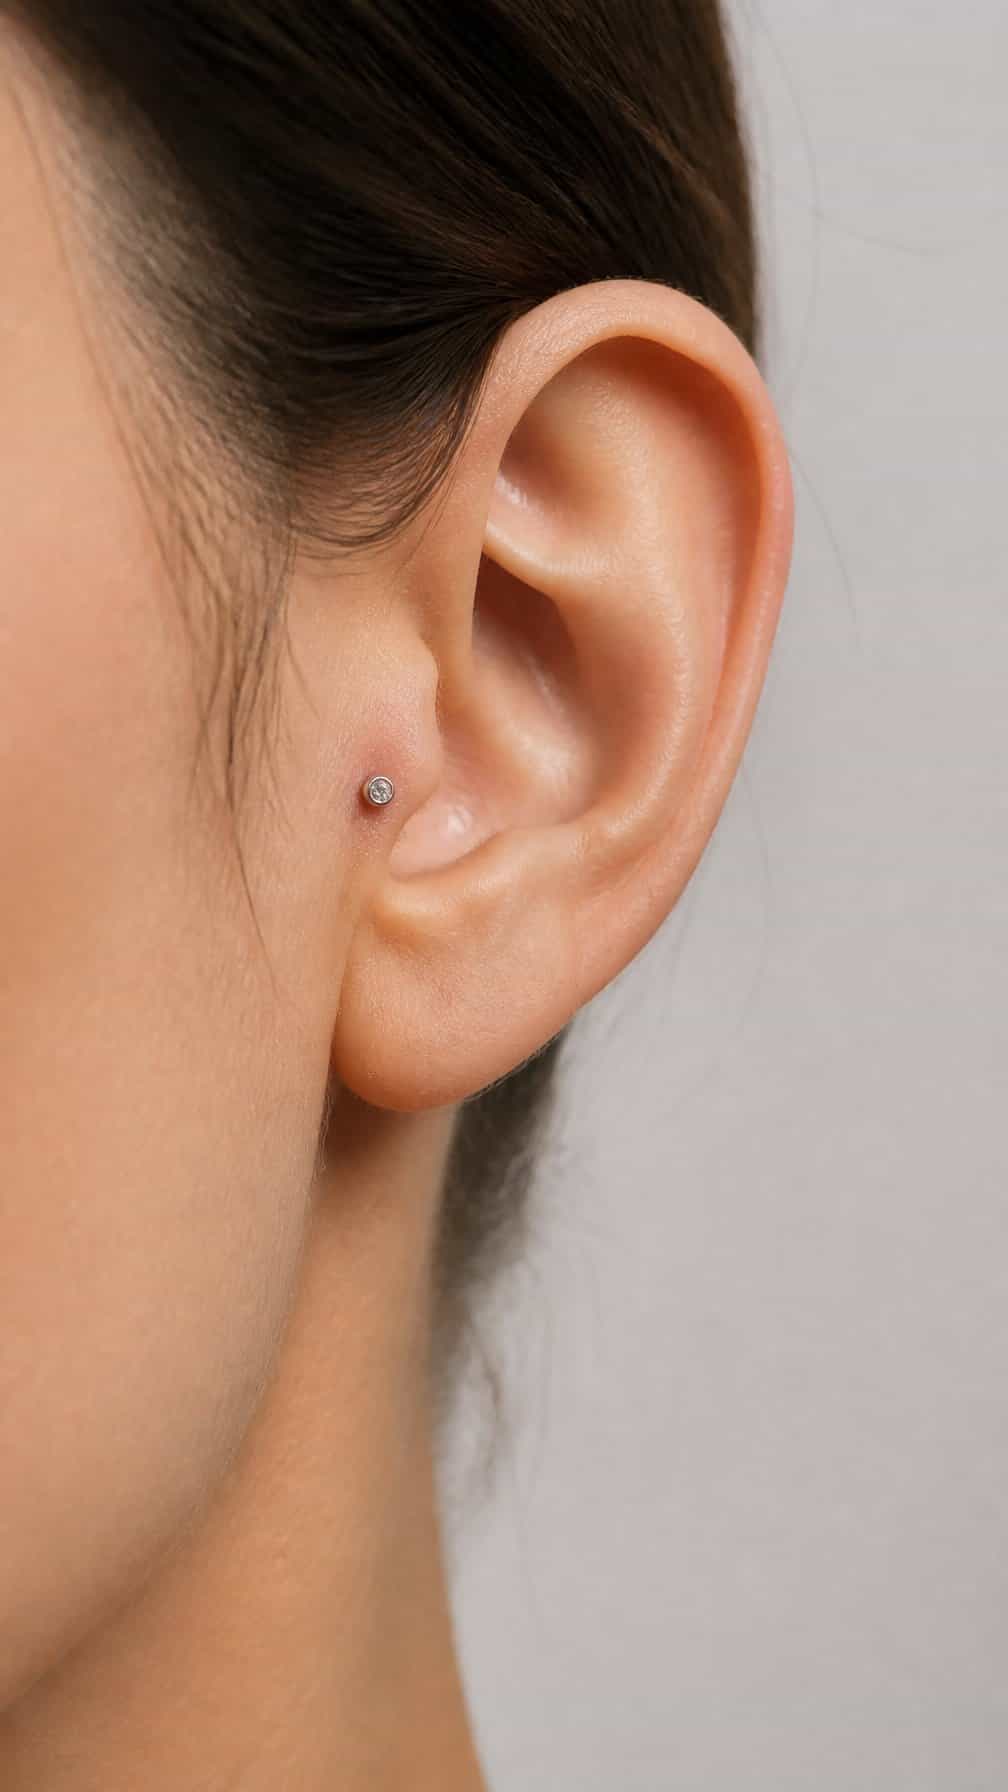
I like a flat-back stud in the tragus when I want a small detail that stays close to the ear. Its smooth backing reduces the chance of catching on hair, masks, or headphones, while a tiny ball or gemstone keeps the look clean and understated.
I would choose implant-grade titanium or solid gold and confirm the post length with a professional piercer. The tragus can swell during healing, so I would avoid changing the jewelry early and keep pressure from earbuds, helmets, and sleeping to a minimum.
19) Anti-tragus with a delicate bead
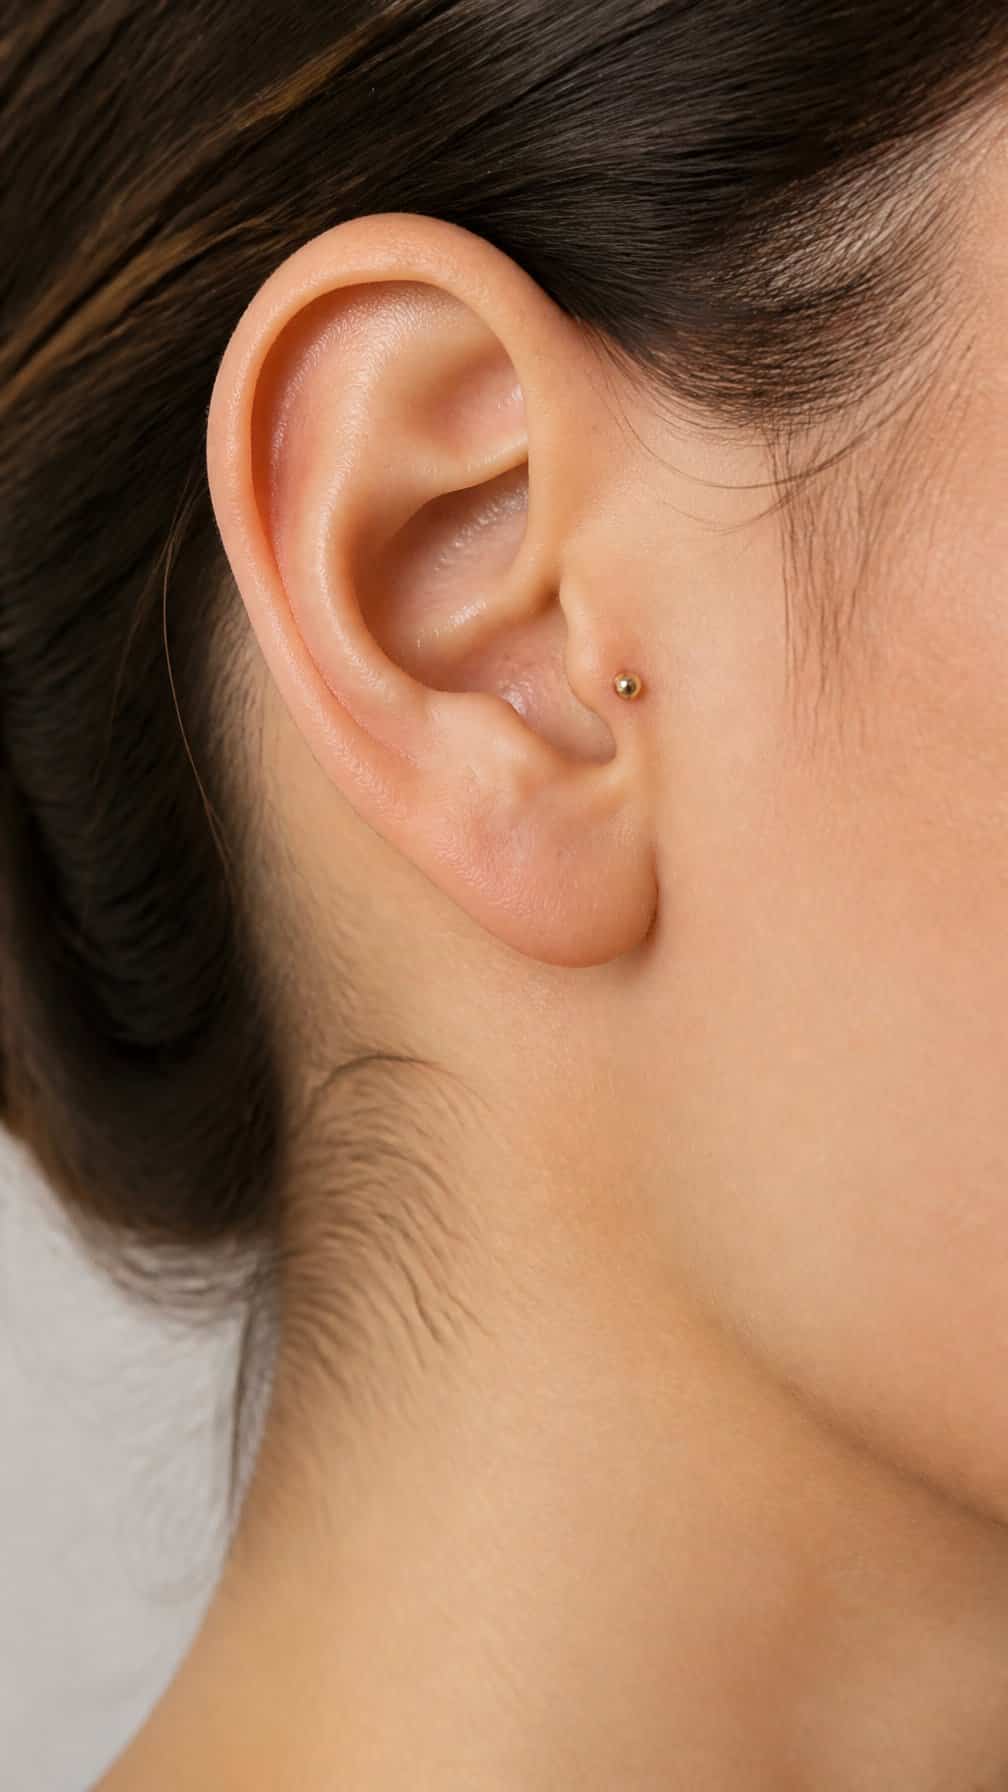
I like an anti-tragus piercing with a small bead when I want a subtle detail near the ear’s lower cartilage. Its compact shape keeps the jewelry understated while adding definition to a curated arrangement.
I would place it after considering the fold and thickness of my cartilage, since anatomy affects both suitability and comfort. A qualified piercer can assess the area and select an appropriate post length before starting.
I would choose implant-grade titanium or another body-safe material, then follow professional aftercare instructions during healing. Because this location can experience pressure from earbuds, helmets, or sleeping positions, I would plan its placement around my daily habits.
20) Forward helix and tragus pairing
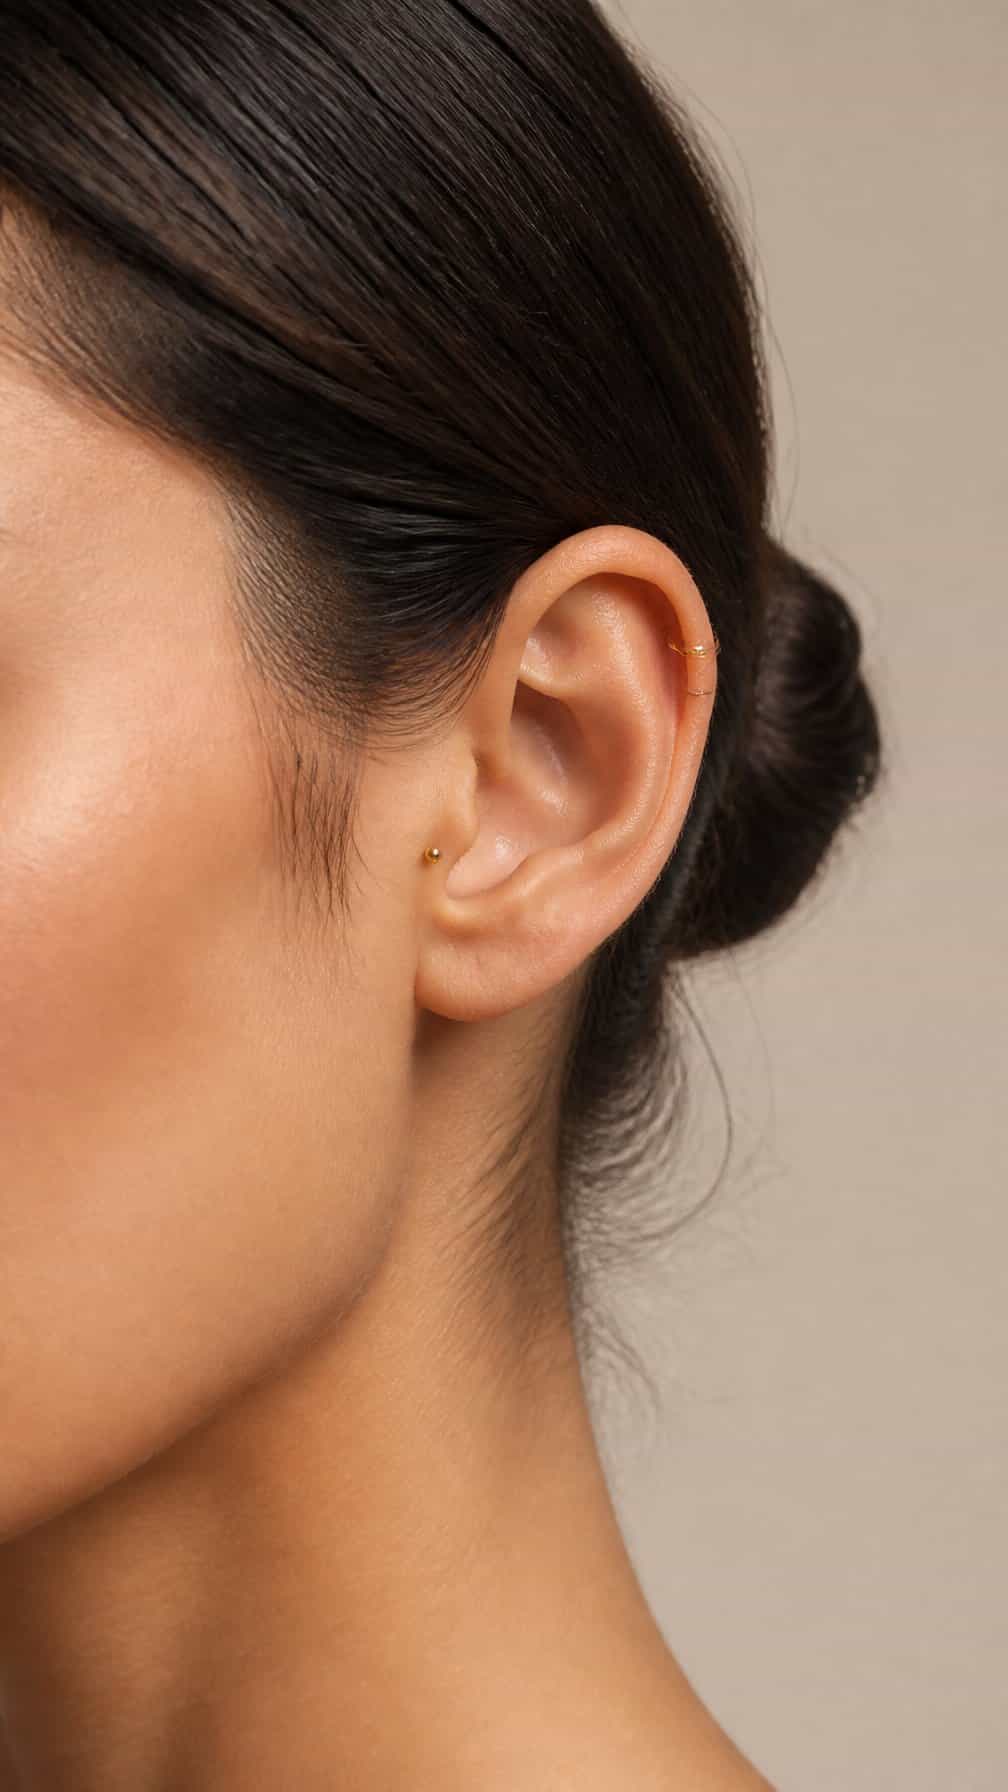
I like this pairing for a curated ear that balances two distinct placements. The forward helix sits high on the outer cartilage, while the tragus adds a compact accent near the ear canal. Together, they create visual spacing without requiring several piercings in one area.
I would plan the jewelry around each piercing’s shape and healing needs. A small flat-back stud often suits the forward helix, while the tragus can handle a similarly minimal stud or a tiny gem. I would leave enough room for swelling and choose implant-grade titanium or another suitable material recommended by a professional piercer.
Because both placements involve cartilage, I would schedule them only after considering sleeping habits, headphones, and hair movement. I would also have a piercer assess my anatomy before deciding on exact angles and jewelry sizes.
21) Conch and helix balance
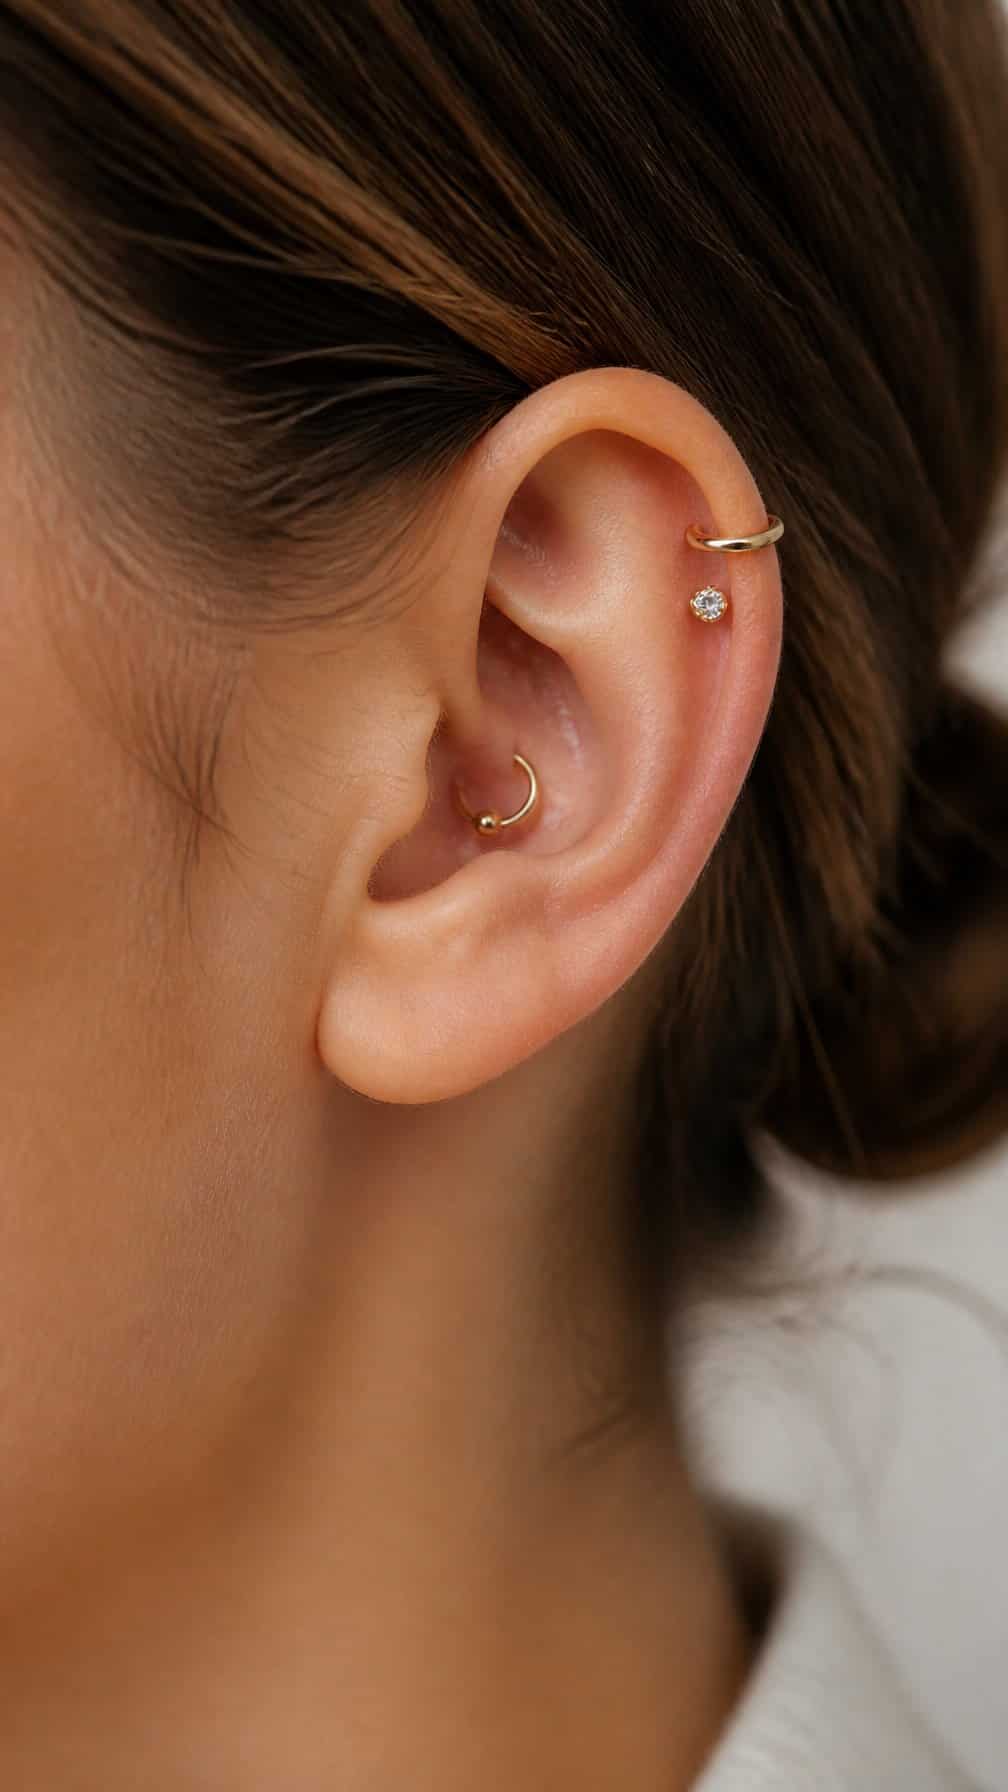
I like pairing a conch stud with a helix hoop to distribute detail across the ear. The conch creates a central focal point, while the helix adds definition along the outer edge without making the arrangement feel crowded.
I usually choose jewelry with a shared metal tone but different shapes, such as a smooth conch bead and a slim helix ring. I also consider ear anatomy and spacing before selecting sizes, since each placement needs room to heal and remain comfortable.
For a softer arrangement, I use two small gemstones with a modest size difference. For a sharper look, I combine a plain conch stud with a geometric helix piece and leave nearby cartilage open.
22) Lobe and daith contrast
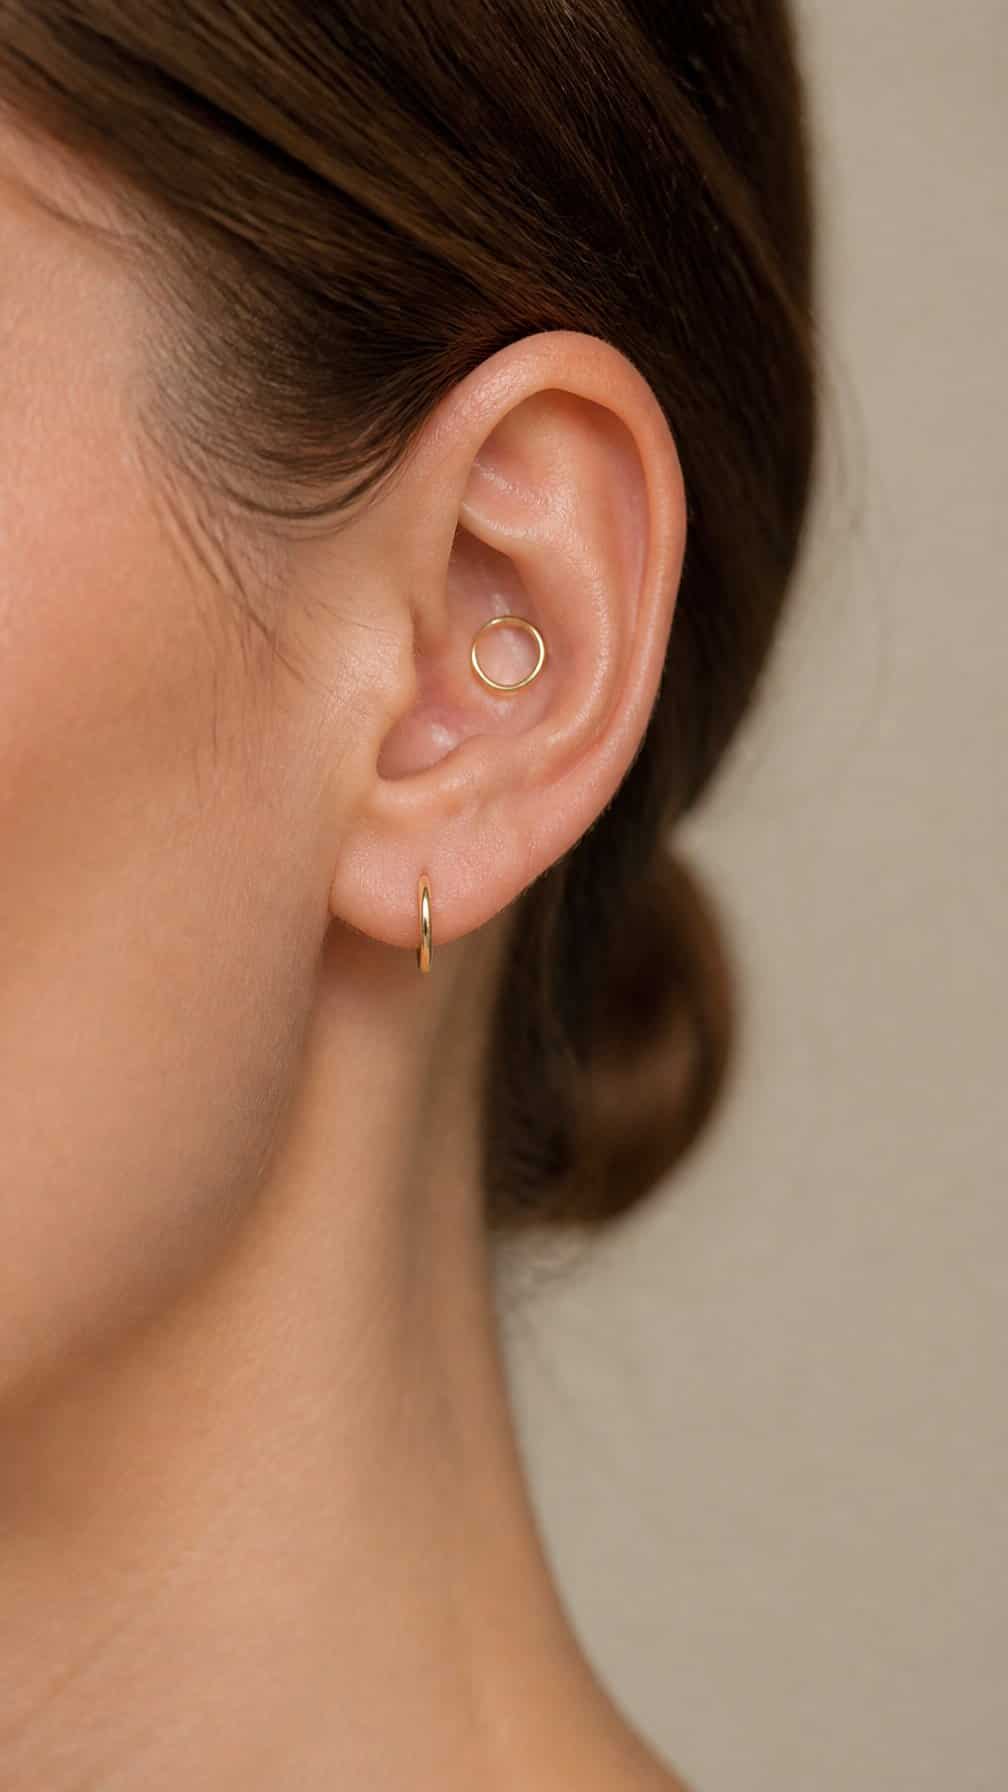
I like pairing a classic lobe piercing with a daith because the placement creates clear visual contrast. The lobe keeps the composition familiar and easy to style, while the inner cartilage placement adds a more unexpected detail. I would choose small lobe studs with a curved daith hoop to keep both piercings balanced.
I would also consider metal and scale when planning this combination. A slim hoop in the daith can draw attention inward, while a slightly larger lobe stud anchors the outer edge of the ear. I would leave enough space around each piece to keep the arrangement defined rather than crowded.
23) Stacked lobes with a single helix
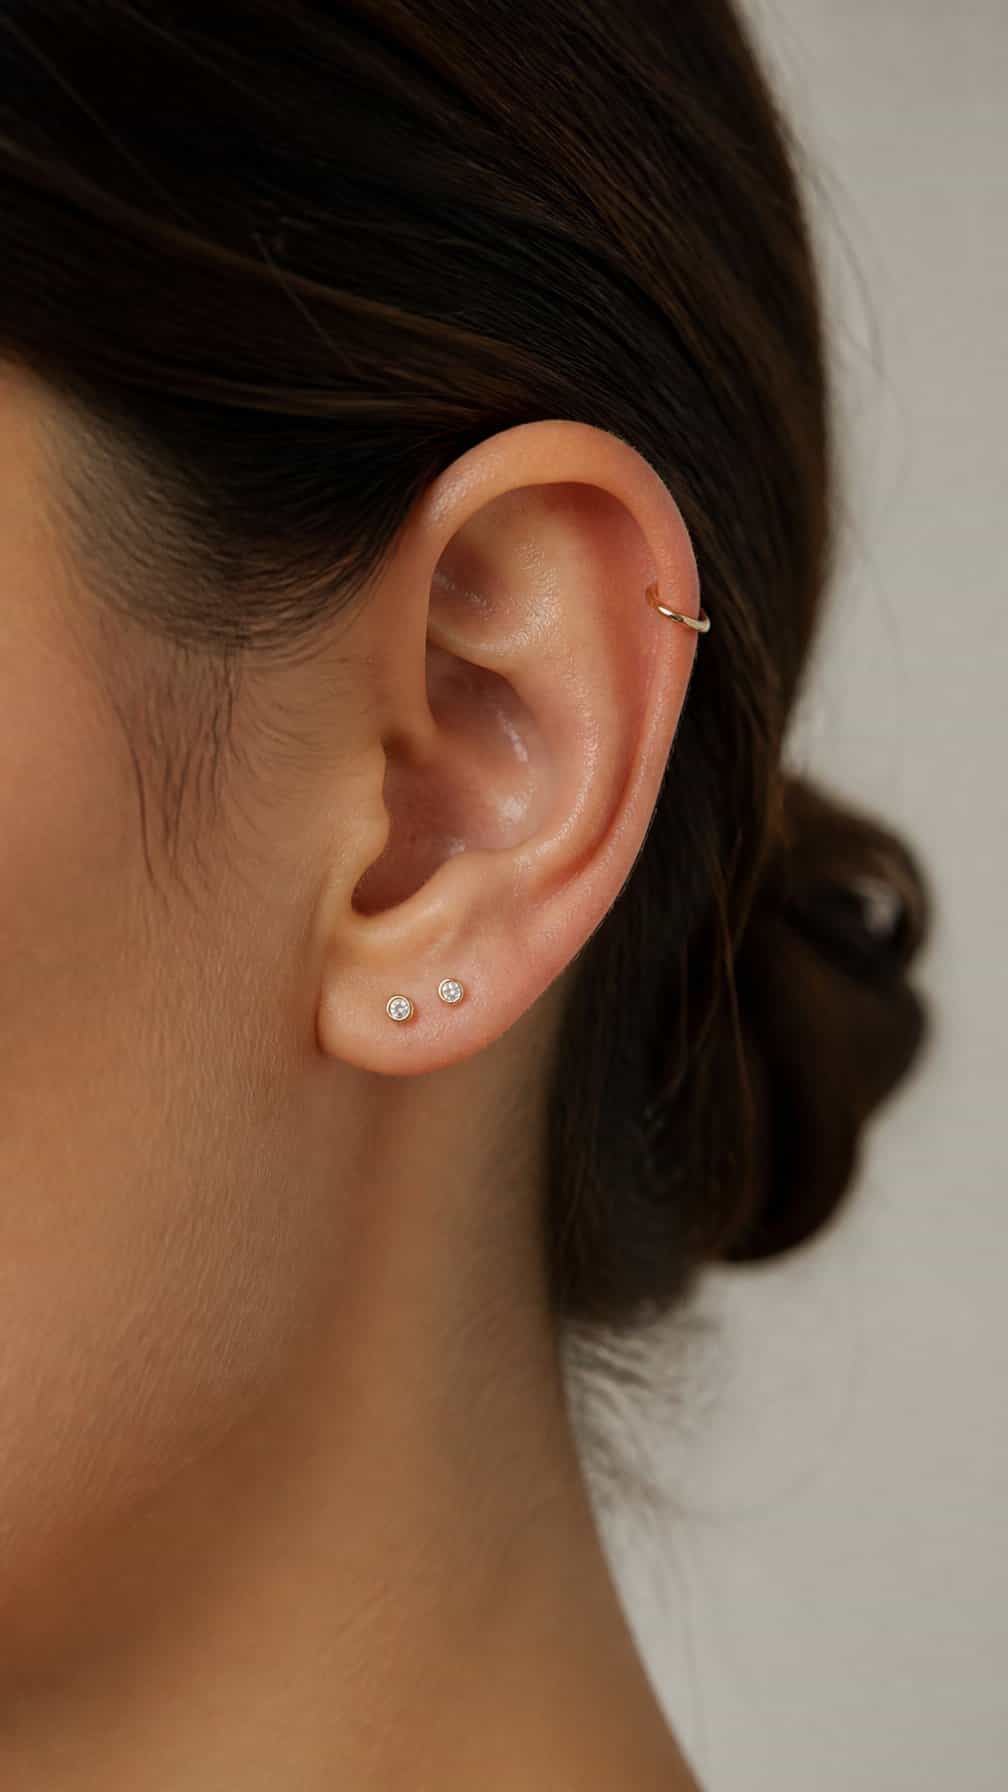
I like this arrangement for its balanced structure: two lobe piercings create a clear vertical line, while one helix piercing adds interest higher on the ear. The spacing keeps each piece visible without making the curation feel crowded.
I would use smaller studs or slim huggies in the stacked lobes and a simple hoop or bead in the helix. Before piercing, I would check the ear’s shape and available space with a professional, since anatomy affects placement and healing.
24) Mixed-metal ear curation
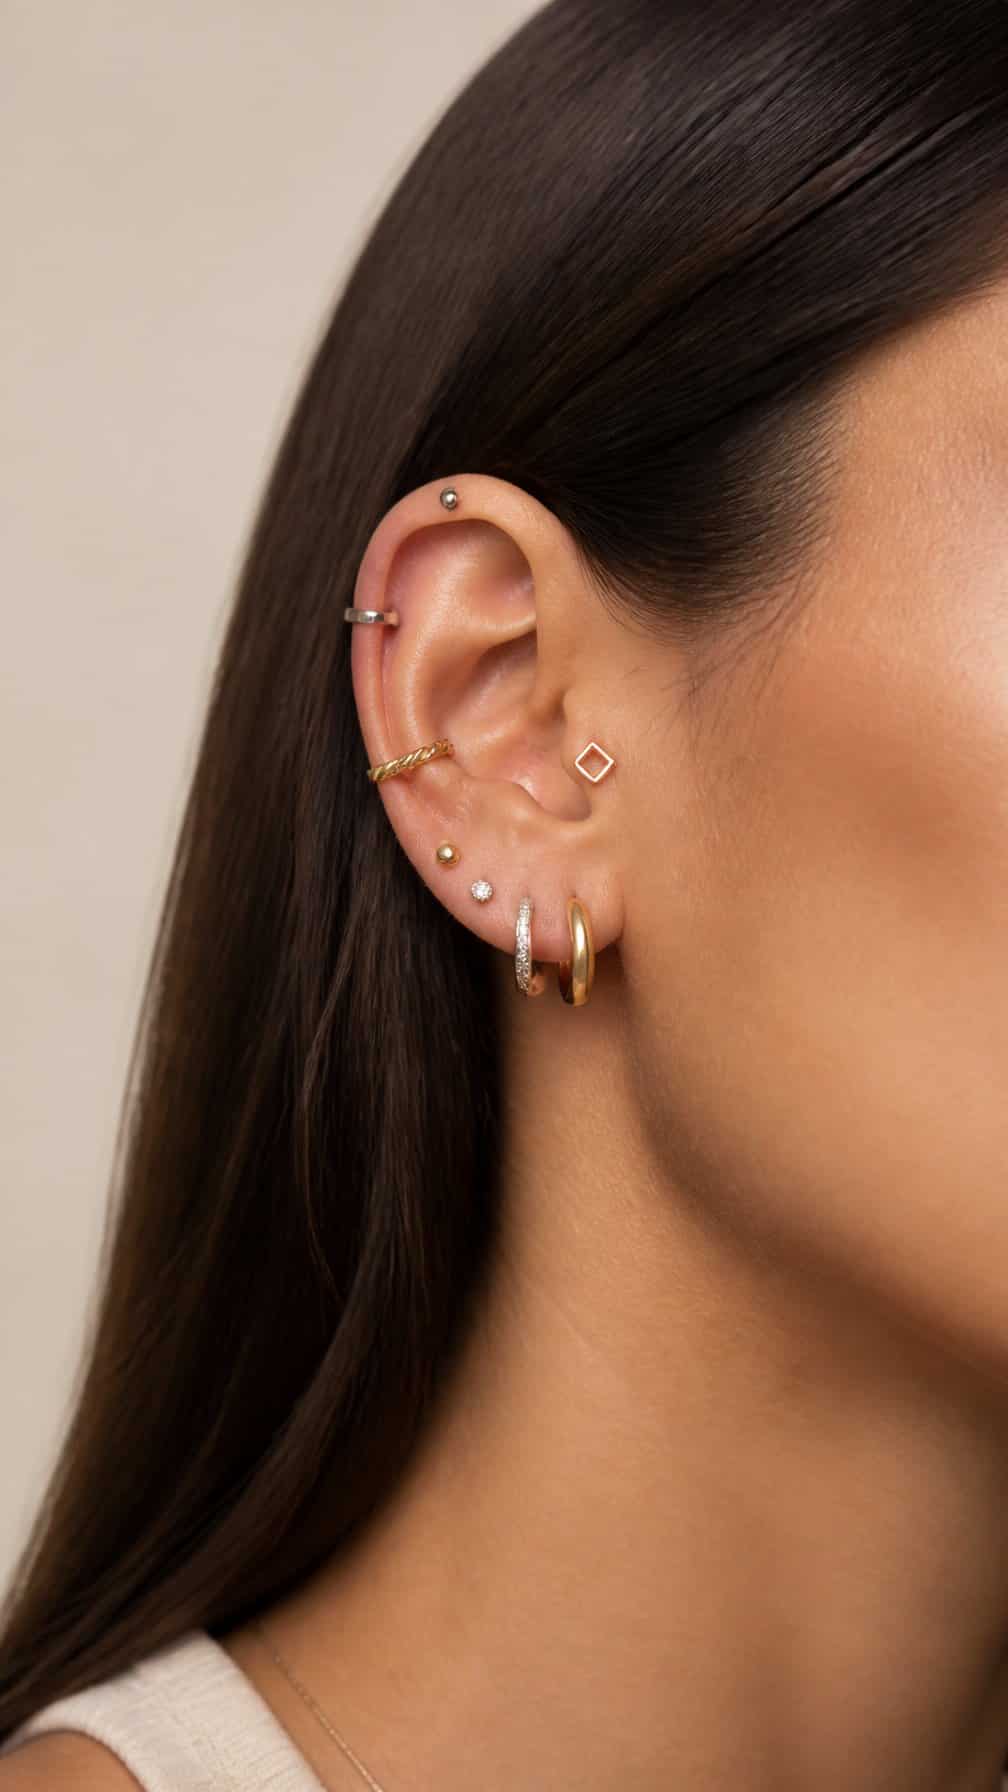
I combine gold, silver, and titanium pieces by repeating one metal across several placements. A small gold hoop can connect to a silver stud through color contrast, while a titanium bar adds a practical option for fresh or sensitive piercings.
I keep the shapes consistent so the different finishes look intentional. For example, I might pair a slim gold huggie with a silver chain earring and a plain titanium flat-back, using similar proportions rather than matching every material.
I usually place the brightest metal near the face and balance it with quieter pieces higher on the ear. This approach lets me build a varied curation gradually without replacing jewelry that I already wear.


